
Running an HVAC business with Odoo
How do I request and approve time off in Odoo?
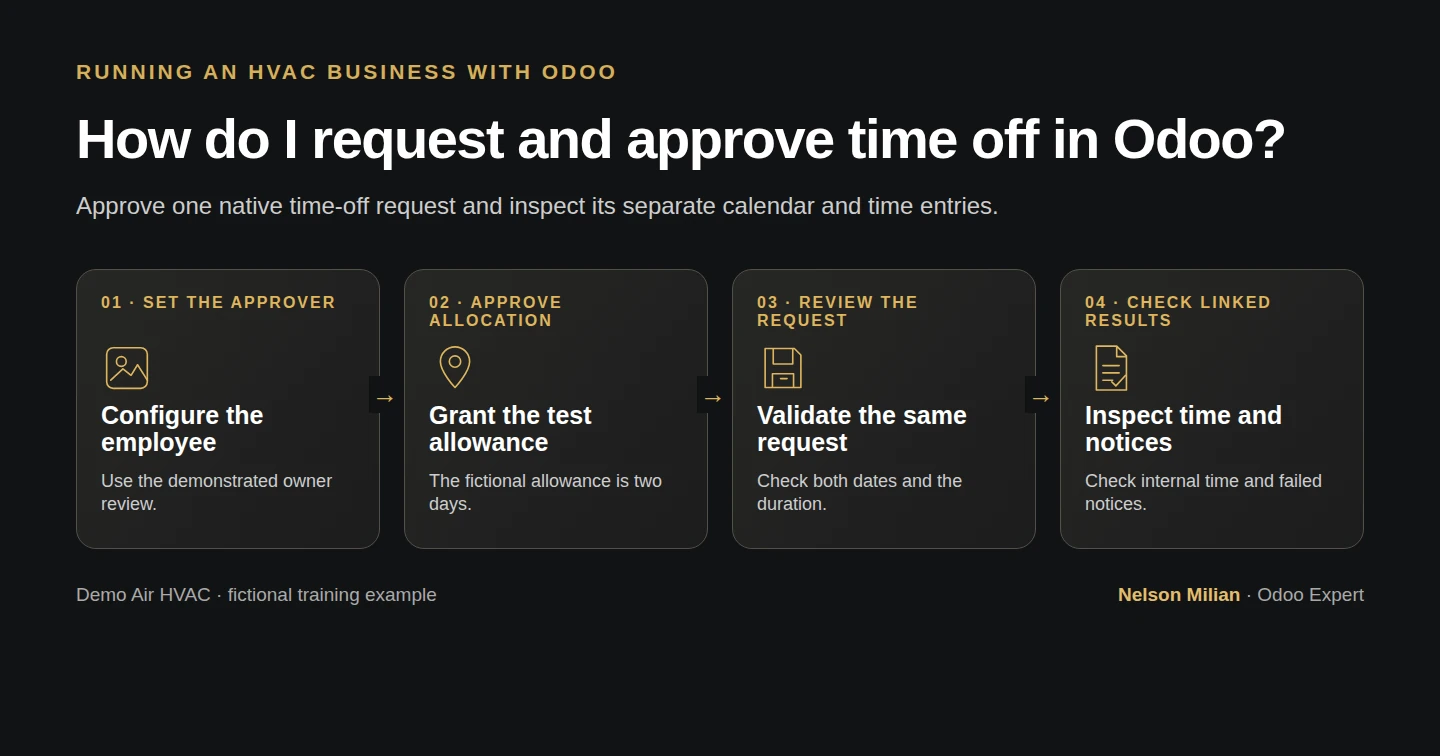
Set up a fictional leave type, approve an allocation and employee request, then check the balance, calendar and internal time in Odoo.
Alex needs a clear way for a technician to request time off and for the office to review it. We create one fictional leave type, allocate two training days and have the existing technician request October 20. The owner reviews and validates that request. We then check the saved balance and the calendar and internal time created by the installed official features, while reviewing the service job separately.
Alex Rivera and Demo Air HVAC are fictional training examples. Prices, dates, quantities and business situations in this guide are illustrative.
Before you begin
Tested in stock Odoo 20.0-20260926 Community as the demo owner administrator, with official modules and standard configuration. Complete How do I create an employee record in Odoo?, How do I set user access rights in Odoo?, How do I assign a technician and deadline to an Odoo task? and How do I record technician time on an Odoo job?. Reuse Demo Technician H42 and the linked technician login. The owner performs configuration and approval; the technician submits in a separate session. Employees and Timesheets are installed already. We activate the official Time Off (hr_holidays) app; the official project_timesheet_holidays integration also becomes installed with its shipped dependencies. These tested modules are Odoo-authored LGPL-3 modules. The employee uses the existing 40 hours/week working calendar, with eight hours per day. The two-day allowance is invented training data, not an employment entitlement, payroll decision or legal leave policy.
Step-by-step workflow
Step 1. Activate the official Time Off app
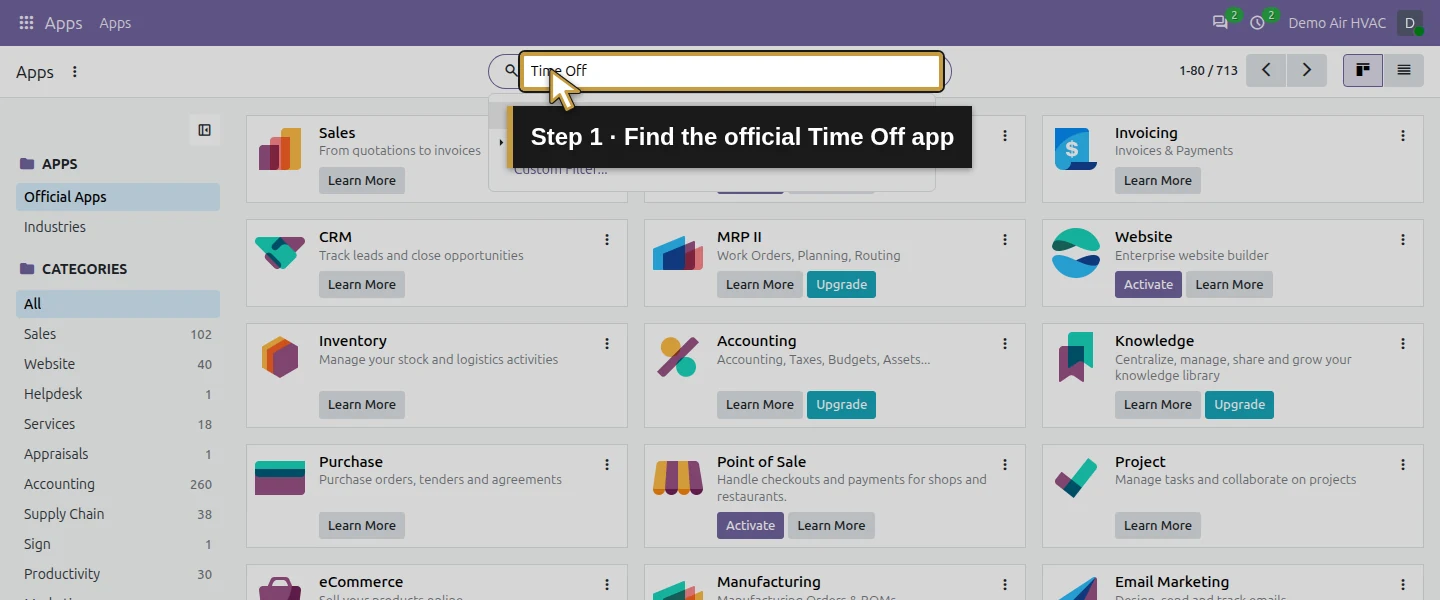
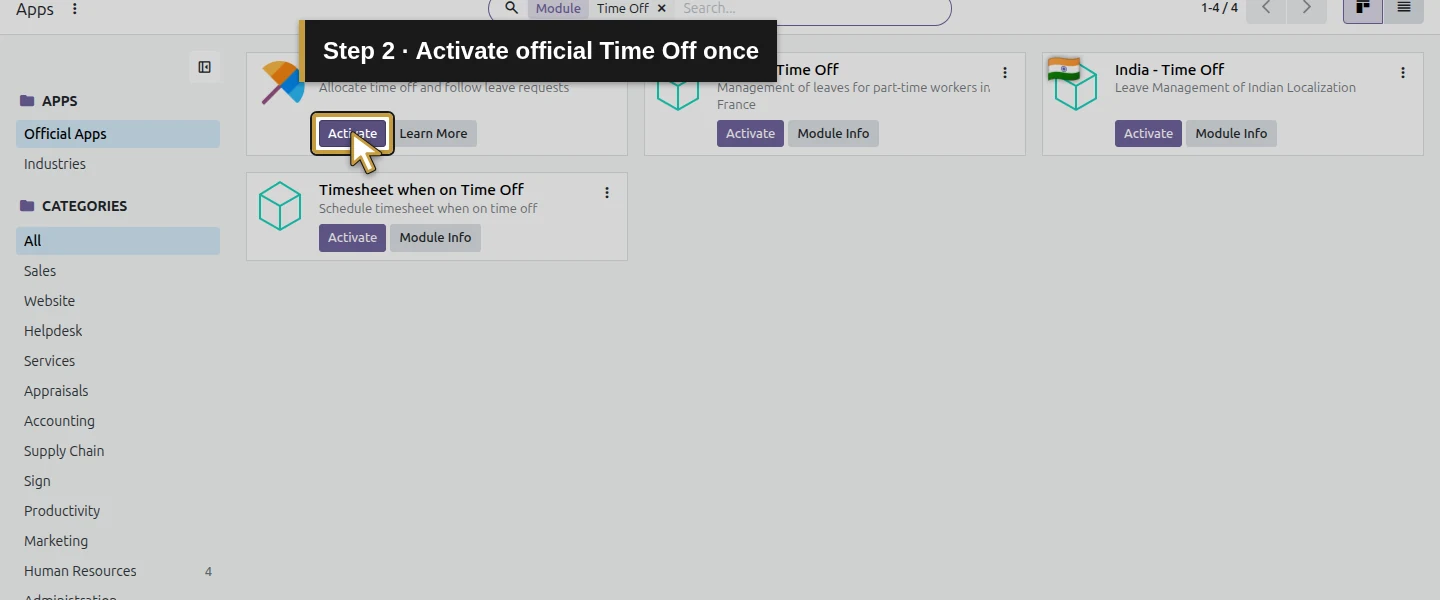
As the owner, open Apps, search for Time Off and select the actual module search suggestion. Check the Odoo-authored app, then click Activate once. Wait for installation to finish before opening Time Off. Keep the existing business and official modules intact; this lesson uses standard configuration. In this runtime, installation also supplies the owner's stock Time Off administration access.
Step 2. Give the existing technician employee access
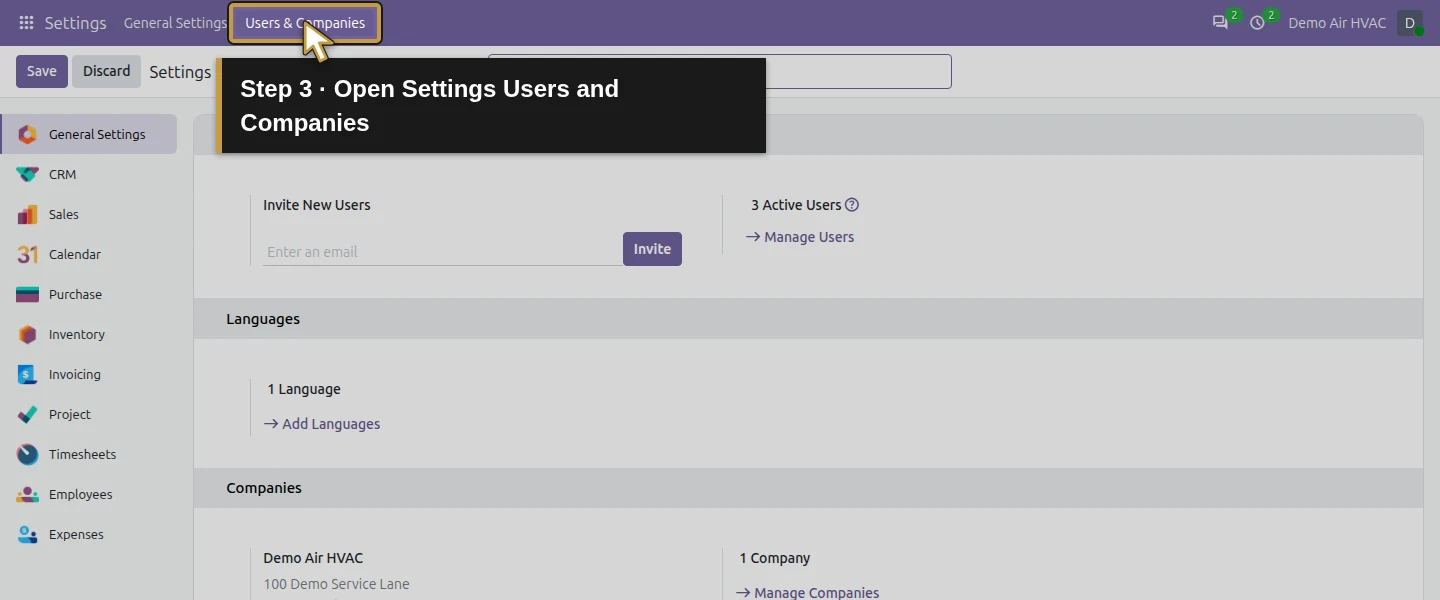
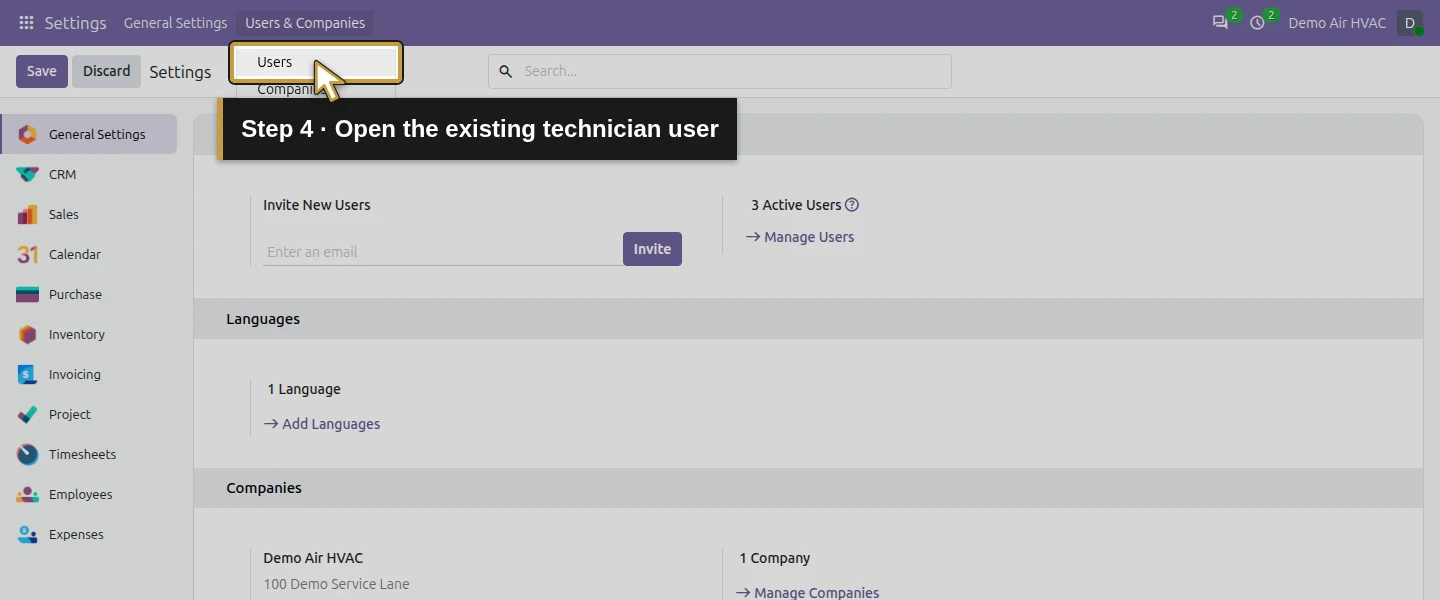
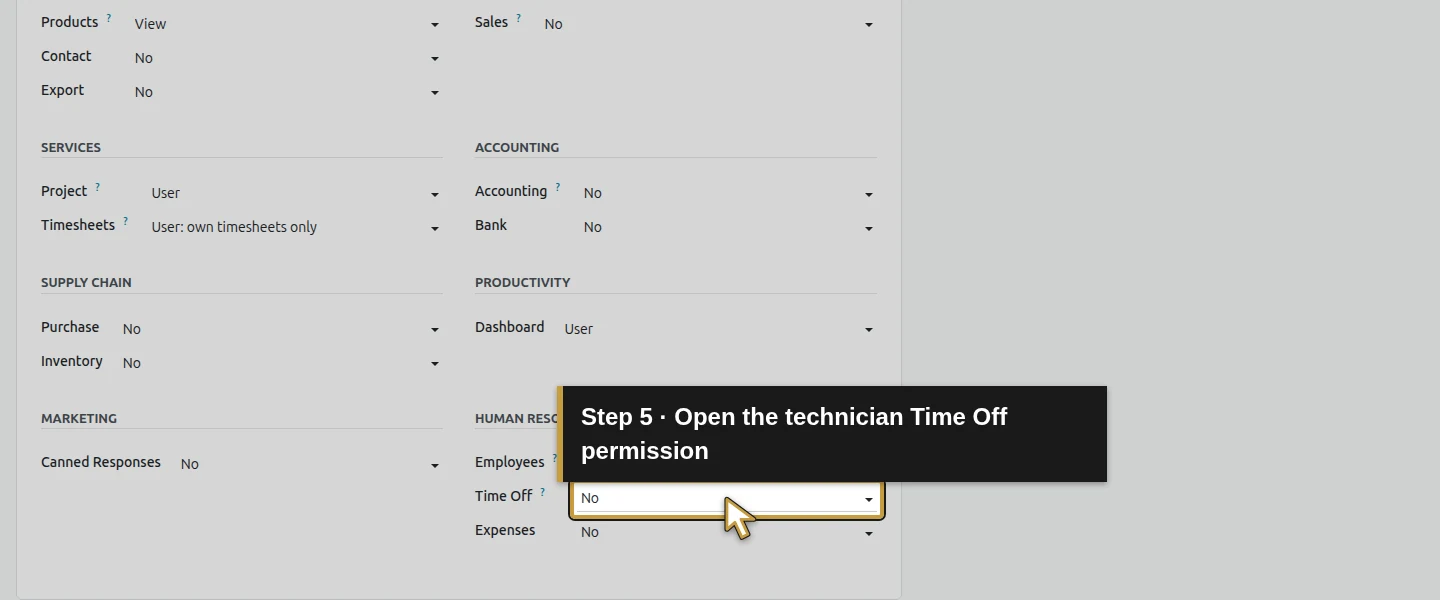
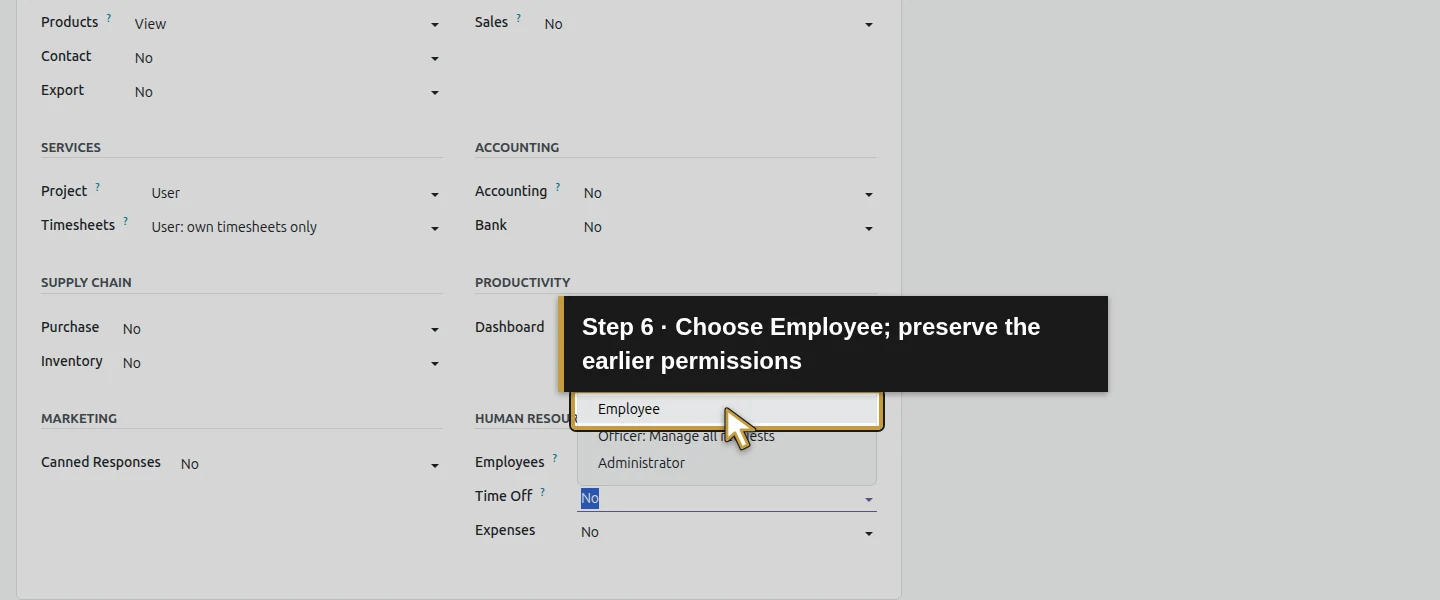
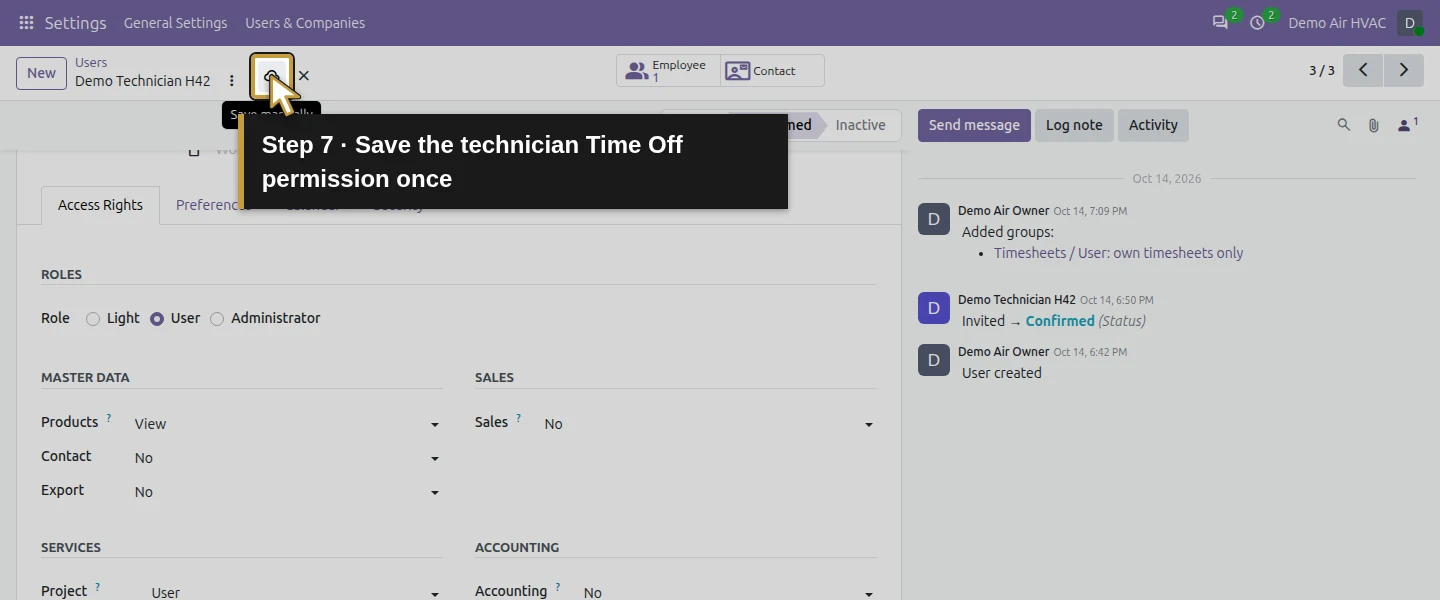
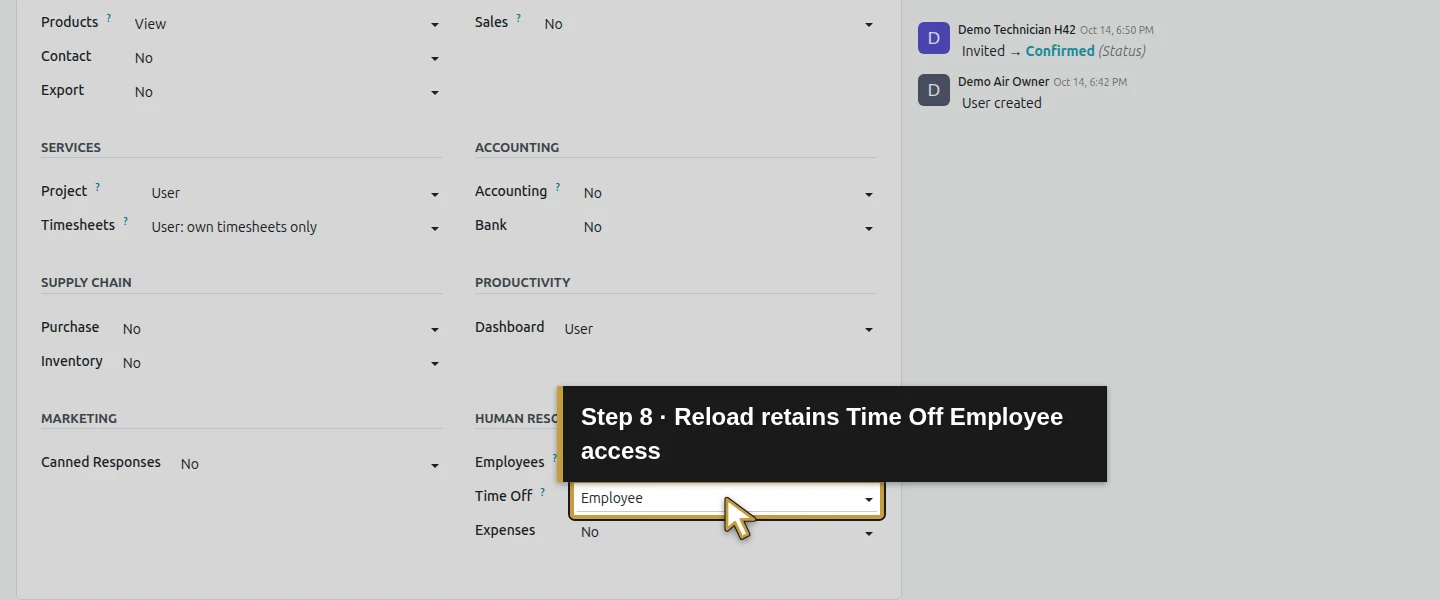
Open Settings → Users & Companies → Users, then the existing Demo Technician H42 user. On Access Rights, set Time Off to Employee and click Save manually. Keep the User role and earlier Project/Own Timesheets permissions. The technician initially received an access error after app installation; reopening Time Off after this one grant worked. The technician's menu has My Time and Overview, without the owner's Management and Configuration controls.
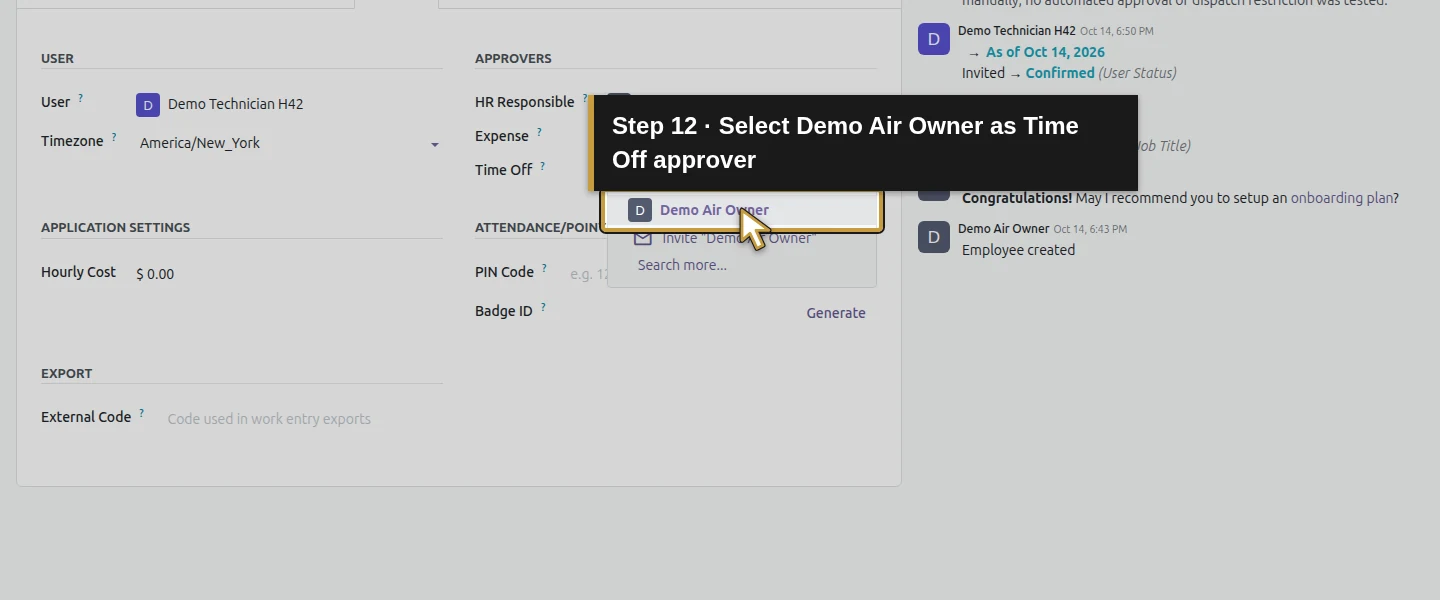
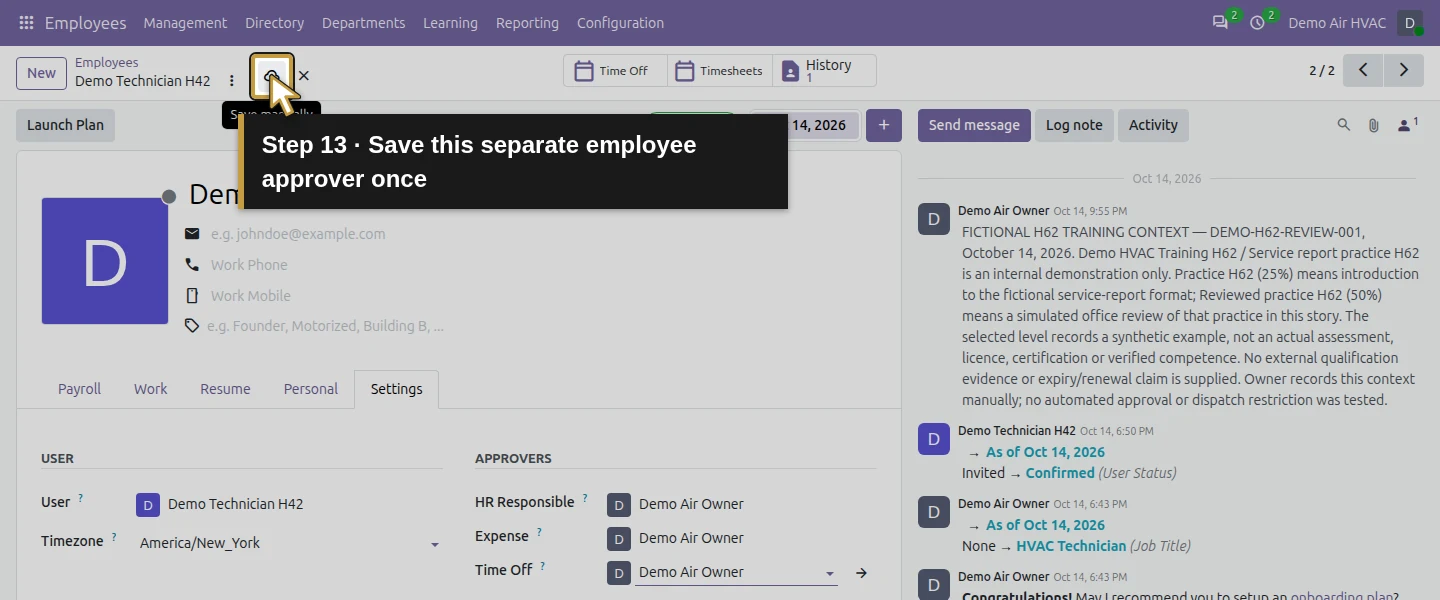
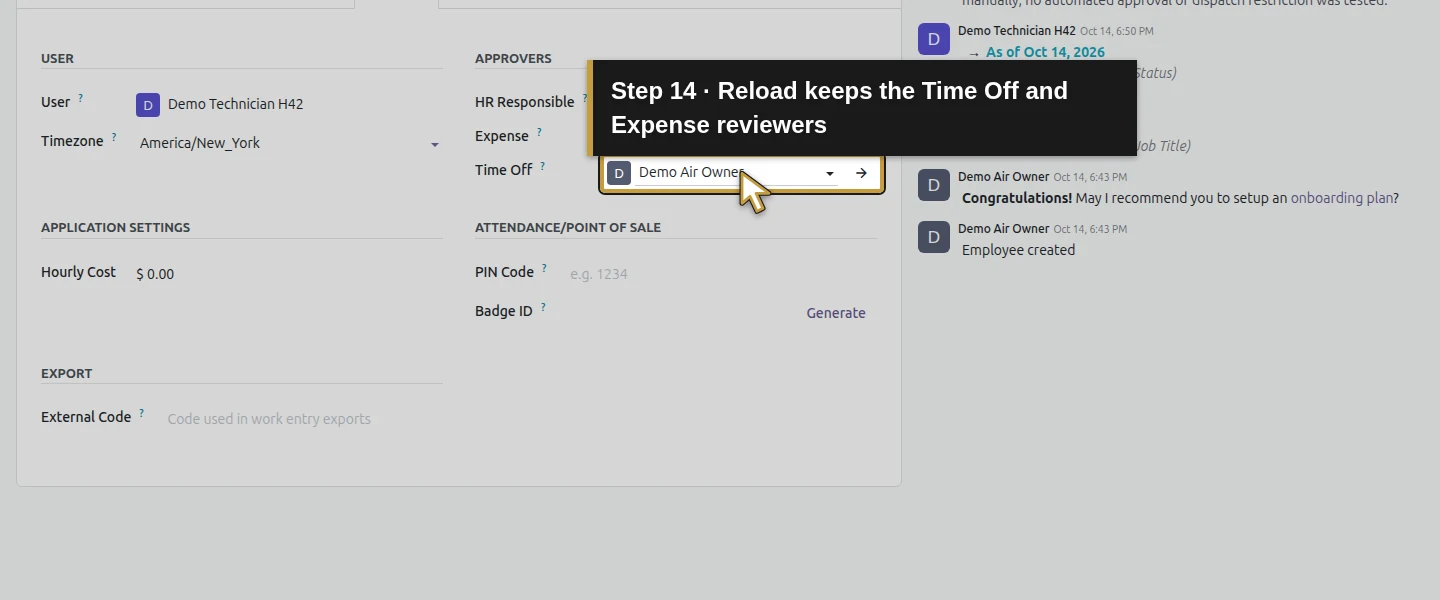
Step 3. Assign the employee's time-off approver
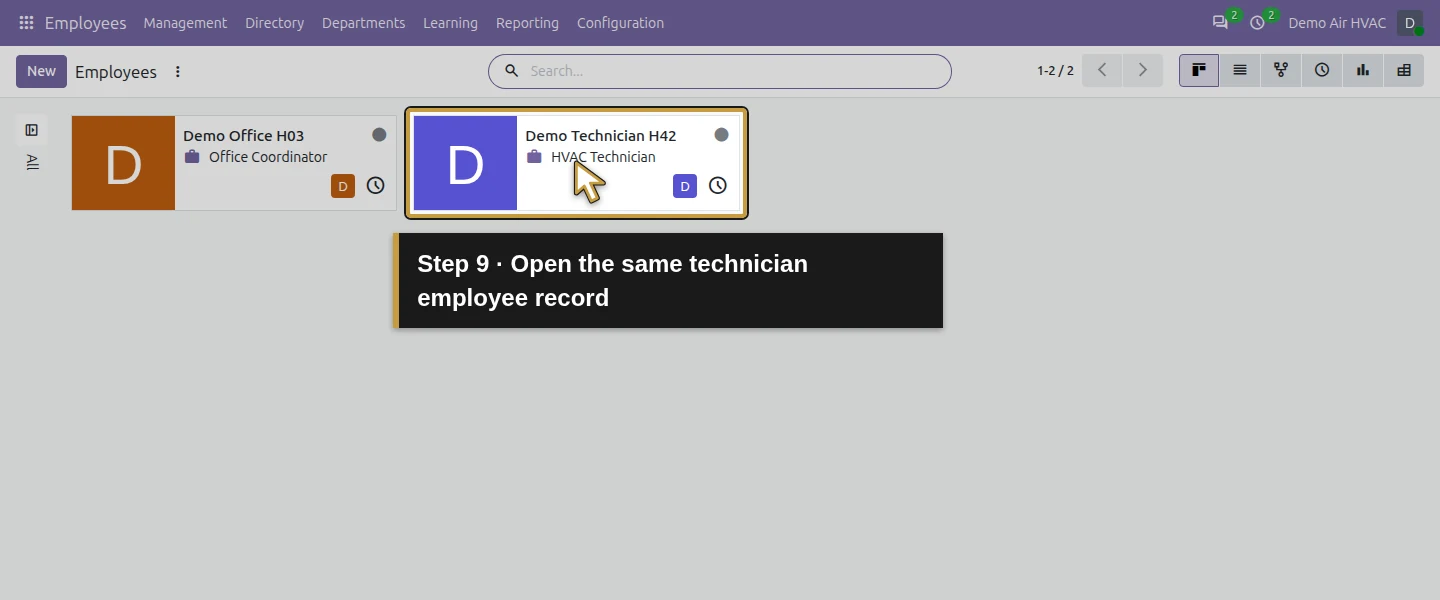
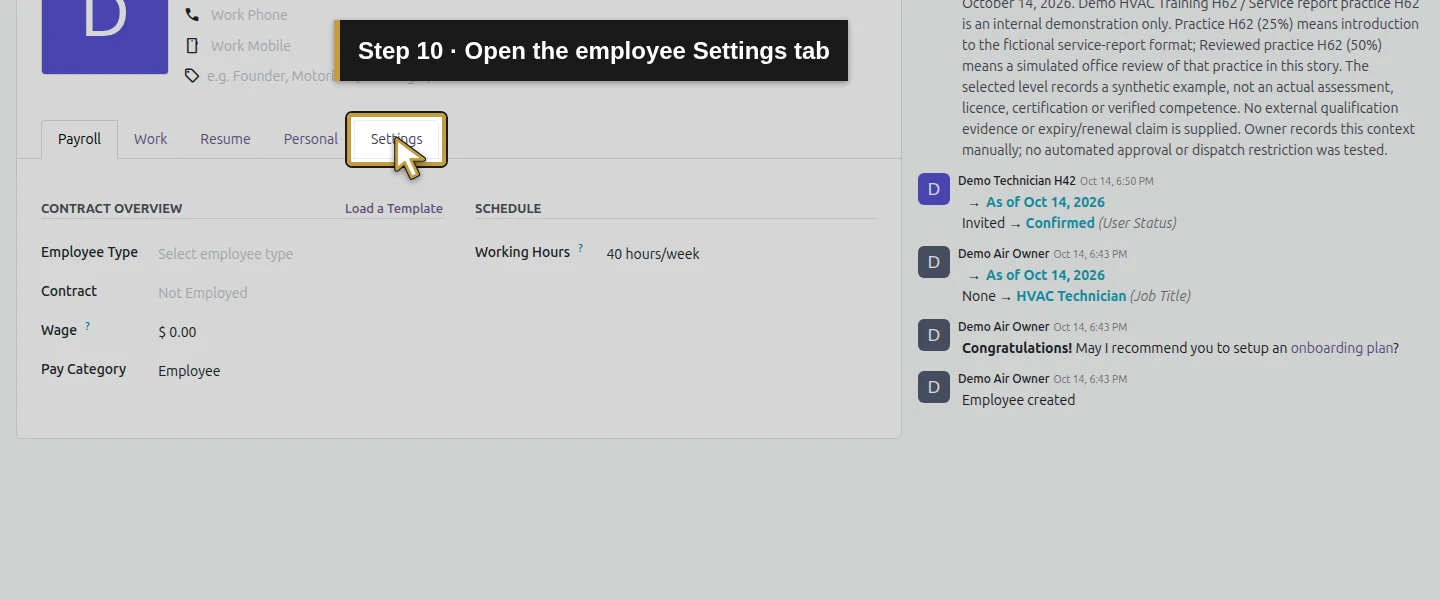
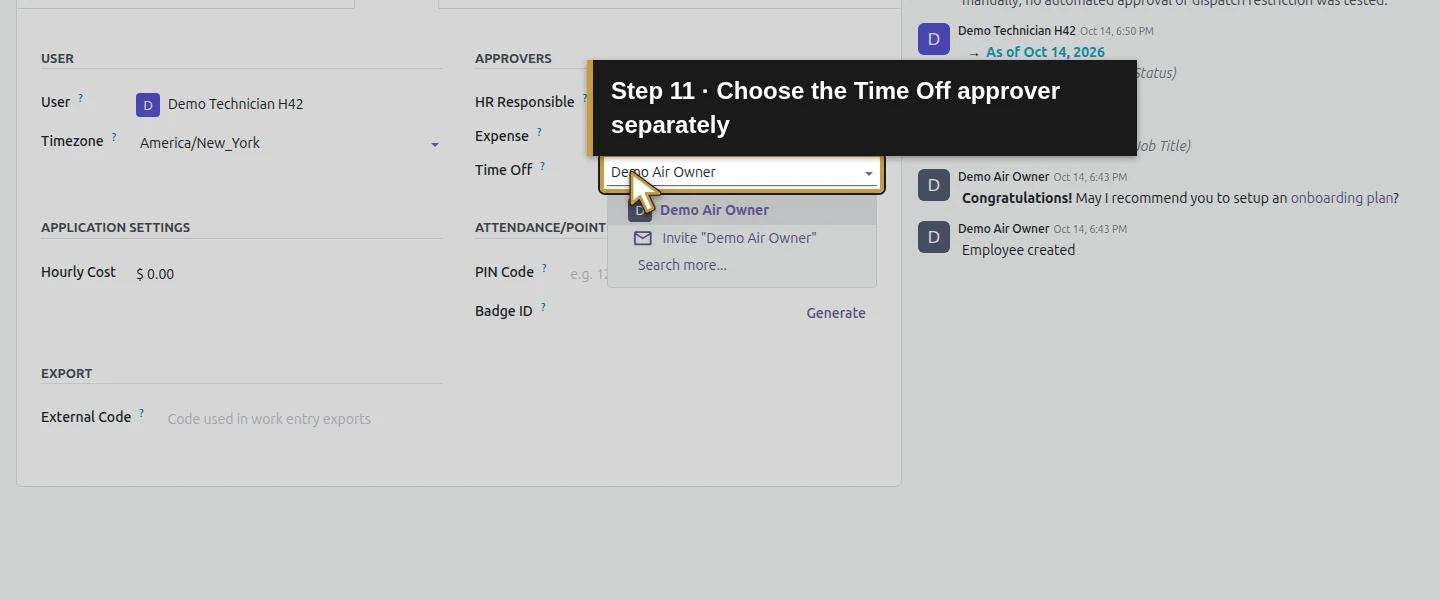
Open Employees → Management, select Demo Technician H42 and choose Settings. Under the approval fields, set Time Off to Demo Air Owner, then save the employee. Keep the existing Expense reviewer and working calendar. This employee's Time Off Approver was initially empty; it is a separate setting from the expense reviewer and the employee's manager.
Step 4. Create and save the fictional time type
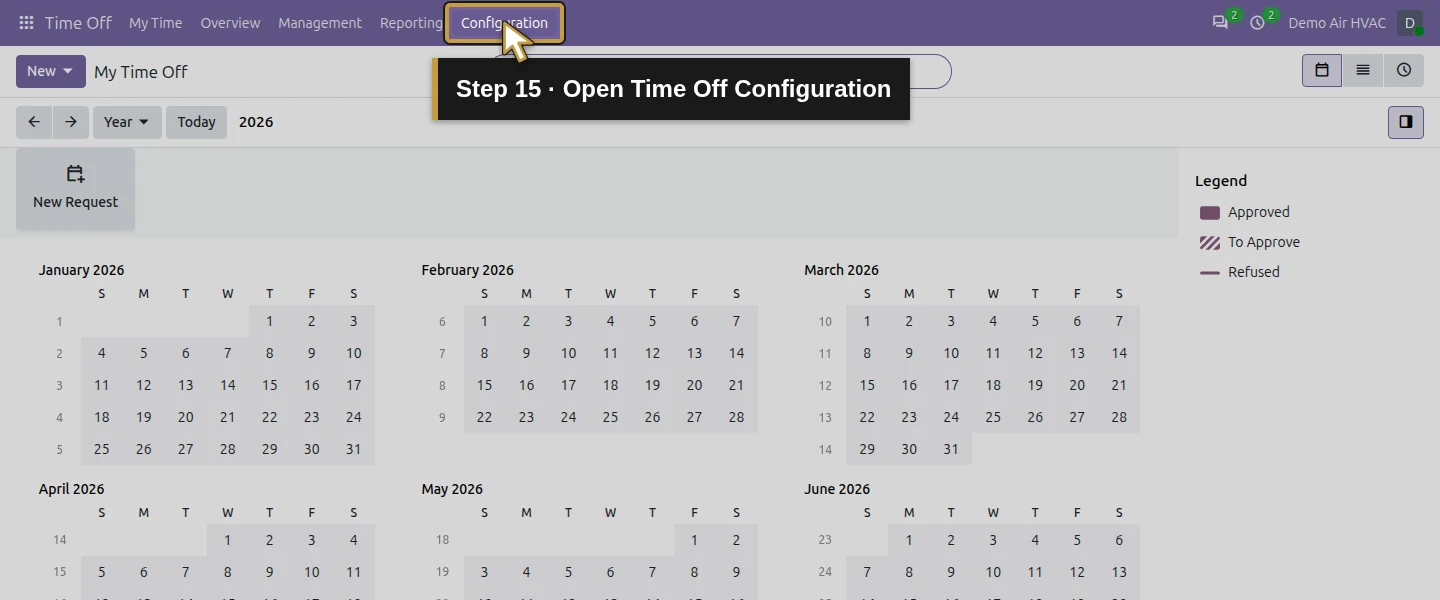
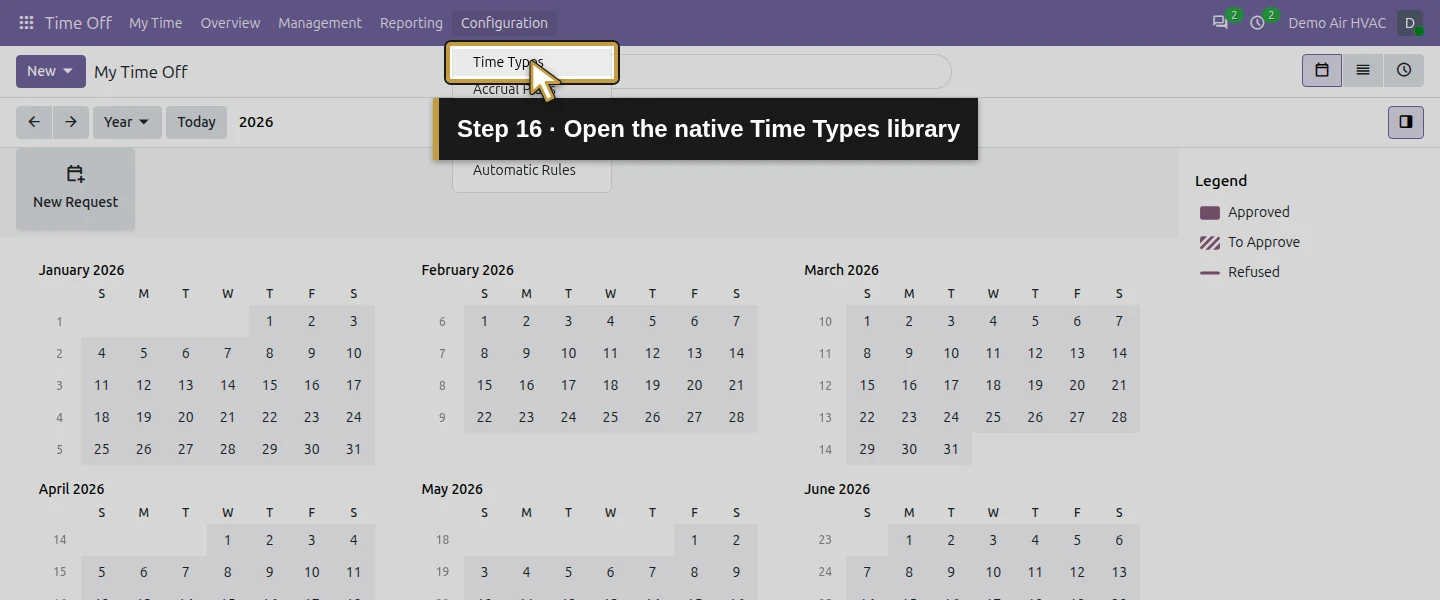
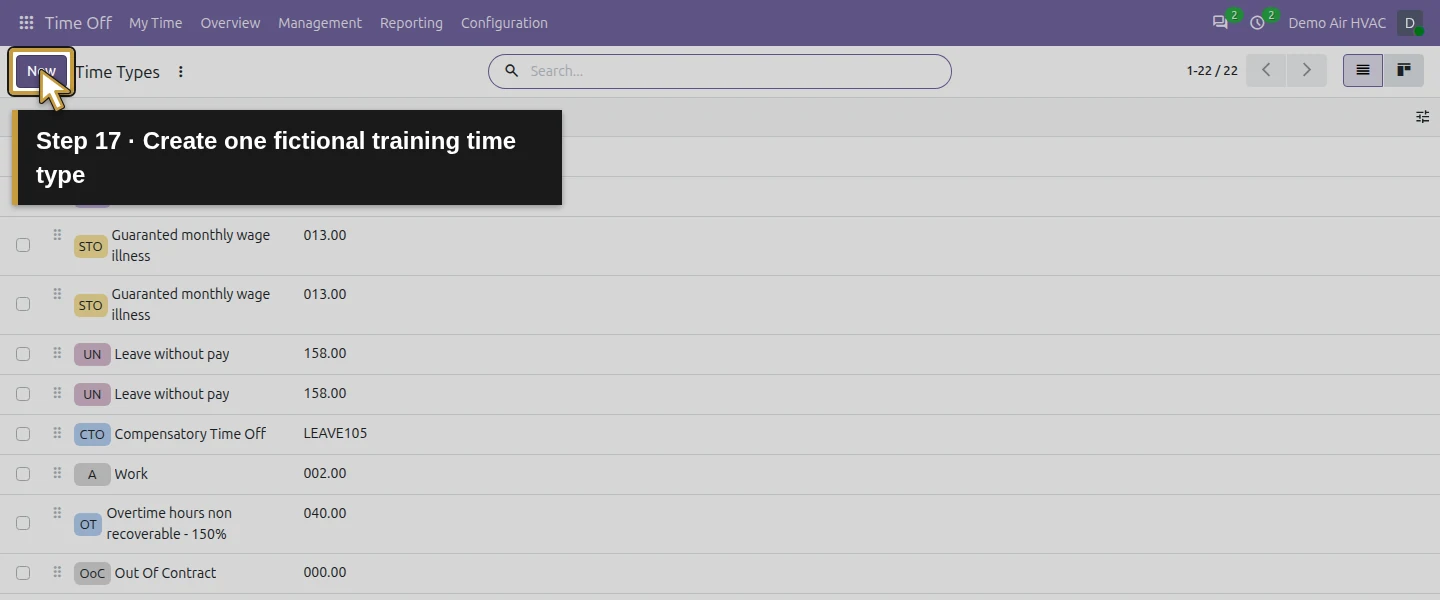
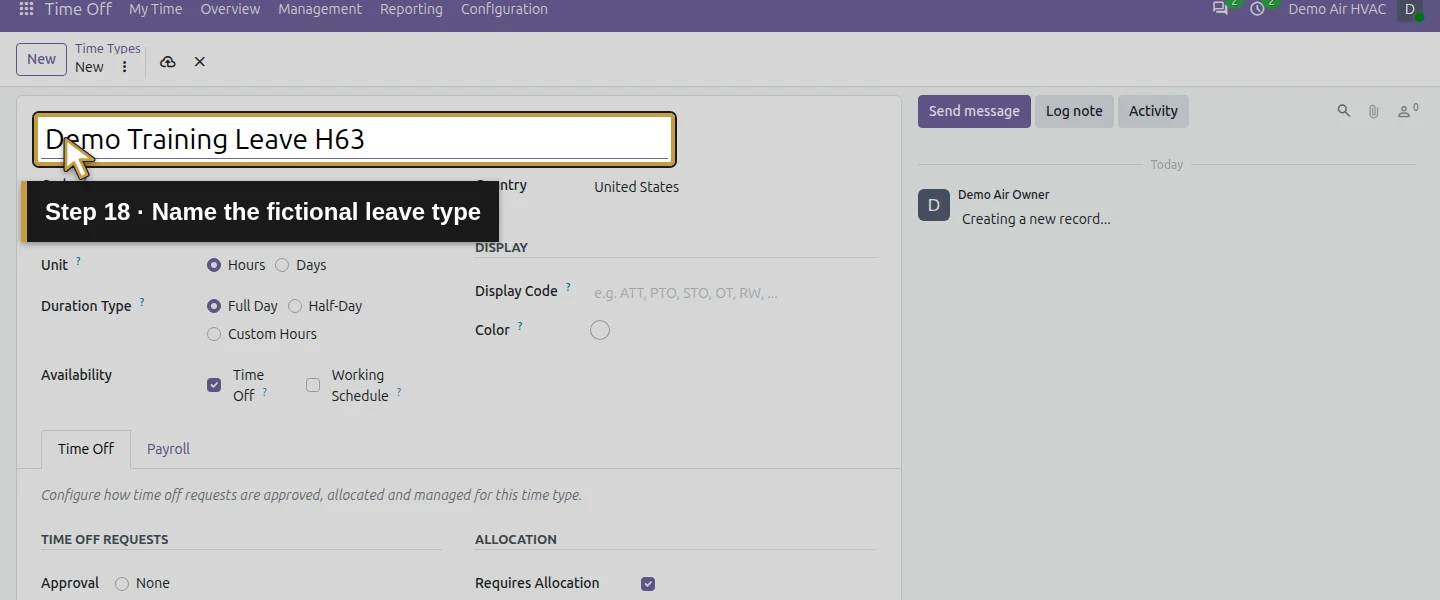
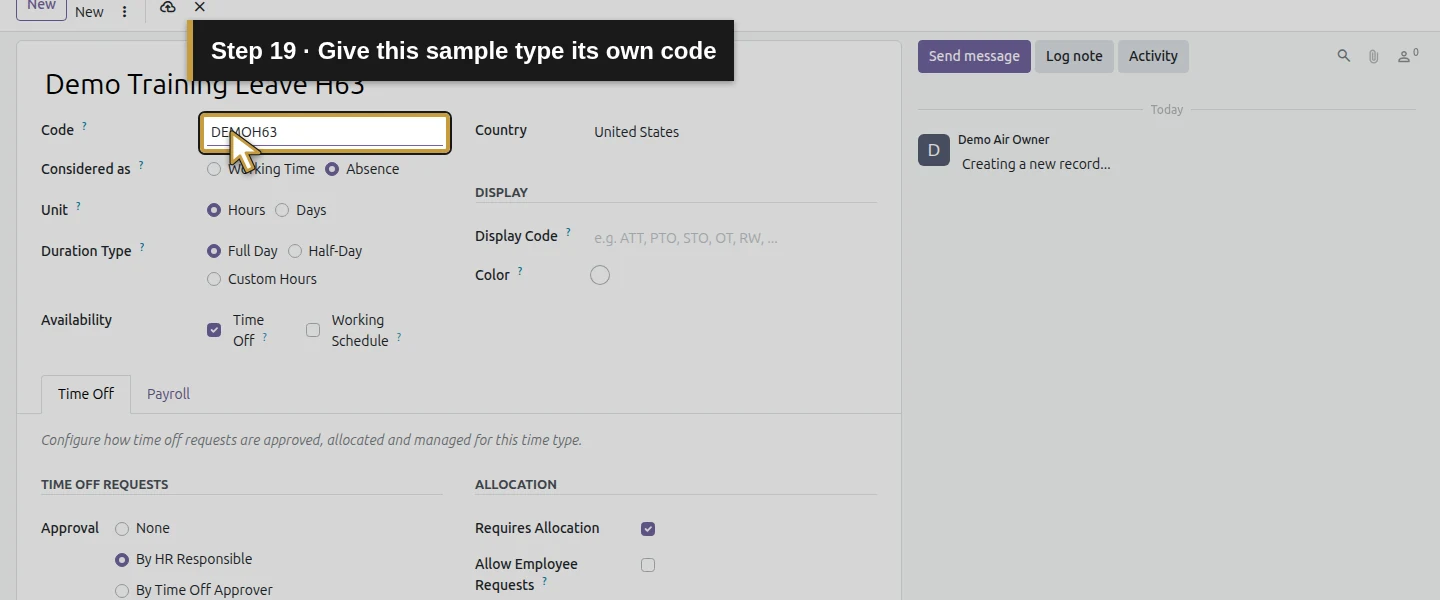
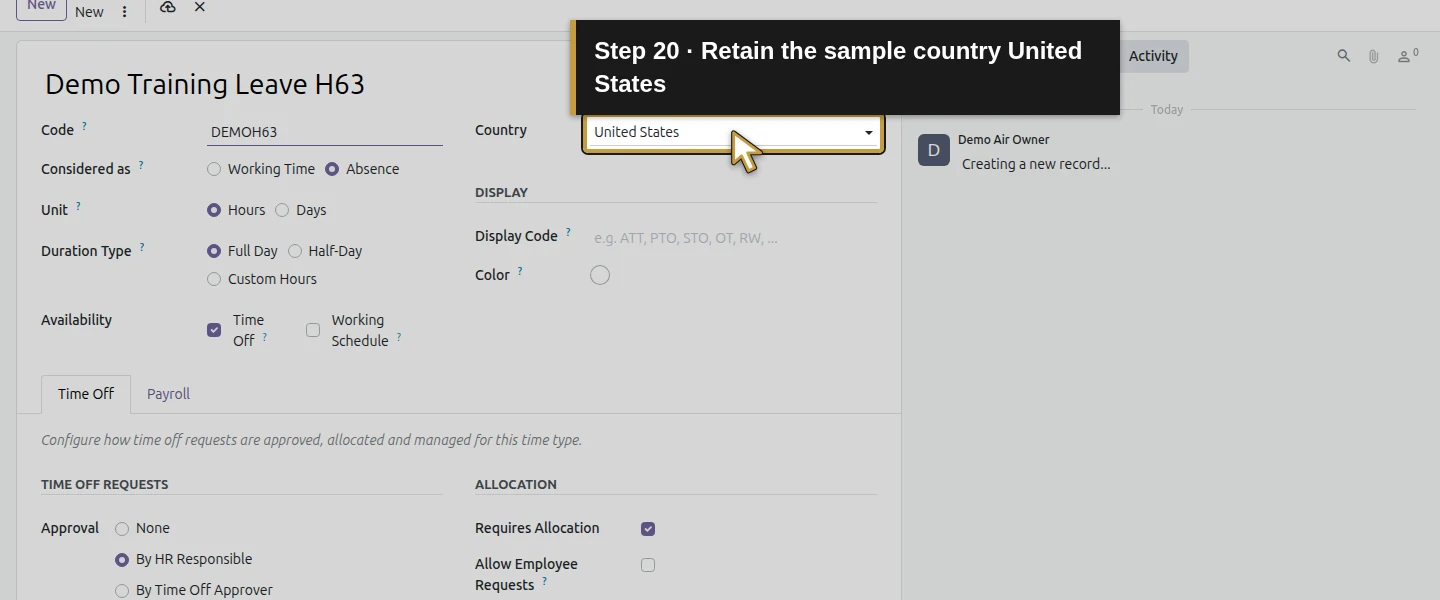
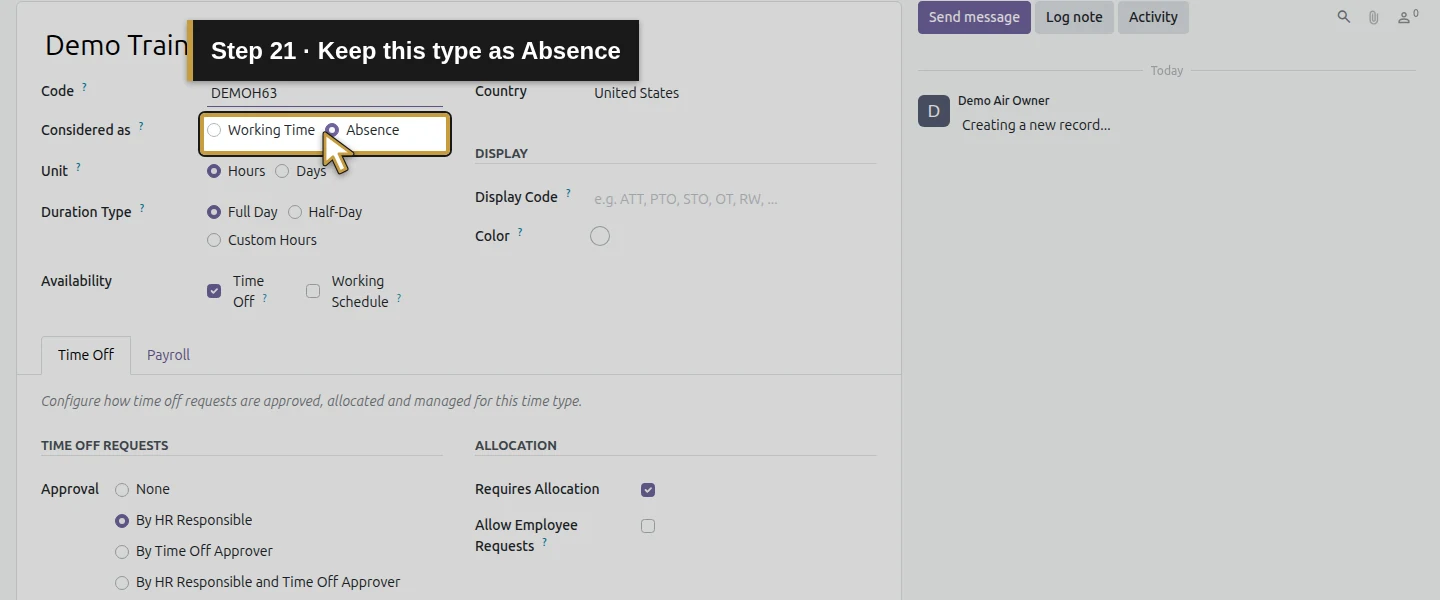
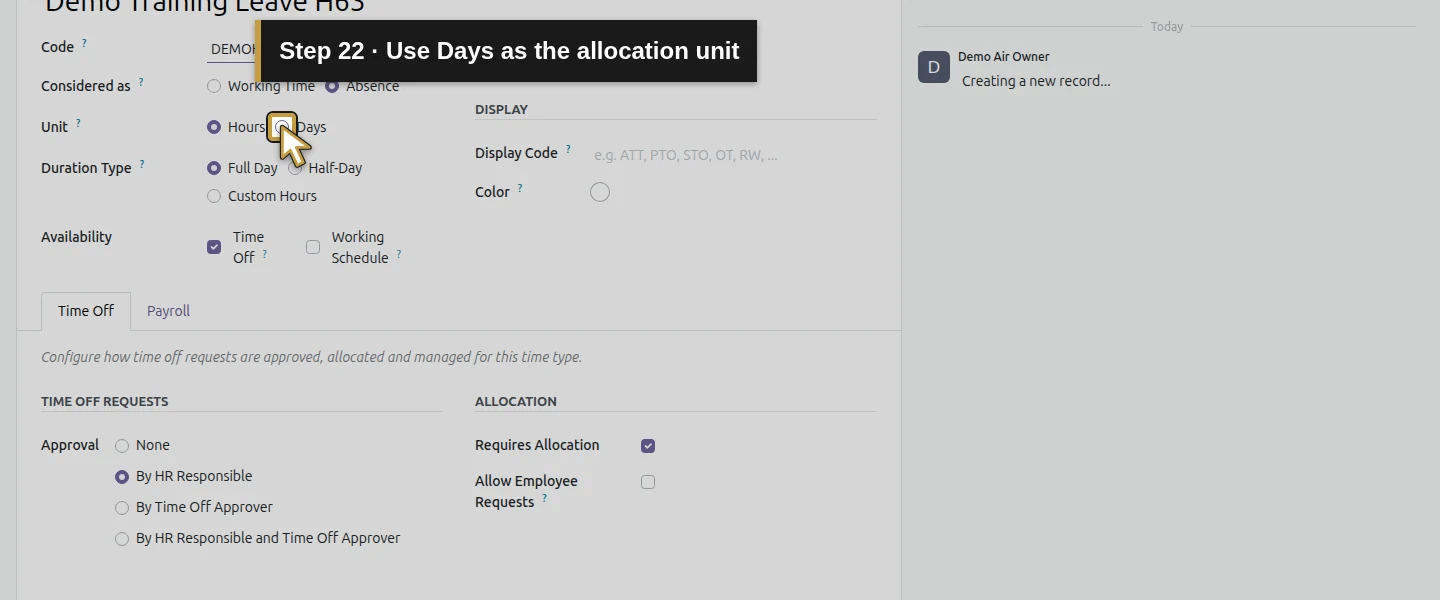
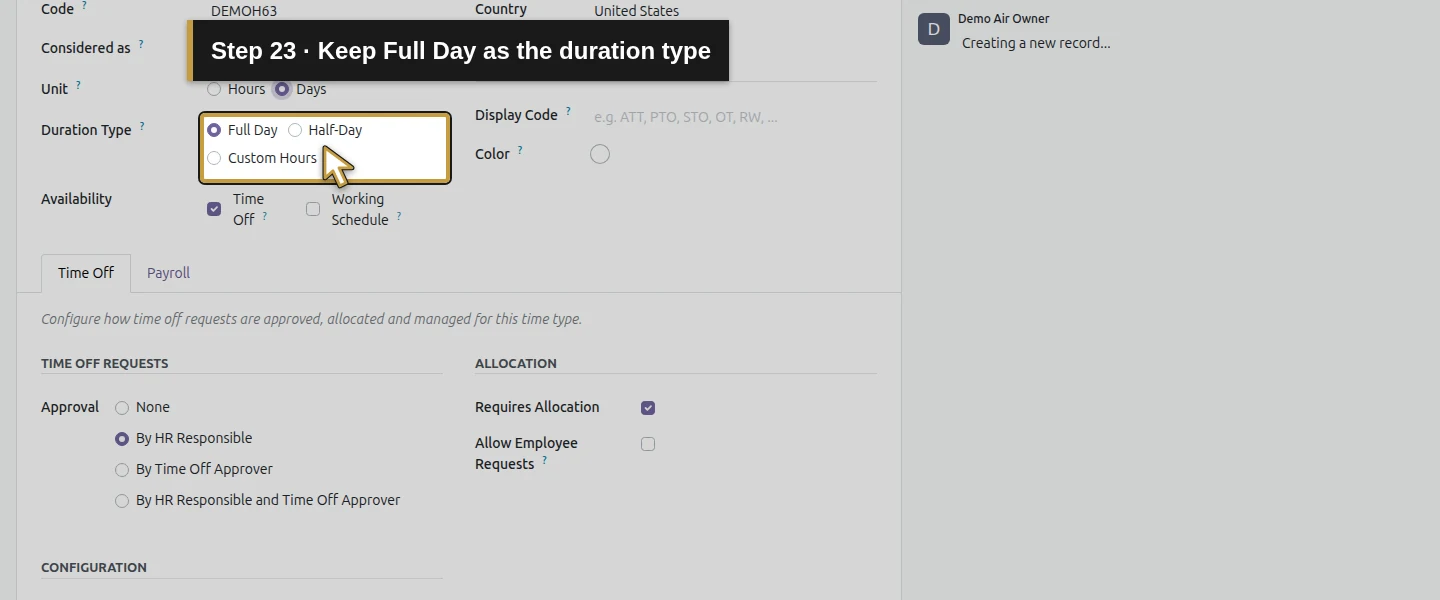
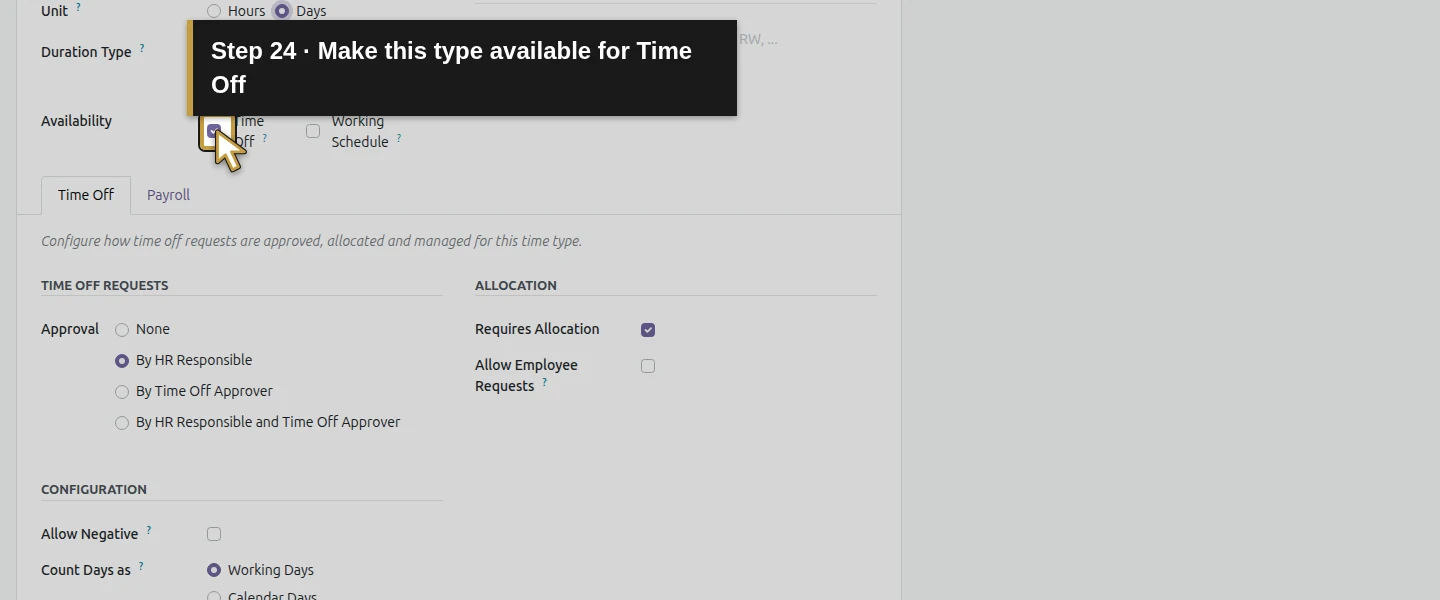
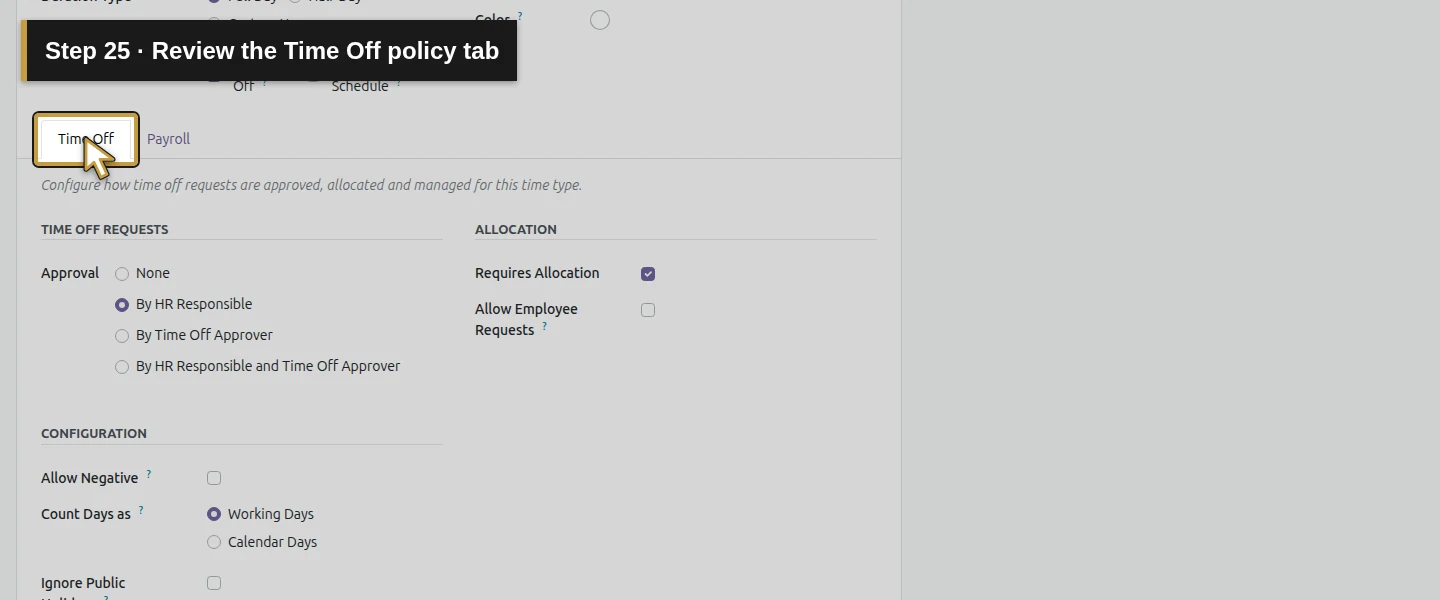
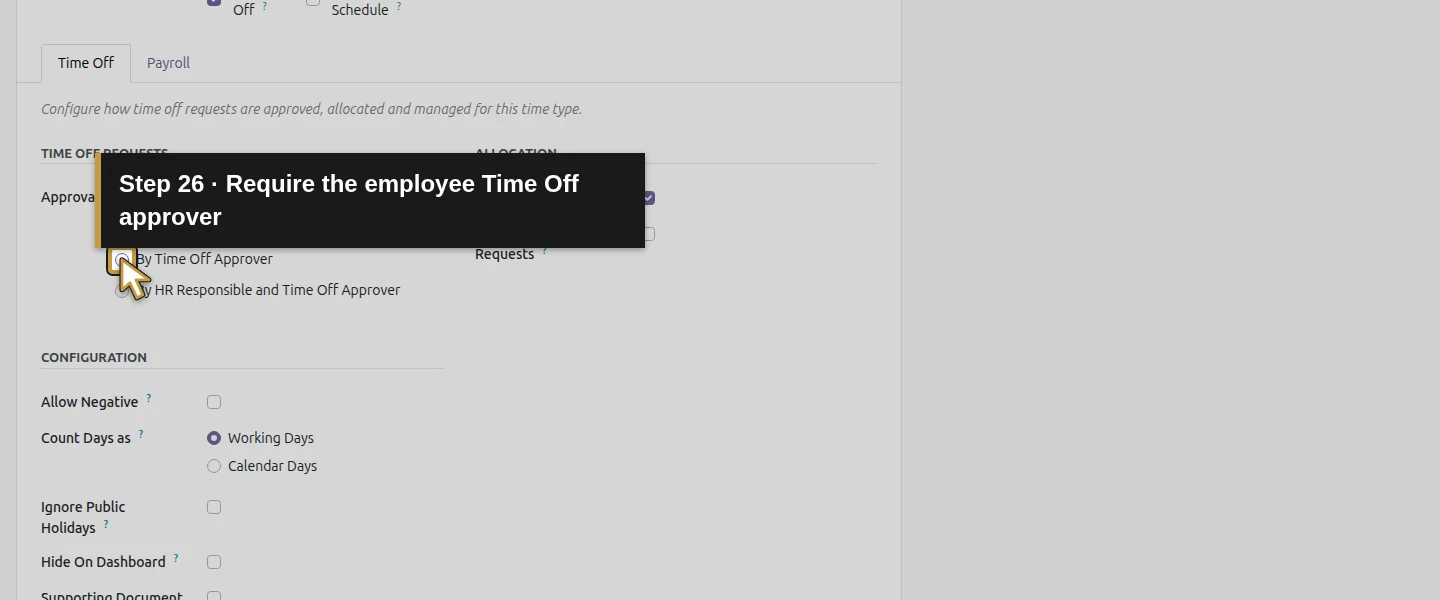
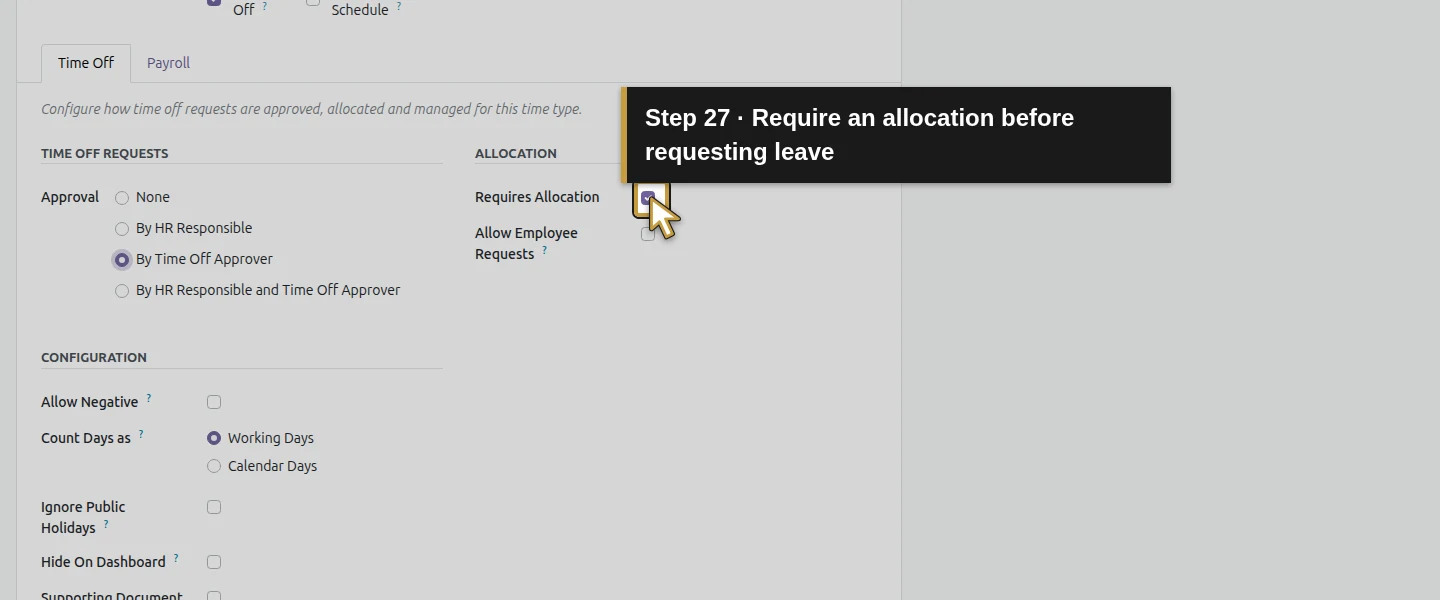
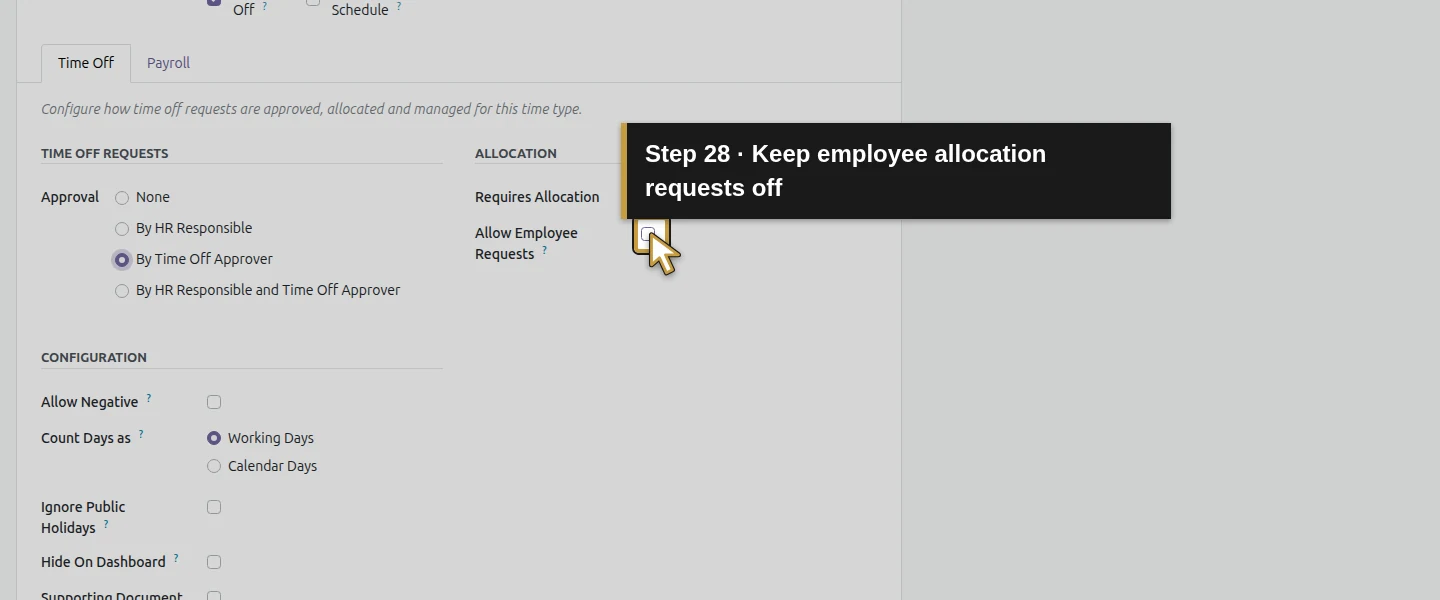
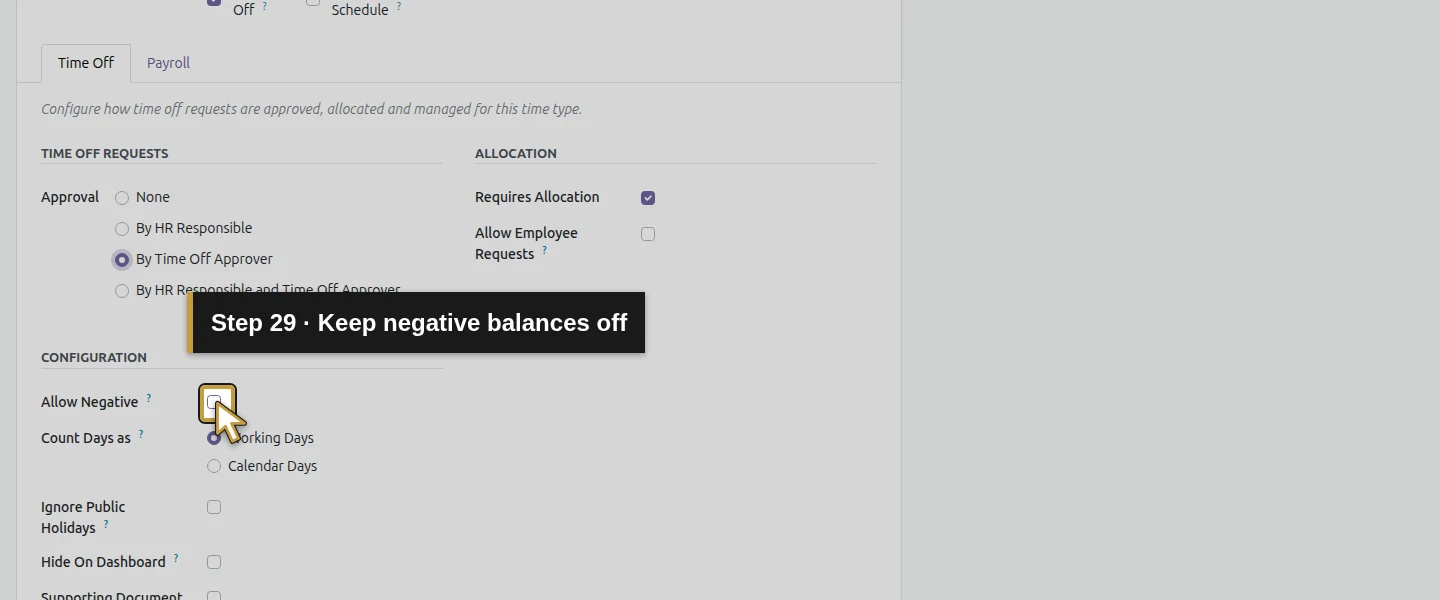
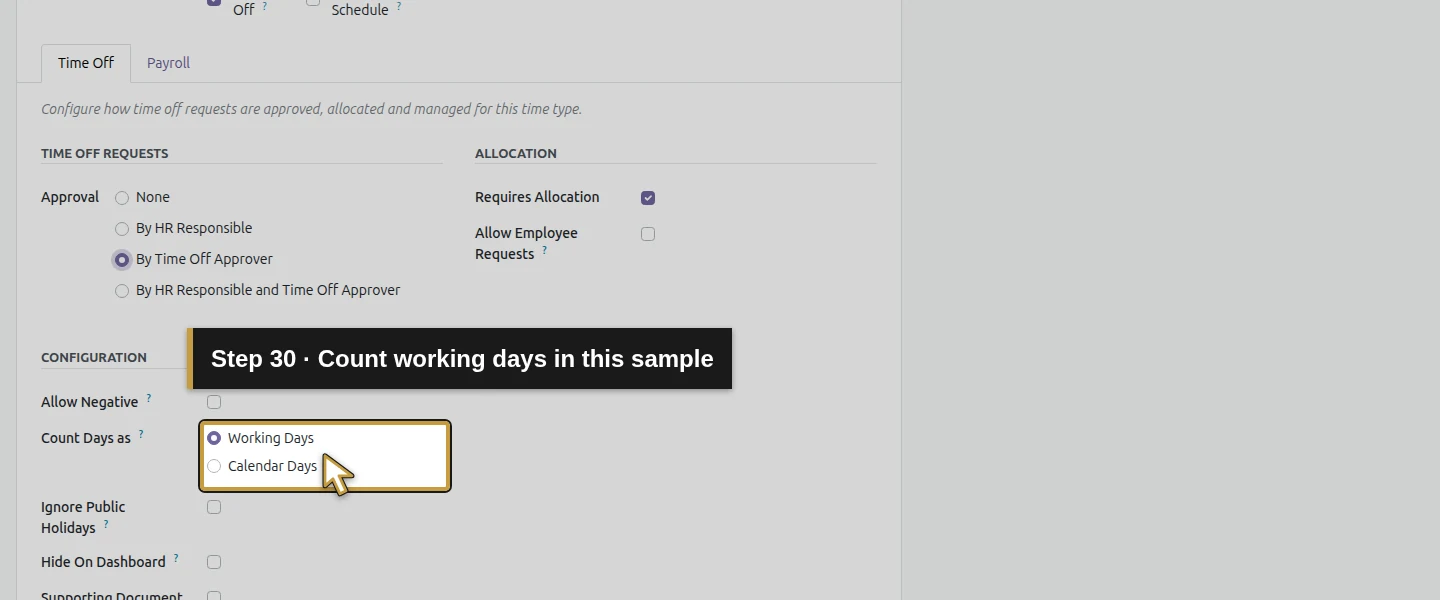
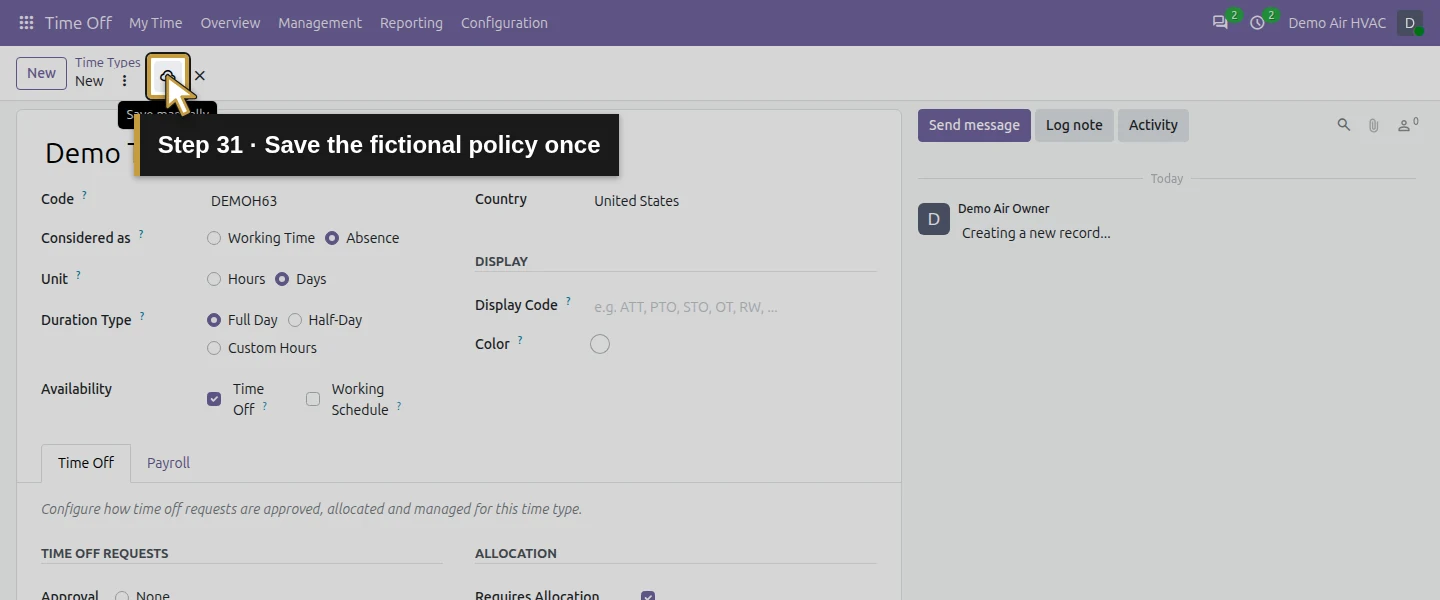
Open Time Off → Configuration → Time Types → New. Enter Demo Training Leave H63, code DEMOH63, and United States as Country. Keep Considered as Absence, choose Days as the unit and Full Day as Duration Type, and make it available for Time Off. On the Time Off tab, choose By Time Off Approver, retain Requires Allocation, keep employee allocation requests and negative balances off, and use Working Days. Keep allocation approval By HR Responsible. Click Save manually, then reopen to check the saved choices. These invented settings do not define a lawful leave policy.
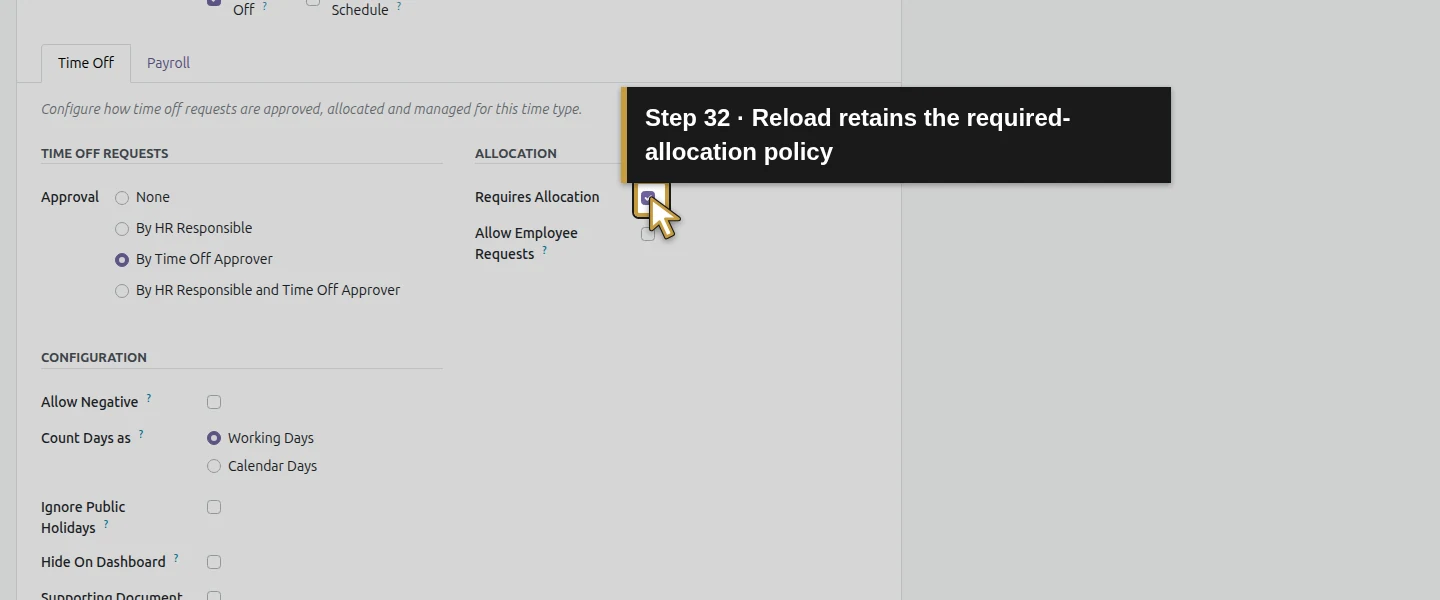
Step 5. Create a two-day allocation and validate it
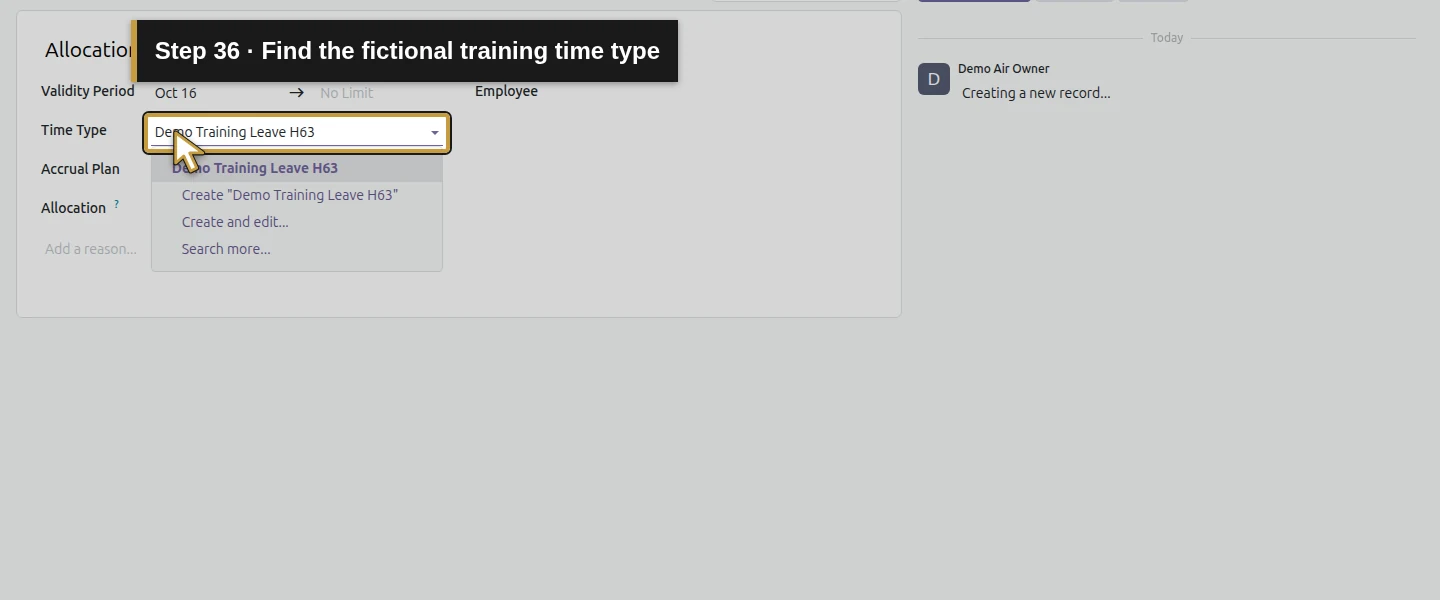
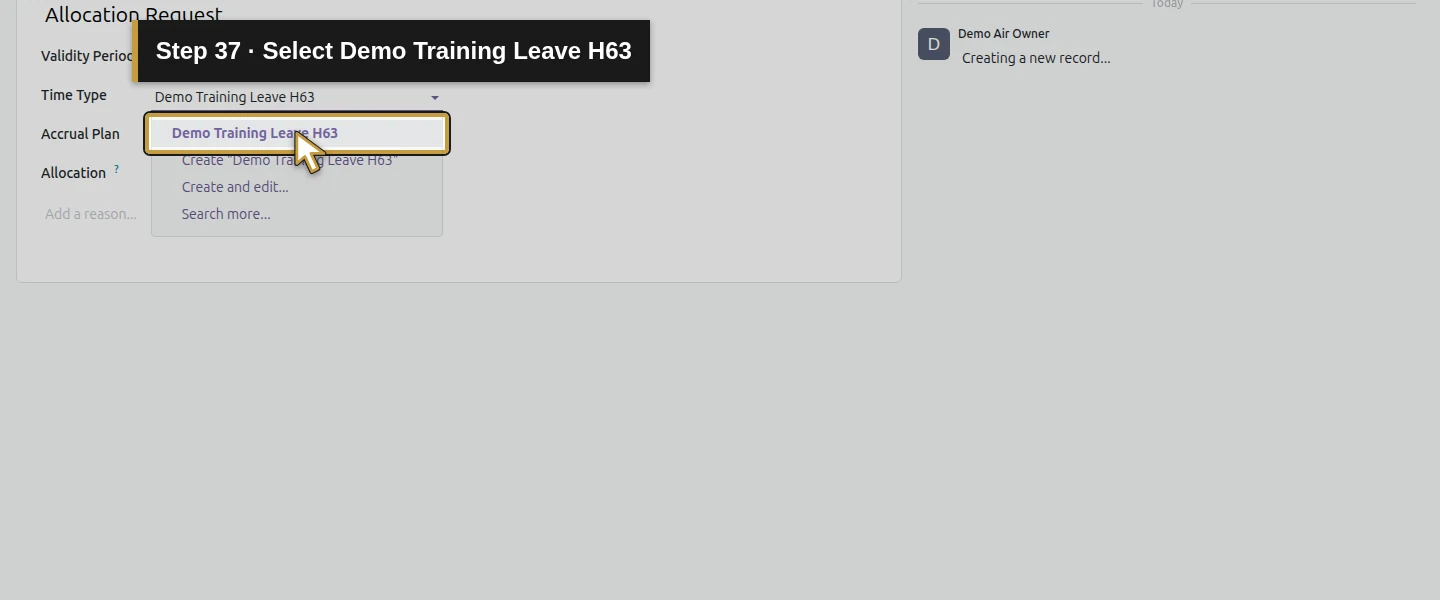
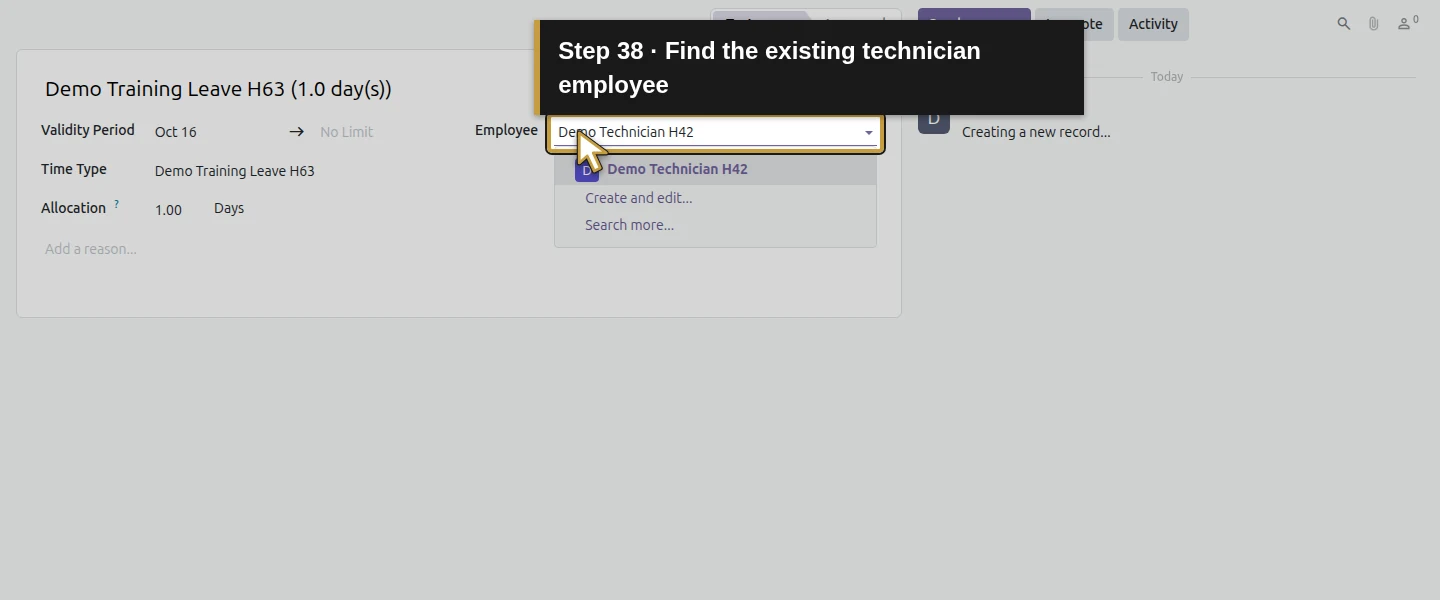
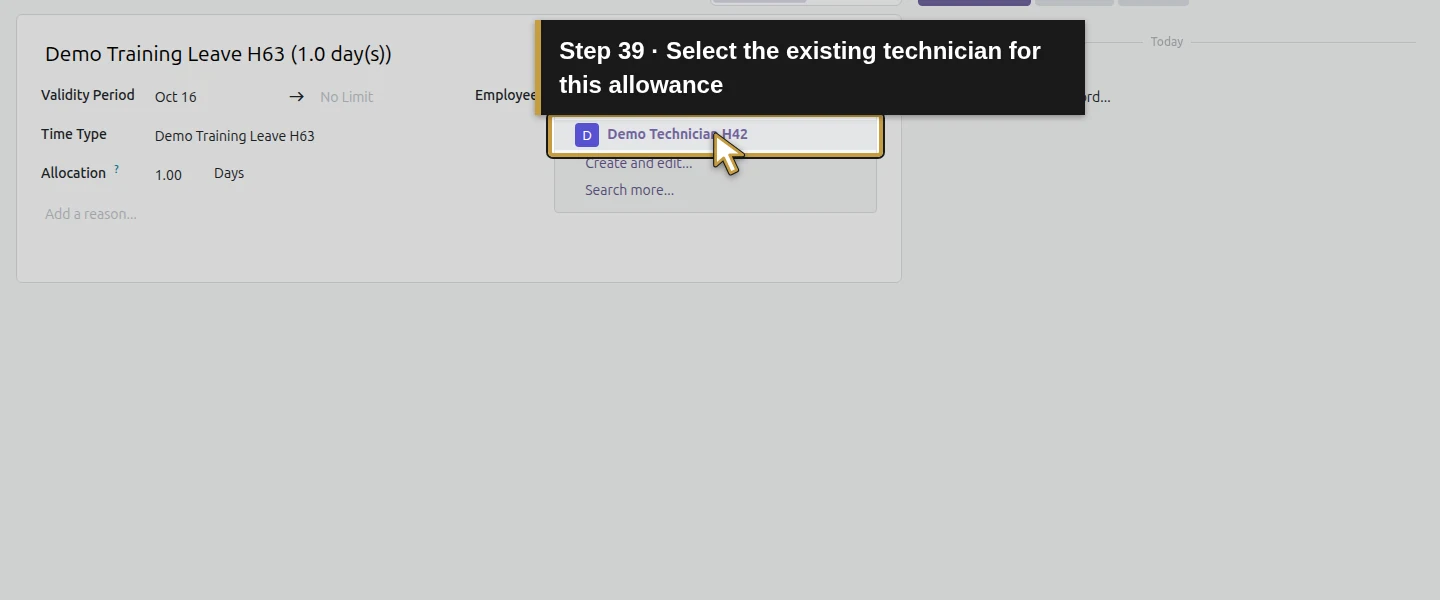
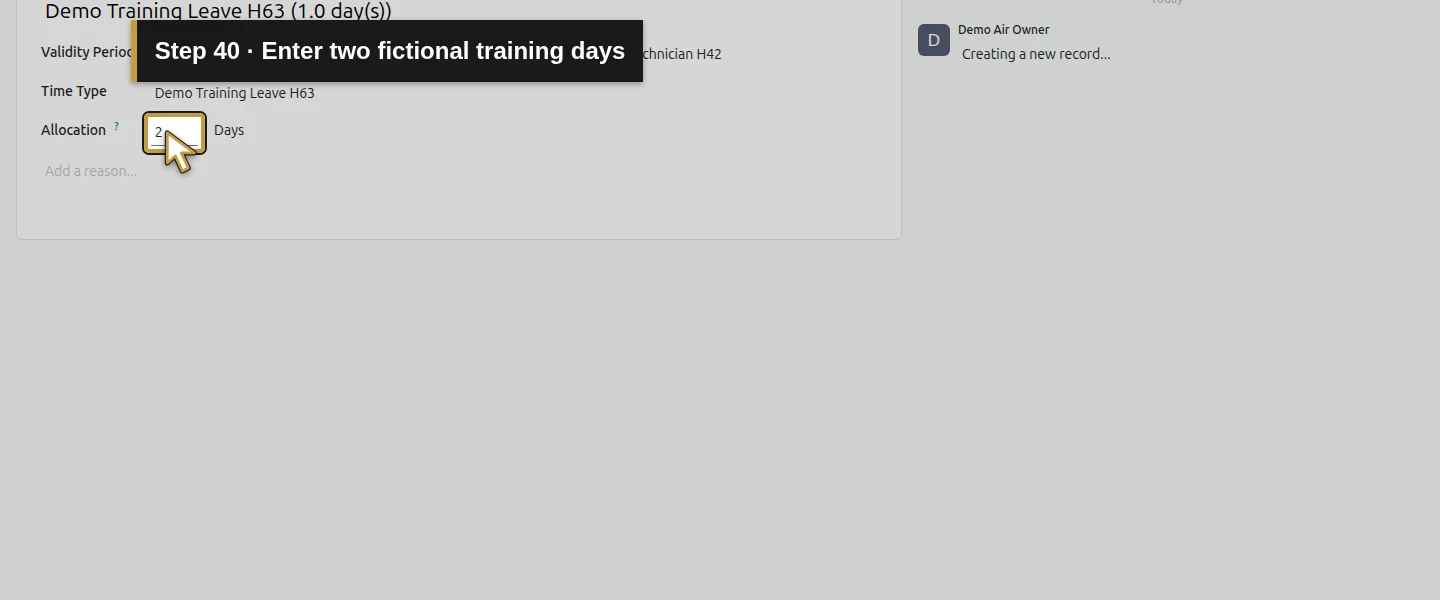
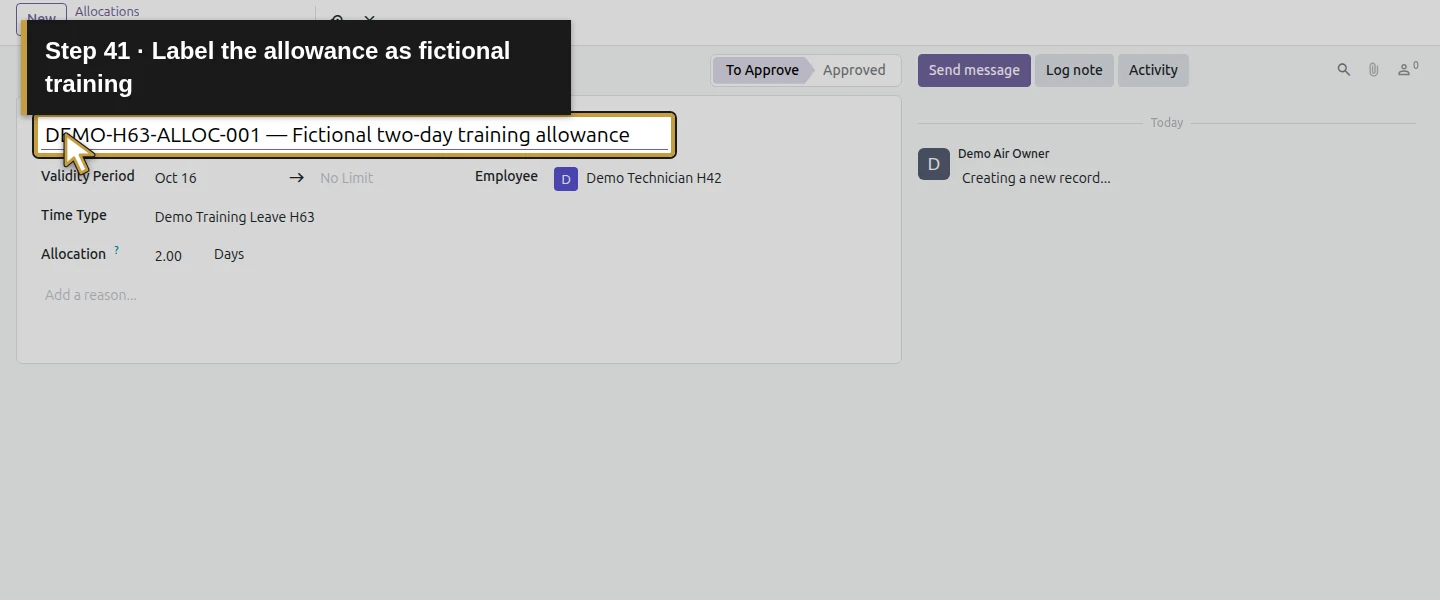
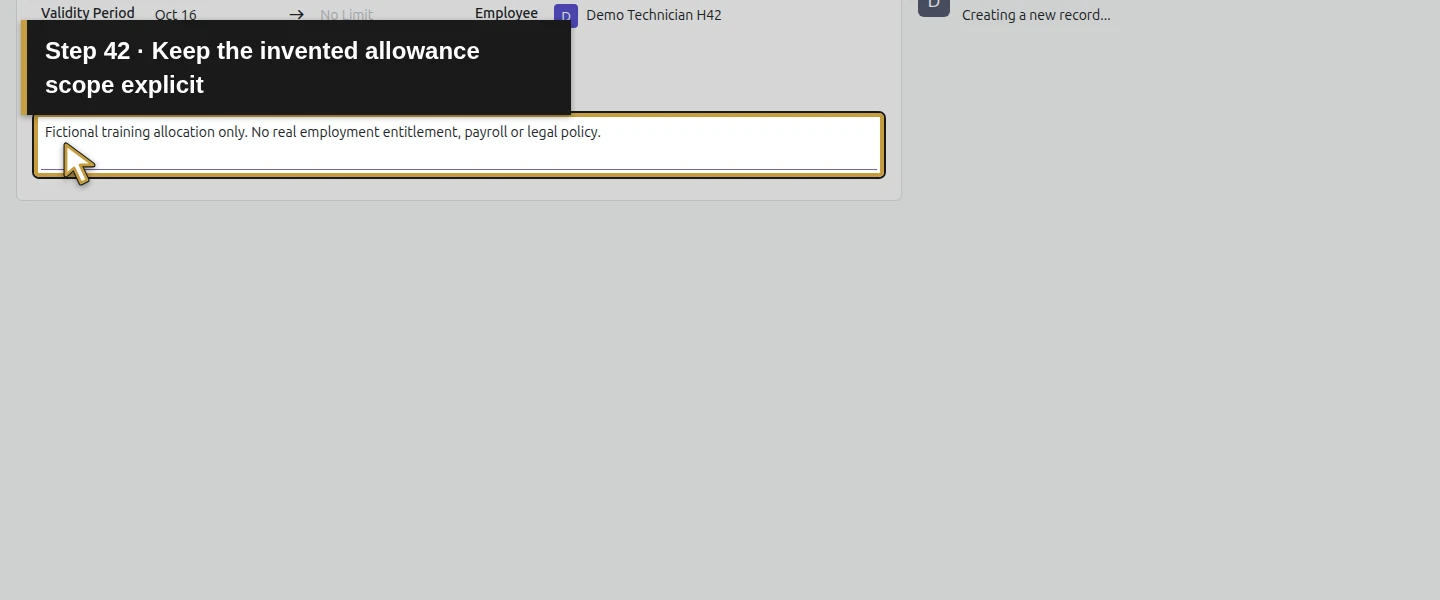
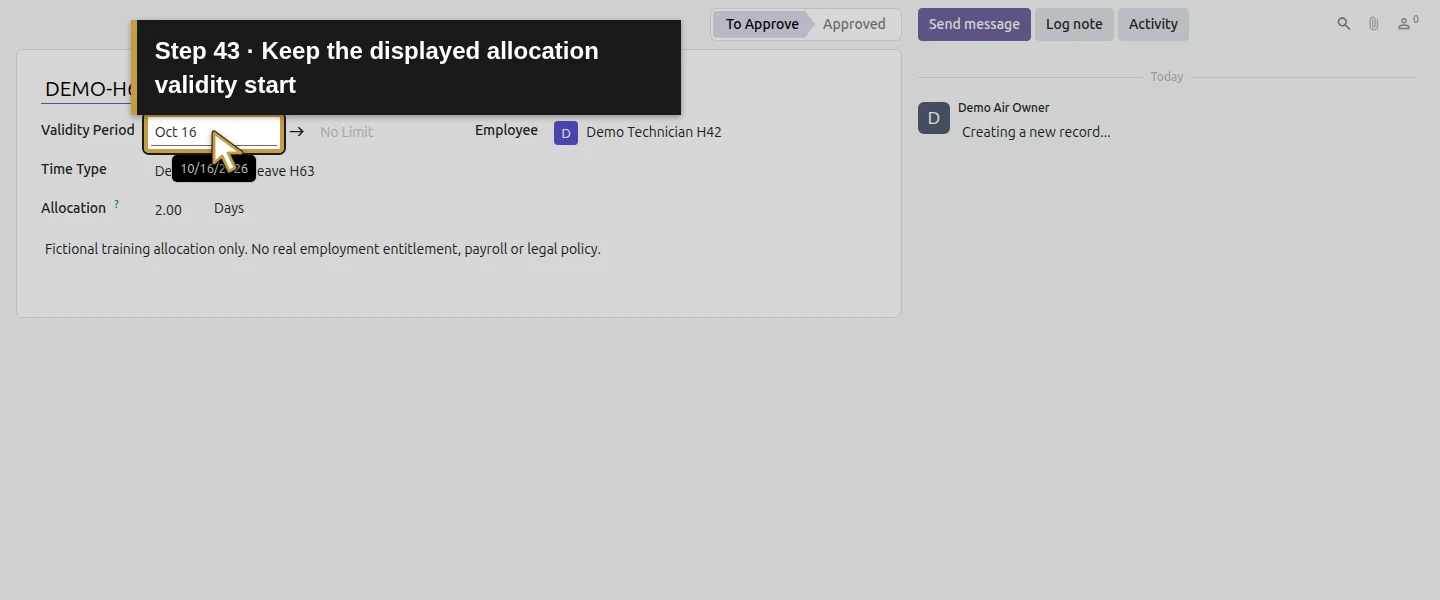
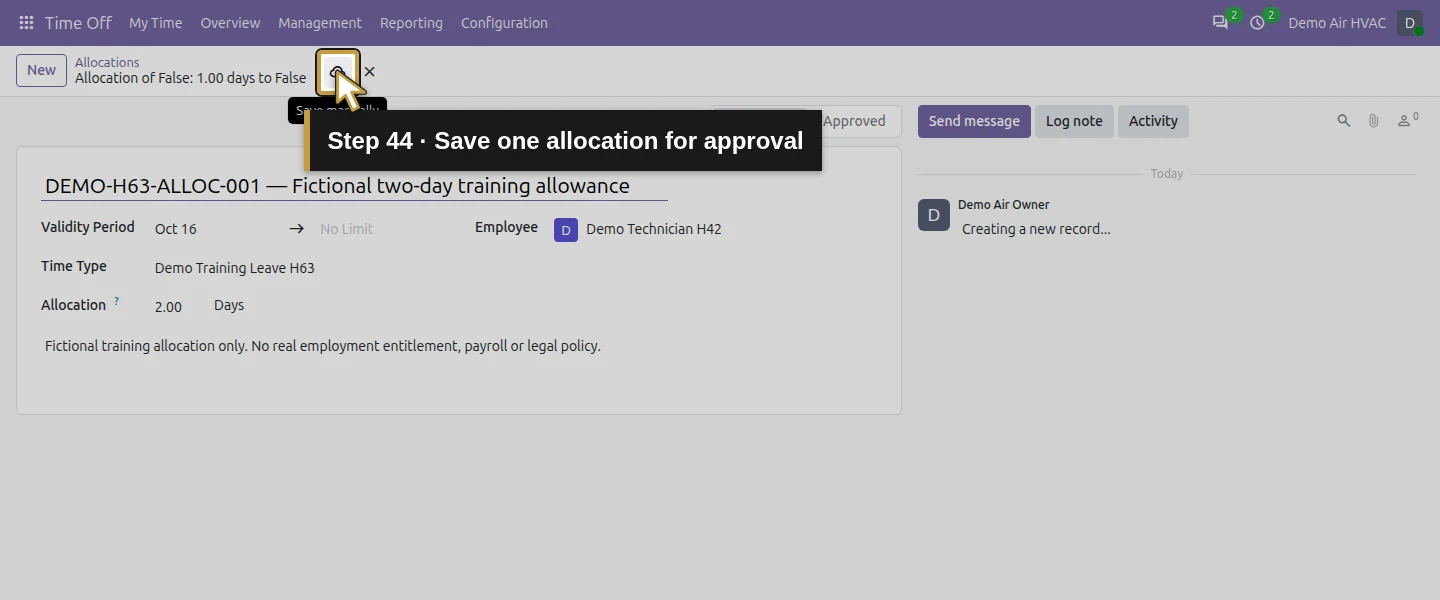
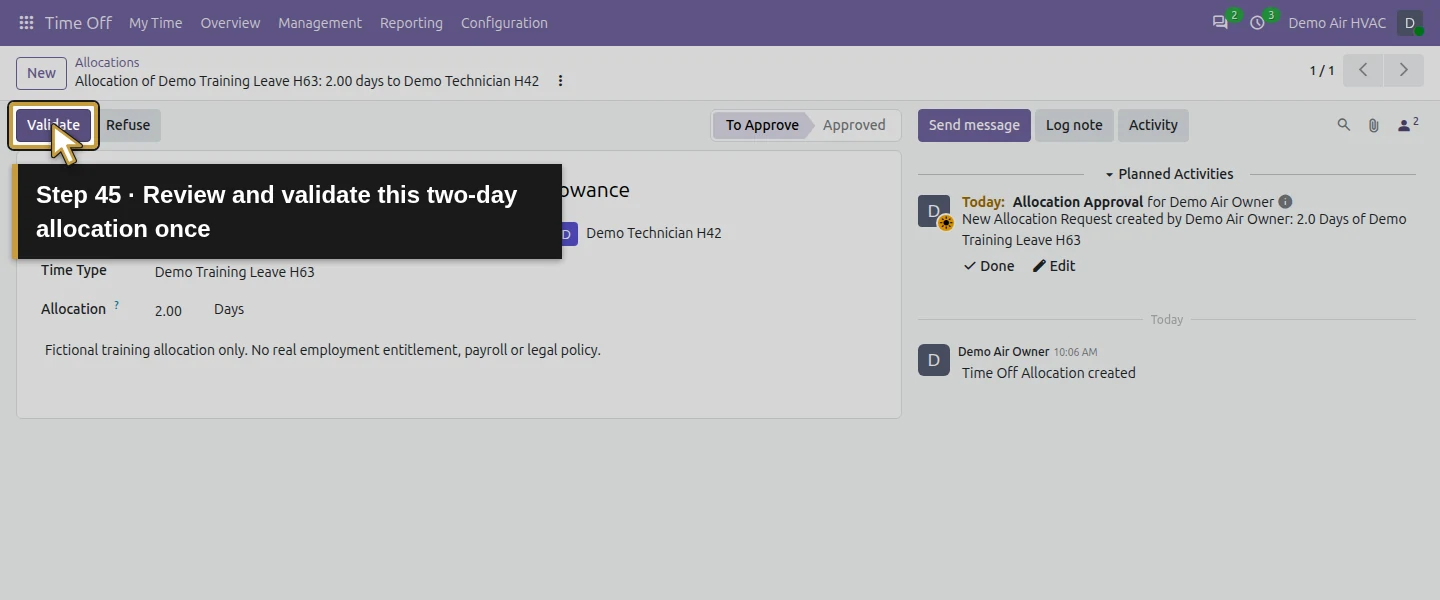
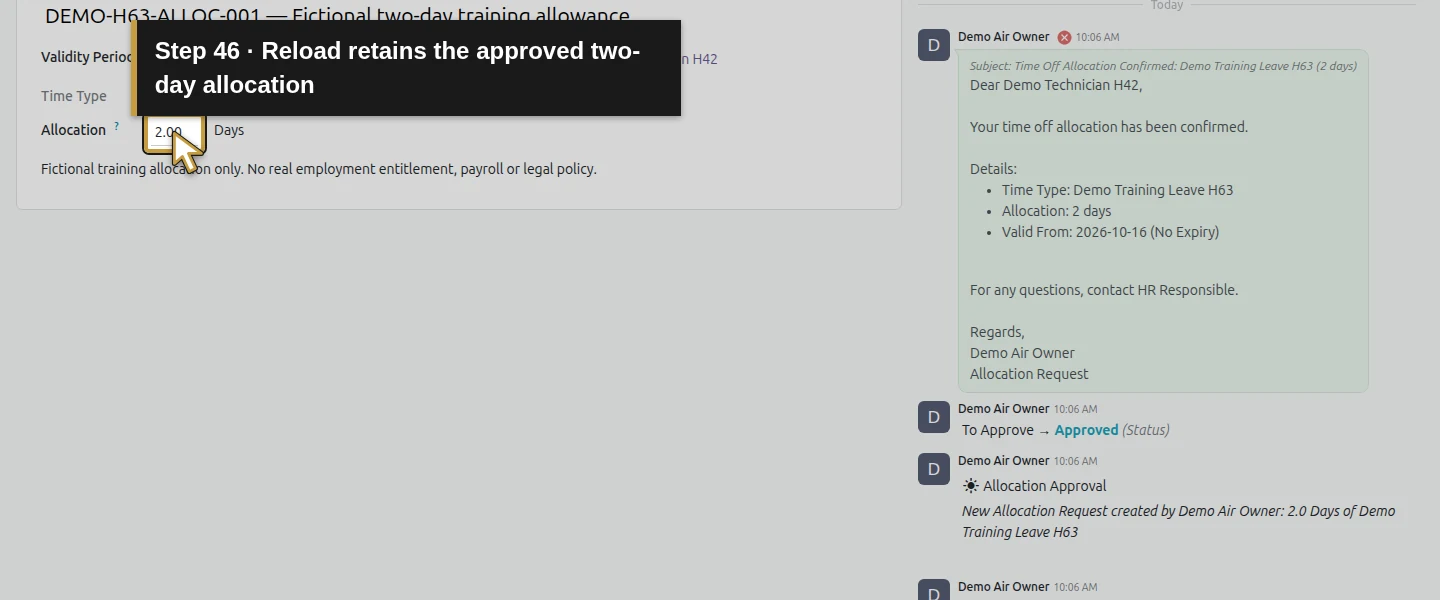
Open Management → Allocations → New. Select Demo Training Leave H63 and employee Demo Technician H42. Set Allocation 2 Days, use description DEMO-H63-ALLOC-001 — Fictional two-day training allowance, and add a reason identifying it as fictional training only. In this capture, the validity start is October 16, 2026. Keep the No Limit end. Save once. The allocation is To Approve, with an Allocation Approval activity for the owner; it is not usable approval merely because the owner created it. Review it and click Validate once. Reopen and confirm Approved / 2 days.
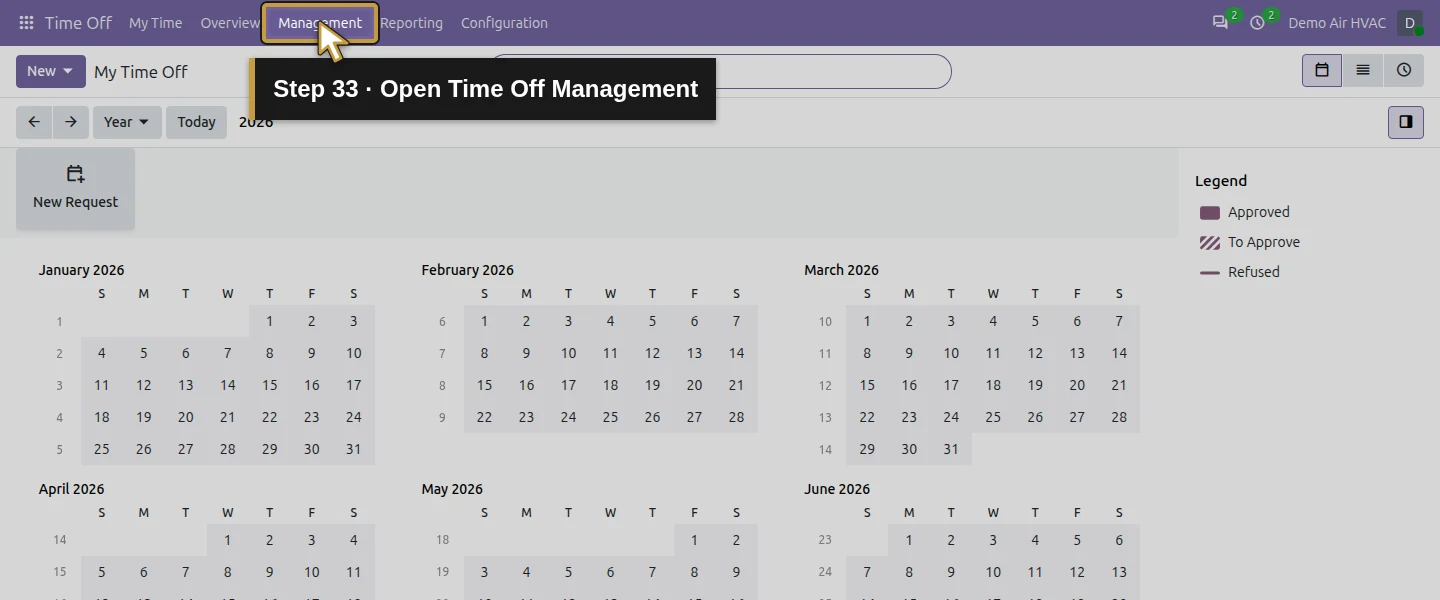
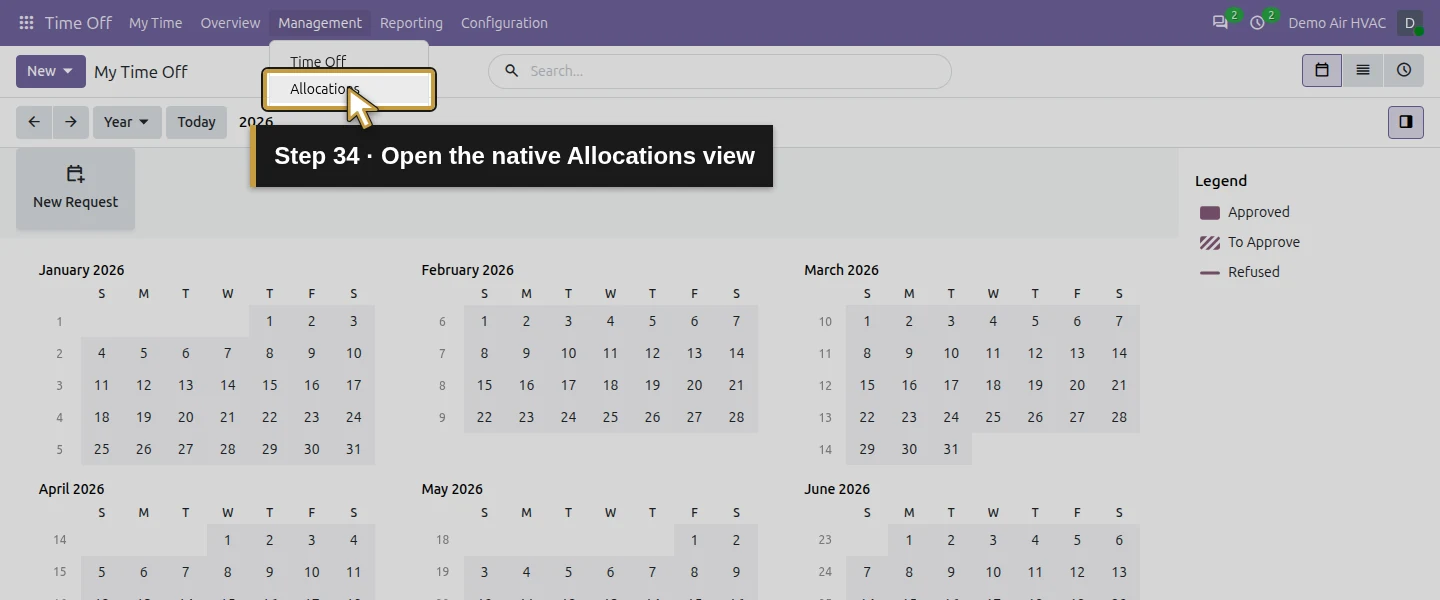
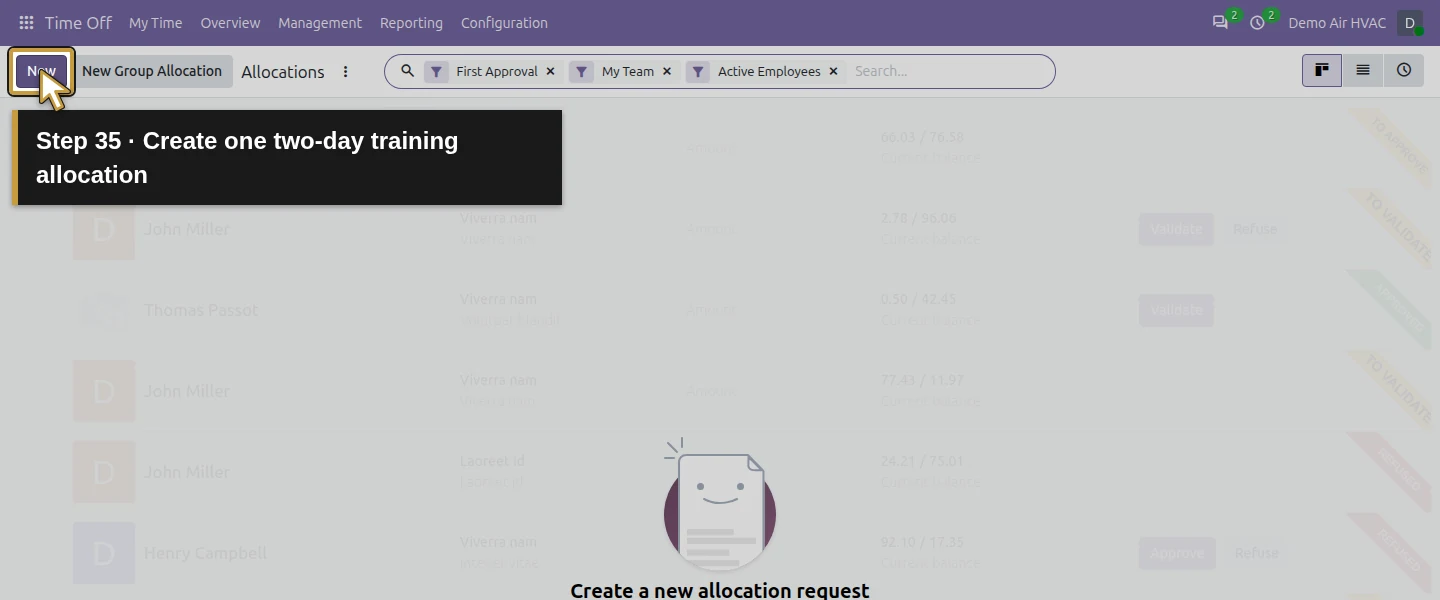
Step 6. Open a time-off request in the technician session
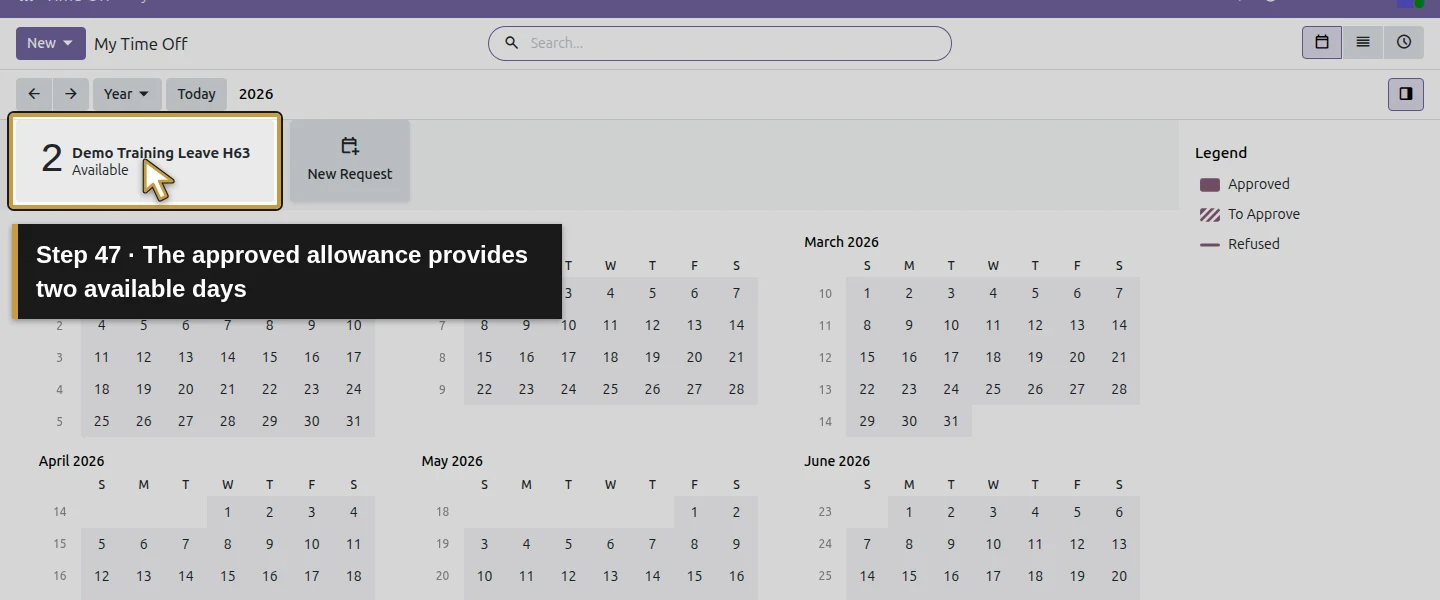
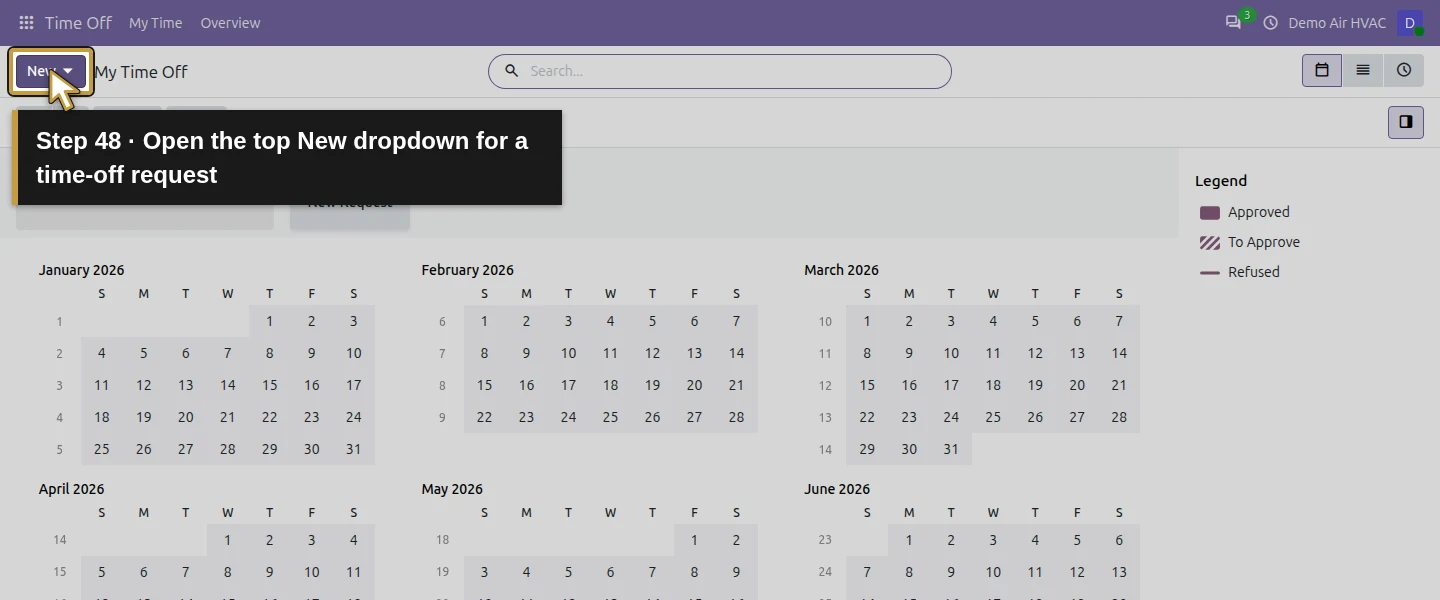
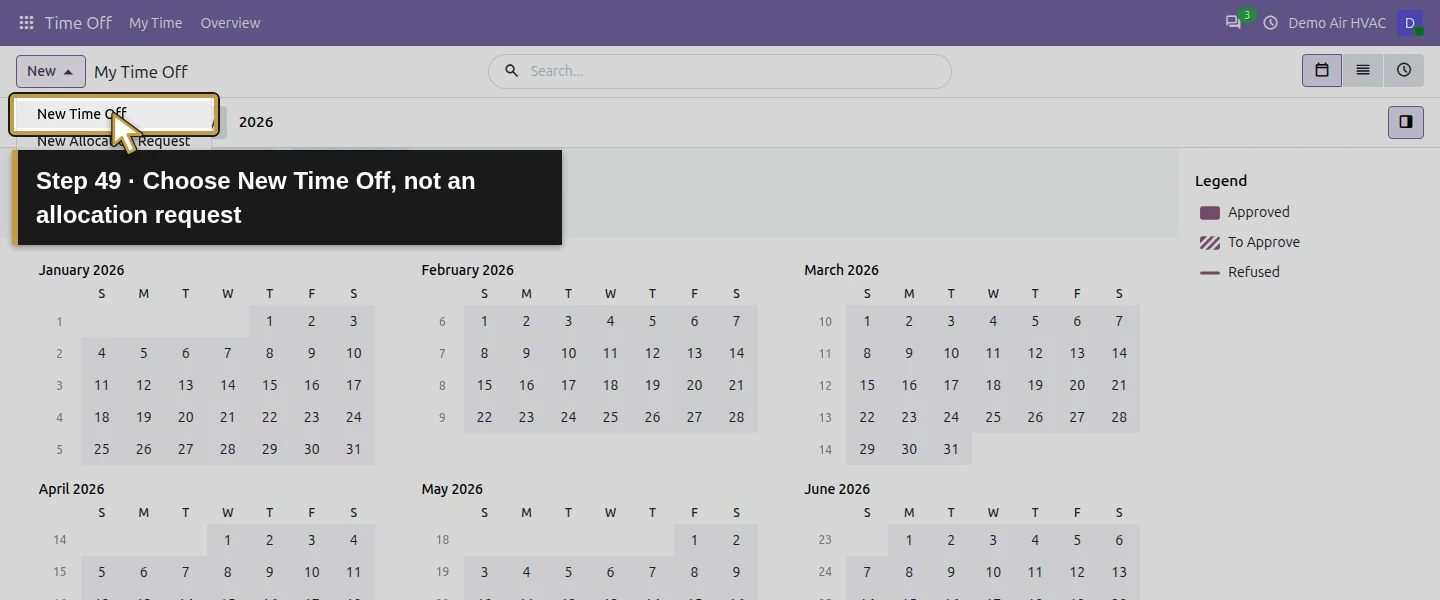
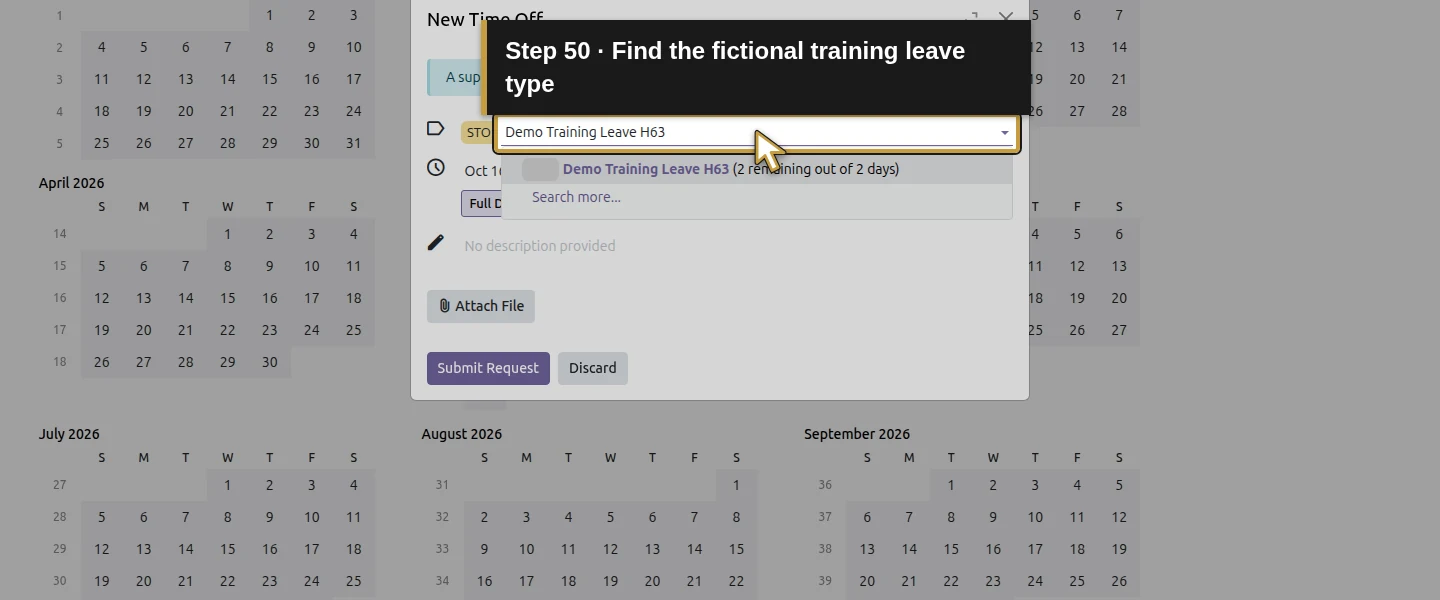
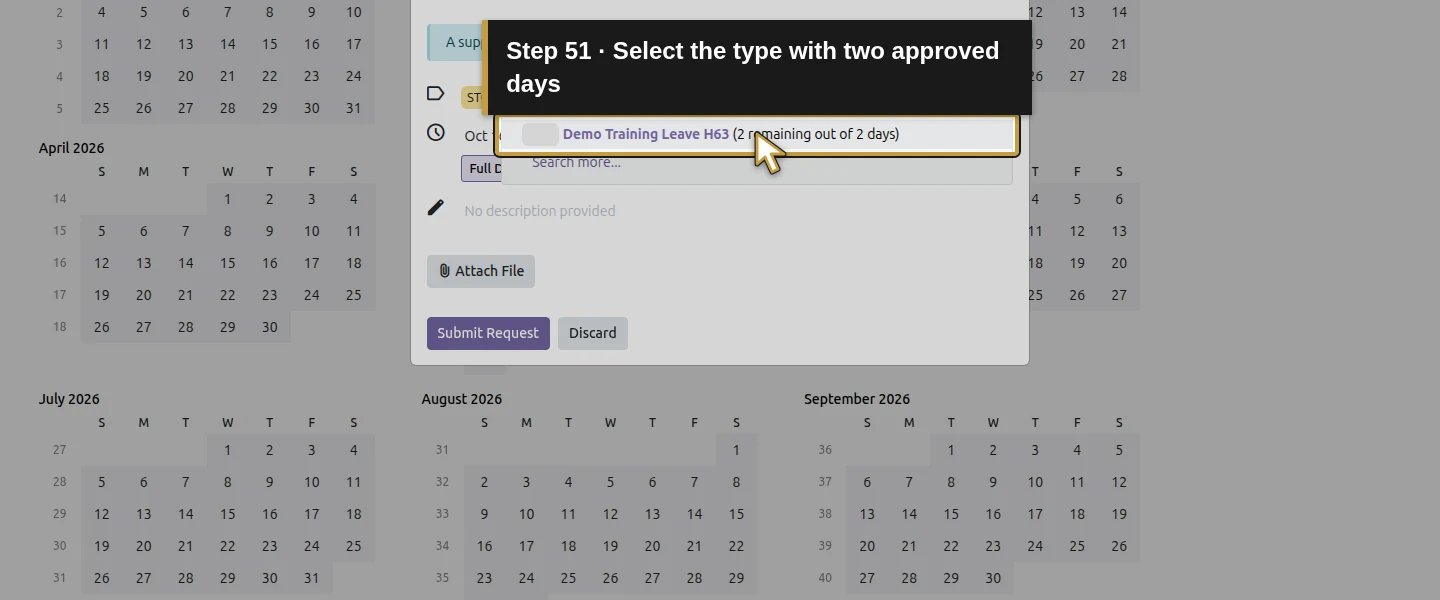
Reopen Time Off as the existing technician. The balance card shows 2 Demo Training Leave H63 Available. Use the top New dropdown and choose New Time Off. The balance panel's New Request opened a New Allocation dialog in this test; if that happens, discard the unsaved allocation dialog and use New → New Time Off. Do not submit another allocation. In New Time Off, explicitly select Demo Training Leave H63 (2 remaining out of 2 days) instead of accepting the initially selected type.
Step 7. Set both dates and inspect the calculated day
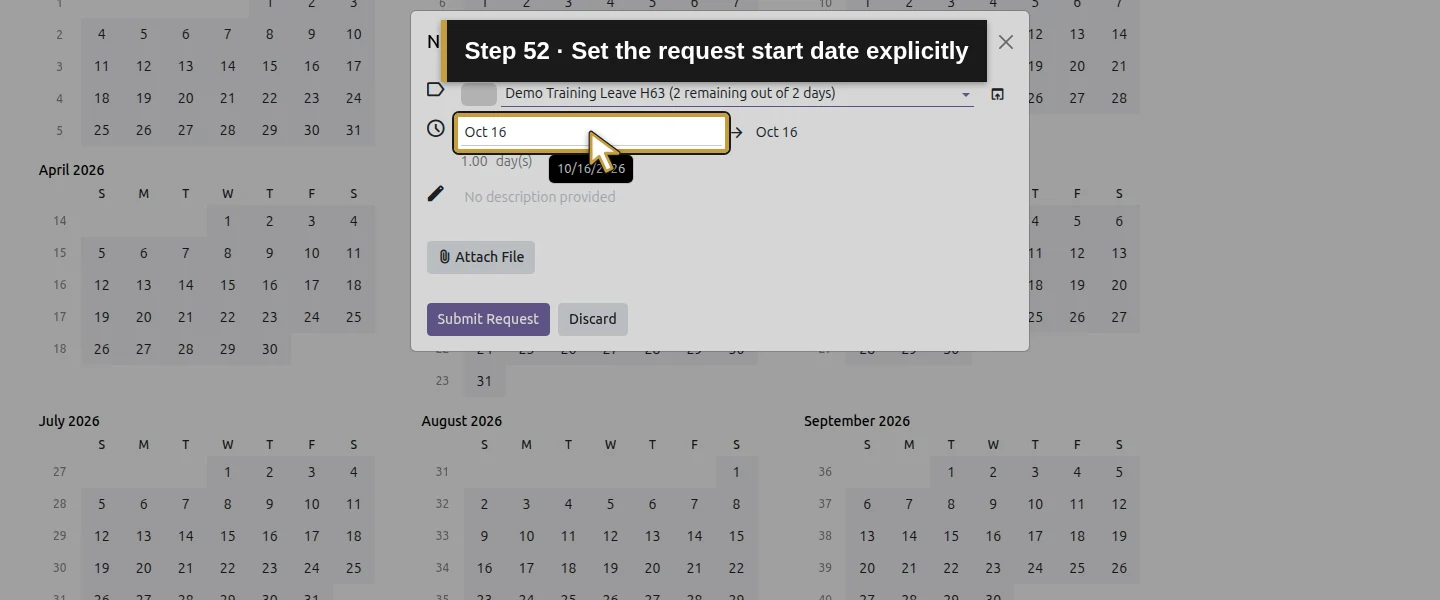
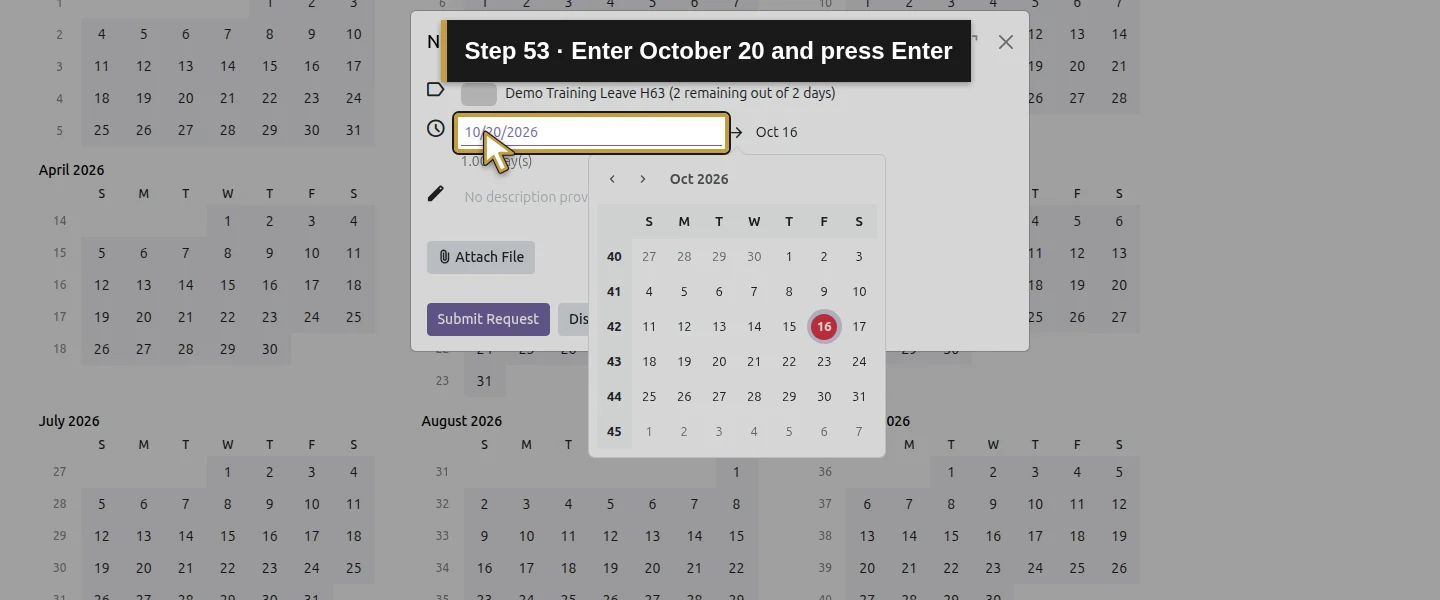
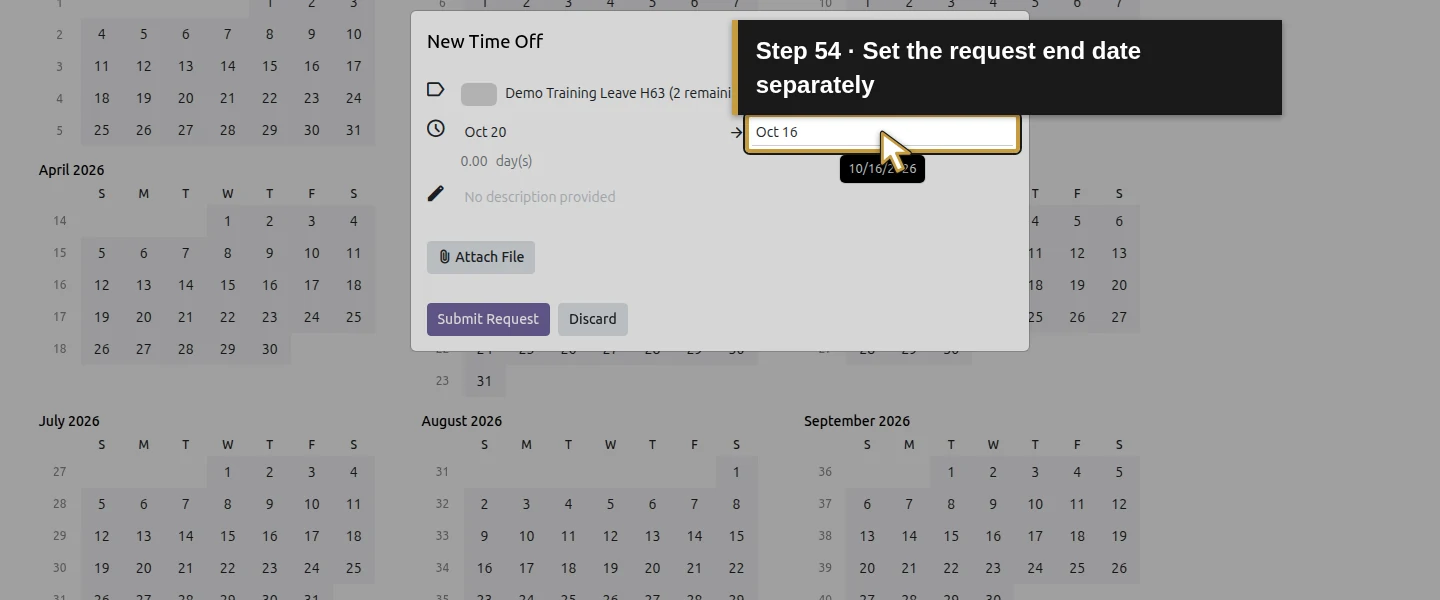
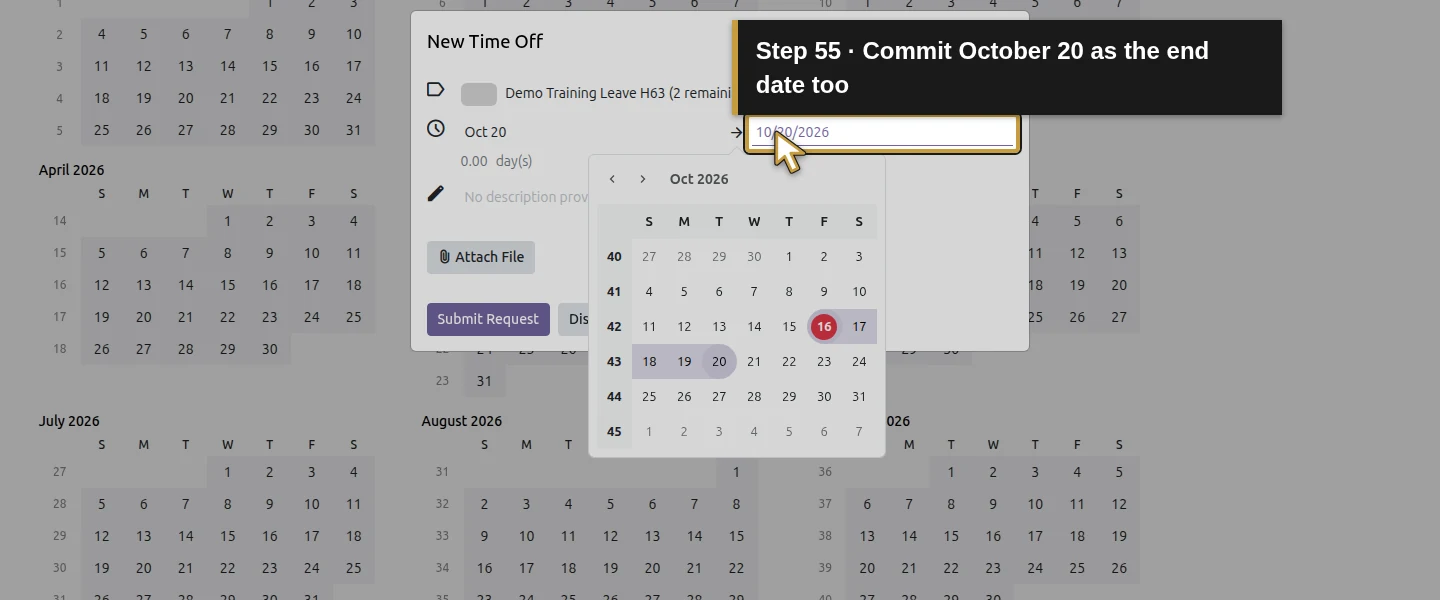
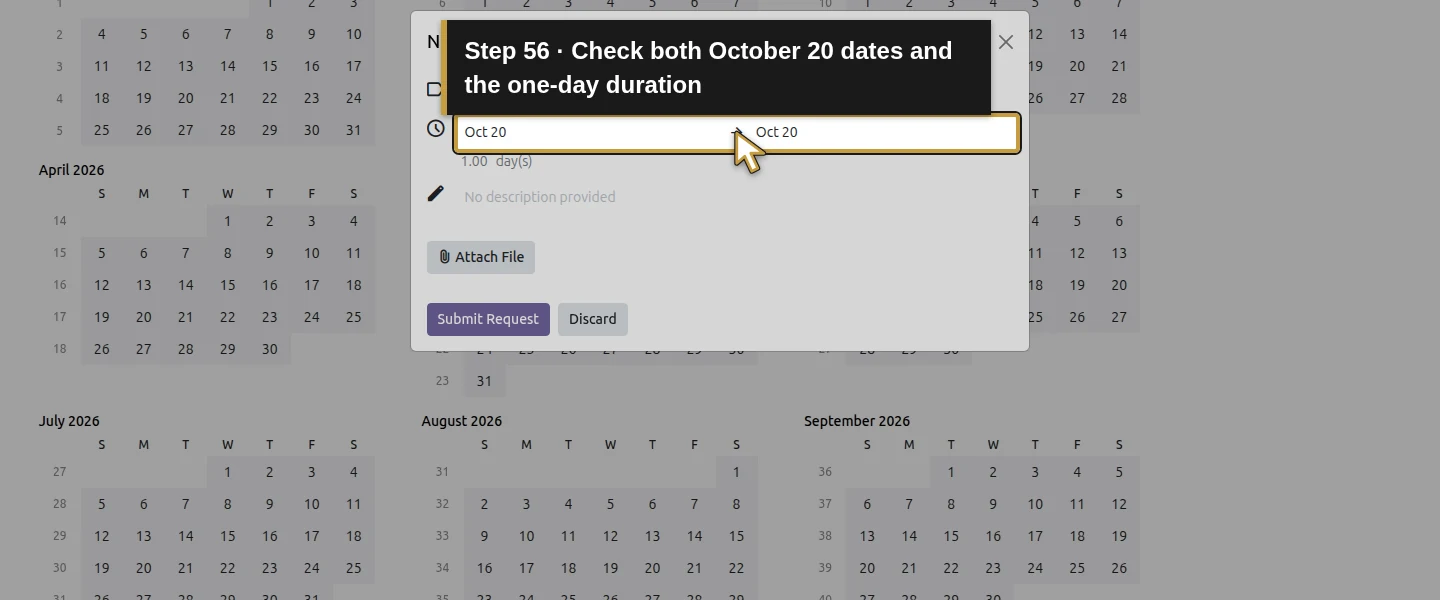
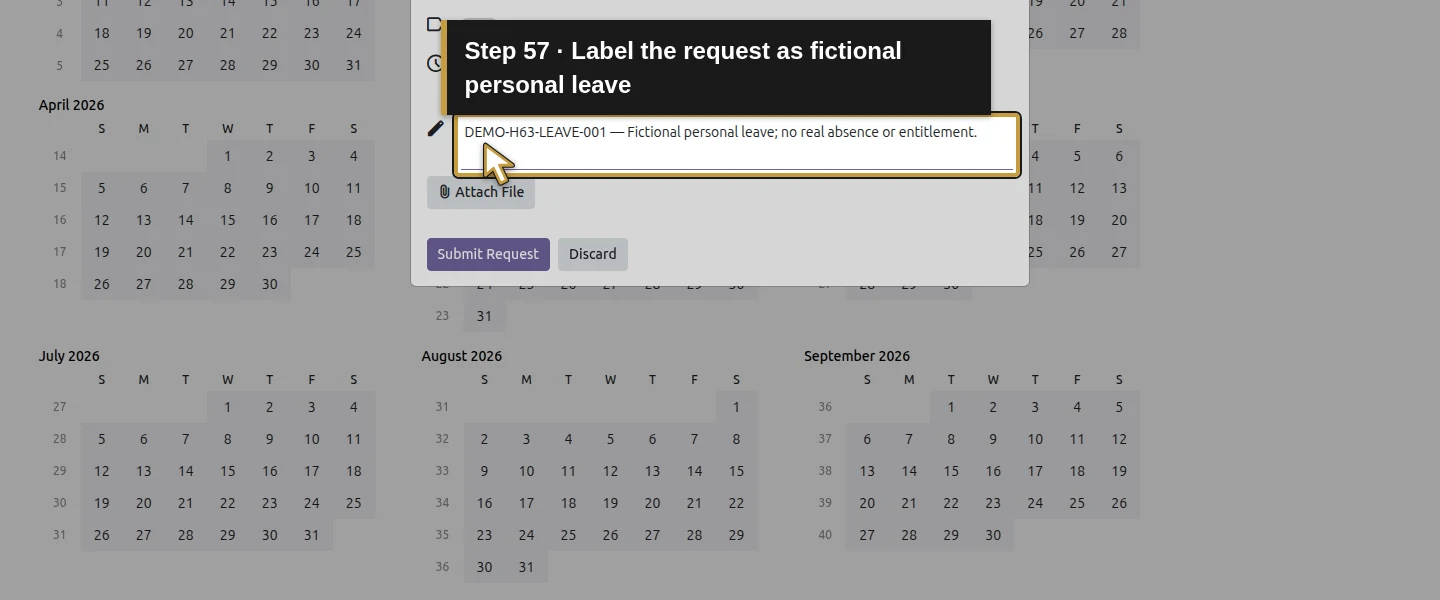
Click the start date, enter 10/20/2026 and press Enter to commit and close the picker. Set the end date to 10/20/2026 separately and press Enter again. Changing only the start left the old end date and temporarily calculated zero days in this test. Before submission, verify both endpoints show Oct 20 and the duration is 1.00 day(s). Enter description DEMO-H63-LEAVE-001 — Fictional personal leave; no real absence or entitlement. The saved request uses the employee's calendar and calculates one day/eight hours; partial days, custom hours and other calendars are outside this example.
Step 8. Submit once and check the pending review
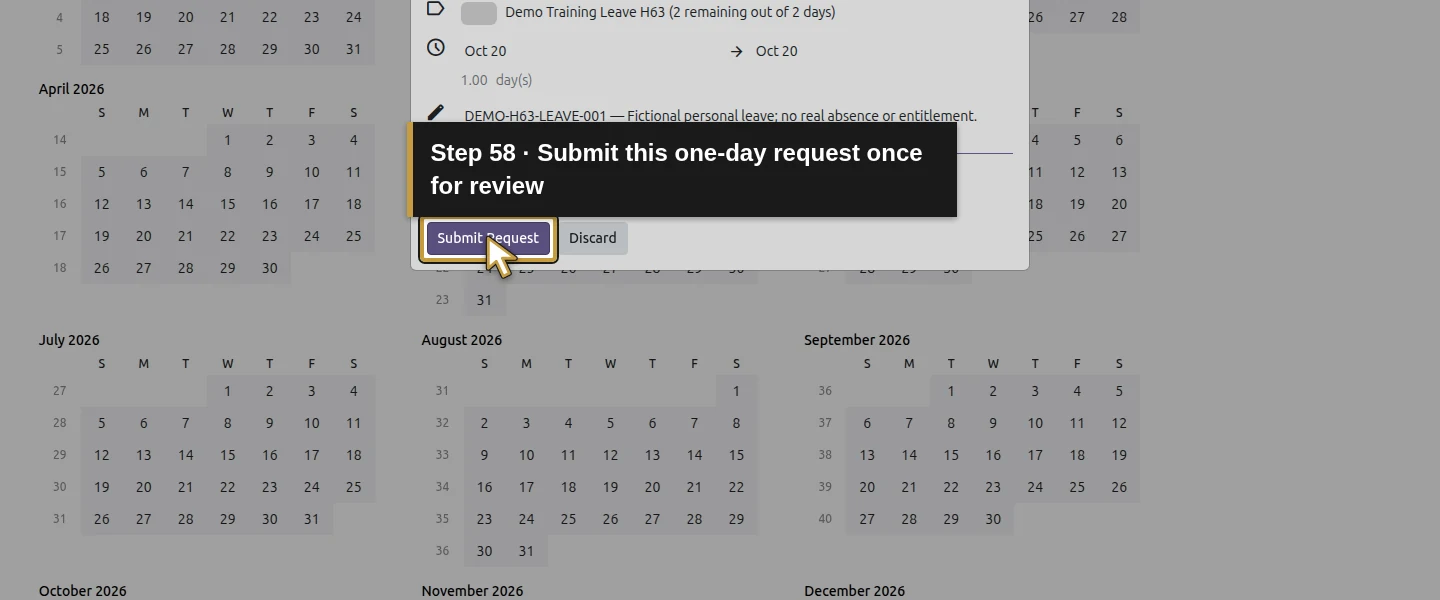
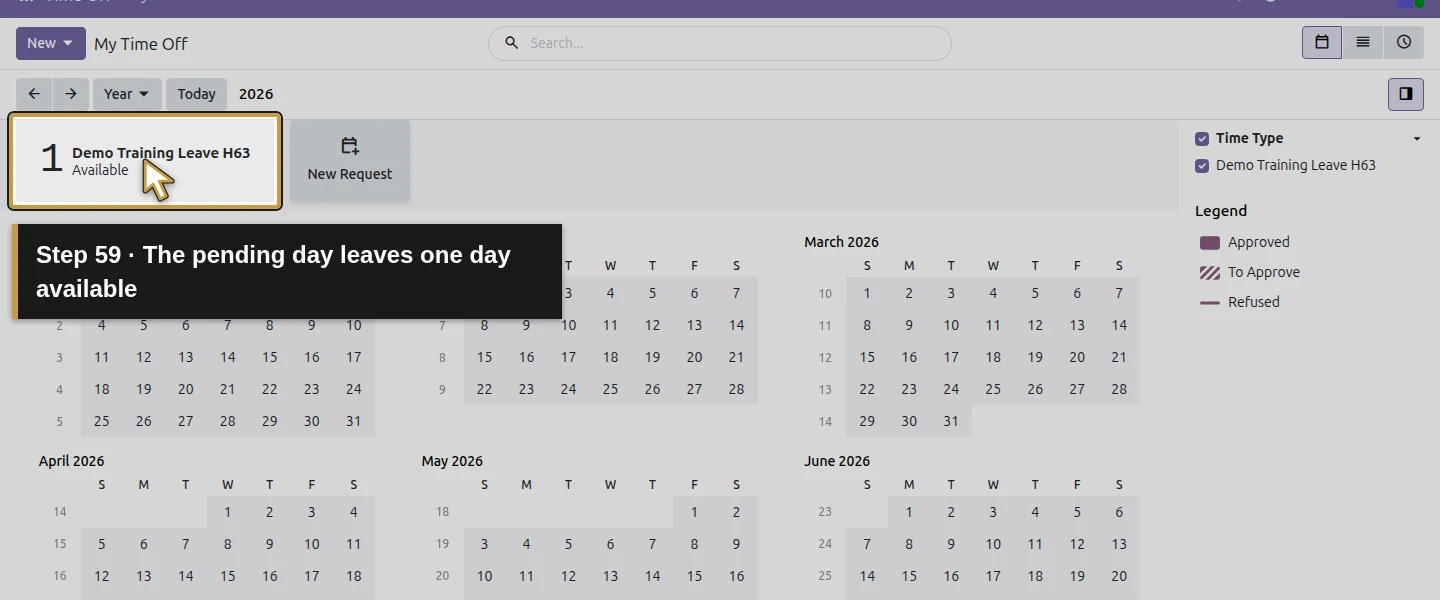
Click Submit Request once and wait for the saved result. The request is To Approve, created by the technician for the correct employee and type. The available balance already becomes 1 while the day is pending. Odoo creates one Time Off Approval activity assigned to Demo Air Owner. A successful click alone is not proof of final approval; keep the same request and have the approver review it rather than submitting it again.
Step 9. Review and validate as the owner
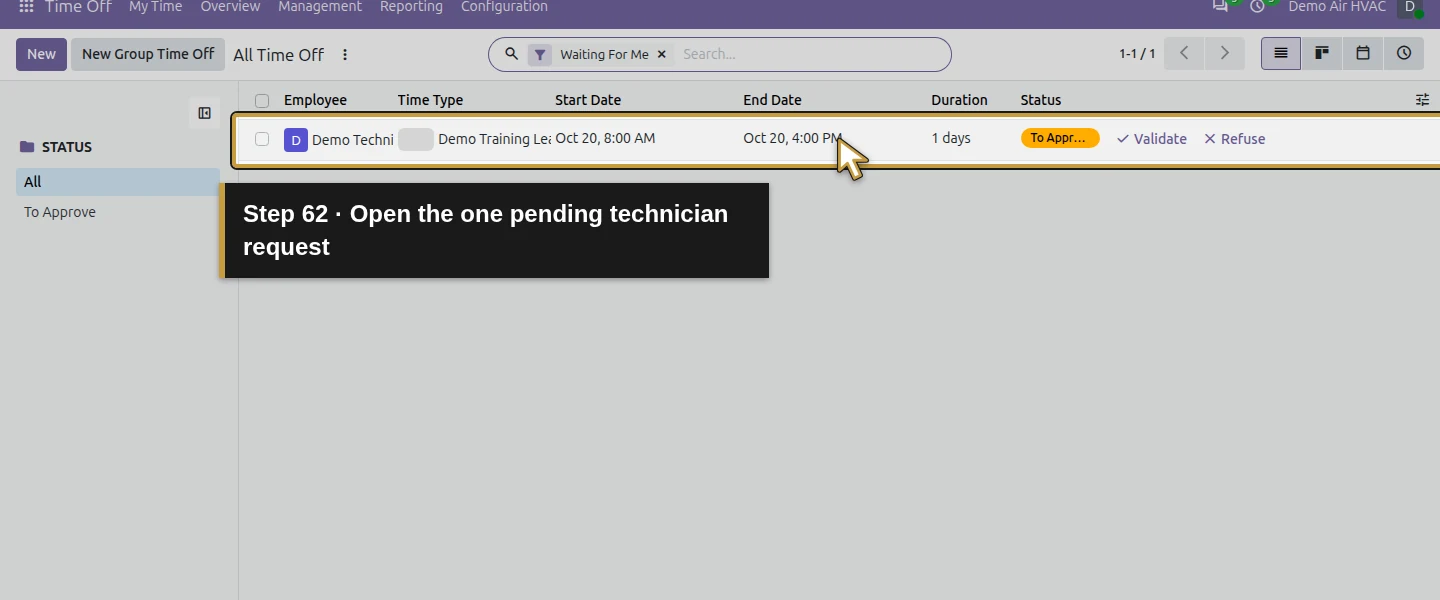
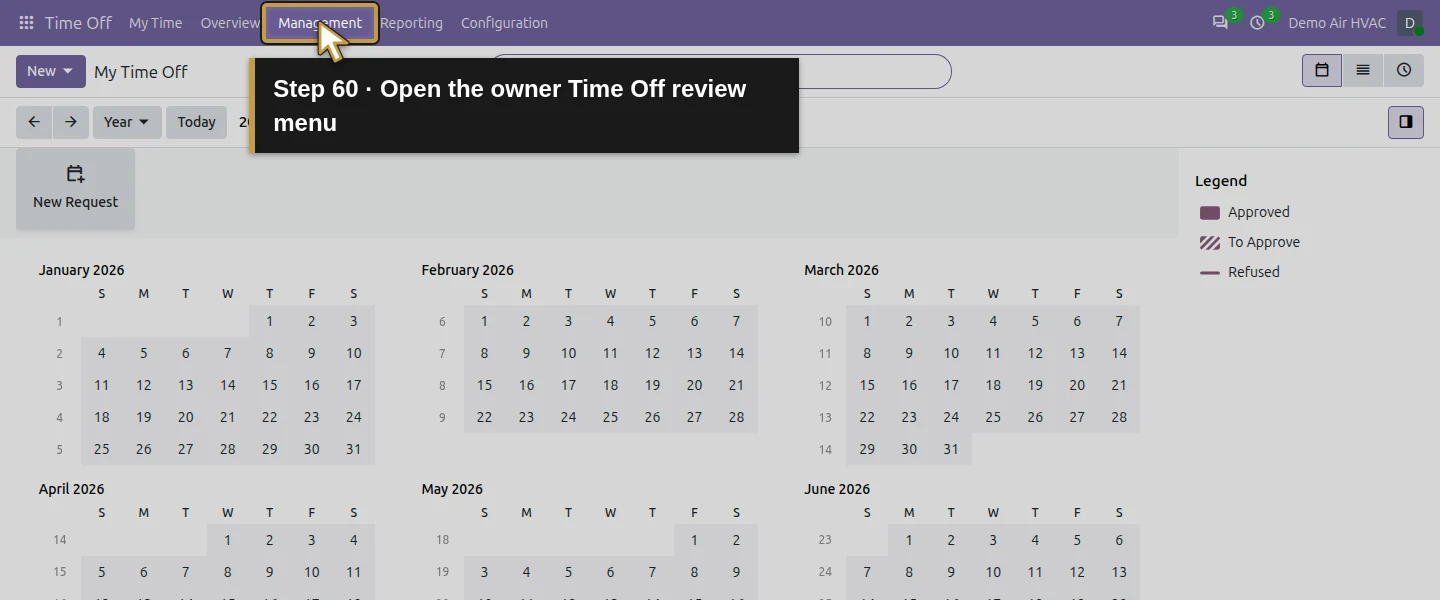
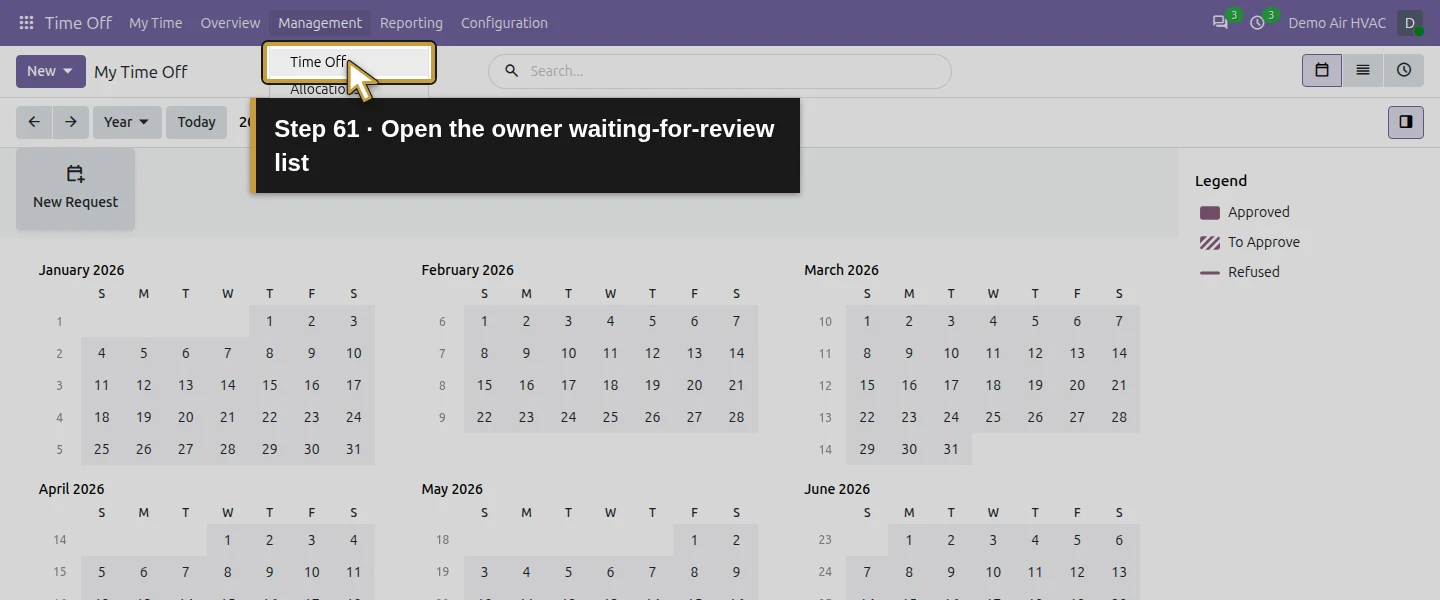
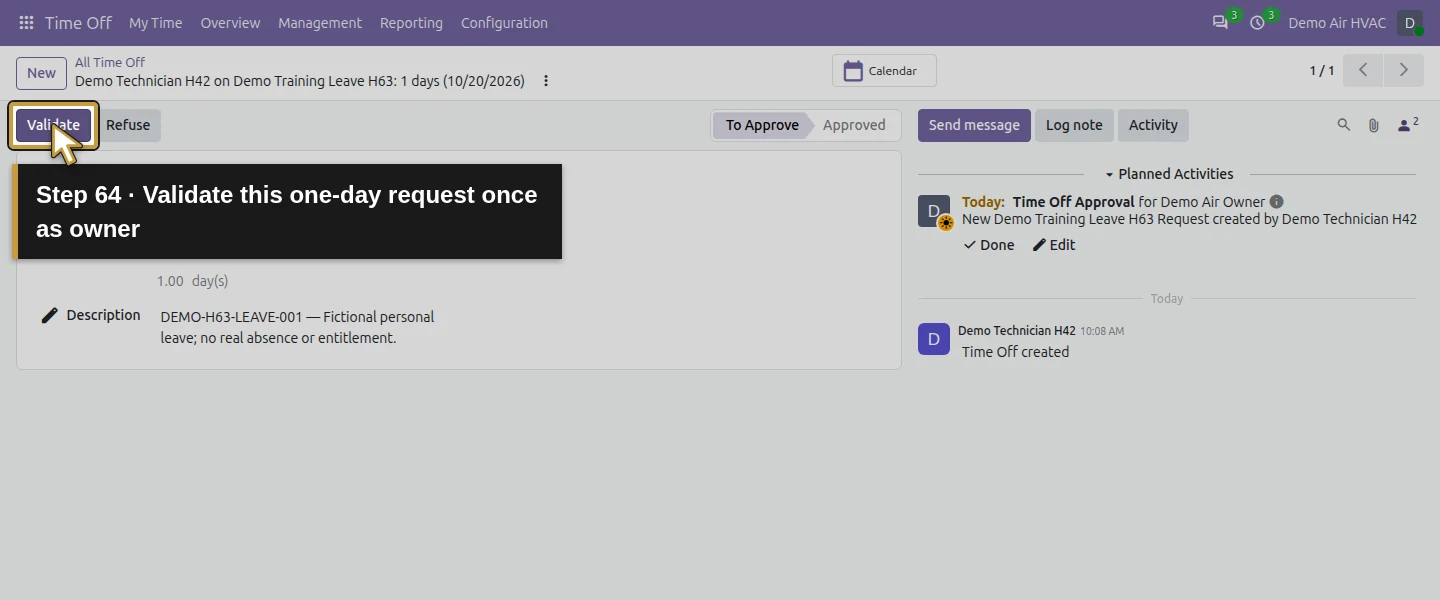
In the owner session, open Time Off → Management → Time Off. The Waiting For Me list shows one pending request for Demo Technician H42, the training type and October 20, 8:00 AM–4:00 PM, with duration one day. Open that row and review the description, employee, type, dates and allowance. Click Validate once and wait for Approved. The native approval activity is completed. The request's status history records the owner's change; this is a manual approval decision.
Step 10. Reopen the same request in both sessions
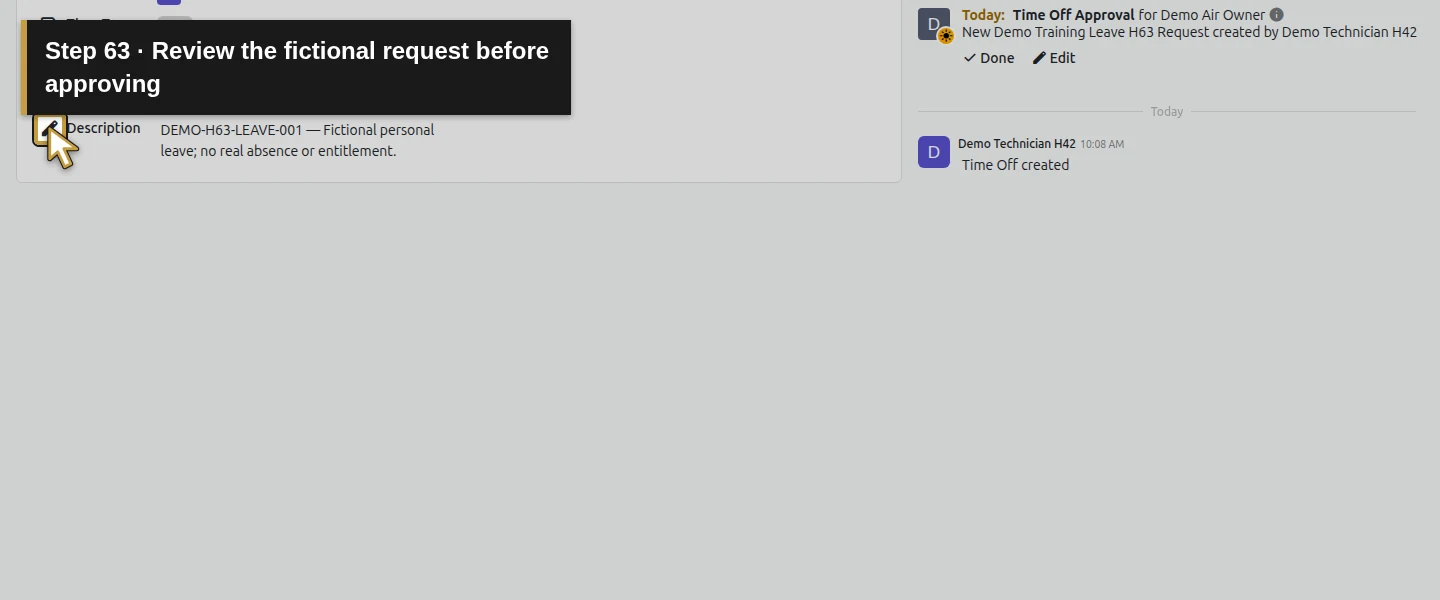
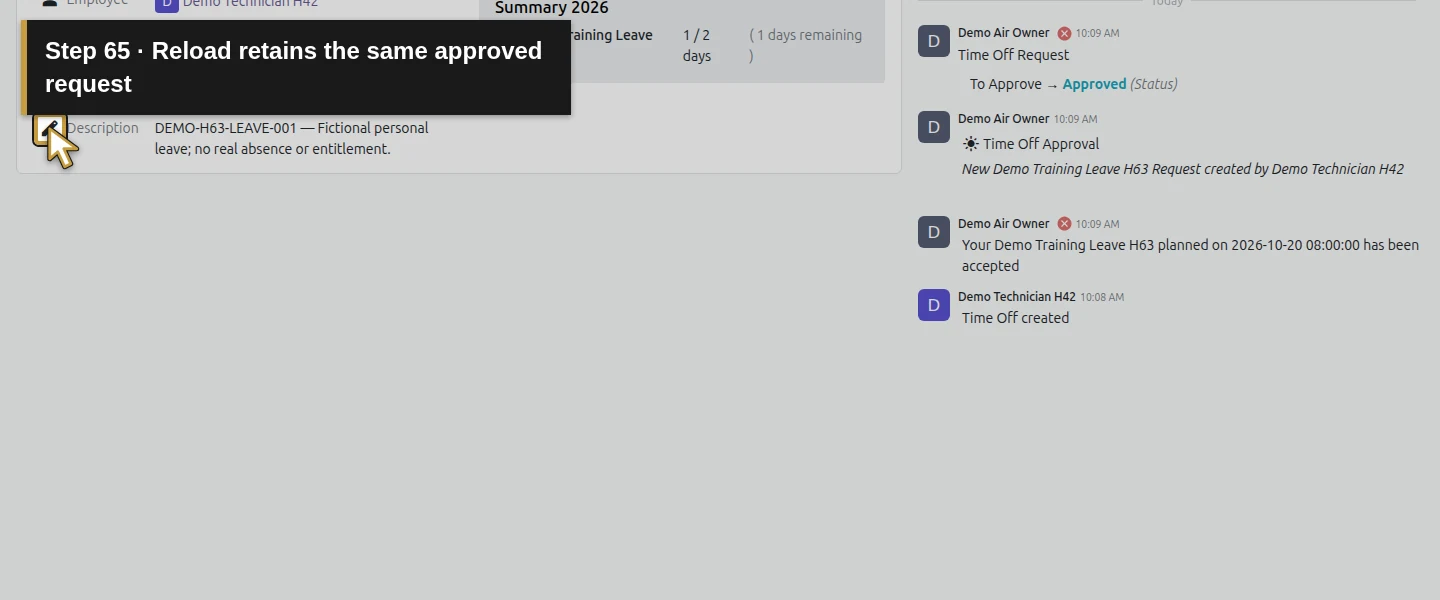
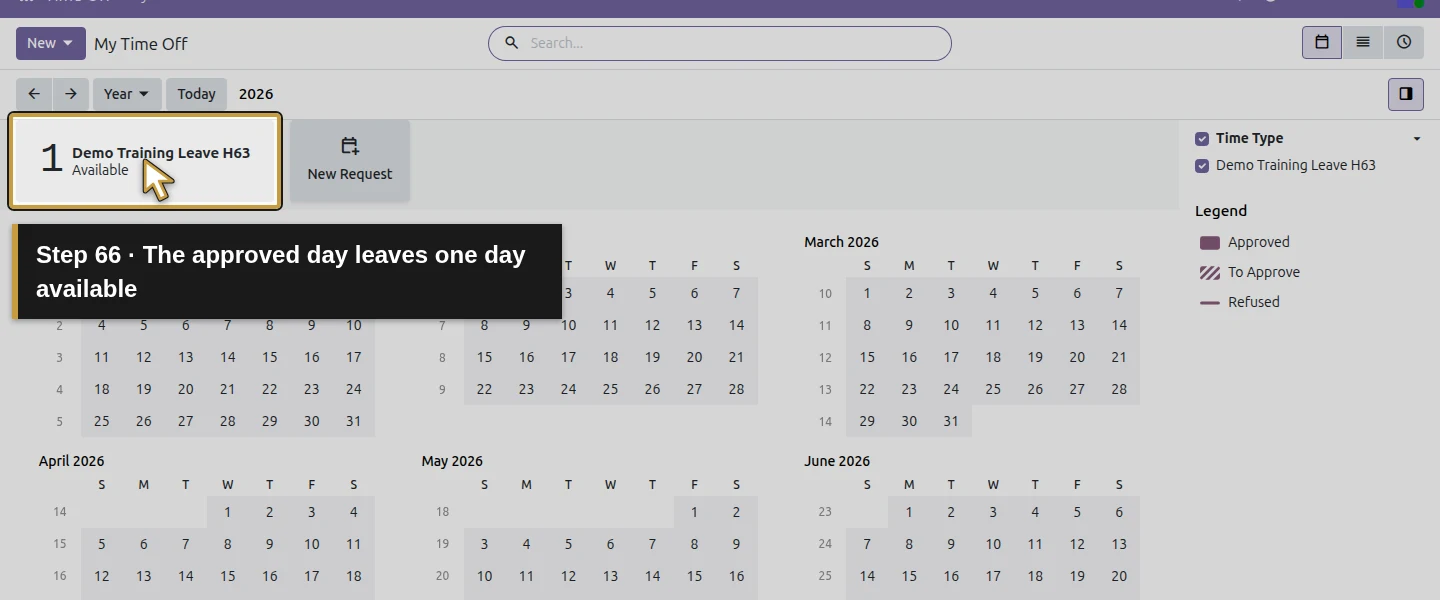
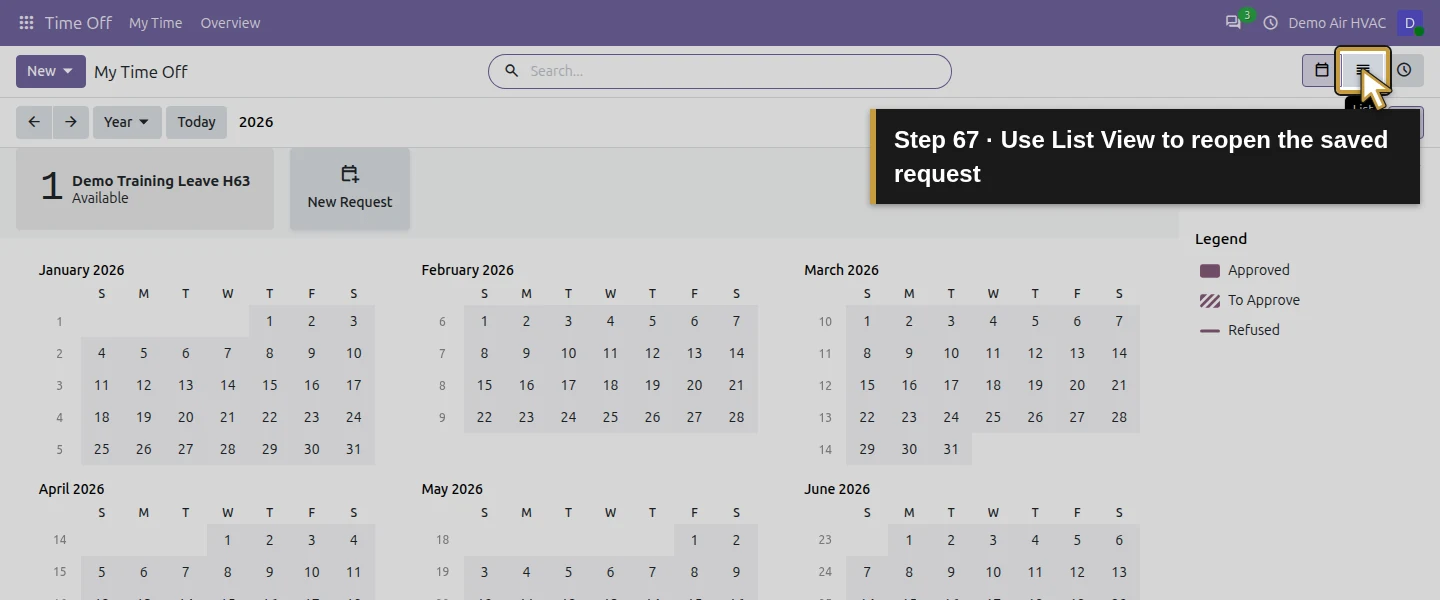
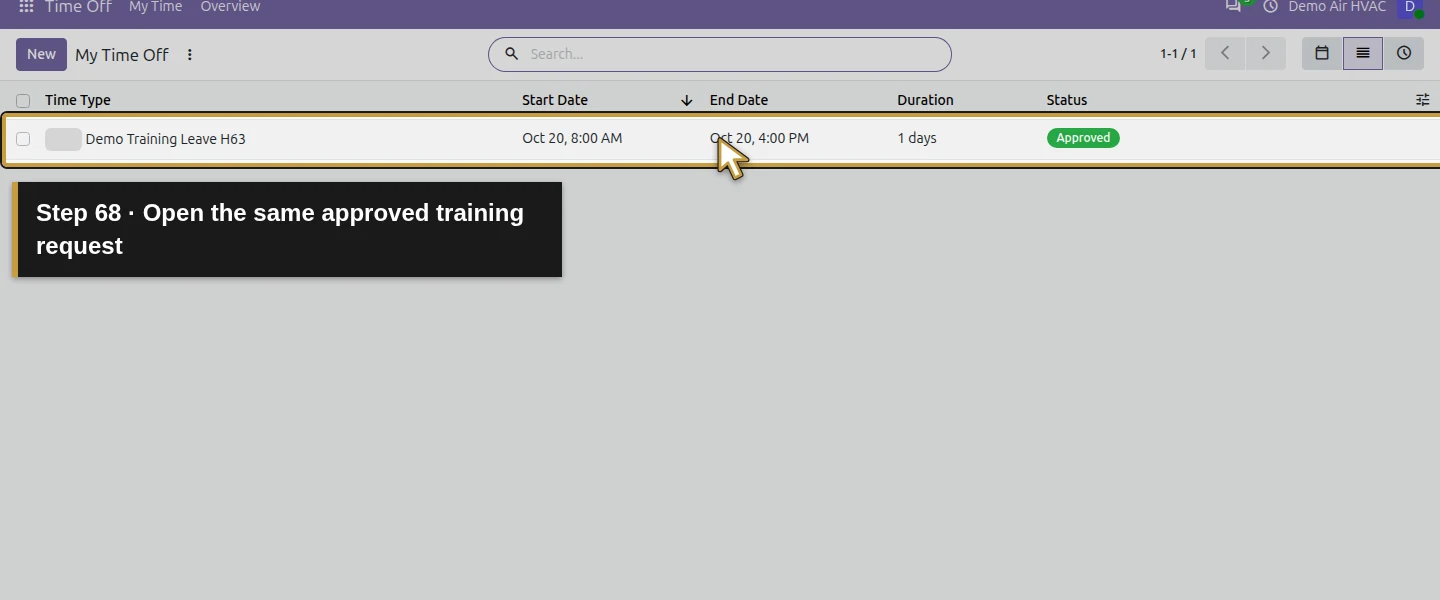
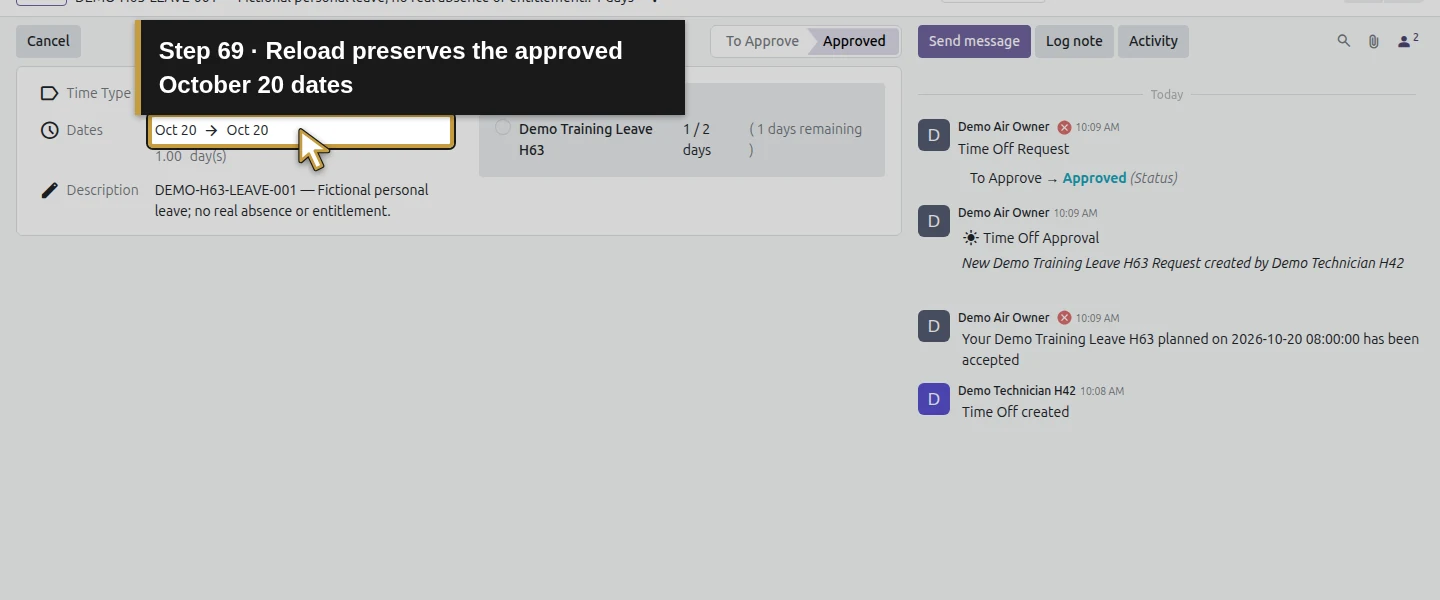
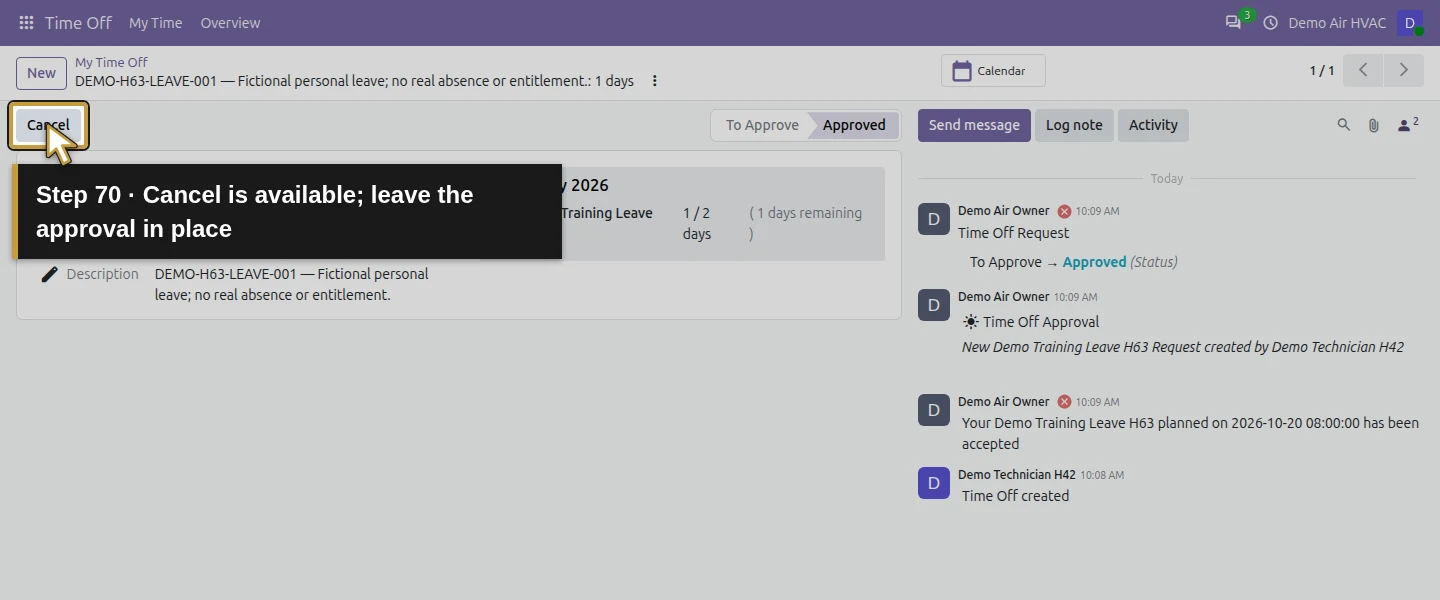
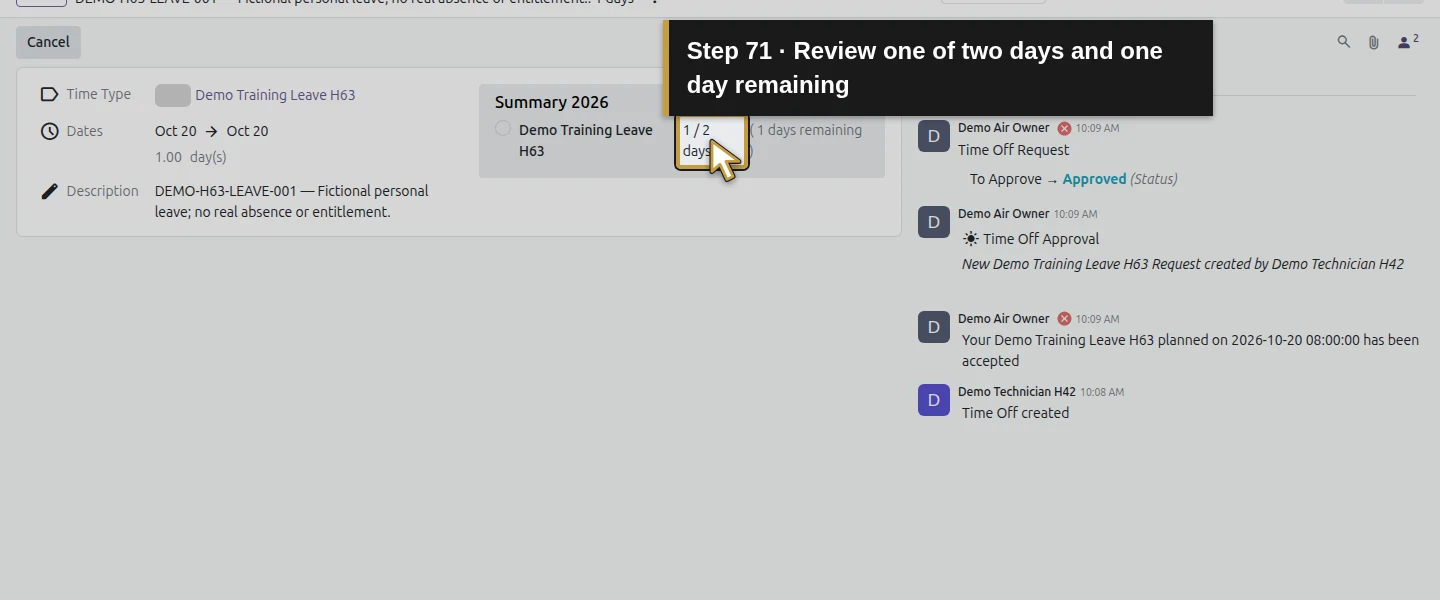
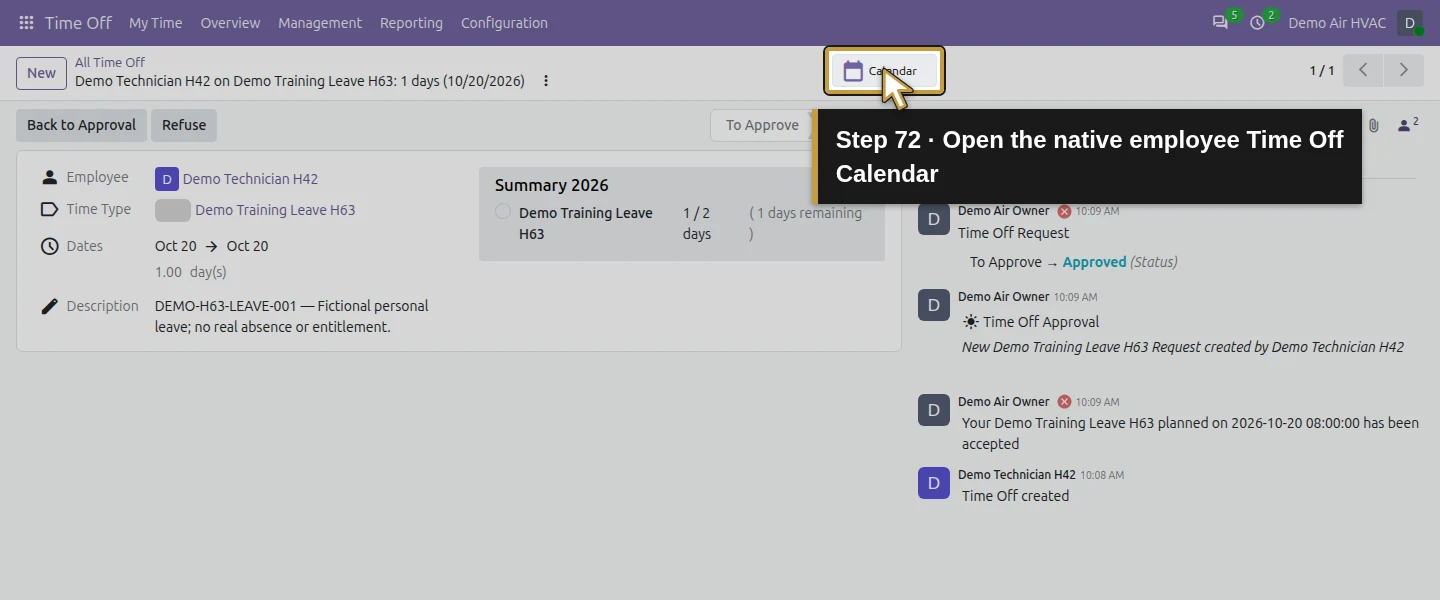
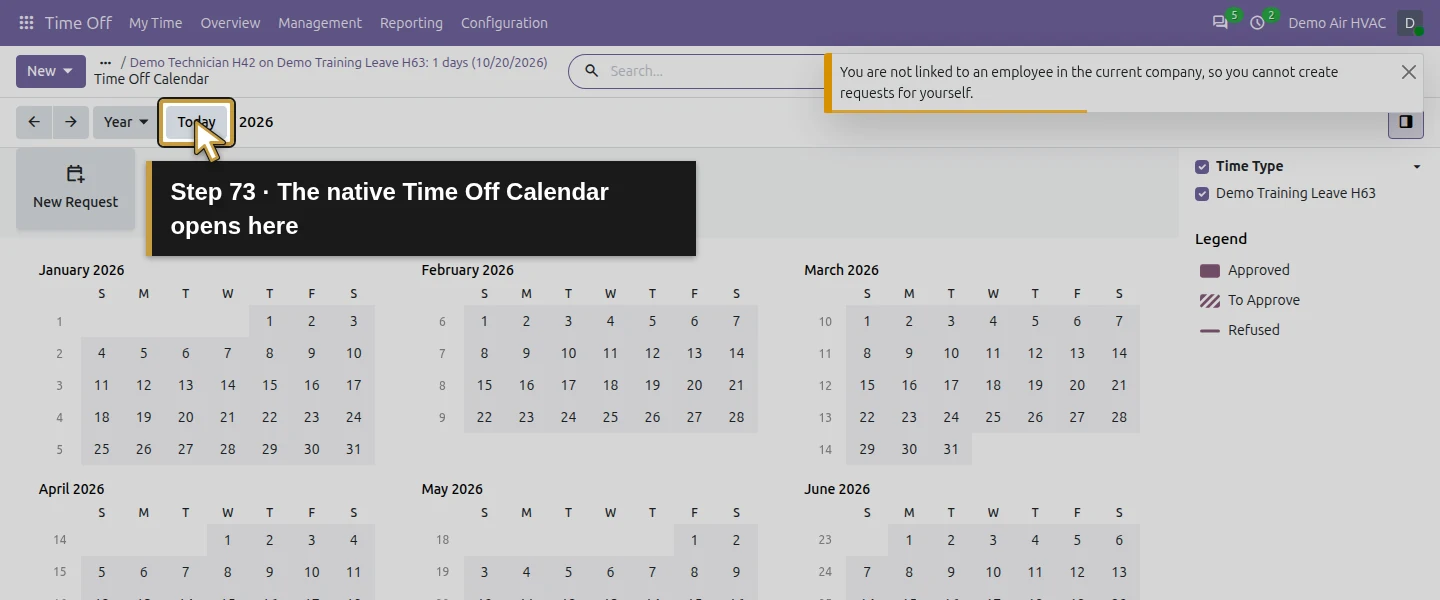
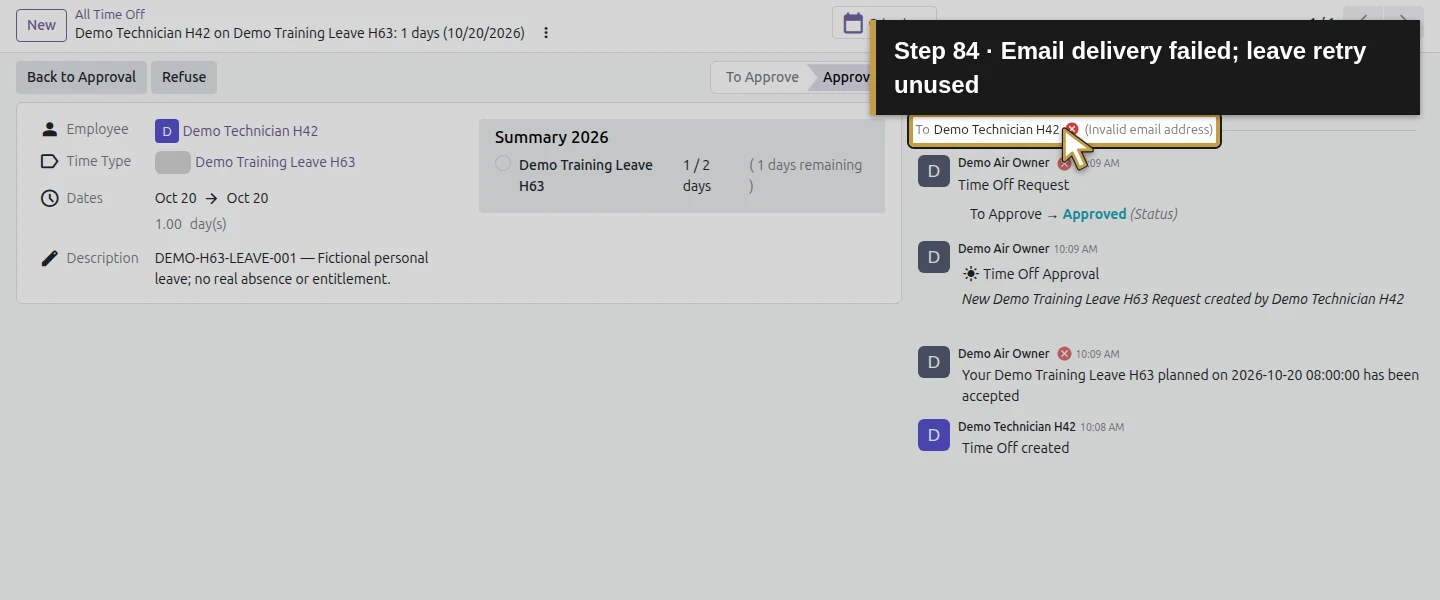
Reload the owner's saved request. In the technician session, reload My Time Off, select List View and open the existing training-type row. Both views show Approved, October 20 and 1.00 day(s); the summary shows 1 / 2 days and 1 day remaining. The technician view offers Cancel, while the owner offers Back to Approval and Refuse. Leave those controls unused: this lesson preserves the approved request. The Calendar control opens the native time-off calendar. In the tested owner session, it also displayed a warning that this administrator was not linked to an employee in the current company. The technician's approved request remained saved. Approval created one linked calendar event and one resource-calendar absence in this runtime.
Step 11. Check the automatically generated internal time
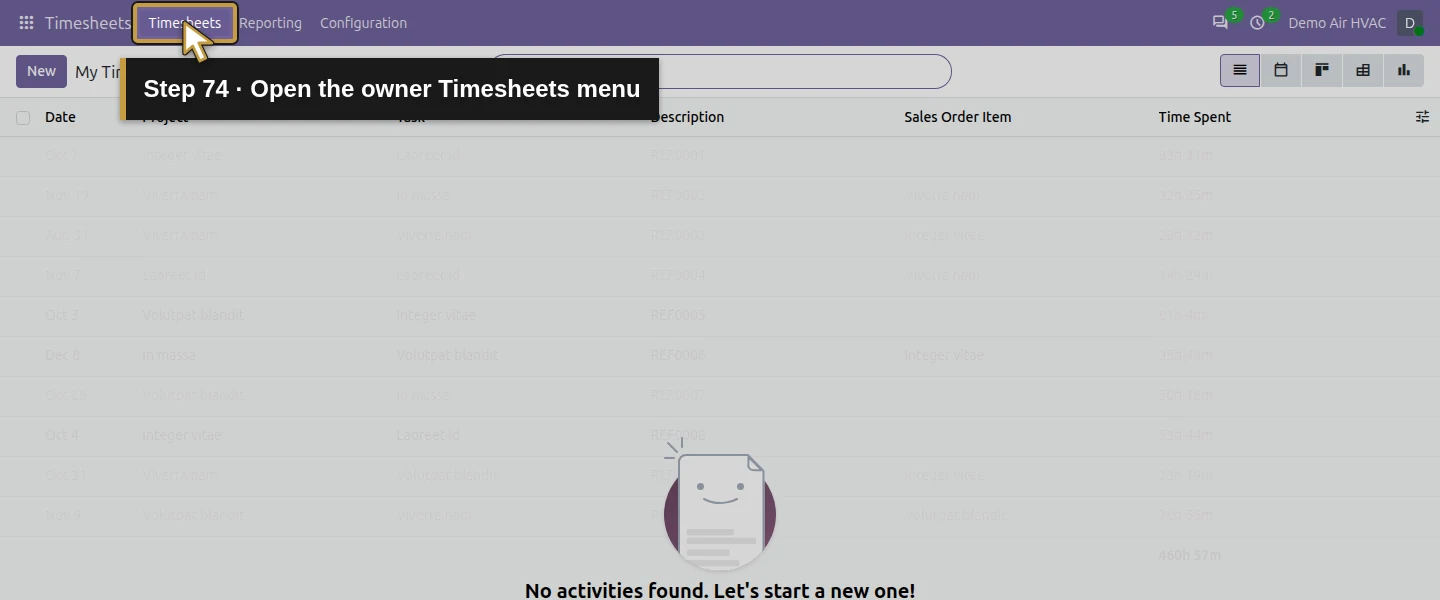
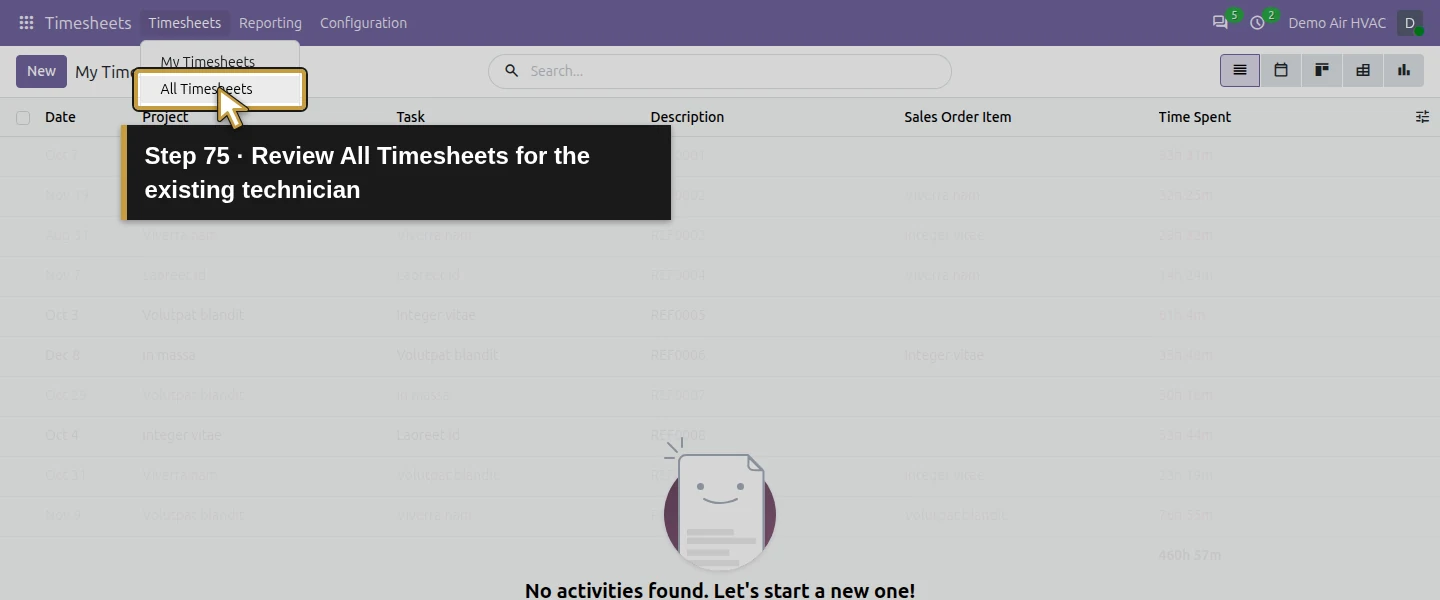
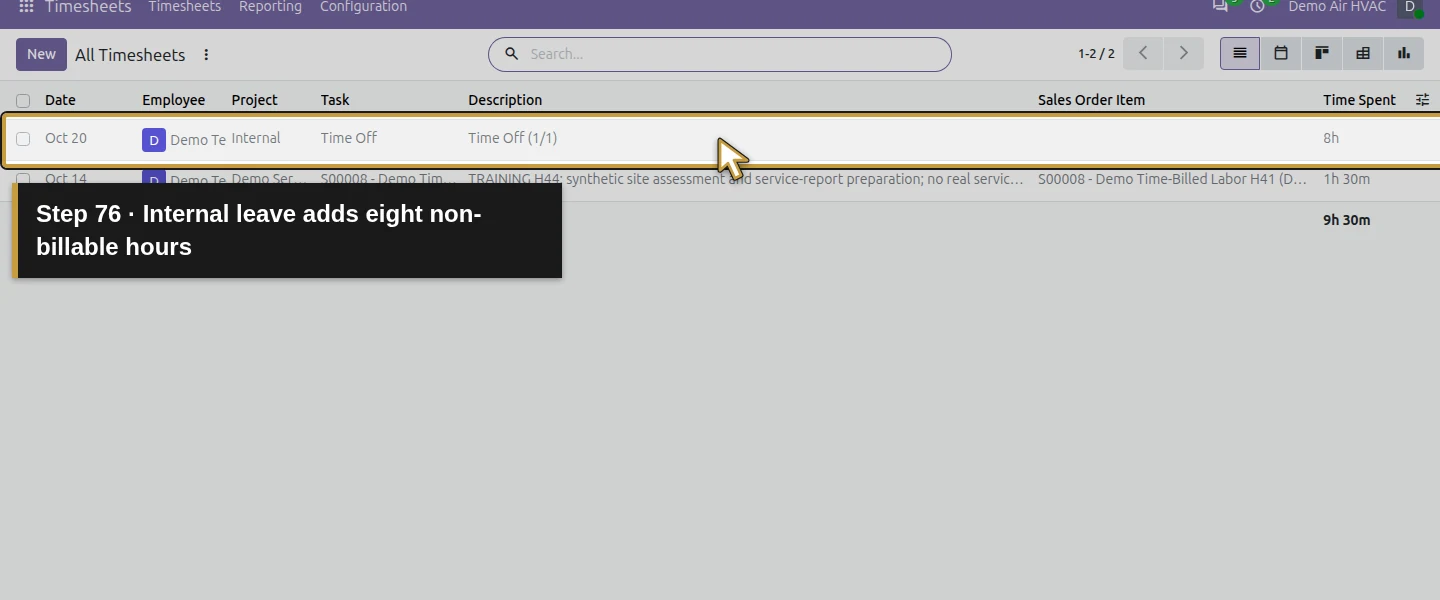
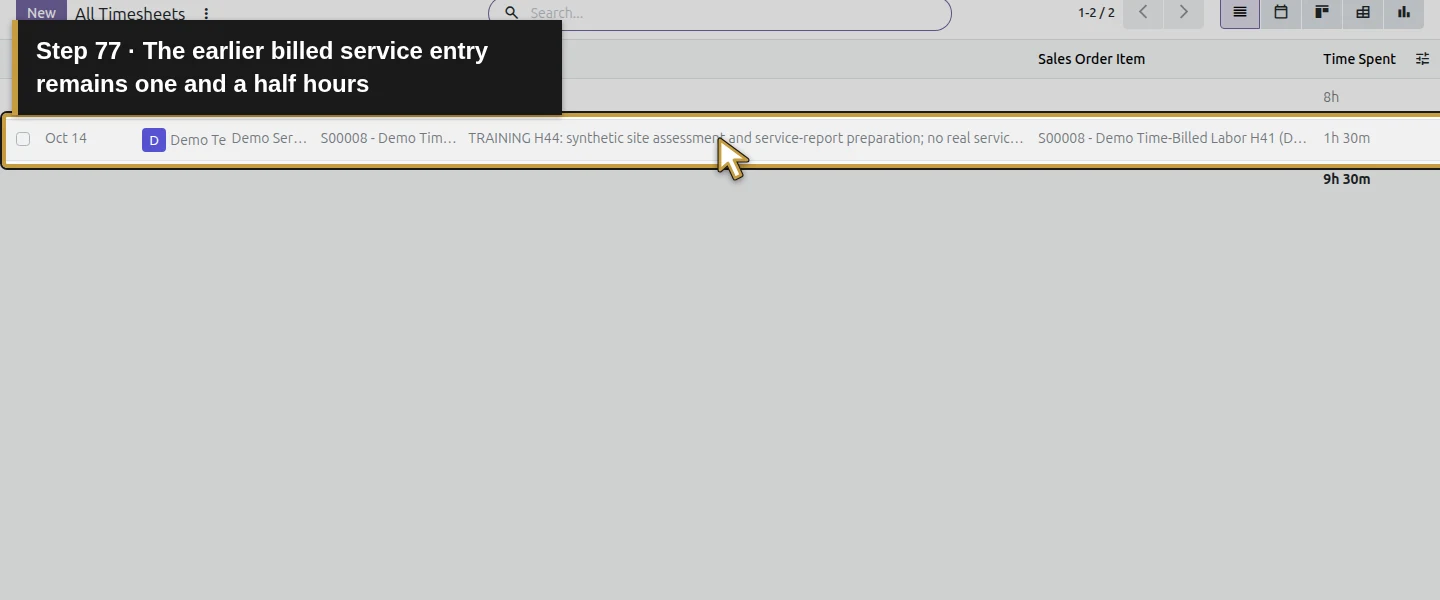
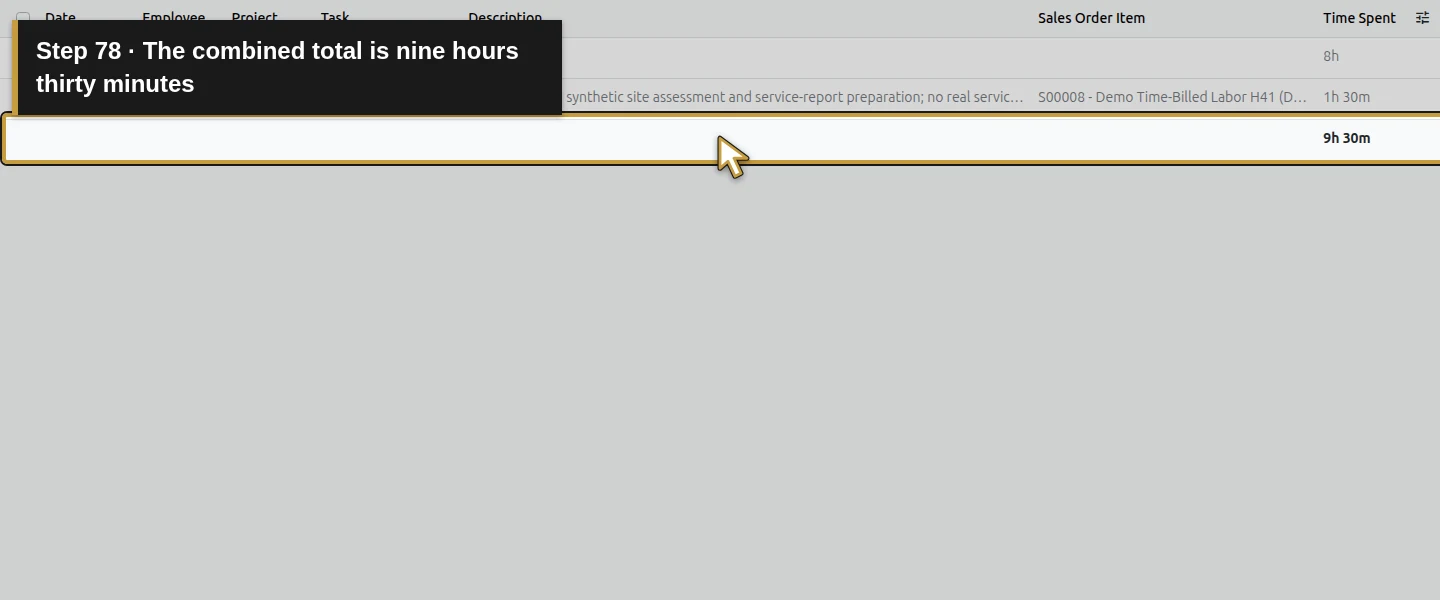
As the owner, open Timesheets → Timesheets → All Timesheets. There are two existing-technician rows: the earlier October 14 / 1h 30m service entry and the new October 20 / Internal / Time Off / Time Off (1/1) / 8h row. The installed official integration created the leave row on approval. It is read-only and has no sales-order item or invoice link. The list total is 9h 30m, combining different dates and purposes; do not treat that total as billable service time or a payroll result. Keep employee/date filters explicit when preparing the later export.
Step 12. Review the service job and notification outcome separately
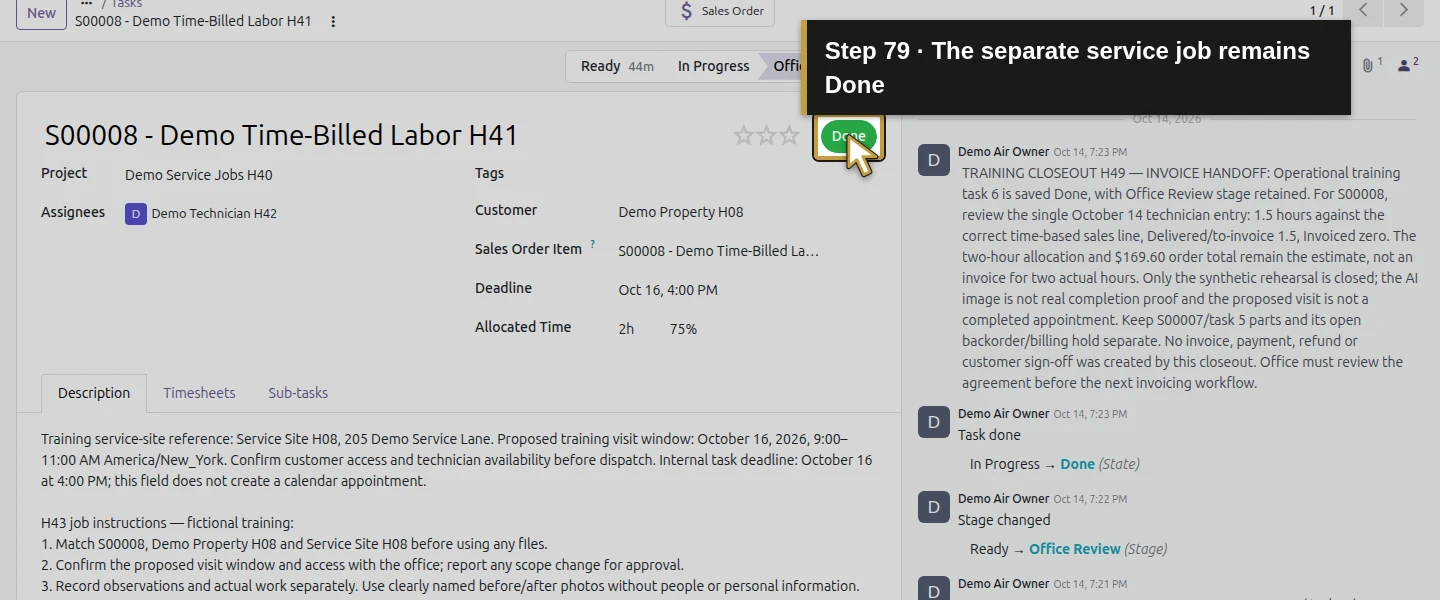
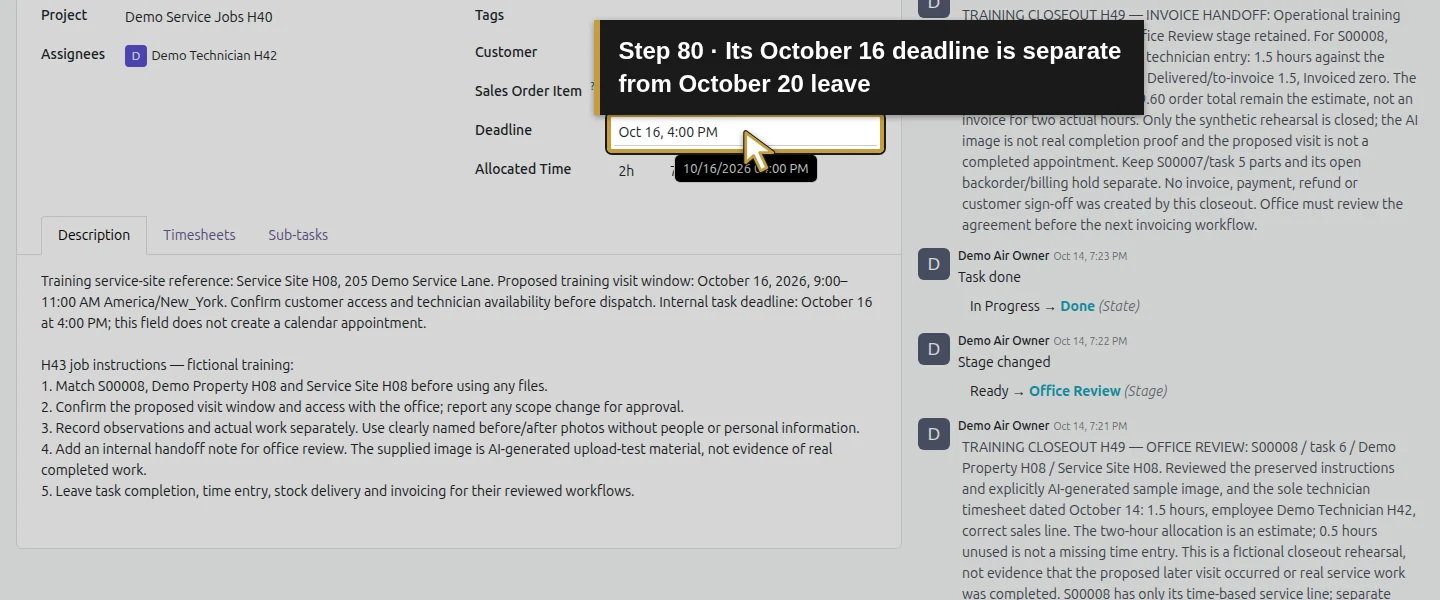
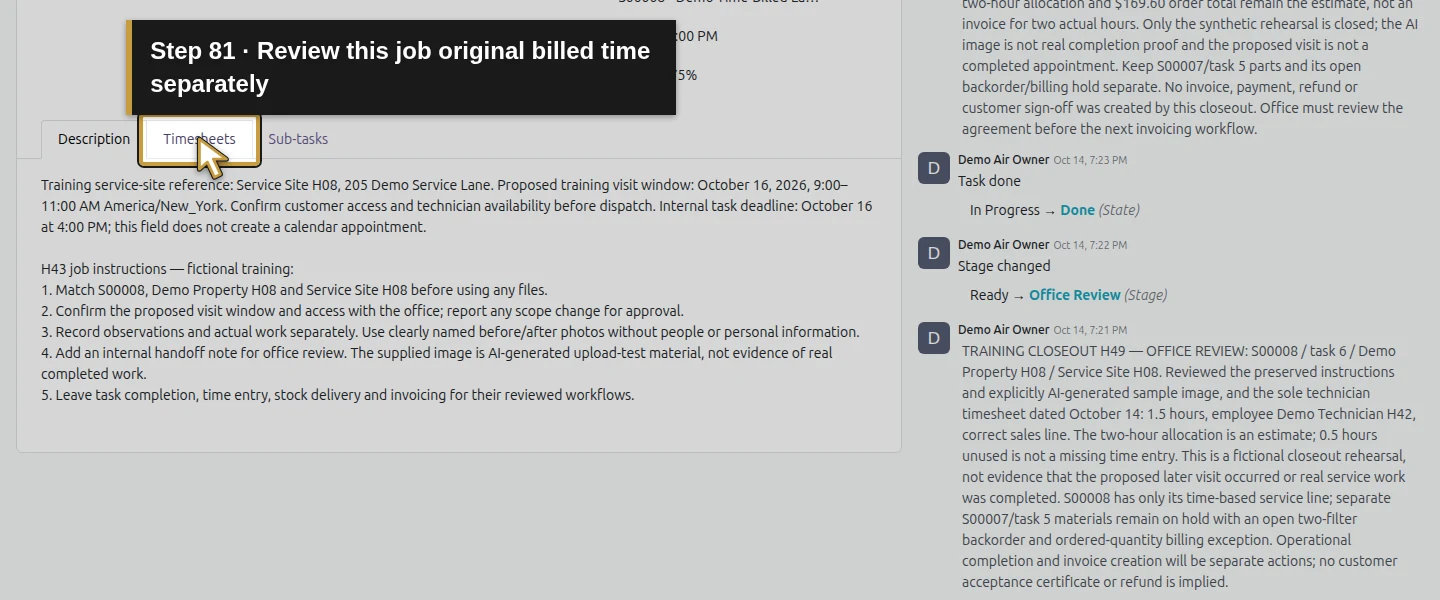
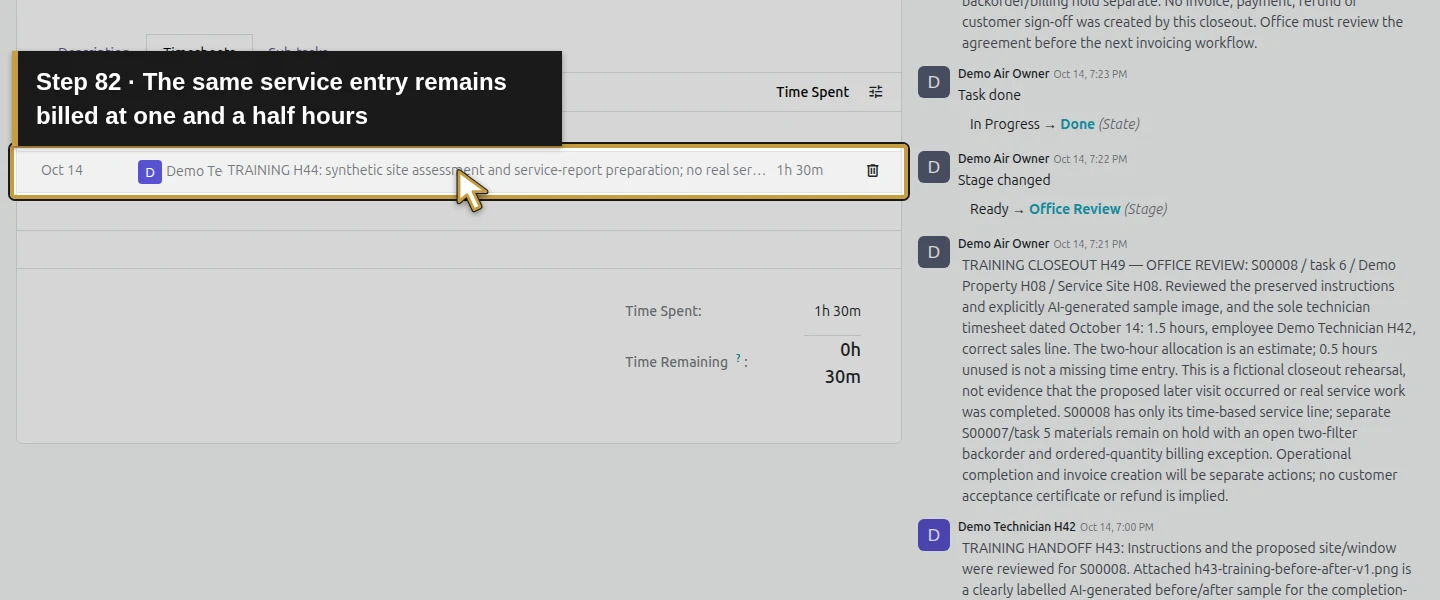
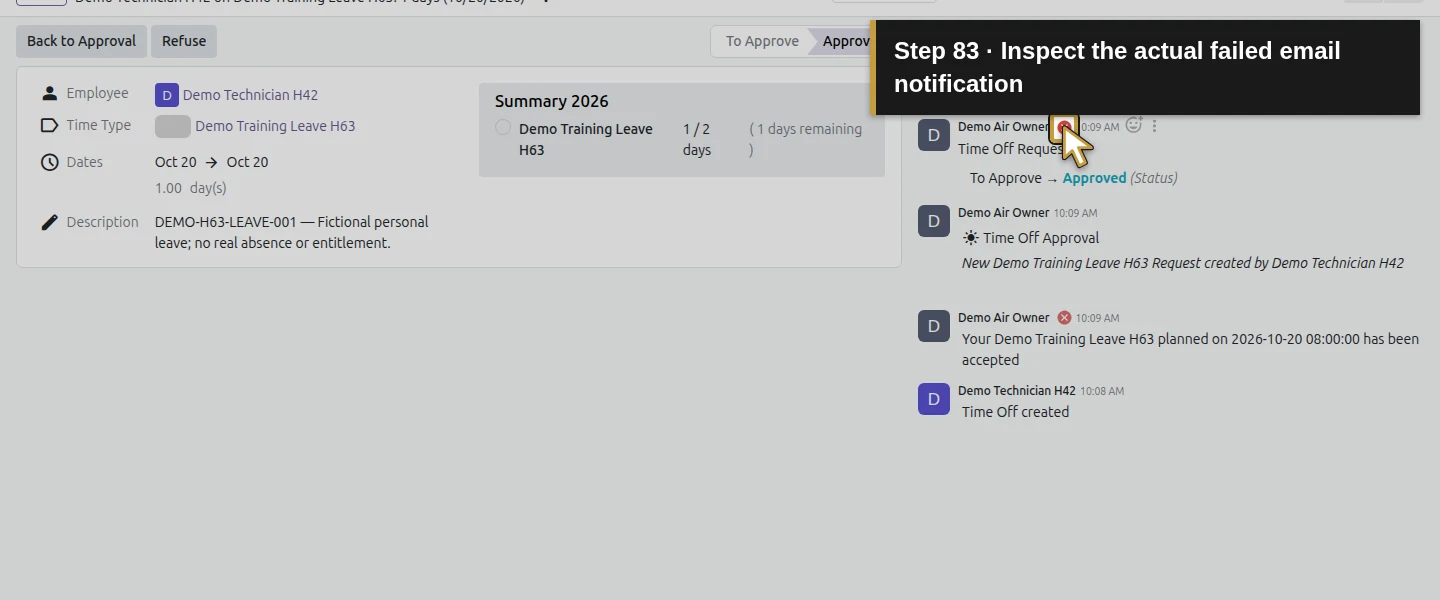
Open the existing service project and its S00008 - Demo Time-Billed Labor H41 task. It remains assigned to the same technician, Done in Office Review, with the original October 16, 4:00 PM deadline and billed 1.5 hours. The separate manual job also remains unchanged. October 20 leave does not overlap that October 16 deadline, so this case does not test a real scheduling conflict or automatic reassignment. Review affected jobs manually when dates do overlap. The in-app approval worked, but the fixture's blank addresses caused email delivery failures; no successful notification email is claimed or retried.
Check the result
One fictional time type, one approved two-day allocation and one technician-created request are saved. Owner validation approves October 20 as one day/eight hours, completes the approval activity and leaves one day available. Both roles reopen the same approved request. Approval creates one linked calendar event, one resource-calendar absence and one read-only eight-hour Internal/Time Off entry through the installed official integration. The original billed 1.5-hour service entry, both service tasks, skills and financial records are preserved. Four email notification exceptions remain; in-app approval does not establish delivered email.
If your screen differs
These steps use one full working day and the stated employee calendar; another calendar or partial-day policy may calculate a different duration. Check the selected type, approved allocation and both dates. If internal leave time is missing, check the official integration and company Internal project/Time Off task settings. For notifications, inspect the actual delivery status; this fixture retained blank recipient/sender failures. The demonstrated job deadline does not overlap the leave, so job coverage still needs manual review. Refusal, cancellation, accruals, overlapping requests and external calendar synchronization were not exercised. The fictional allowance does not define real entitlements or a payroll/legal policy.
Frequently asked questions
How do I request and approve time off in Odoo?
Give the linked user the stock Time Off Employee access, set the employee's approver and save a time type with the intended approval/allocation policy. Approve the required allocation first. The employee uses New → New Time Off, selects the type, sets both dates and submits once. The owner reviews Management → Time Off and uses Validate. Reopen the same request and confirm Approved and the remaining balance.Why can't an employee request time off in Odoo?
Check the actual access error, user-to-employee link, Time Off permission, selected type and required approved allocation. Installing the app alone did not grant this existing technician access; the native Time Off → Employee user permission fixed that case. Also check both date endpoints and the calculated duration. The balance panel's New Request opened an allocation dialog here; use New → New Time Off for an absence.Does Odoo time off update timesheets and reschedule jobs?
In this tested configuration, approval created a linked calendar event, a resource-calendar absence and a read-only eight-hour Internal/Time Off entry through the official project_timesheet_holidays integration. The billed service entry and service-task assignments/deadlines stayed unchanged. This example has no actual job/leave overlap, so automatic conflict handling or reassignment remains untested. Review job coverage manually and do not treat generated internal hours as payroll approval.Continue building the business
Continue with How do I export Odoo timesheets for a payroll provider?. Review the employee, date range and purpose of each row; generated leave time and billed service time need separate review before any provider handoff.
Talk to an Odoo partner
Bring your current process and the result you need to Onward to plan your Odoo workflow. Talk to an Odoo partner.