
Running an HVAC business with Odoo
How do I export Odoo timesheets for a payroll provider?
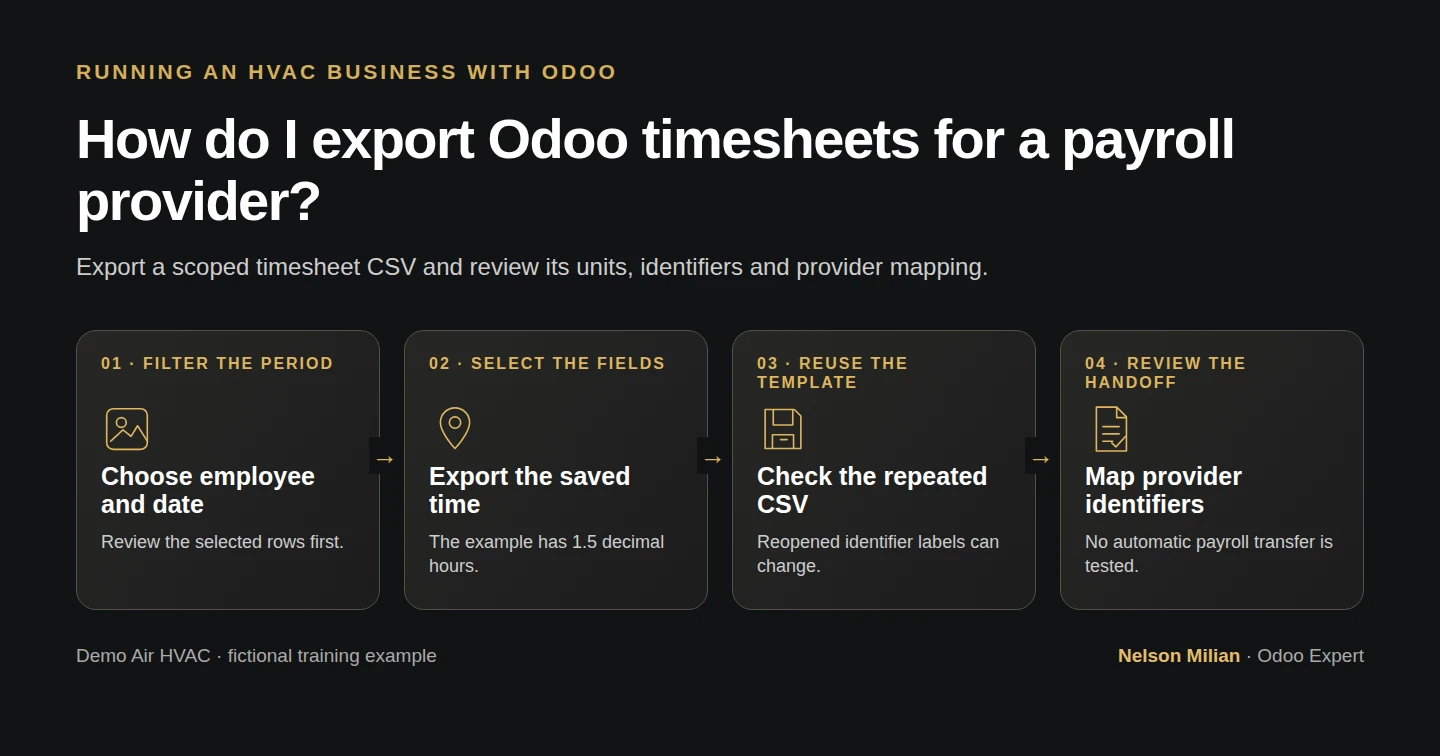
Export reviewed Odoo timesheets as CSV, reuse a native field template and check hours and employee identifiers before a payroll-provider handoff.
Alex needs to hand the technician’s reviewed hours to a payroll provider. Odoo’s native timesheet export can provide the source rows and a reusable column template. In this example, one October 14 entry displays 1h 30m and exports as Quantity 1.5. We also check the employee/source identifiers and a saved-template header change before treating the file as ready for a provider-specific mapping.
Alex Rivera and Demo Air HVAC are fictional training examples. Prices, dates, quantities and business situations in this guide are illustrative.
Before you begin
Tested in stock Odoo 20.0-20260926 Community as the demo owner administrator, with official modules and standard configuration. Complete How do I record technician time on an Odoo job? and use the owner’s existing Timesheets access. This lesson reuses that one fictional entry on Demo Service Jobs H40, task S00008 - Demo Time-Billed Labor H41, for Demo Technician H42. At this later checkpoint it is already linked to the invoice from How do I invoice job time and materials in Odoo?; exporting leaves that link and the billed time unchanged. Define a training period of October 14, 2026 only, with one expected row and 1.5 decimal hours. The illustrative handoff meanings are source entry identifier, employee identifier, work date, hours, project, task and description. This is not a selected provider’s import specification; obtain the actual specification and employee-ID crosswalk before a real handoff.
Step-by-step workflow
Step 1. Open all timesheets as the office reviewer
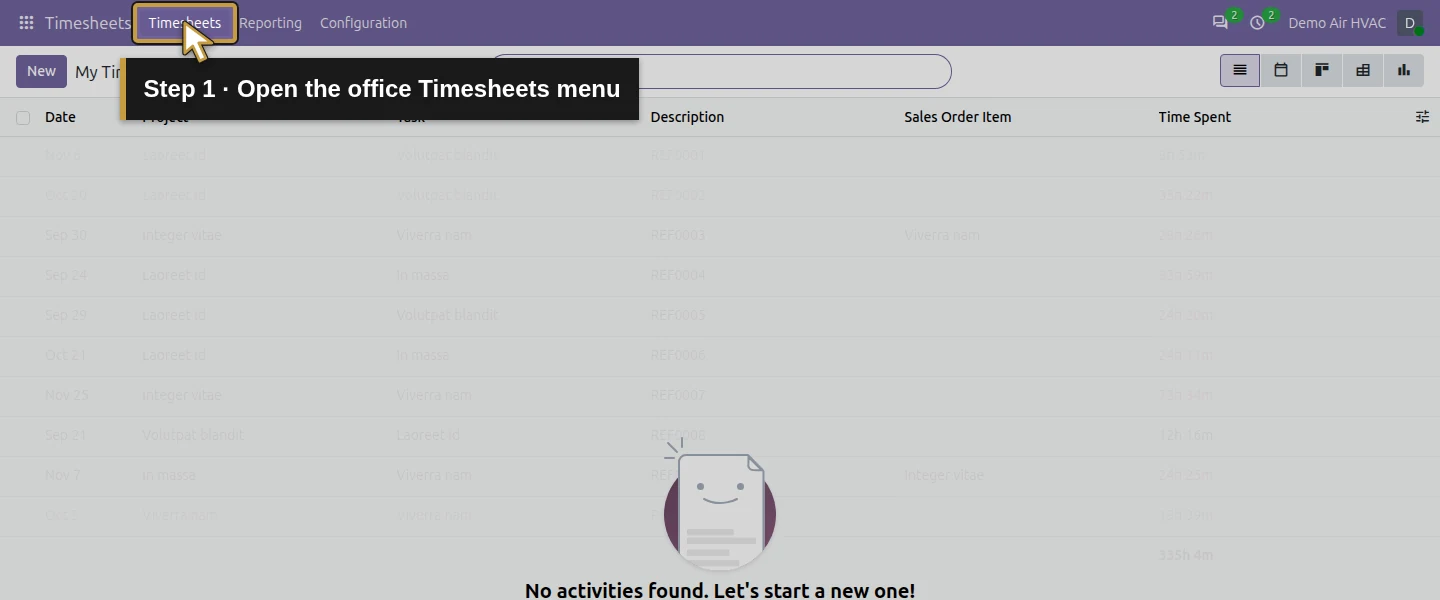
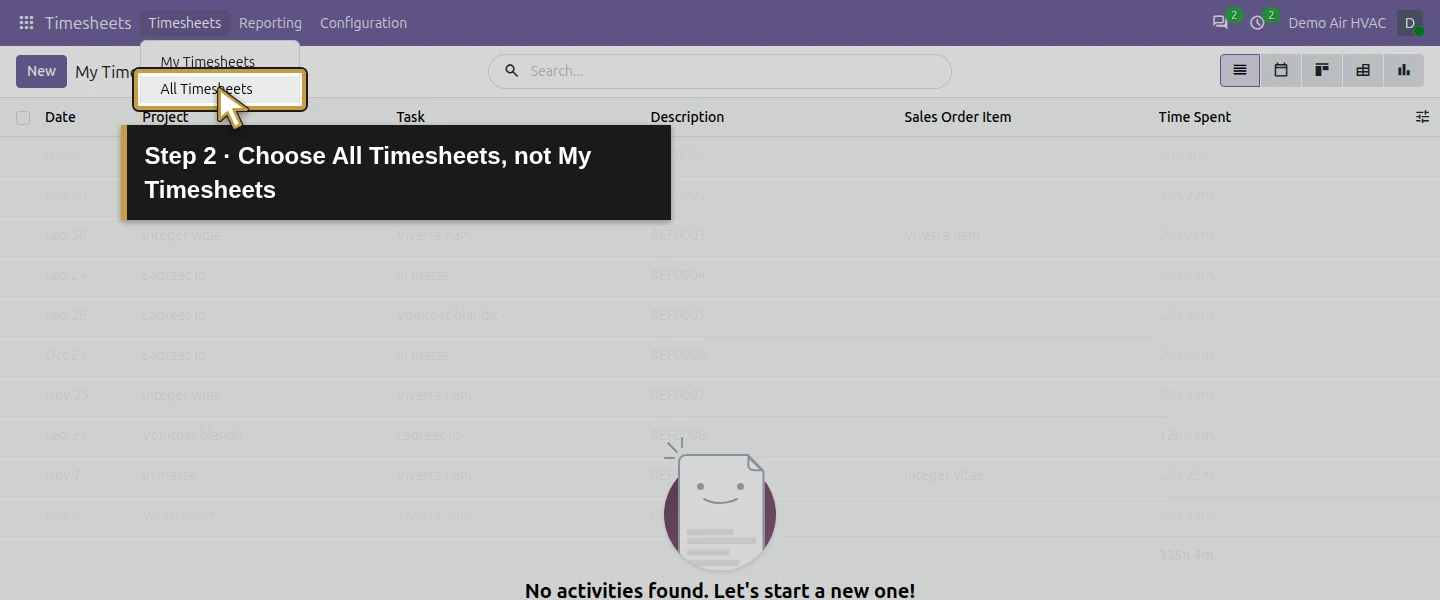
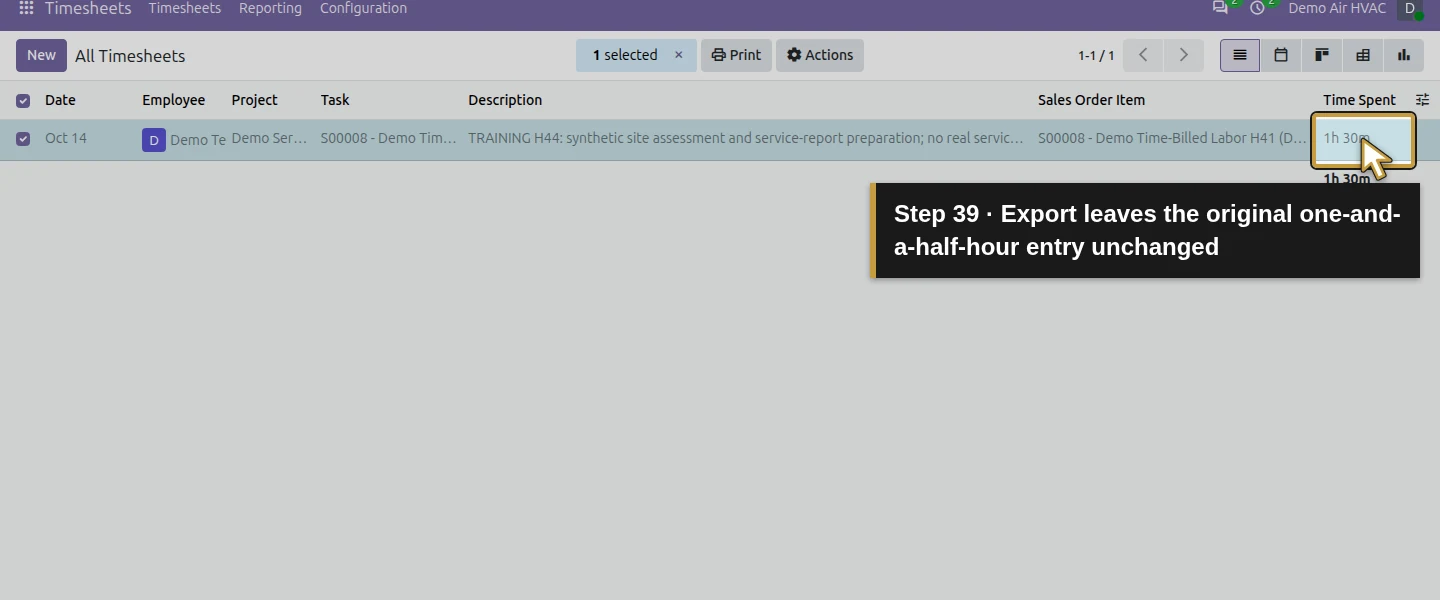
Open Timesheets, then the Timesheets → All Timesheets menu. The owner’s My Timesheets is not the technician’s timesheet list. Check the company and view scope before exporting. The tested All Timesheets list contains the existing technician row with Date, Employee, Project, Task, Description, Sales Order Item and Time Spent 1h 30m.
Step 2. Filter the intended employee
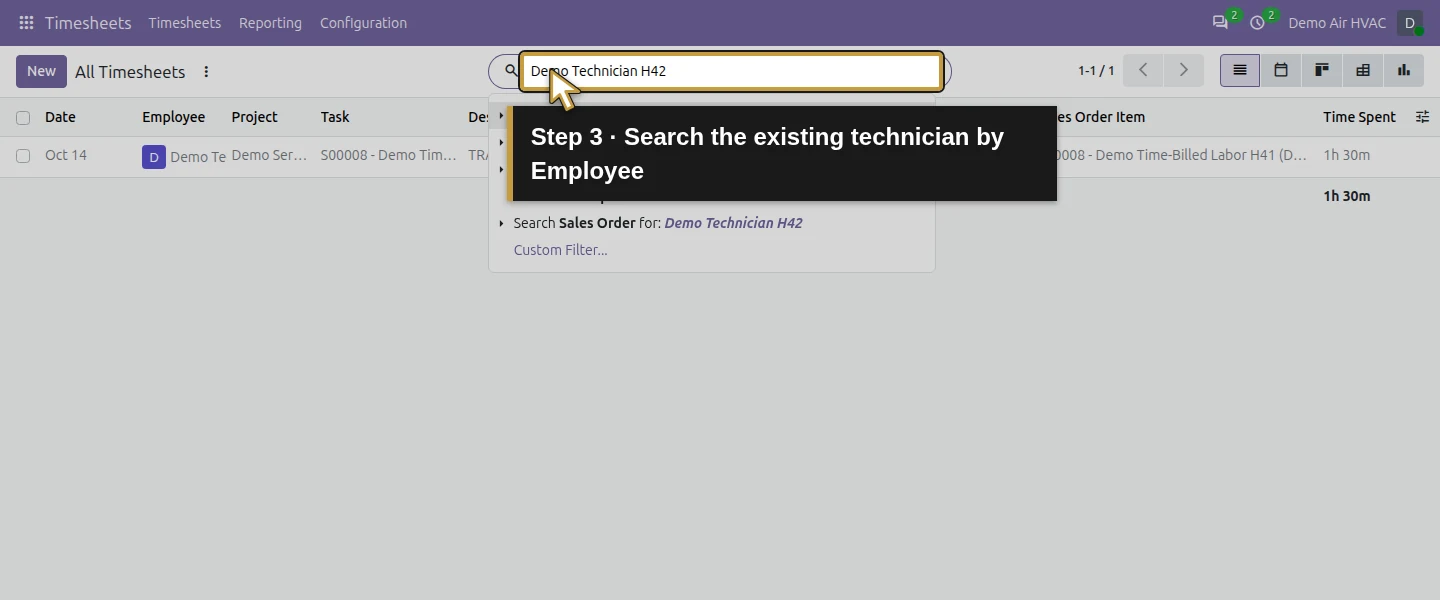
In the search box, type Demo Technician H42 and choose Search Employee for: Demo Technician H42. Check the Employee search facet and inspect the resulting employee name on the row. A name search is a convenient filter, not a payroll identifier or a guarantee that similarly named employees are excluded. Confirm the actual person/record in your own private business data.
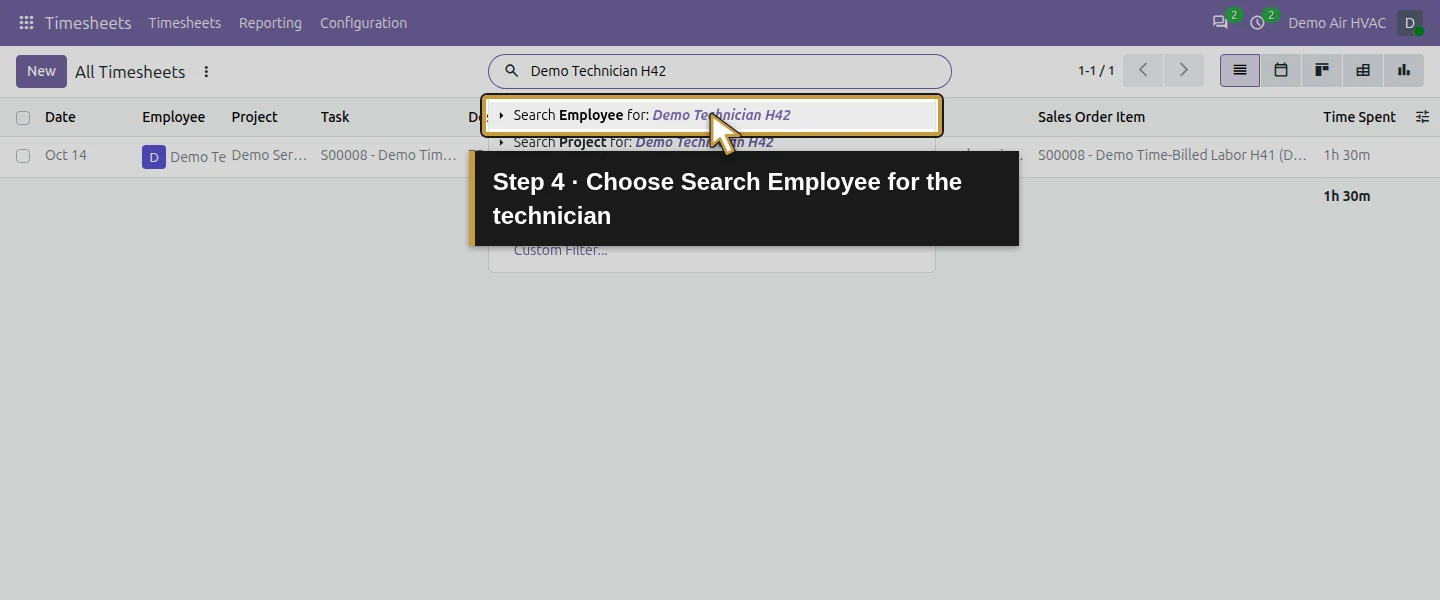
Step 3. Apply the explicit training date
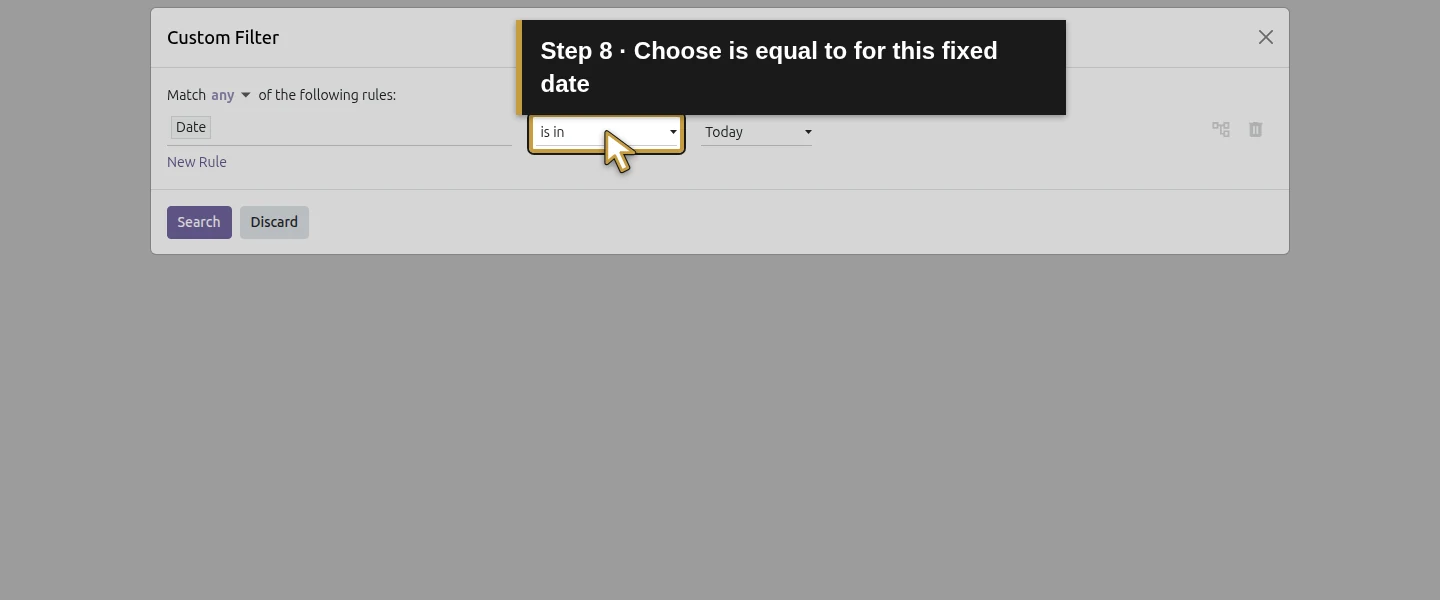
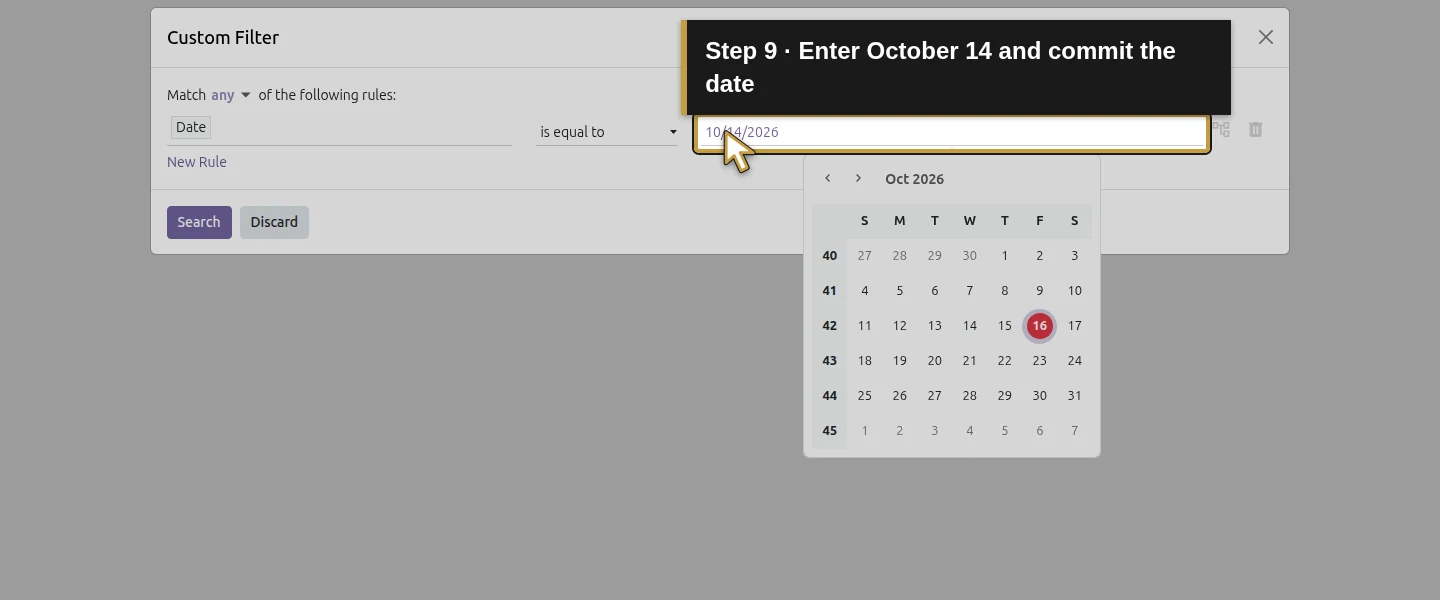
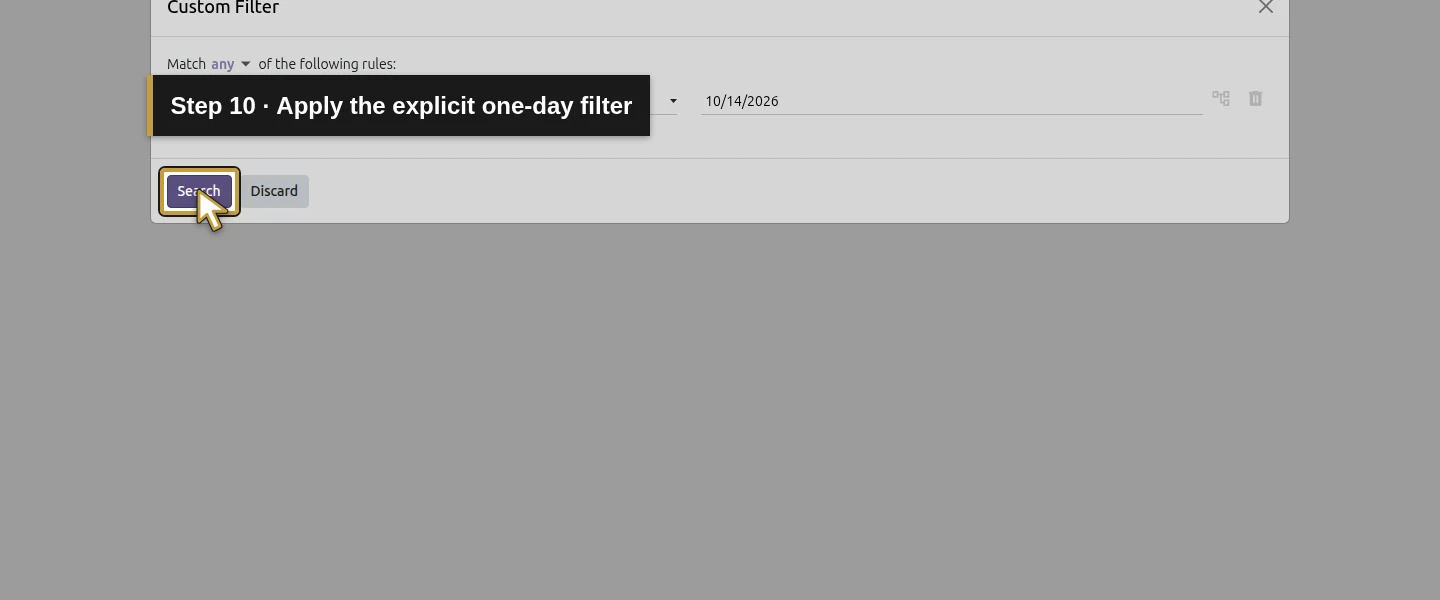
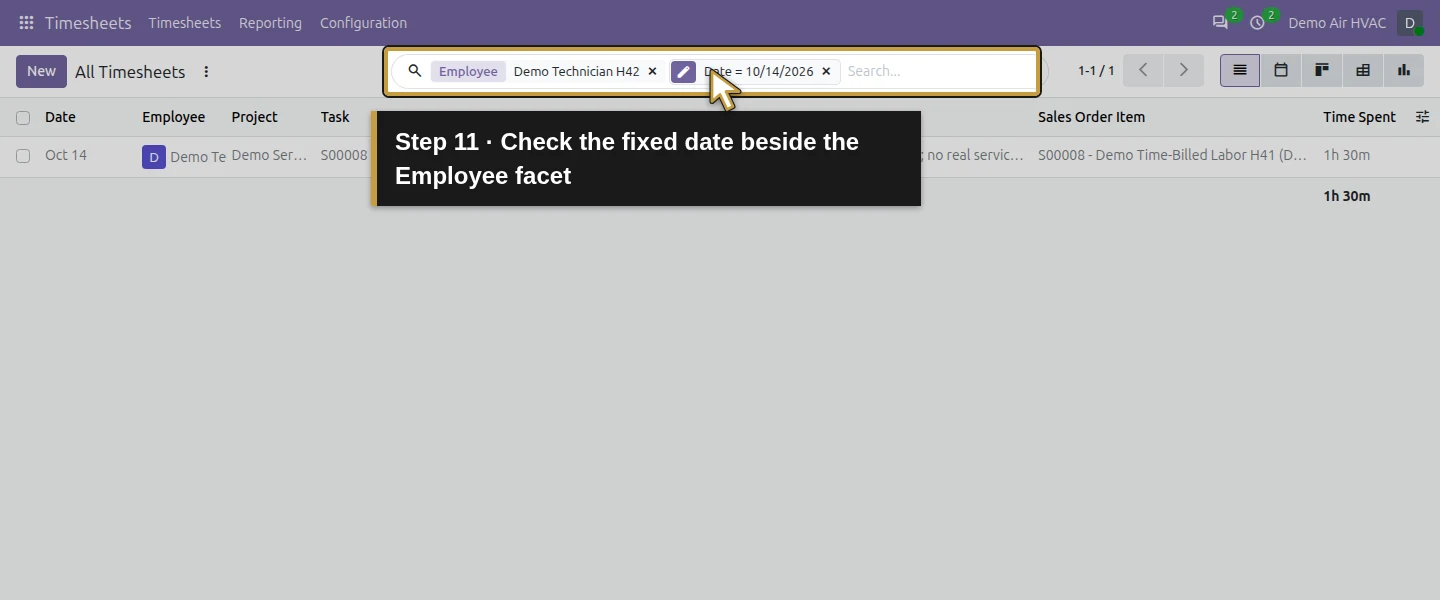
Open Toggle Search Panel → Filters → Custom Filter…. Click the starting field selector, choose Date, then change the operator from is in to is equal to. Enter 10/14/2026 in the date input, commit the field, and click Search. Check Date = 10/14/2026 alongside the Employee facet. This verified example uses one day; do not substitute a moving Today filter for a fixed, reviewed handoff period.
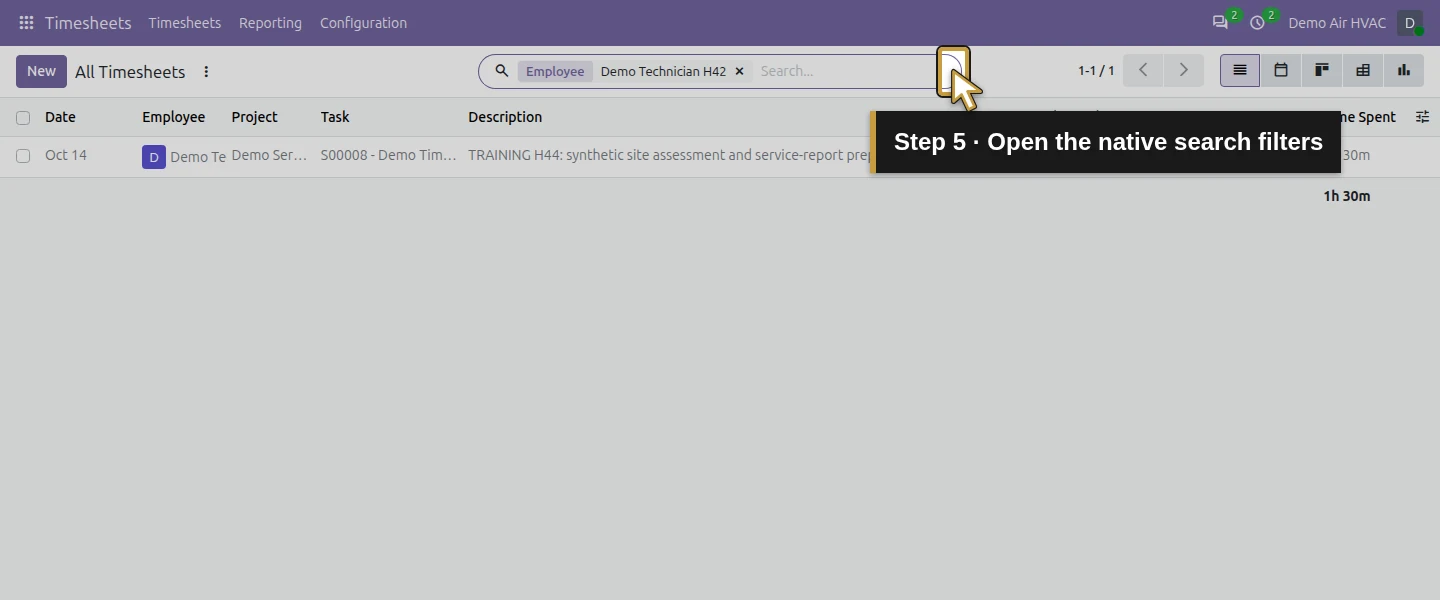
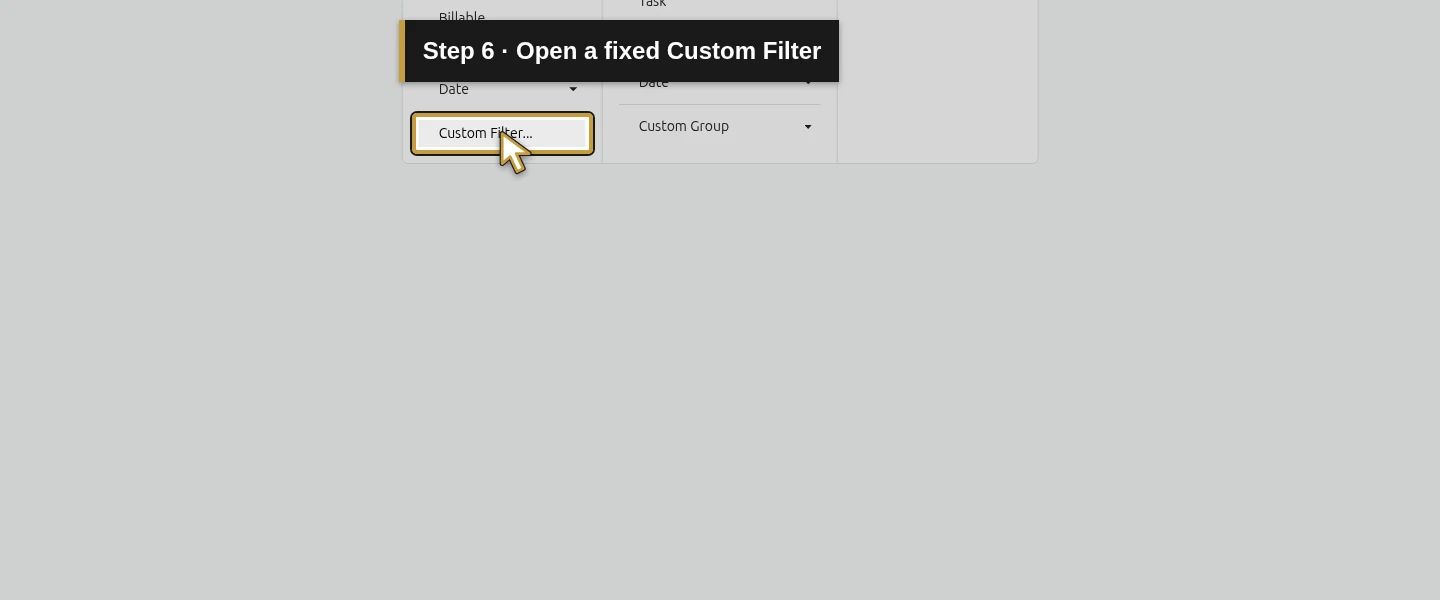
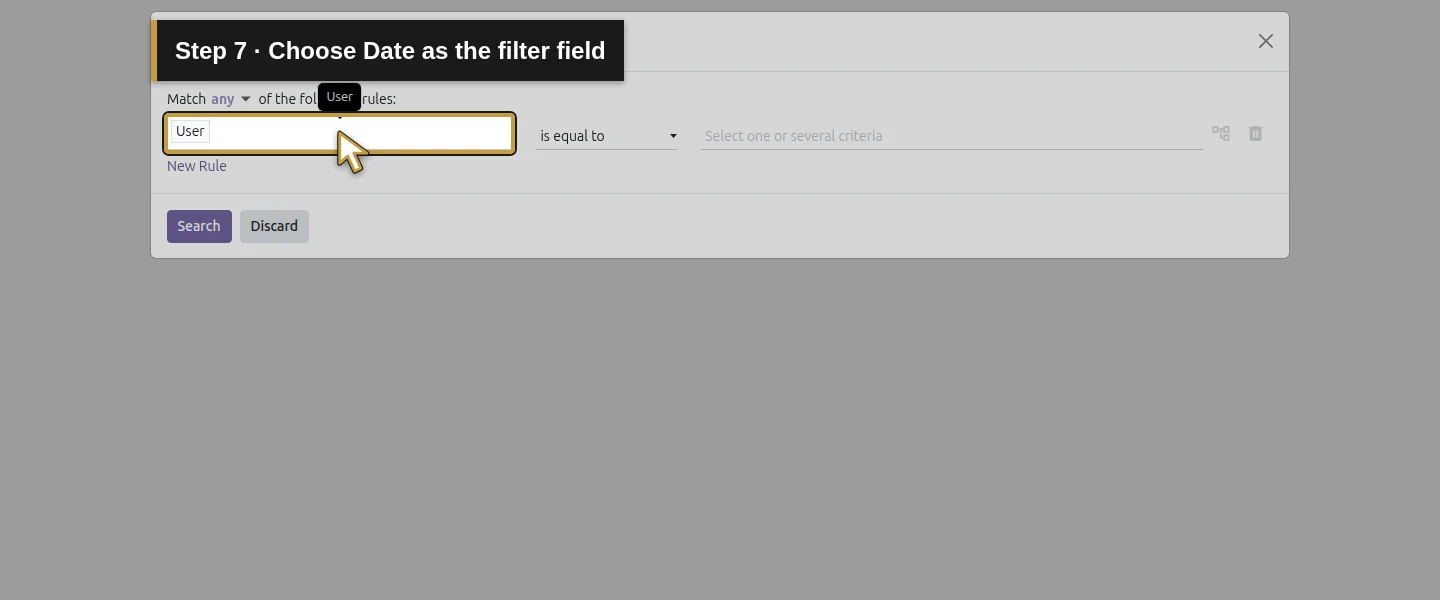
Step 4. Review the selected time before downloading
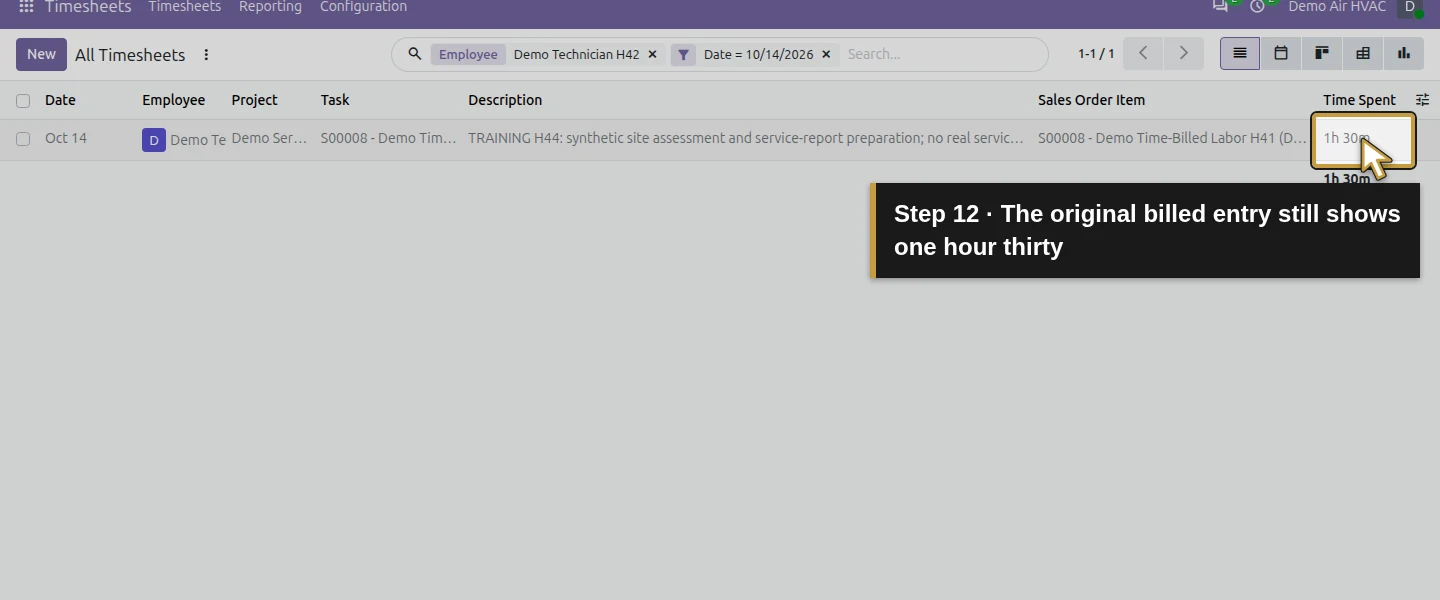
Check the one resulting row: the correct employee/project/task, October 14, and the labelled training description. The footer and row both show 1h 30m, equal to 1.5 decimal hours. This is a source review, not a demonstrated payroll approval. The saved row remains the original H44 entry and is already billed at this checkpoint. Do not create another entry or change its hours just to prepare an export.
Step 5. Select the native export fields
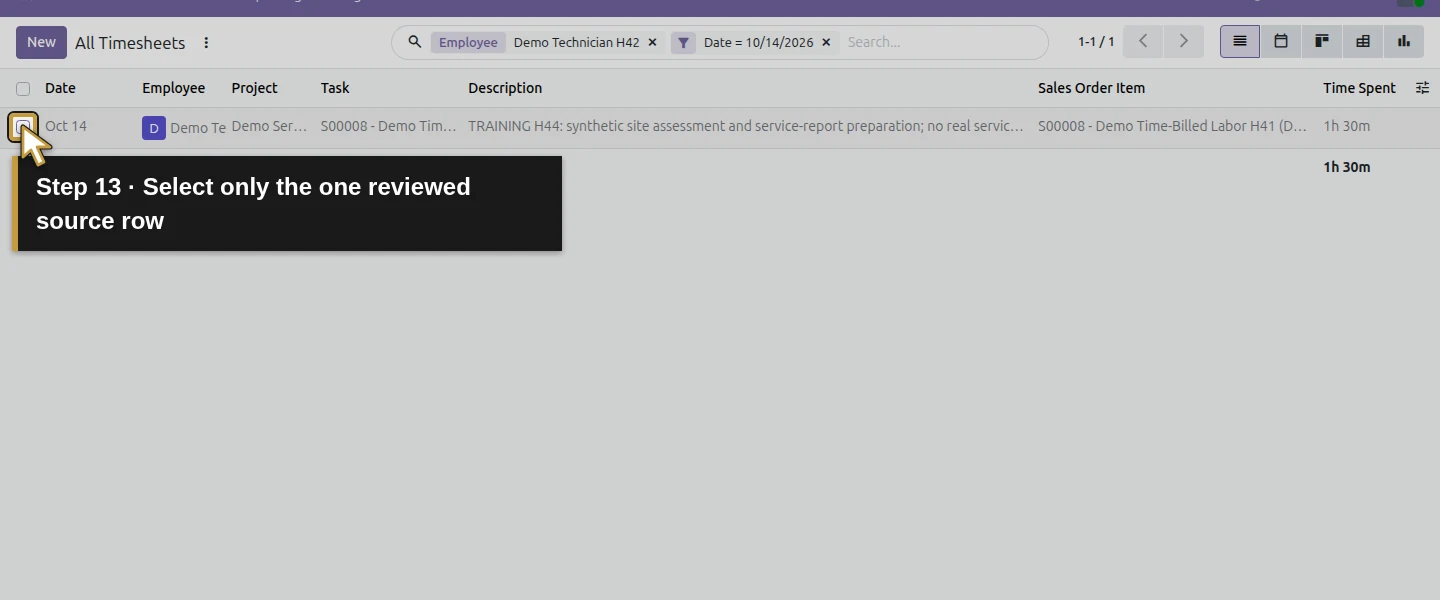
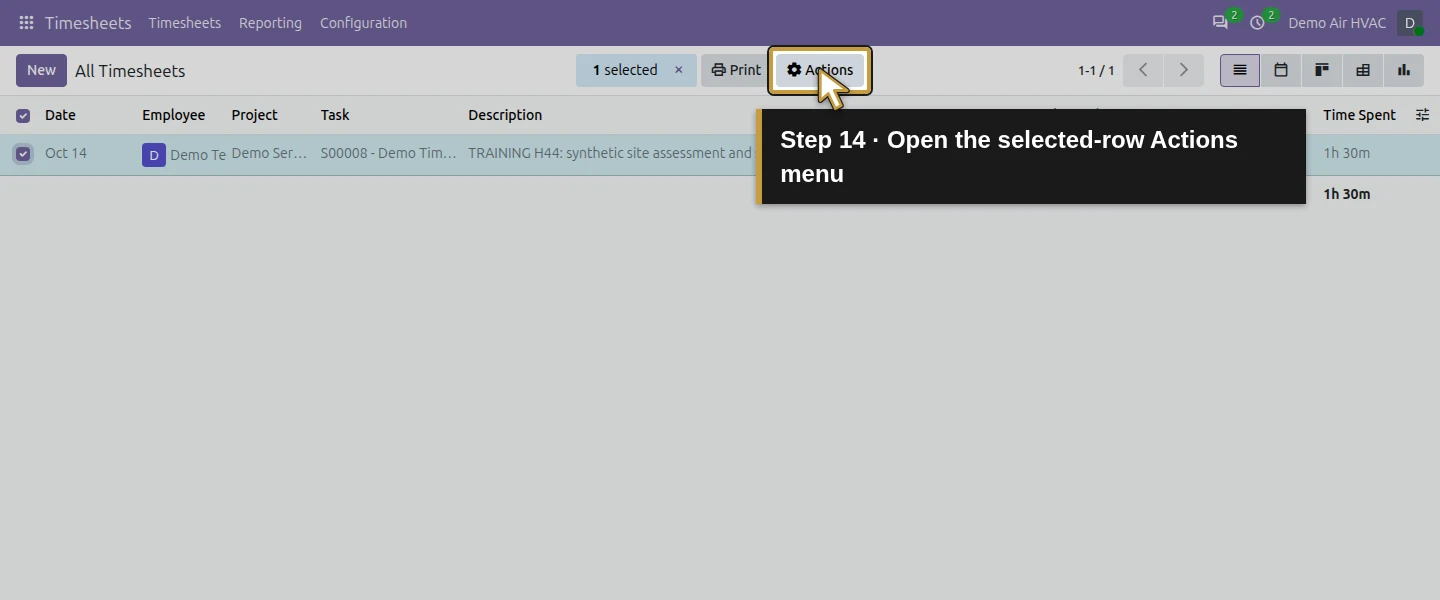
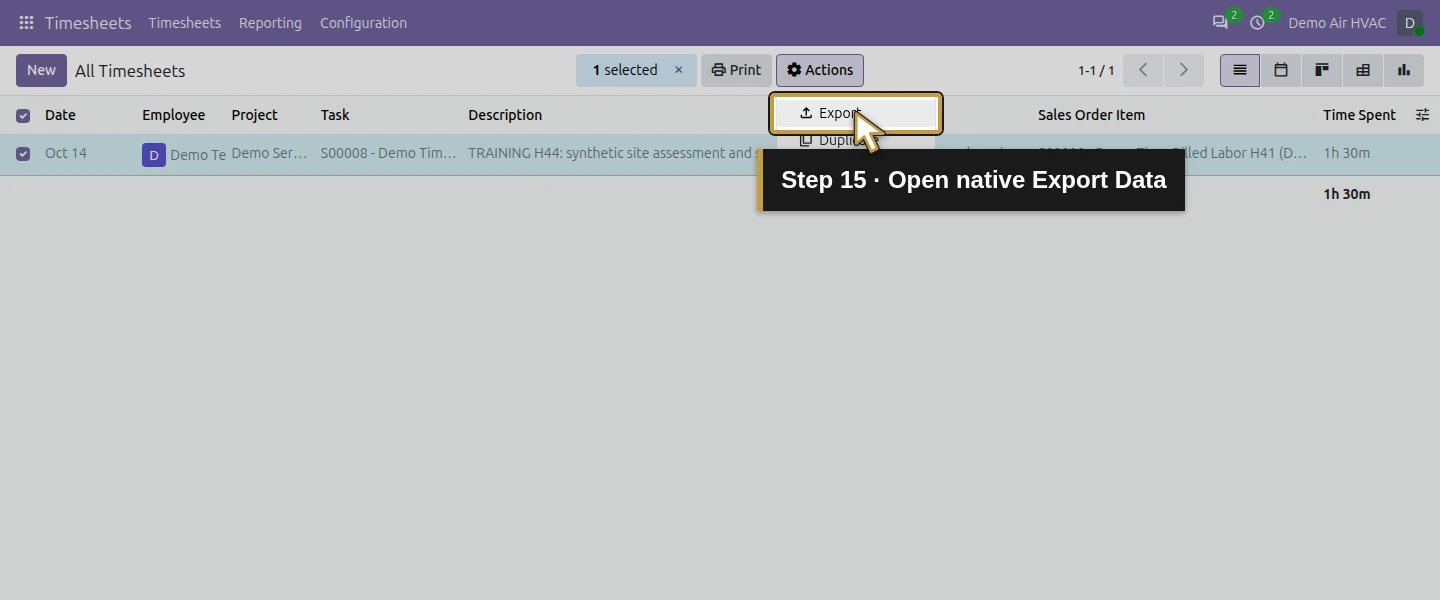
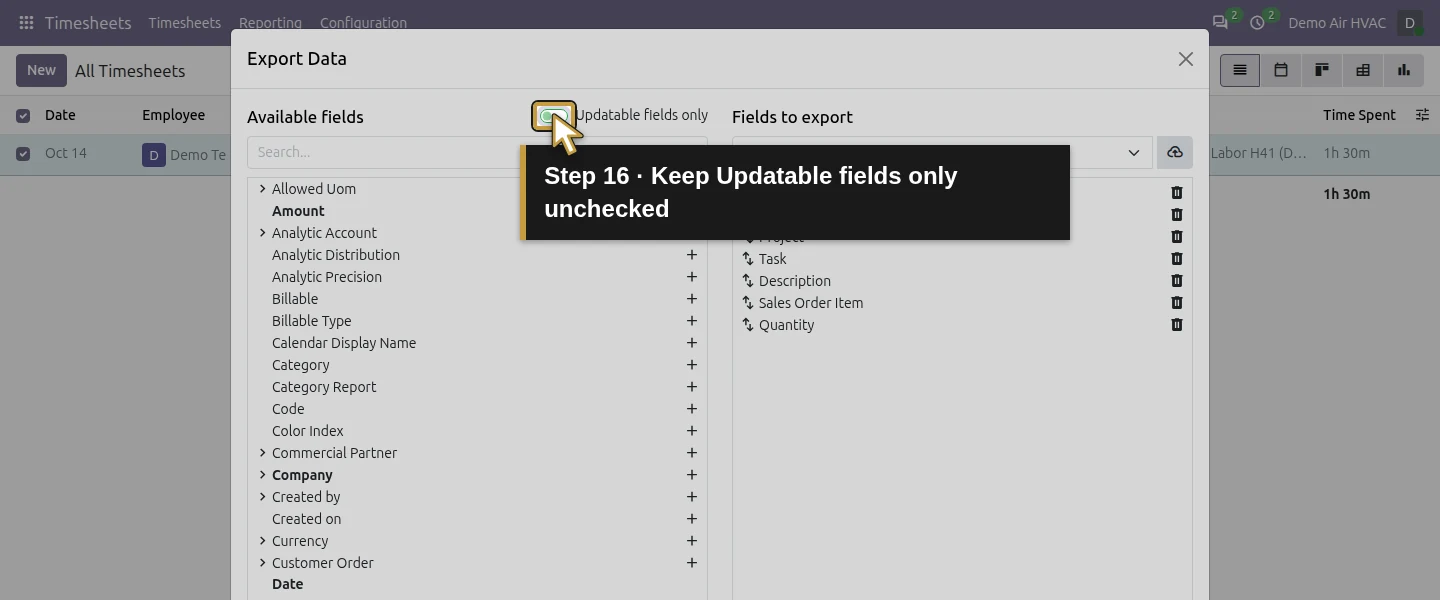
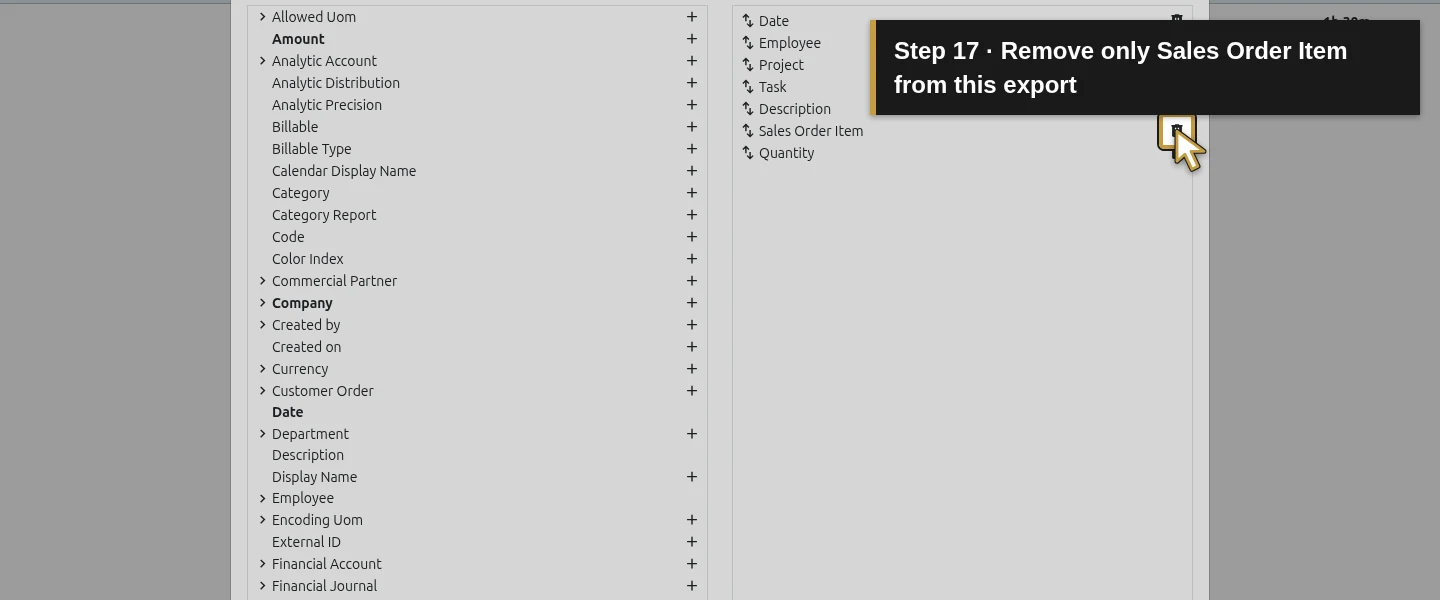
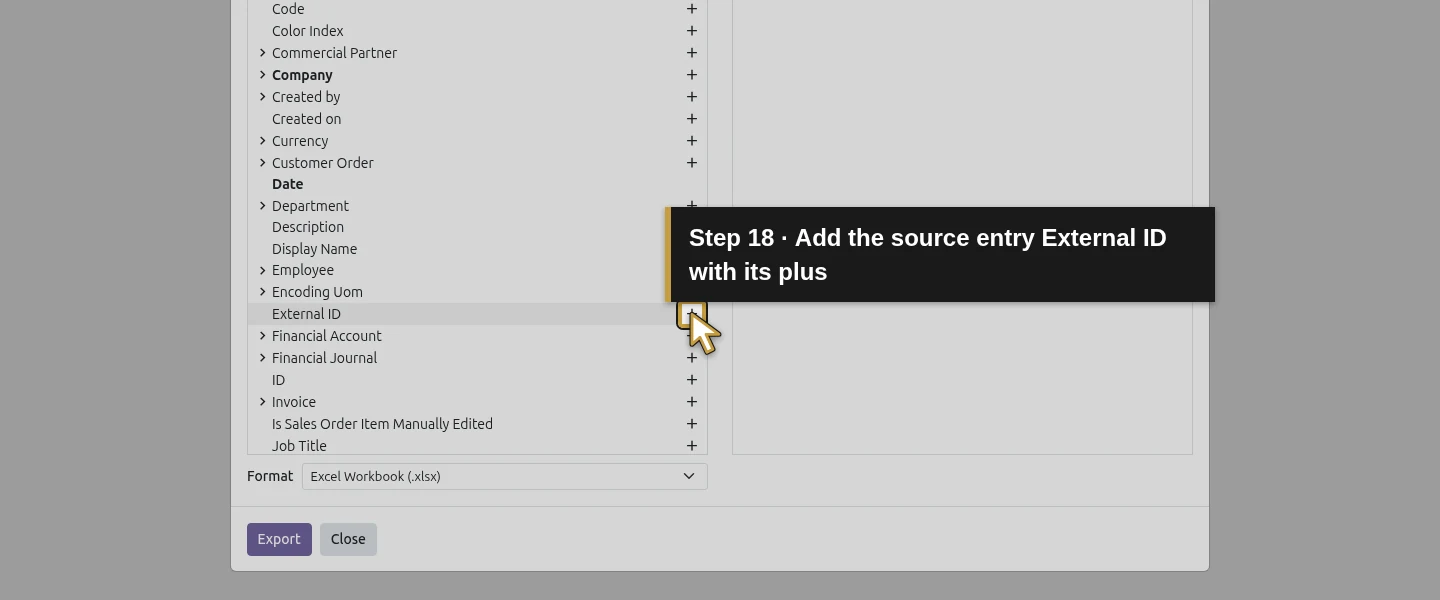
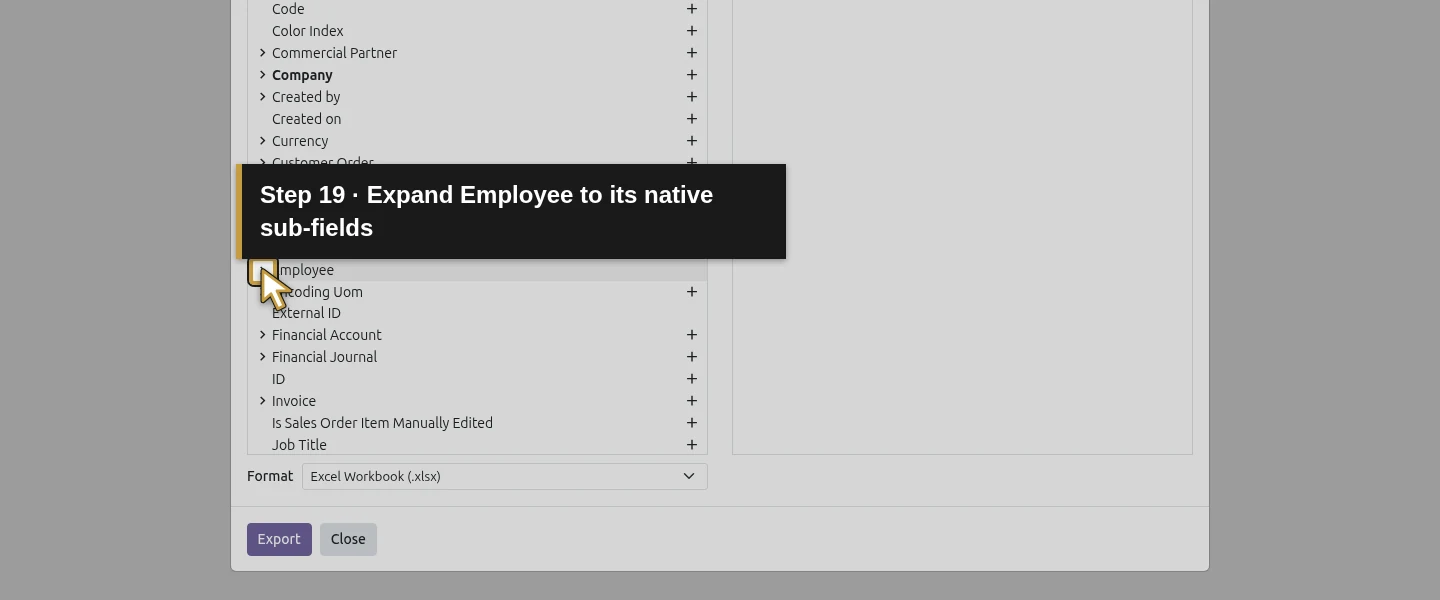
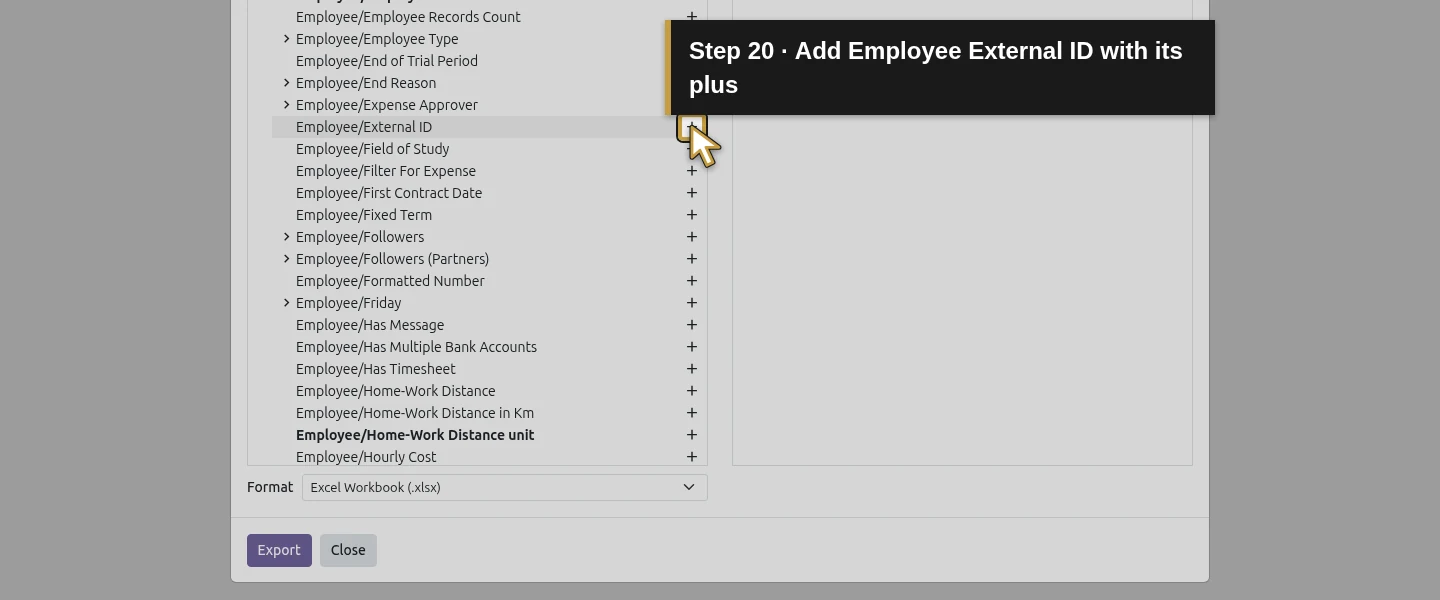
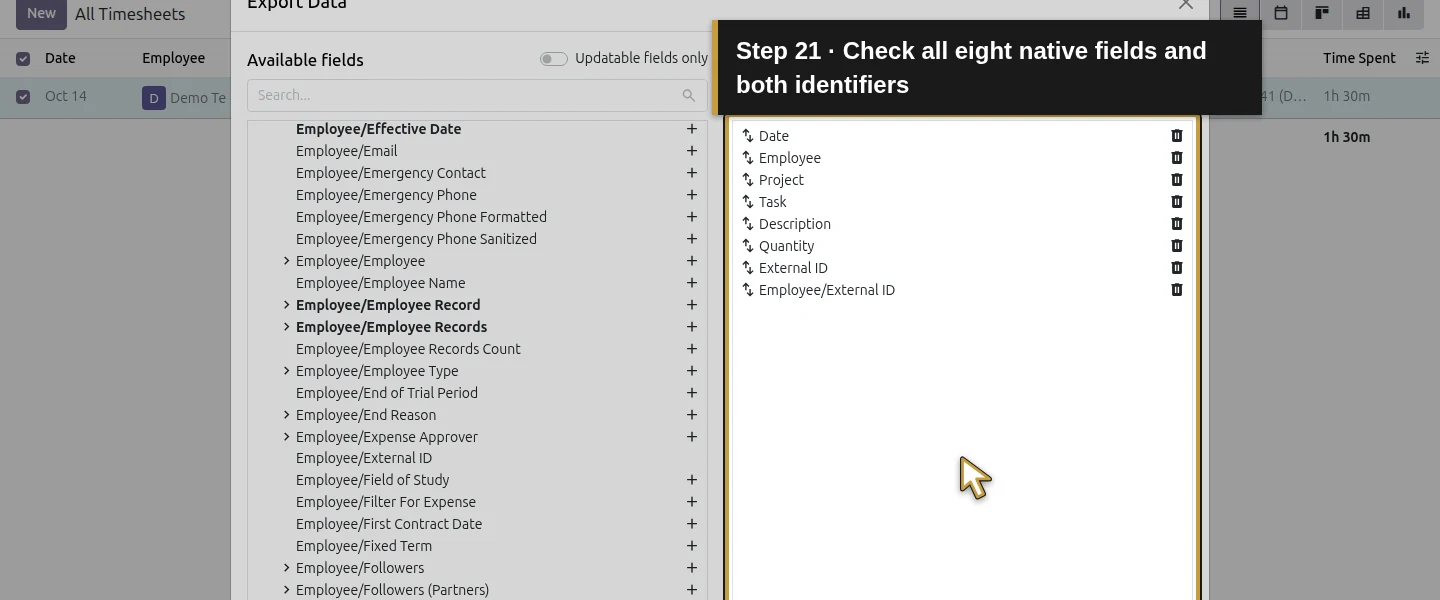
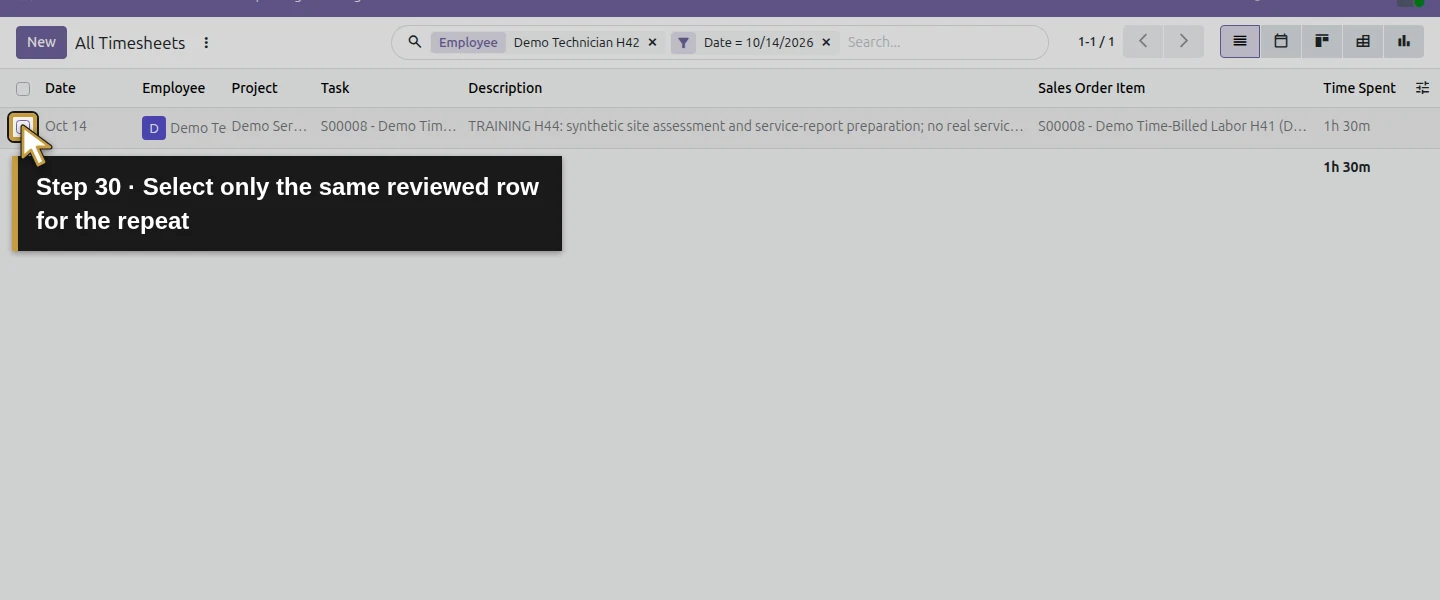
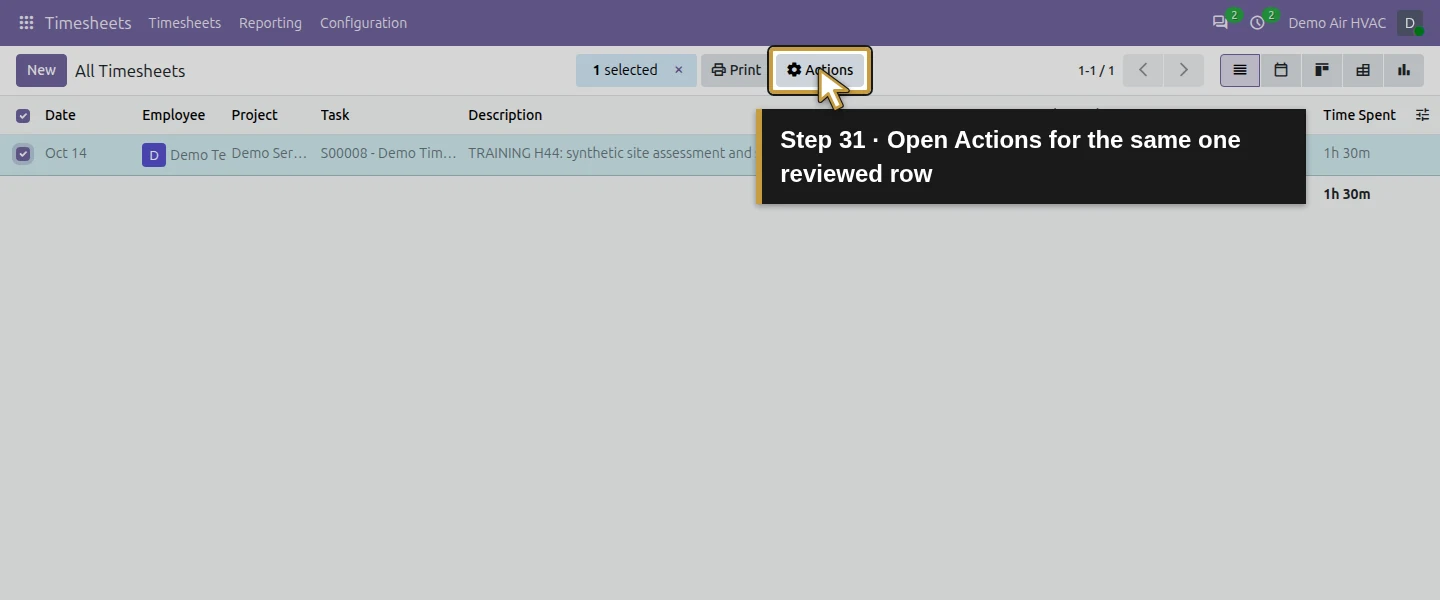
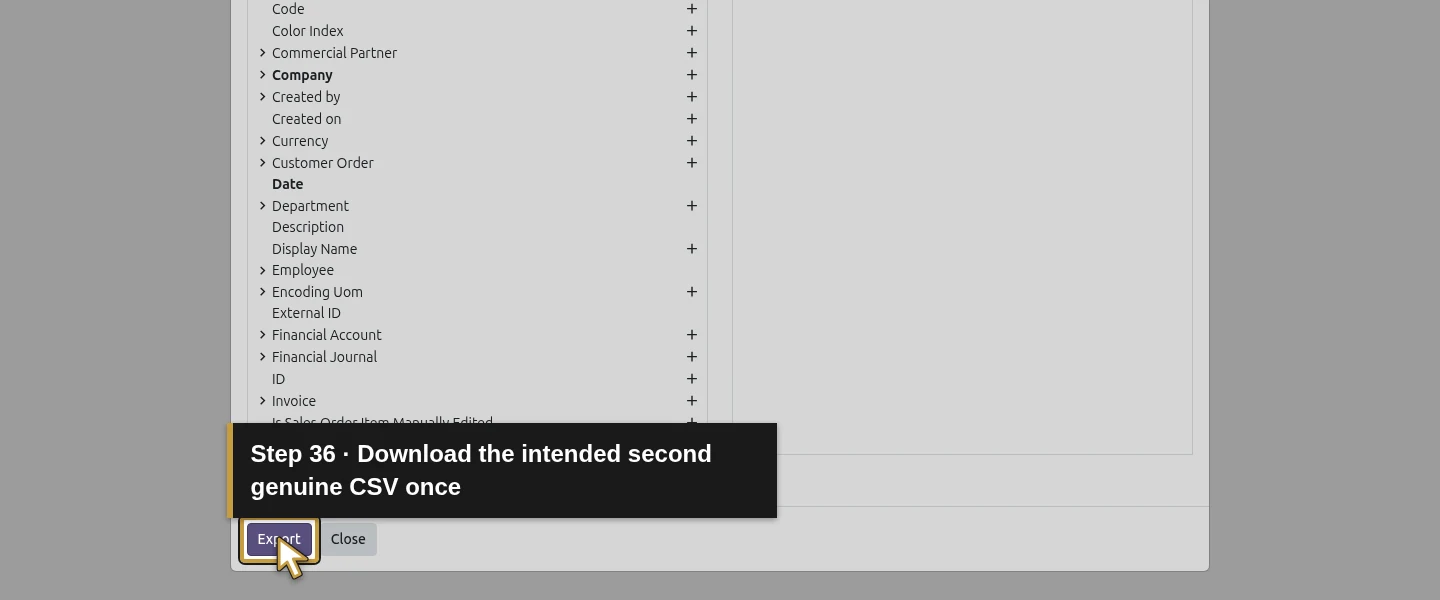
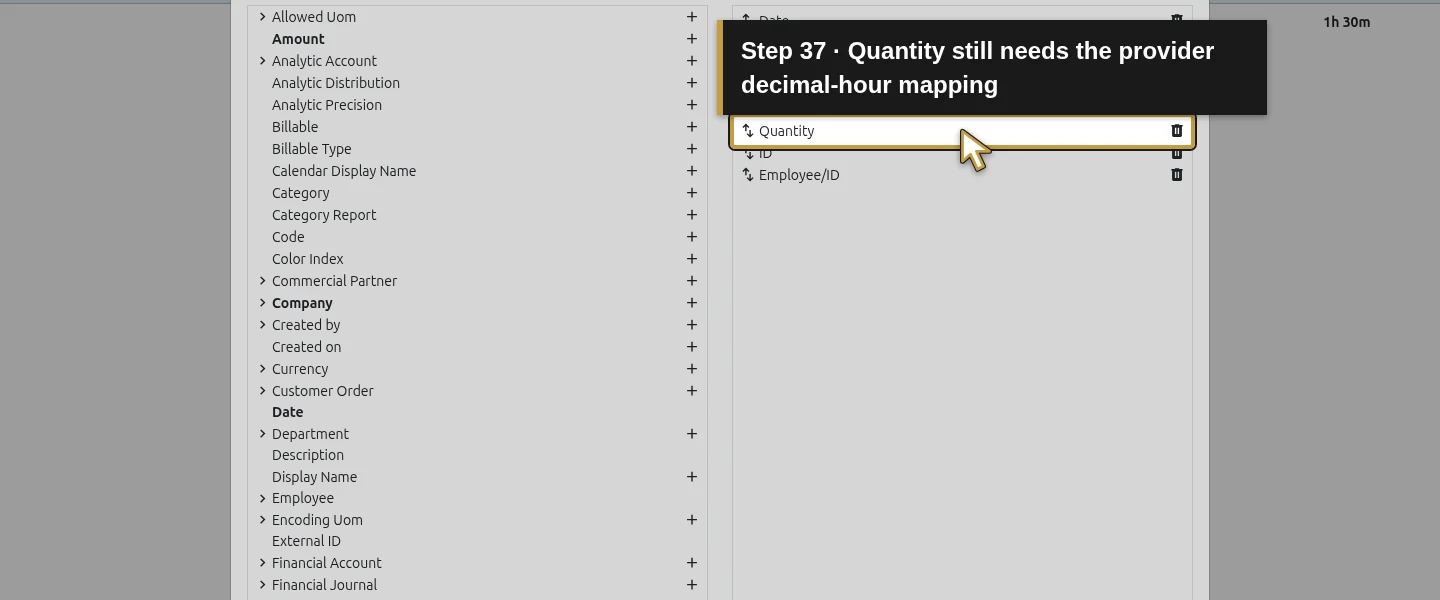
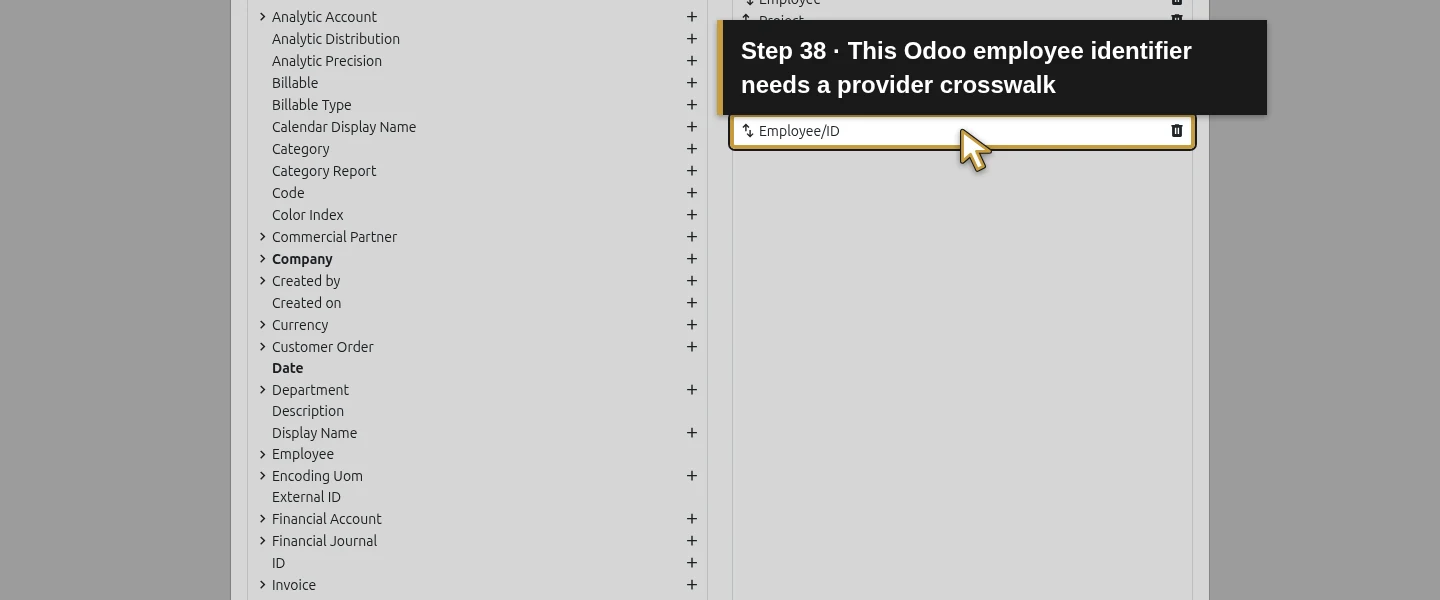
Wait for the filtered list to finish refreshing. Select the row’s checkbox, then Actions → Export. In Export Data, leave Updatable fields only unchecked. Retain Date, Employee, Project, Task, Description and Quantity from the selected fields; remove Sales Order Item with its remove icon. In Available fields, click the + control beside External ID. Expand Employee with its small sub-fields arrow, then click + beside Employee/External ID. Check exactly eight entries under Fields to export, including both identifiers. Quantity is the export label for this entry’s duration; the list calls it Time Spent.
Step 6. Save a reusable field template
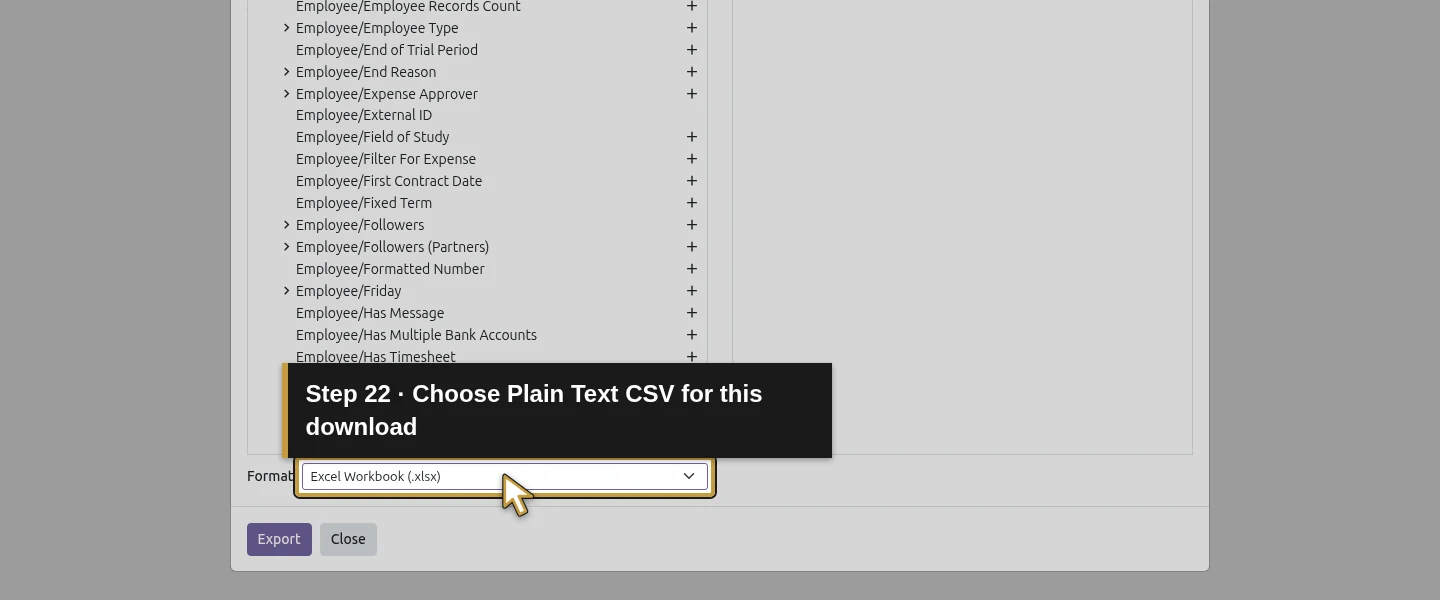
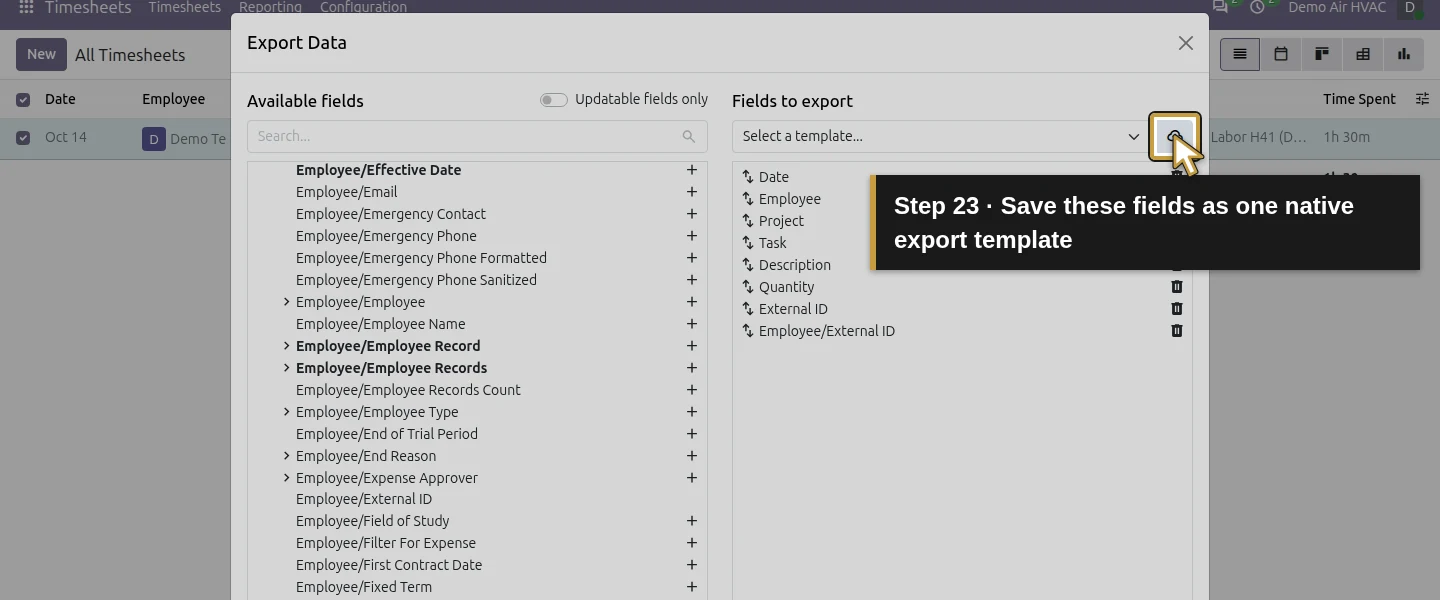
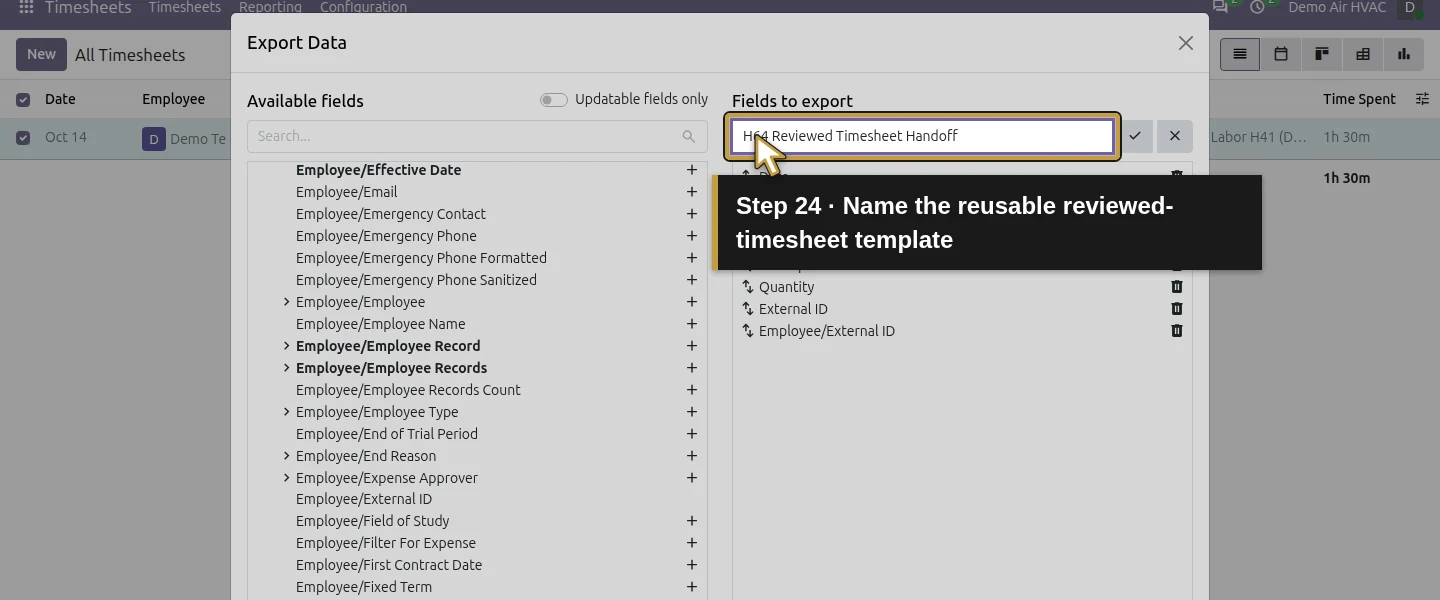
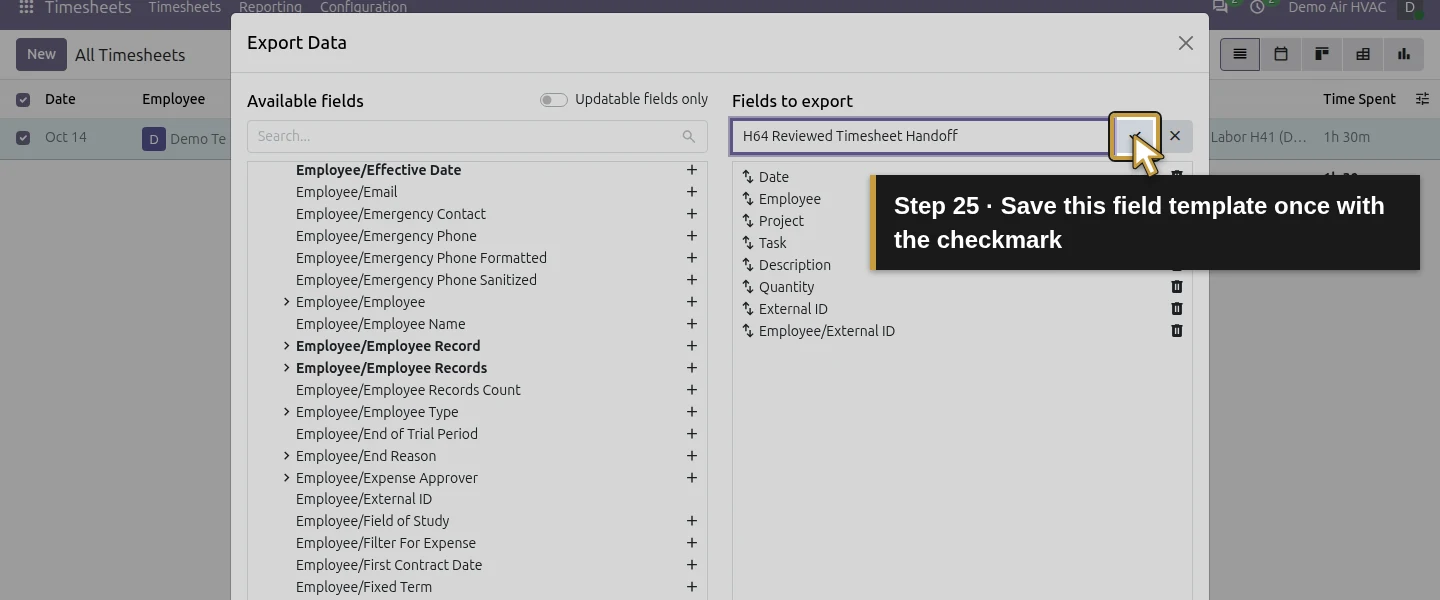
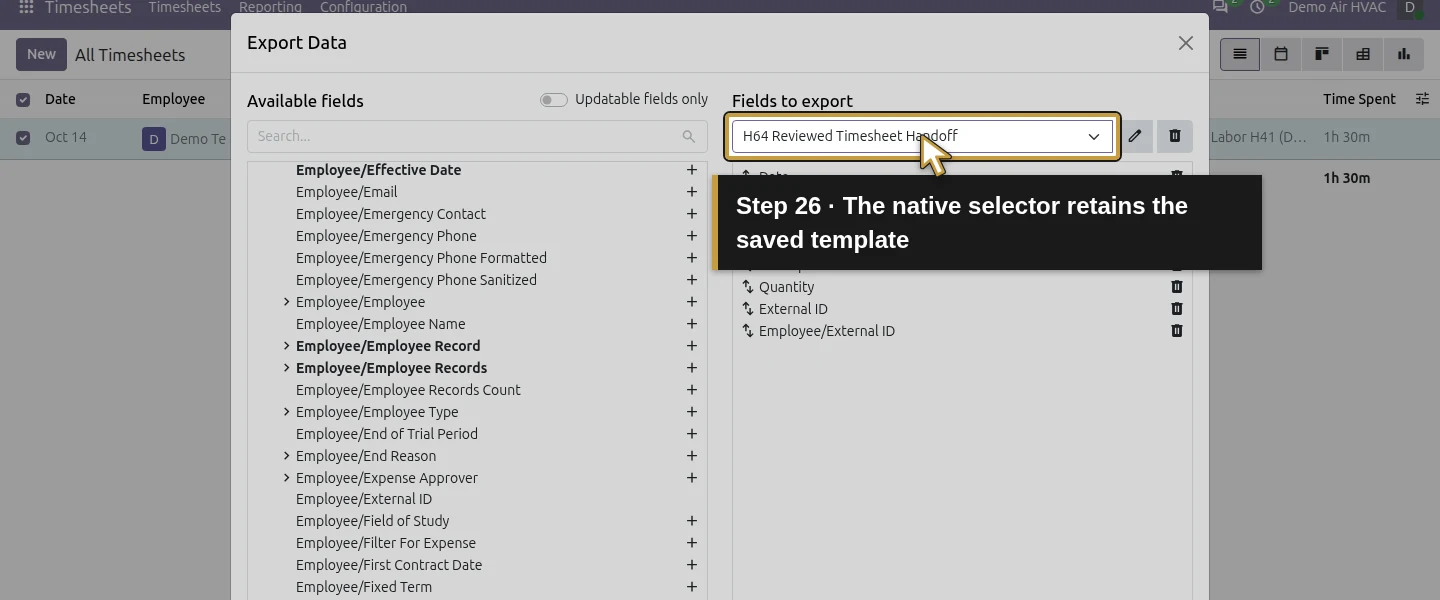
Choose Plain Text (.csv) in Format. Click the small save-template icon beside the template selector under Fields to export, enter H64 Reviewed Timesheet Handoff in Set the template name…, and click the checkmark. The template selector now shows that saved name. This saves the selected fields and their order; it is not a scheduled export, an employee/date filter or a provider connector.
Step 7. Download and reconcile the actual CSV
Click Export and save the downloaded CSV with a clear period/version name. The first verified file has eight headers: Date, Employee, Project, Task, Description, Quantity, External ID, Employee/External ID. It contains one record, Date 2026-10-14 and Quantity 1.5. Compare those values with the filtered one-row/1h 30m view. The identifier values begin export and point to the existing source entry and employee; they are Odoo External IDs, not a provider’s employee numbers.
Step 8. Reopen the template and check its header labels
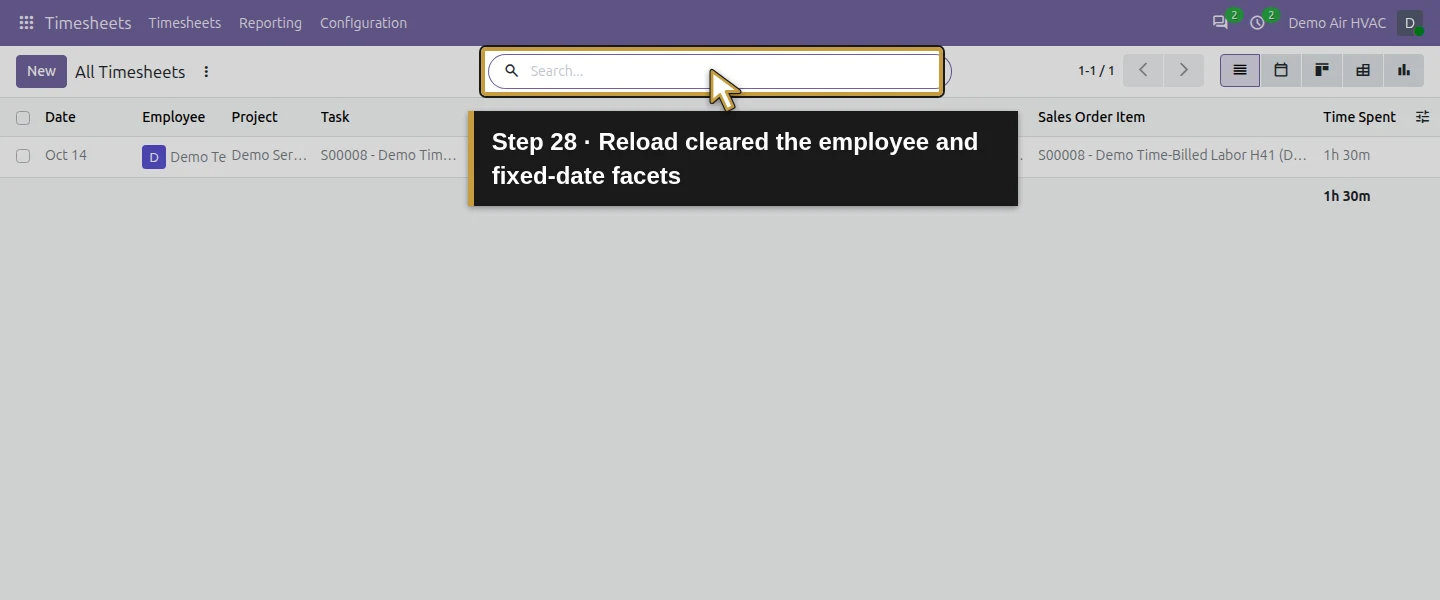
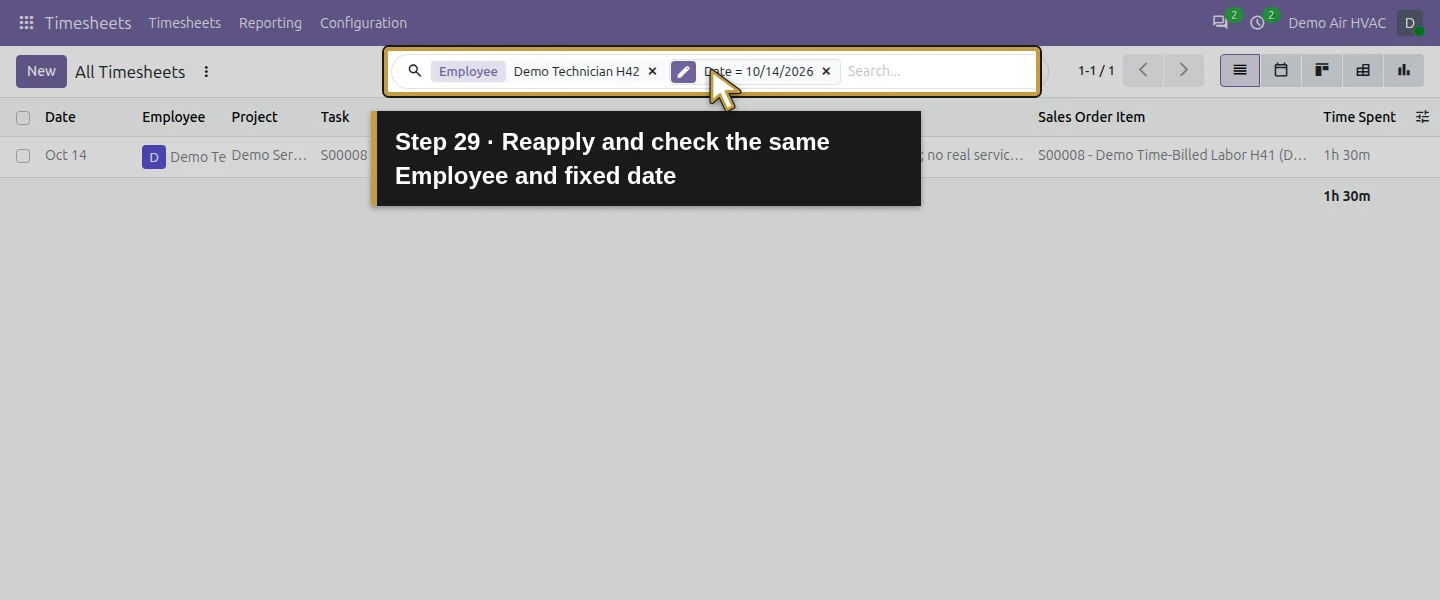
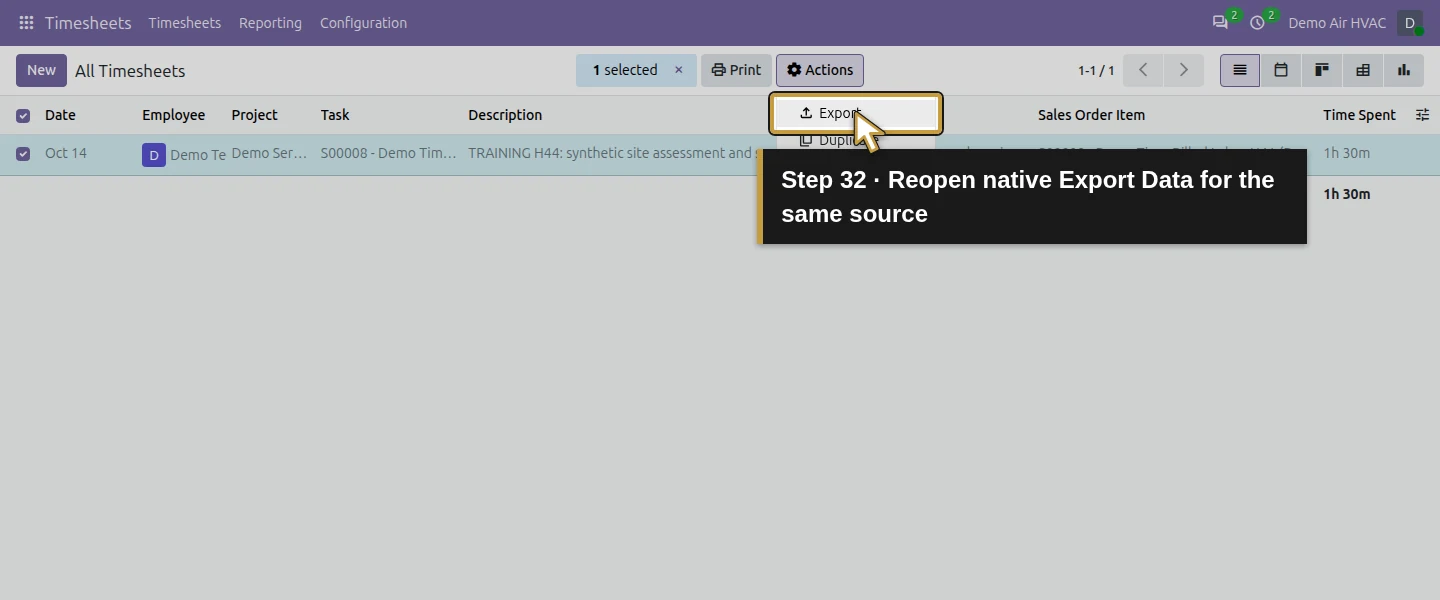
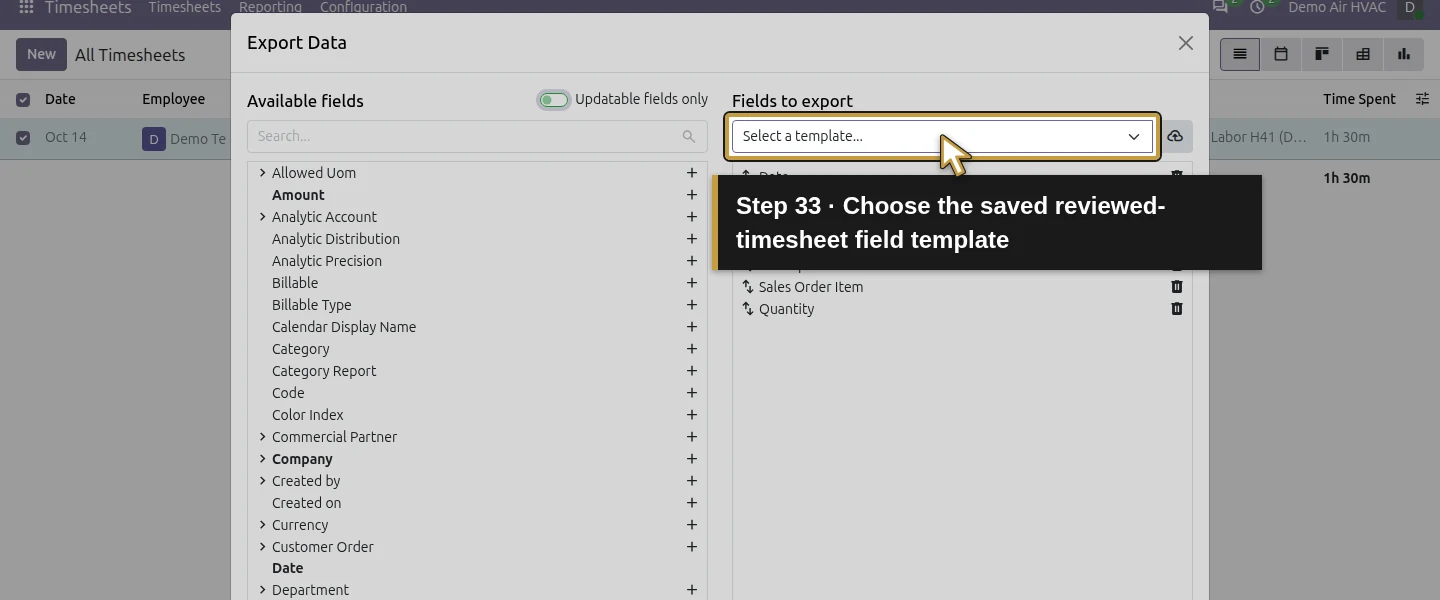
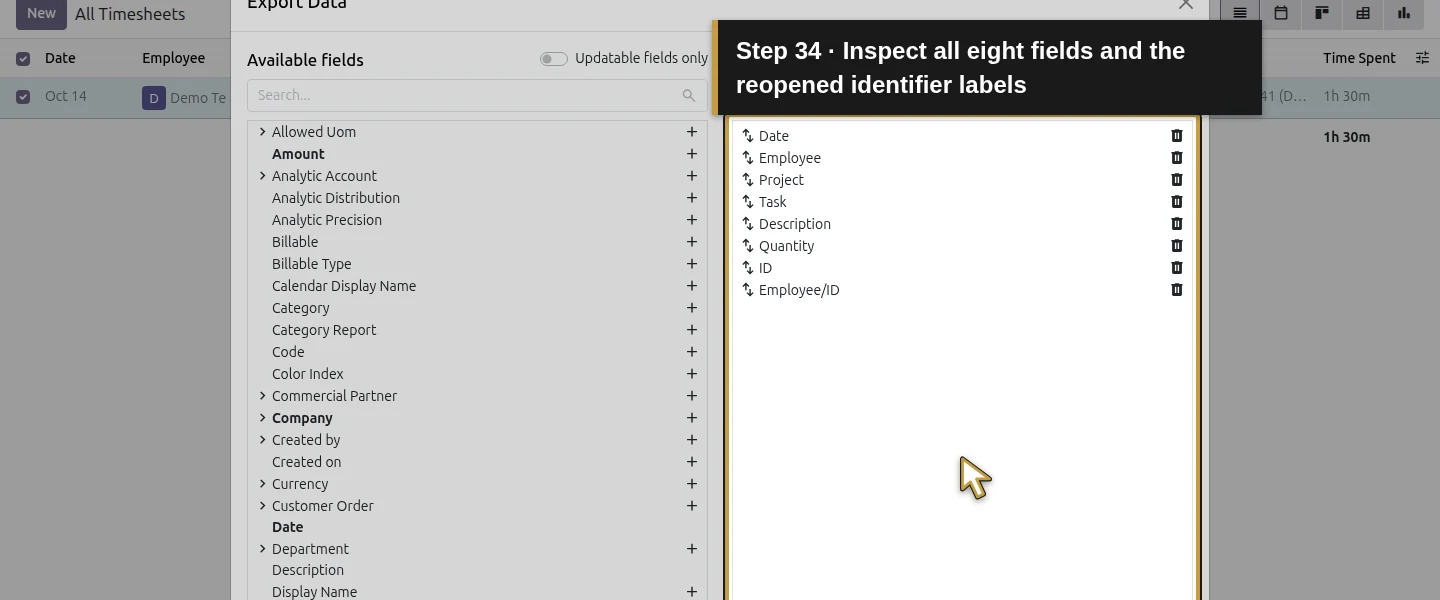
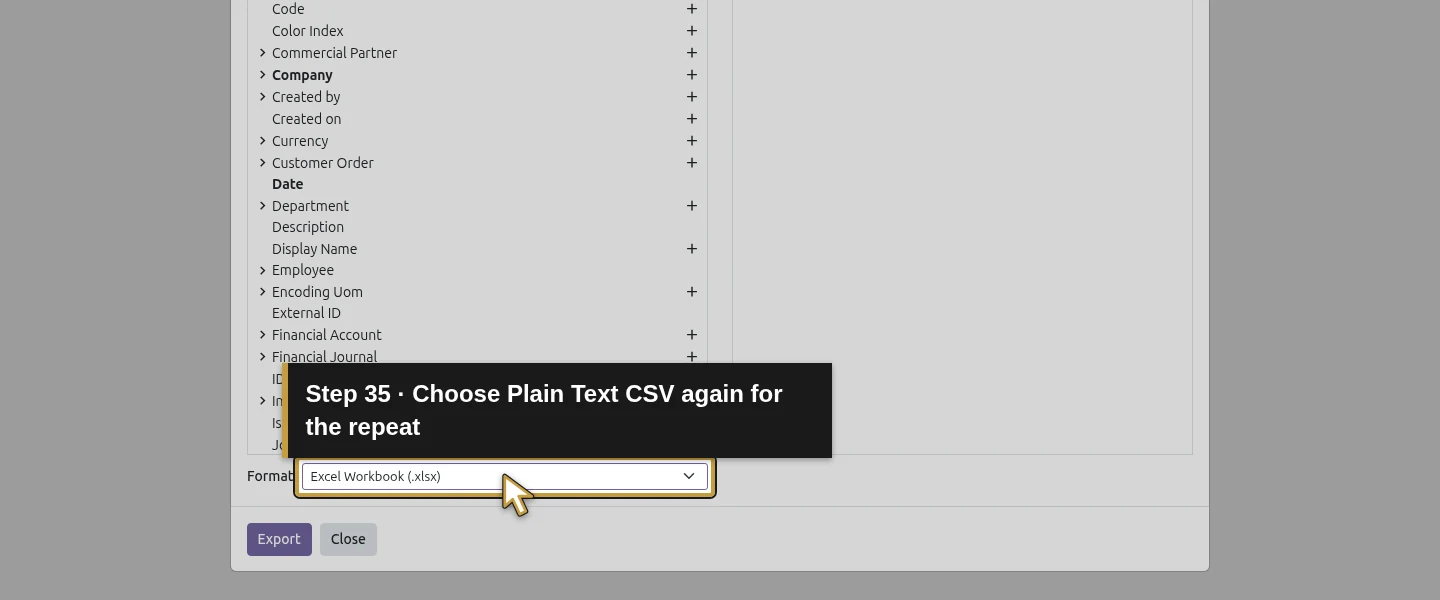
Close Export Data and reload All Timesheets. In this test the reload cleared the Employee/date facets, so reapply and check both before selecting the row again. Open Actions → Export, choose H64 Reviewed Timesheet Handoff, and choose Plain Text (.csv) again. The same eight technical fields reopen, but the saved template labels the two identifier columns ID and Employee/ID. A second actual download contains the same one row, 1.5 hours and identical identifier values; its headers and file bytes differ. Inspect the downloaded headers every time rather than assuming a saved template guarantees a byte-identical schema.
Step 9. Review the mapping before a provider handoff
Compare the final file with the actual provider’s required column names, date format, decimal-hour convention and employee identifiers. Keep an approved crosswalk from Odoo’s employee External ID to the provider’s employee ID. Map Quantity 1.5 as the reviewed hours only after confirming that meaning in the provider specification. Handle any earnings codes, regular/overtime/leave decisions and approvals in the agreed process; this example supplies none of those calculations. The verified result ends with local CSV and mapping review. No provider upload or payroll run was performed.
Check the result
The native export produces one eight-column CSV row with October 14, the existing employee/project/task, the source description and 1.5 decimal hours. One reusable export template survives reload. Reapplying the employee/date filters and exporting again retains the same ordered values and External IDs without duplicating or changing the timesheet. The two identifier headers change from External ID/Employee/External ID to ID/Employee/ID when the template reopens, so the file still needs explicit header and provider-ID mapping review. The original billed hours, invoice links and financial records are unchanged.
If your screen differs
The test covers one owner role, one employee and one date. It does not establish every period, permission, unit/locale or provider format. The list’s 1h 30m became decimal 1.5 in the CSV; do not interpret 1.5 as 1 hour 5 minutes or infer that another file uses the same units. Export generated one native External ID for the existing time entry and employee; repeat export reused them. Saving the template changed native export metadata, not the time entry. Reload dropped the unsaved search filters, and the saved-template identifier headers changed. No automatic transfer, payroll module, rate/earnings/tax calculation, overtime decision, real provider integration or payroll approval was tested. Use a provider’s current specification and approved test process before sending real payroll data.
Frequently asked questions
How do I export Odoo timesheets for payroll?
In the verified workflow, open Timesheets → All Timesheets, filter the intended employee and fixed date, review the hours, select the rows and use Actions → Export. Save the required fields as a native template, choose CSV and reconcile dates/count/hours/identifiers. The result is a reviewed source file; provider-specific mapping and upload remain separate.Why does my Odoo timesheet export show Quantity 1.5?
The native list displays the tested entry as 1h 30m, while its CSV field Quantity is decimal hours 1.5. This is 90 minutes, not 1 hour 5 minutes. Compare the entry, selected date/employee, record count and units before the handoff; do not change billed time to make a spreadsheet format look different.Can Odoo automatically send timesheets to my payroll provider?
This stock workflow demonstrates a manual native CSV export and reusable field template. It does not demonstrate a provider connector, automatic transmission or payroll processing. The actual provider must confirm its schema and employee-ID mapping. The saved template also does not retain the demonstrated employee/date selection or guarantee unchanged identifier header labels.Continue building the business
Continue with How do I track service vans and vehicle costs in Odoo?. Keep payroll handoff decisions separate from the customer invoice that already includes this technician’s time.
Talk to an Odoo partner
Bring your current process and the result you need to Onward to plan your Odoo workflow. Talk to an Odoo partner.