By Nelson Milian, Odoo Expert & Agentic AI Developer
Published
Running an HVAC business with Odoo
How do I record technician time on an Odoo job?
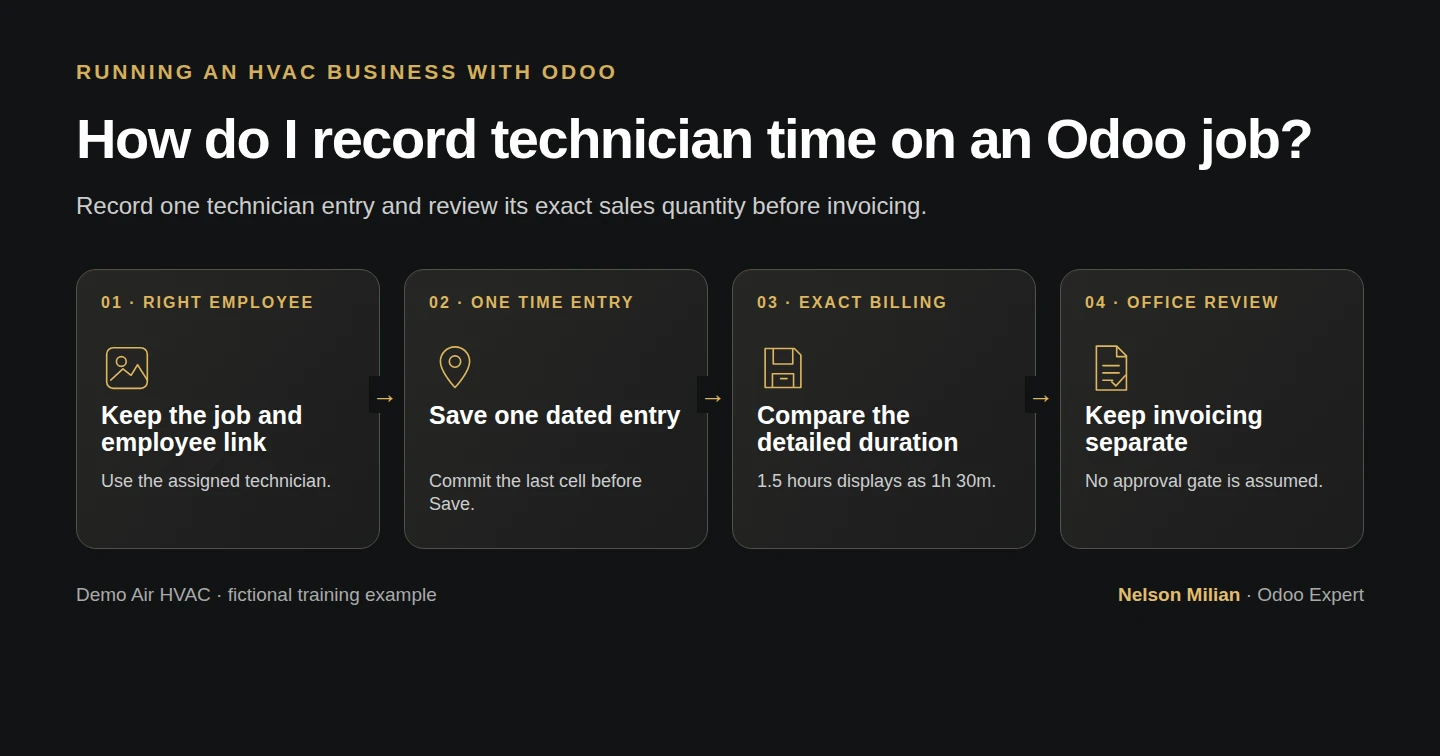
Workflow overview. Instructional screenshots show the actual demo interface.
Record technician time on an Odoo task, check the exact saved duration and verify the linked time-based sales quantity before invoicing.
Alex needs the technician’s actual job time recorded under the right employee and sales order. This guide gives the existing technician a stock own-timesheets permission, records a fictional 1.5-hour entry and checks the saved duration and billing link from both technician and office sessions.
Alex Rivera and Demo Air HVAC are fictional training examples. Prices, dates, quantities and business situations in this guide are illustrative.
Before you begin
Tested in stock Odoo 20.0-20260926 Community with official modules and standard configuration, using the owner administrator for setup/review and the technician for time entry. Use the task and dedicated time-based service from create a task from a sales order, the employee foundation from link an employee to a user and the assigned technician from assign a technician and deadline. The target is S00008 - Demo Time-Billed Labor H41, project Demo Service Jobs H40, customer Demo Property H08. The technician is Demo Technician H42, linked to the existing employee. The project has Timesheets and Billable enabled, and this service uses Based on Timesheets. An administrator performs permission setup; time entry is tested in the technician’s own session. Our October 14 entry is a synthetic rehearsal, not evidence that the proposed later visit occurred.
Step-by-step workflow
115 highlighted video actions with a white pointer, gold border and English captions, without narration. Each written step groups its smaller video actions. Stock Odoo20 Community. Fictional technician time rehearsal, one own-timesheet permission, one 1.5-hour entry and exact sales quantity review. No actual work, enforced approval or invoice. Preserve H43 instructions/photo, assignee/deadline and prior business records. The retained first Date Enter attempt produced an unintended zero-hour row; the next section corrects the original entry through the native calendar. The same entry and exact 1.5-hour result are verified.
Step 1. Check the existing task and employee
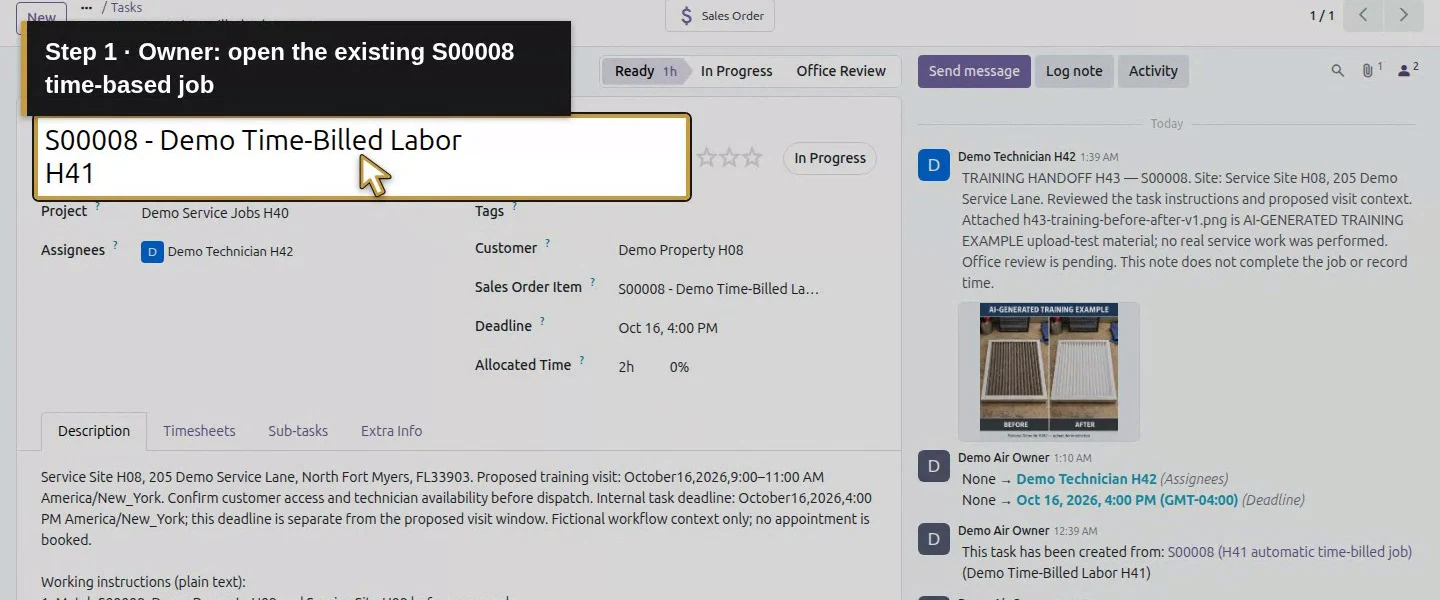
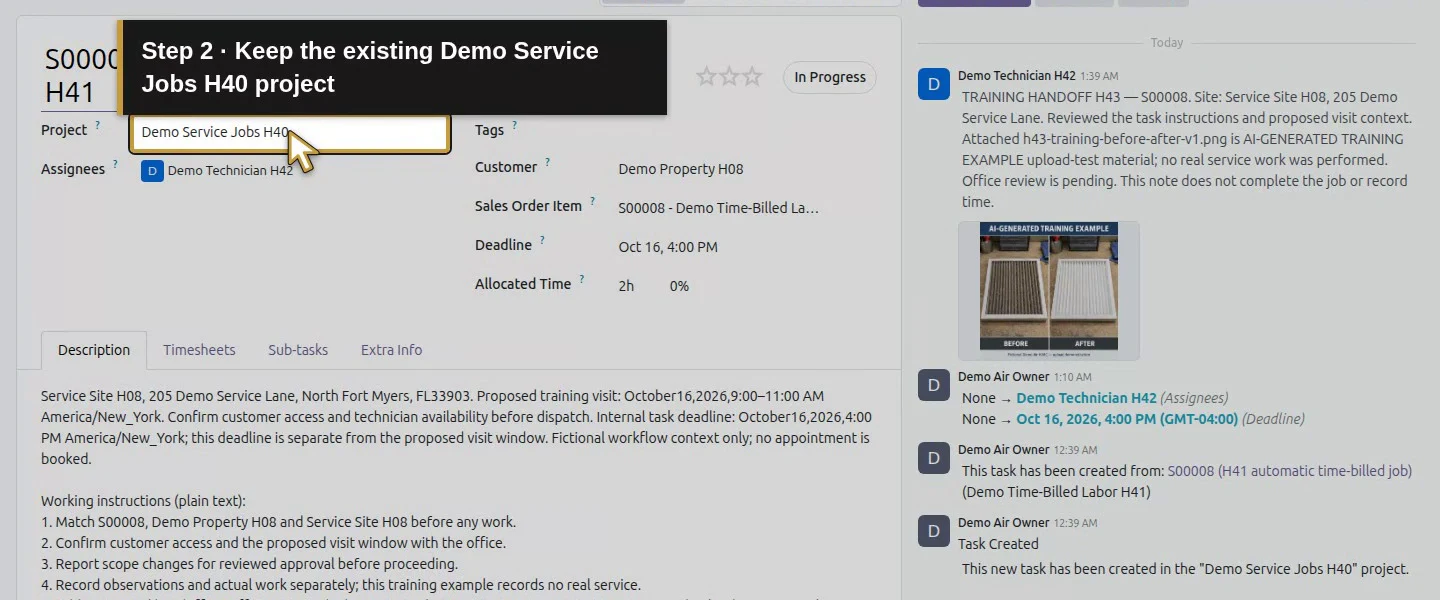
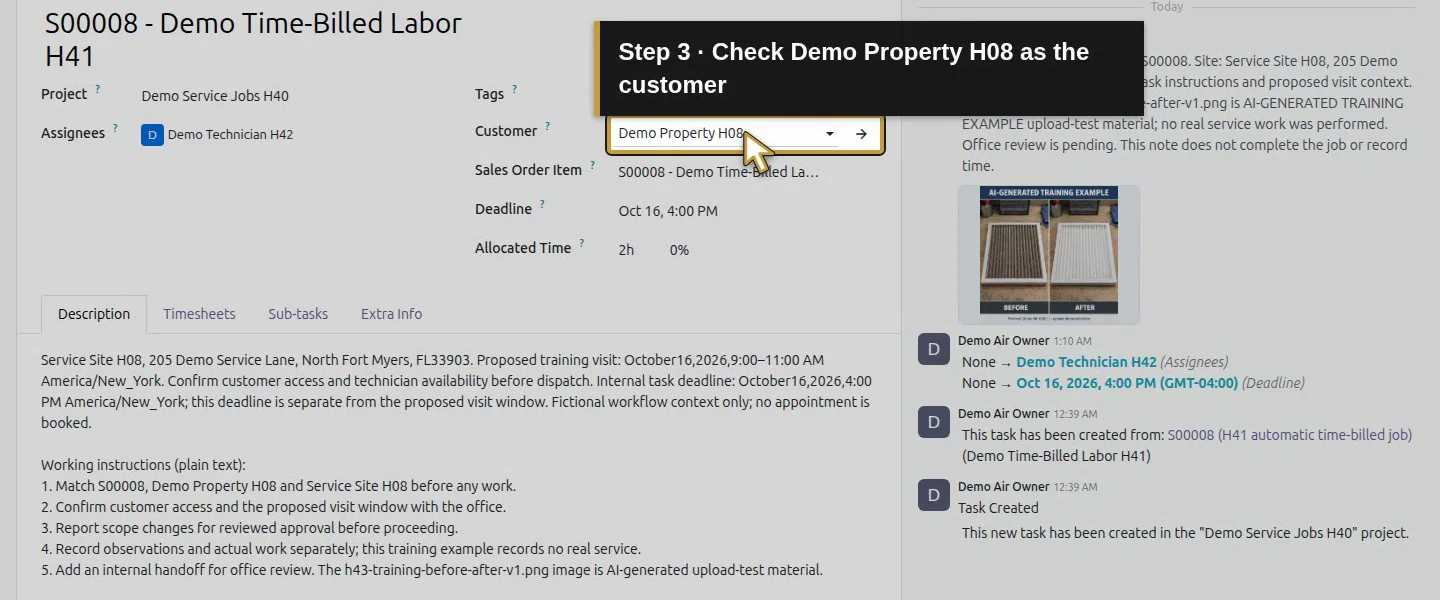
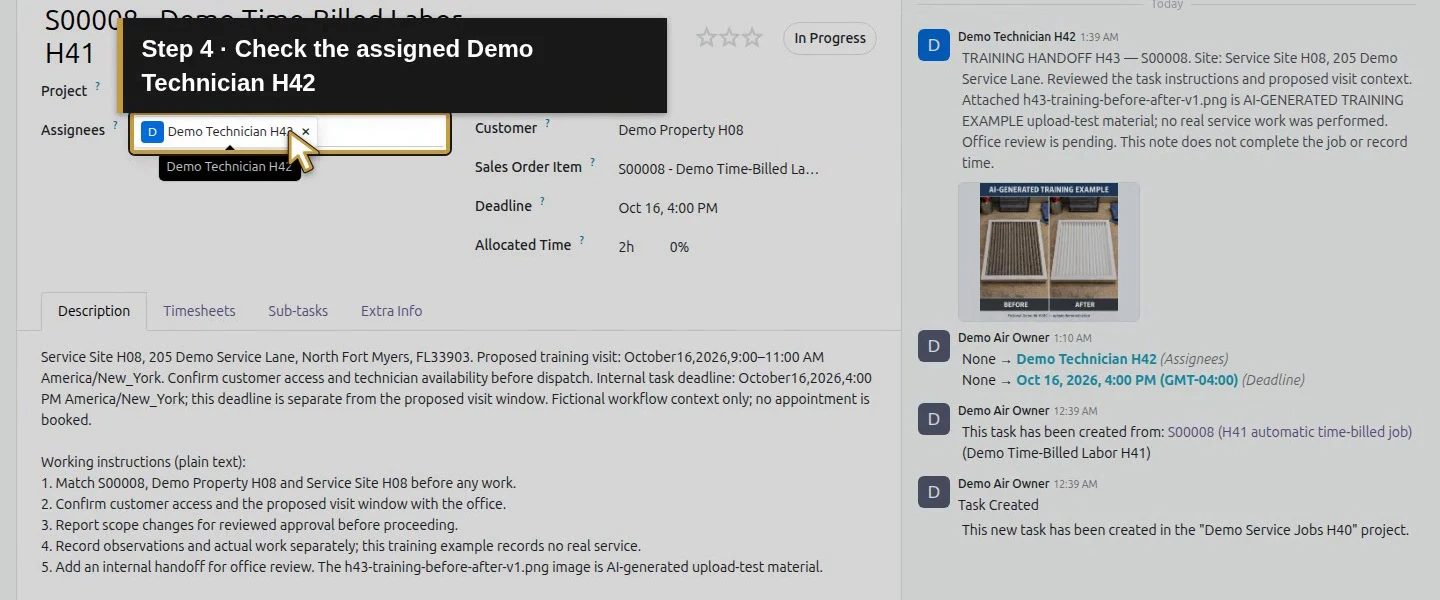
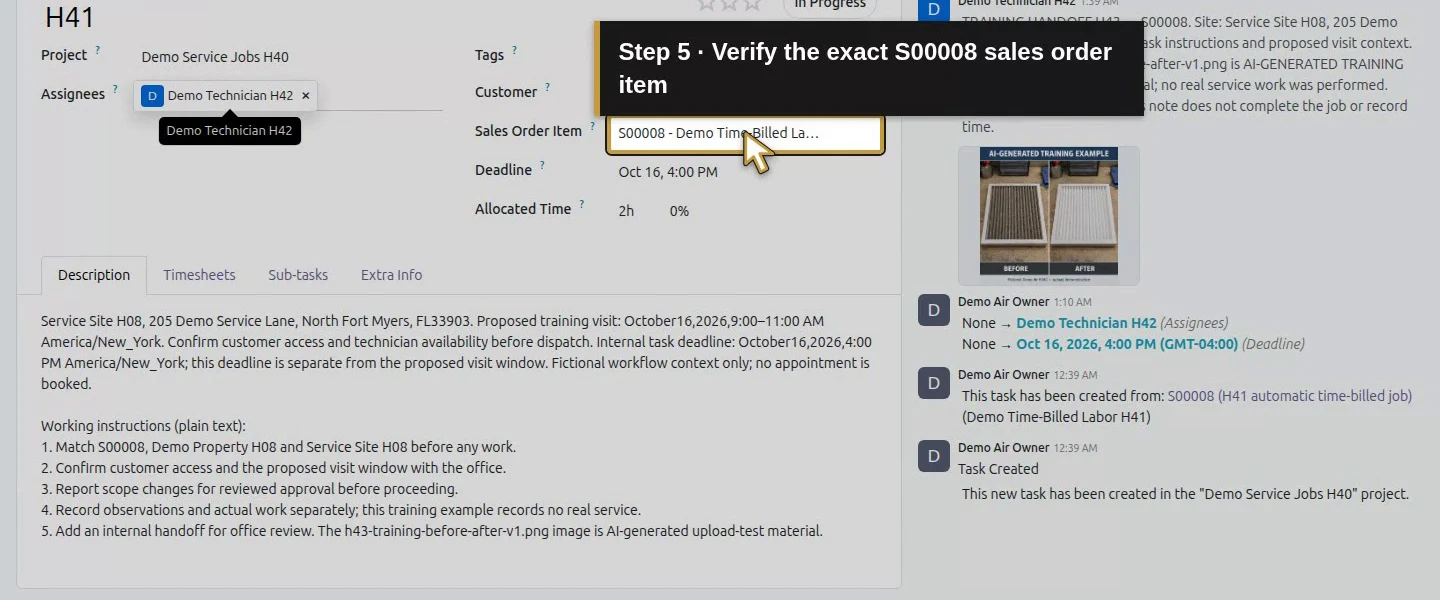
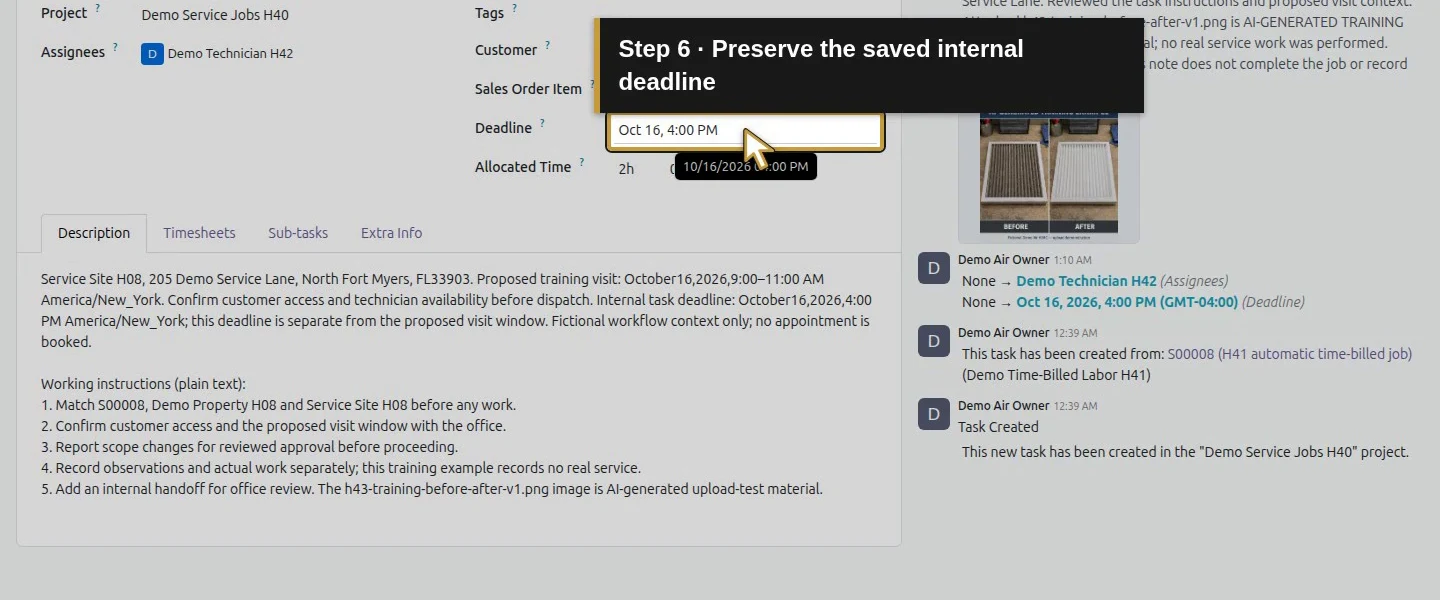
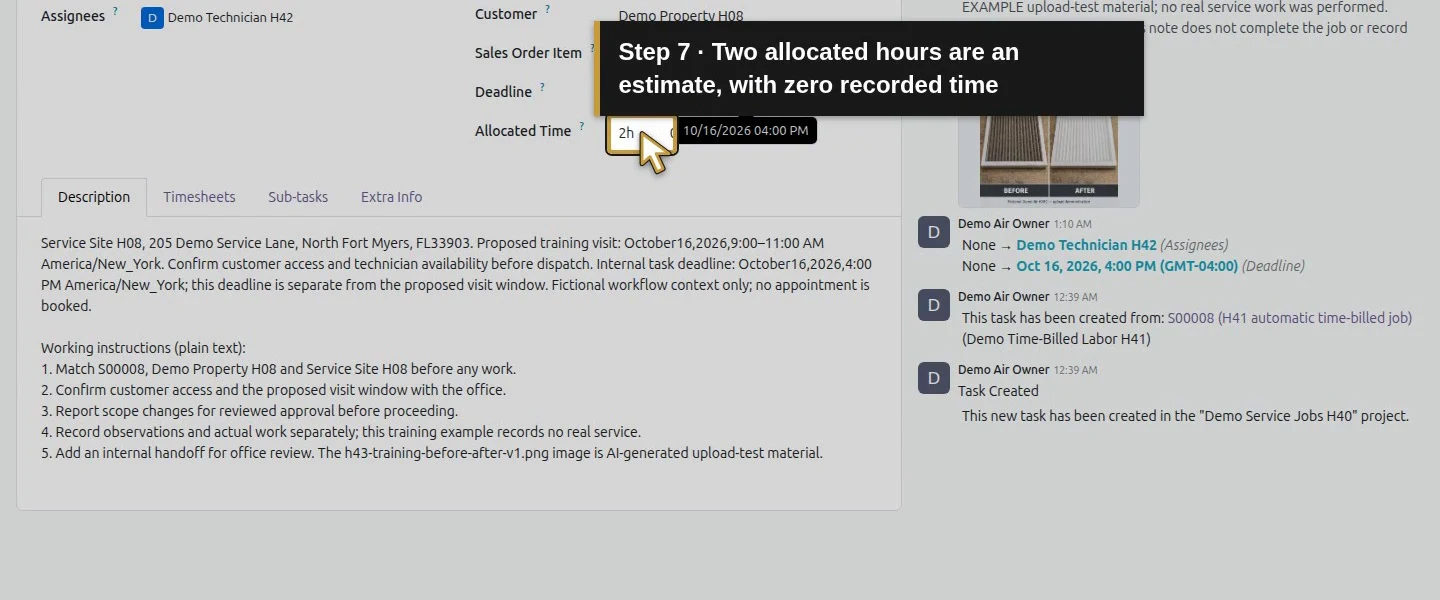
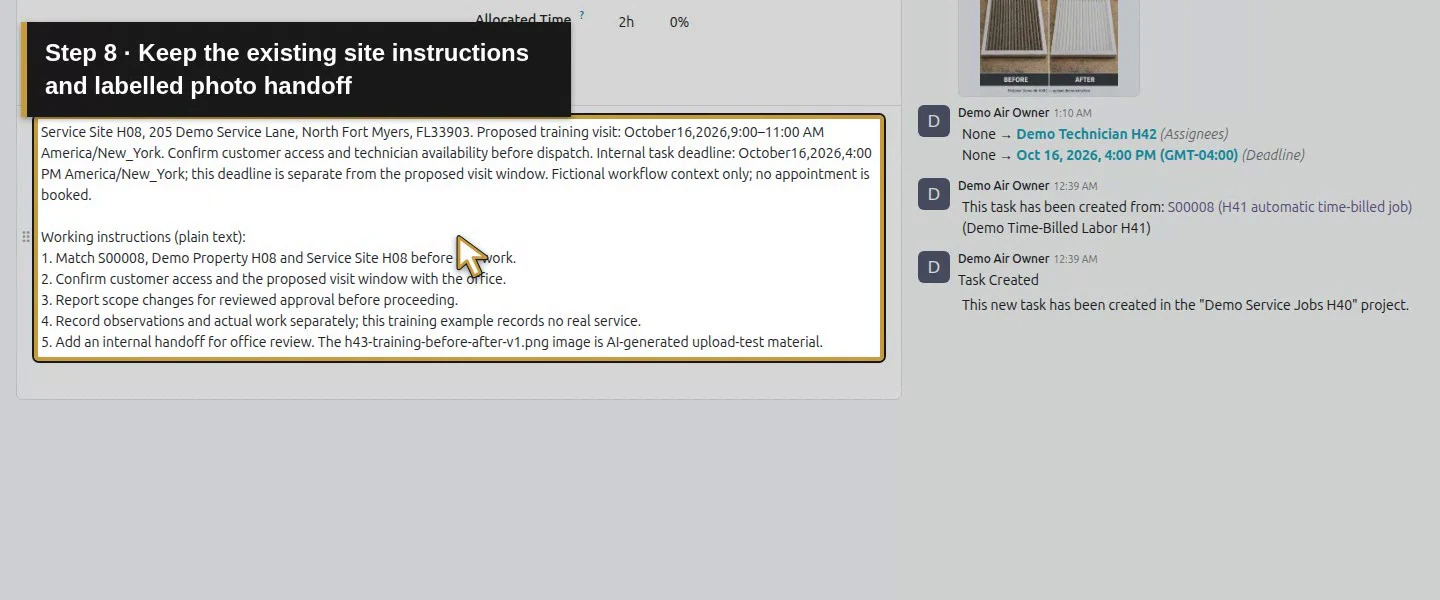
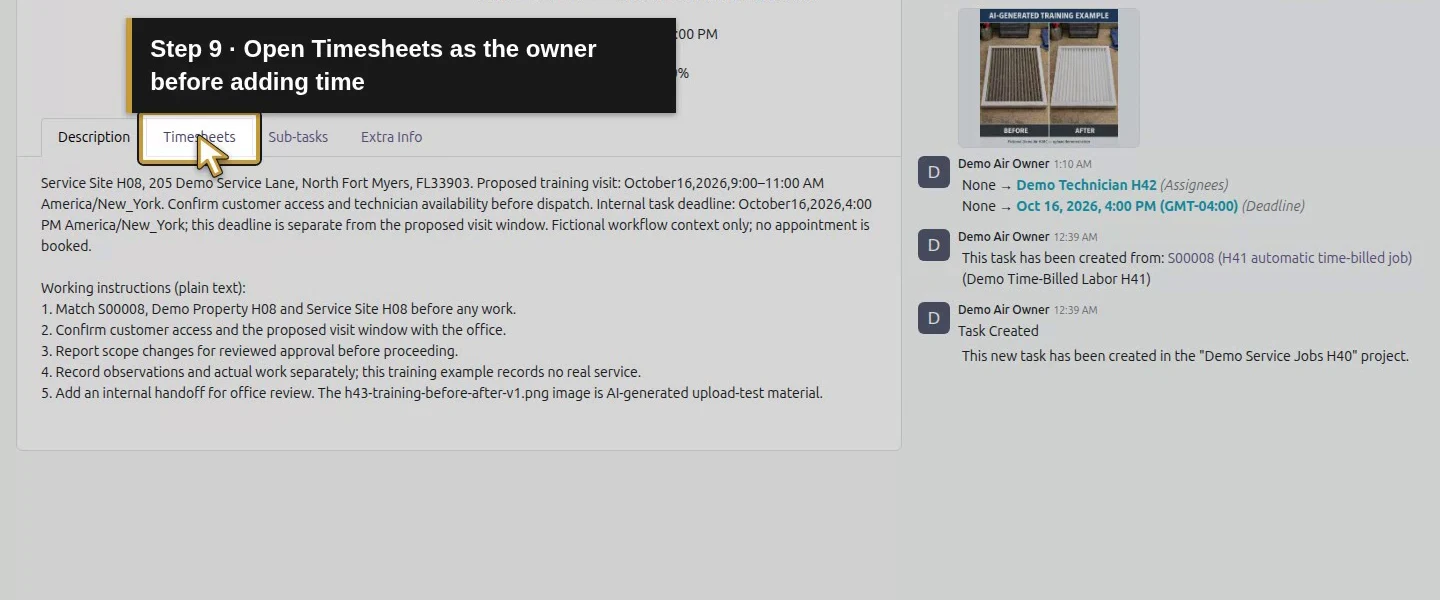
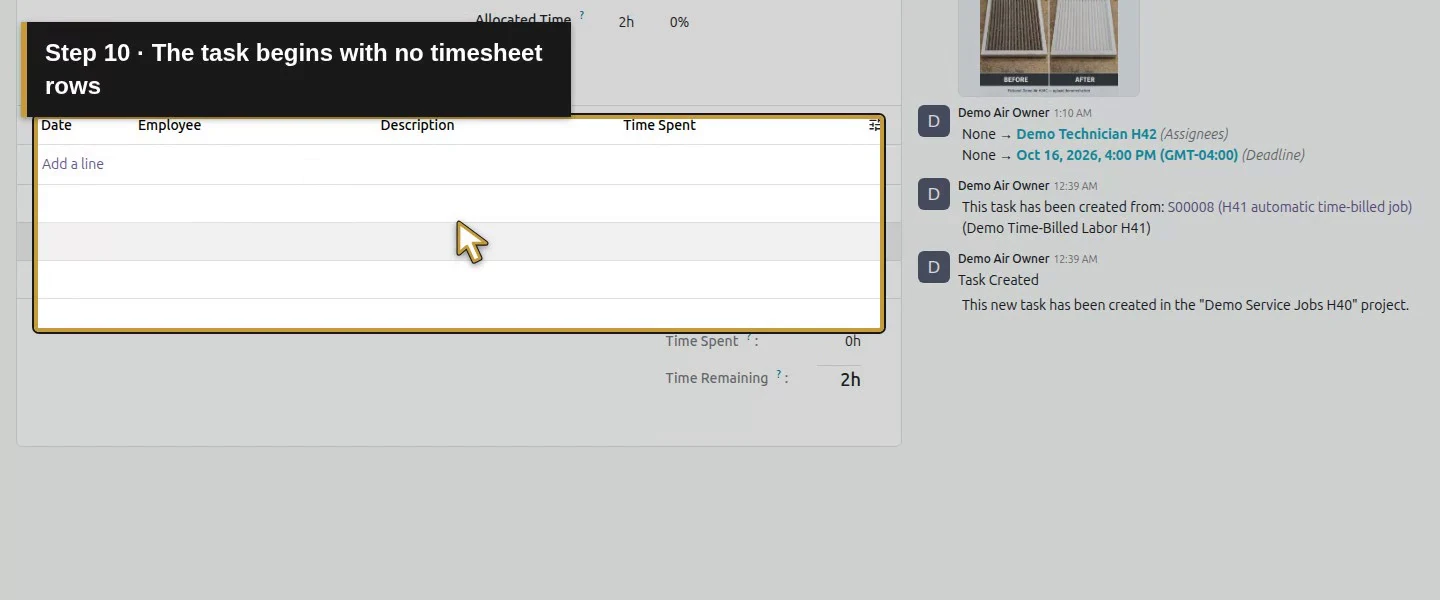
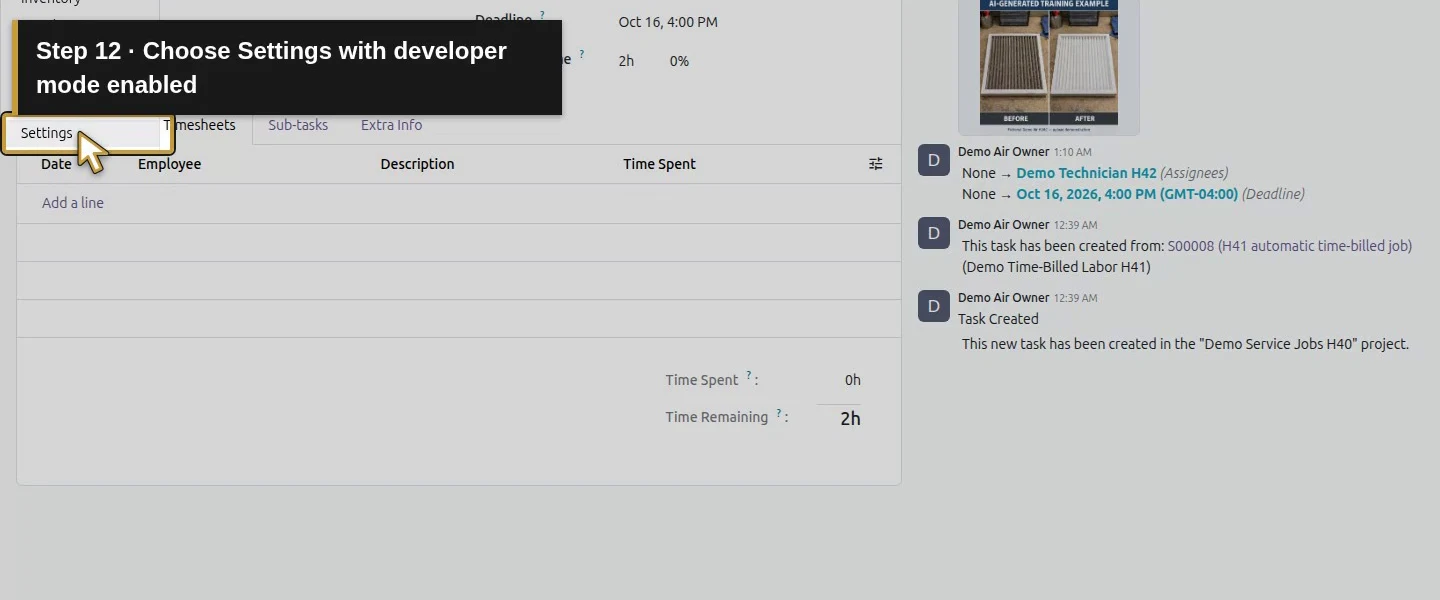
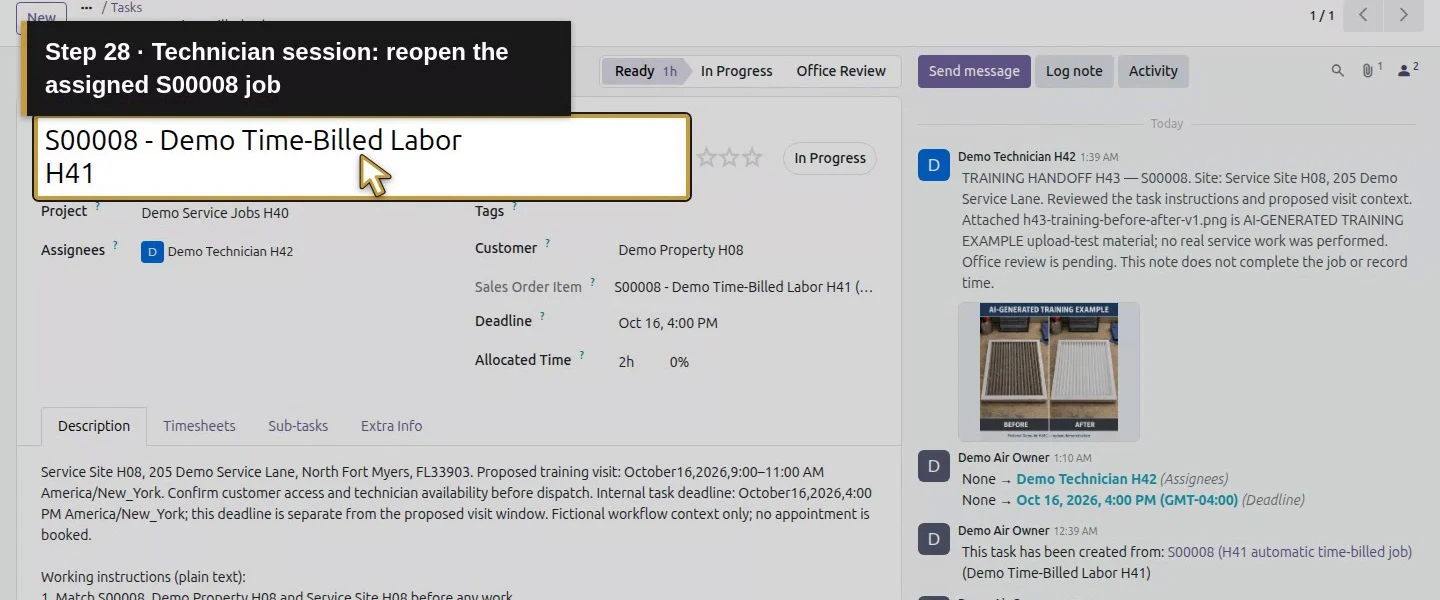
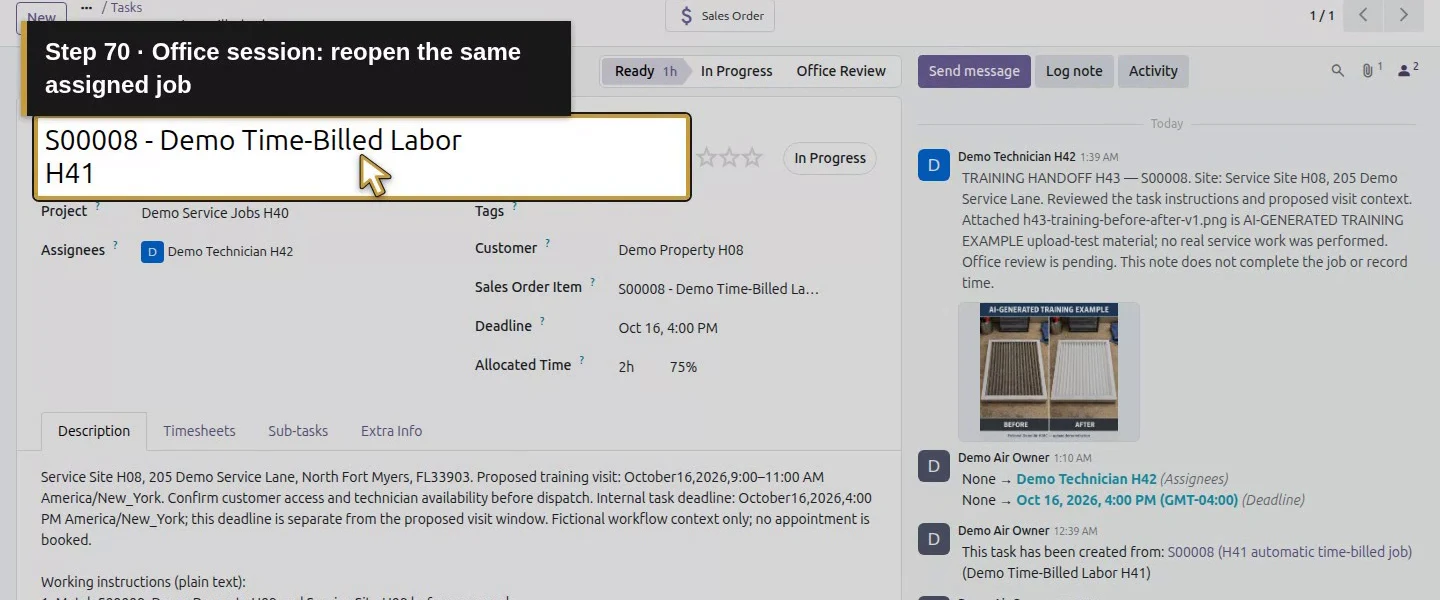
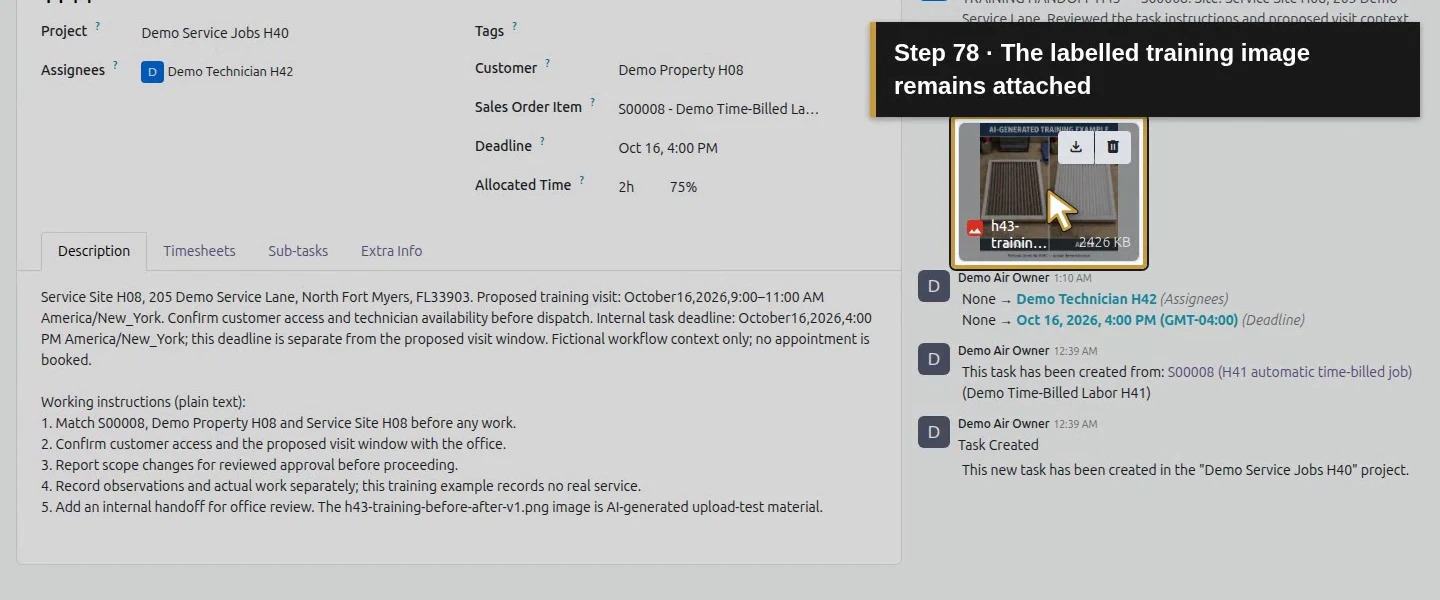
As the owner, open the existing task and verify its customer, project, assigned technician and Sales Order Item for S00008. Check that the employee is linked to the same technician user. The task starts with Allocated Time: 2h, zero recorded time and no timesheet rows. Allocation is the estimate; it is not proof of work performed. Keep the saved site instructions, assignee and deadline.
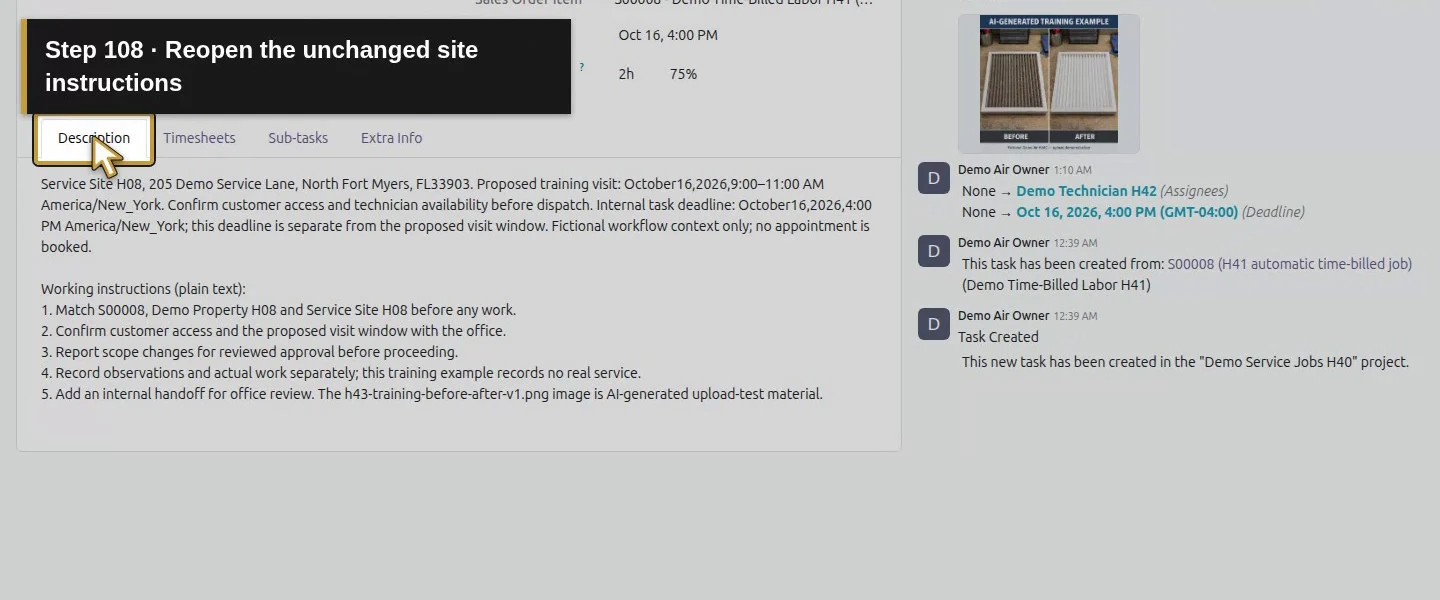
Owner: open the existing S00008 time-based job.Keep the existing Demo Service Jobs H40 project.Check Demo Property H08 as the customer.Check the assigned Demo Technician H42.Verify the exact S00008 sales order item.Preserve the saved internal deadline.Two allocated hours are an estimate, with zero recorded time.Keep the existing site instructions and labelled photo handoff.Open Timesheets as the owner before adding time.The task begins with no timesheet rows.
Step 2. Give the technician the stock time-entry permission
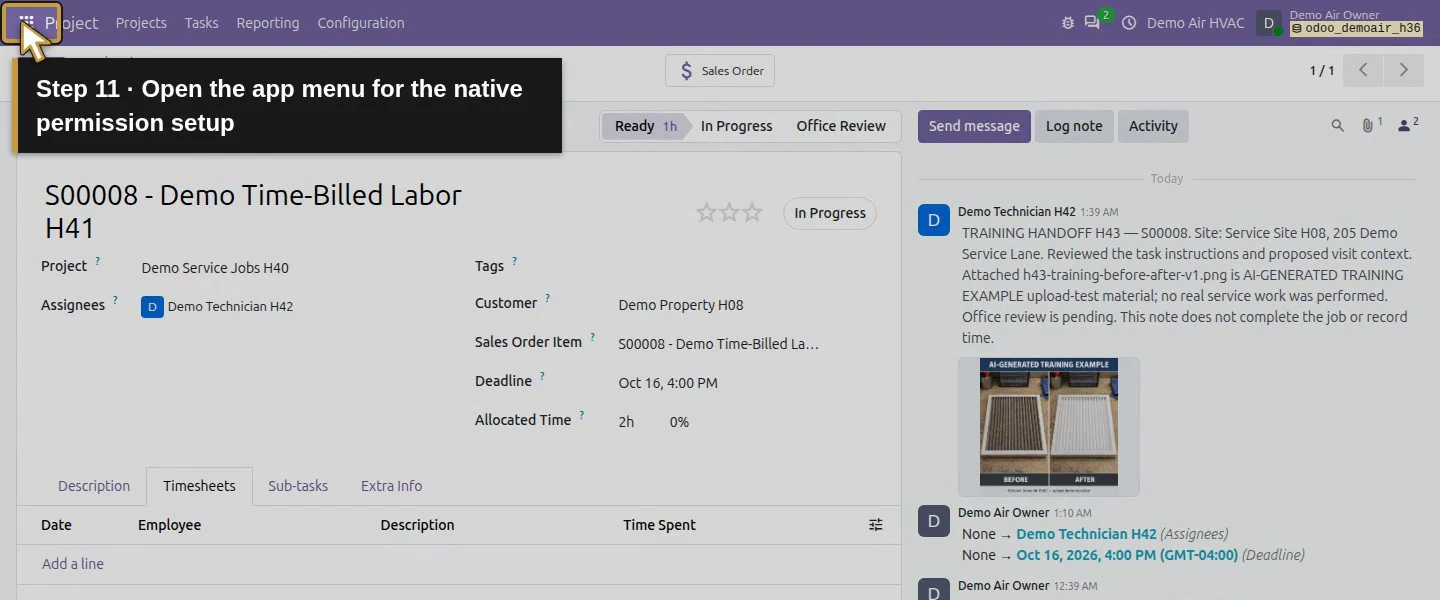
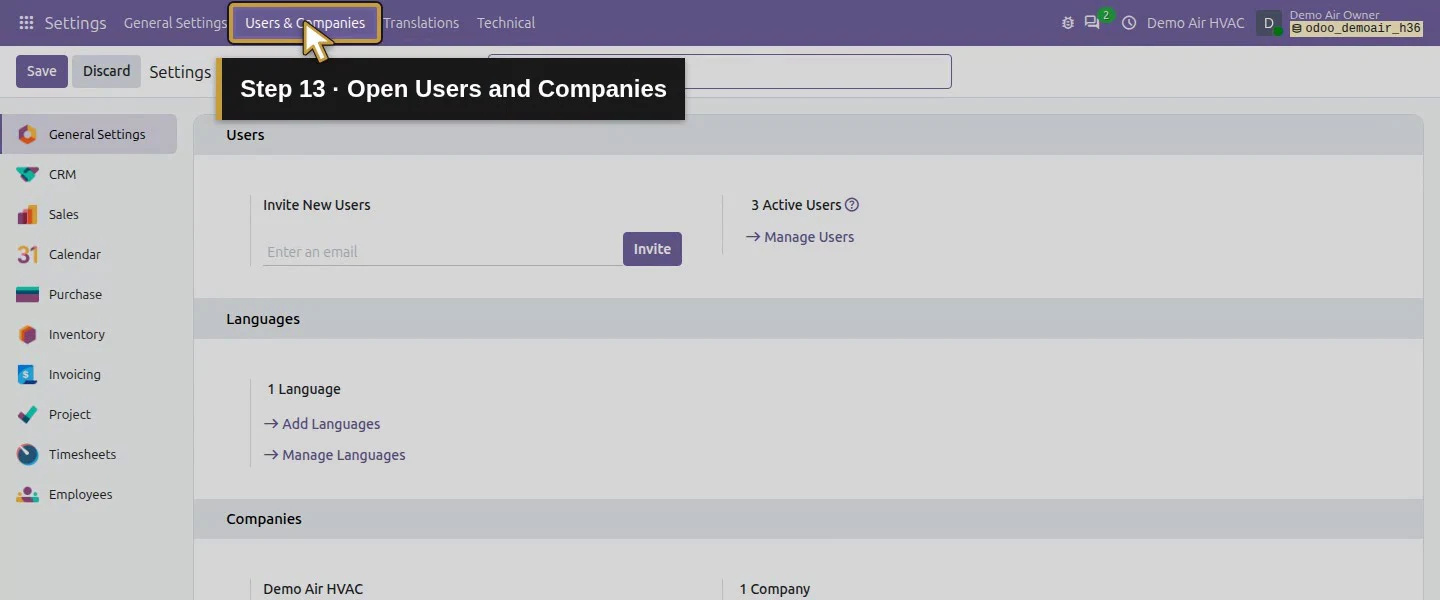
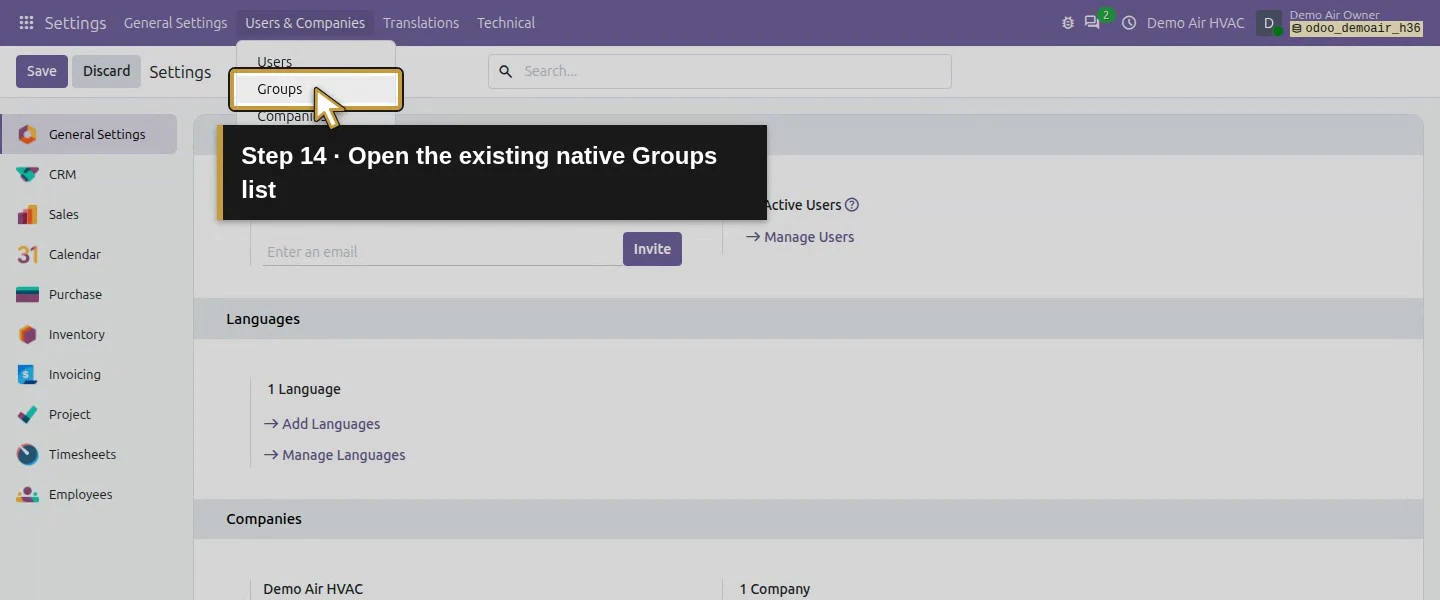
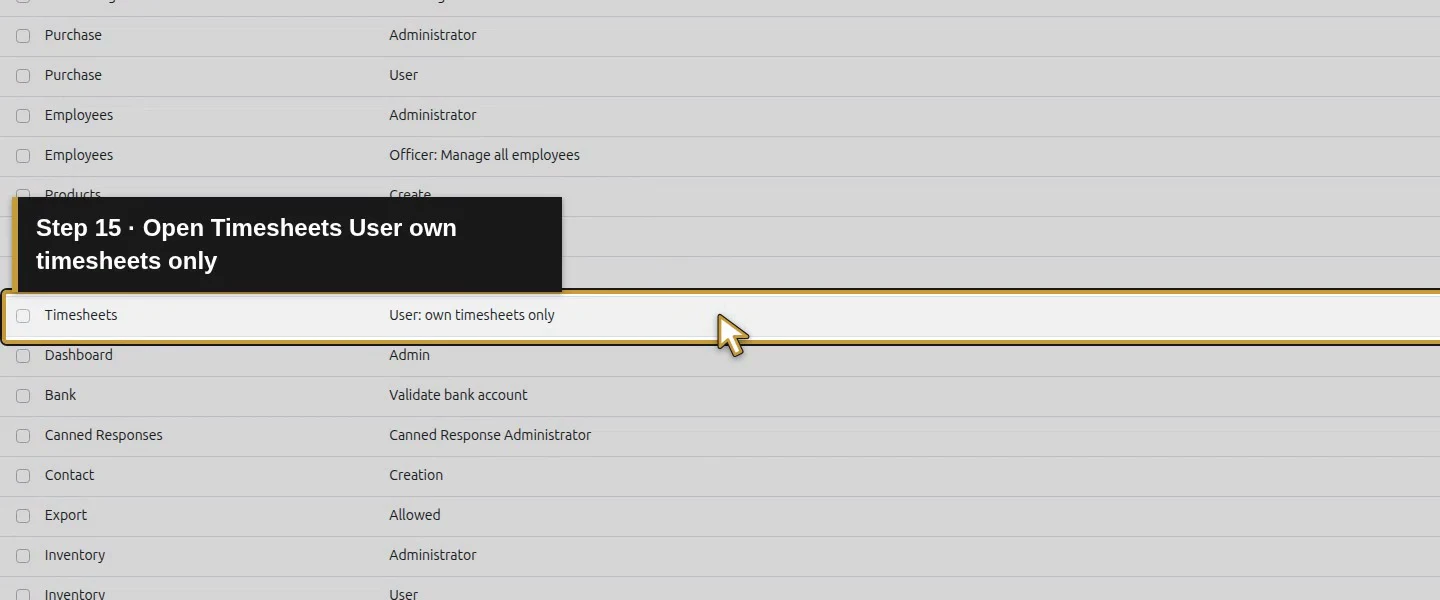
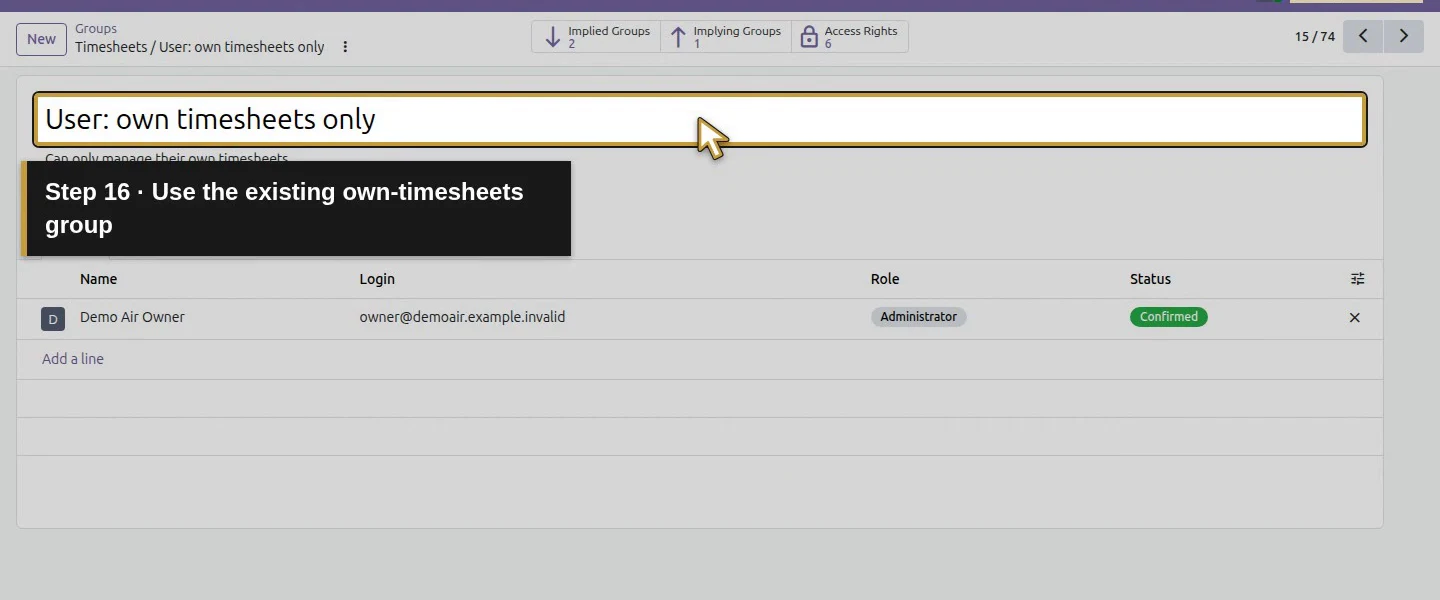
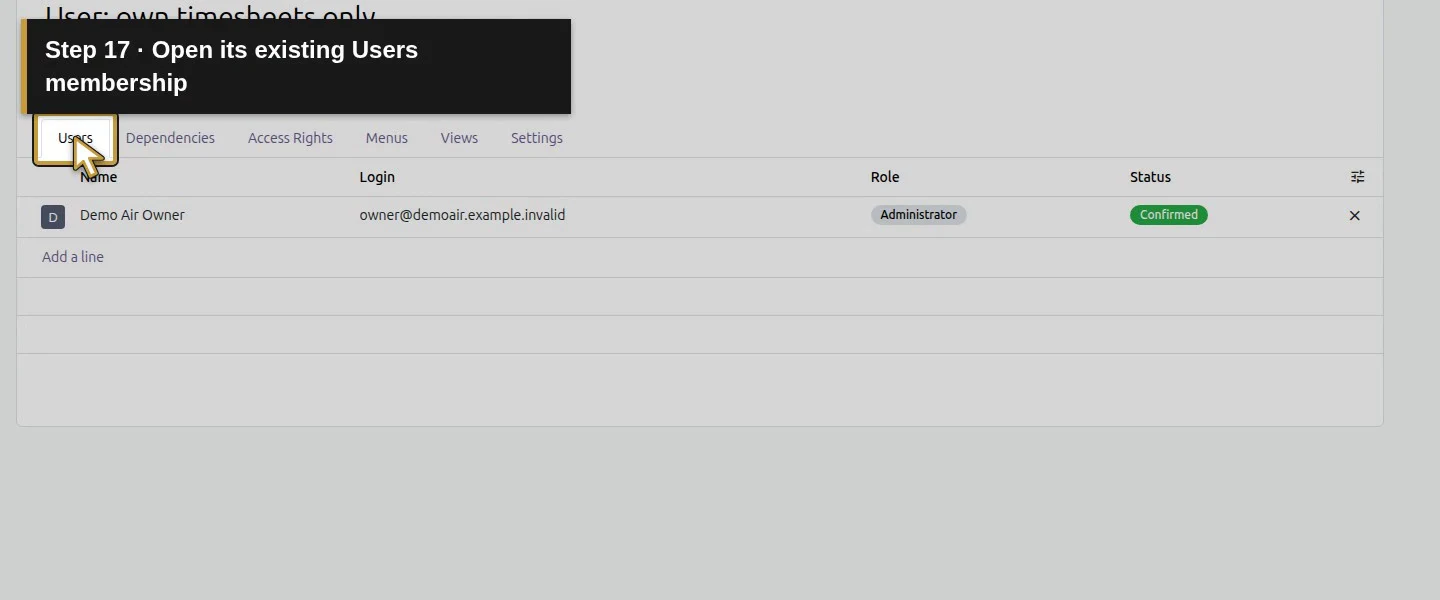
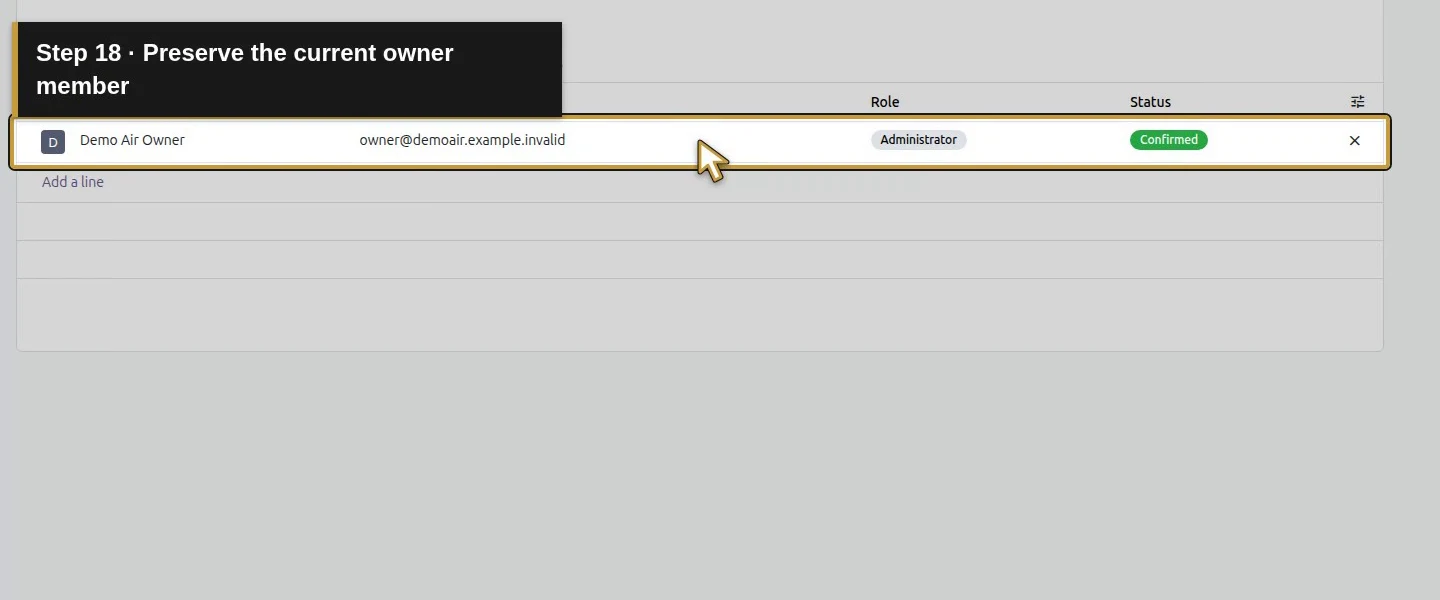
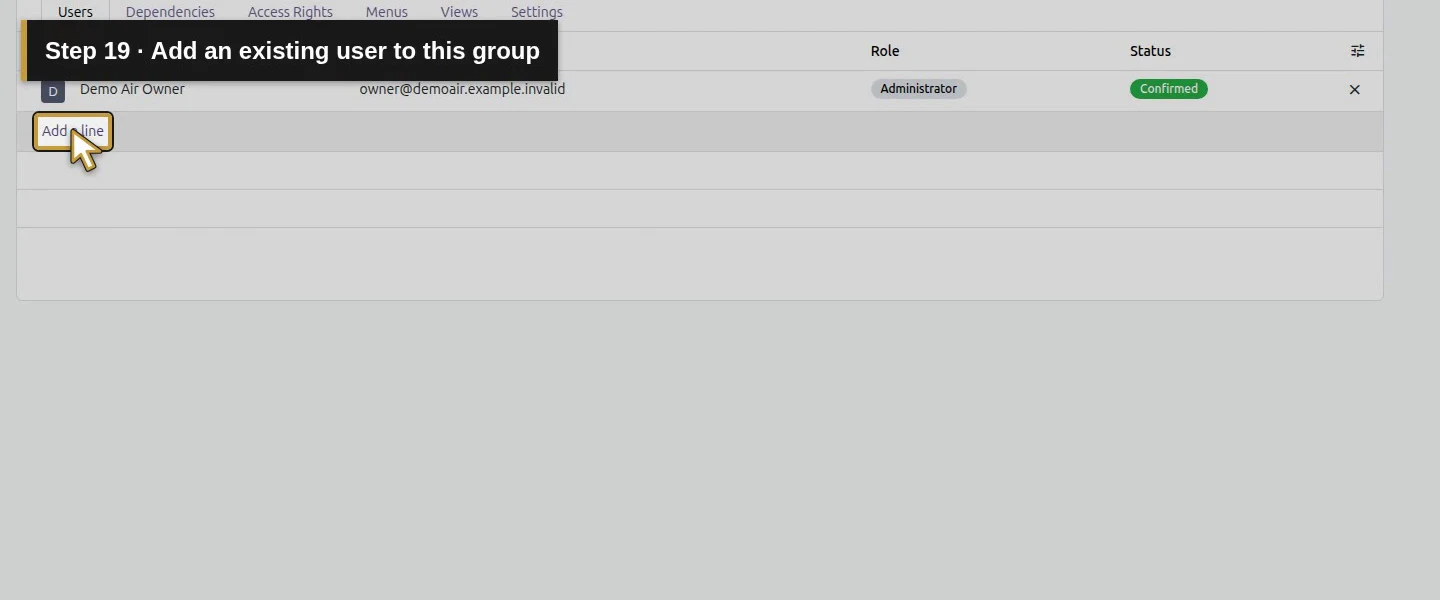
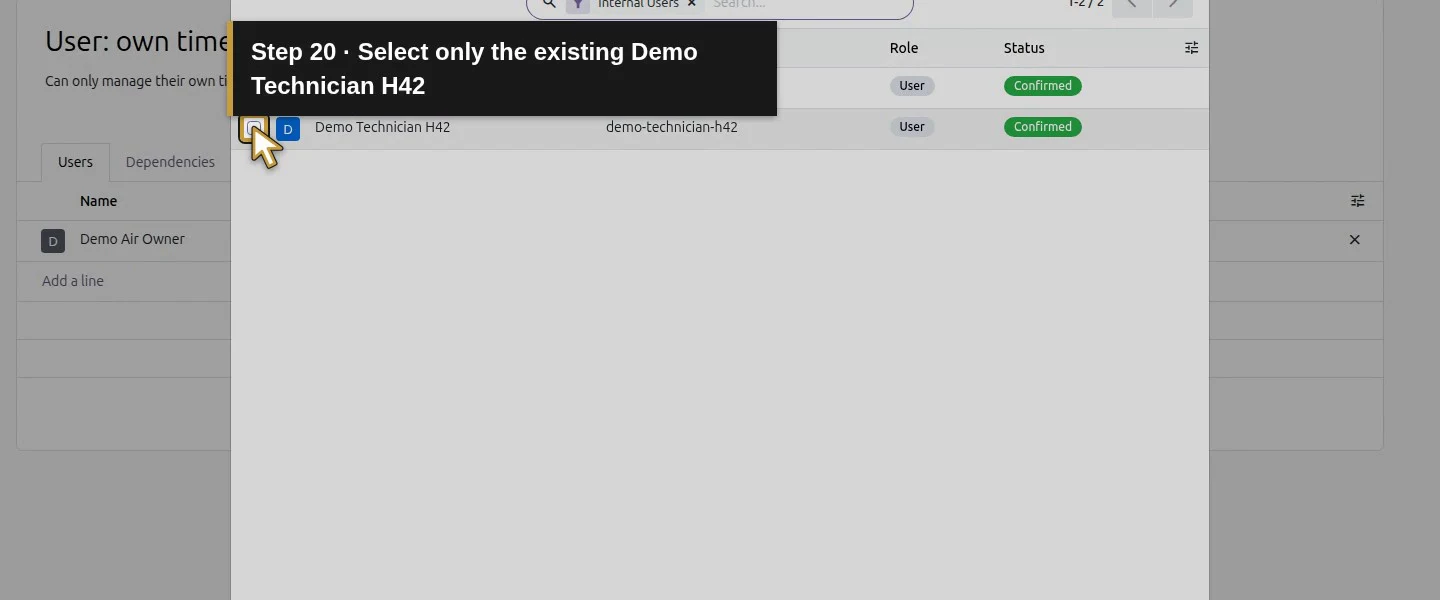
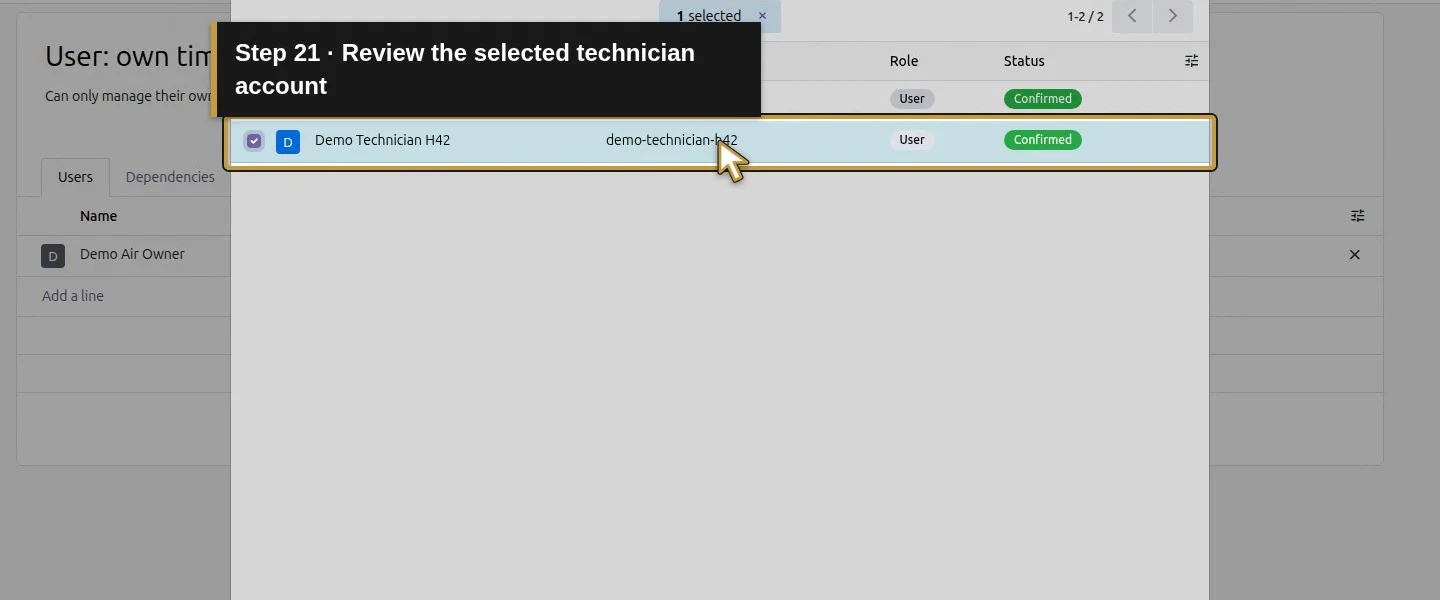
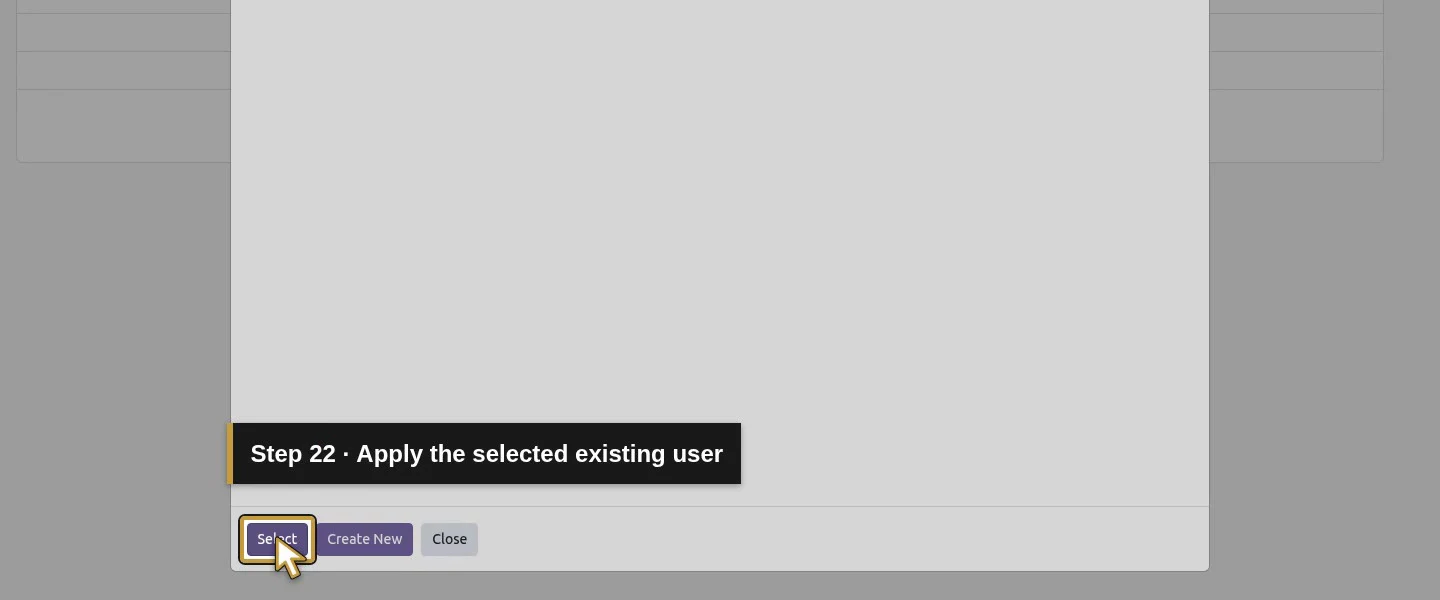
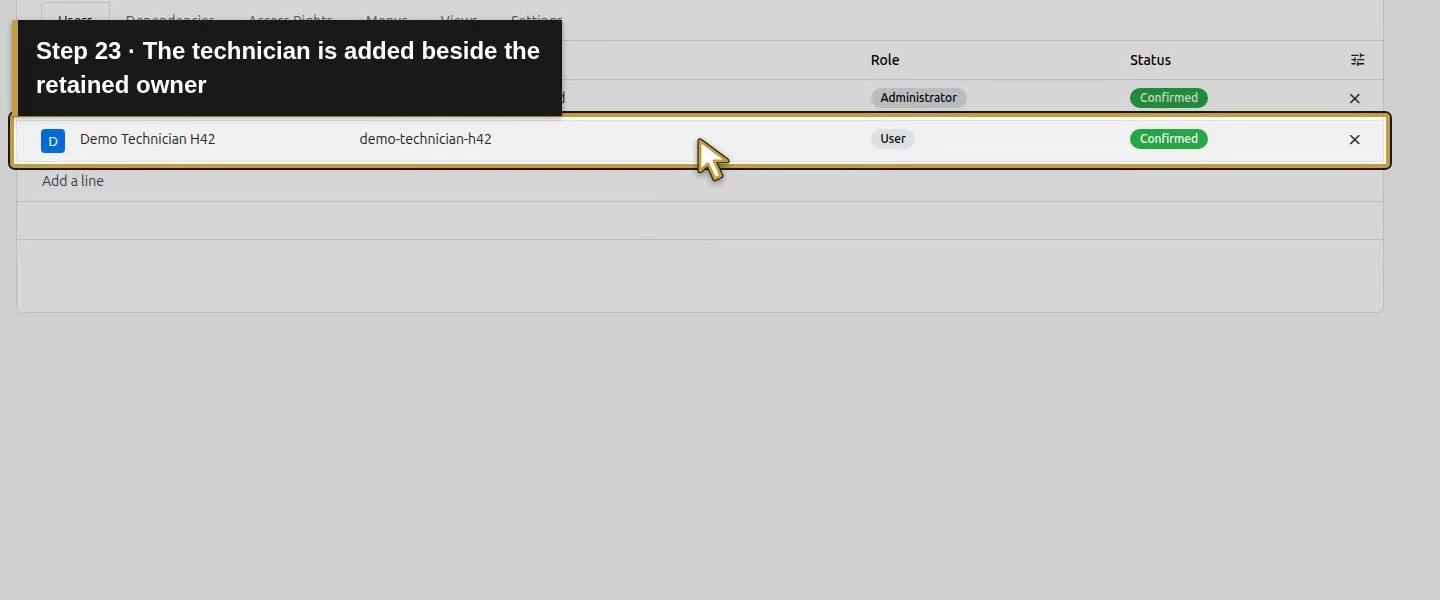
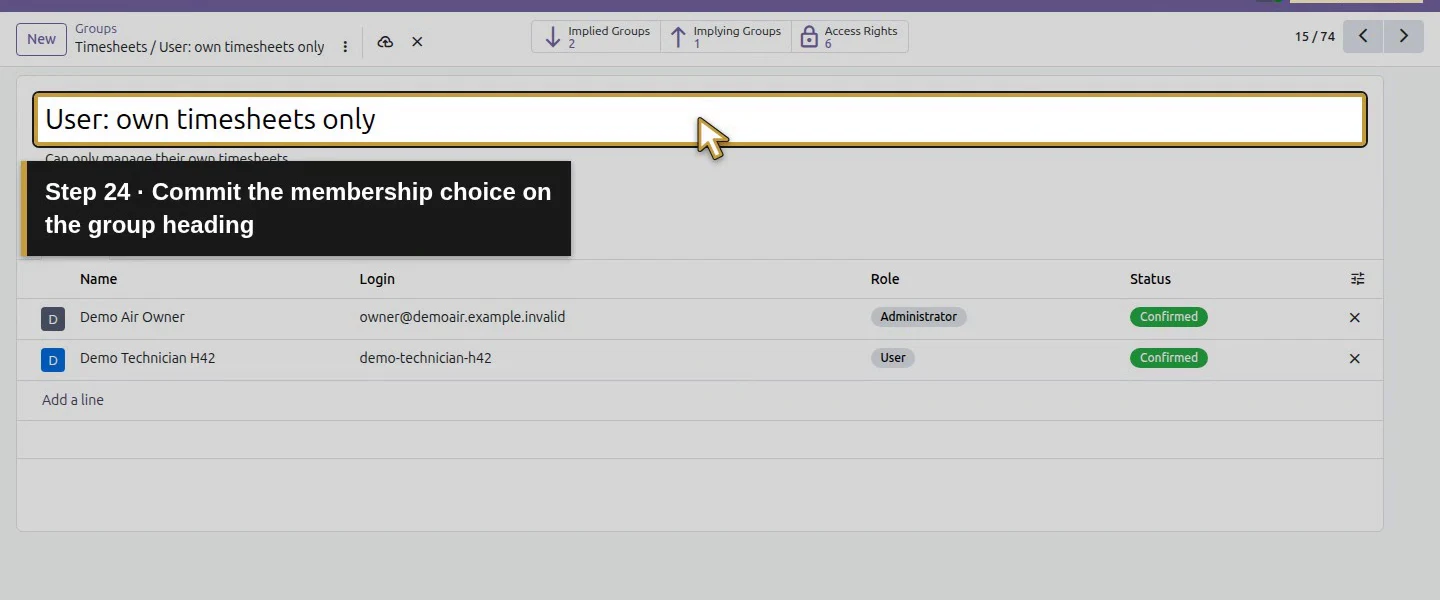
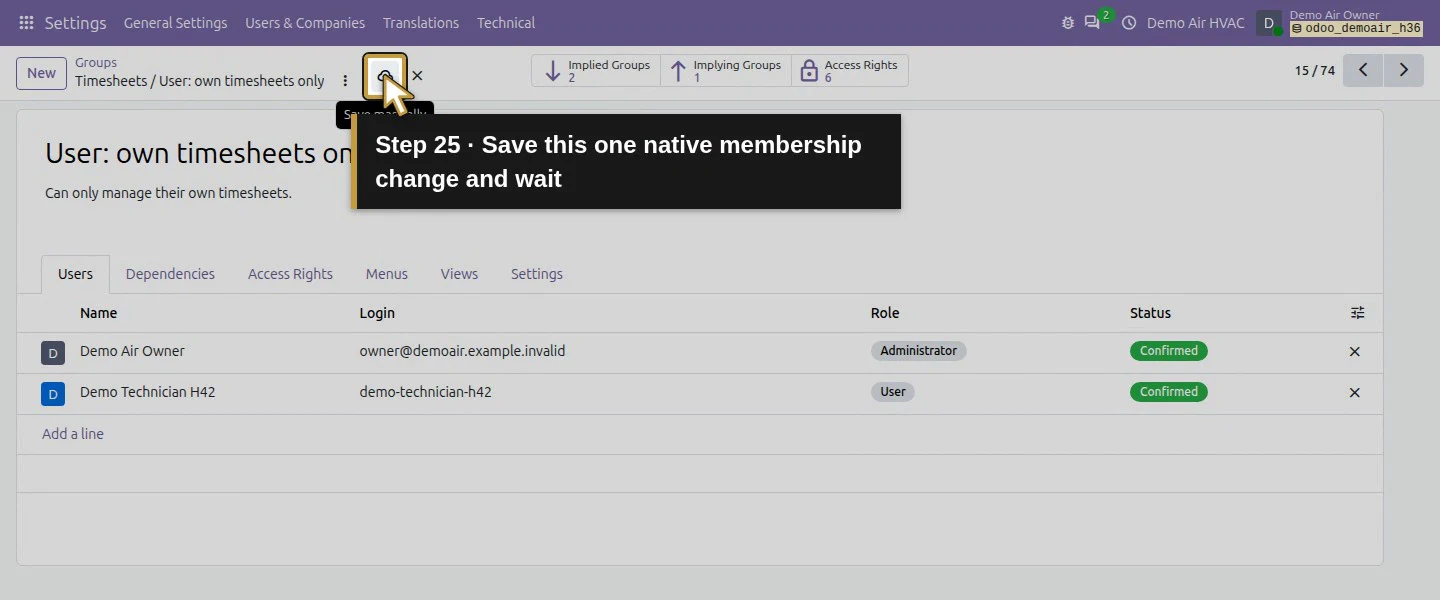
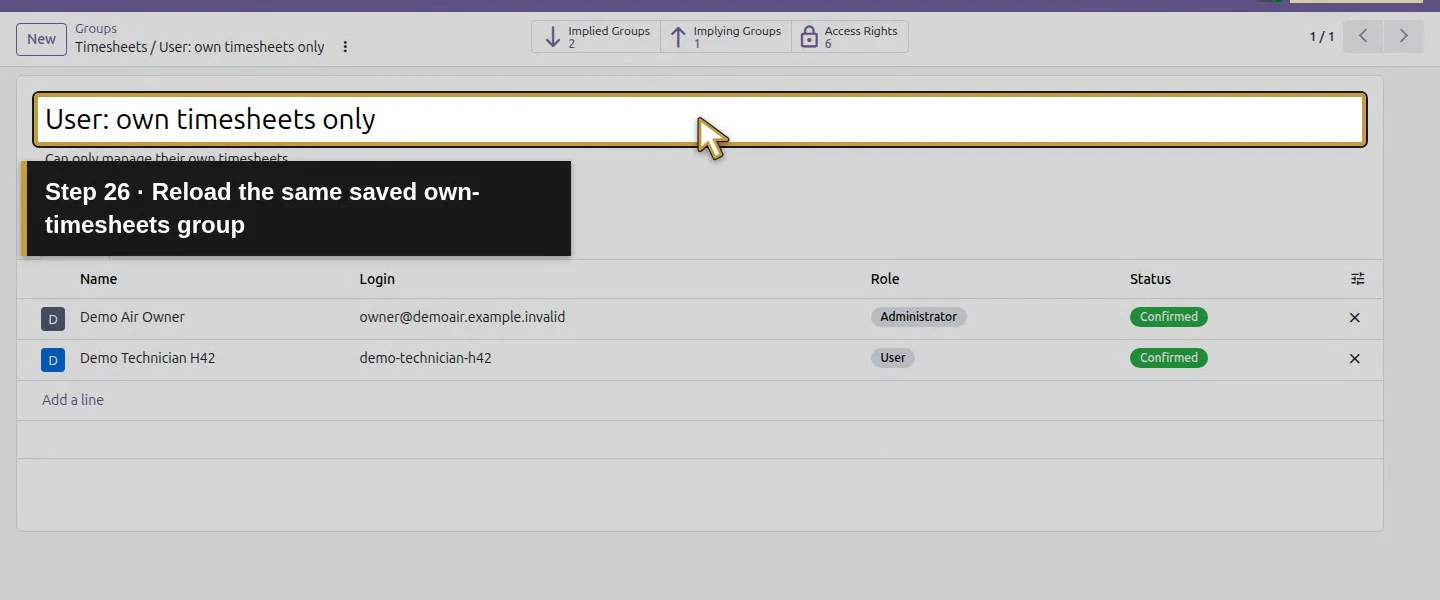
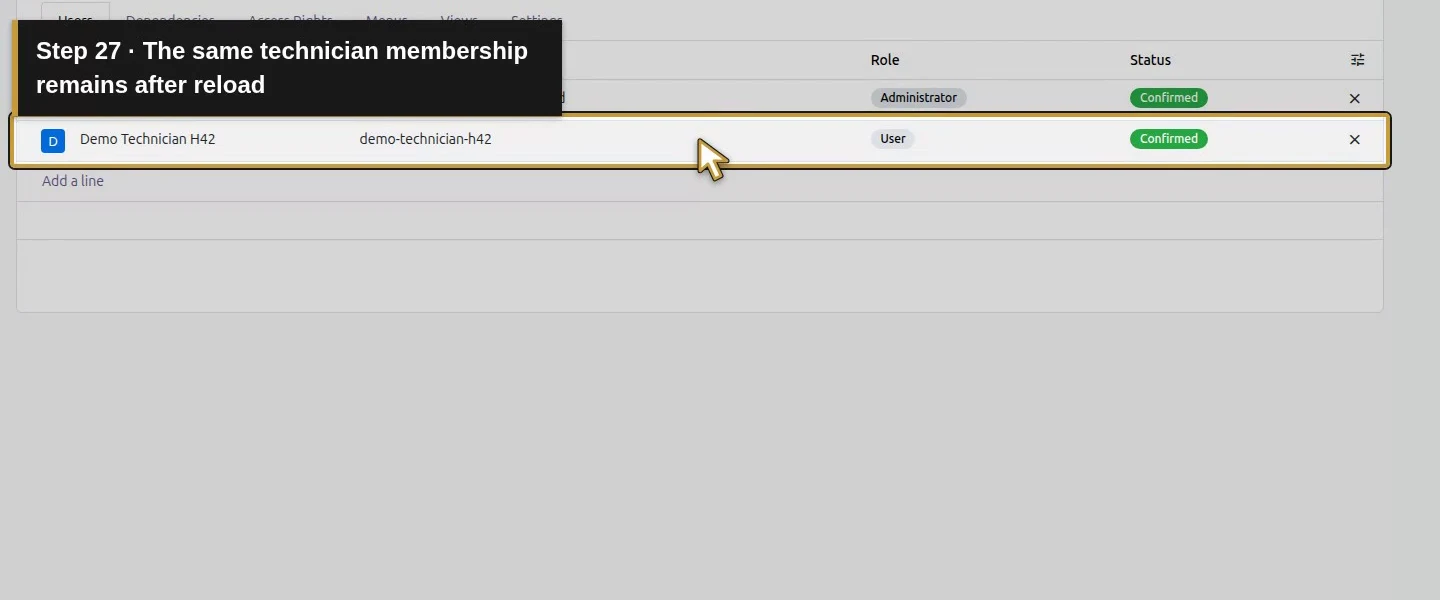
In the administrator session, open Settings → Users & Companies → Groups with developer mode enabled. Open the existing Timesheets / User: own timesheets only group. On Users, click Add a line, select Demo Technician H42, click Select, then Save manually. Preserve the existing members, group rules and dependencies. In this runtime the user form’s Timesheets picker showed only No and Administrator, so we used the native existing group membership screen. We did not create or edit a security rule or grant Timesheets Administrator.
Open the app menu for the native permission setup.Choose Settings with developer mode enabled.Open Users and Companies.Open the existing native Groups list.Open Timesheets User own timesheets only.Use the existing own-timesheets group.Open its existing Users membership.Preserve the current owner member.Add an existing user to this group.Select only the existing Demo Technician H42.Review the selected technician account.Apply the selected existing user.The technician is added beside the retained owner.Commit the membership choice on the group heading.Save this one native membership change and wait.Reload the same saved own-timesheets group.The same technician membership remains after reload.
Step 3. Refresh the technician session and open Timesheets
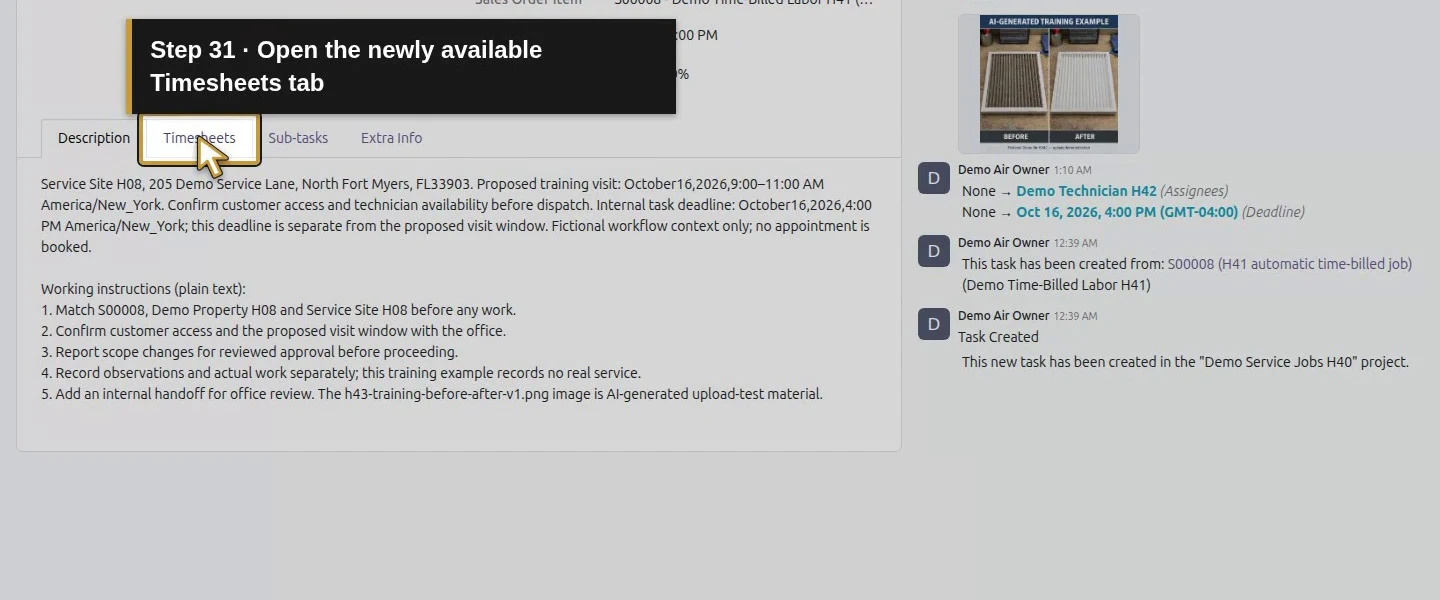
Reload the technician’s own browser after the permission change, then reopen S00008 - Demo Time-Billed Labor H41. Its Timesheets tab now appears; it was absent with Project User alone. Click the tab and check the same project/customer/order context. The native table has Date, Employee, Description and Time Spent columns. Assigned-task access and timesheet permission are separate checks.
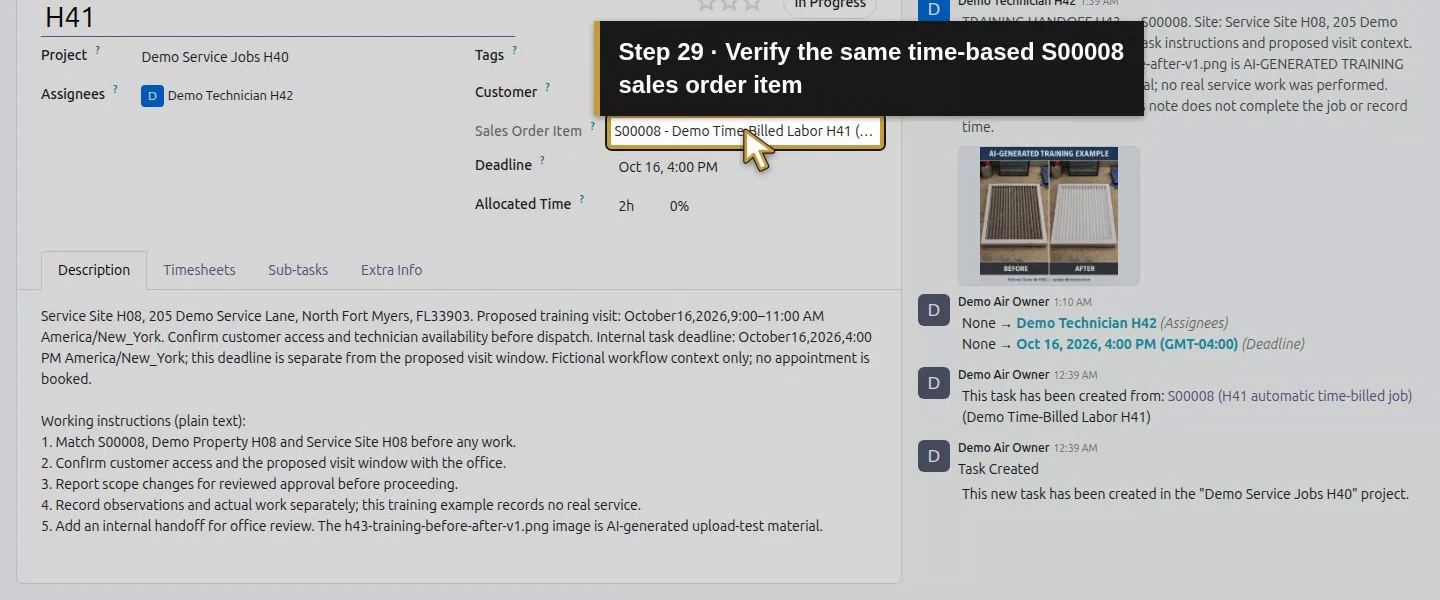
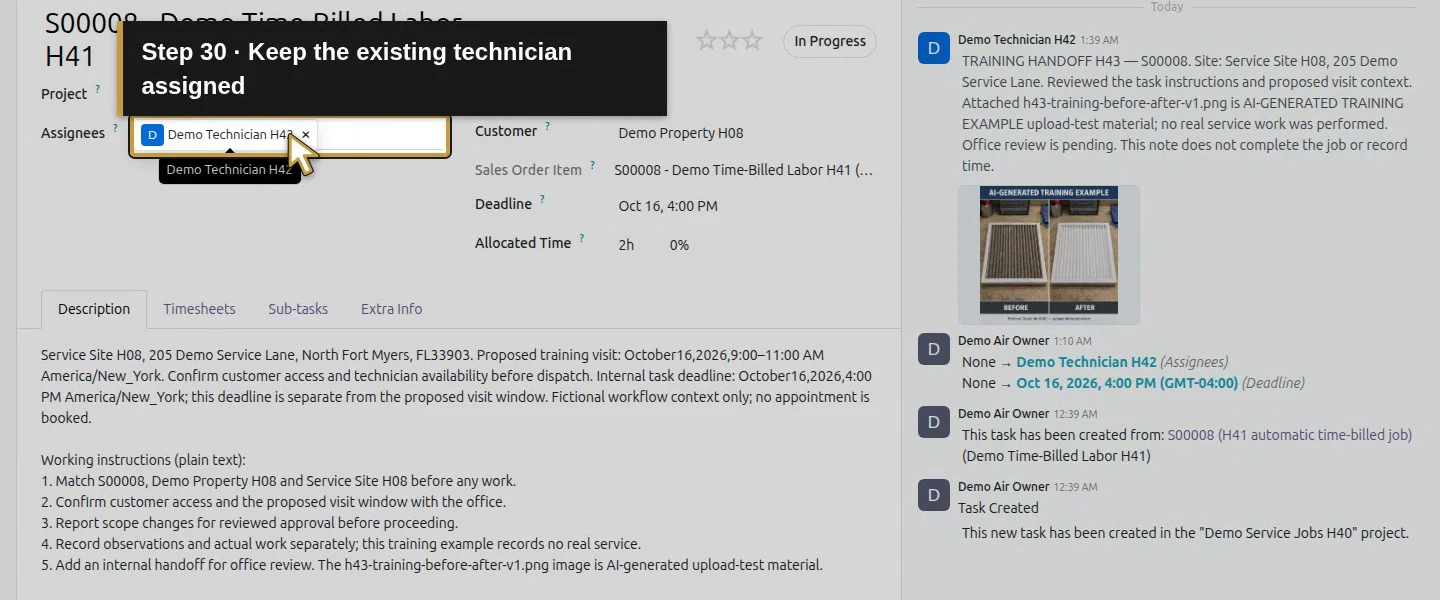
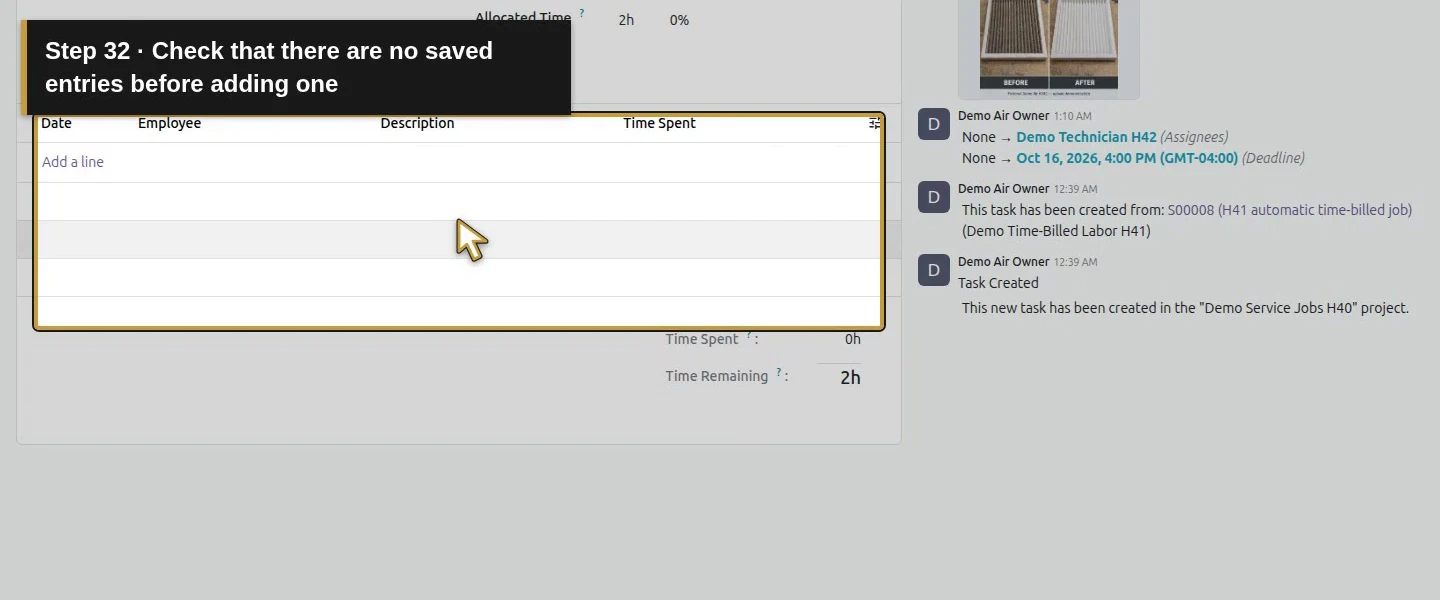
Technician session: reopen the assigned S00008 job.Verify the same time-based S00008 sales order item.Keep the existing technician assigned.Open the newly available Timesheets tab.Check that there are no saved entries before adding one.
Step 4. Add one dated and described time entry
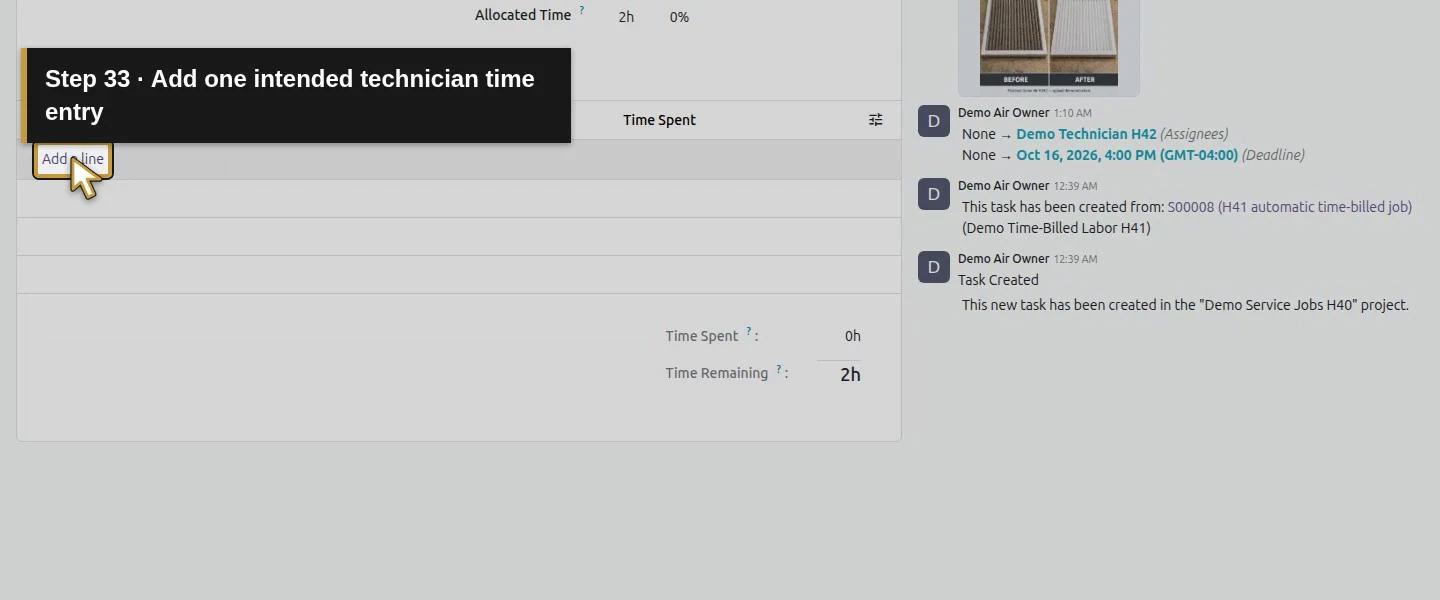
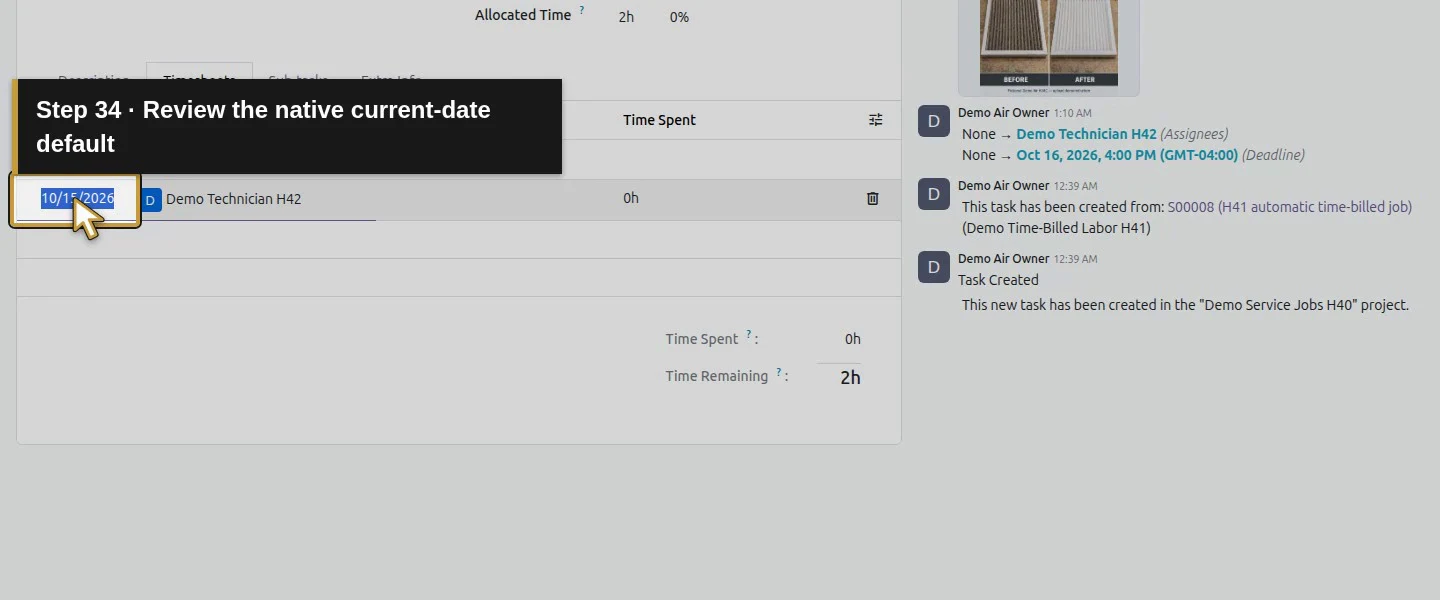
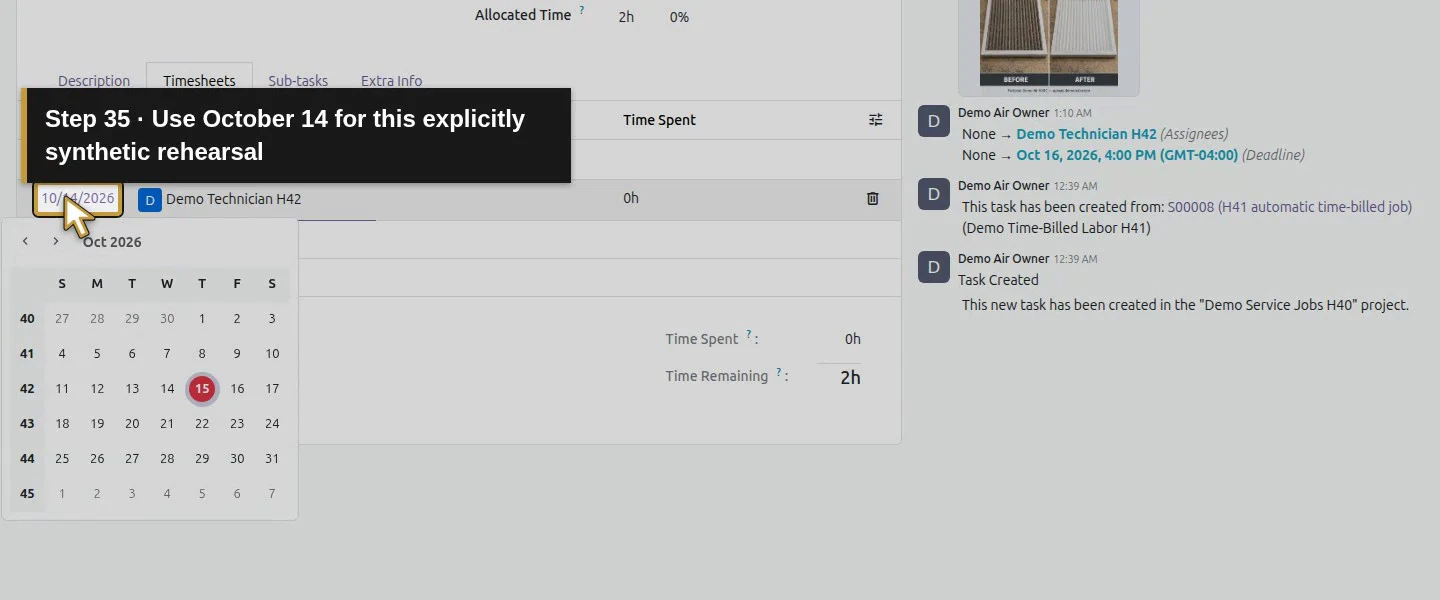
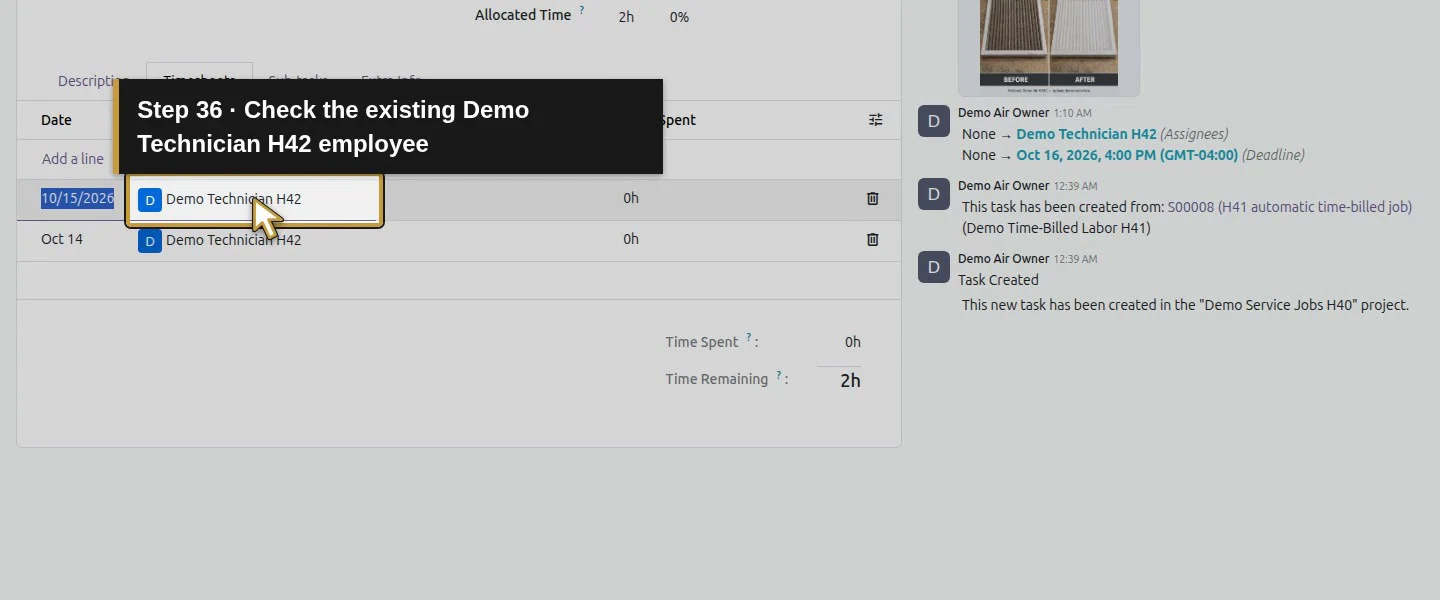
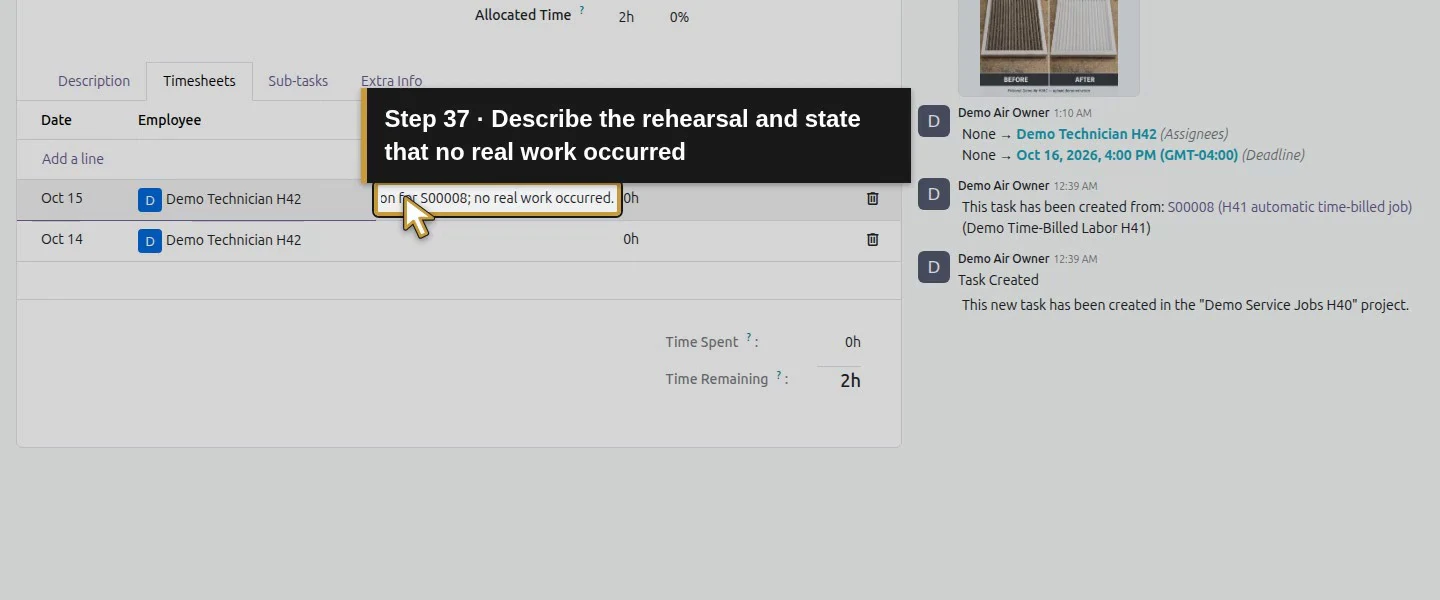
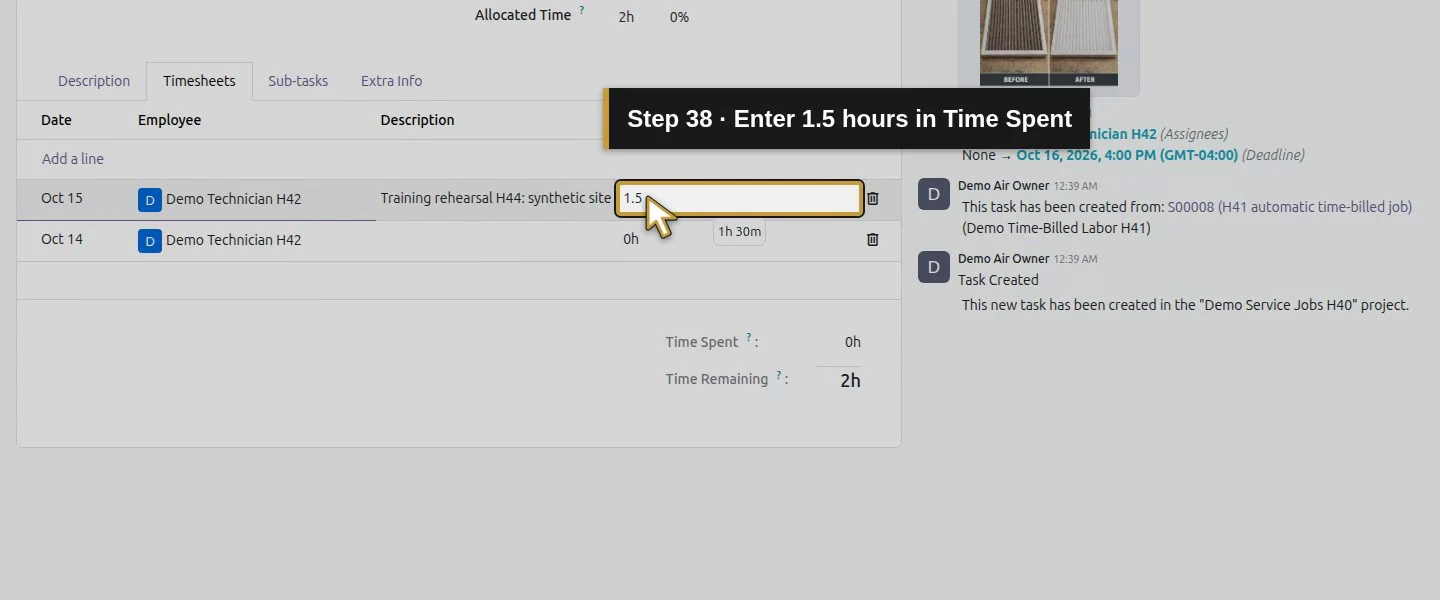
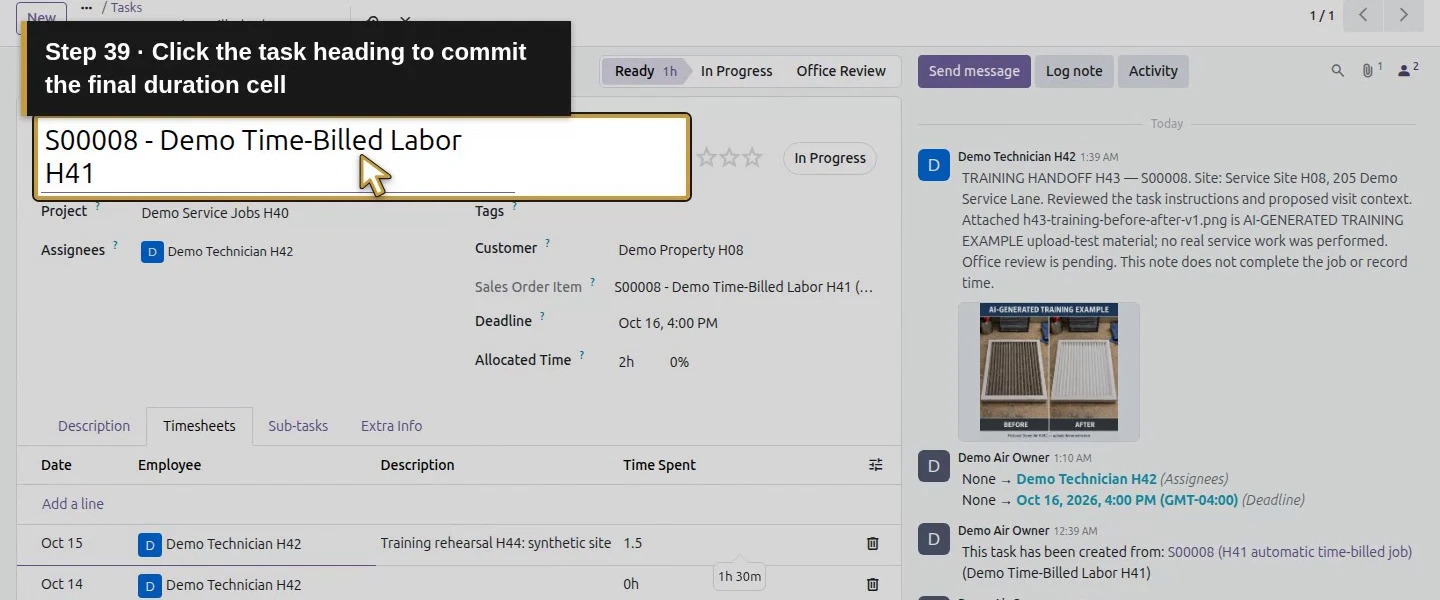
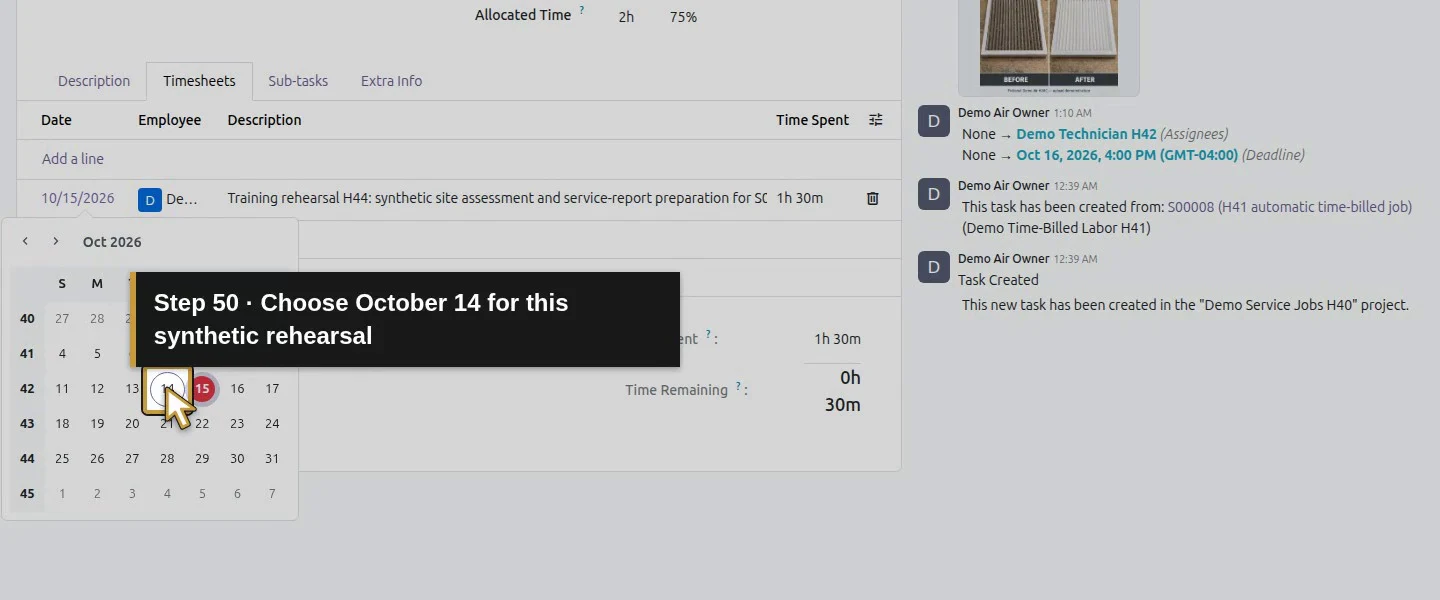
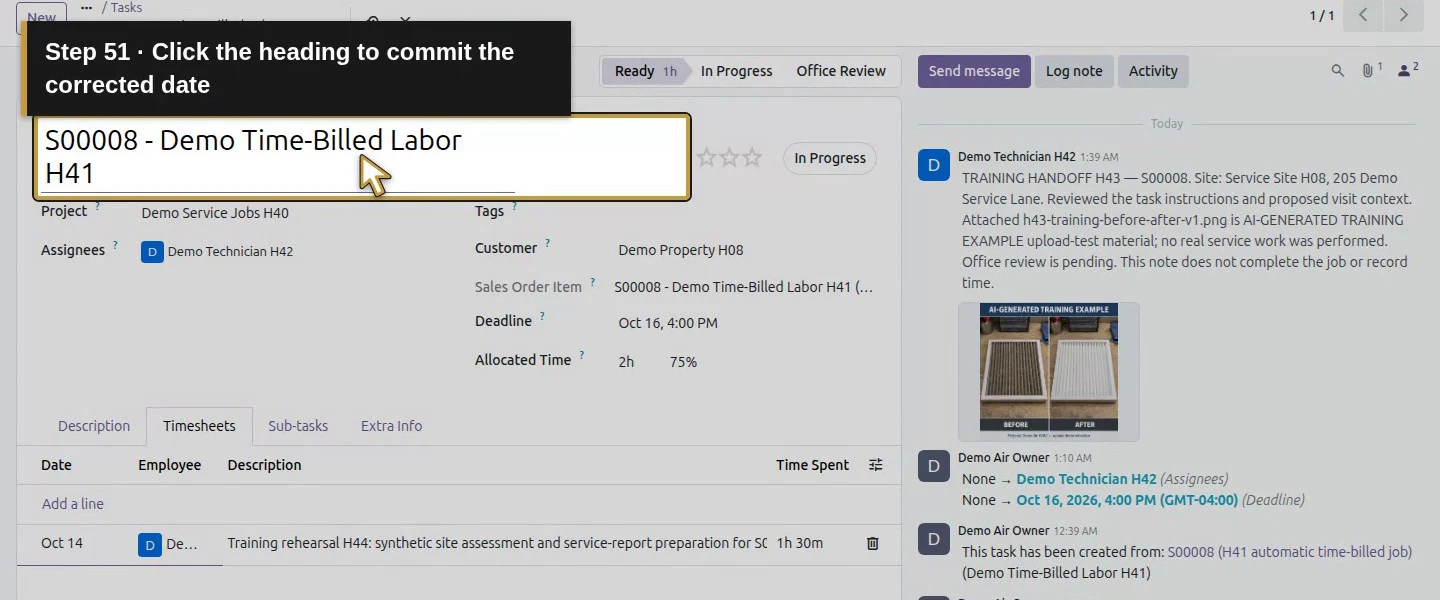
Click Add a line once. The new row defaults to the current date and Demo Technician H42. Verify both rather than accepting another person’s entry. Choose October 14, 2026 with the Date cell’s native calendar, then click the task heading to commit the selection. Enter a description identifying the synthetic site assessment and service-report preparation, explicitly stating that no real work occurred. In your business, describe the actual work on its actual date. Enter 1.5 in Time Spent; click the task heading to leave the field. It displays 1h 30m, not one hour five minutes.
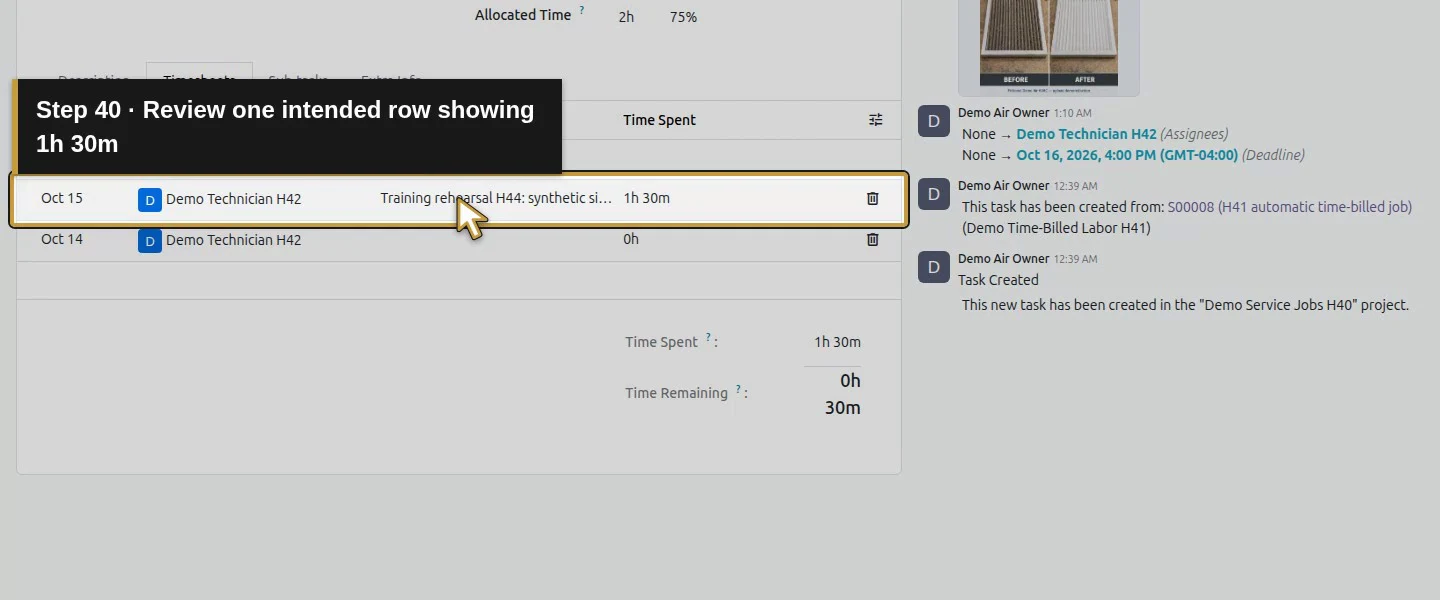
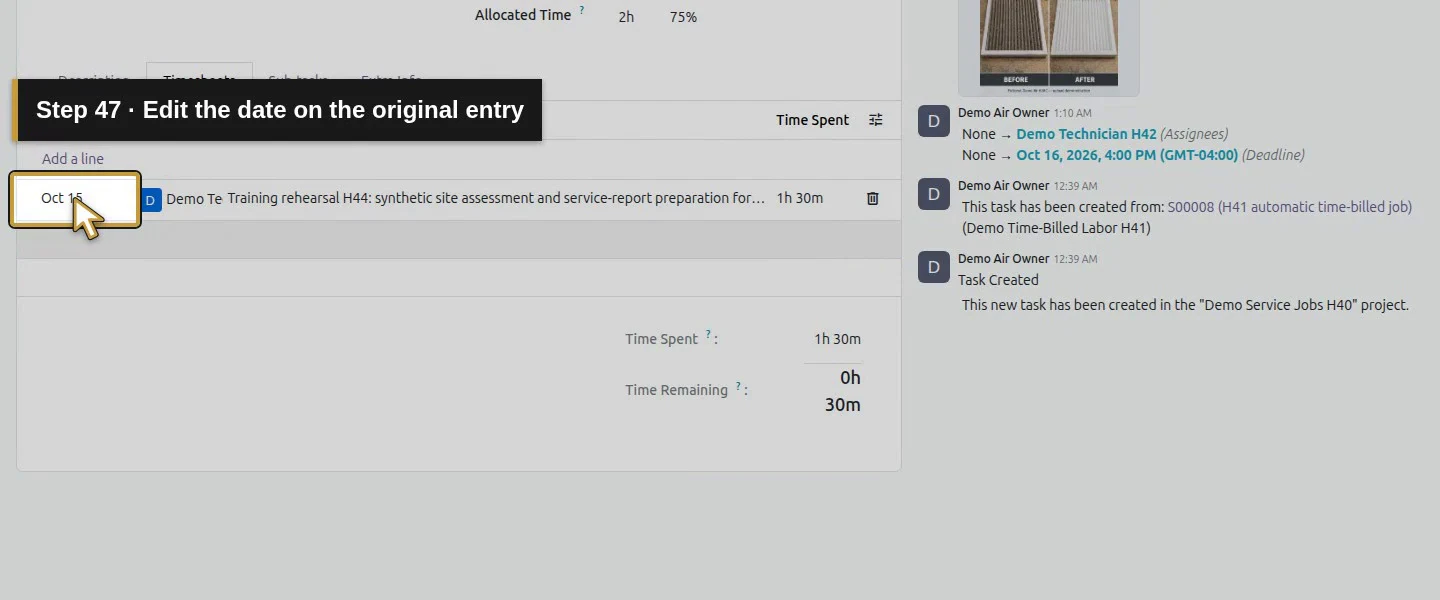
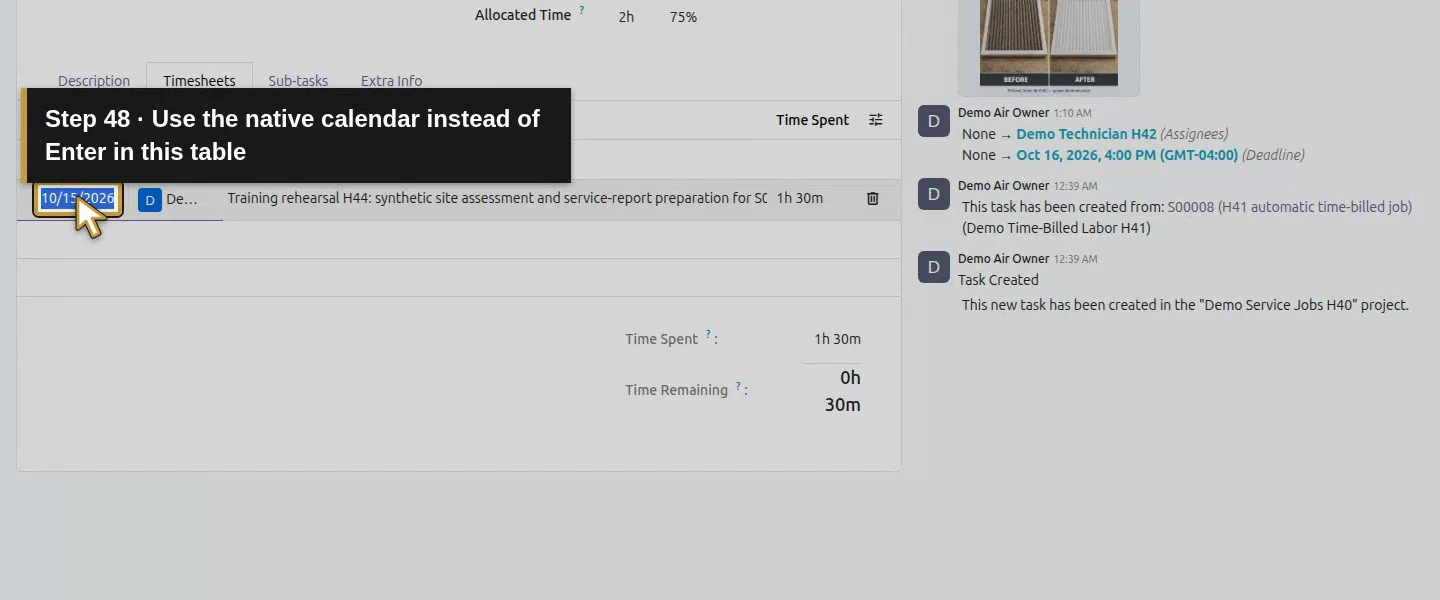
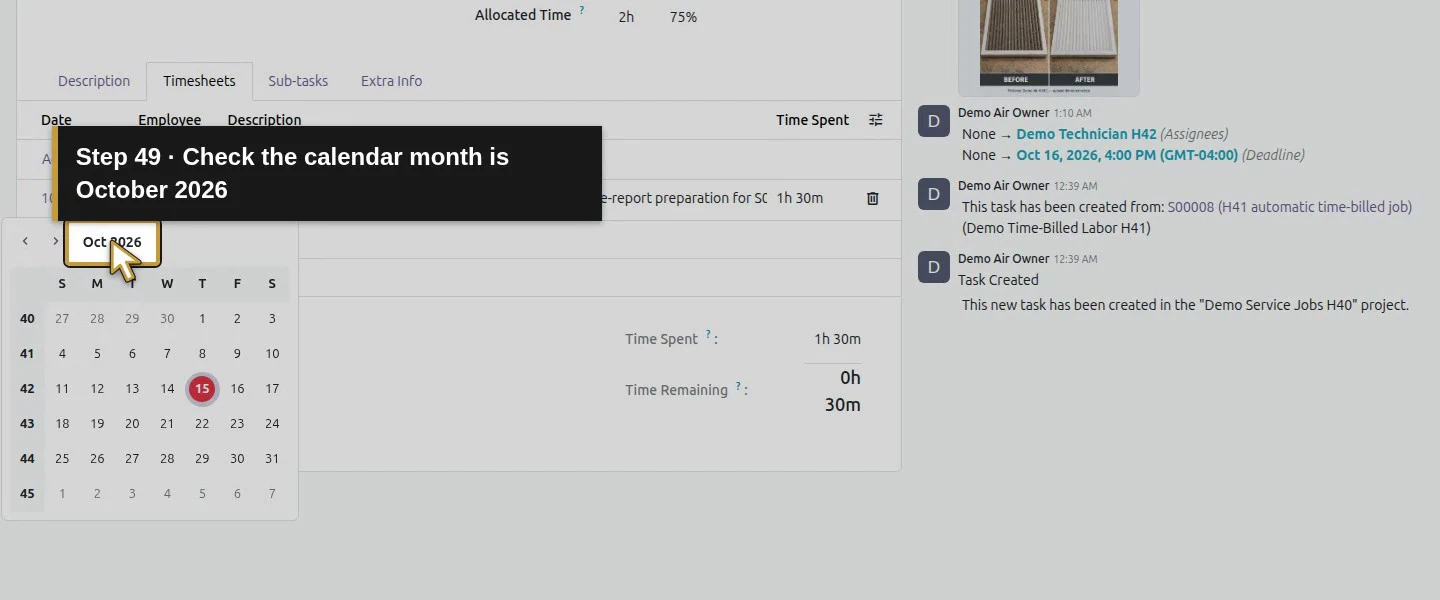
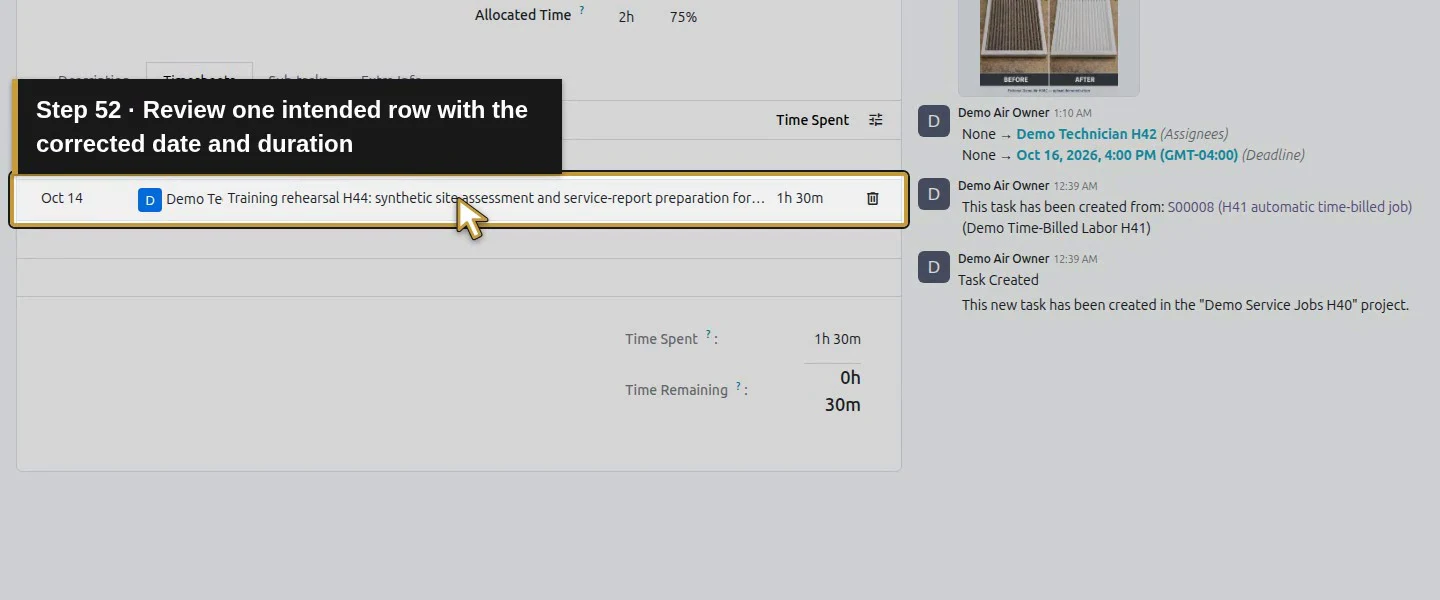
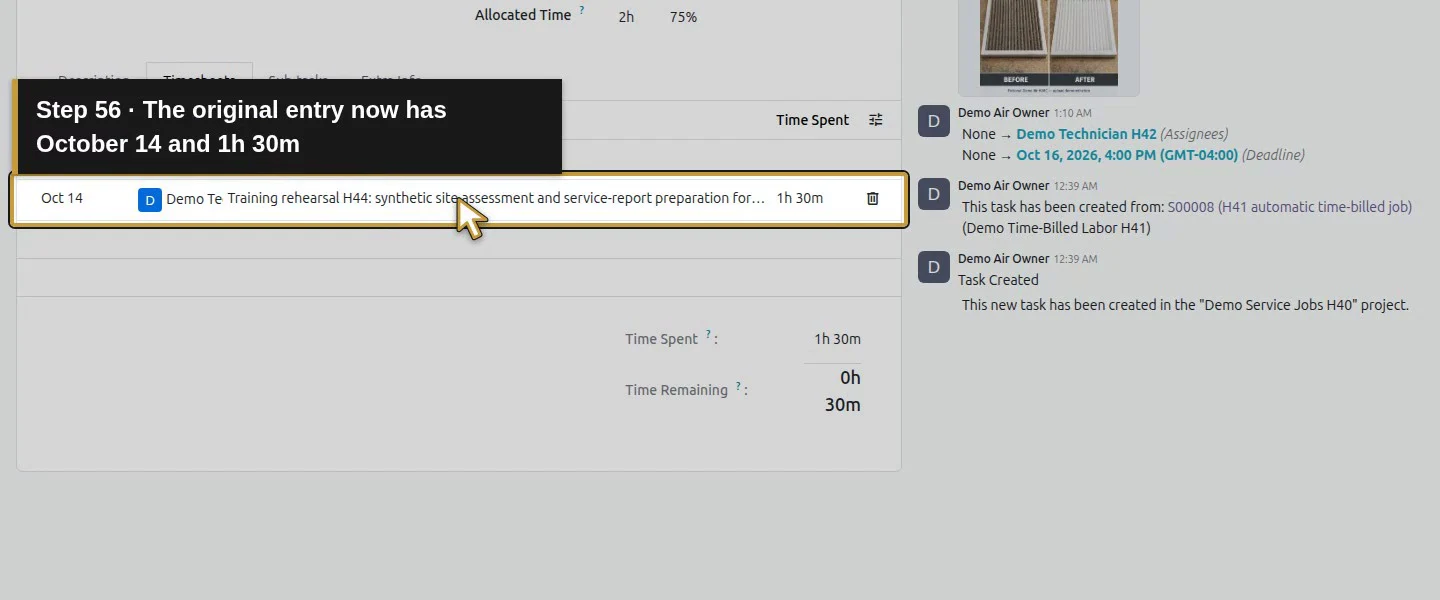
Add one intended technician time entry.Review the native current-date default.Use October 14 for this explicitly synthetic rehearsal.Check the existing Demo Technician H42 employee.Describe the rehearsal and state that no real work occurred.Enter 1.5 hours in Time Spent.Click the task heading to commit the final duration cell.Review one intended row showing 1h 30m.Edit the date on the original entry.Use the native calendar instead of Enter in this table.Check the calendar month is October 2026.Choose October 14 for this synthetic rehearsal.Click the heading to commit the corrected date.Review one intended row with the corrected date and duration.
Step 5. Save once and check the row before reloading
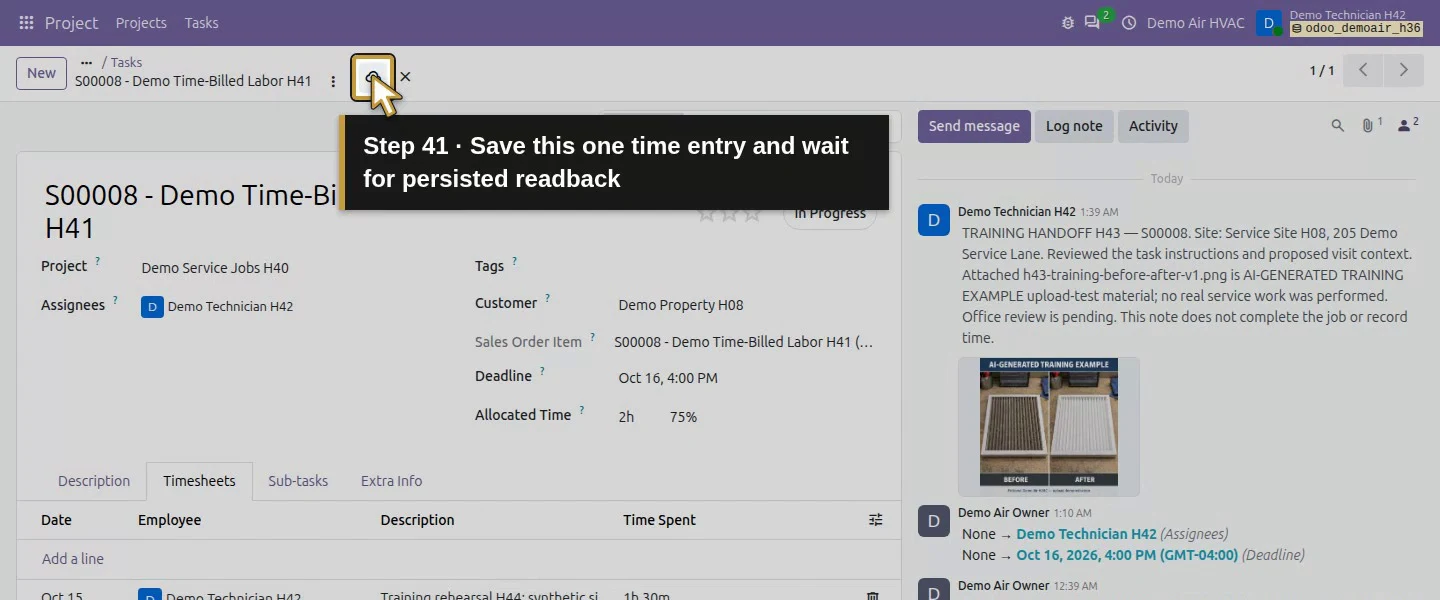
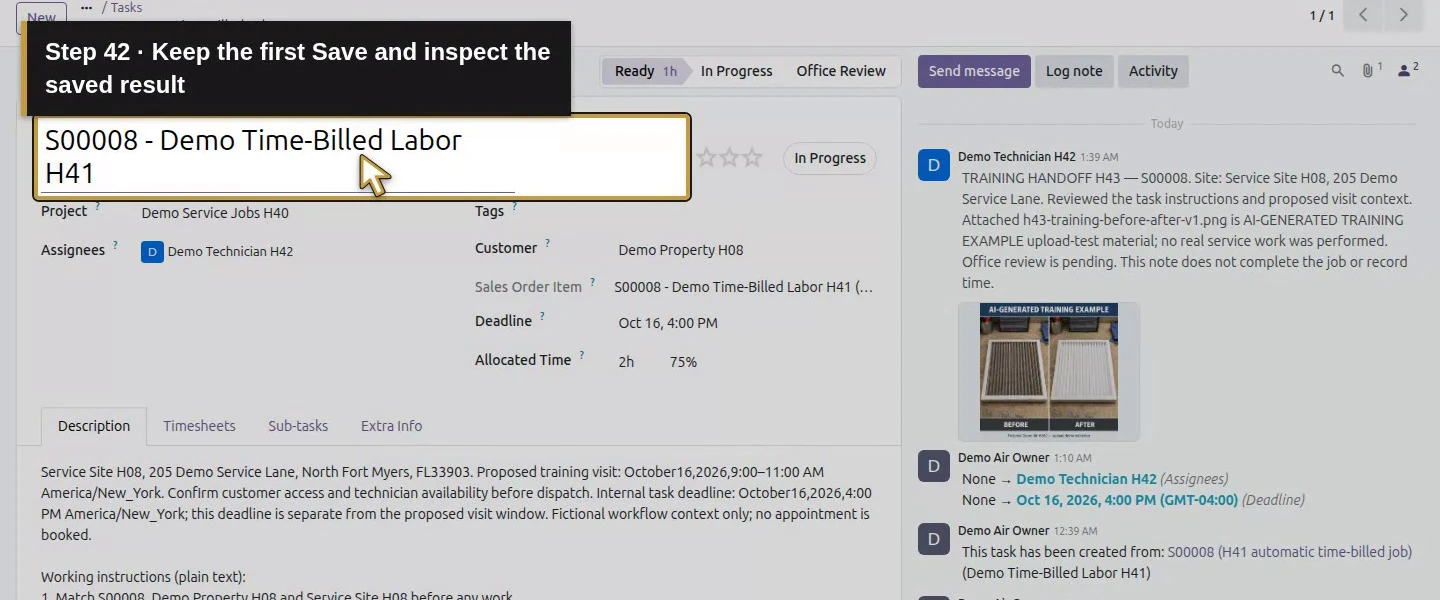
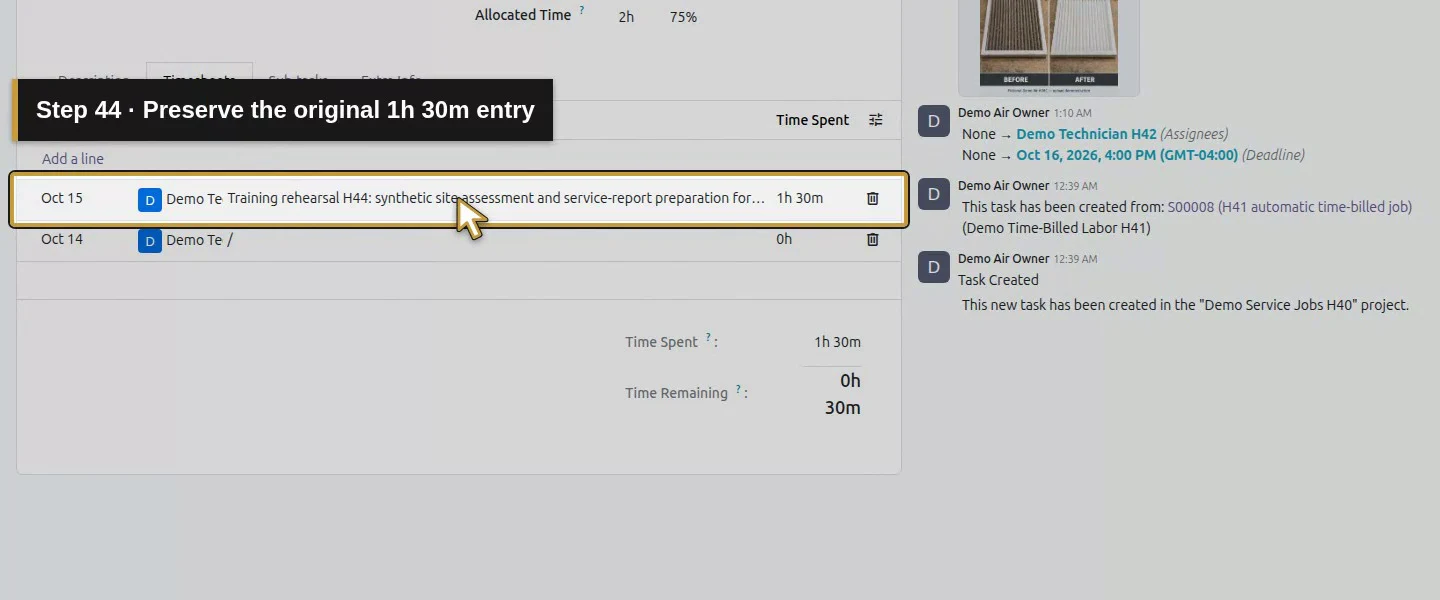
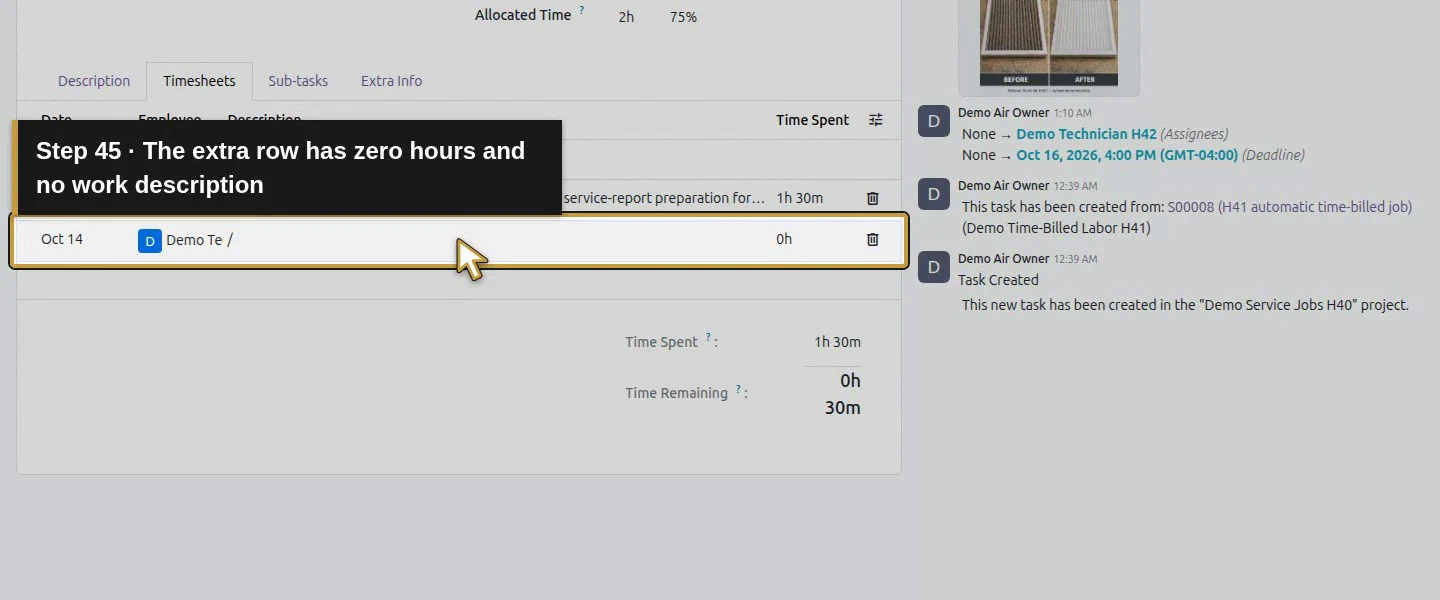
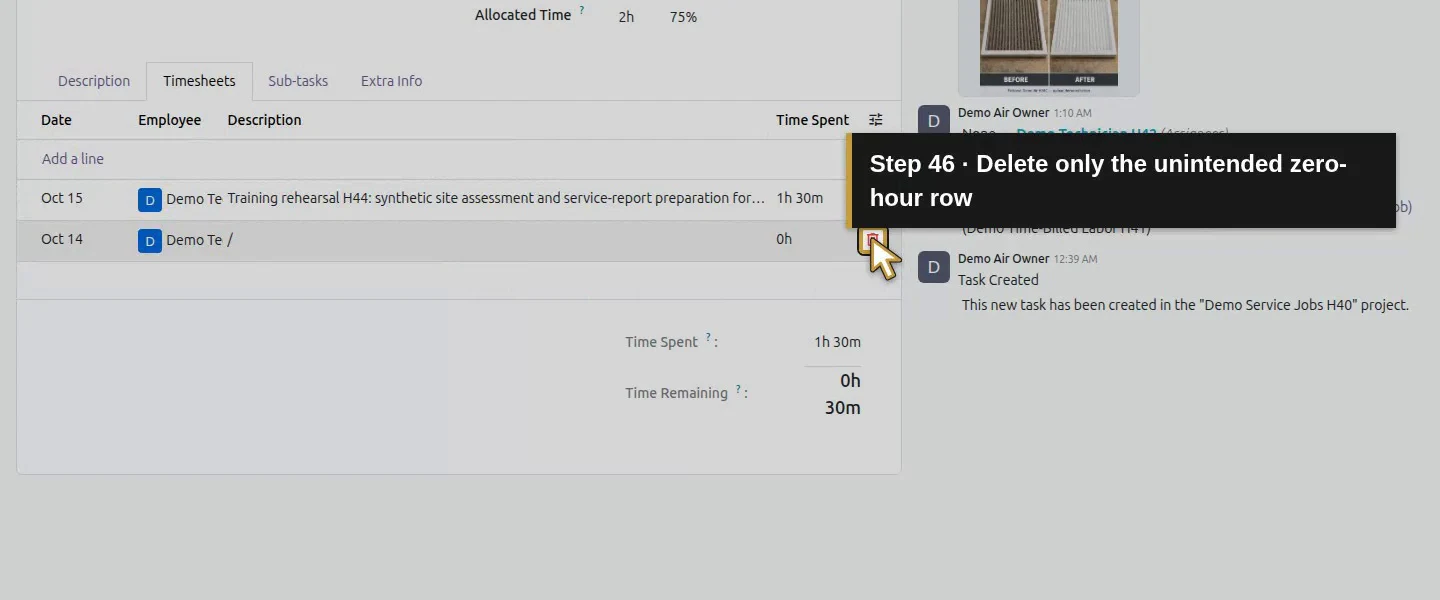
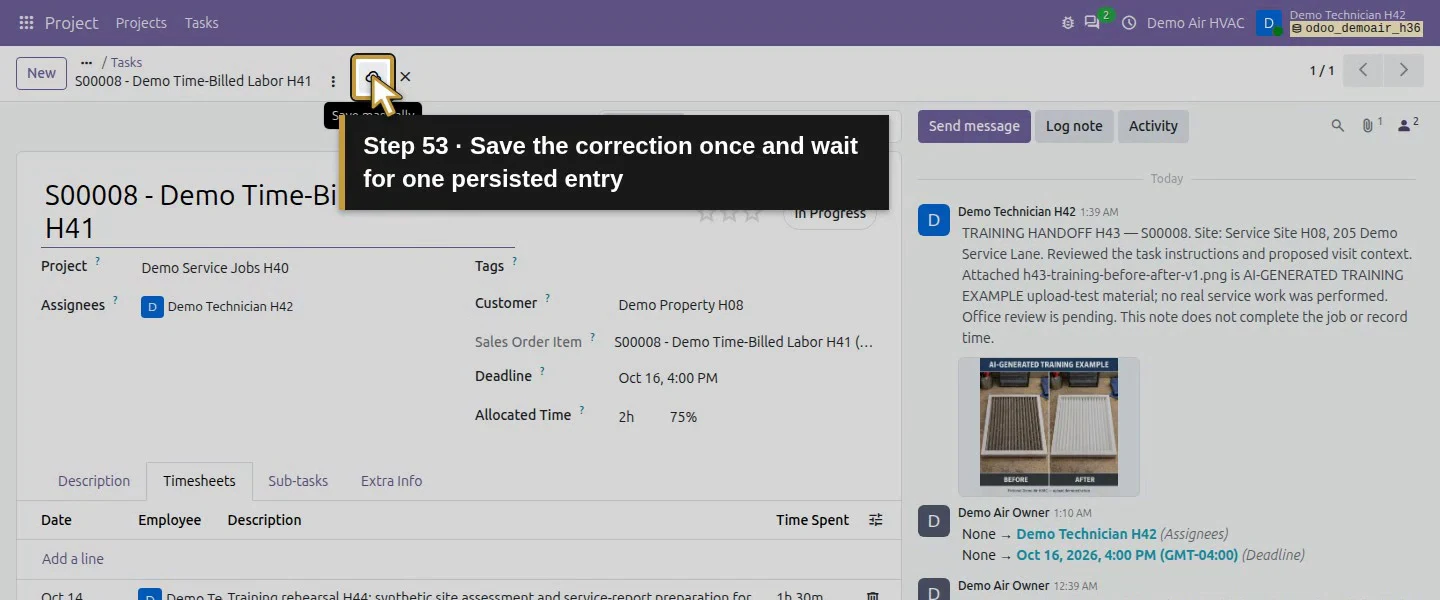
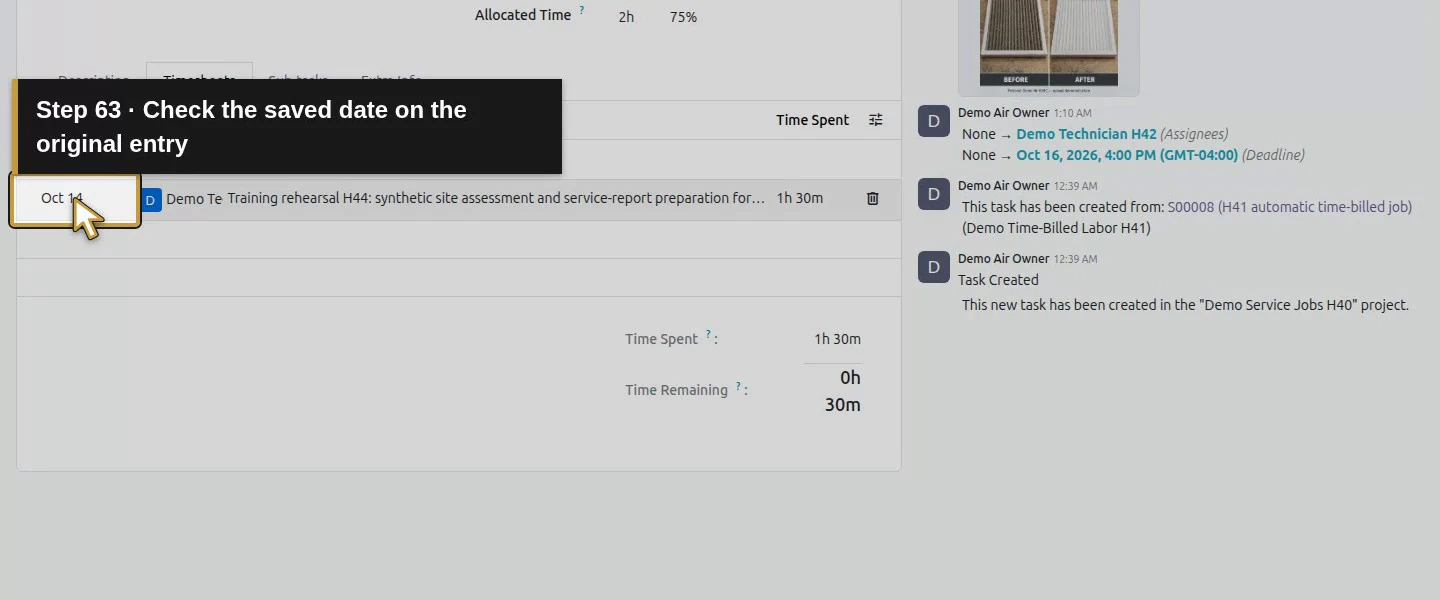
Check that there is exactly one intended entry with the intended date. Tabbing past the last duration field can add a new blank row; remove unintended zero-hour rows with their Delete row control. During the isolated recording, Enter in the editable Date cell left the original date unchanged and an extra zero-hour row appeared; choosing the date with the native calendar corrected the retained entry. Click Save manually once and wait for its pending-change controls to disappear before reloading or navigating away. Our initial verification’s rapid save/reload sequence produced duplicate entries; we removed the test extras through the native UI. After correction, the saved task has one 1h 30m entry, 75% of the 2h allocation and Time Remaining: 0h 30m.
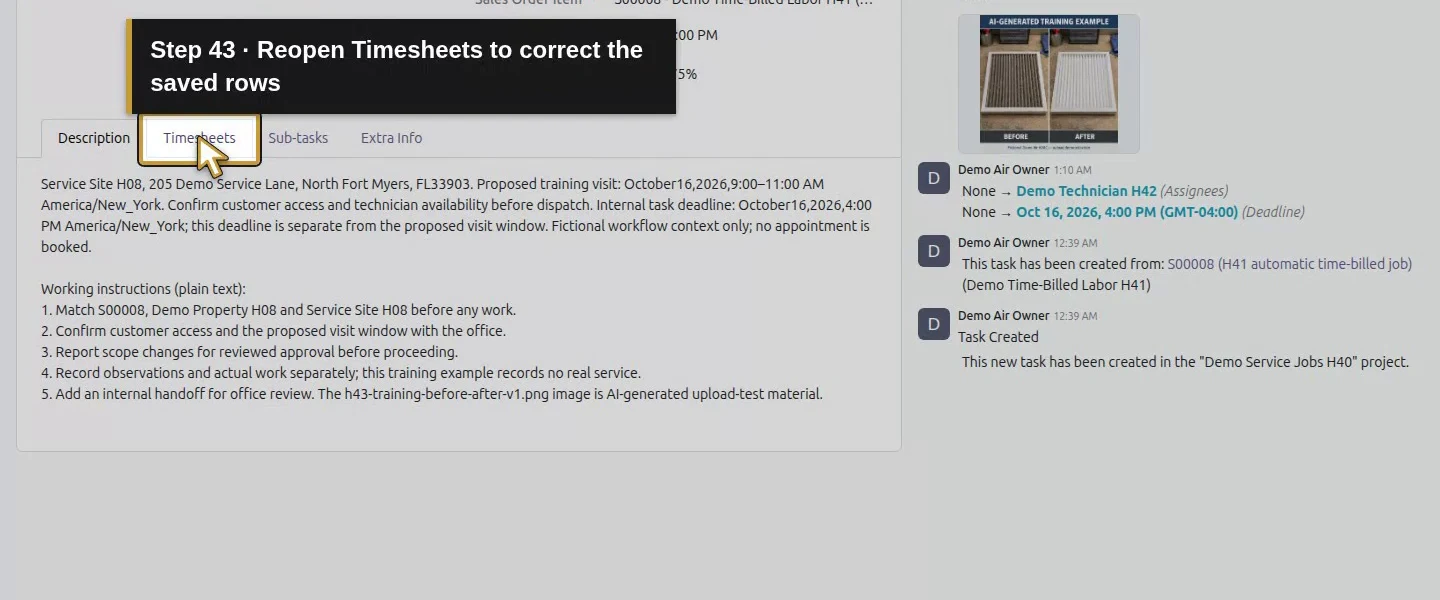
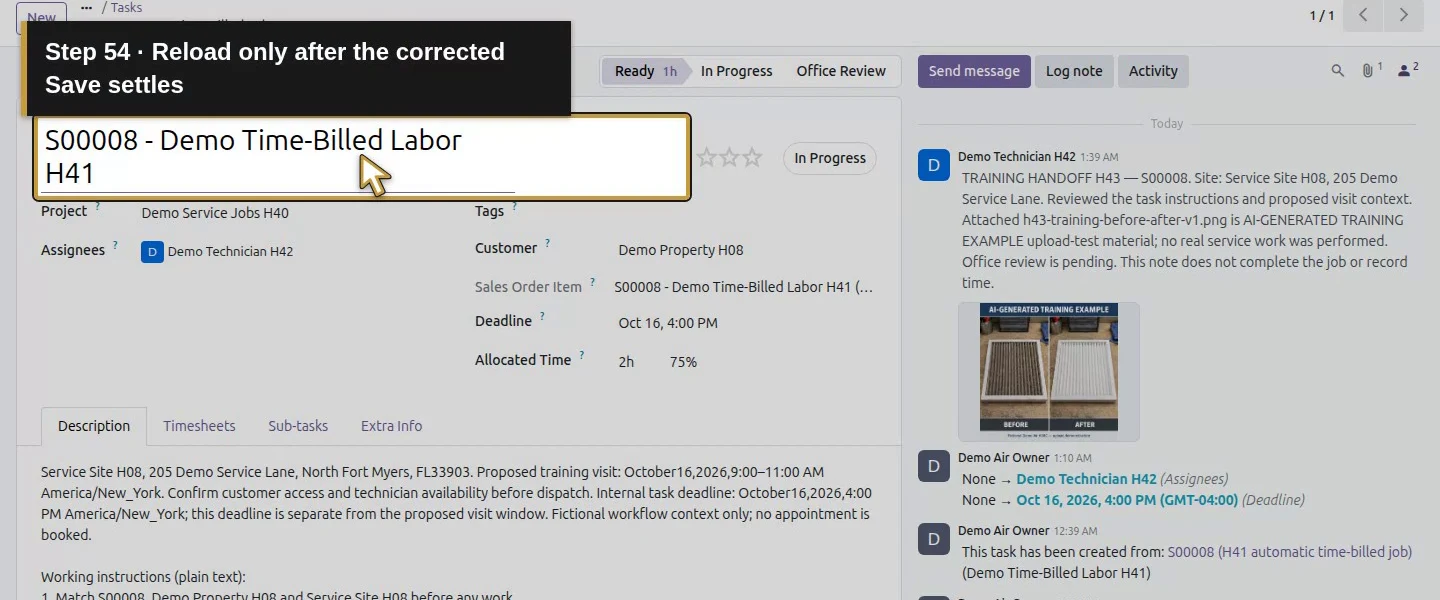
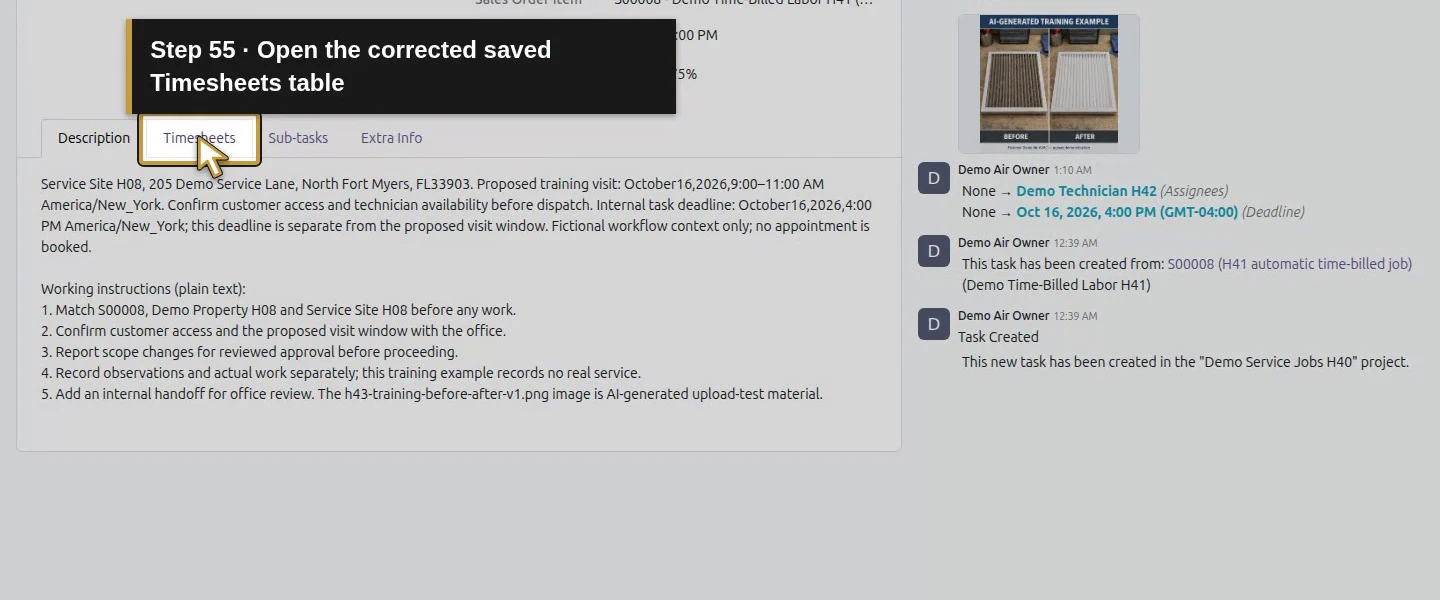
Save this one time entry and wait for persisted readback.Keep the first Save and inspect the saved result.Reopen Timesheets to correct the saved rows.Preserve the original 1h 30m entry.The extra row has zero hours and no work description.Delete only the unintended zero-hour row.Edit the date on the original entry.Use the native calendar instead of Enter in this table.Check the calendar month is October 2026.Choose October 14 for this synthetic rehearsal.Click the heading to commit the corrected date.Review one intended row with the corrected date and duration.Save the correction once and wait for one persisted entry.Reload only after the corrected Save settles.Open the corrected saved Timesheets table.The original entry now has October 14 and 1h 30m.
Step 6. Correct an existing entry without adding another
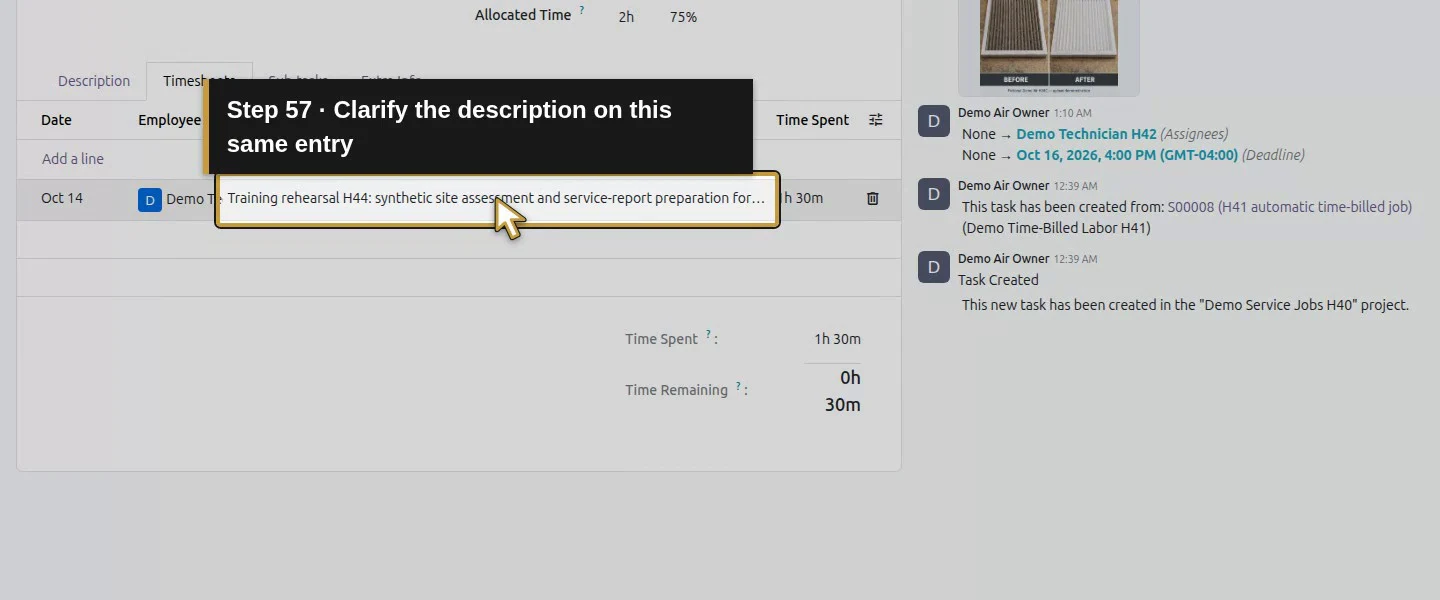
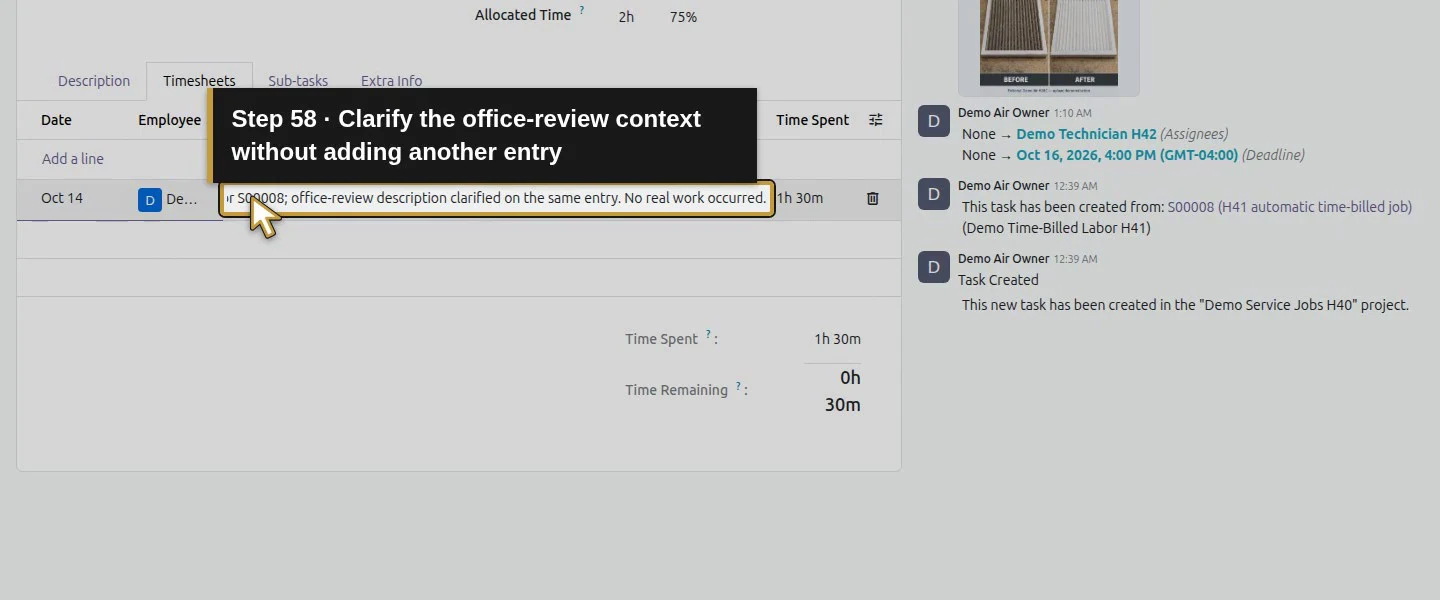
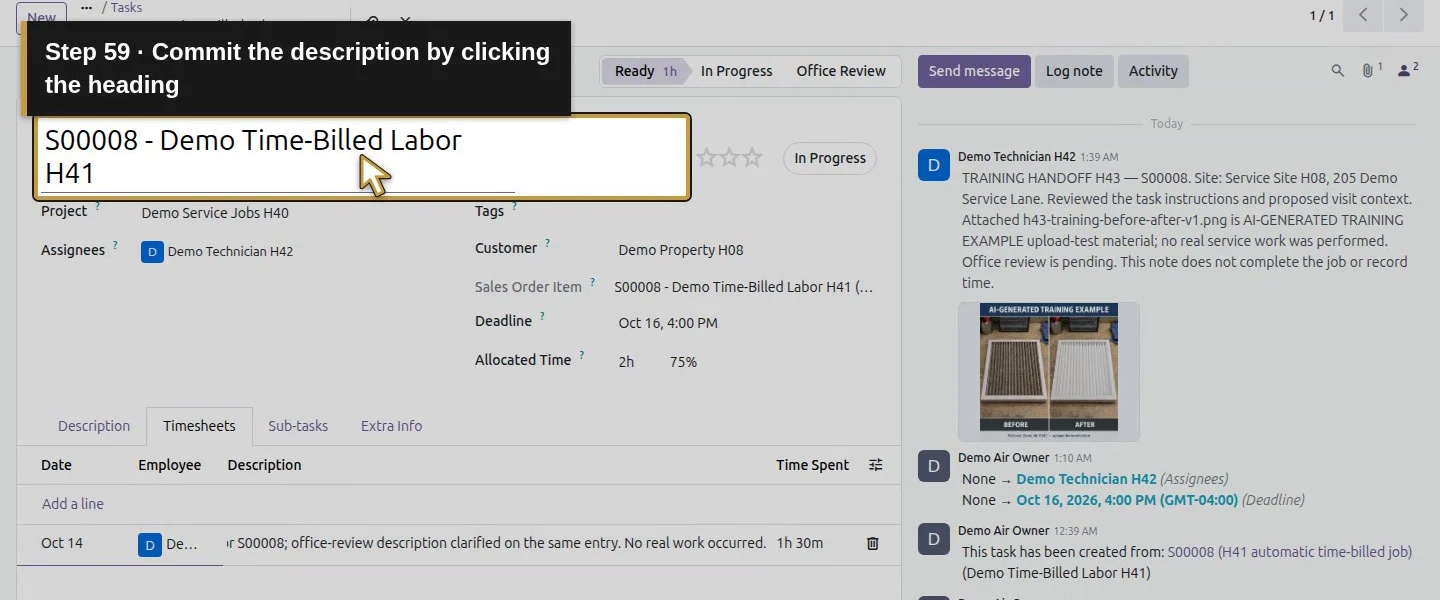
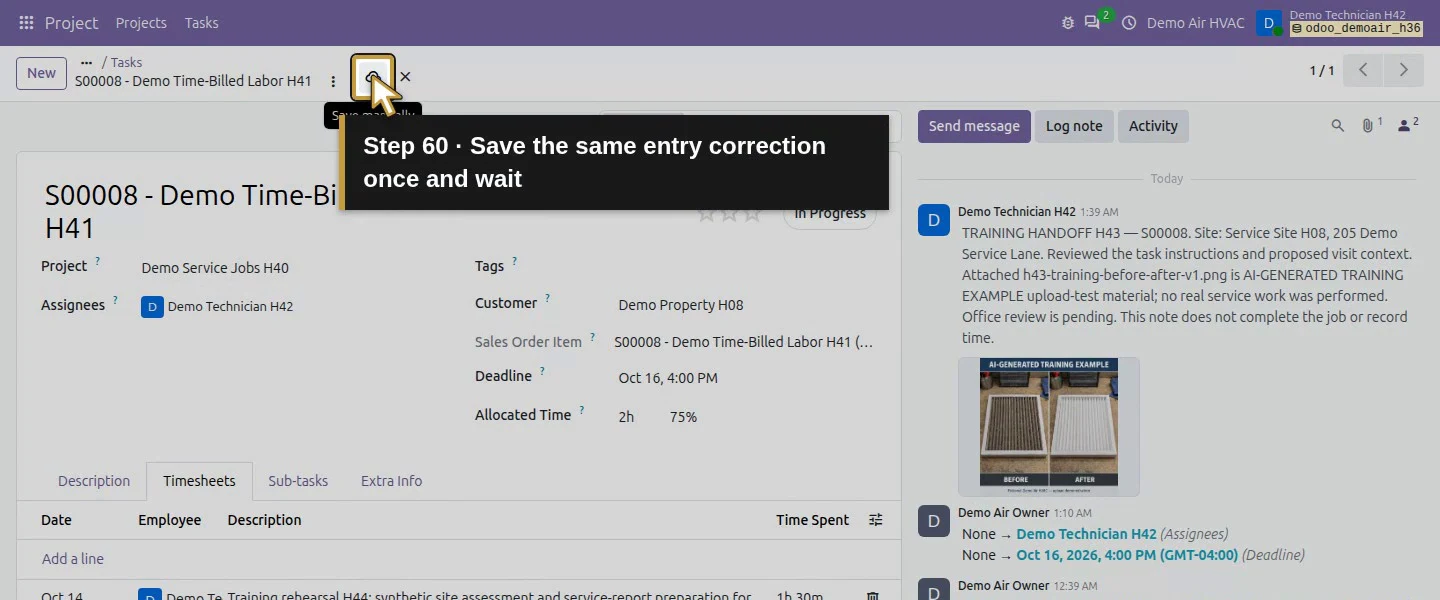
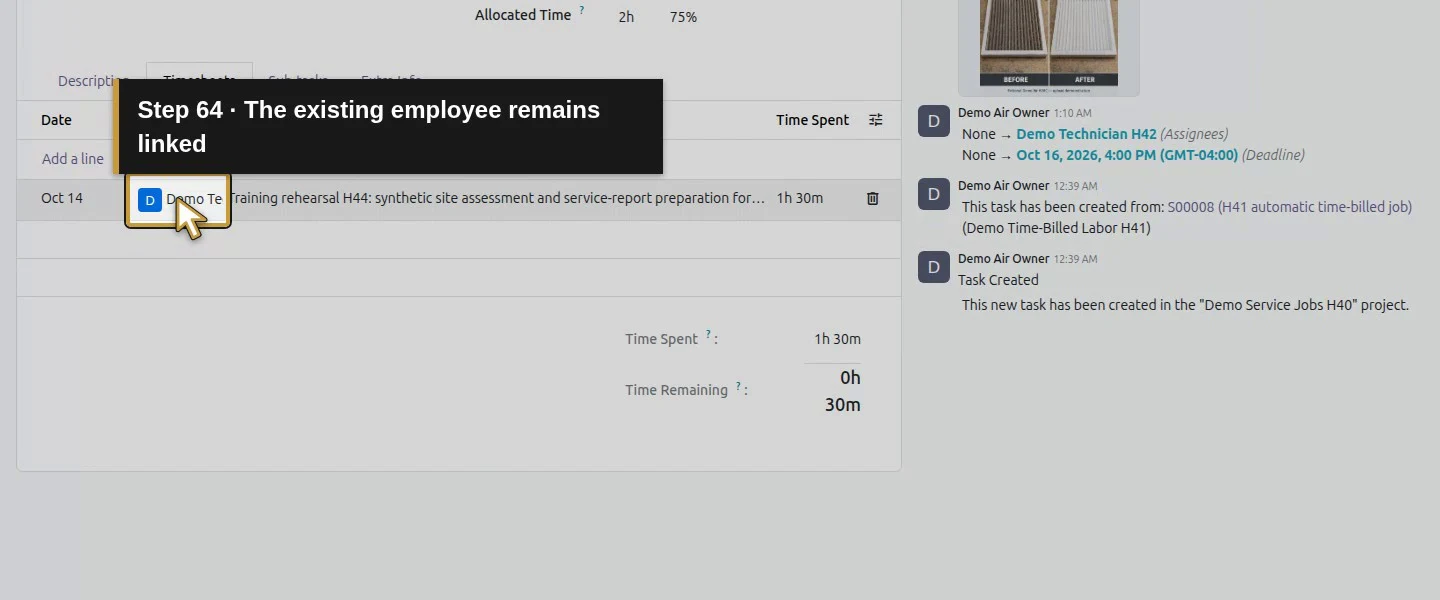
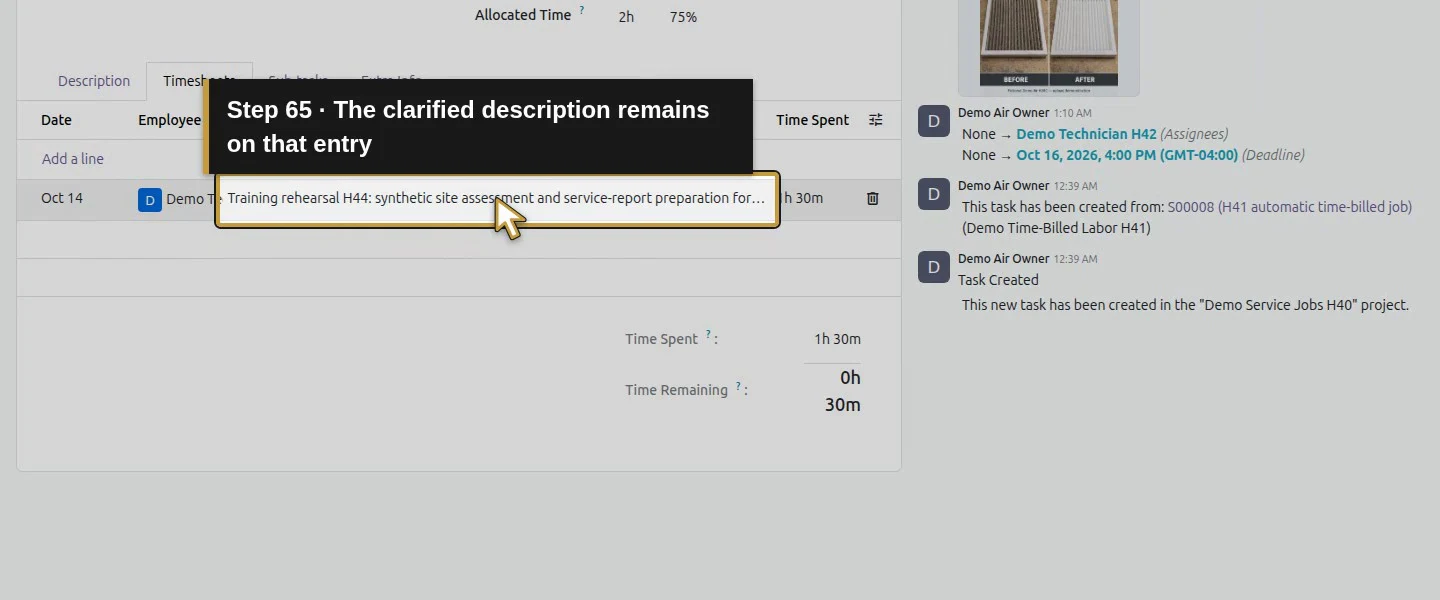
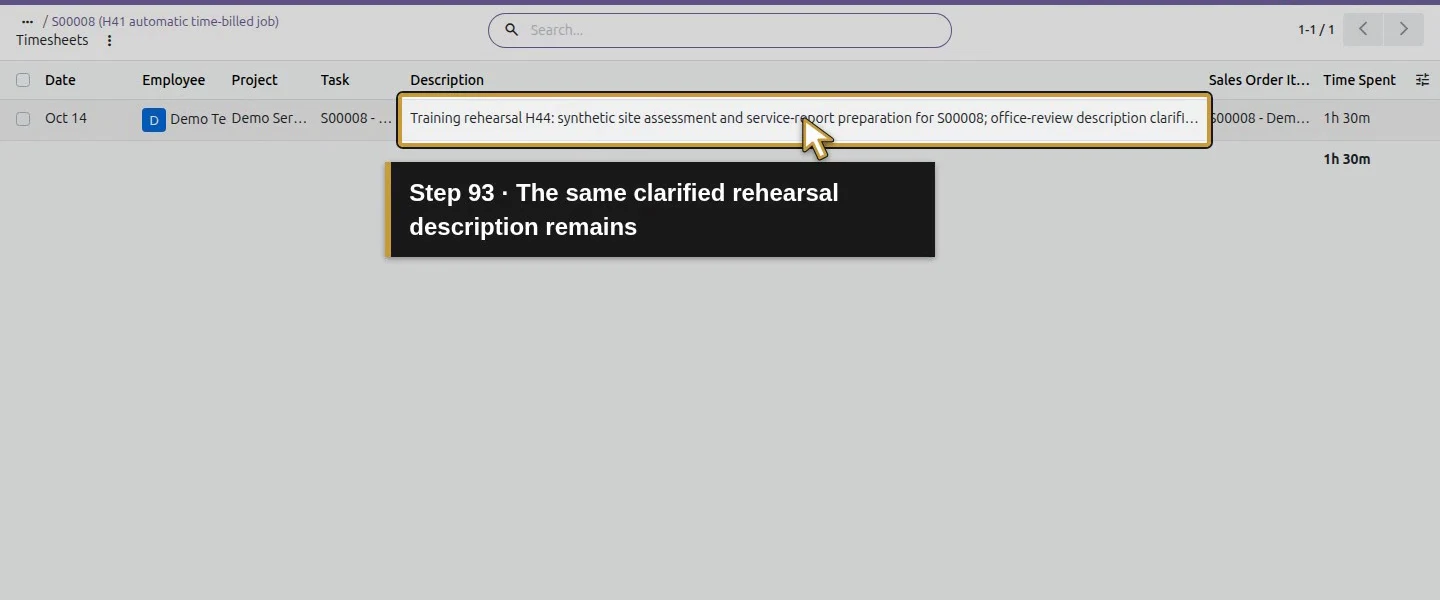
If the description needs clarification, click that existing row and edit its Description. Click the task heading to commit the cell, save once, wait for saving to finish and reopen Timesheets. We corrected the rehearsal description this way and retained the same entry, employee and 1.5-hour quantity. Check the whole table after a correction; another Add a line would record additional time.
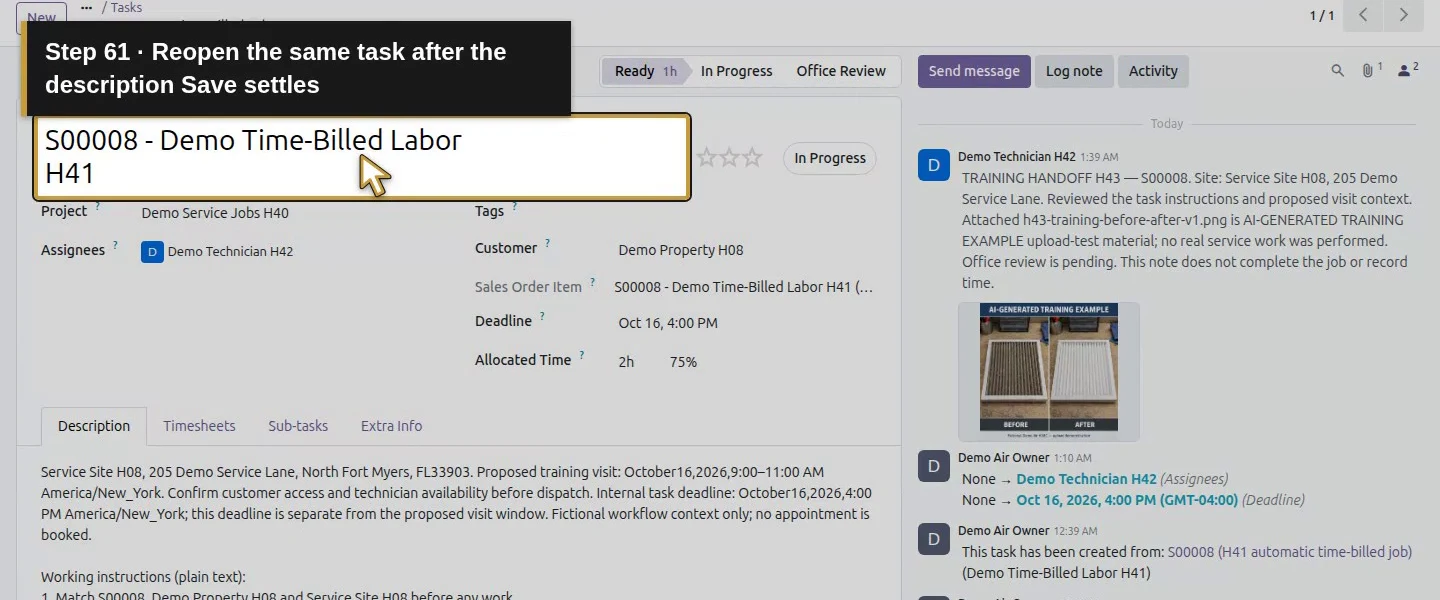
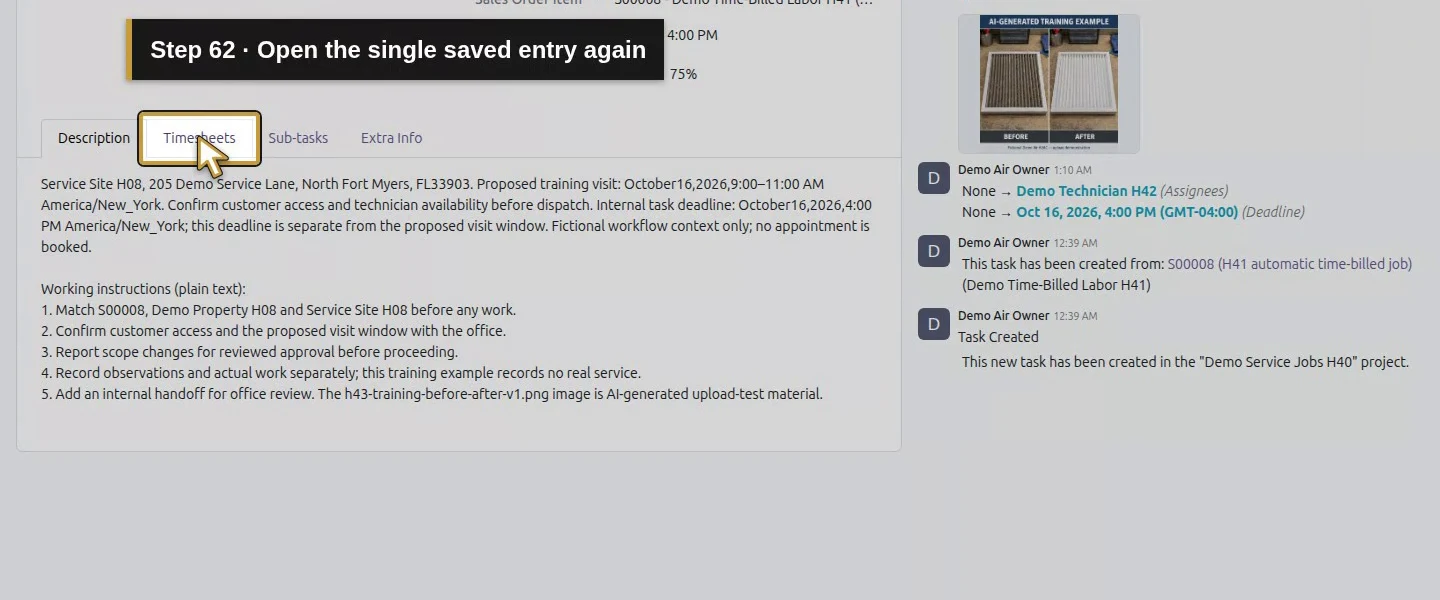
Clarify the description on this same entry.Clarify the office-review context without adding another entry.Commit the description by clicking the heading.Save the same entry correction once and wait.Reopen the same task after the description Save settles.Open the single saved entry again.Check the saved date on the original entry.The existing employee remains linked.The clarified description remains on that entry.
Step 7. Review the exact sales quantity from the office
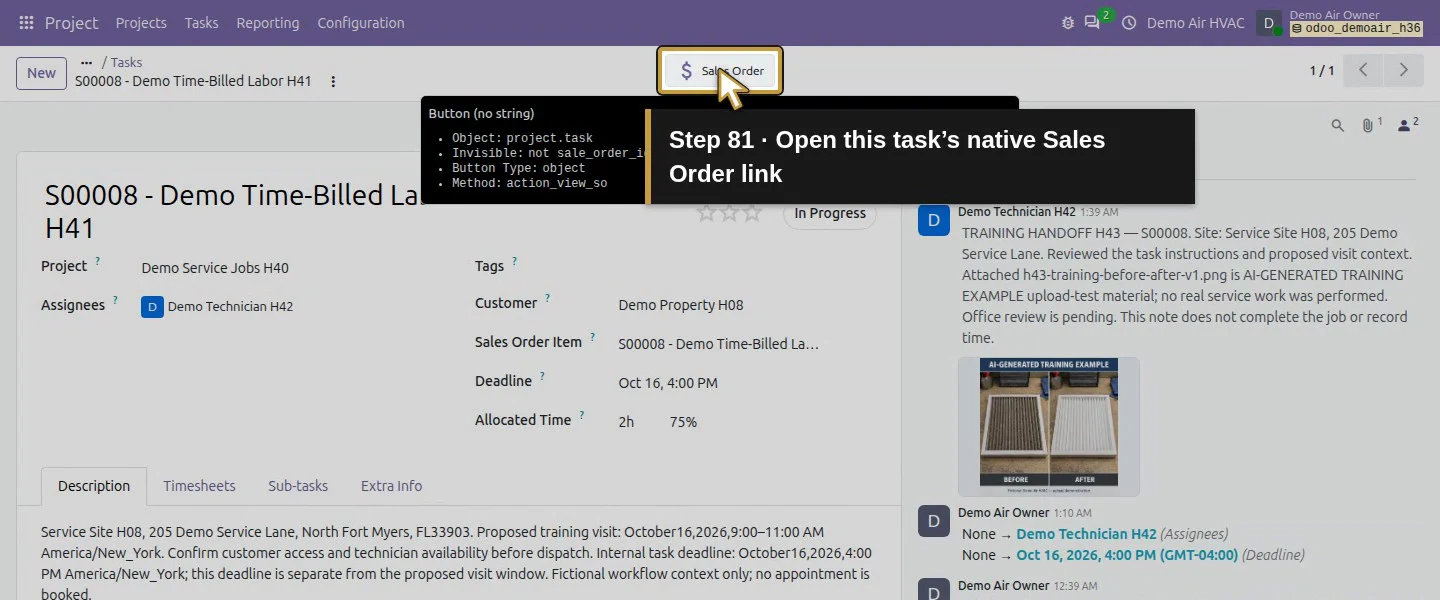
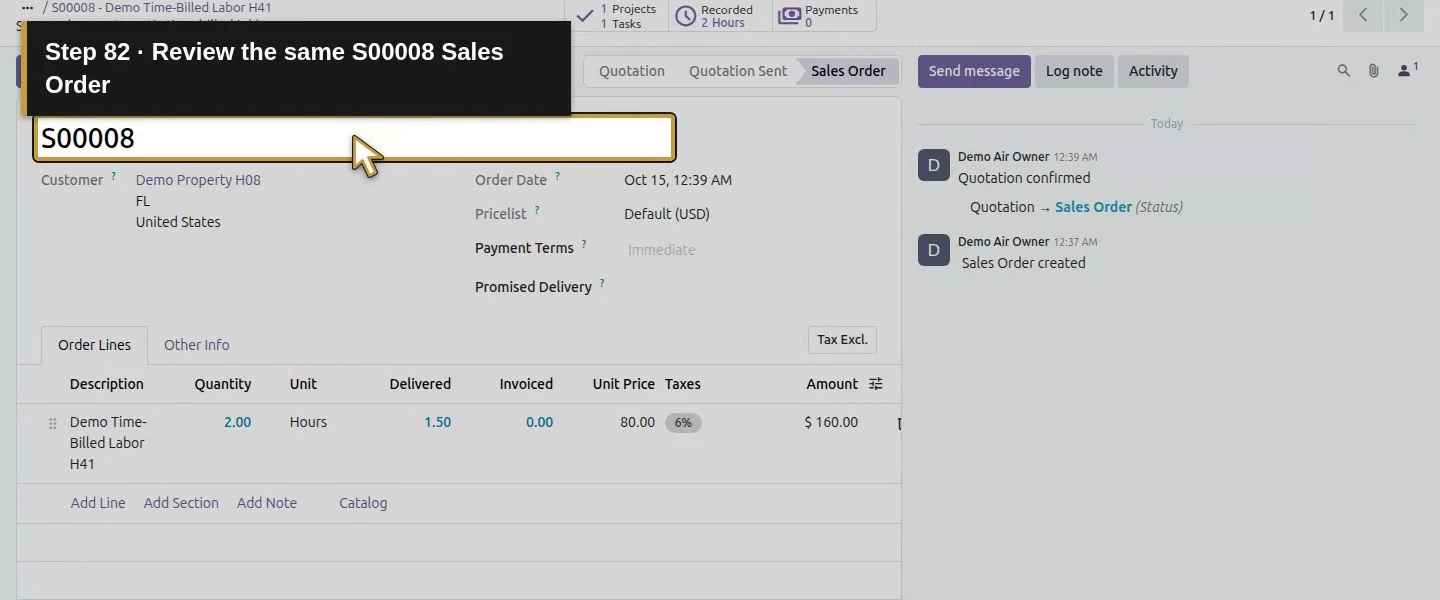
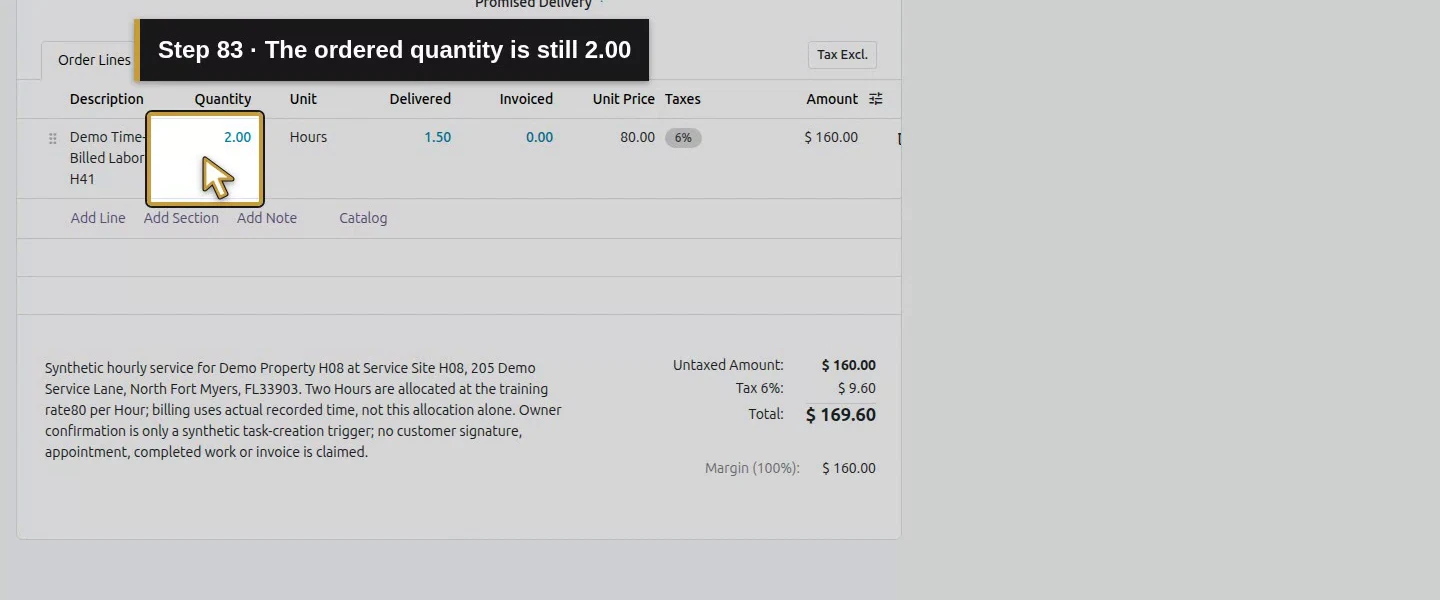
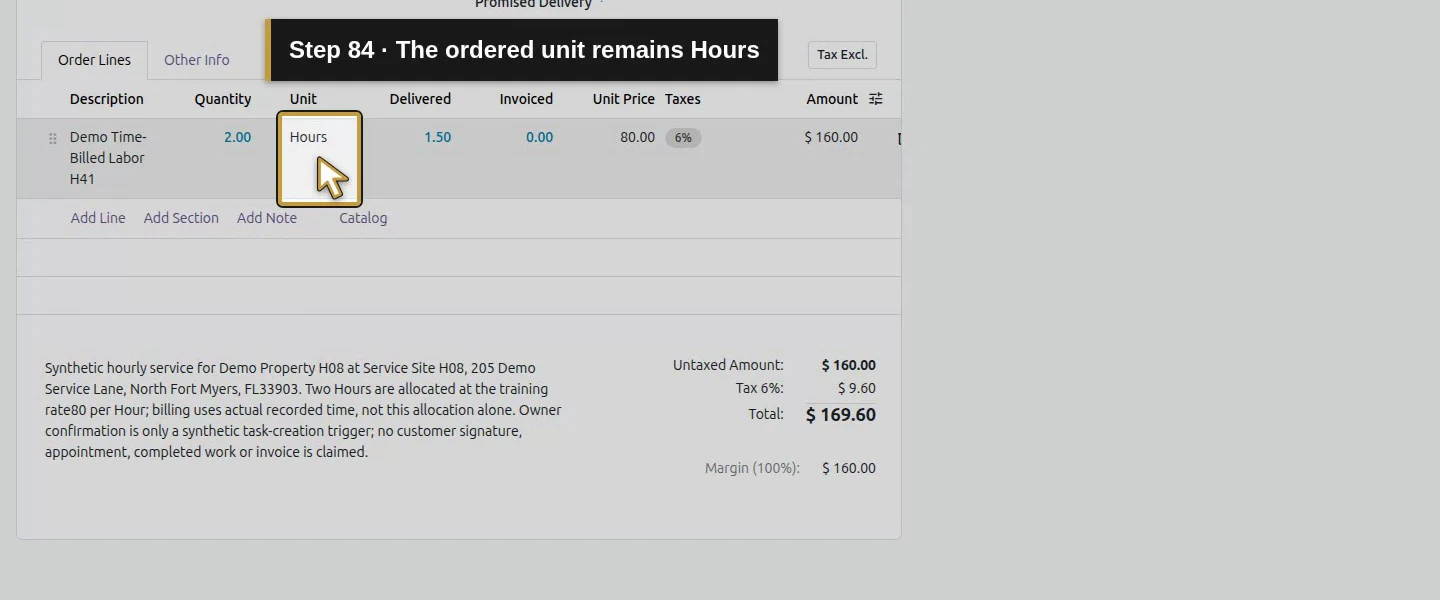
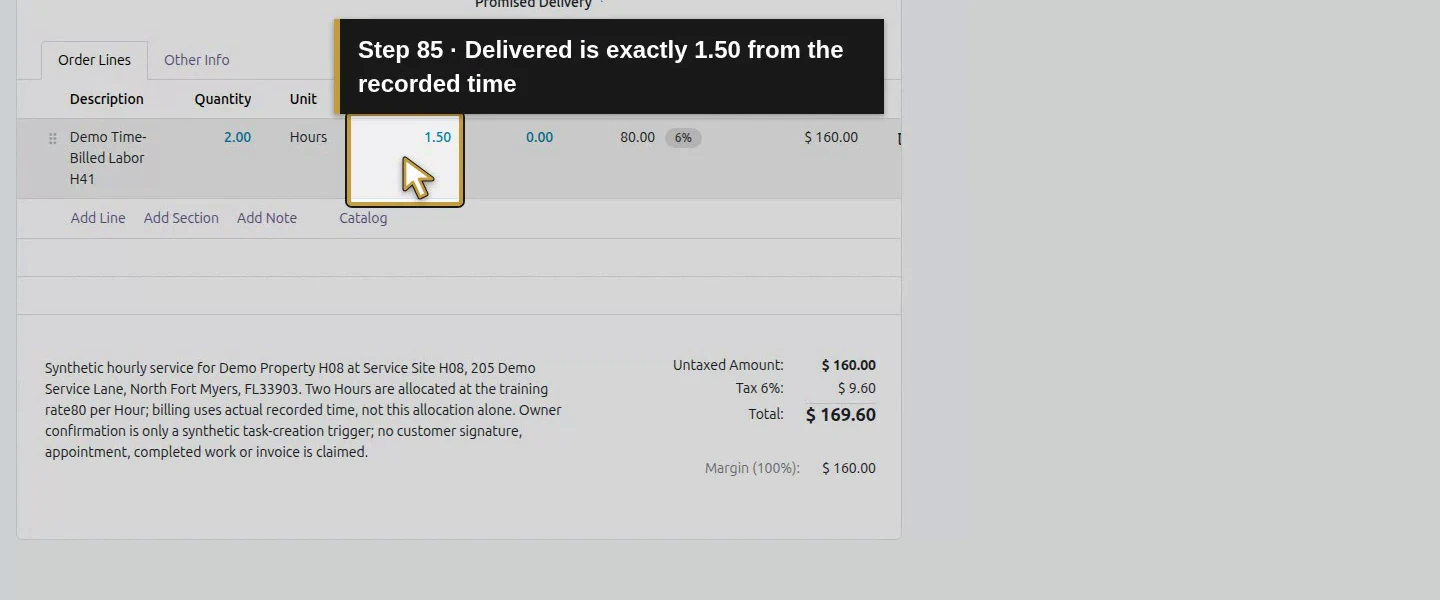
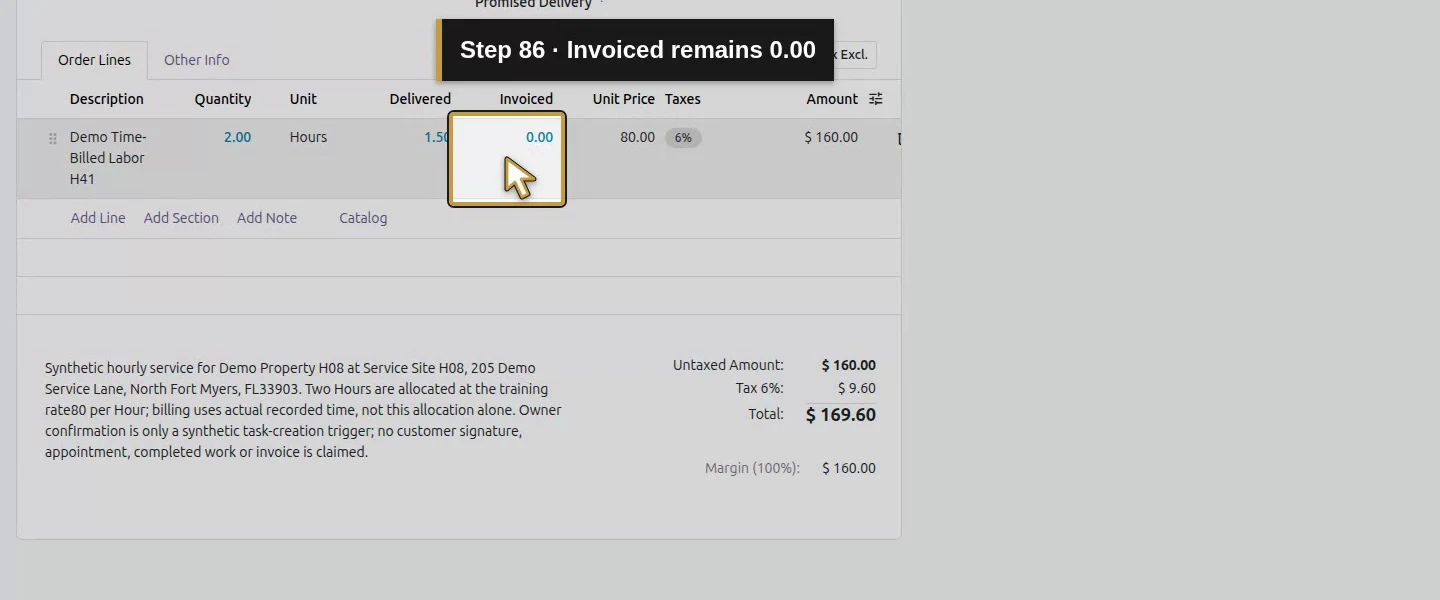
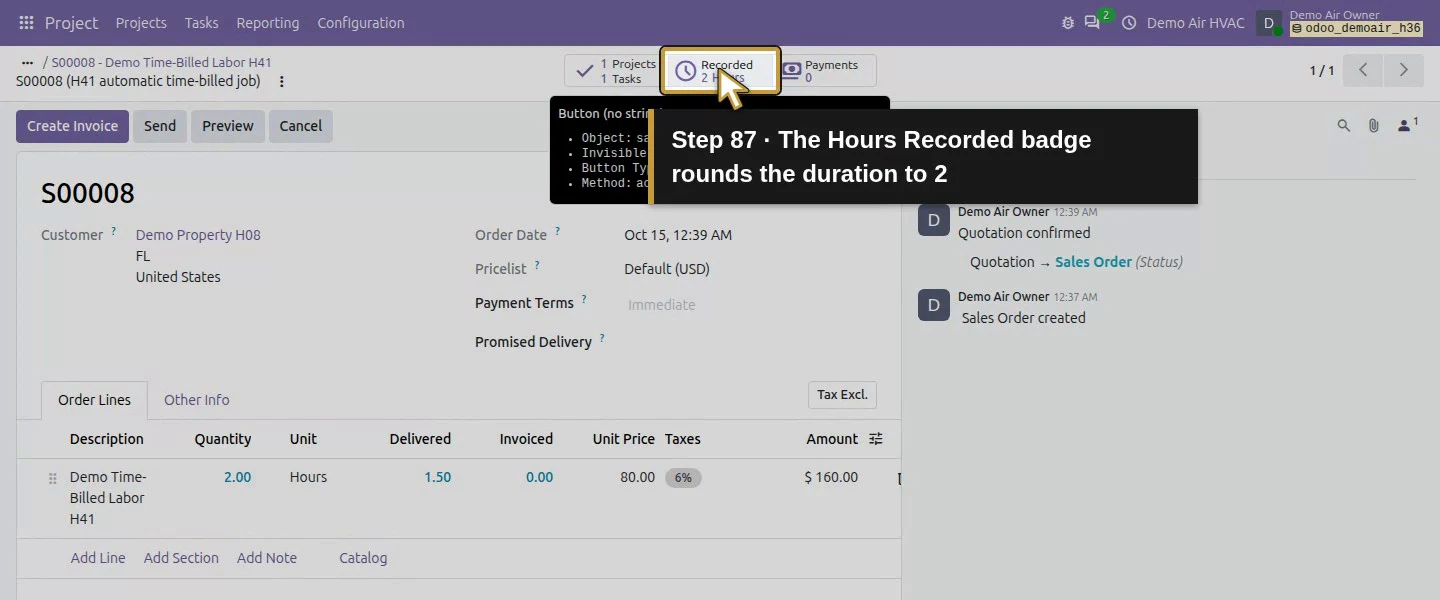
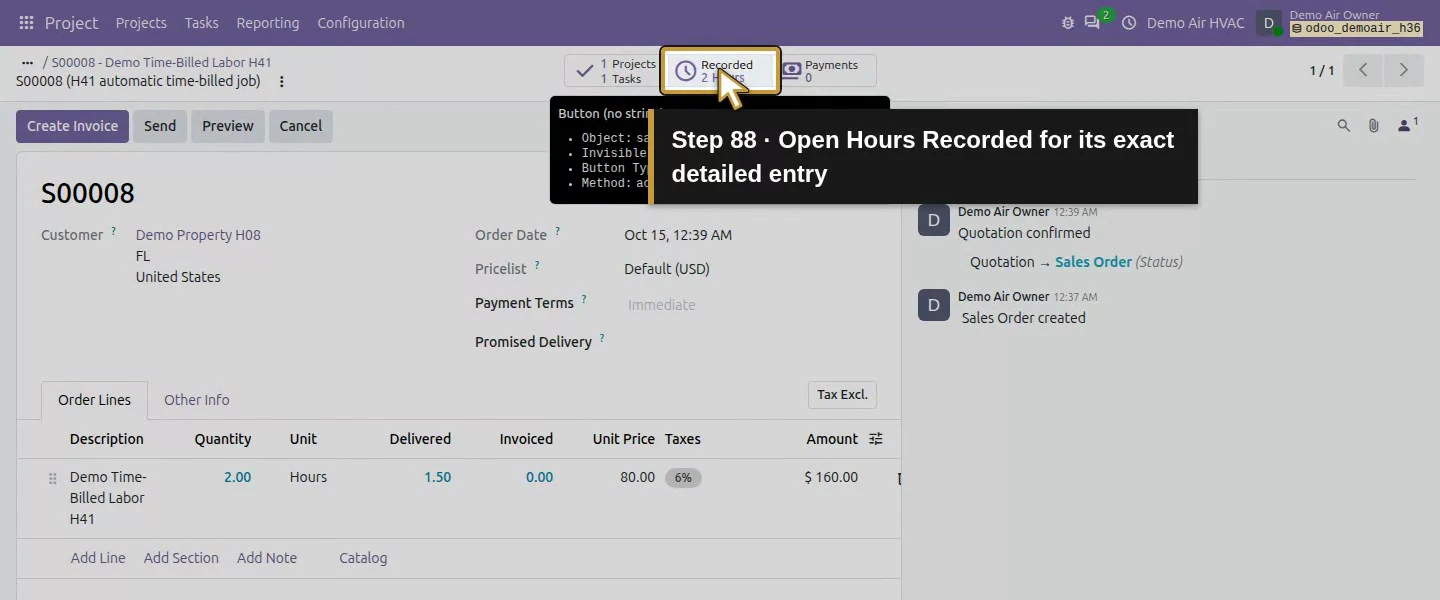
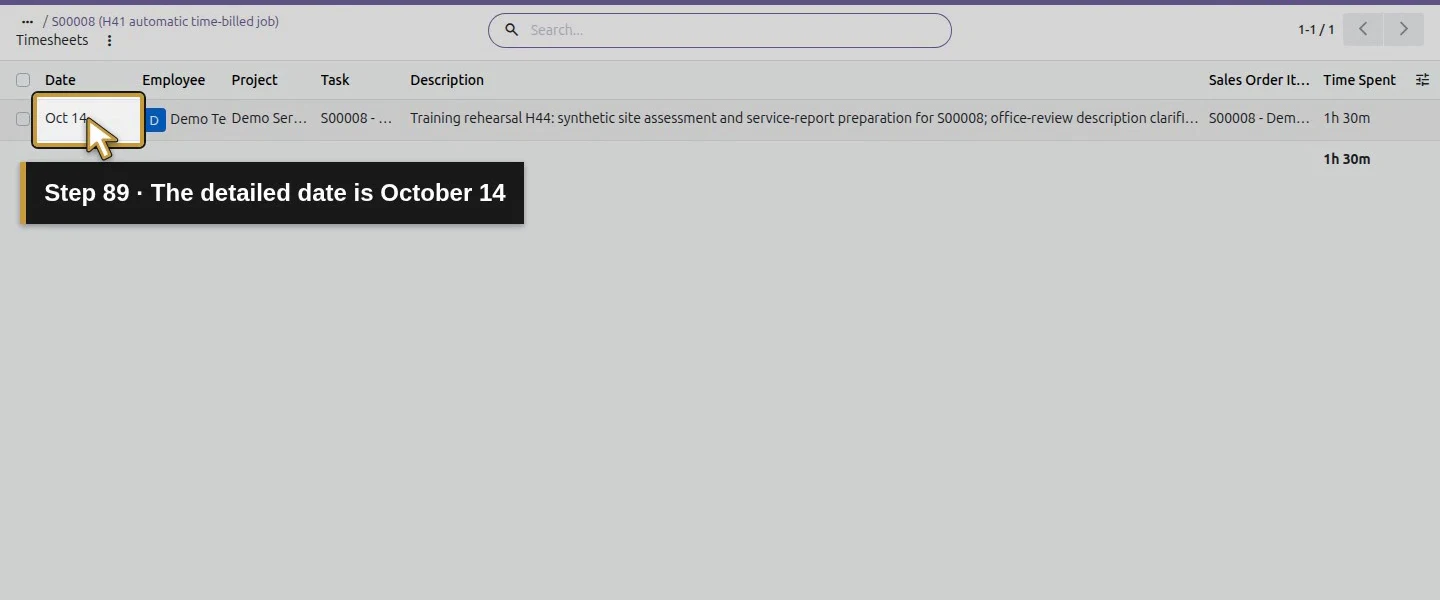
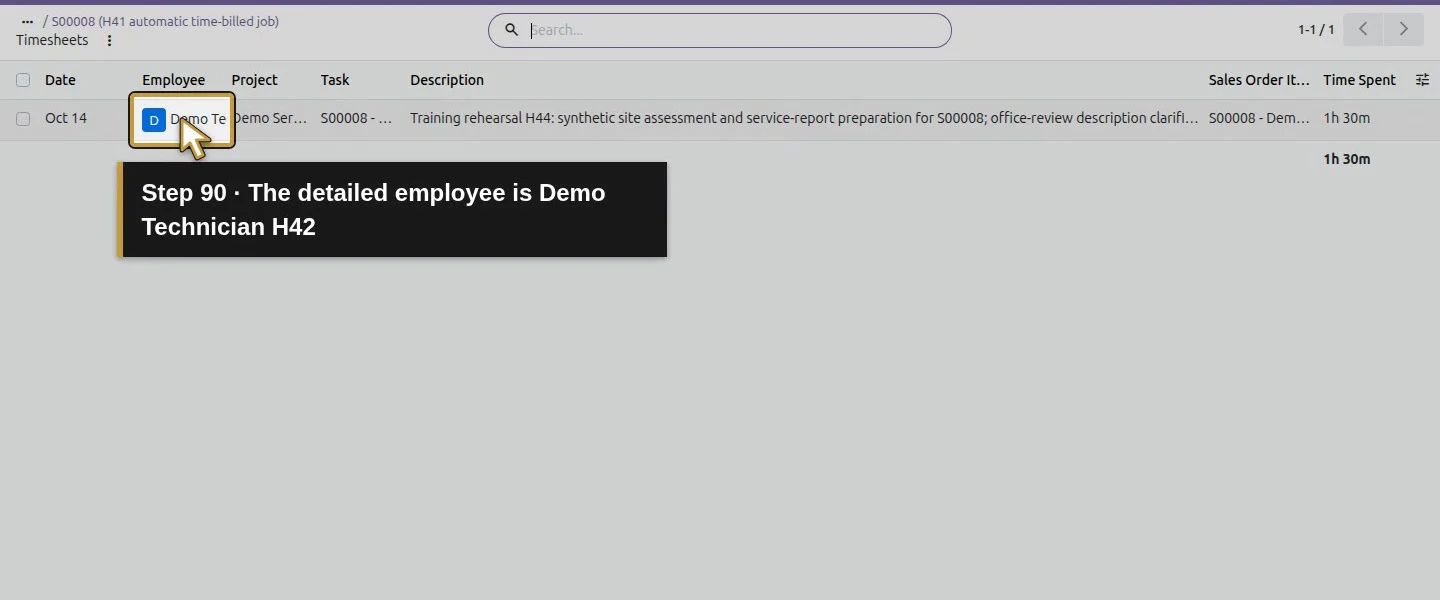
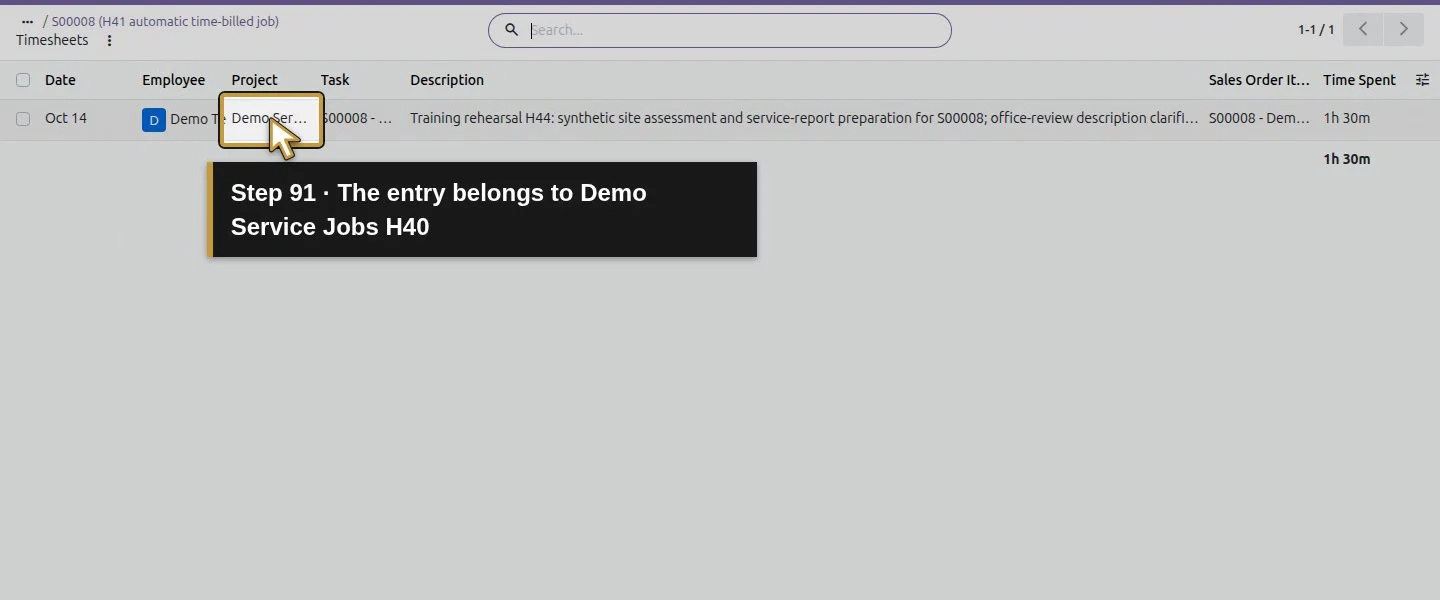
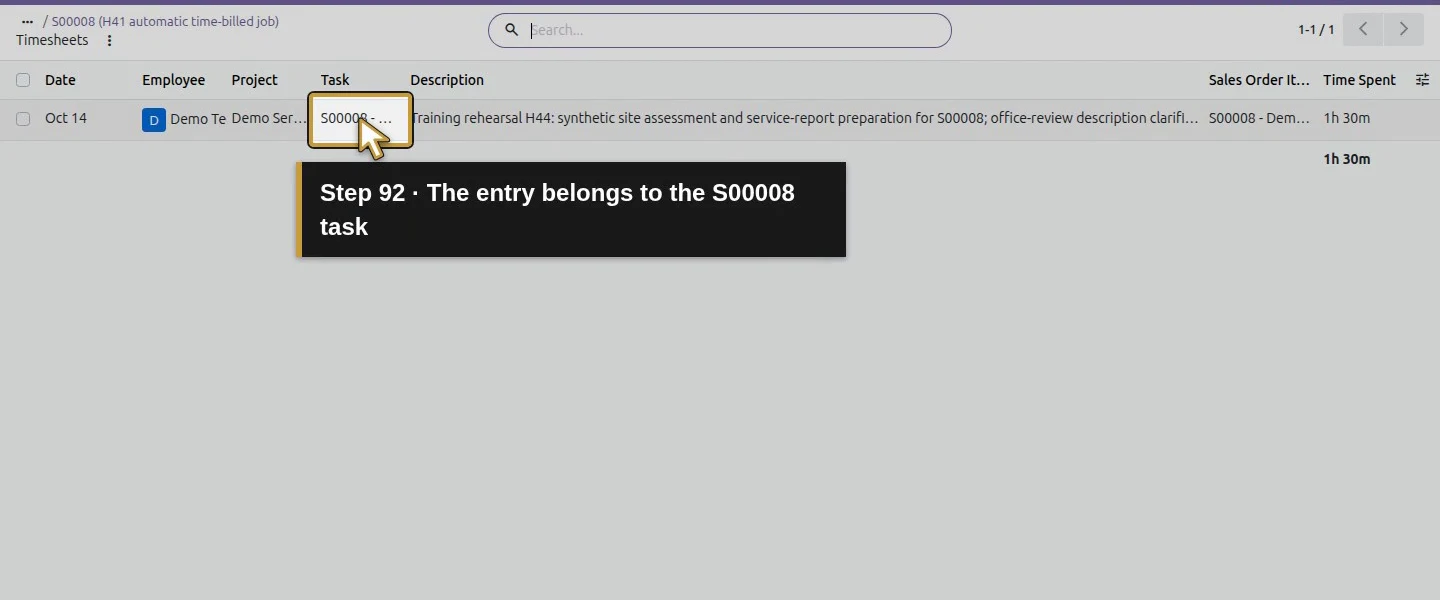
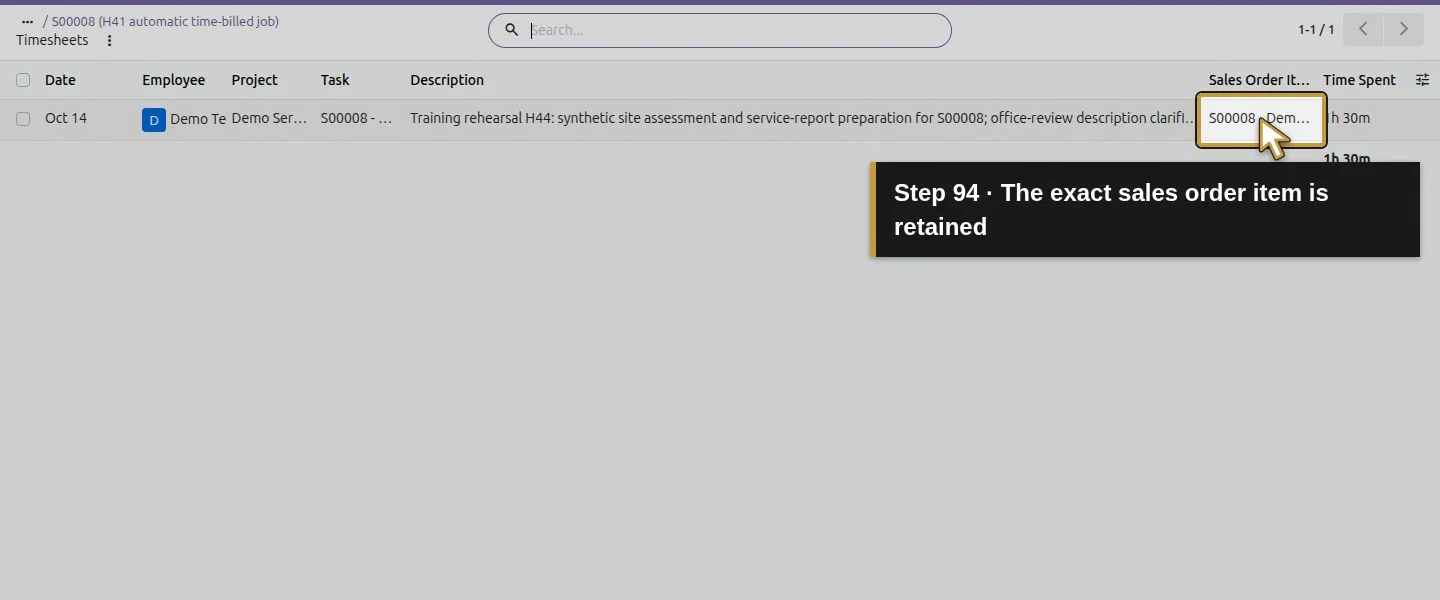
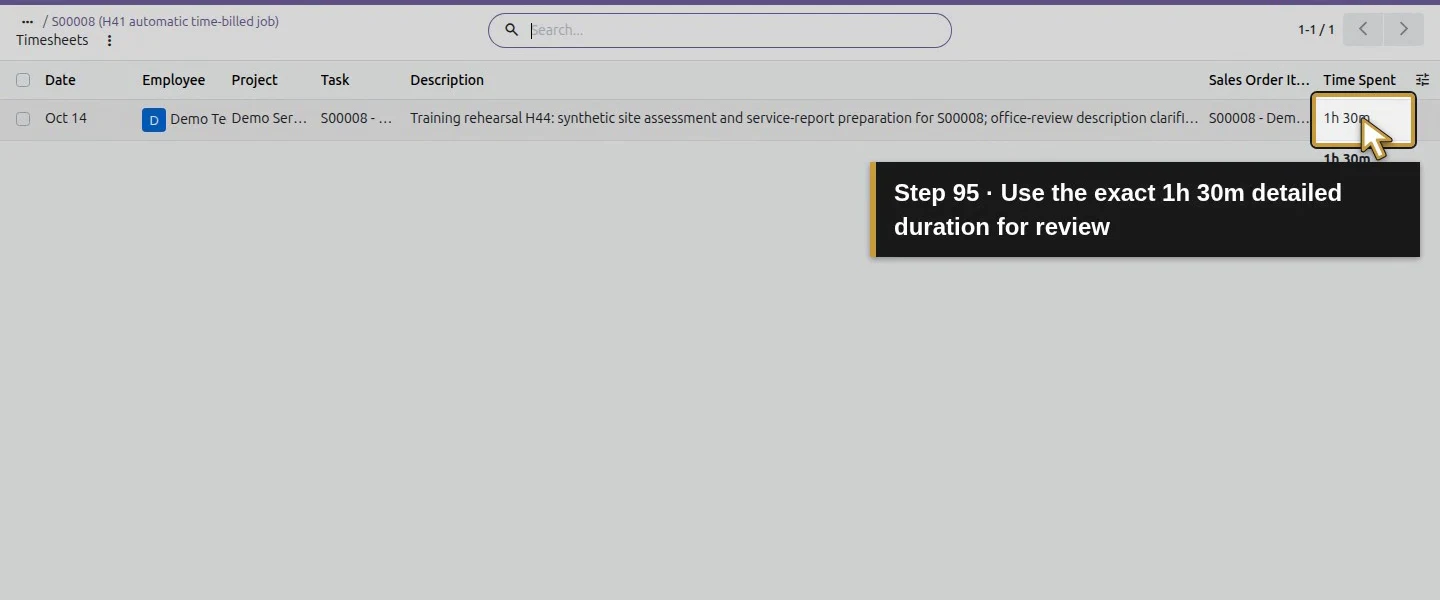
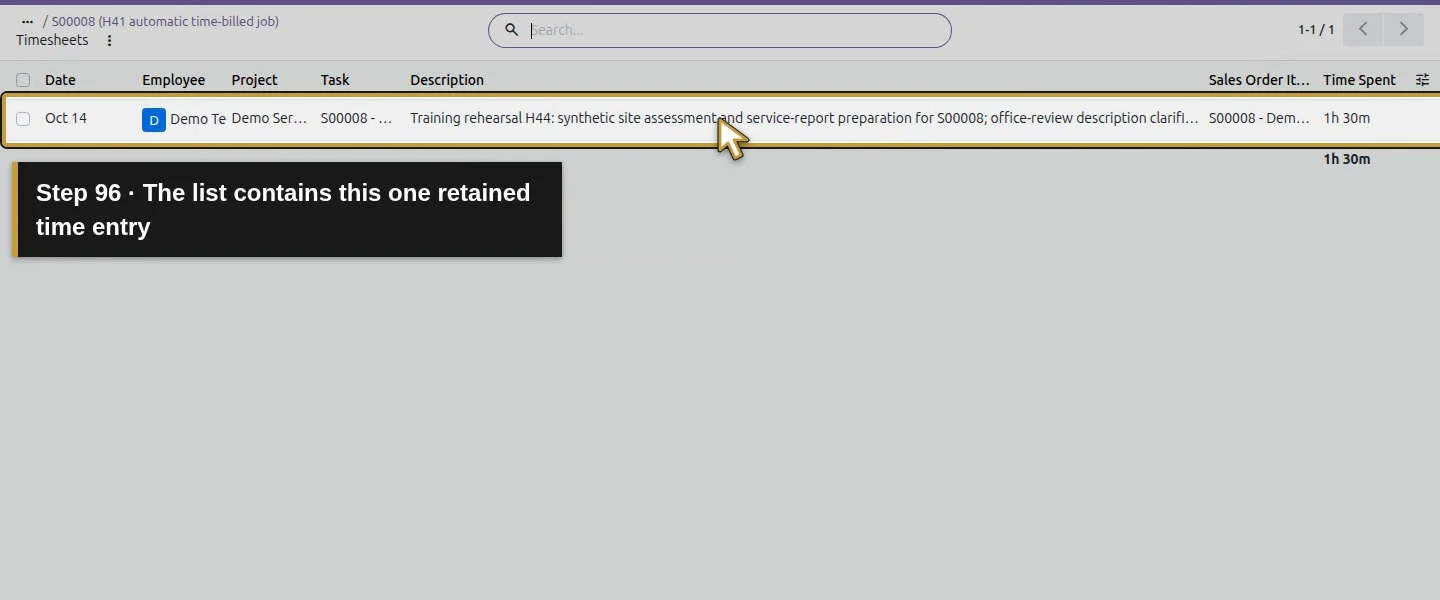
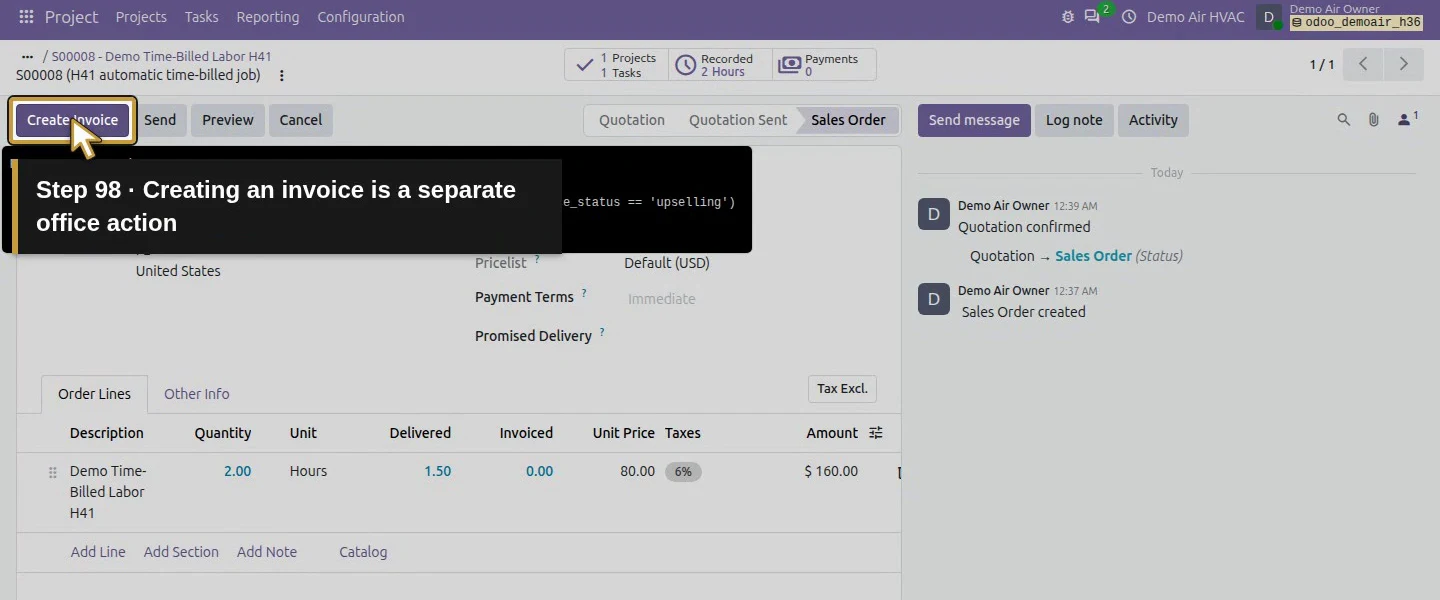
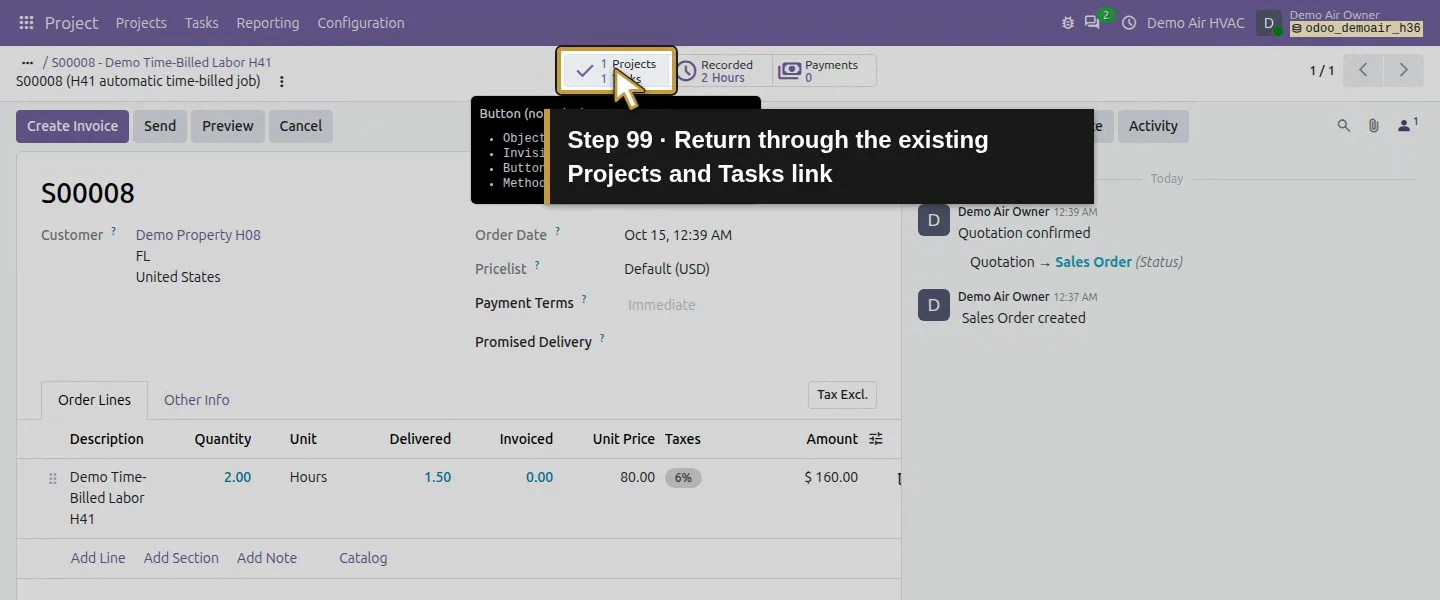
As the owner, reopen the task’s Sales Order. S00008 still has Quantity: 2.00 Hours, but its time-based line now shows Delivered: 1.50 and Invoiced: 0.00. The sales order’s Hours Recorded button opens a Timesheets list showing the same employee/task/order item and 1h 30m. Its badge showed a rounded 2 in this runtime; use the detailed entry and Delivered value to check exact time. The saved line has 1.5 hours to invoice, and no customer invoice exists yet.
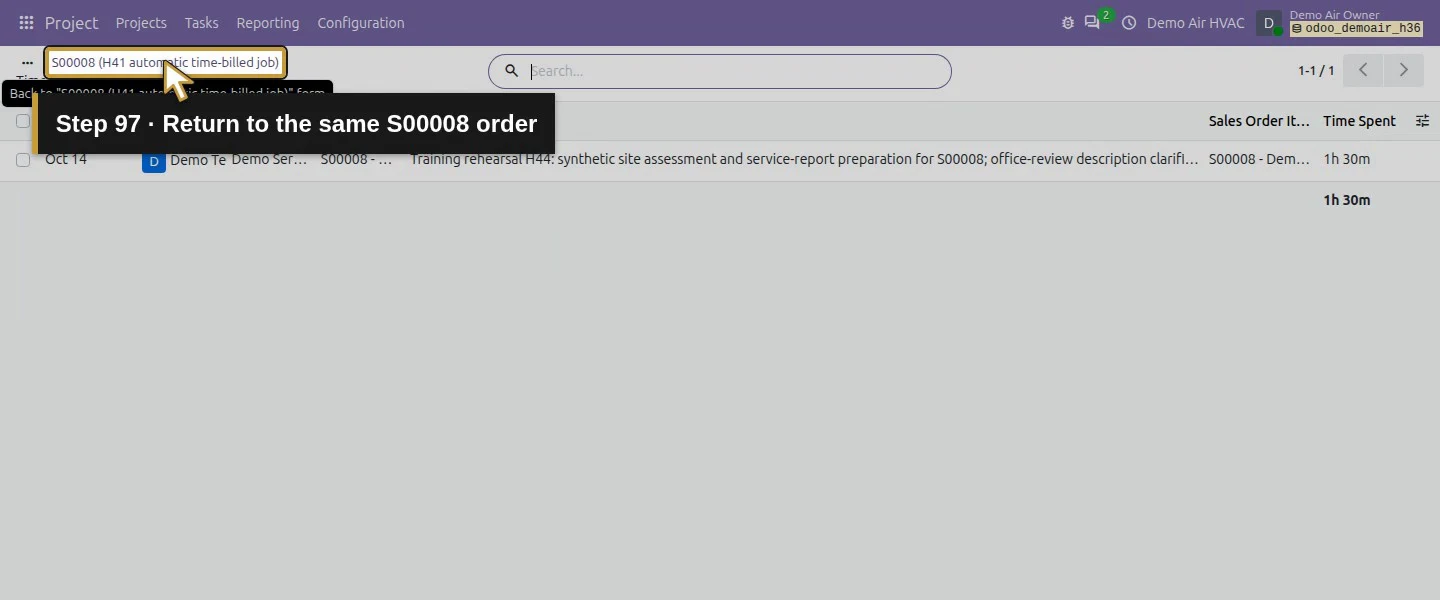
Open this task’s native Sales Order link.Review the same S00008 Sales Order.The ordered quantity is still 2.00.The ordered unit remains Hours.Delivered is exactly 1.50 from the recorded time.Invoiced remains 0.00.The Hours Recorded badge rounds the duration to 2.Open Hours Recorded for its exact detailed entry.The detailed date is October 14.The detailed employee is Demo Technician H42.The entry belongs to Demo Service Jobs H40.The entry belongs to the S00008 task.The same clarified rehearsal description remains.The exact sales order item is retained.Use the exact 1h 30m detailed duration for review.The list contains this one retained time entry.Return to the same S00008 order.Creating an invoice is a separate office action.
Step 8. Keep office review and invoicing separate
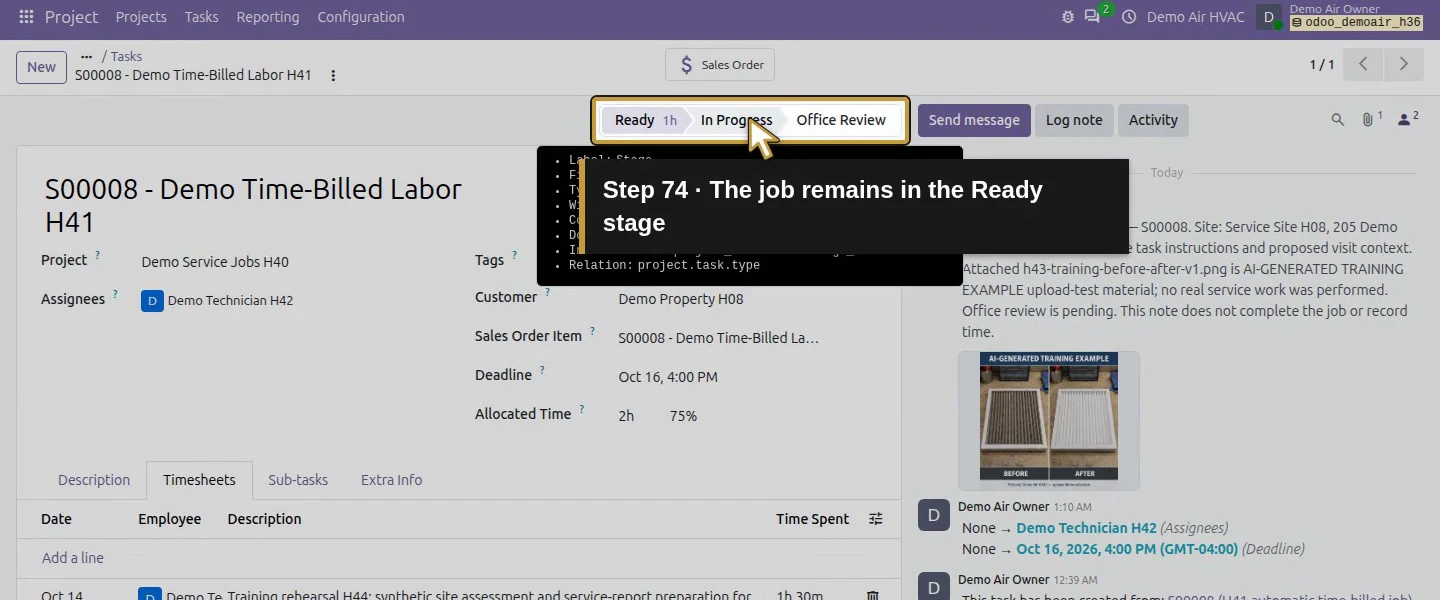
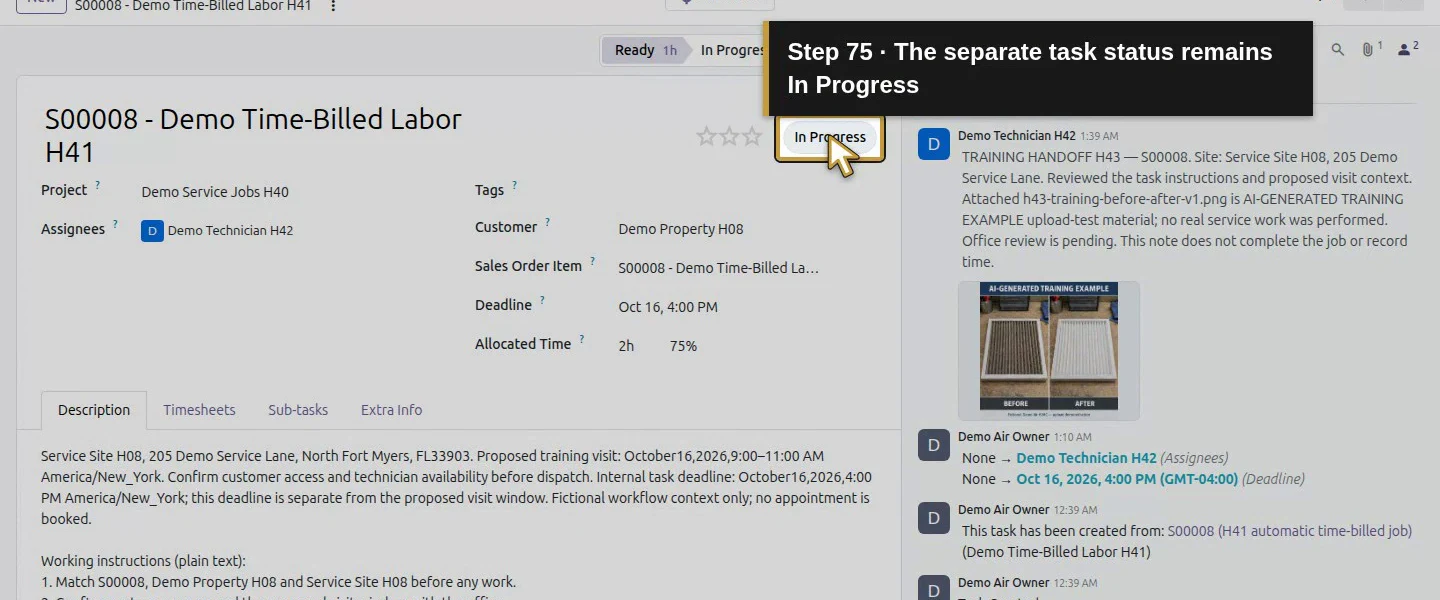
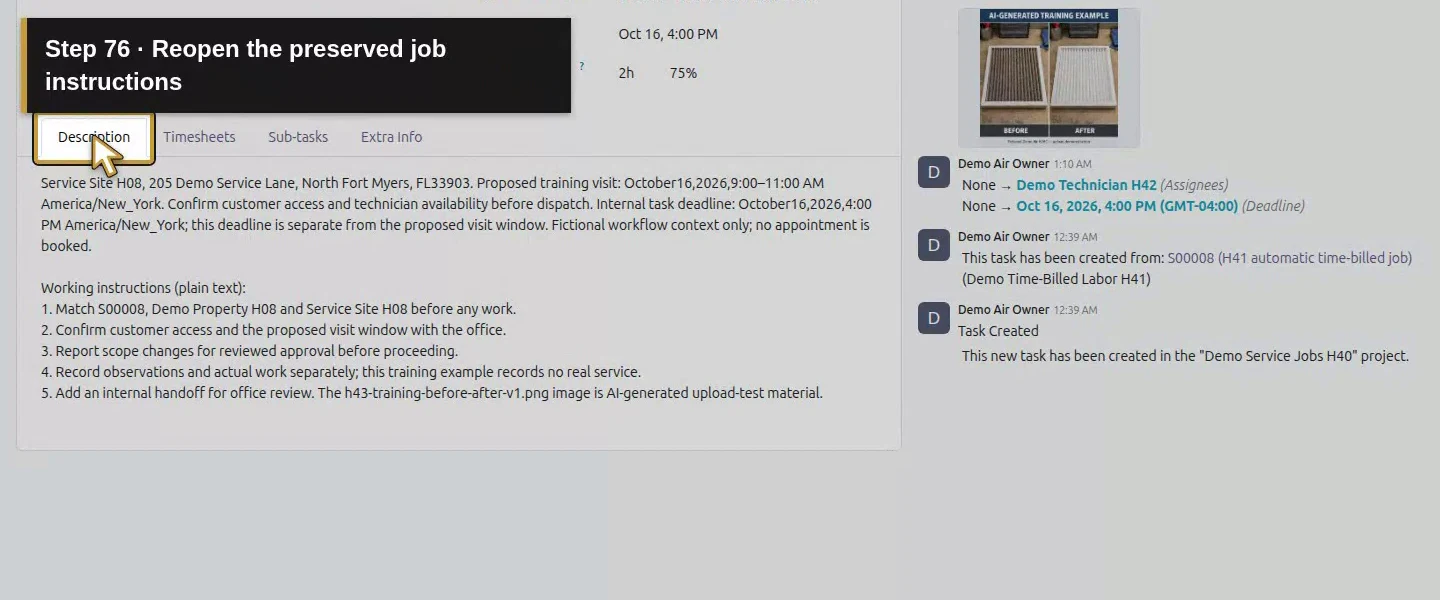
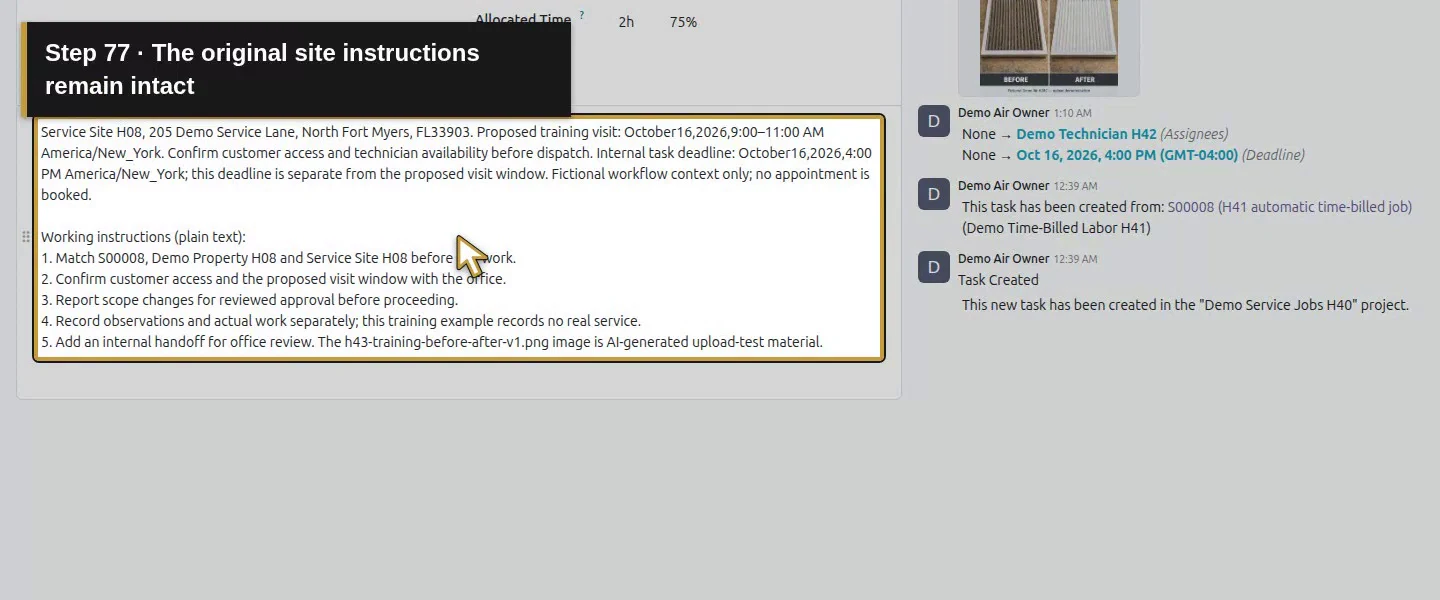
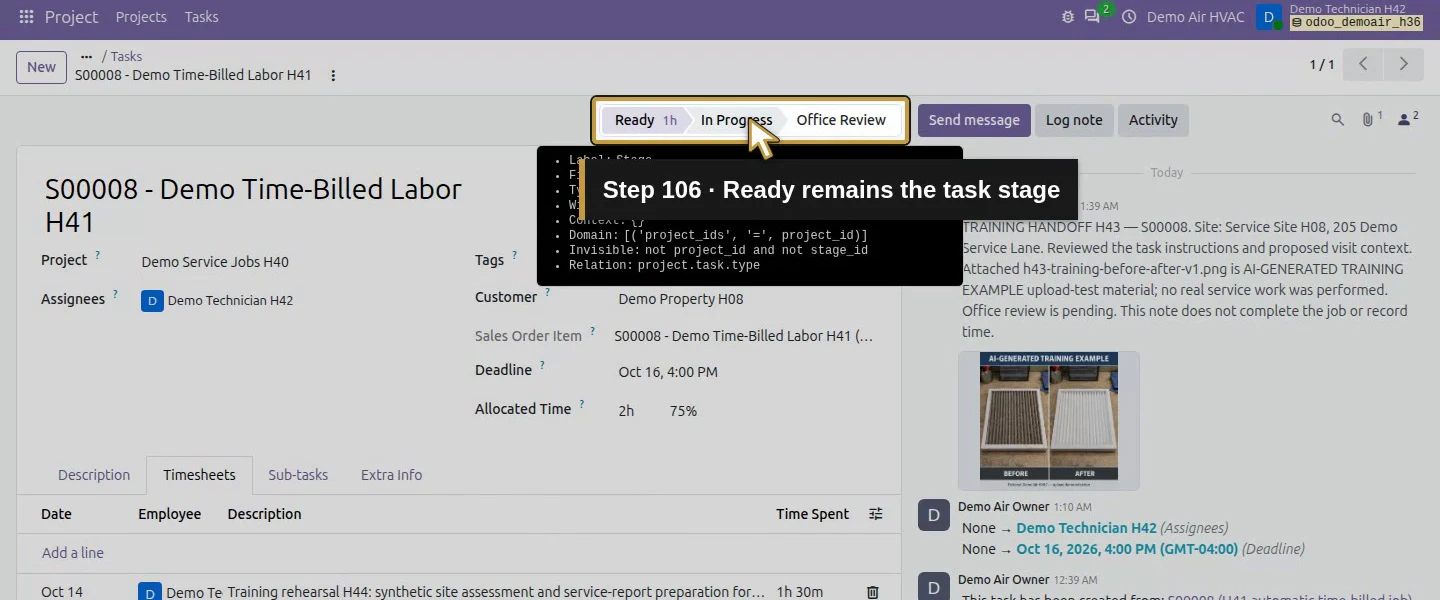
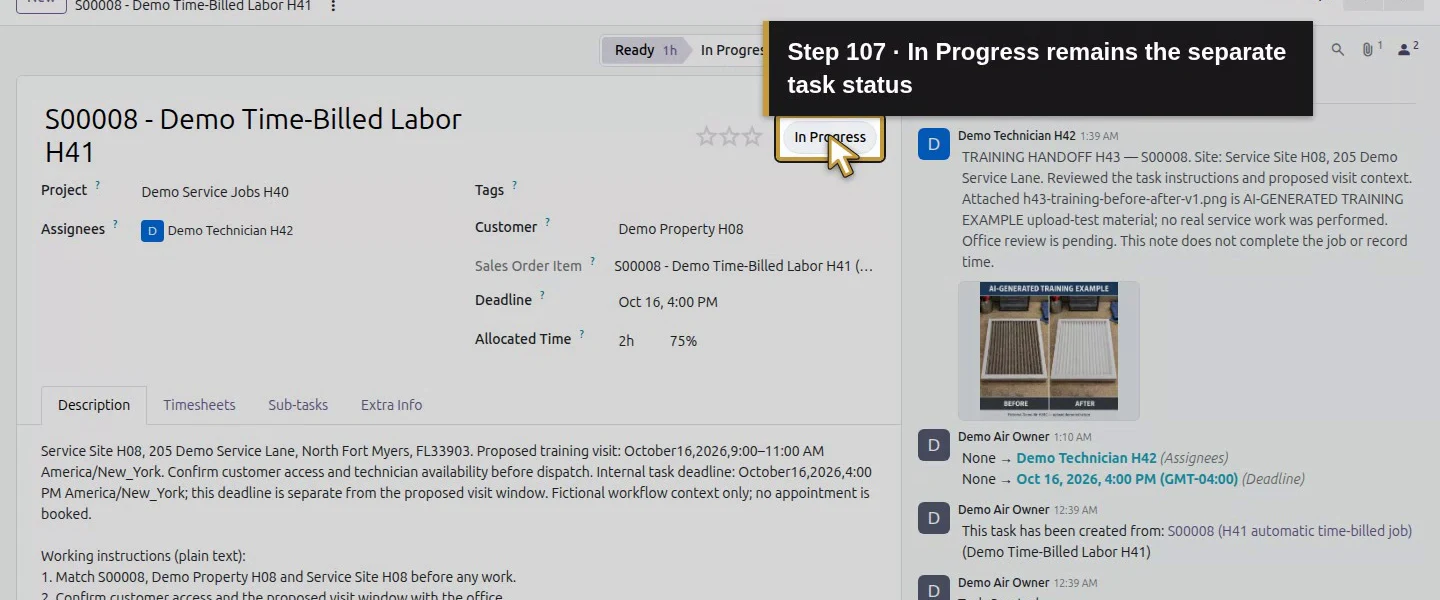
Reopen the same task from both sessions and confirm one retained entry. The task remains Ready / In Progress, with its instructions, photo and deadline intact. Saving this billable entry made the linked quantity invoiceable immediately; no separate timesheet-approval gate was demonstrated. Review the work and agreement before creating an invoice. The earlier H11 ordered-quantity services remain separate and unchanged; merely choosing Hours did not convert them to time-based billing.
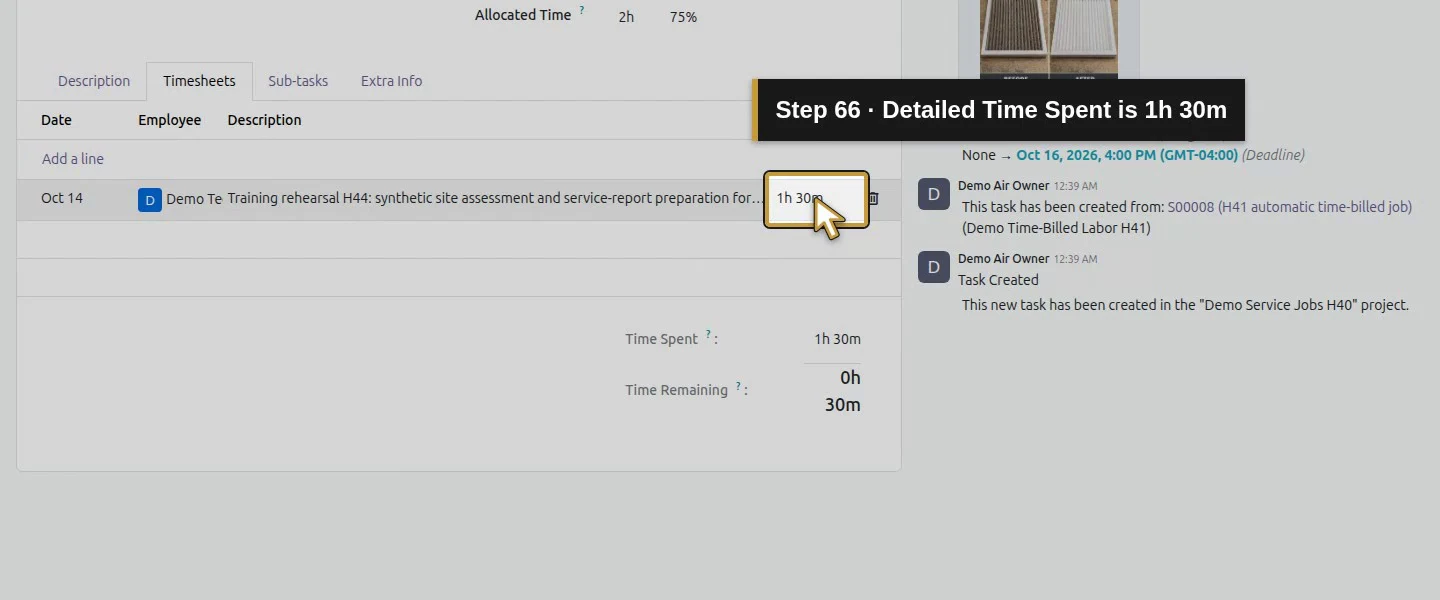
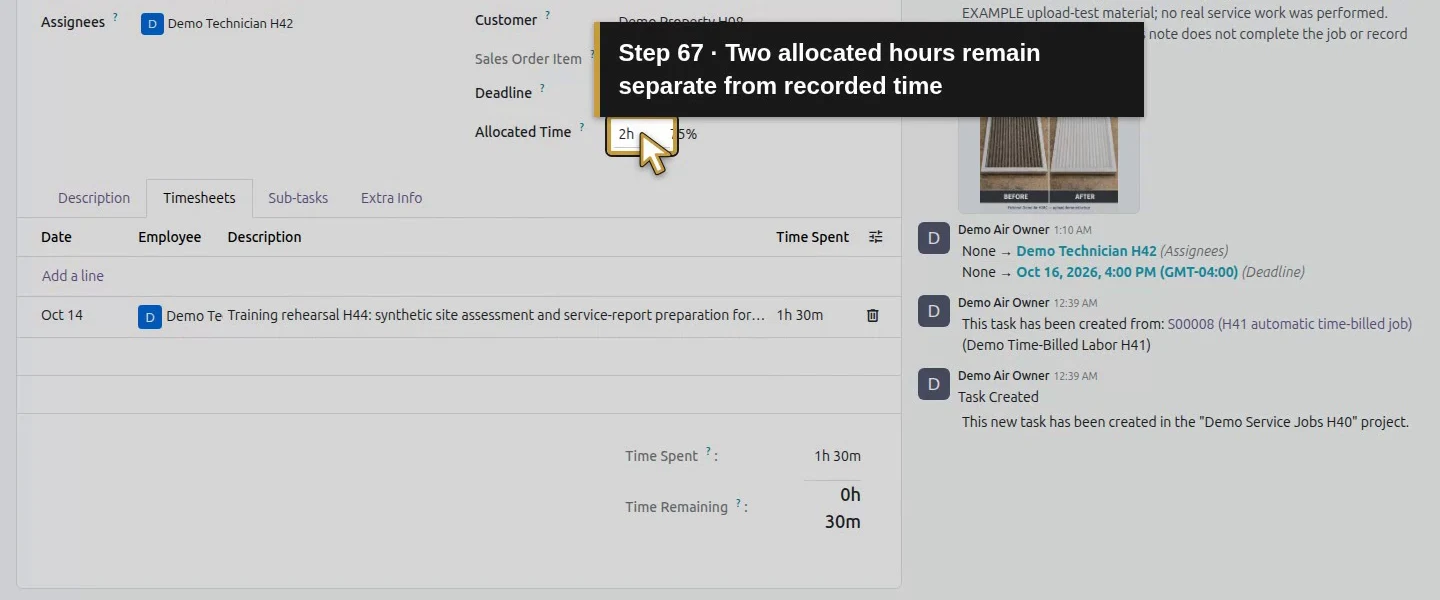
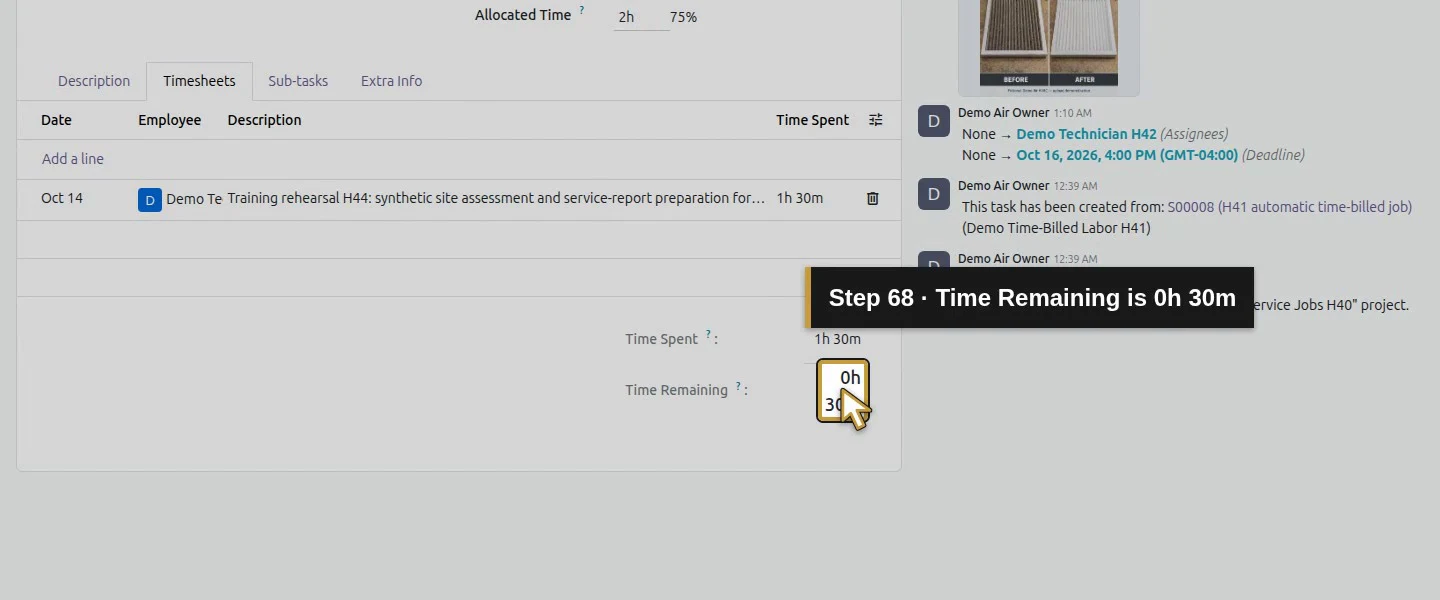
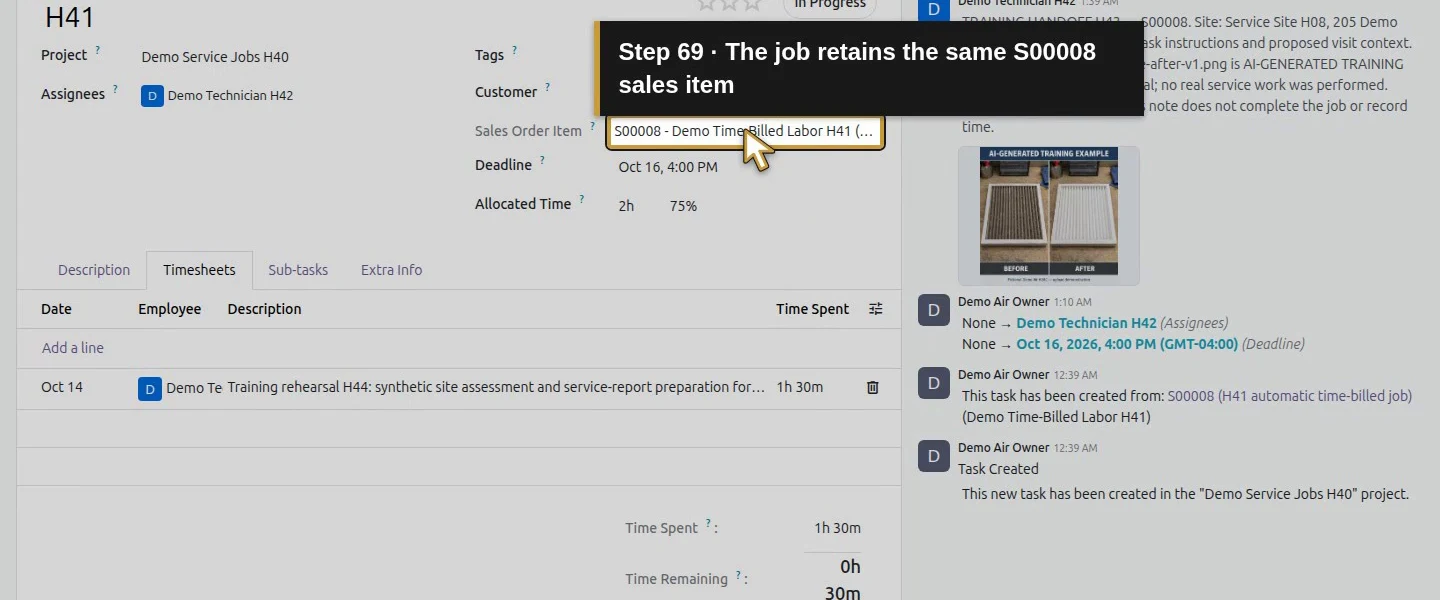
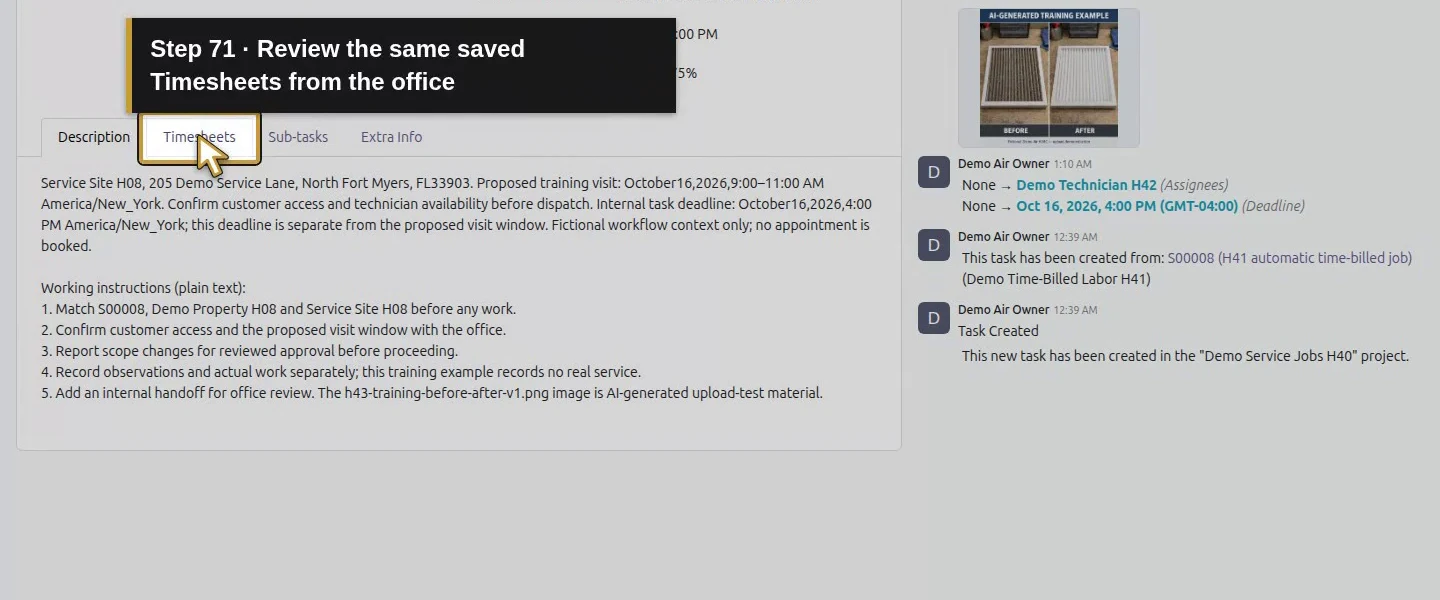
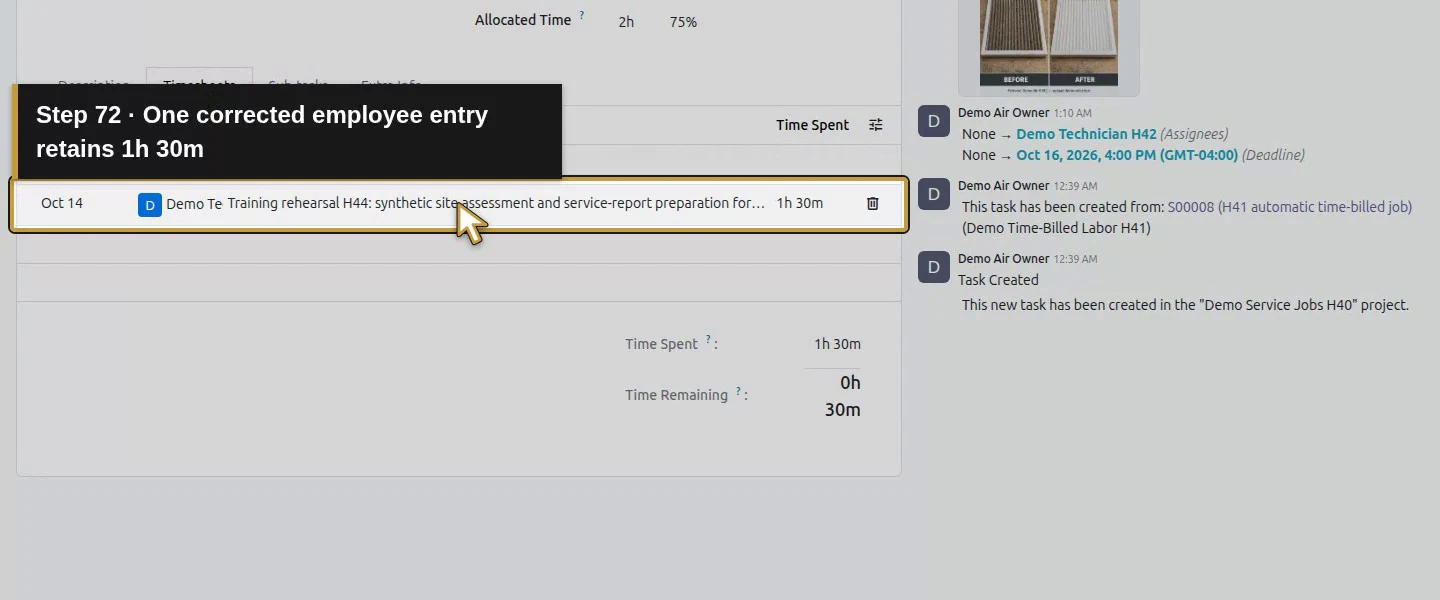
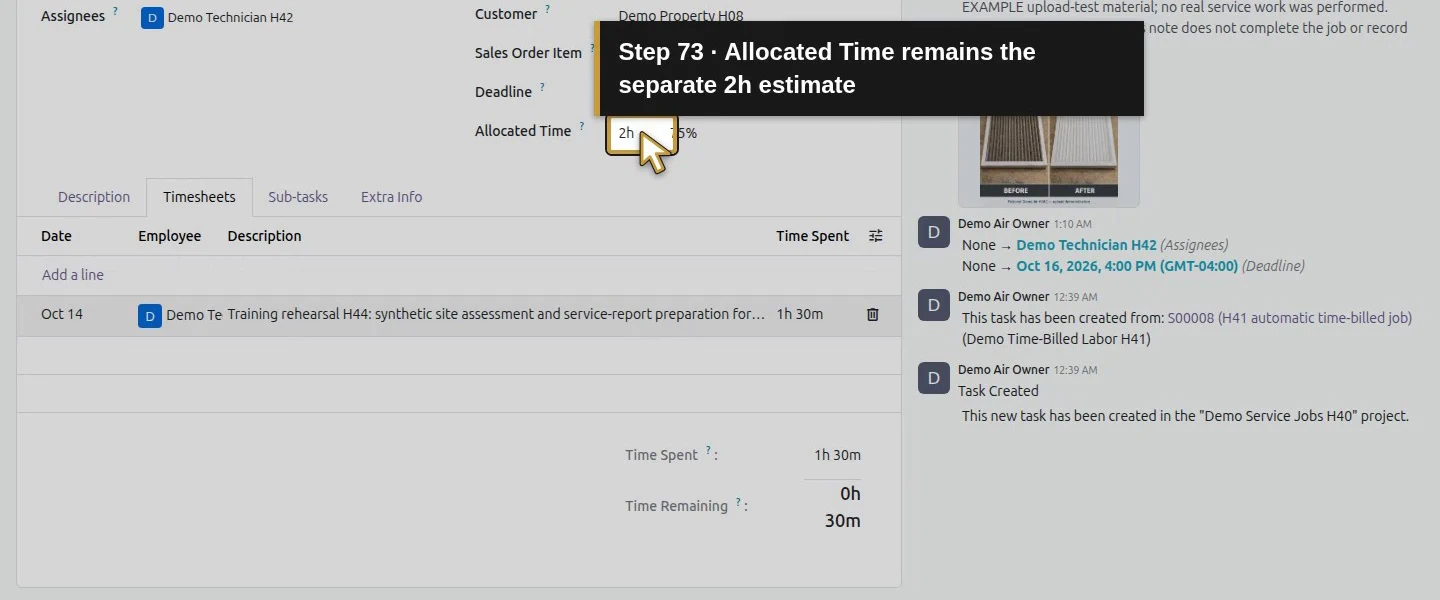
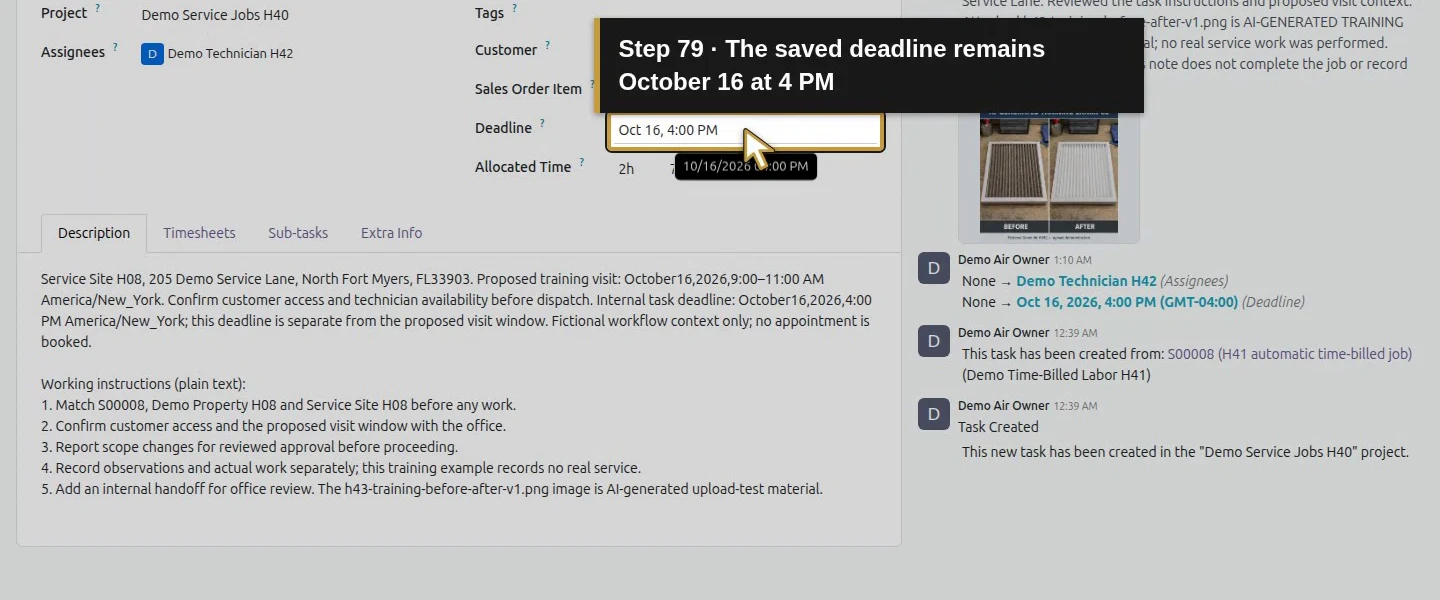
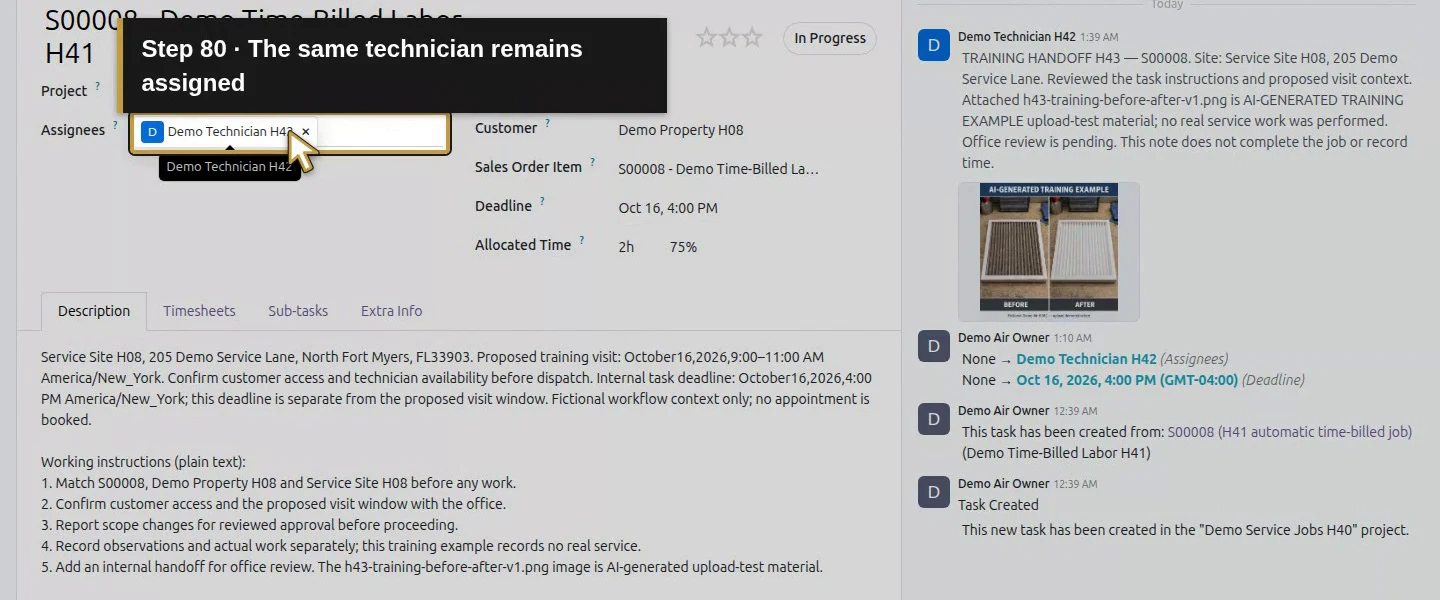
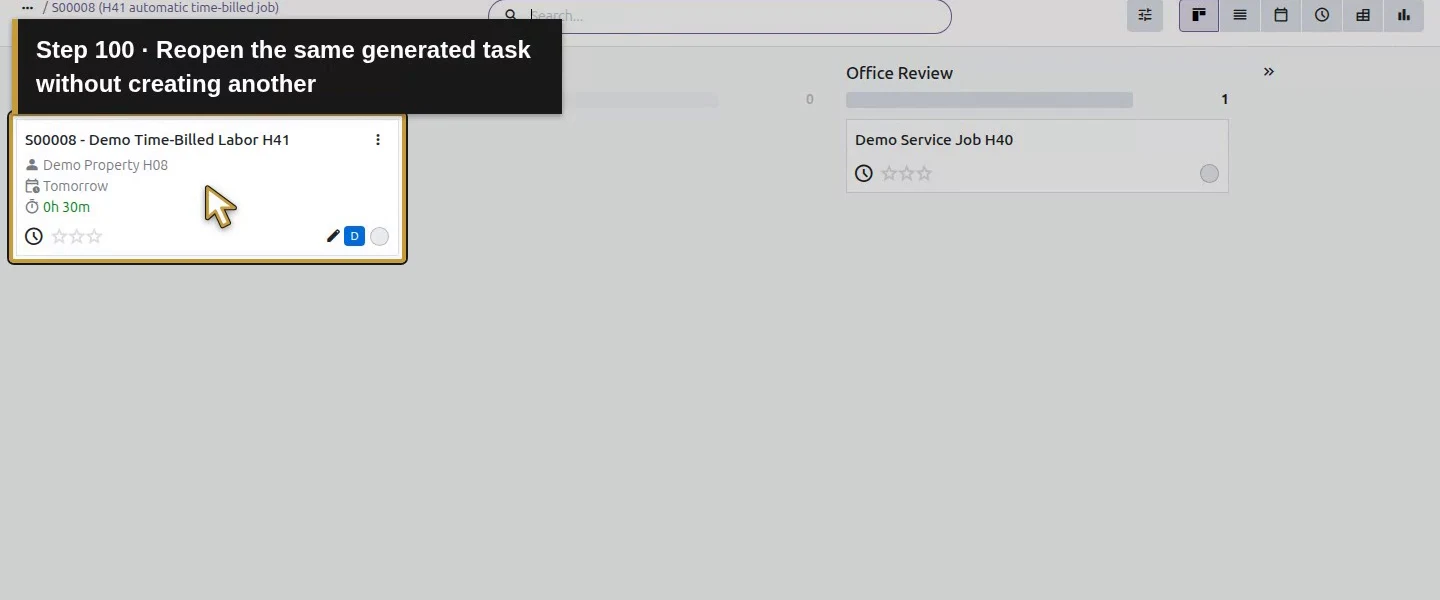
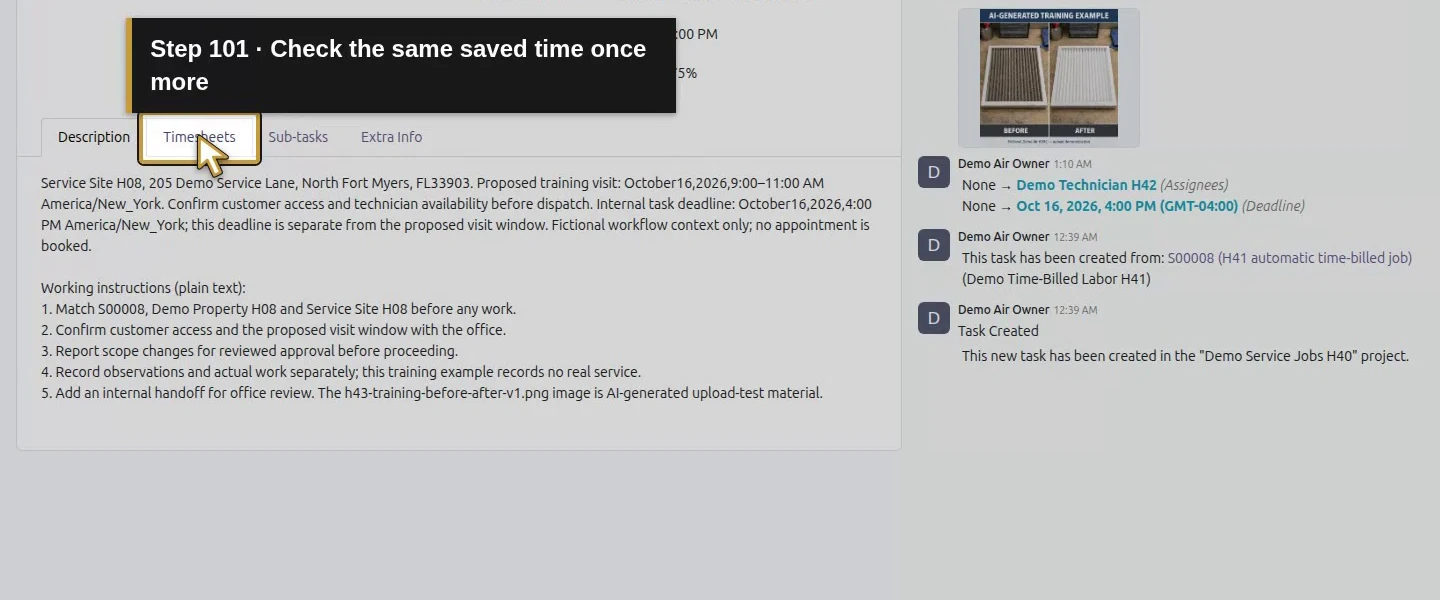
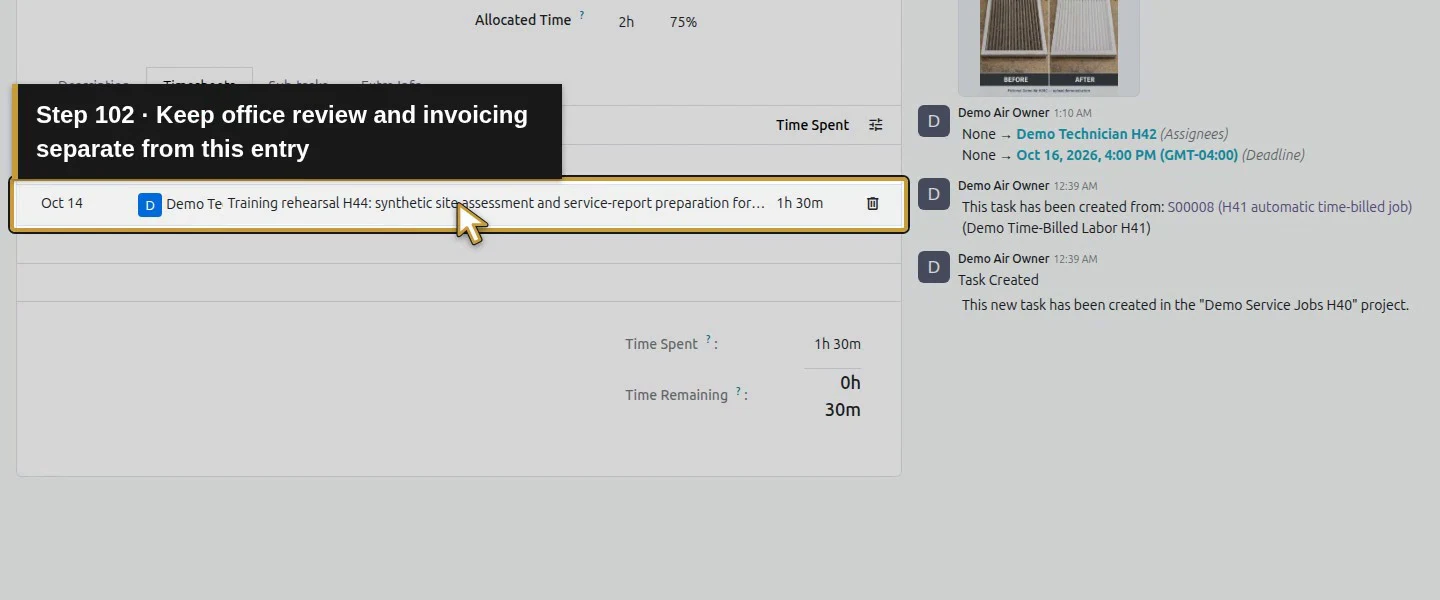
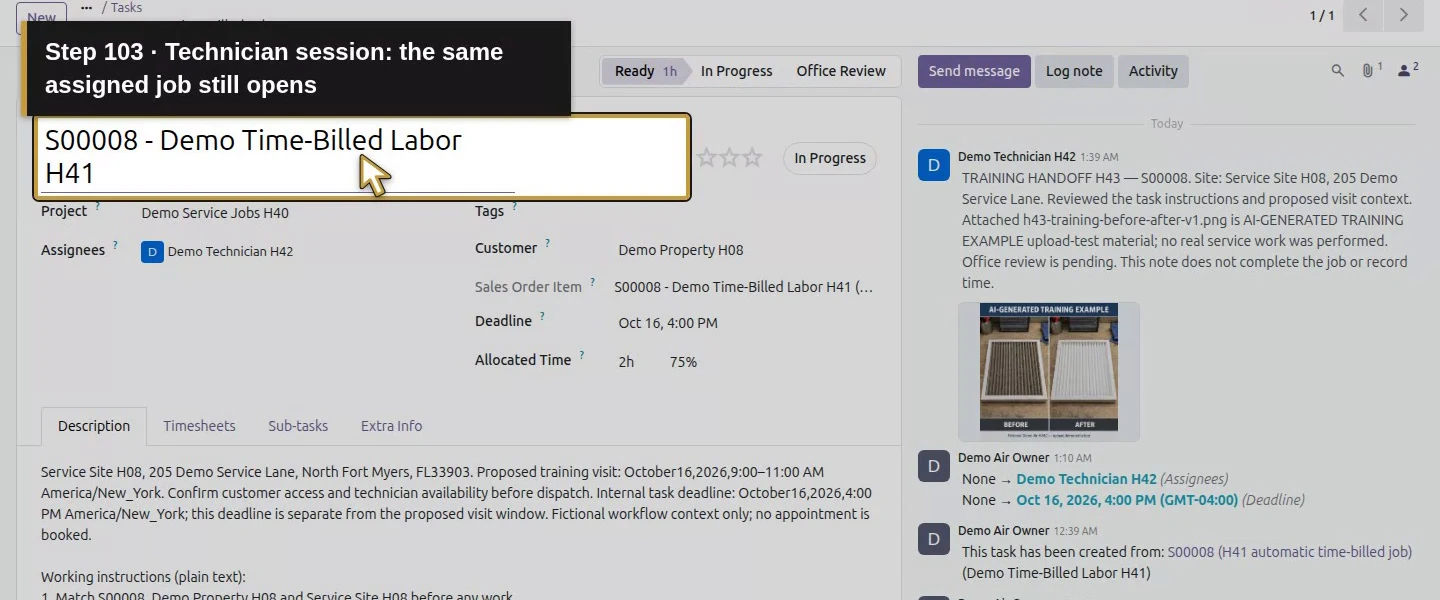
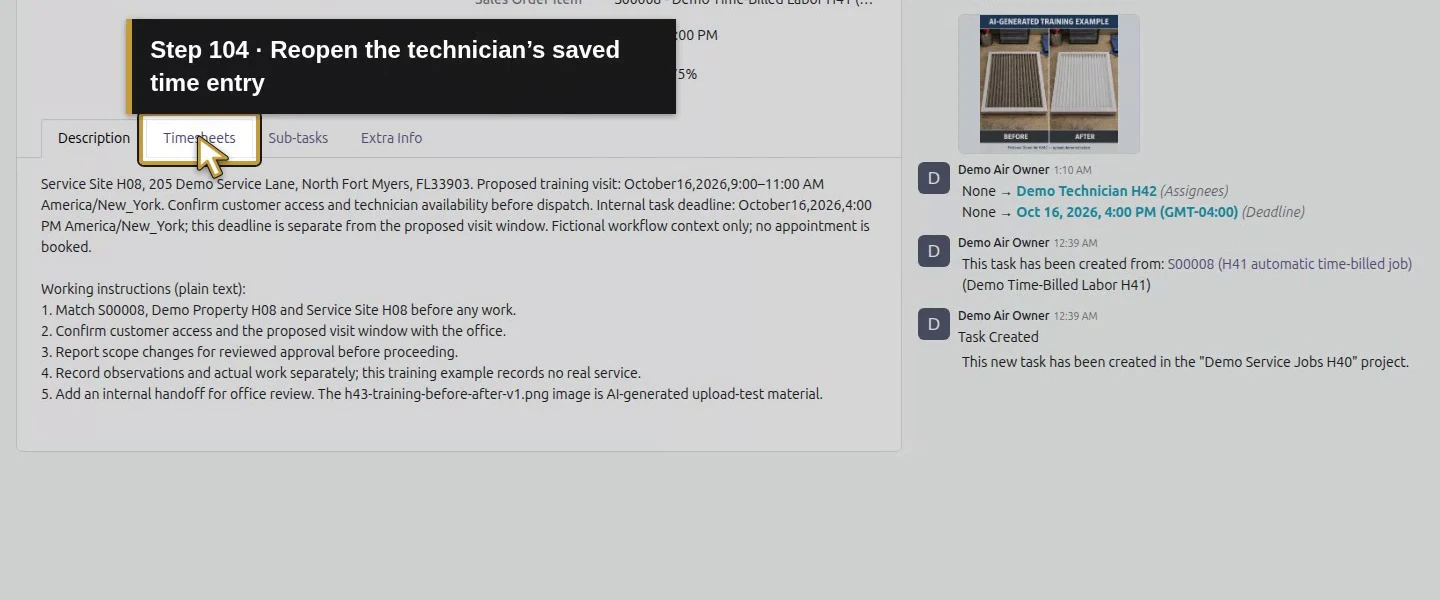
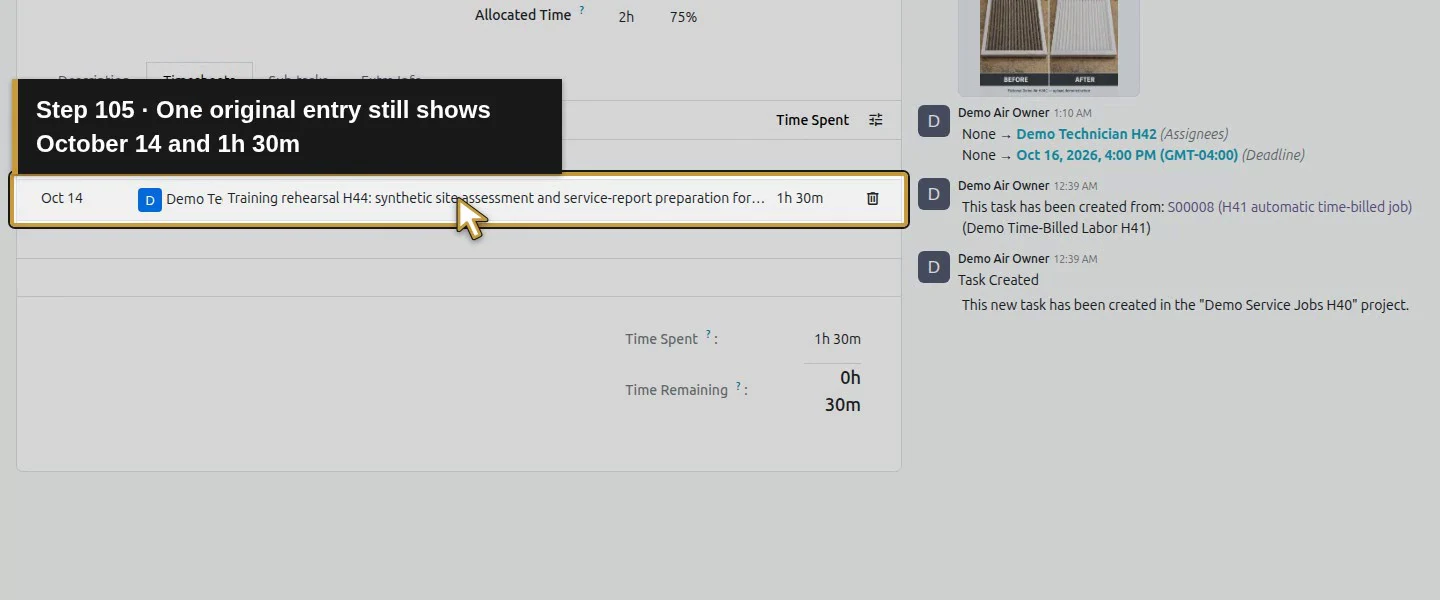
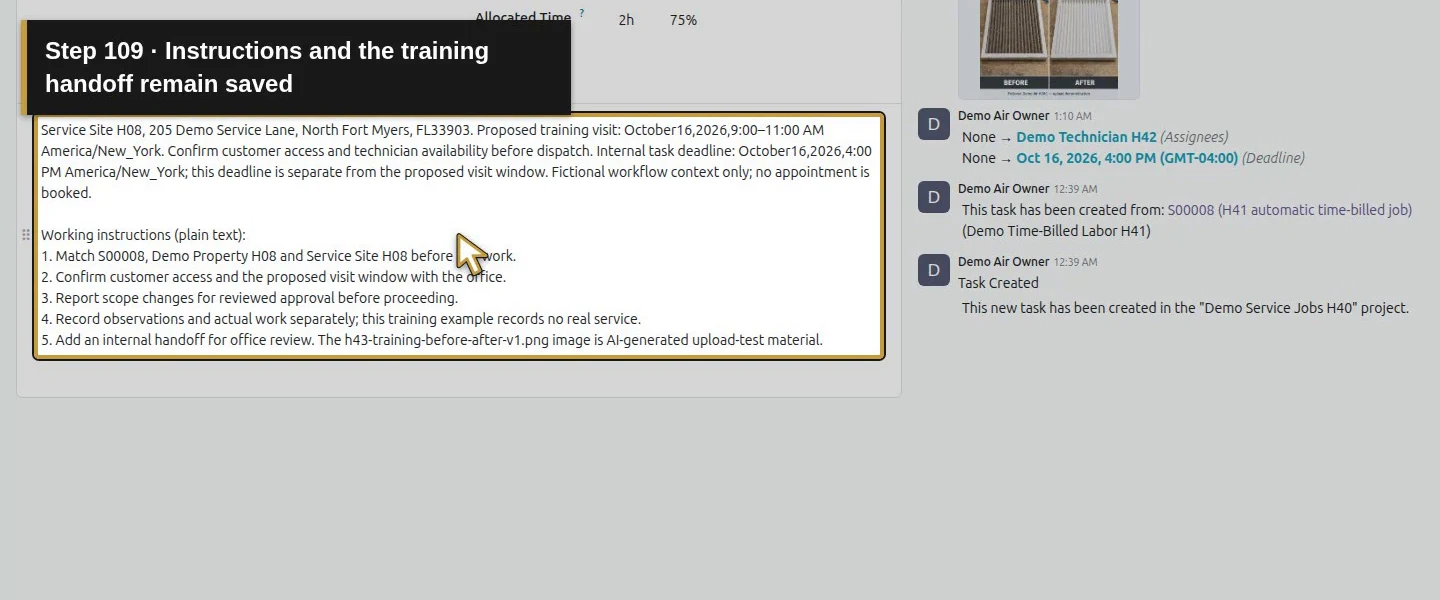
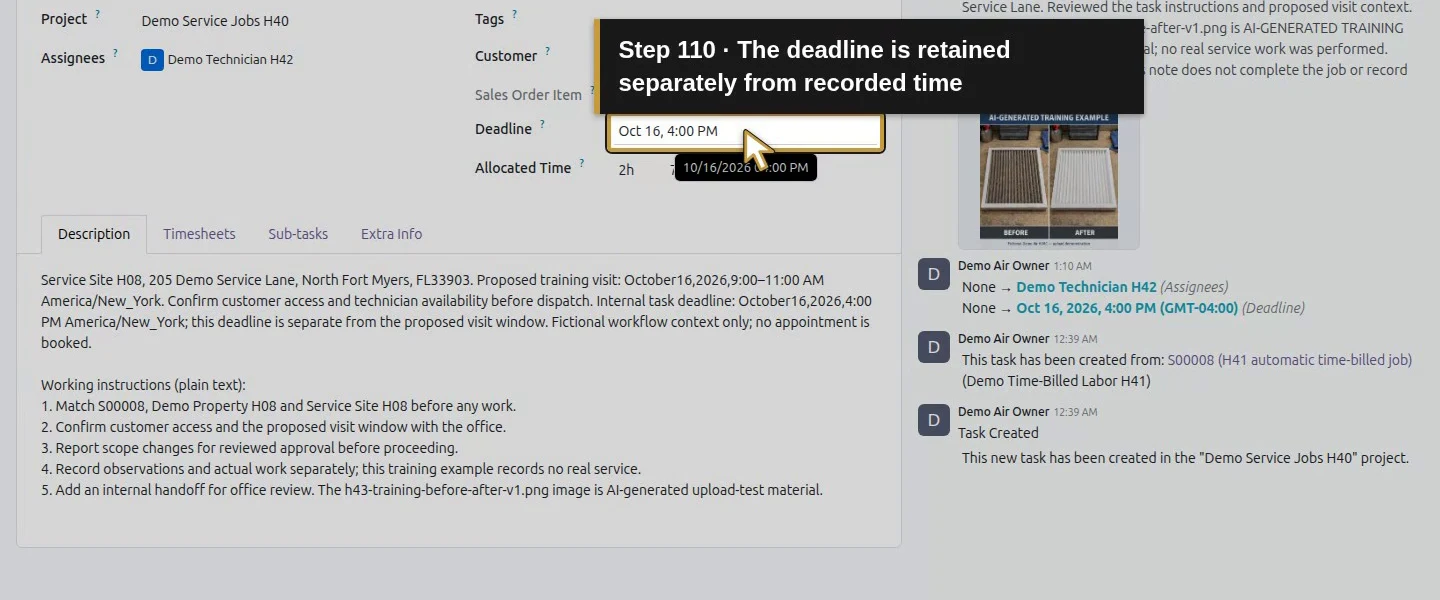
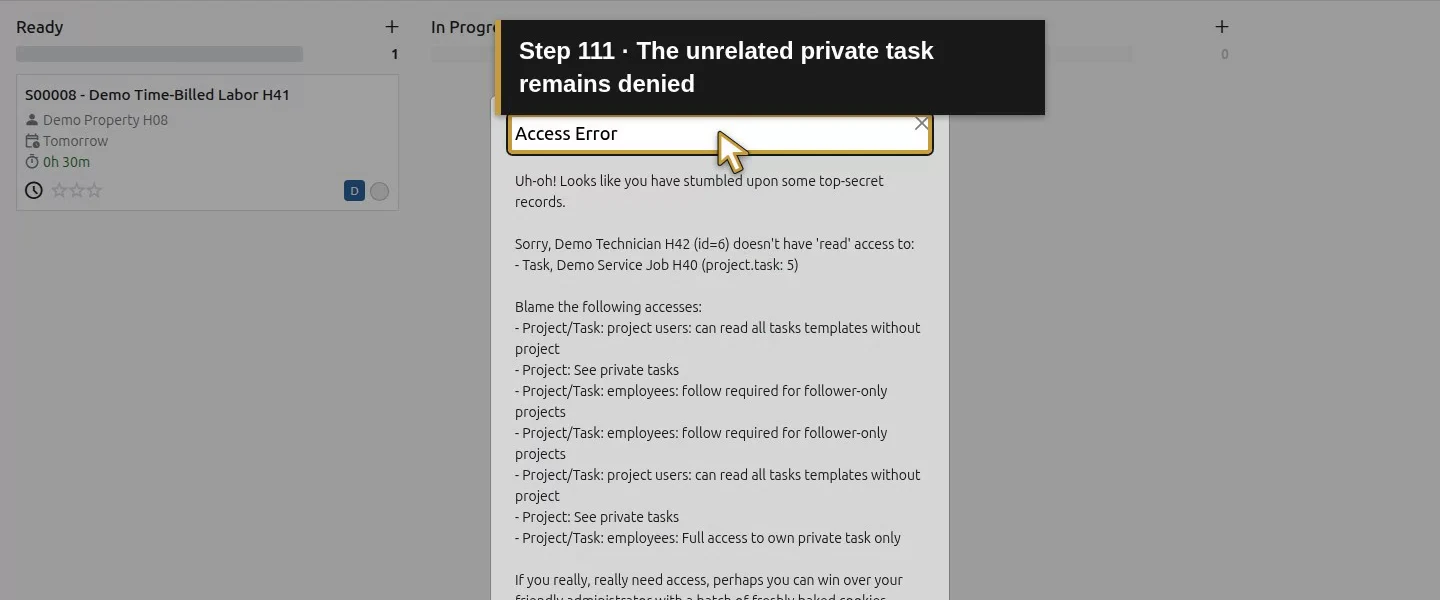
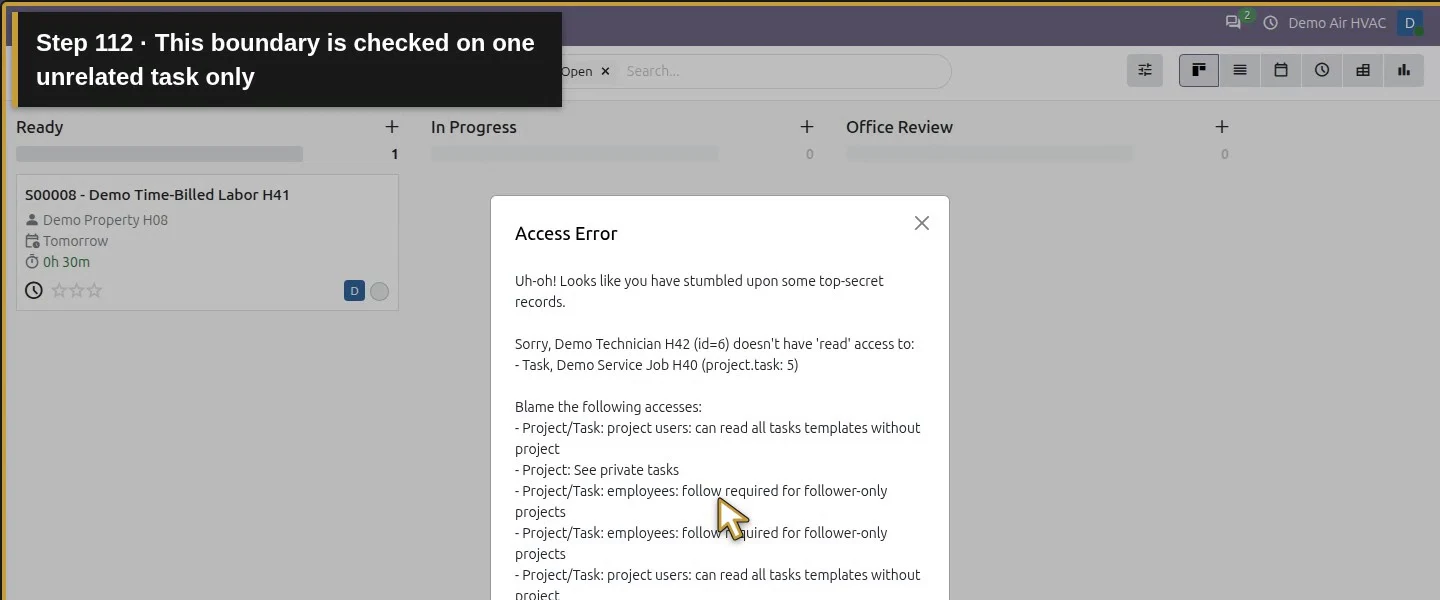
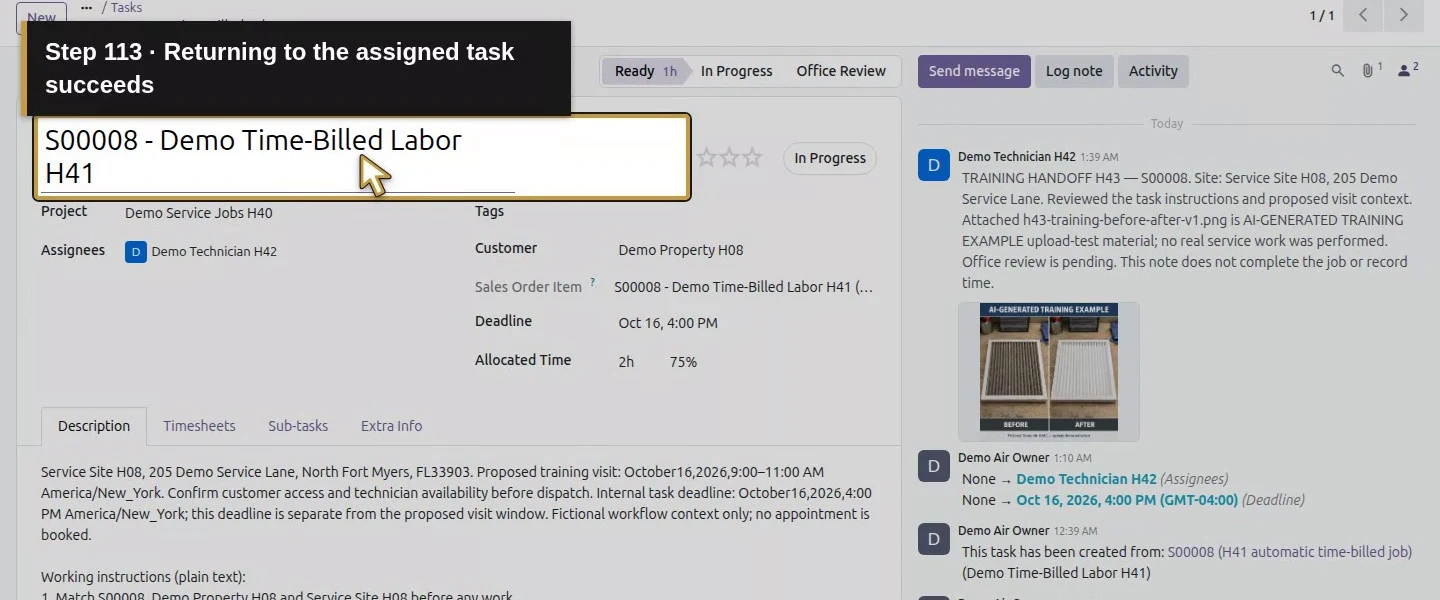
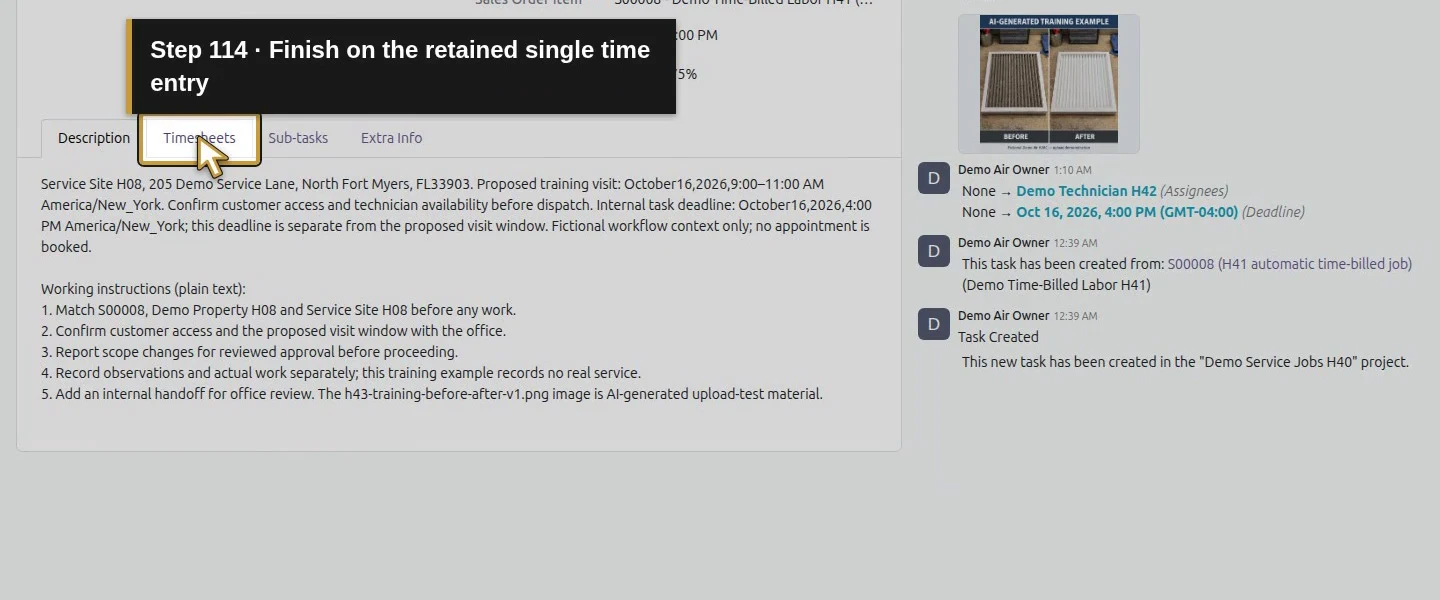
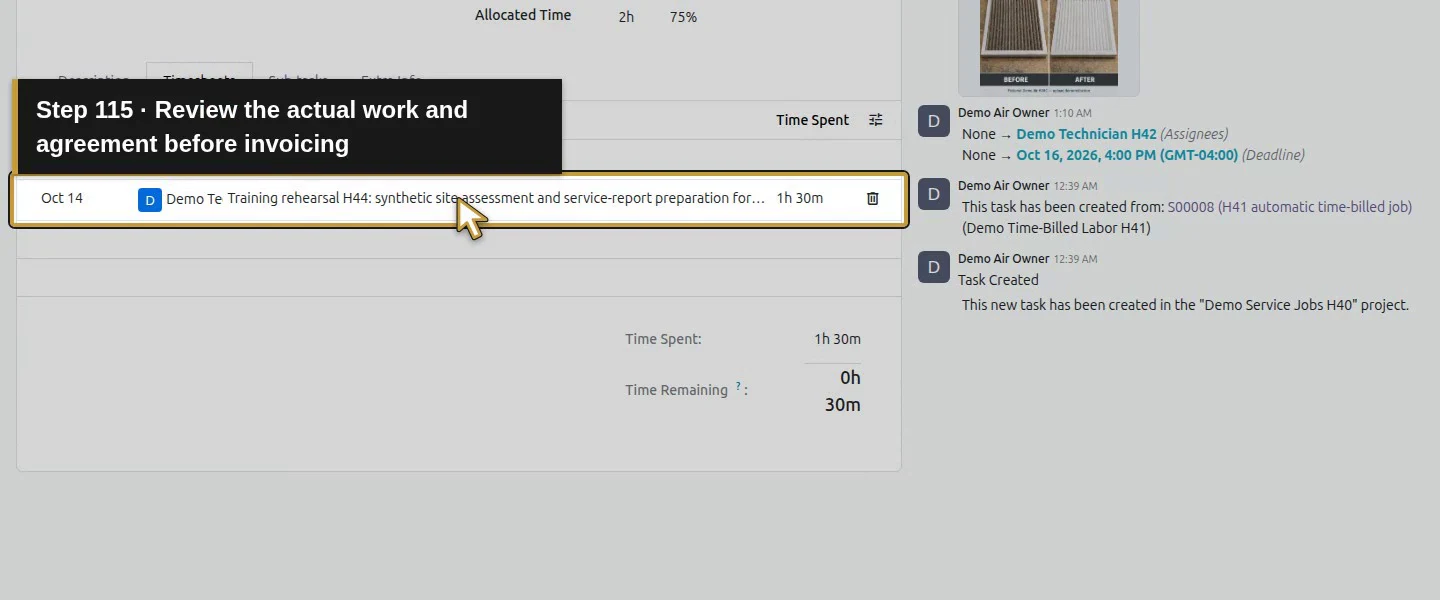
Detailed Time Spent is 1h 30m.Two allocated hours remain separate from recorded time.Time Remaining is 0h 30m.The job retains the same S00008 sales item.Office session: reopen the same assigned job.Review the same saved Timesheets from the office.One corrected employee entry retains 1h 30m.Allocated Time remains the separate 2h estimate.The job remains in the Ready stage.The separate task status remains In Progress.Reopen the preserved job instructions.The original site instructions remain intact.The labelled training image remains attached.The saved deadline remains October 16 at 4 PM.The same technician remains assigned.Return through the existing Projects and Tasks link.Reopen the same generated task without creating another.Check the same saved time once more.Keep office review and invoicing separate from this entry.Technician session: the same assigned job still opens.Reopen the technician’s saved time entry.One original entry still shows October 14 and 1h 30m.Ready remains the task stage.In Progress remains the separate task status.Reopen the unchanged site instructions.Instructions and the training handoff remain saved.The deadline is retained separately from recorded time.The unrelated private task remains denied.This boundary is checked on one unrelated task only.Returning to the assigned task succeeds.Finish on the retained single time entry.Review the actual work and agreement before invoicing.
Check the result
One saved October 14 timesheet belongs to Demo Technician H42, the correct employee, project and S00008 task. Its duration is 1.5 hours, displayed as 1h 30m; the same entry survives description correction and both roles’ reopen checks. Recorded time is 1.5 hours with 0.5 hours remaining against a two-hour allocation. Its native sales link made S00008 Delivered and quantity to invoice 1.50, with zero invoiced and no created invoice. The task’s stage/status and earlier business records remain unchanged.
If your screen differs
If Timesheets is missing, check the installed official Task Logs/hr_timesheet and sale_timesheet modules, the project’s Timesheets setting, employee/user link and the specific timesheet group. Refresh after changing access. Project User alone did not show the tab here. The own-timesheets group membership was saved without Administrator or all-timesheets access; the technician still received Access Error on the unrelated private task. This is not a complete permission audit. Check for blank rows and duplicate time before billing, wait for Save to finish, and compare exact duration with the detailed entry rather than the rounded hours badge. No stopwatch, payroll export, enforced approval, invoice creation or real job completion was tested.
Frequently asked questions
How do I record technician time on an Odoo task?
Open the assigned task’s Timesheets tab as an employee-linked user with the stock time-entry permission. Choose Add a line, check Date and Employee, enter a useful Description and Time Spent, then save once and reopen. In this test, entering 1.5 displayed 1h 30m and retained one linked entry.
Does every Odoo timesheet become an invoice line?
Billing depends on the service policy and sales link. Here, a Based on Timesheets service linked the saved 1.5 hours to the intended sales line and made that quantity invoiceable. No invoice was created. The earlier ordered-quantity services stayed unchanged, and no enforced approval gate was demonstrated.
Why can’t my Odoo employee enter timesheets?
Check the employee/user link, project Timesheets setting and the user’s timesheet permission, then refresh the session. Our assigned Project User had no Timesheets tab until the administrator added the existing User: own timesheets only group through native Groups membership. The technician then entered their own time without Timesheets Administrator access.