Running an HVAC business with Odoo

How do I transfer parts from a warehouse to a service van in Odoo?
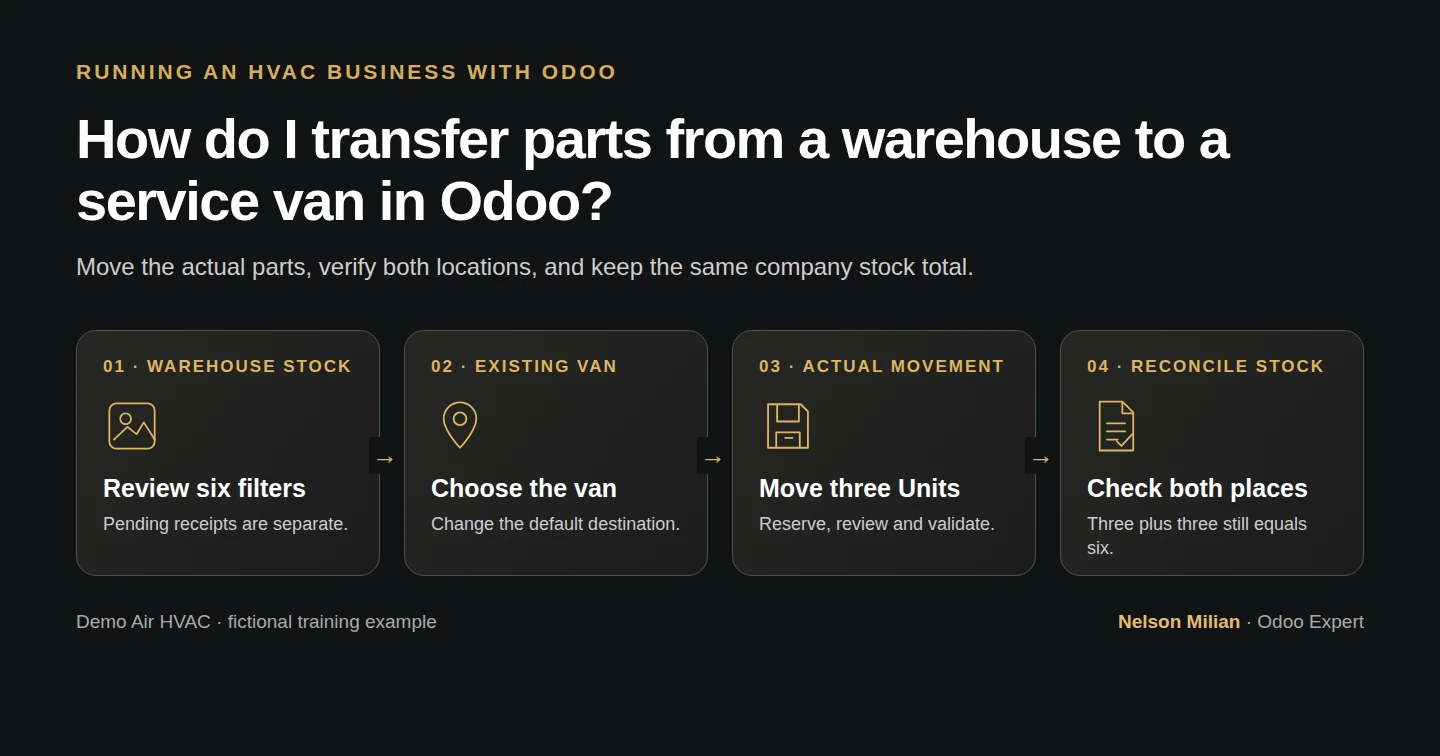
Workflow overview: How do I transfer parts from a warehouse to a service van in Odoo?
Workflow overview. Instructional screenshots show the actual demo interface.

Transfer three filters from warehouse stock to a service van and reconcile both Odoo locations.

An internal transfer moves company stock between locations. Alex loads three filters from the warehouse into Demo Van 01; the company still owns the same six filters after the move.

Alex Rivera and Demo Air HVAC are fictional training examples. Prices, dates, quantities and business situations in this guide are illustrative.

Before you begin

Tested in stock Odoo 20.0-20260926 Community as the demo owner administrator, with official modules and standard configuration. Complete stock locations and the partial receipt. Start with six Demo Return-Air Filter H12 units in WH/Stock and none in WH/Demo Van 01. Confirm the physical movement before validating.

Step-by-step workflow

Stock Odoo 20 Community, owner role, available untracked goods. Move three of six existing filters from WH/Stock to the existing internal WH/Demo Van 01; reserve, validate and reopen one transfer, then reconcile both location balances. Total company filters stays six. No customer sale, new supplier receipt, inventory count adjustment, GPS or shortage/serial test.

Step 1. Review both starting balances

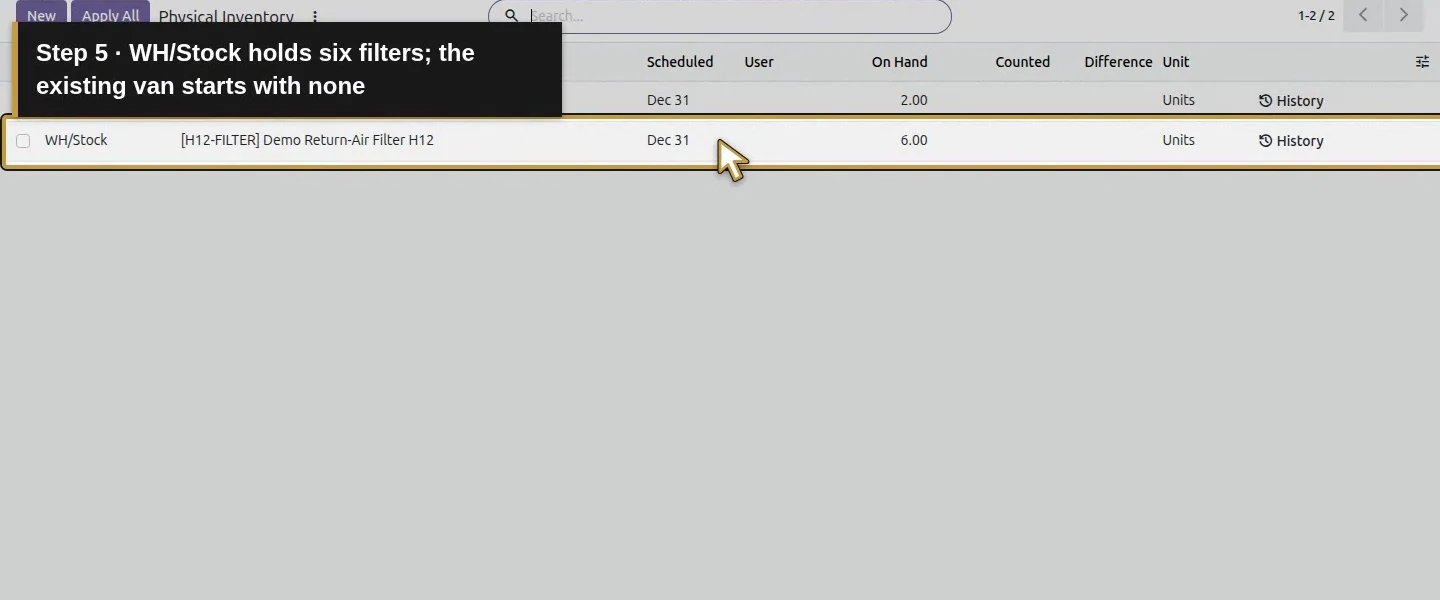
Open Inventory → Operations → Physical Inventory and locate the exact filter and locations. At the starting checkpoint WH/Stock holds six filters and the van has none. Existing pending receipts do not count as received stock.
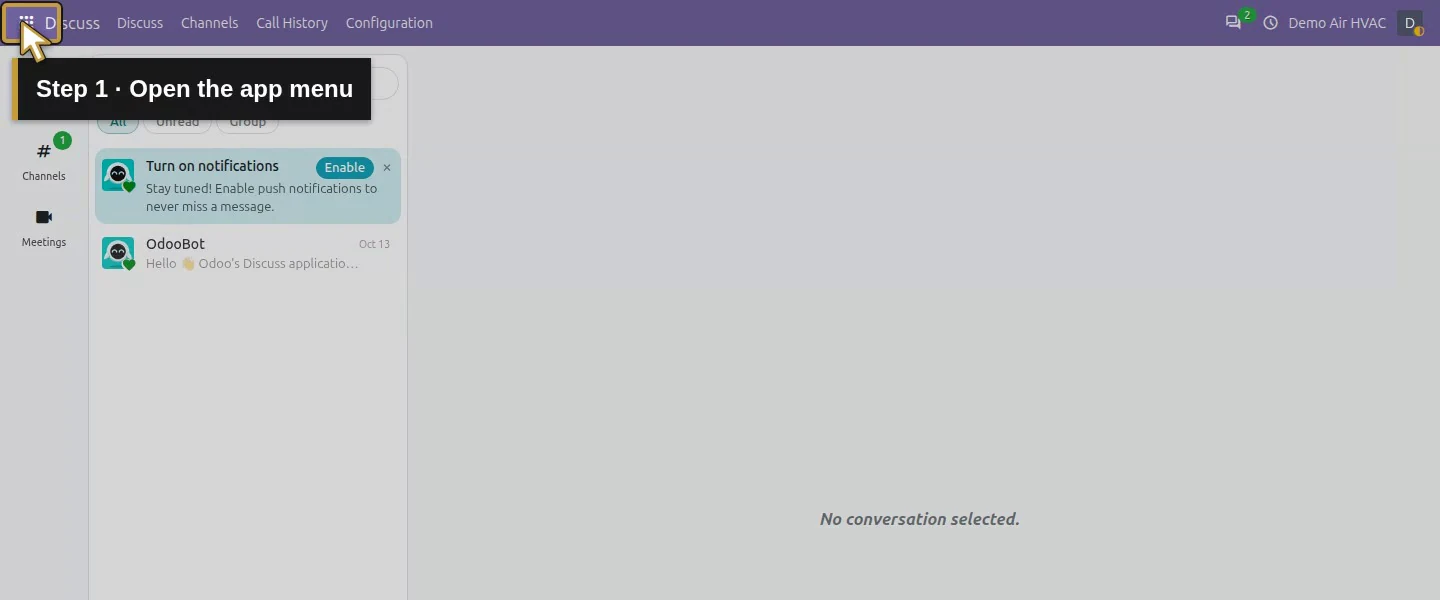
Action 1: Open the app menu. The actual target is highlighted in gold.
Open the app menu.
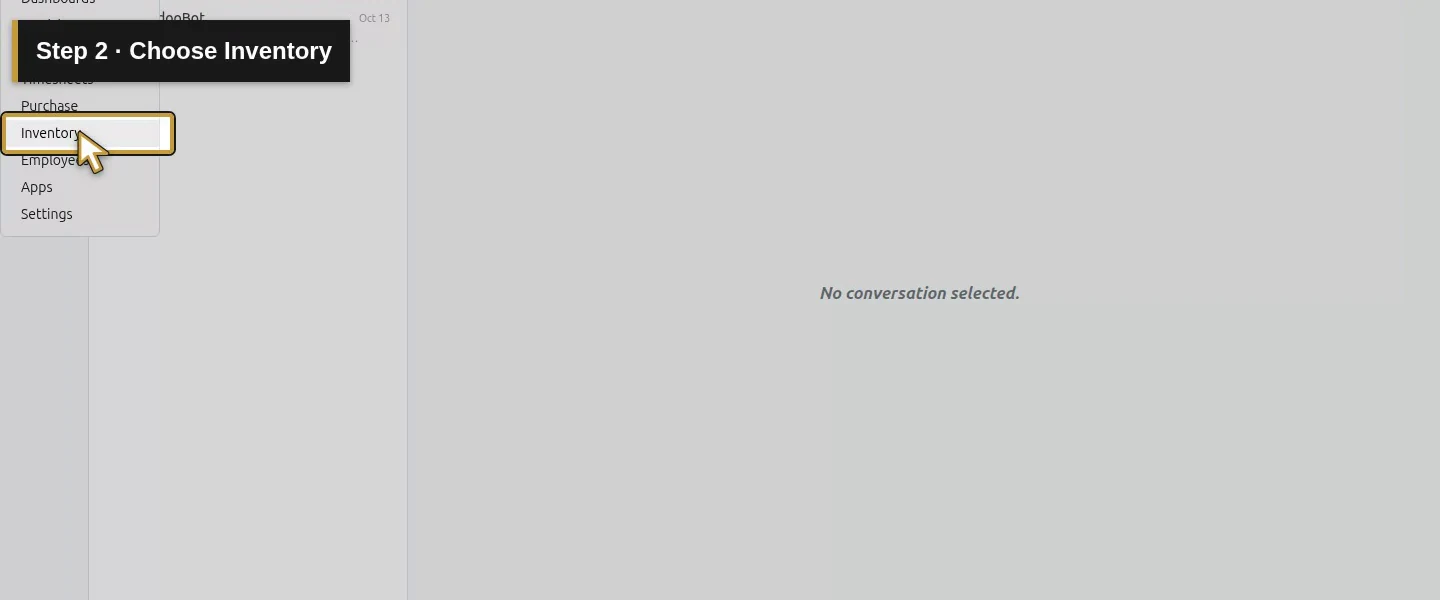
Action 2: Choose Inventory. The actual target is highlighted in gold.
Choose Inventory.
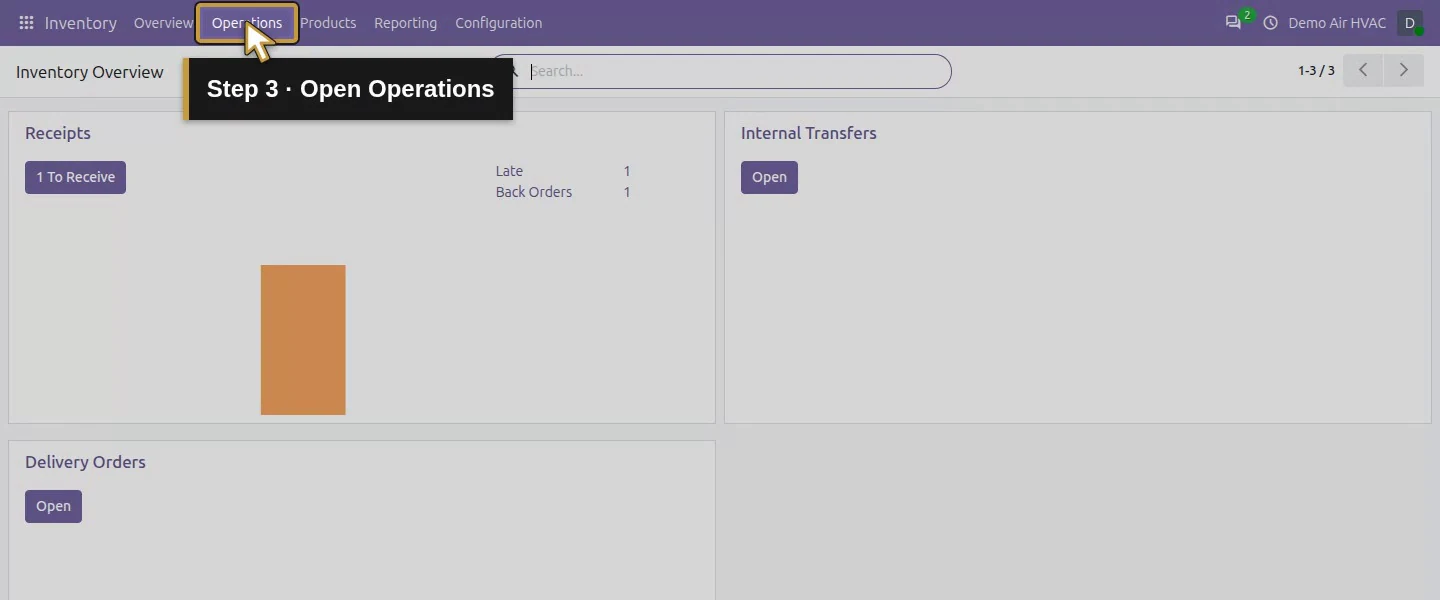
Action 3: Open Operations. The actual target is highlighted in gold.
Open Operations.
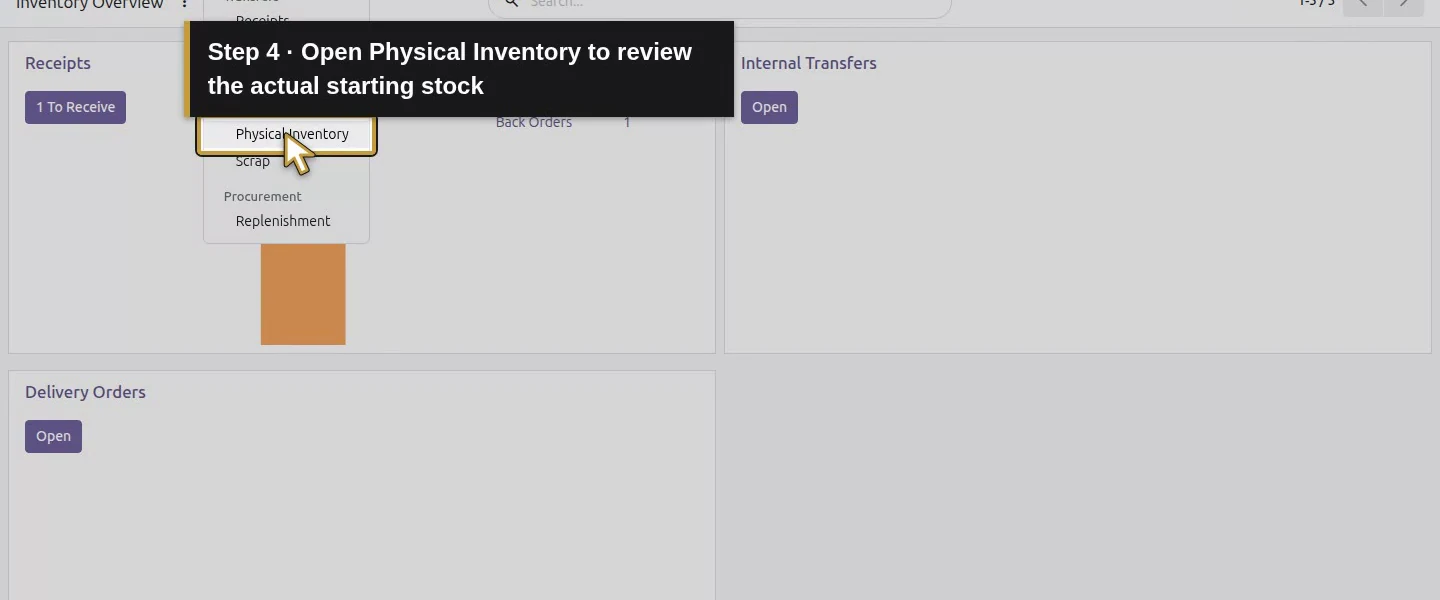
Action 4: Open Physical Inventory to review the actual starting stock. The actual target is highlighted in gold.
Open Physical Inventory to review the actual starting stock.
Action 5: WH/Stock holds six filters; the existing van starts with none. The actual target is highlighted in gold.
WH/Stock holds six filters; the existing van starts with none.

Step 2. Create the internal transfer

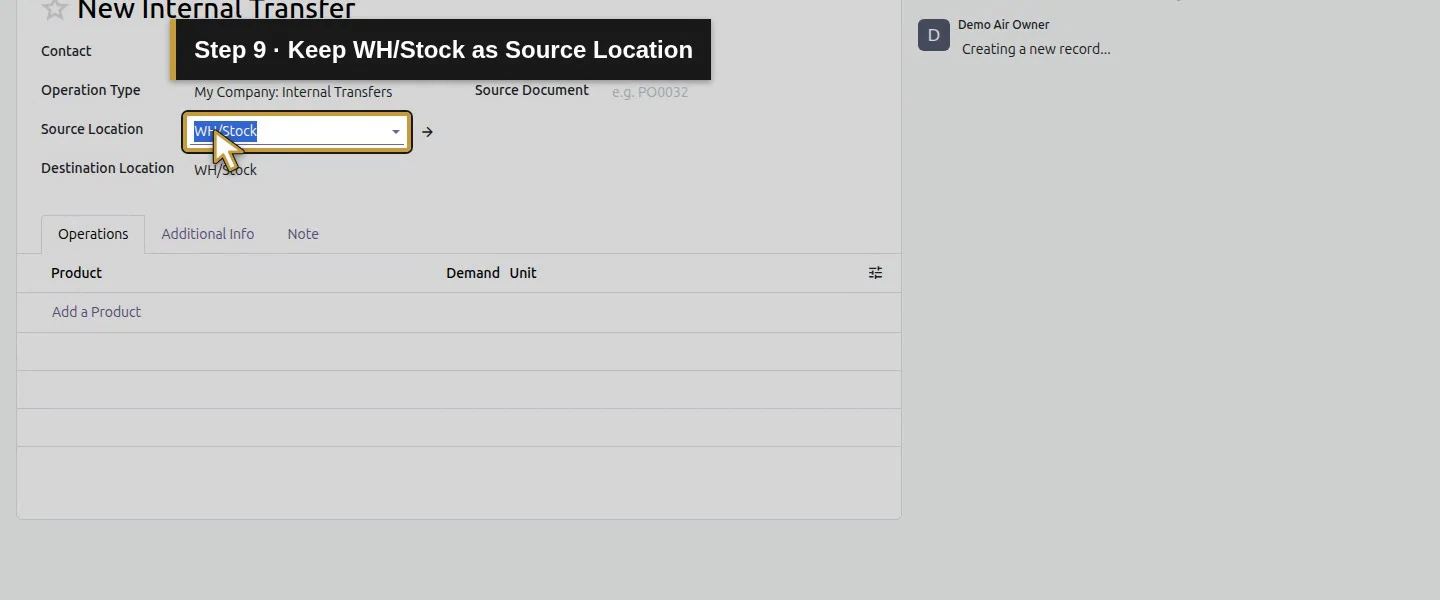
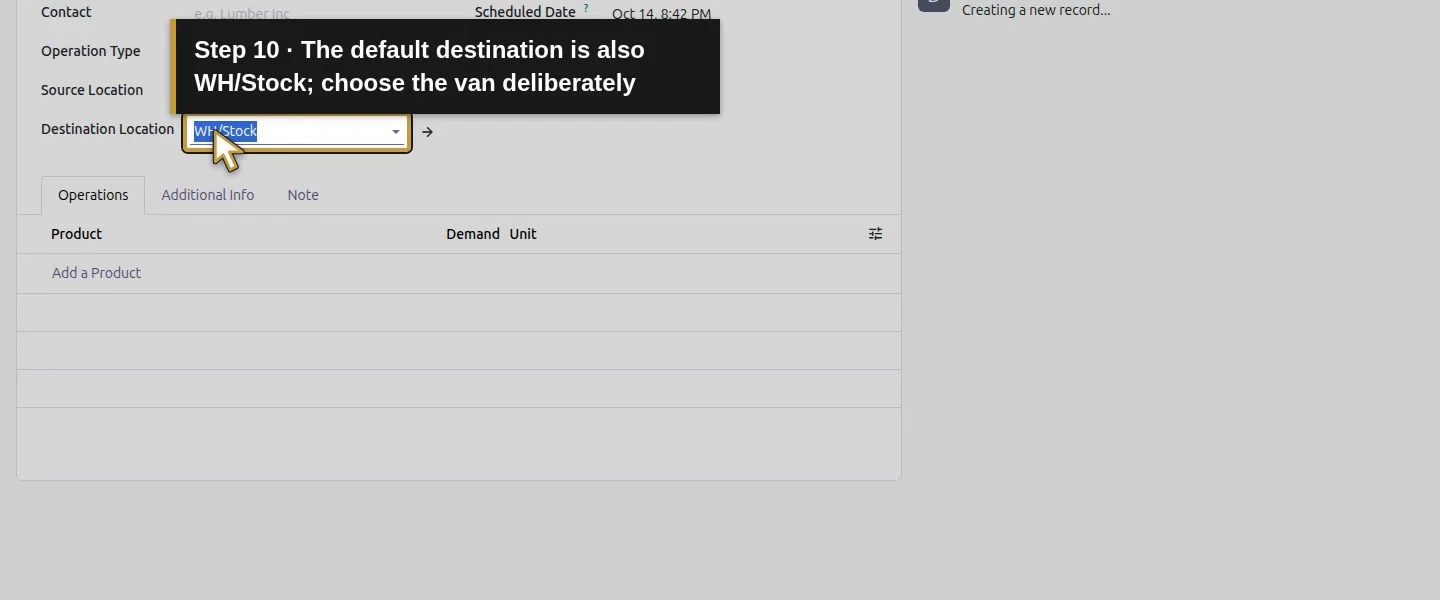
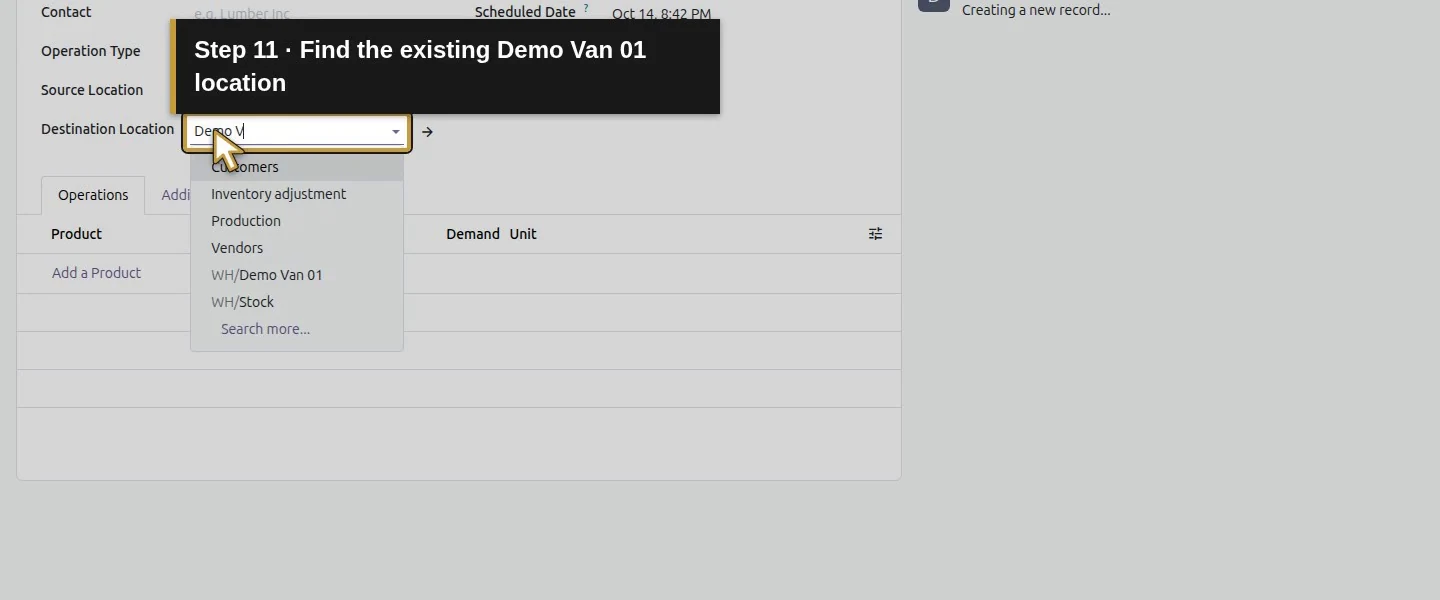
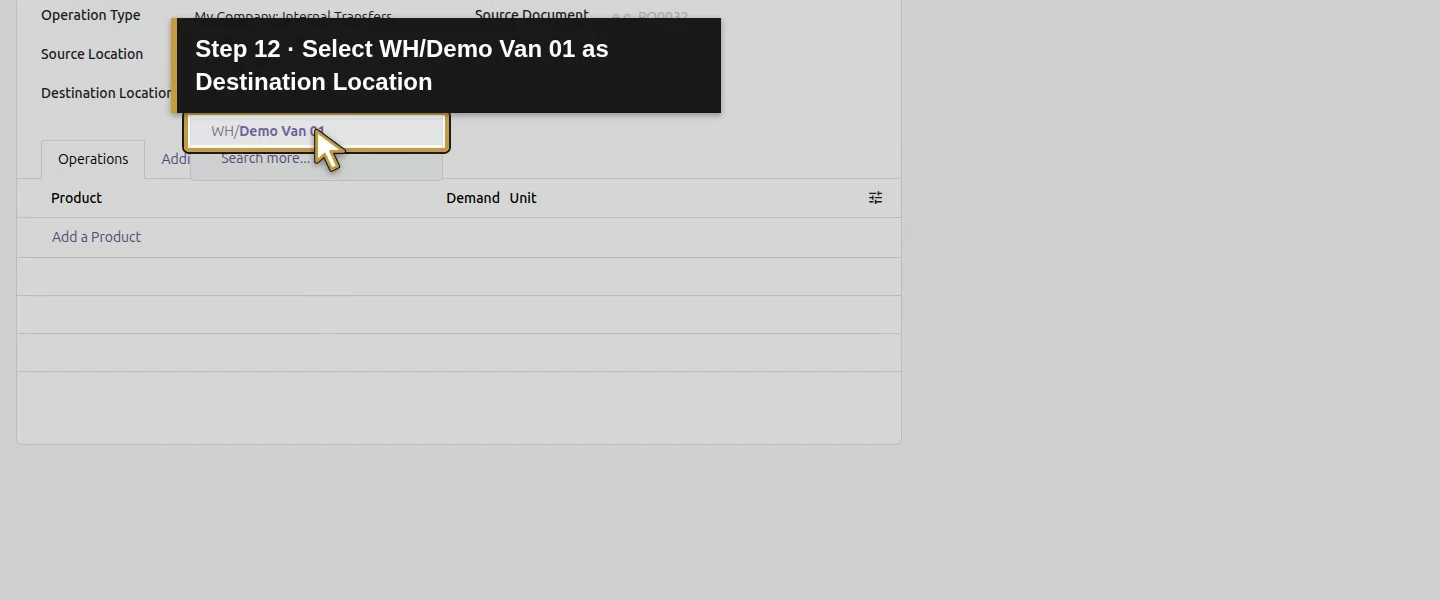
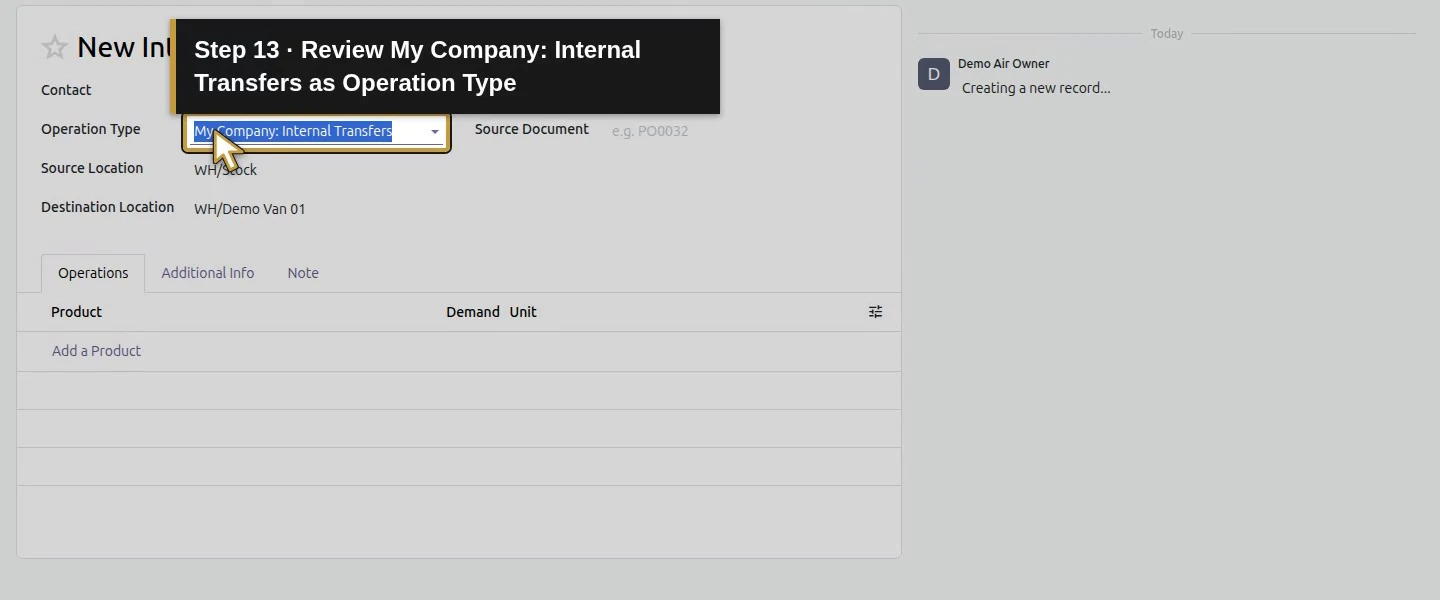
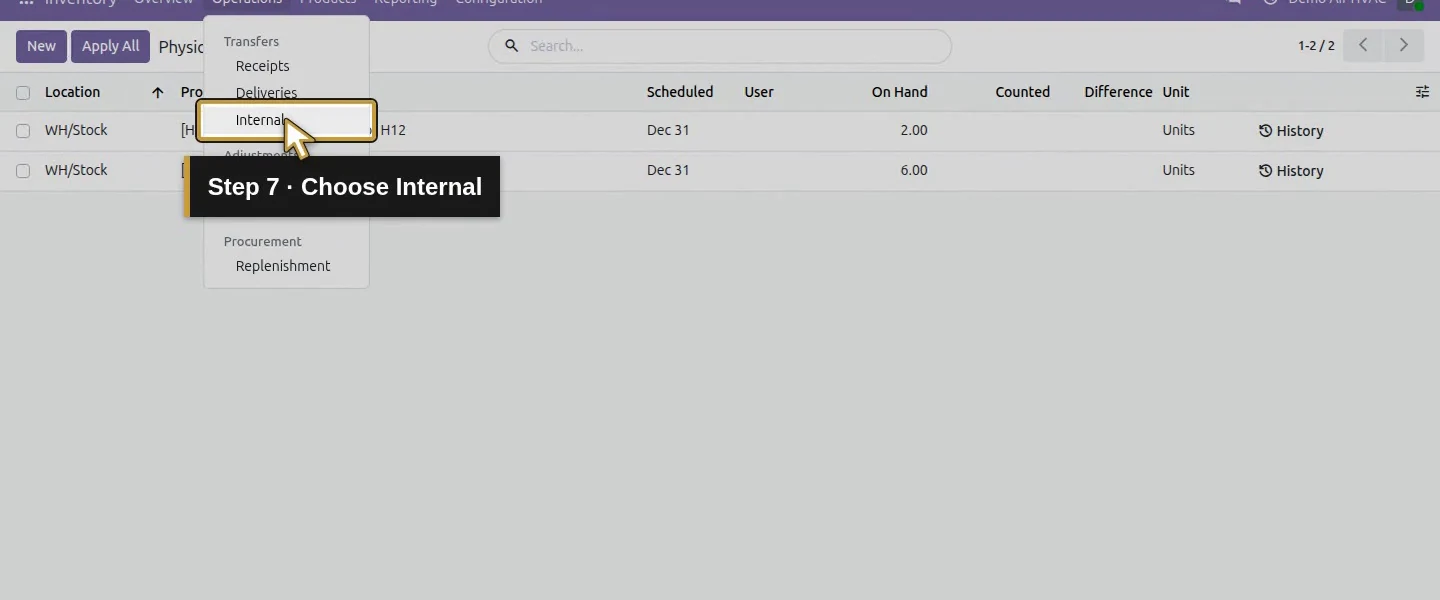
Open Inventory → Operations → Internal → New. The tested form defaults both locations to WH/Stock. Keep Source Location: WH/Stock, and select the existing Destination Location: WH/Demo Van 01. Check Operation Type: My Company: Internal Transfers.
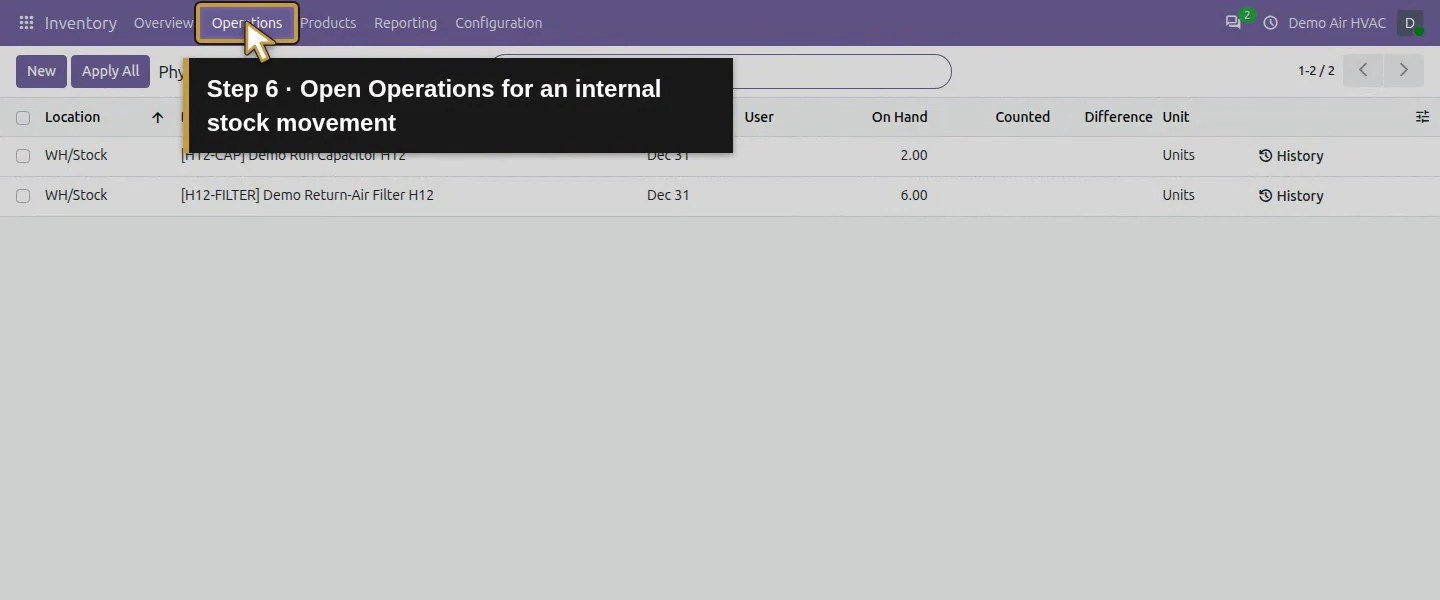
Action 6: Open Operations for an internal stock movement. The actual target is highlighted in gold.
Open Operations for an internal stock movement.
Action 7: Choose Internal. The actual target is highlighted in gold.
Choose Internal.
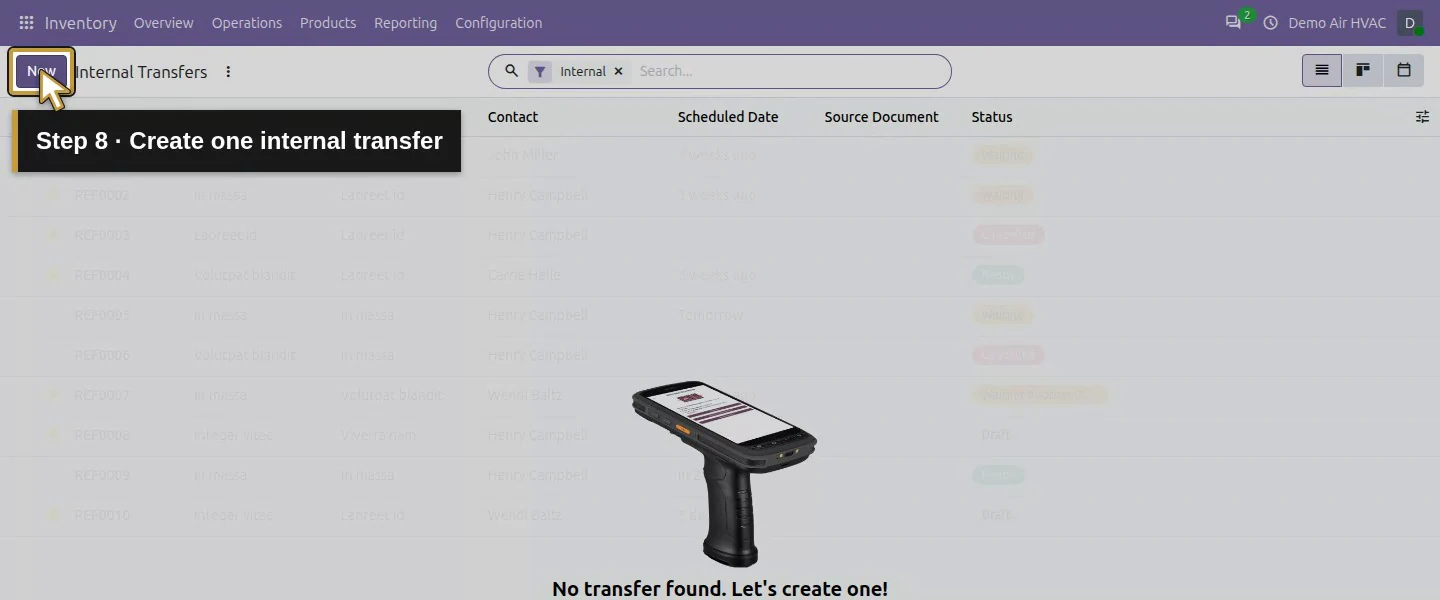
Action 8: Create one internal transfer. The actual target is highlighted in gold.
Create one internal transfer.
Action 9: Keep WH/Stock as Source Location. The actual target is highlighted in gold.
Keep WH/Stock as Source Location.
Action 10: The default destination is also WH/Stock; choose the van deliberately. The actual target is highlighted in gold.
The default destination is also WH/Stock; choose the van deliberately.
Action 11: Find the existing Demo Van 01 location. The actual target is highlighted in gold.
Find the existing Demo Van 01 location.
Action 12: Select WH/Demo Van 01 as Destination Location. The actual target is highlighted in gold.
Select WH/Demo Van 01 as Destination Location.
Action 13: Review My Company: Internal Transfers as Operation Type. The actual target is highlighted in gold.
Review My Company: Internal Transfers as Operation Type.

Step 3. Add the filter demand

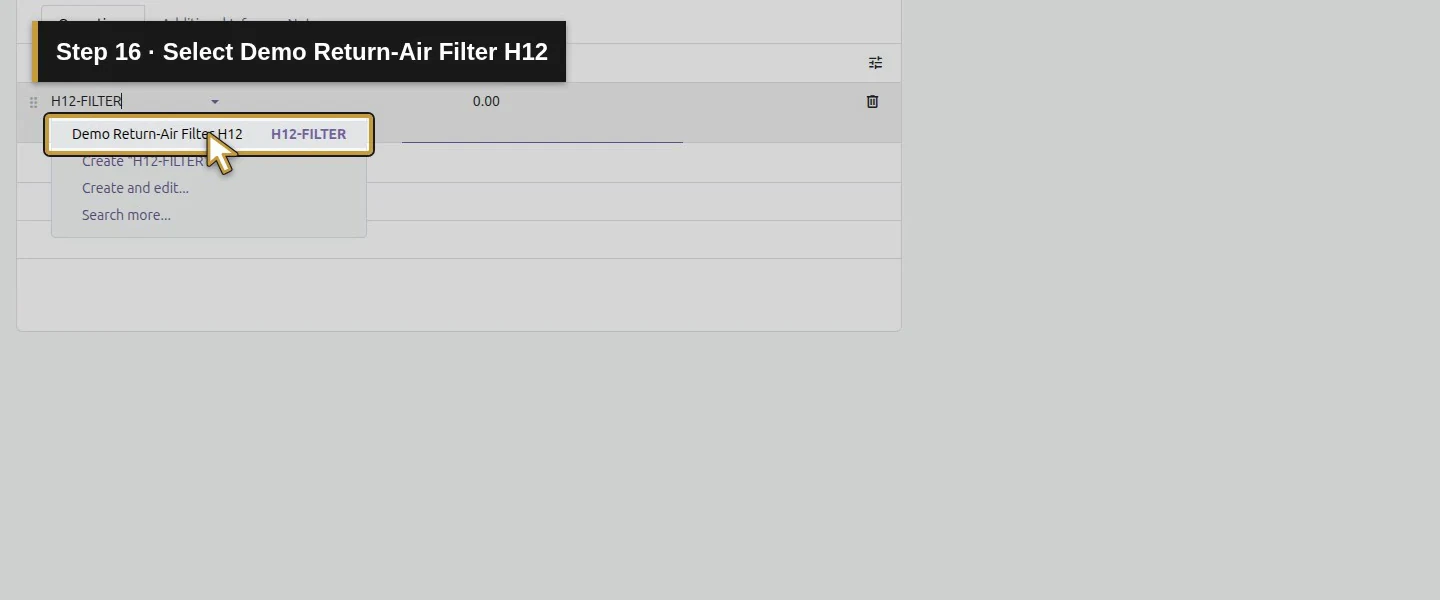
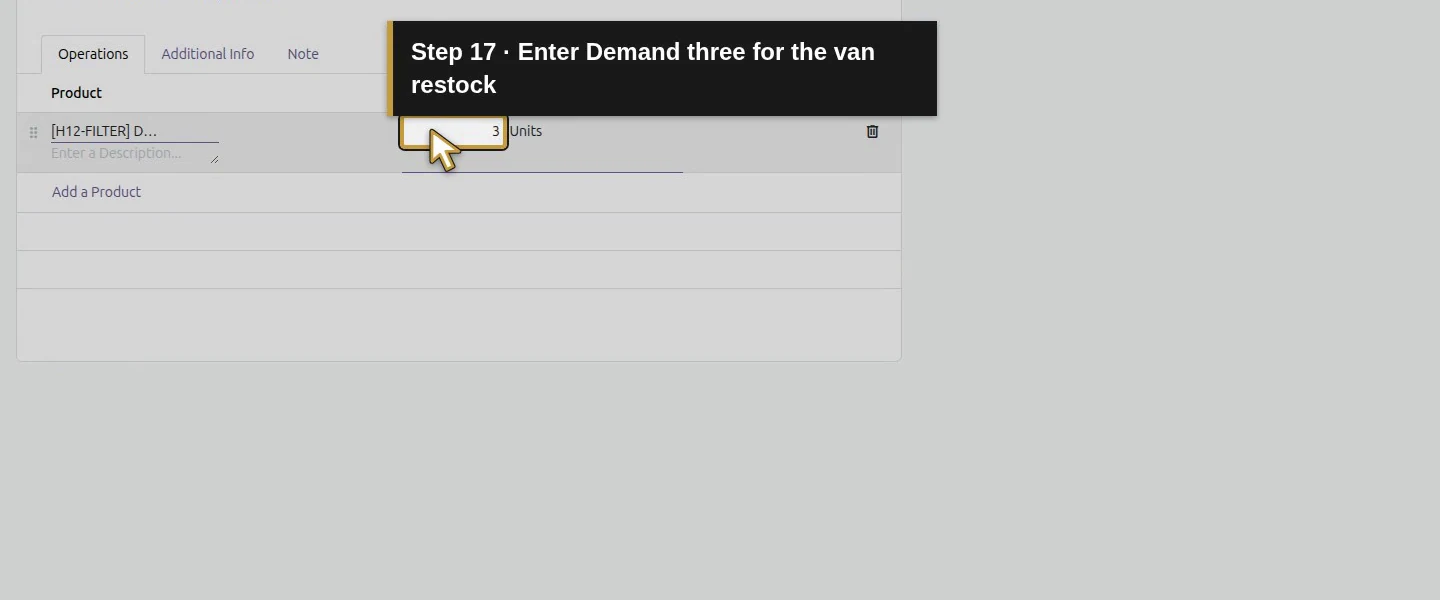
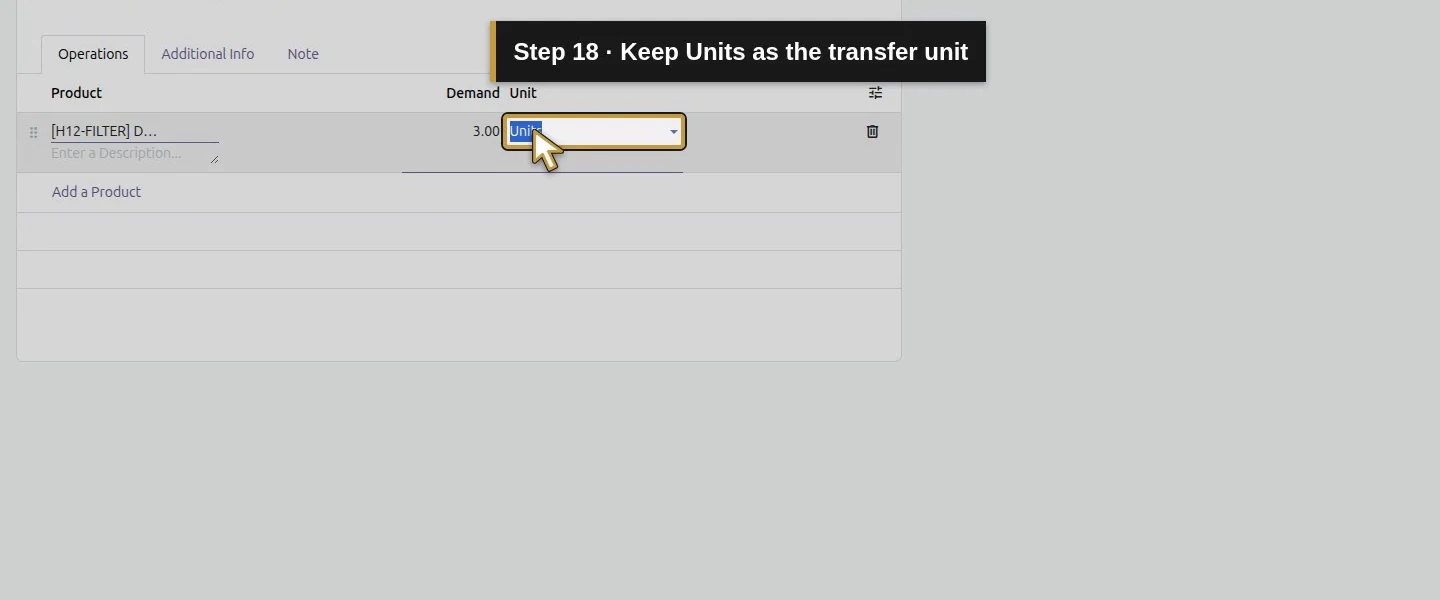
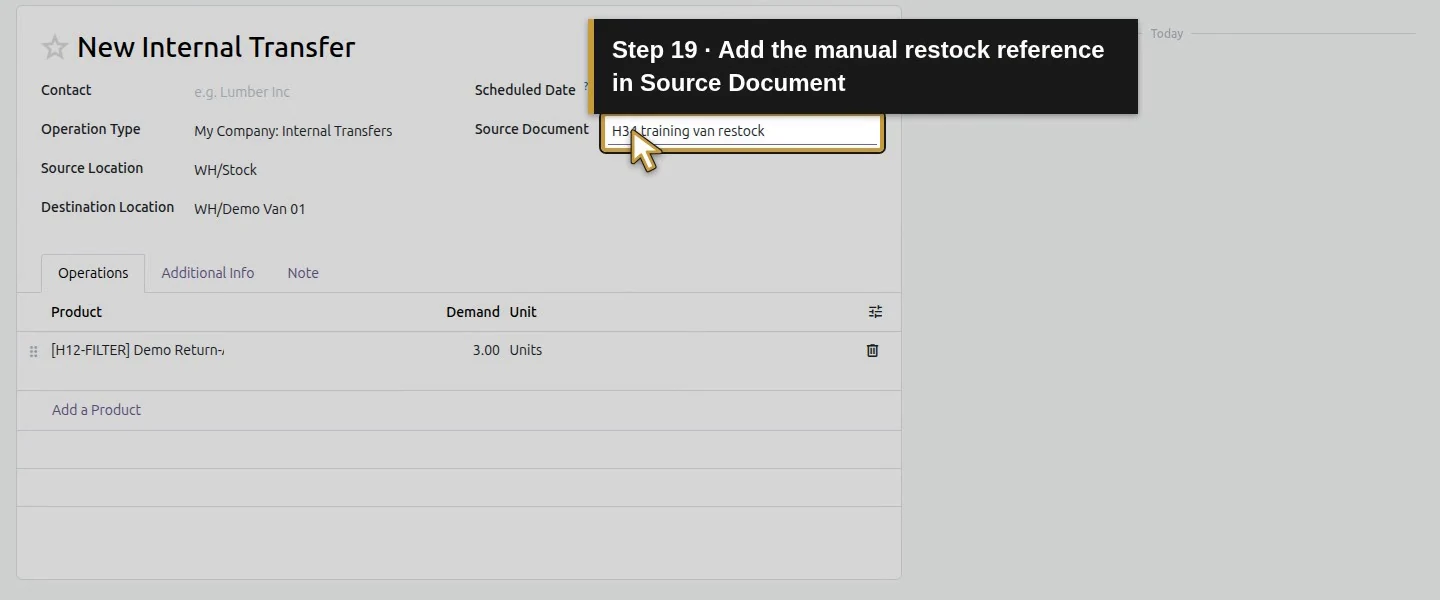
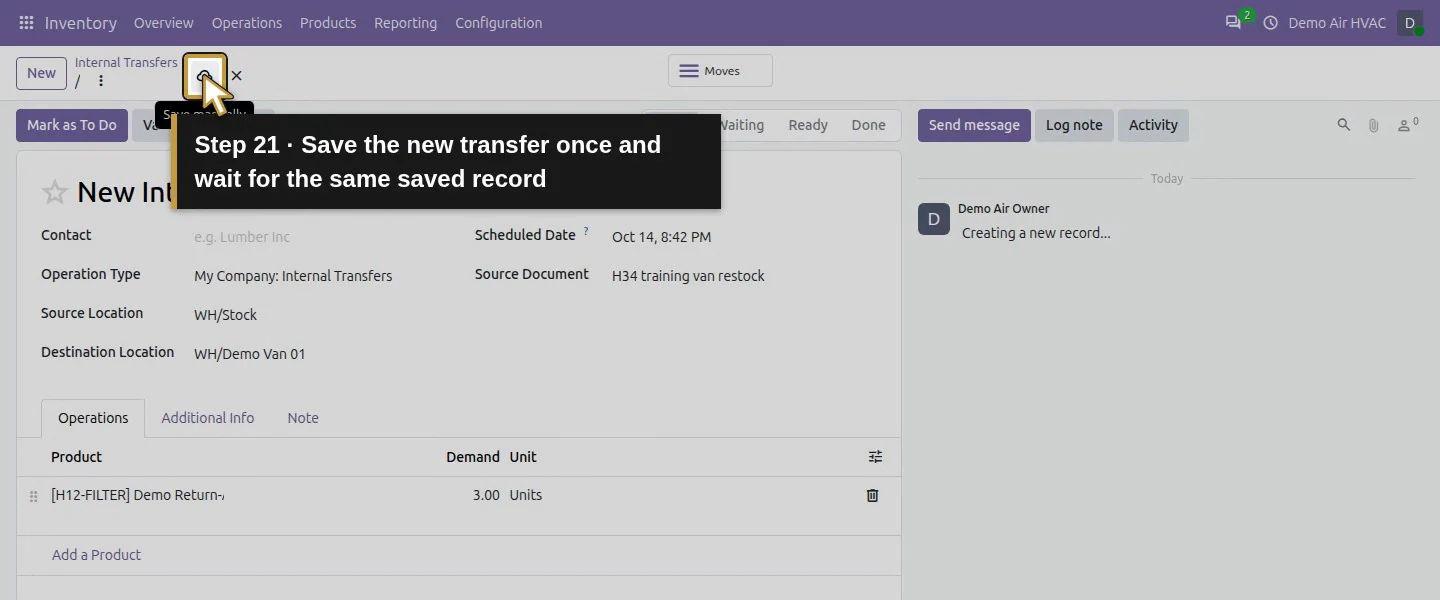
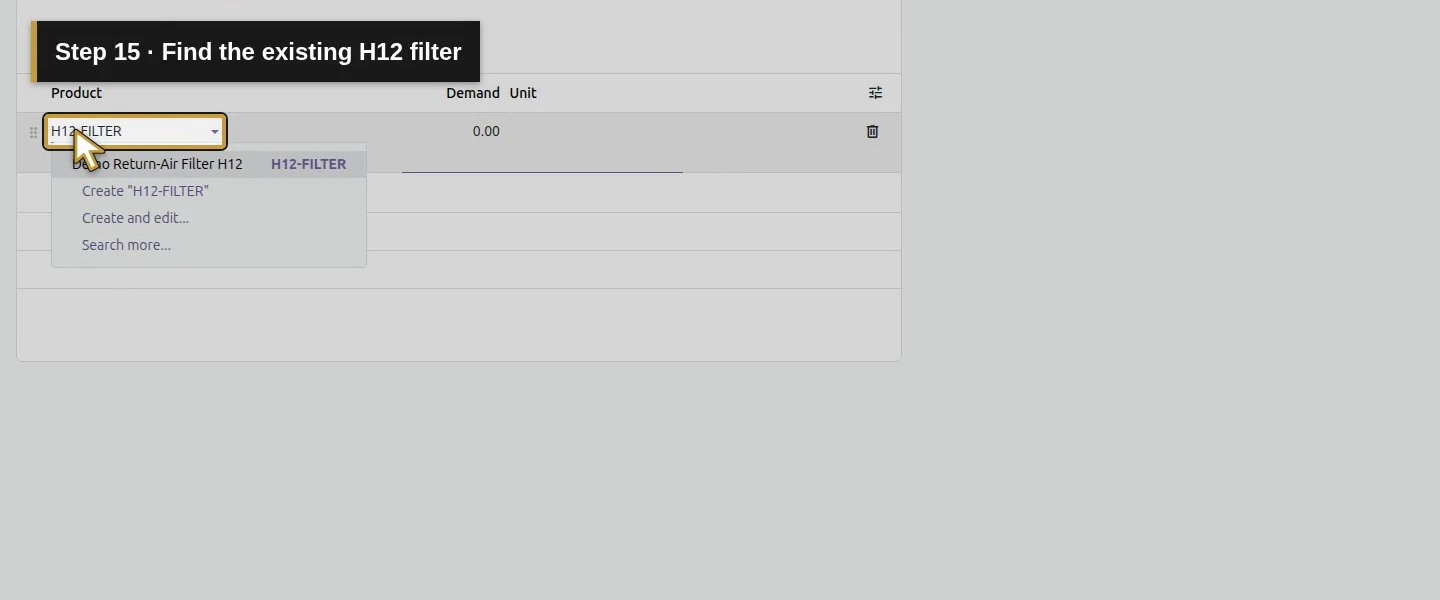
Choose Add a Product, select Demo Return-Air Filter H12, and enter Demand 3, Unit Units. Enter H34 training van restock in Source Document as a manual reference. Choose Save manually.
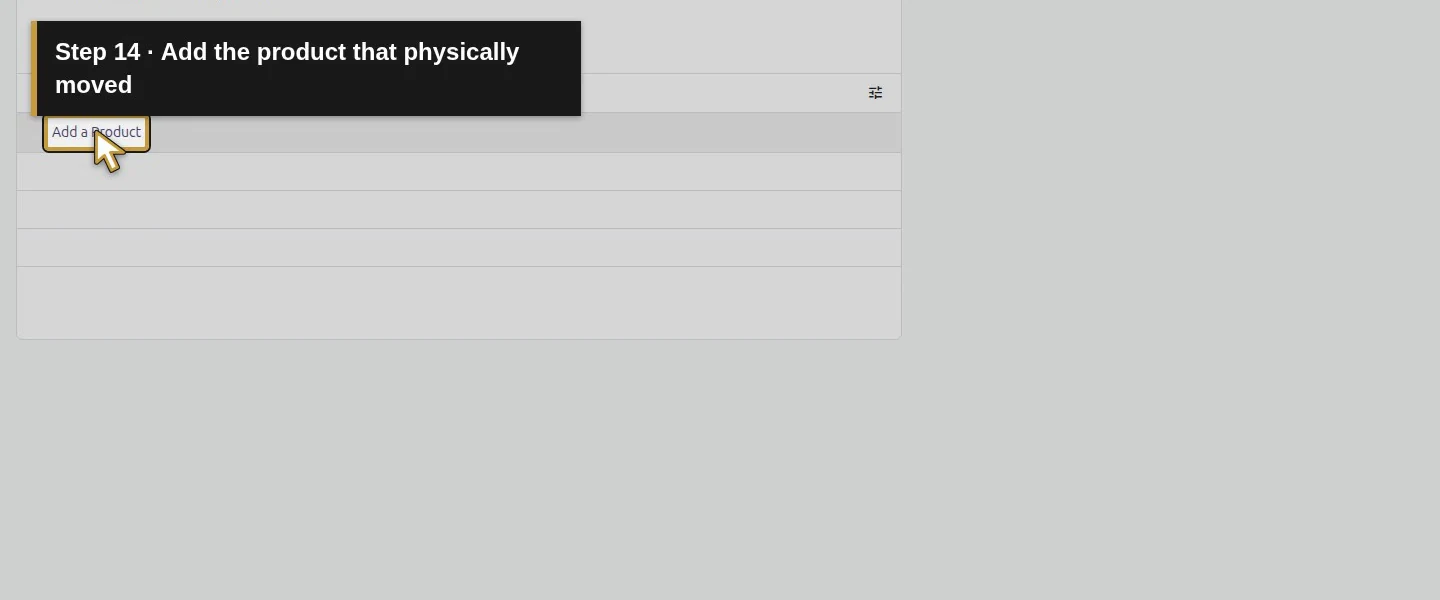
Action 14: Add the product that physically moved. The actual target is highlighted in gold.
Add the product that physically moved.
Action 15: Find the existing H12 filter. The actual target is highlighted in gold.
Find the existing H12 filter.
Action 16: Select Demo Return-Air Filter H12. The actual target is highlighted in gold.
Select Demo Return-Air Filter H12.
Action 17: Enter Demand three for the van restock. The actual target is highlighted in gold.
Enter Demand three for the van restock.
Action 18: Keep Units as the transfer unit. The actual target is highlighted in gold.
Keep Units as the transfer unit.
Action 19: Add the manual restock reference in Source Document. The actual target is highlighted in gold.
Add the manual restock reference in Source Document.
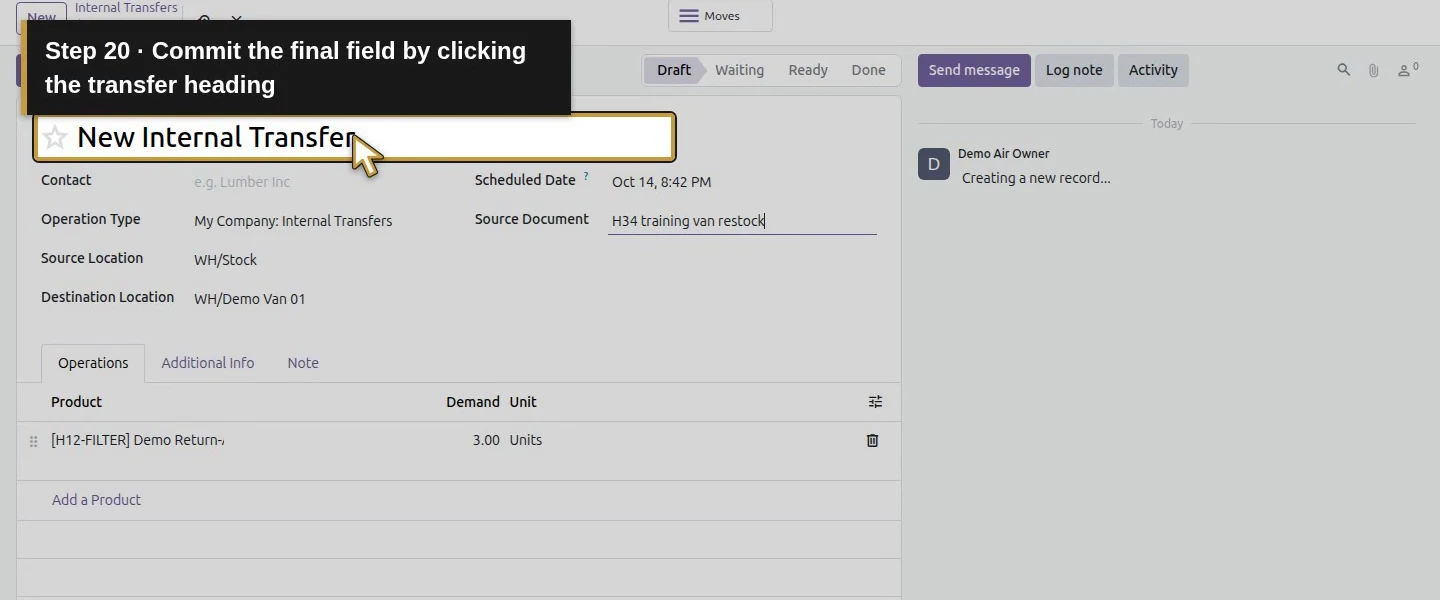
Action 20: Commit the final field by clicking the transfer heading. The actual target is highlighted in gold.
Commit the final field by clicking the transfer heading.
Action 21: Save the new transfer once and wait for the same saved record. The actual target is highlighted in gold.
Save the new transfer once and wait for the same saved record.

Step 4. Reserve and validate the actual move

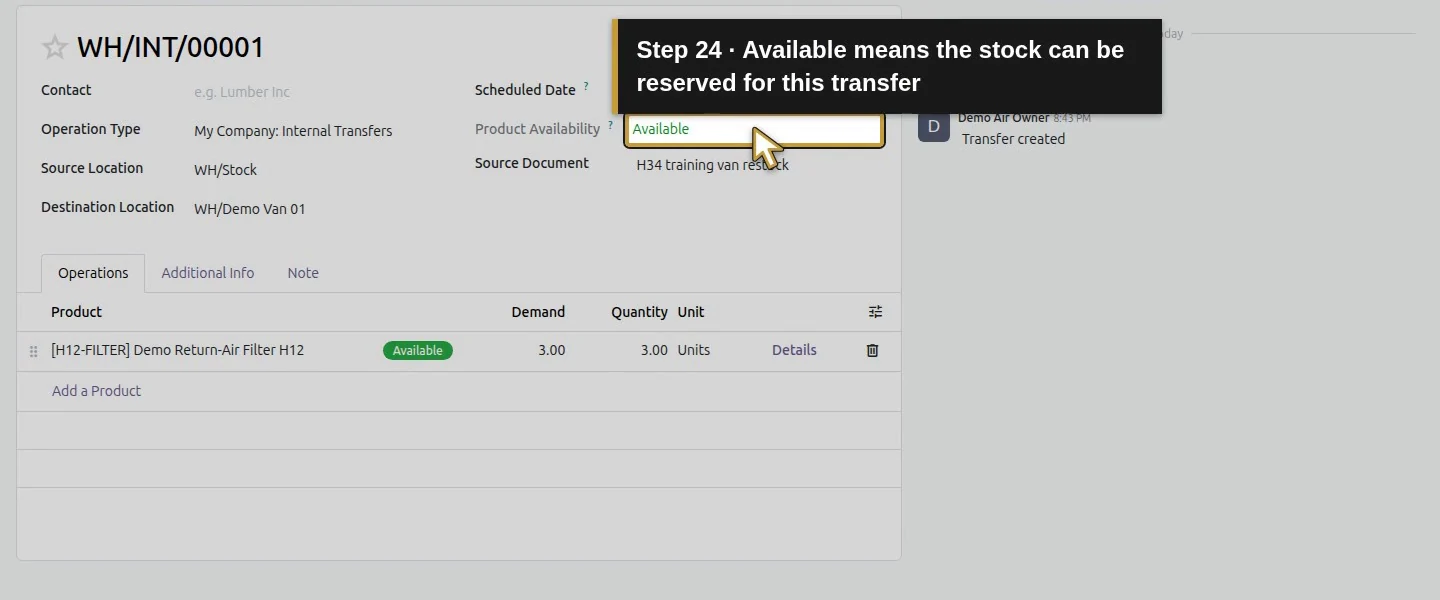
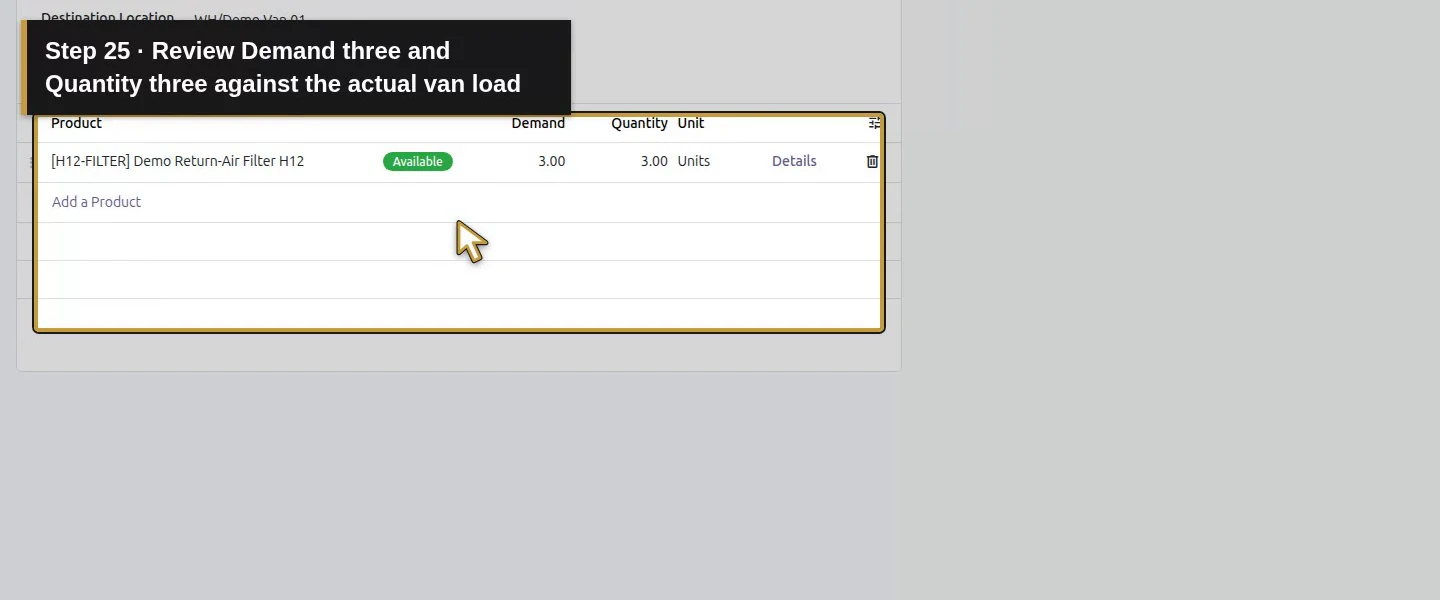
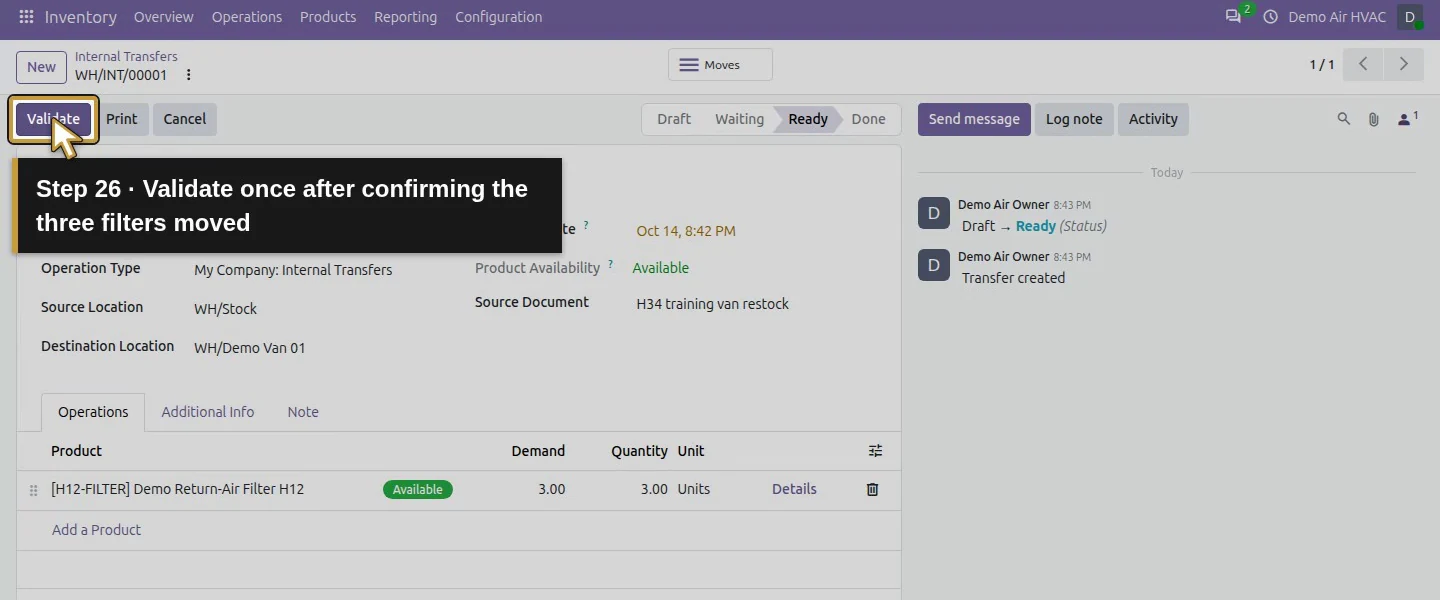
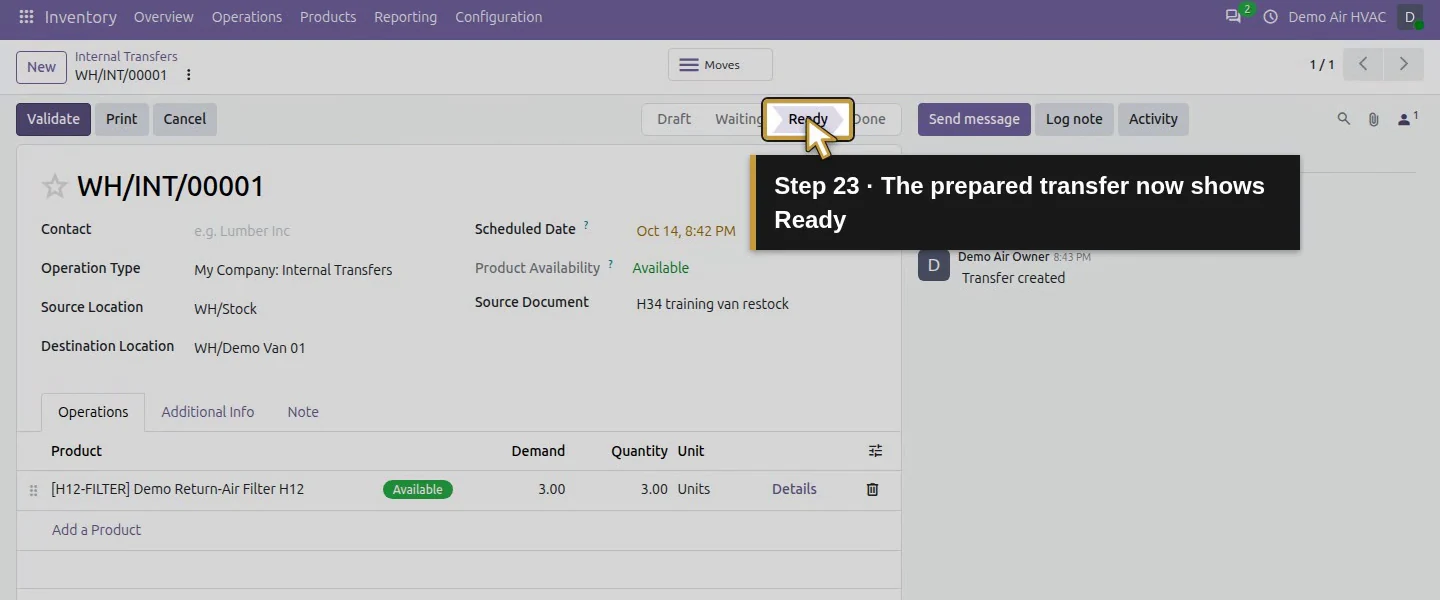
Choose Mark as To Do. The tested transfer becomes Ready, shows Available, and proposes Quantity three against Demand three. Review that three really moved to the van, then choose Validate and wait for Done.
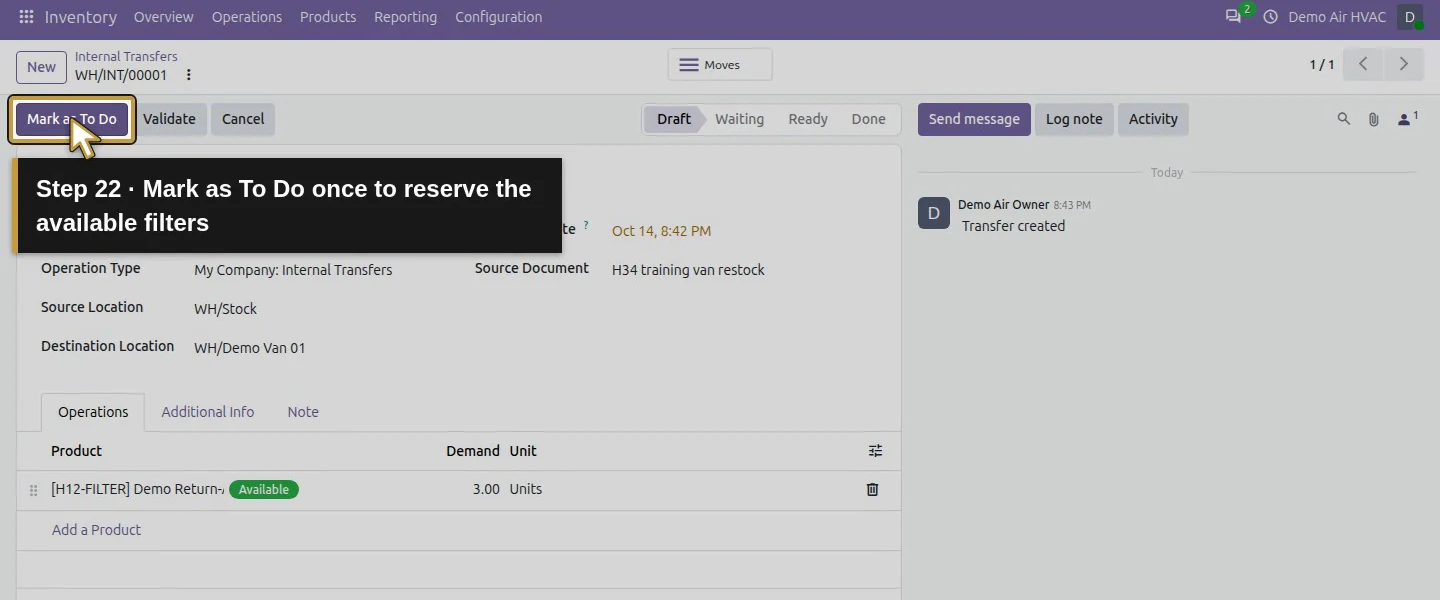
Action 22: Mark as To Do once to reserve the available filters. The actual target is highlighted in gold.
Mark as To Do once to reserve the available filters.
Action 23: The prepared transfer now shows Ready. The actual target is highlighted in gold.
The prepared transfer now shows Ready.
Action 24: Available means the stock can be reserved for this transfer. The actual target is highlighted in gold.
Available means the stock can be reserved for this transfer.
Action 25: Review Demand three and Quantity three against the actual van load. The actual target is highlighted in gold.
Review Demand three and Quantity three against the actual van load.
Action 26: Validate once after confirming the three filters moved. The actual target is highlighted in gold.
Validate once after confirming the three filters moved.
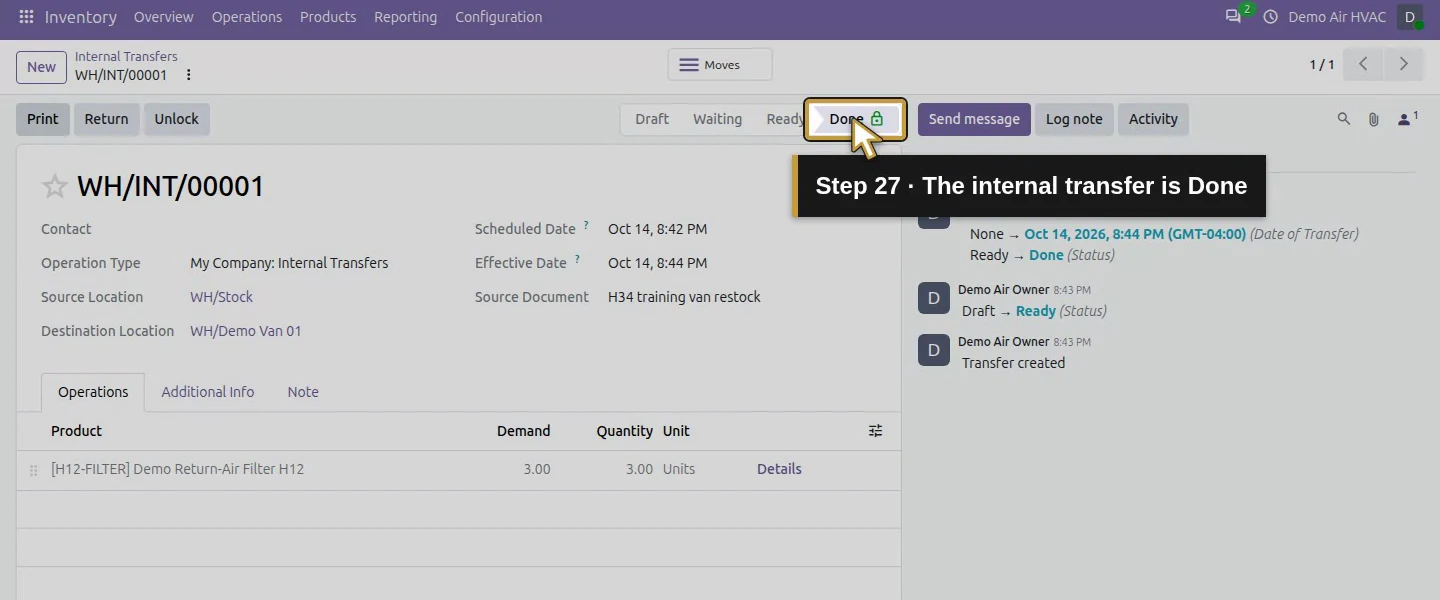
Action 27: The internal transfer is Done. The actual target is highlighted in gold.
The internal transfer is Done.

Step 5. Reopen and reconcile the locations

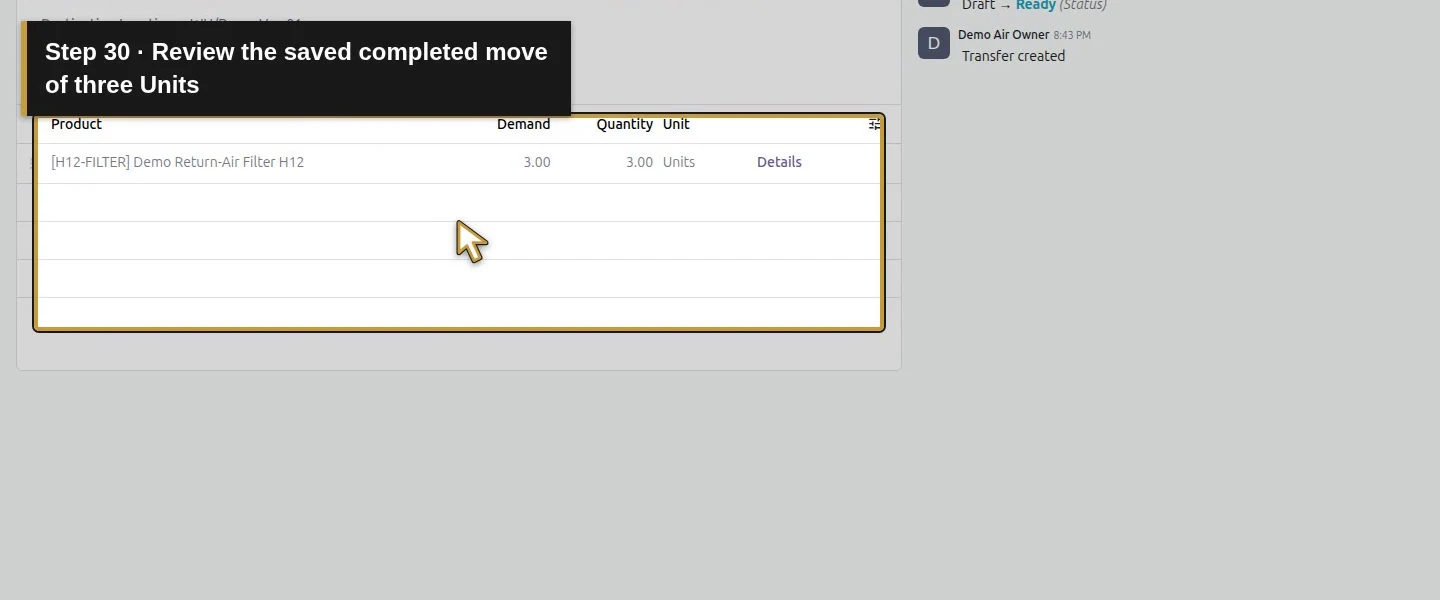
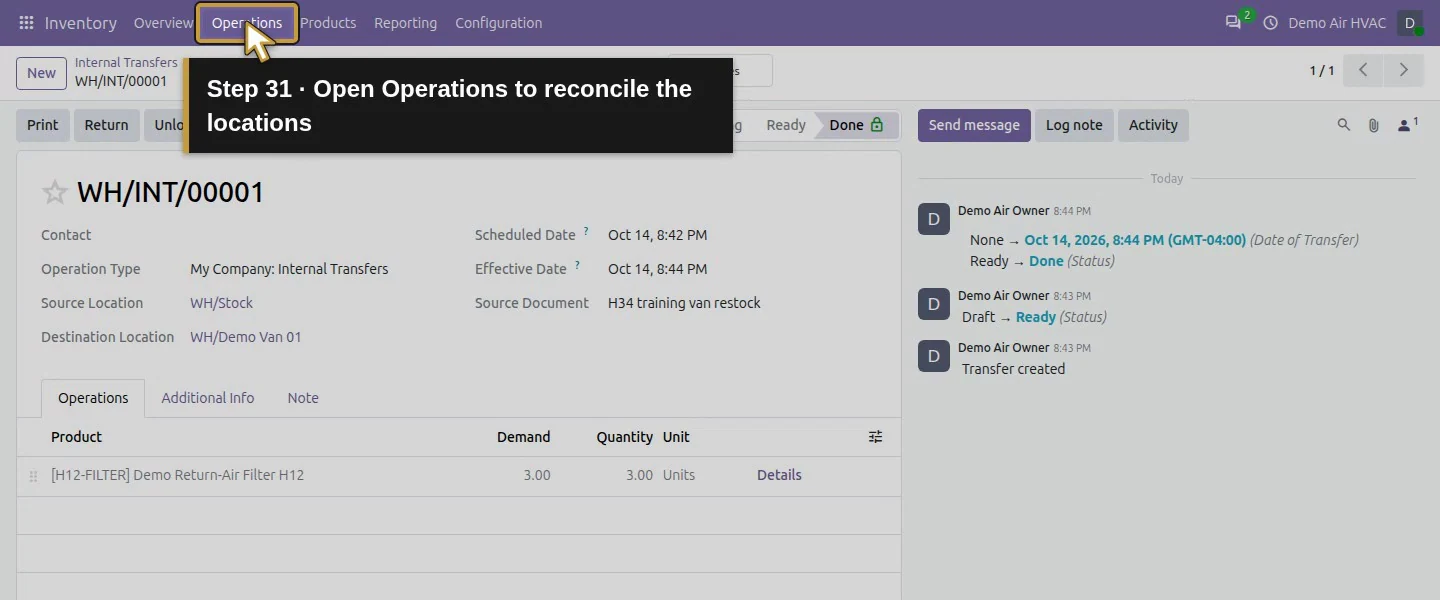
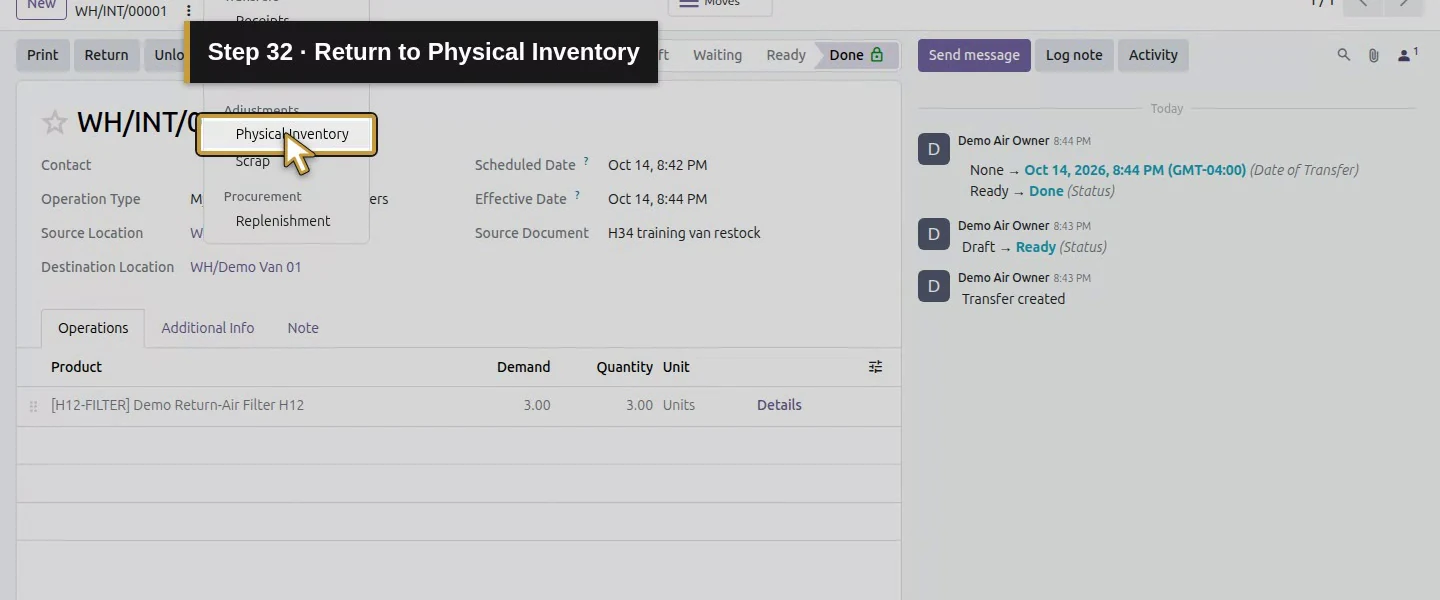
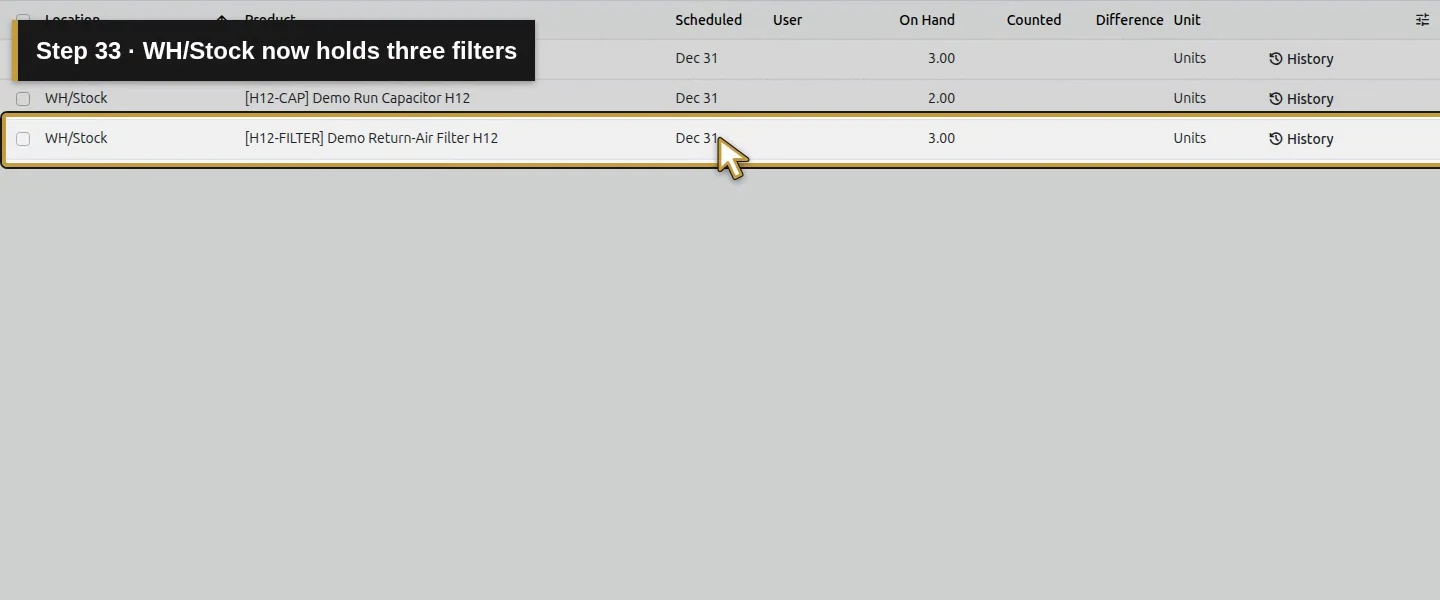
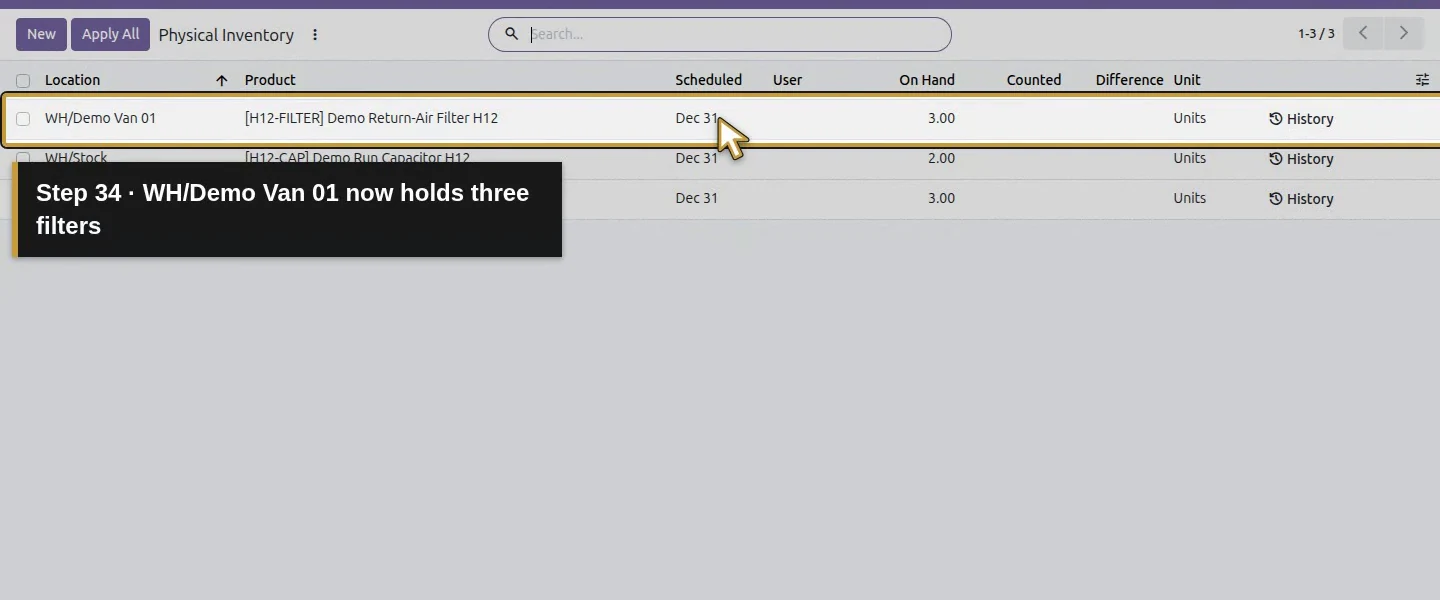
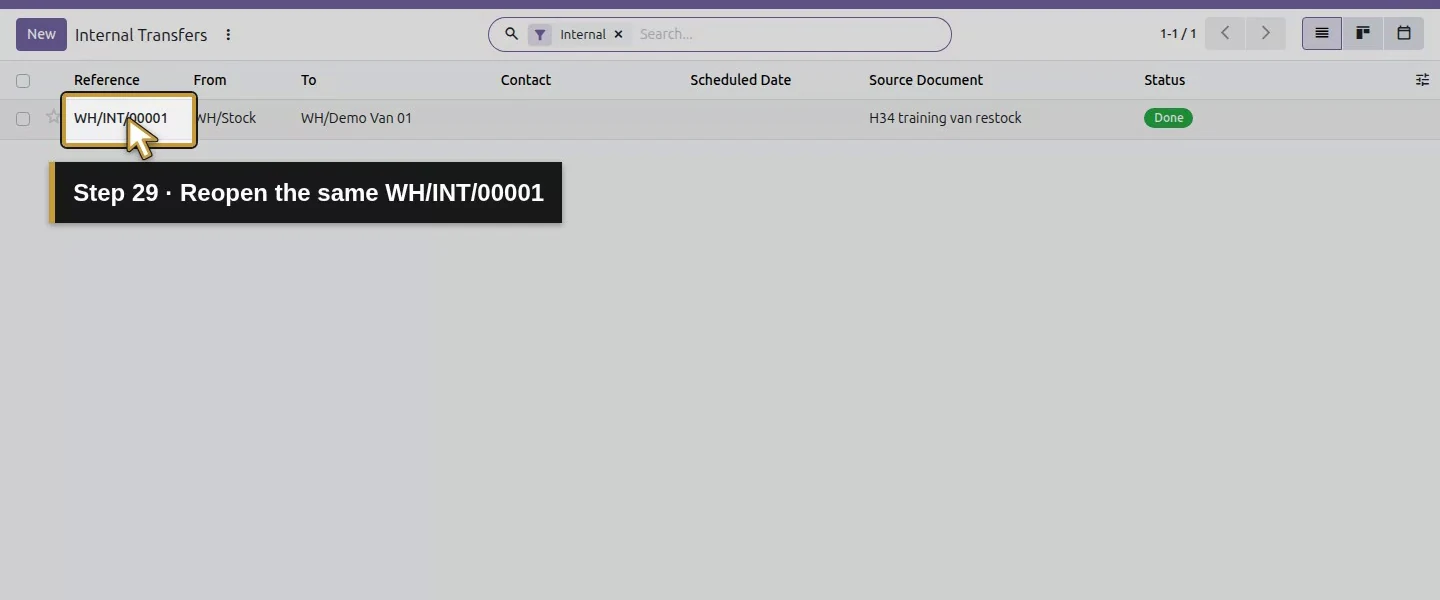
Reopen WH/INT/00001 and check three completed Units from WH/Stock to WH/Demo Van 01. Return to Physical Inventory: warehouse three plus van three equals the original six filters.
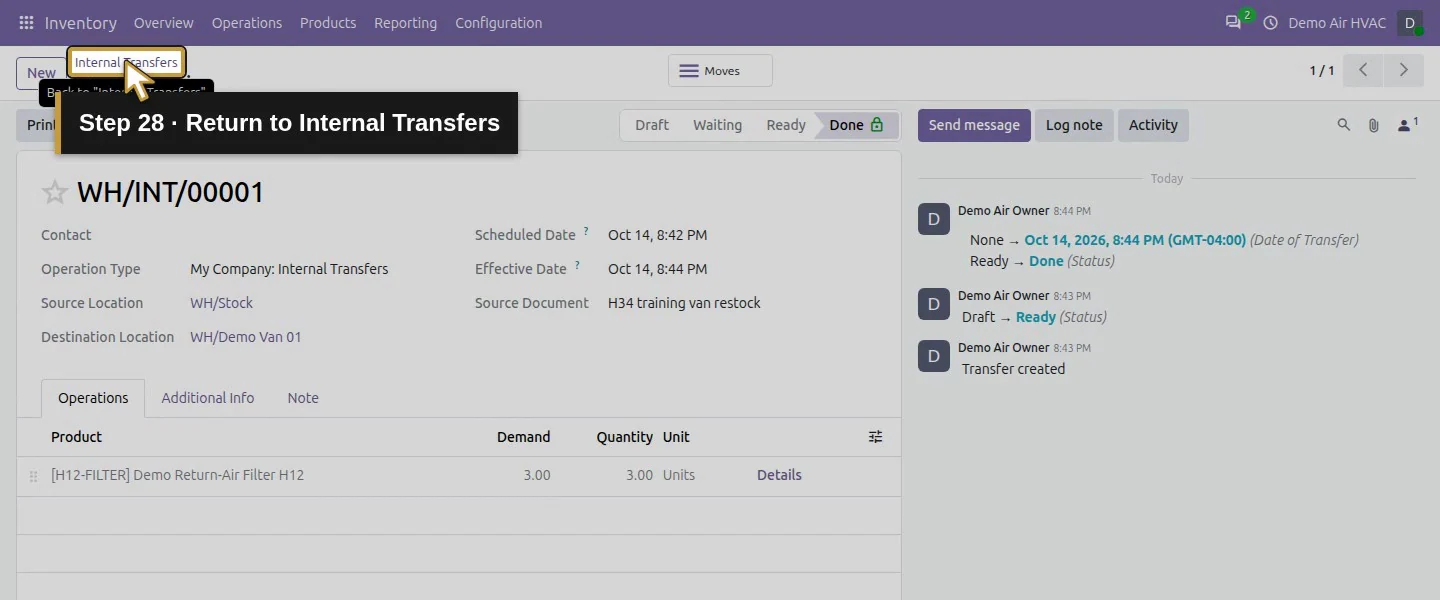
Action 28: Return to Internal Transfers. The actual target is highlighted in gold.
Return to Internal Transfers.
Action 29: Reopen the same WH/INT/00001. The actual target is highlighted in gold.
Reopen the same WH/INT/00001.
Action 30: Review the saved completed move of three Units. The actual target is highlighted in gold.
Review the saved completed move of three Units.
Action 31: Open Operations to reconcile the locations. The actual target is highlighted in gold.
Open Operations to reconcile the locations.
Action 32: Return to Physical Inventory. The actual target is highlighted in gold.
Return to Physical Inventory.
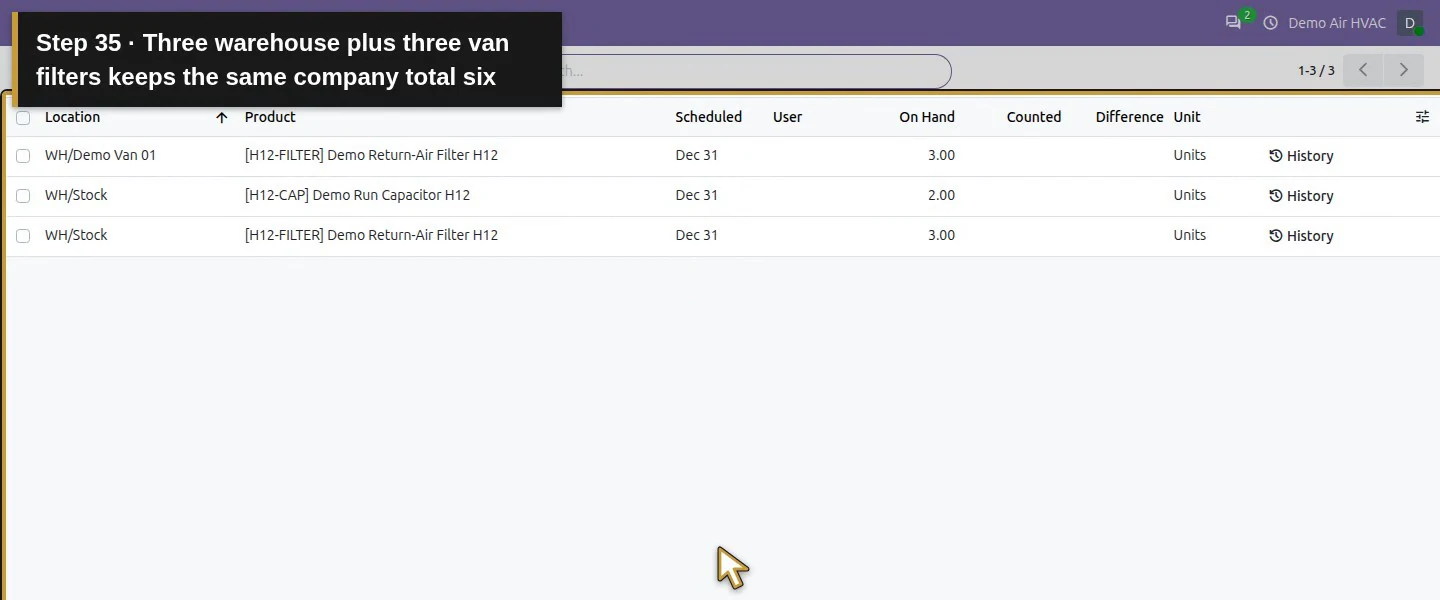
Action 33: WH/Stock now holds three filters. The actual target is highlighted in gold.
WH/Stock now holds three filters.
Action 34: WH/Demo Van 01 now holds three filters. The actual target is highlighted in gold.
WH/Demo Van 01 now holds three filters.
Action 35: Three warehouse plus three van filters keeps the same company total six. The actual target is highlighted in gold.
Three warehouse plus three van filters keeps the same company total six.

Check the result

WH/INT/00001 is Done for three filters. WH/Stock decreased from six to three; WH/Demo Van 01 increased from zero to three. Total company filters stayed six, with no customer sale or new receipt.

If your screen differs

The default destination matched the source, so select the van deliberately. This test used available untracked filters and did not exercise shortages or tracked equipment. A van stock location records inventory ownership and location; it does not locate the vehicle by GPS.

Frequently asked questions

How do I transfer parts from a warehouse to a van in Odoo? Use Inventory → Operations → Internal → New. Choose warehouse and van locations, add the product/demand, Mark as To Do, review actual Quantity and Validate.
Does an Odoo internal transfer sell the parts? This completed movement changed only internal locations. The company total stayed six filters; customer delivery and billing were separate.
Why is van stock missing after an Odoo transfer? Check Done status, destination and completed Quantity before posting another move. In the tested new form both locations initially defaulted to WH/Stock, so the destination needed explicit selection.

Continue building the business

Check a synthetic discrepancy with How do I count van stock and make an inventory adjustment in Odoo?.

Talk to an Odoo partner

Bring your current process and the result you need to Onward to plan your Odoo workflow. Talk to an Odoo partner.