
Running an HVAC business with Odoo
How do I set up warehouse and service-van stock locations in Odoo?
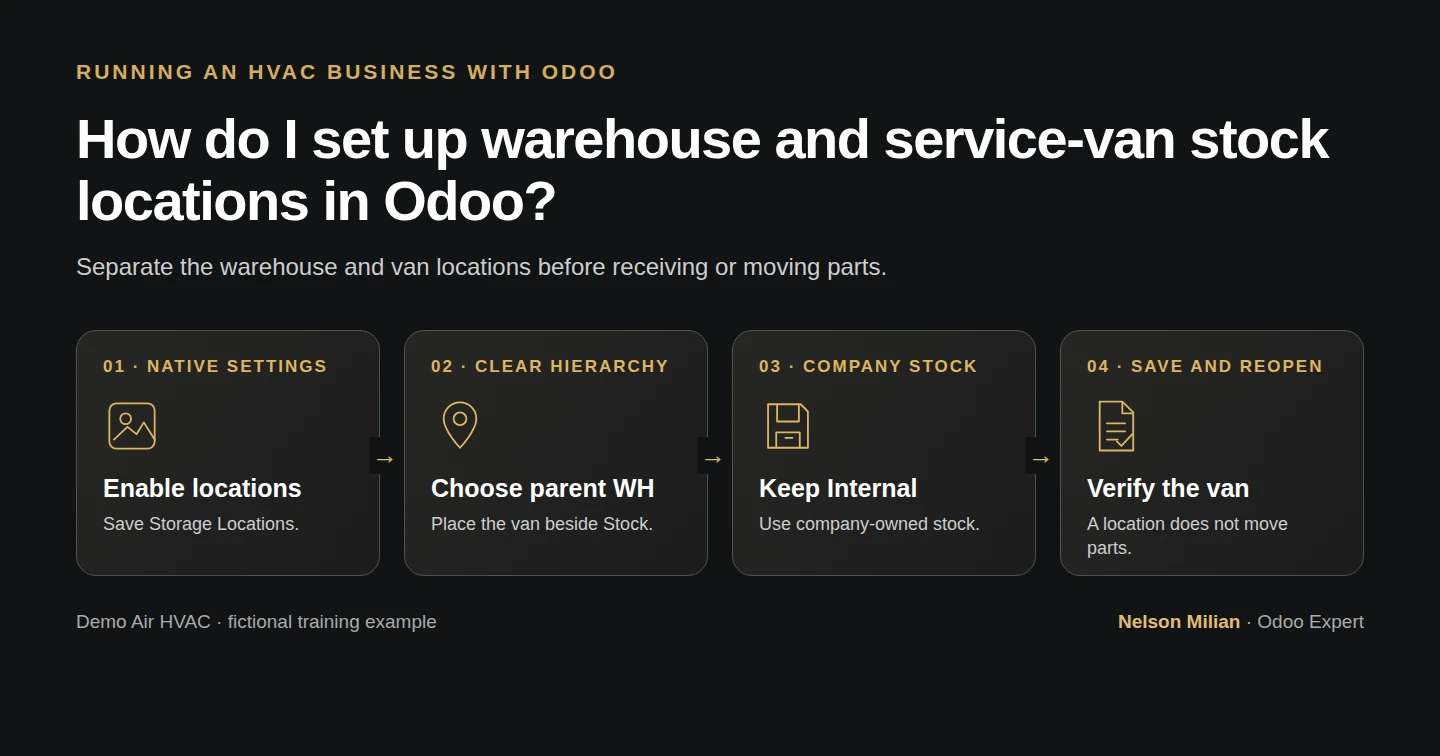
Set up separate warehouse and van stock locations in Odoo, then check the saved hierarchy and unchanged quantities.
Alex needs to distinguish parts kept in the warehouse from parts assigned to his service van. This guide creates a saved van location beside the existing warehouse stock location. Alex Rivera and Demo Air HVAC are fictional training examples.
Before you begin
This procedure was tested in stock Odoo 20.0-20260926 Community, using the official Inventory app and the demo owner administrator. Complete the product-import guide. Creating locations and changing Inventory settings require the appropriate administrative access; technician access was not tested here.
The existing warehouse's code is WH. Its display name in this demo remains My Company, even though the company profile is Demo Air HVAC. Use the actual warehouse code and hierarchy rather than assuming its display name changed with the company profile.
The starting locations are WH and WH/Stock. All three H12 goods have zero stock. This lesson creates a location; it receives or transfers no parts.
Enable warehouse stock locations
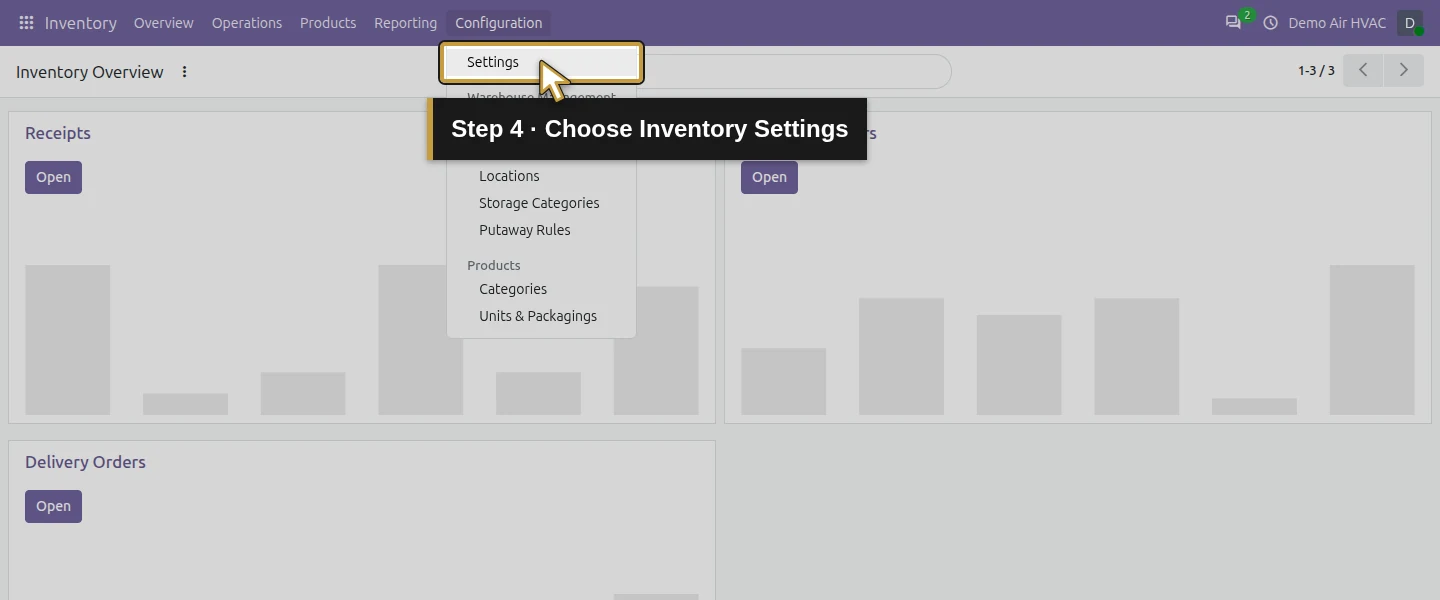
Step 1. Open Inventory settings
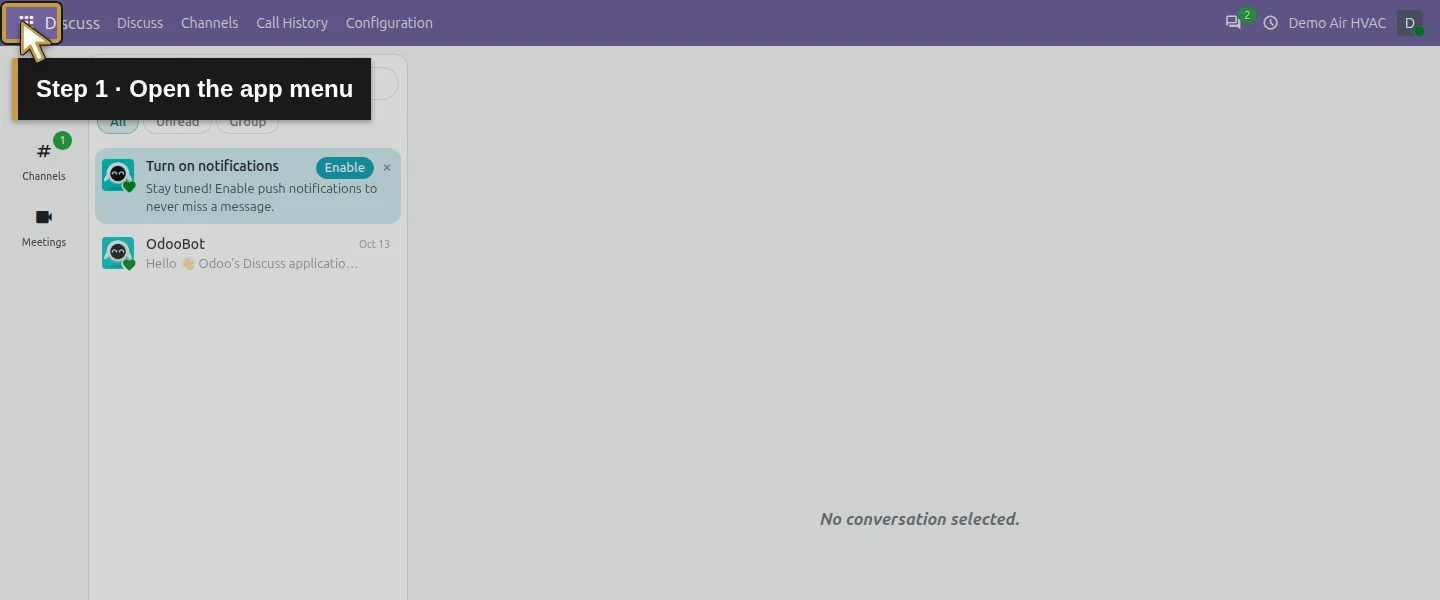
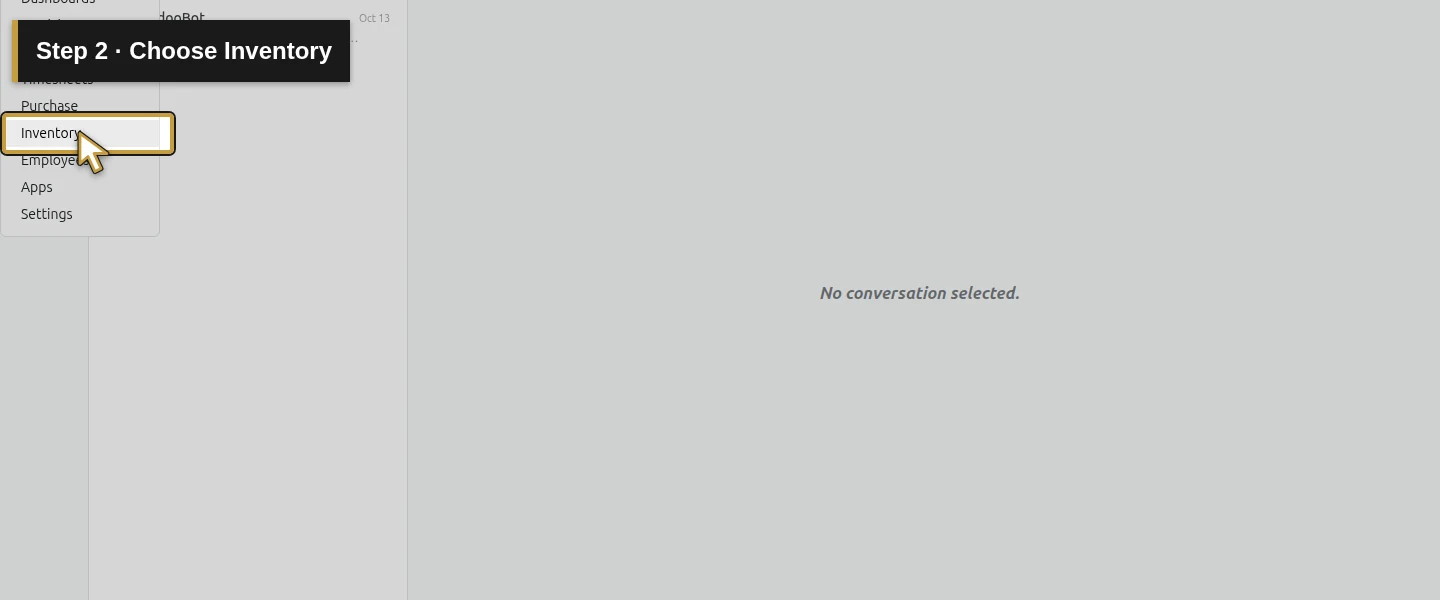
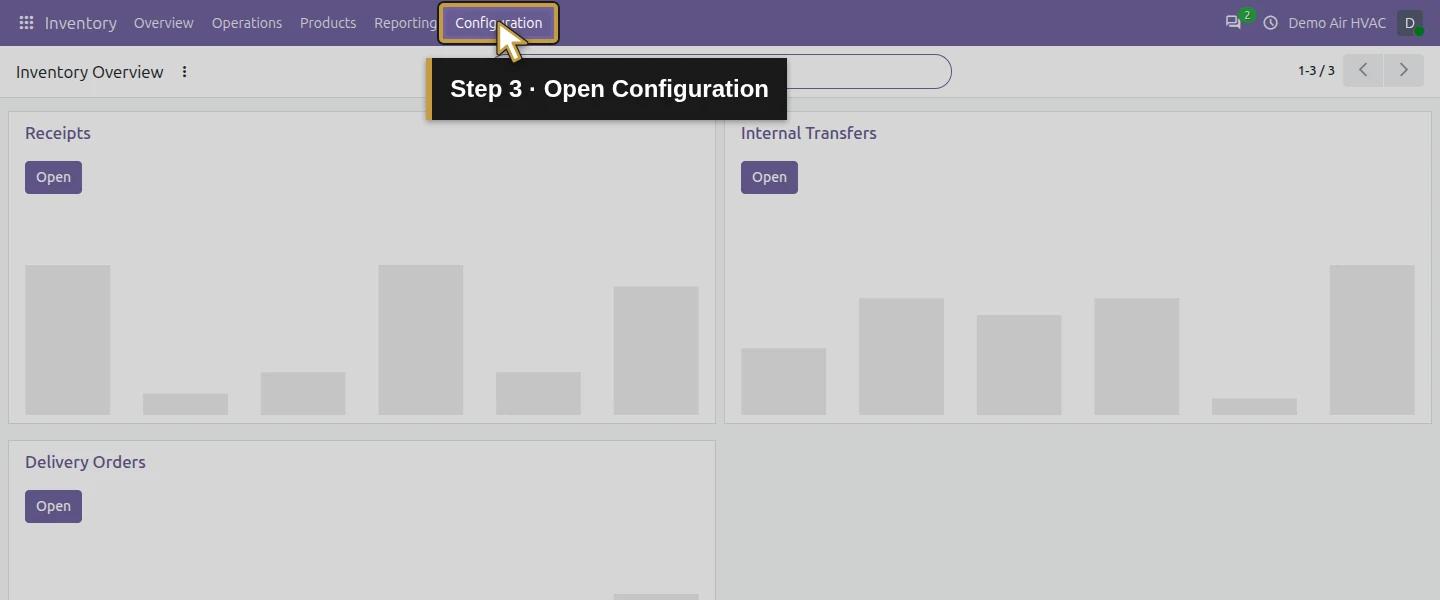
Open the app menu, choose Inventory, then Configuration → Settings.
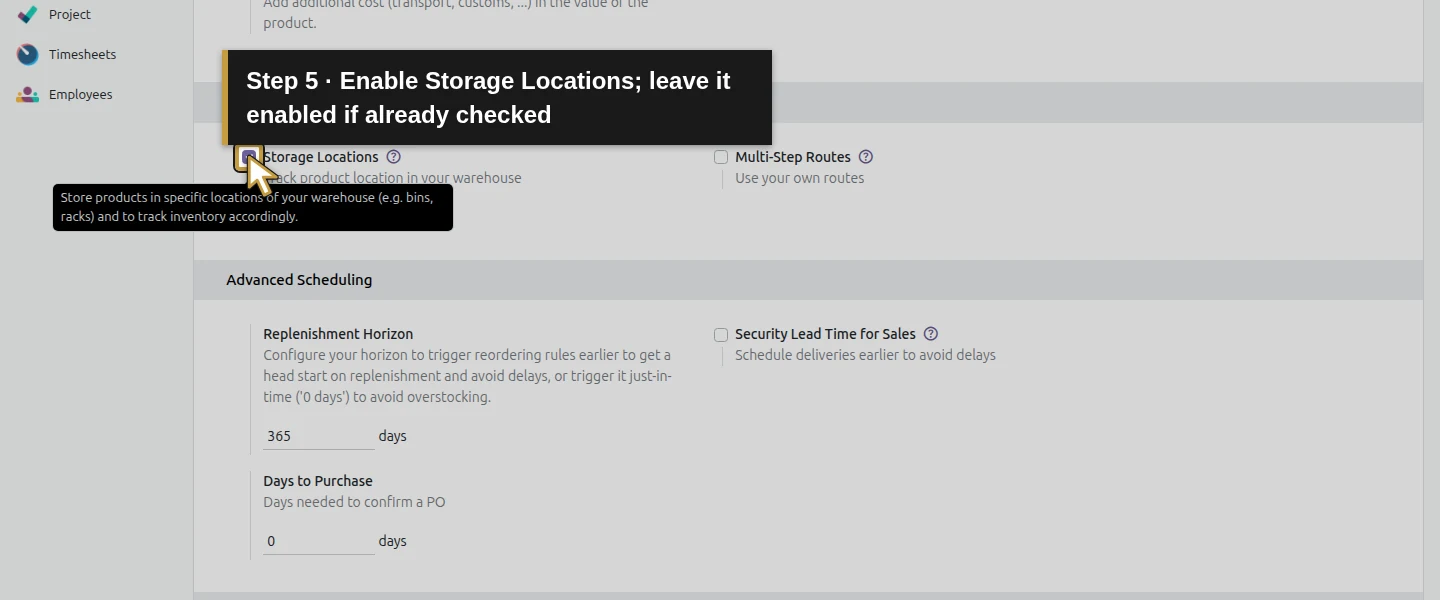
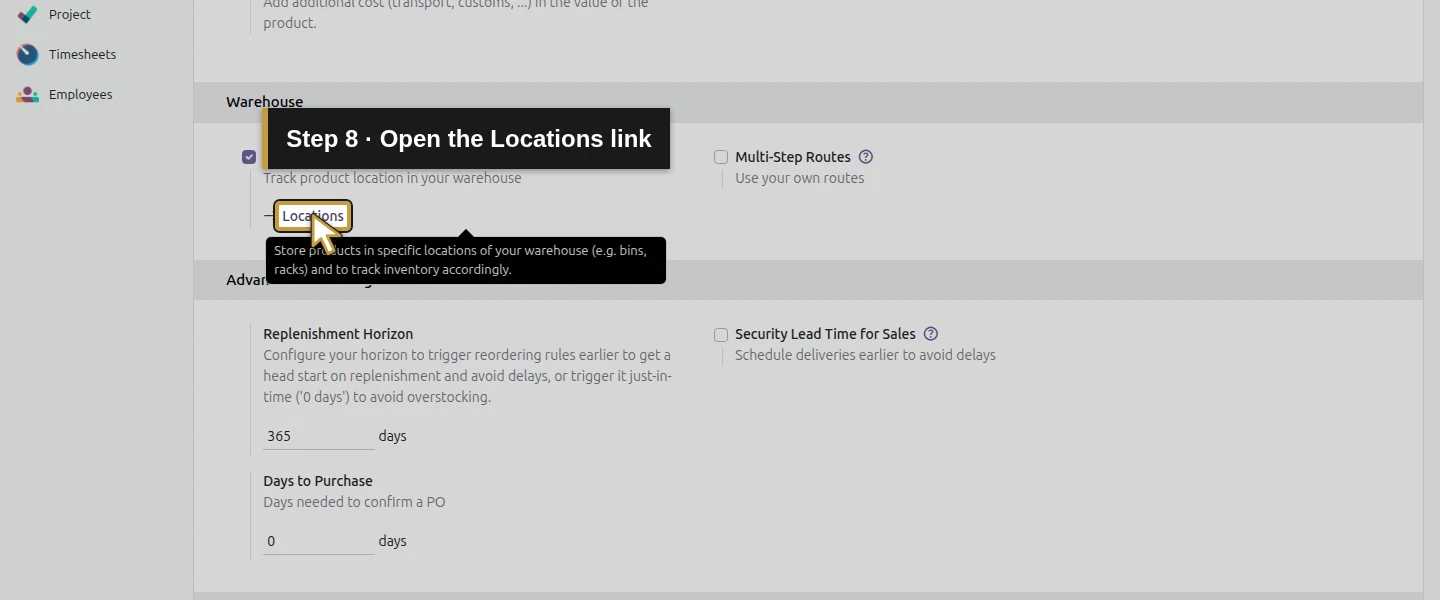
Step 2. Enable Storage Locations
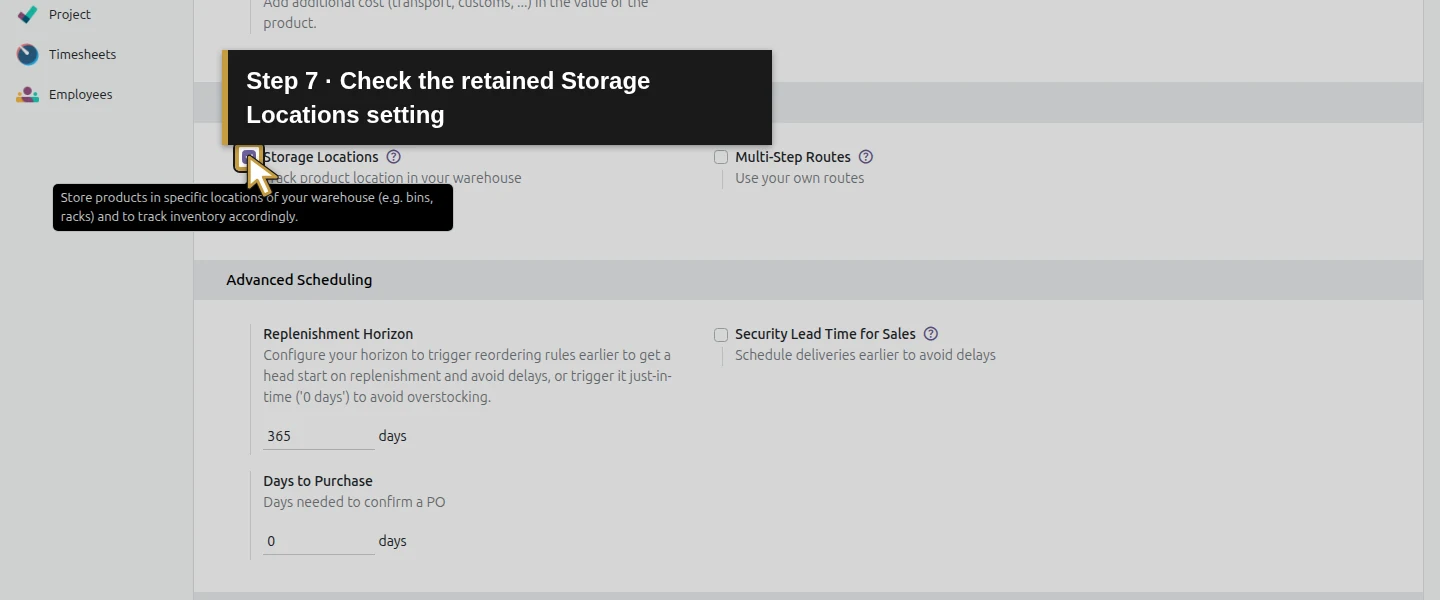
In the Warehouse section, check Storage Locations. If it is already checked, leave it enabled.
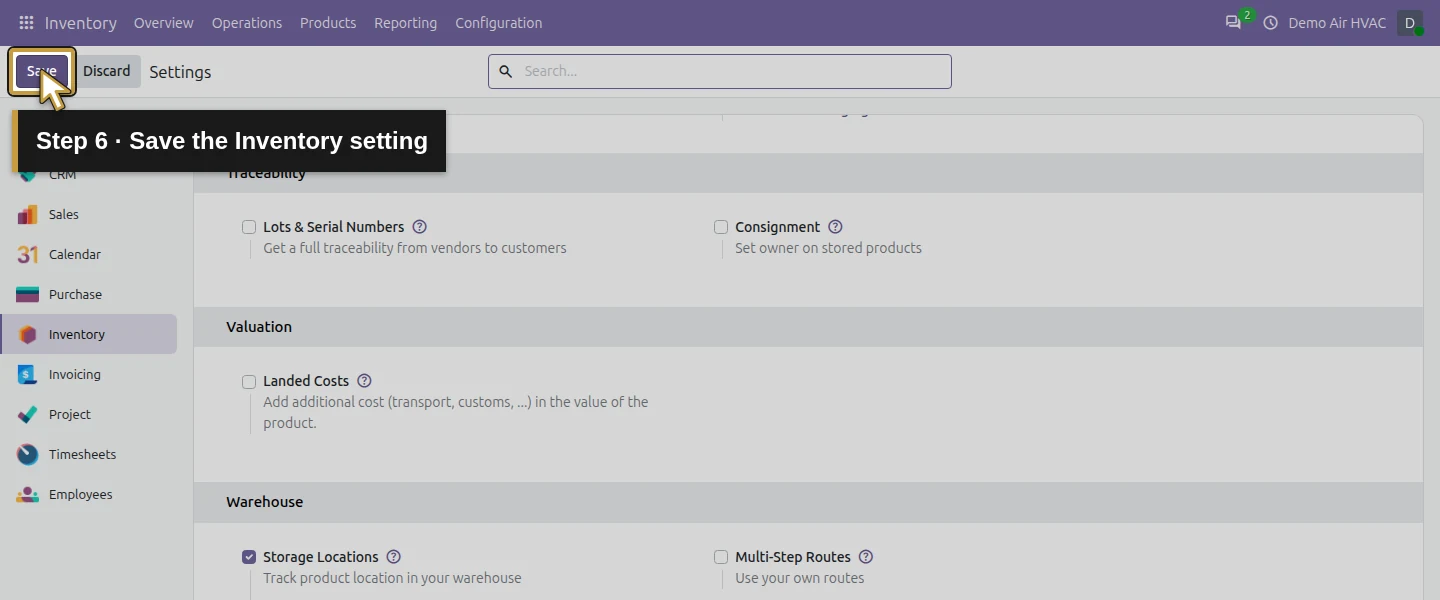
Click Save and wait for the setting to finish applying. Reopen or reload Settings and confirm the checkbox remains checked. In this demo, the Locations link then appeared beneath the setting, and Configuration gained a Locations menu item.
Create the van location
Step 3. Open Locations and check existing records
Choose Configuration → Locations, or the Locations link below Storage Locations.
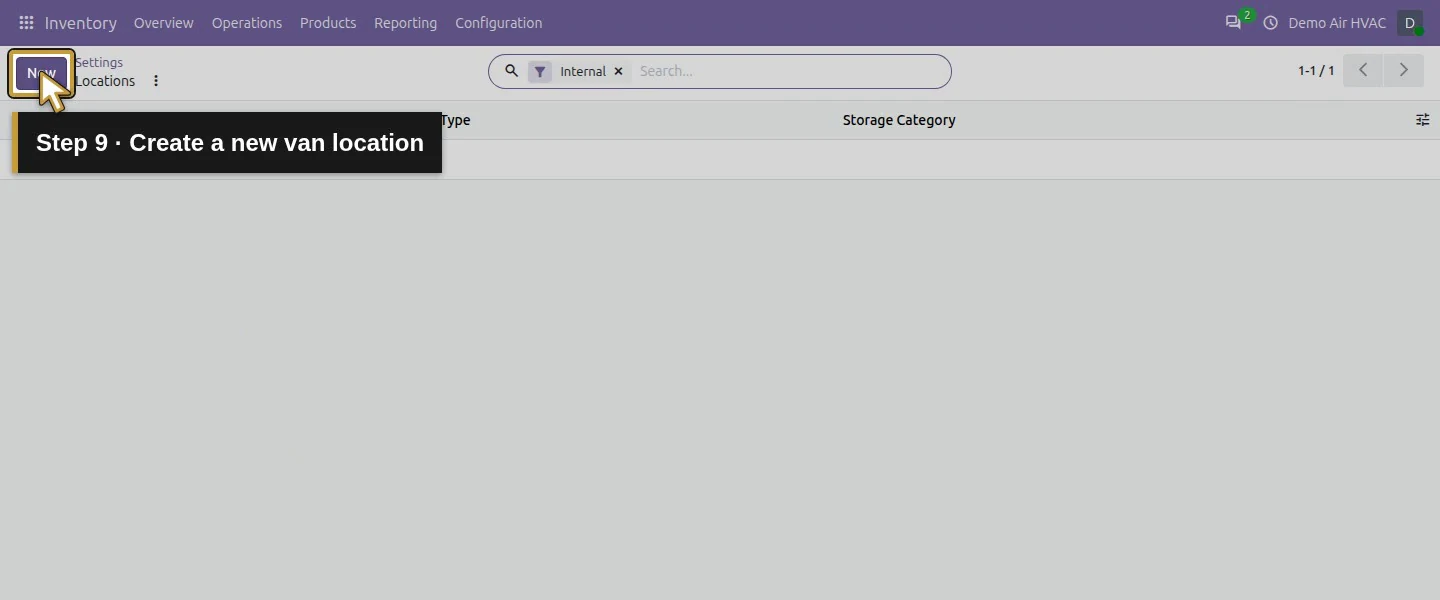
Search for your van location before adding it. Reuse the correct existing record when present. The initial demo had no Demo Van 01 location.
Step 4. Start the new location
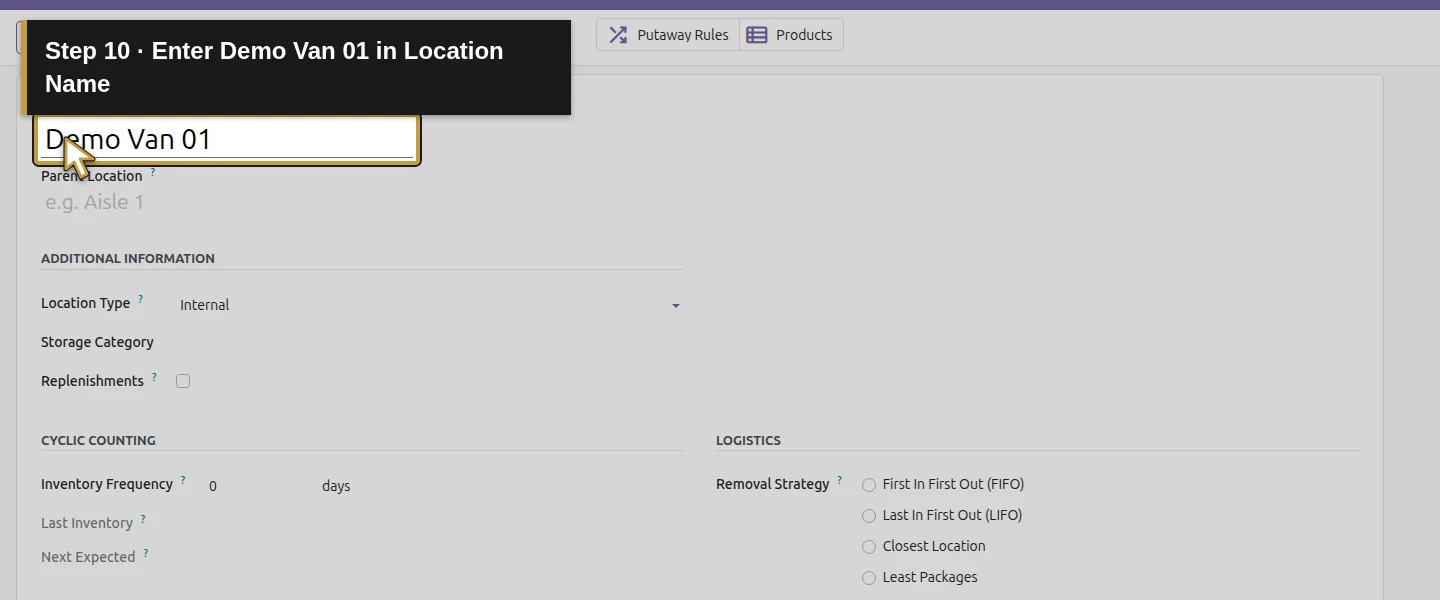
Click New. Enter Demo Van 01 in Location Name.
Step 5. Select the parent
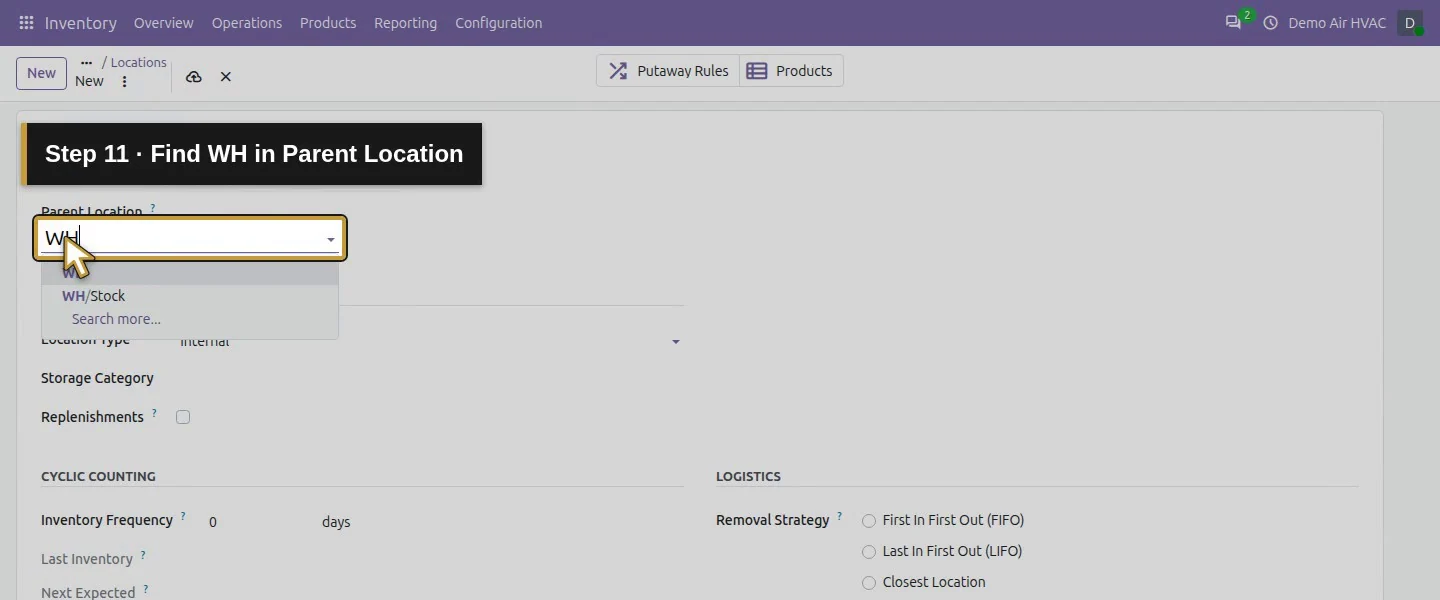
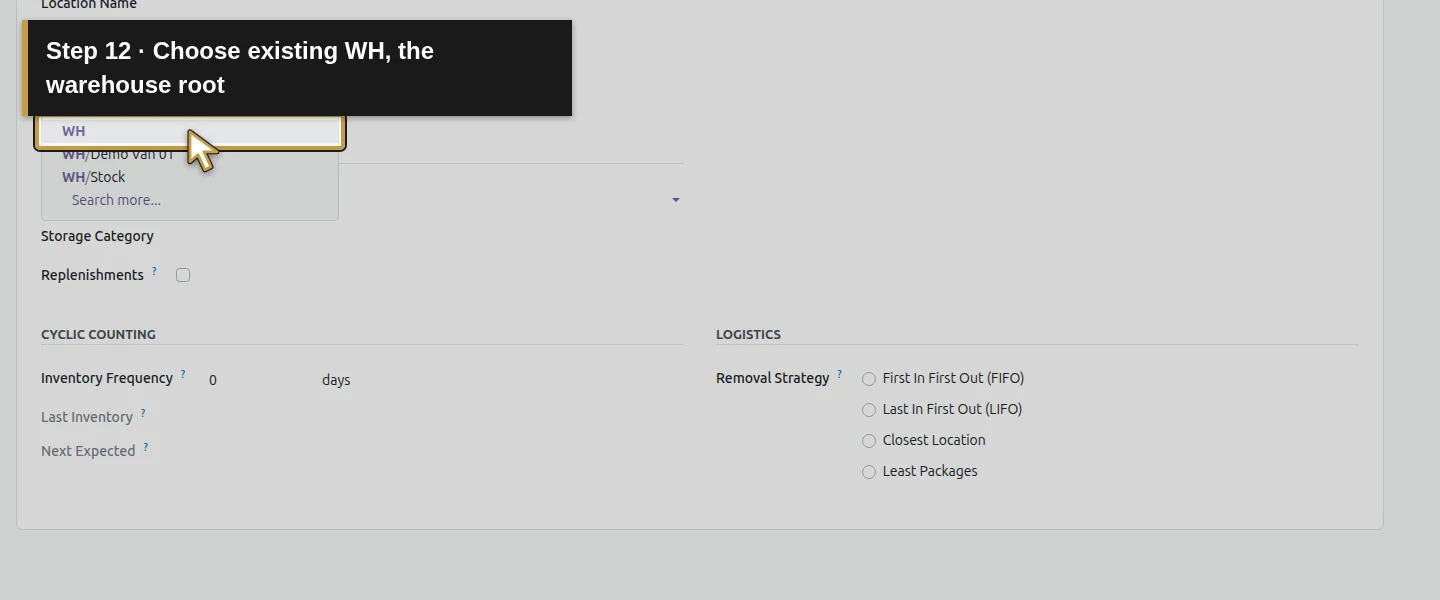
In Parent Location, type WH and select the existing WH result. The demo dropdown also offered WH/Stock; choose the warehouse root for this example.
This makes the van a sibling of WH/Stock. Its full name will be WH/Demo Van 01. Choose the hierarchy that matches your business reporting needs.
Step 6. Review Location Type
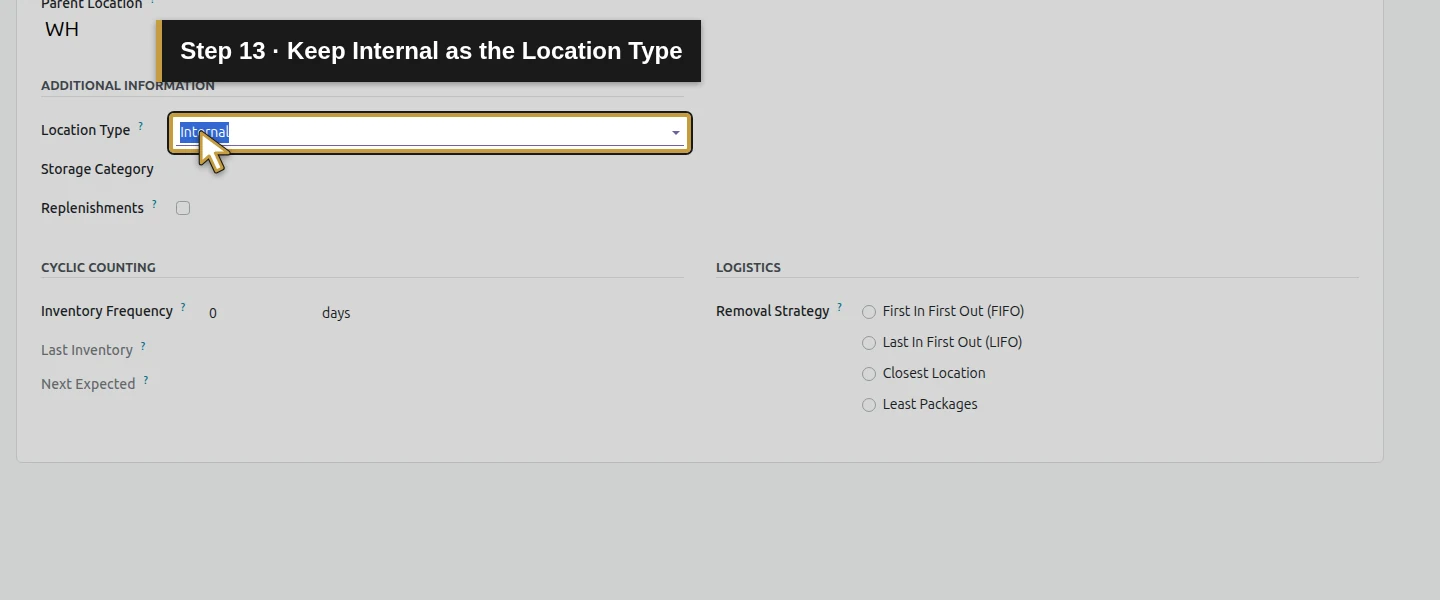
The new form defaults to Internal. Keep that type for company-owned van stock. Leave unrelated storage, replenishment and counting settings unchanged.
The single-company demo saved the record under Demo Air HVAC. If you operate more than one company, inspect your actual company context before saving; multi-company behavior was not tested here.
Step 7. Save and reopen
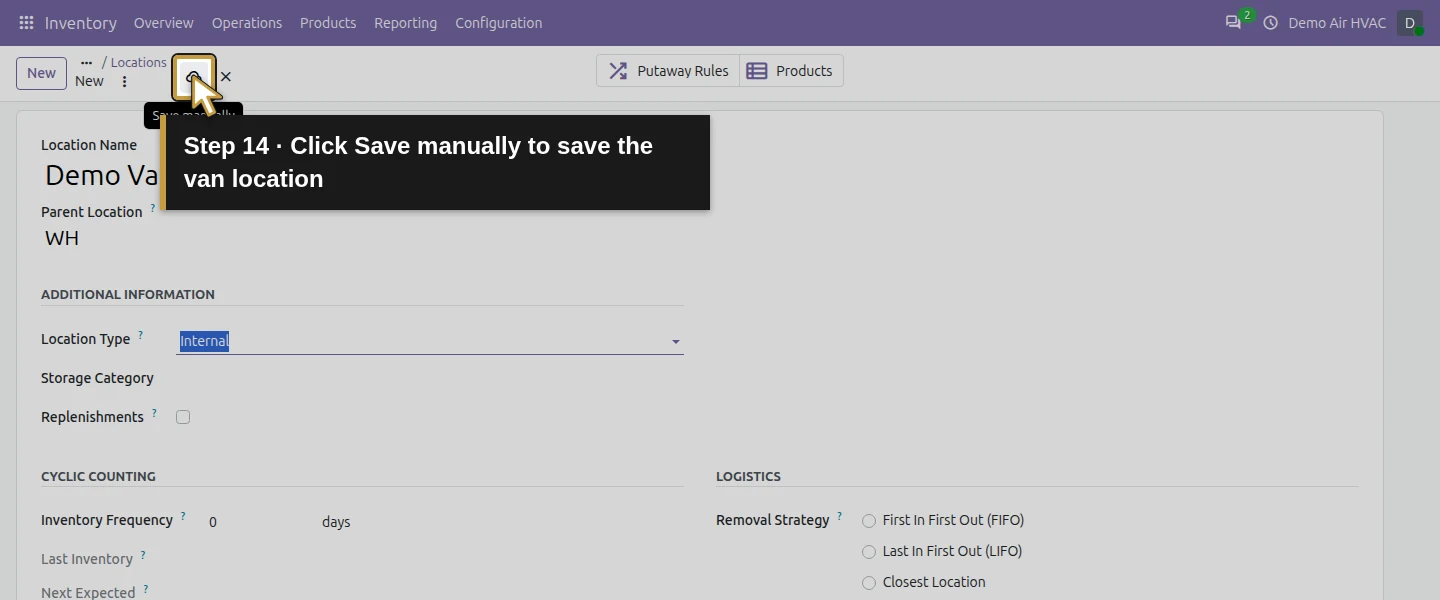
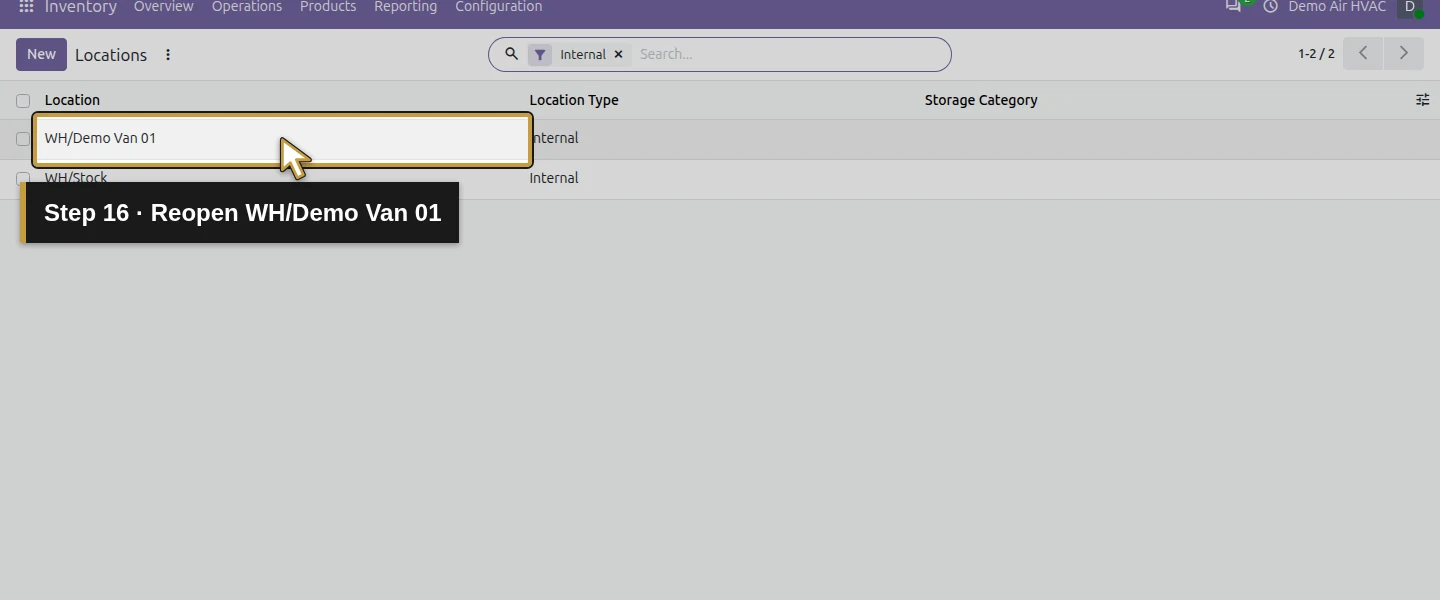
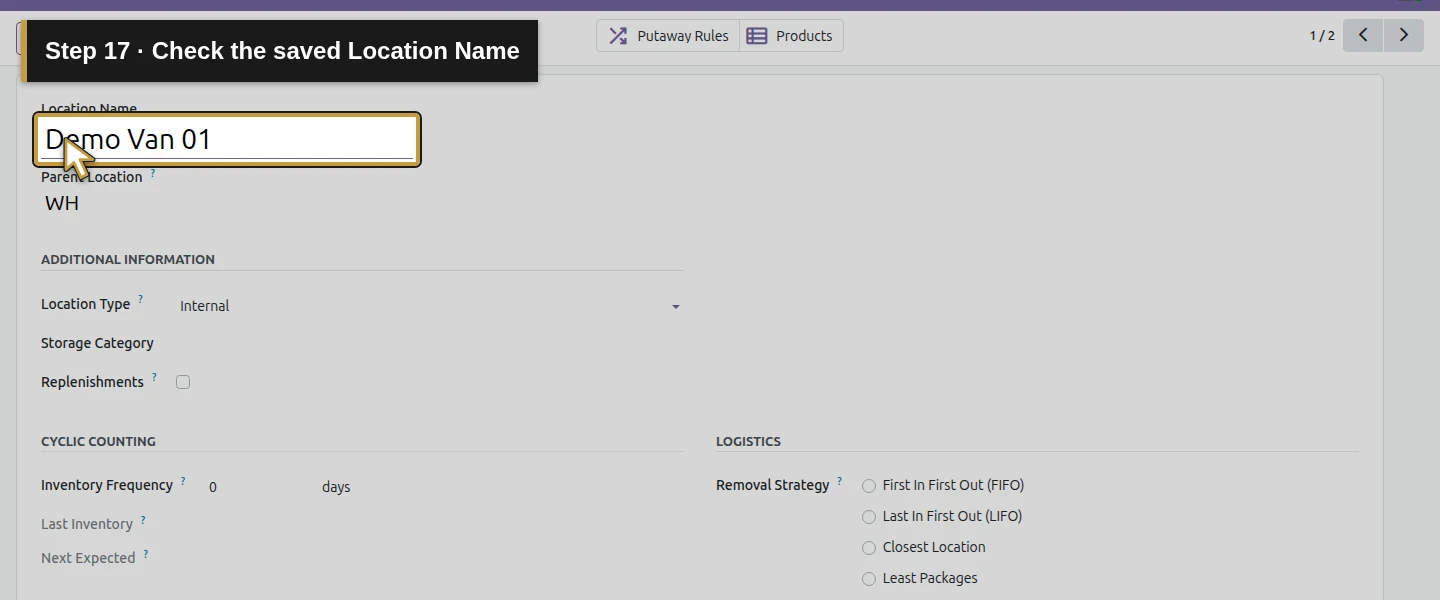
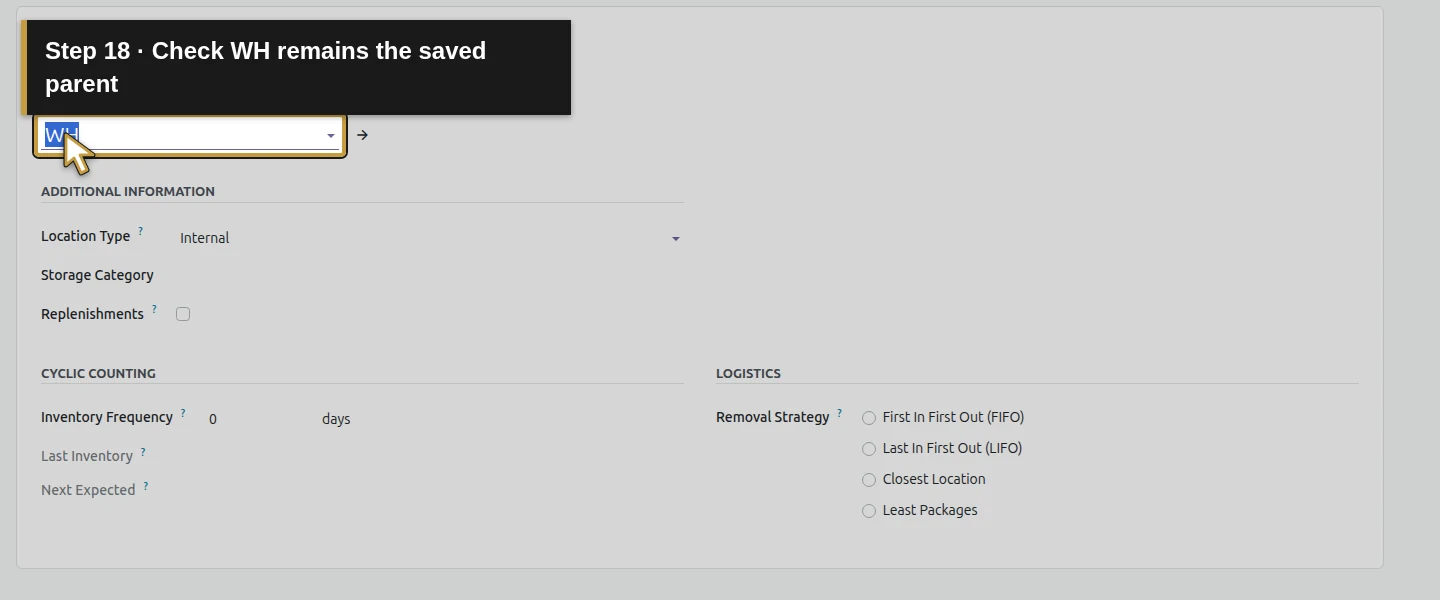
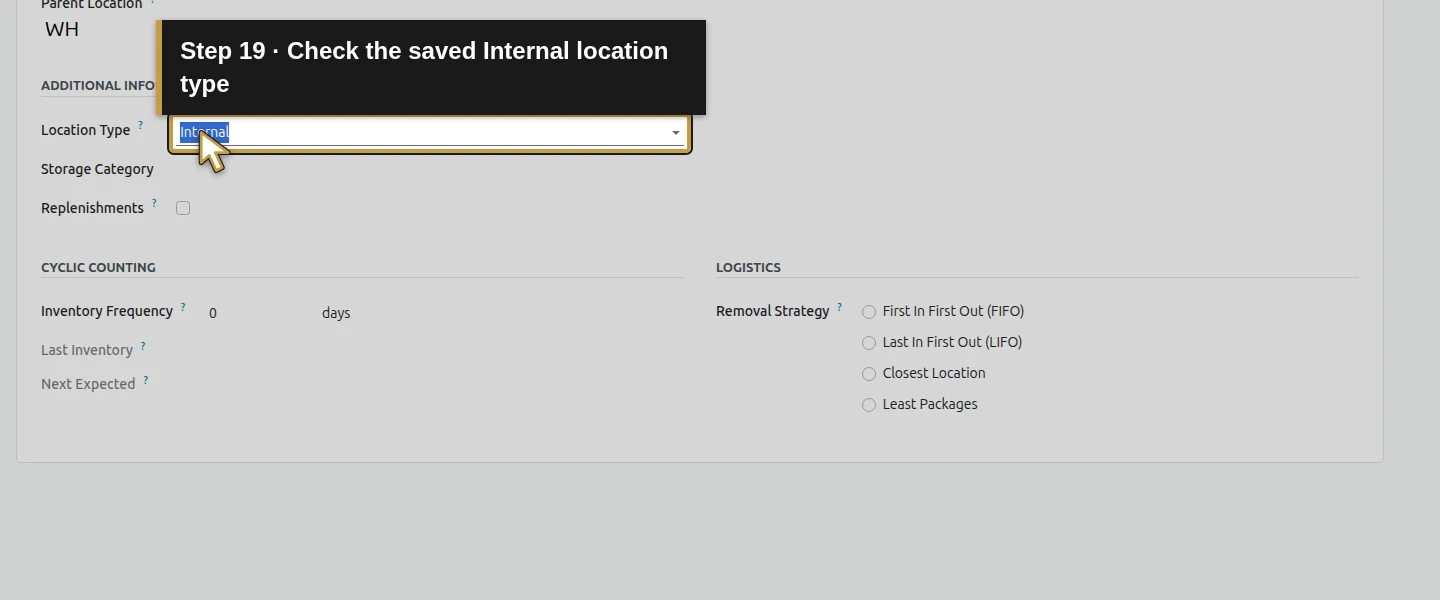
Click Save manually, the save icon above the form. Reopen the saved record and check:
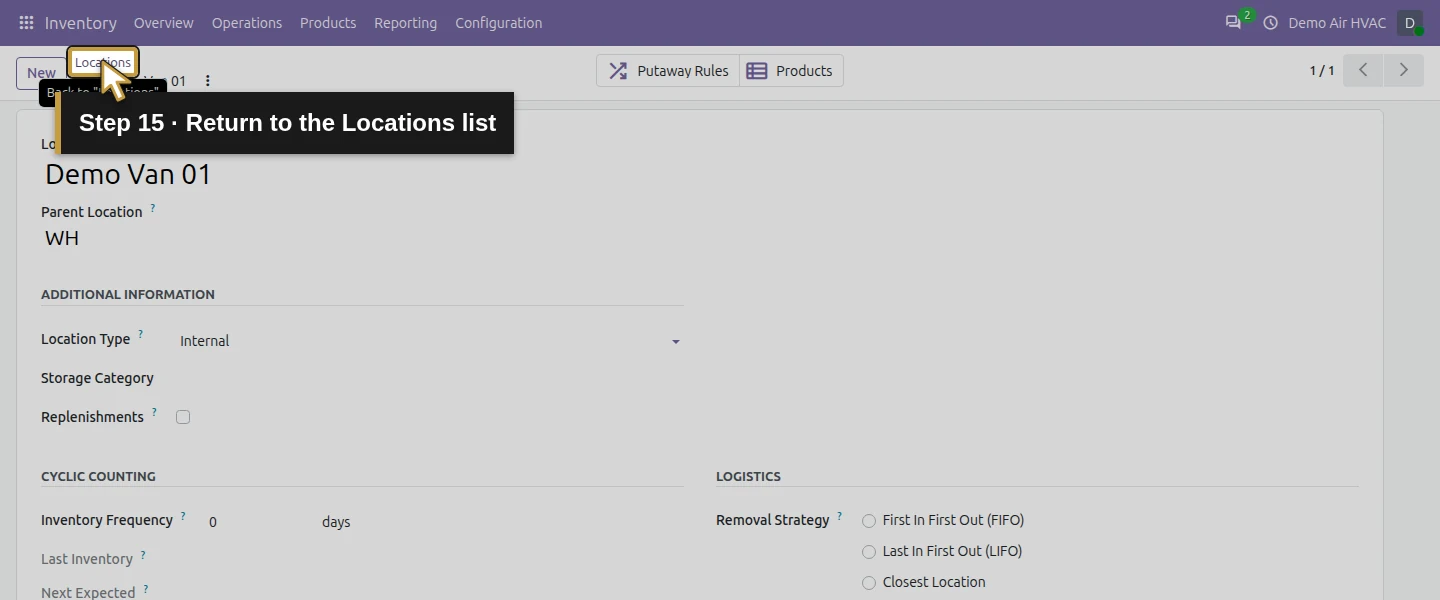
- Location Name: Demo Van 01.
- Parent Location: WH.
- Location Type: Internal.
Check the result
The demo saved one van location, record 13, with parent WH (5), beside WH/Stock (6). Its full name is WH/Demo Van 01.
All three imported goods still have zero stock. Products remain six and partners seven; no sales order, accounting move or stock picking was created. A location record does not establish physical stock.
If your screen differs
If Locations is missing, check Storage Locations and verify that Save completed. If the hierarchy is wrong, inspect Parent Location before any stock movements.
Do not create another van record merely because stock is zero. Receiving and moving parts are separate workflows.
Frequently asked questions
How do I create a service-van stock location in Odoo?
Enable Storage Locations, open Locations and create an Internal location under the reviewed warehouse parent. Save and reopen it to check the full location name.Does creating an Odoo location move stock into it?
The tested setup created a location only. All three demo goods retained zero stock, and no picking was created. Receive parts and use an internal transfer to establish van stock.Can an Odoo stock location track a van's GPS position?
This procedure records an inventory location for parts. It demonstrates no GPS, vehicle-position or routing feature.Continue building the business
Next, set up the sales pipeline. The later warehouse-to-van transfer depends on received stock.
Talk to an Odoo partner
Bring your warehouse, van and stock-control process to Onward to plan the setup. Talk to an Odoo partner.