By Nelson Milian, Odoo Expert & Agentic AI Developer
Published
Running an HVAC business with Odoo
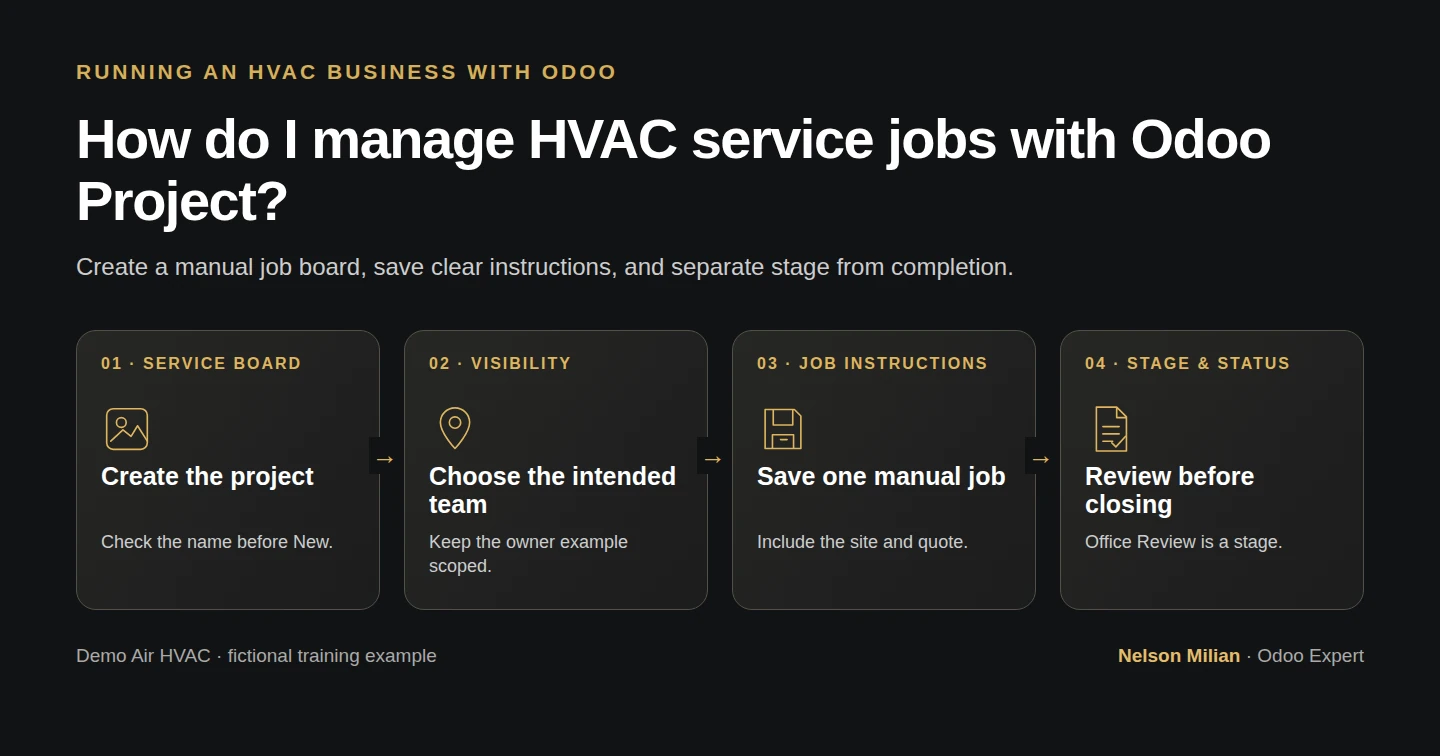
How do I manage HVAC service jobs with Odoo Project?
Workflow overview. Instructional screenshots show the actual demo interface.
Create a manual service-job project with three stages and a saved Odoo task, while keeping completion and dispatch separate.
Odoo Project can organize a manual HVAC job as a task. Alex creates a service-job board with Ready, In Progress and Office Review, then saves the customer context and moves one training task through it.
Alex Rivera and Demo Air HVAC are fictional training examples. Prices, dates, quantities and business situations in this guide are illustrative.
Before you begin
Tested in stock Odoo 20.0-20260926 Community as the demo owner administrator, with official modules and standard configuration. Complete user access, customer/site setup and the quotation example. This test demonstrates the owner administrator's manual job board; technician access and appointment booking need their own checks. The task uses a typed S00001 reference, not a sales-generated link.
Step-by-step workflow
63 highlighted video actions with a white pointer, gold border and English captions, without narration. Each written step groups its smaller video actions. Stock Odoo 20 Community, owner role. One manual service-job board, explicit Team members only visibility, three saved stages and one task with manual customer/site/S00001 references. Stage Office Review remains separate from terminal task status; no technician dispatch, booking, actual service, invoice or payment.
Step 1. Create the service-job project
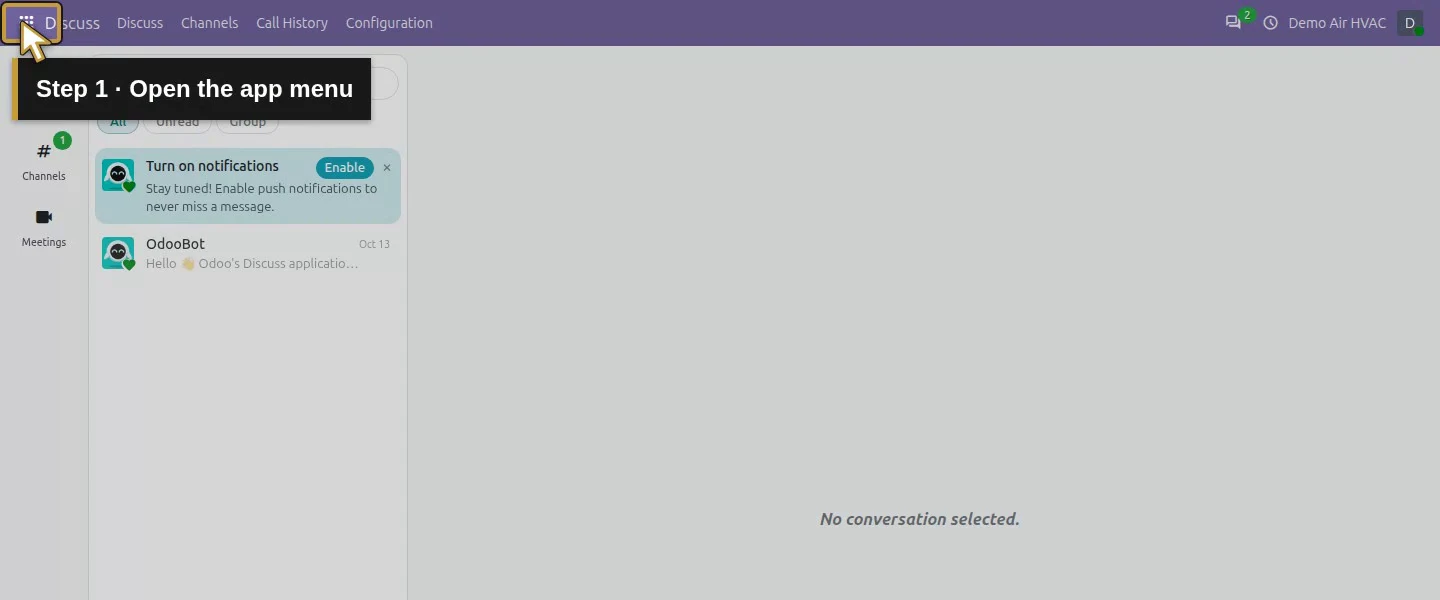
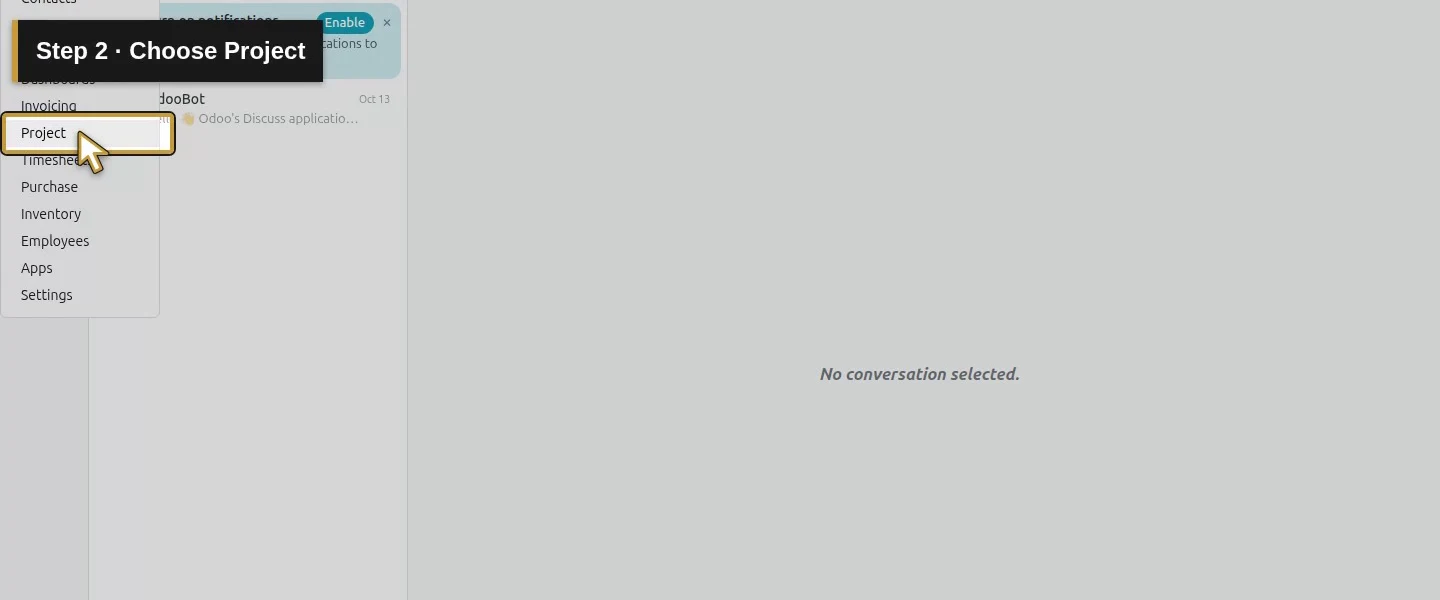
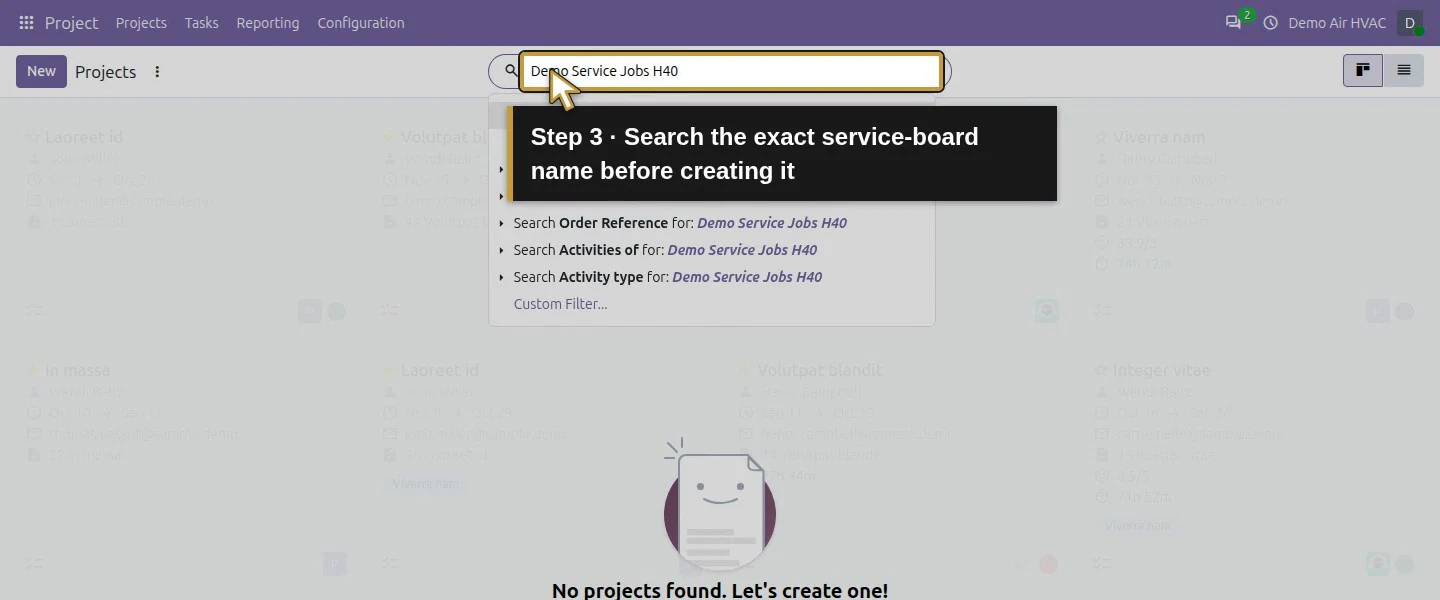
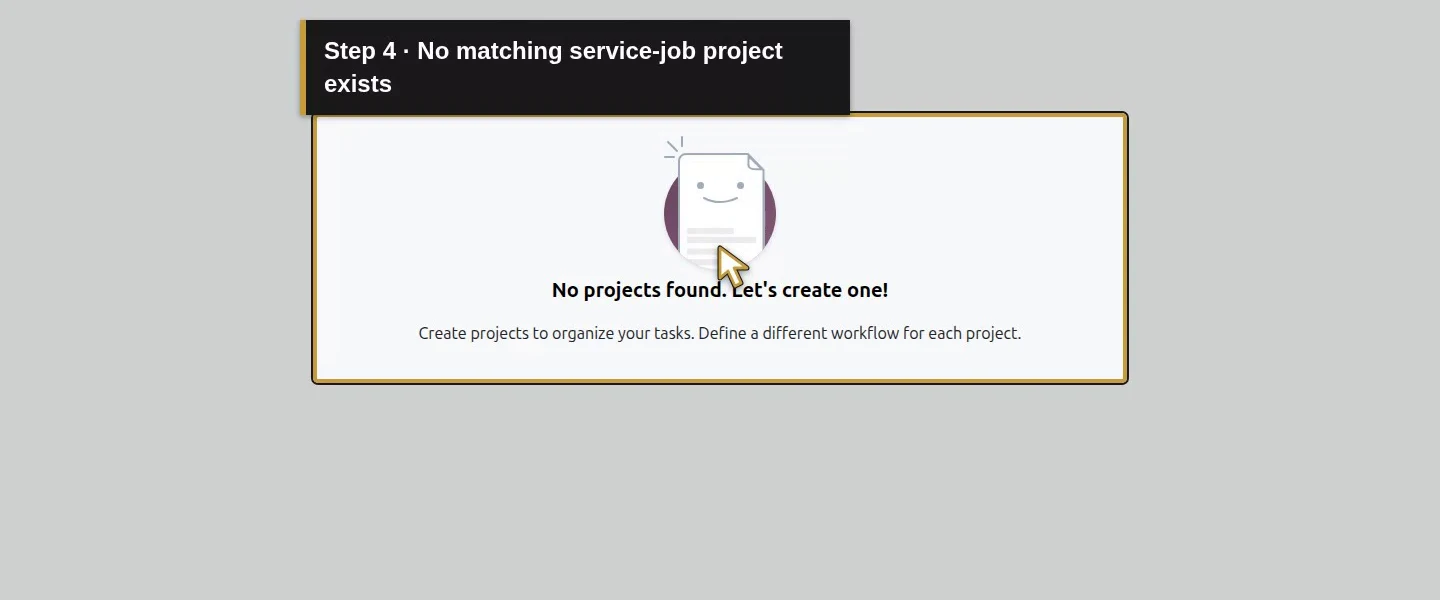
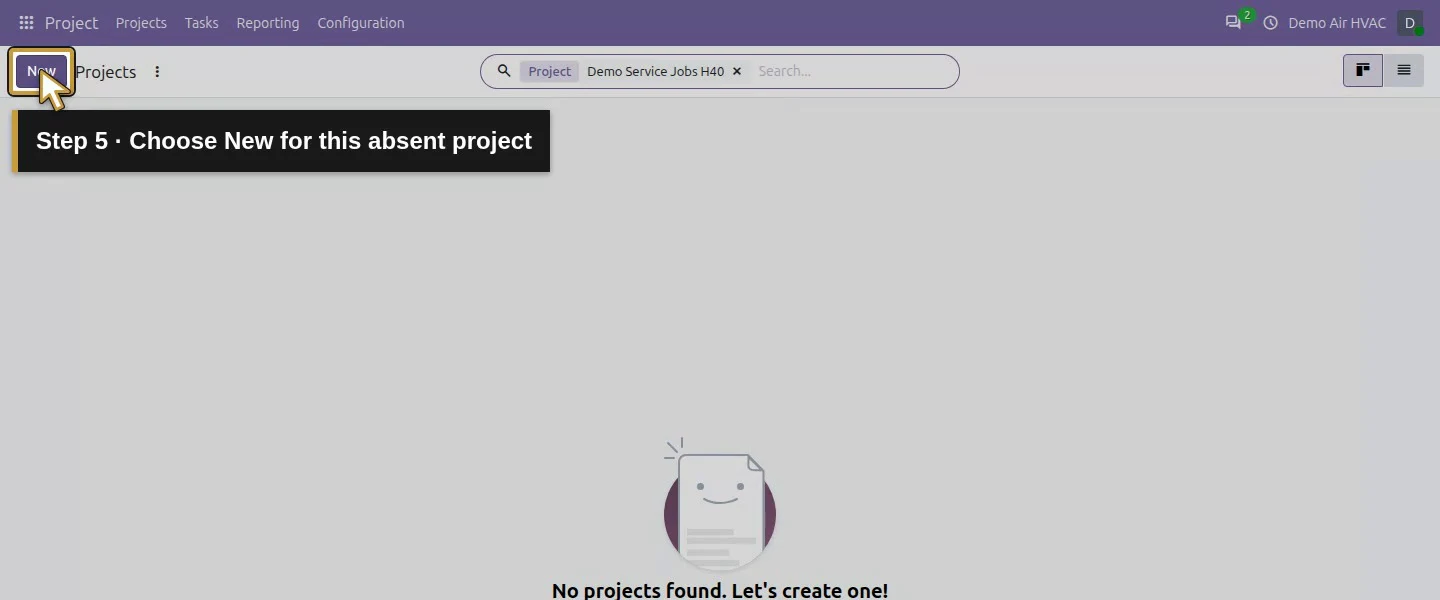
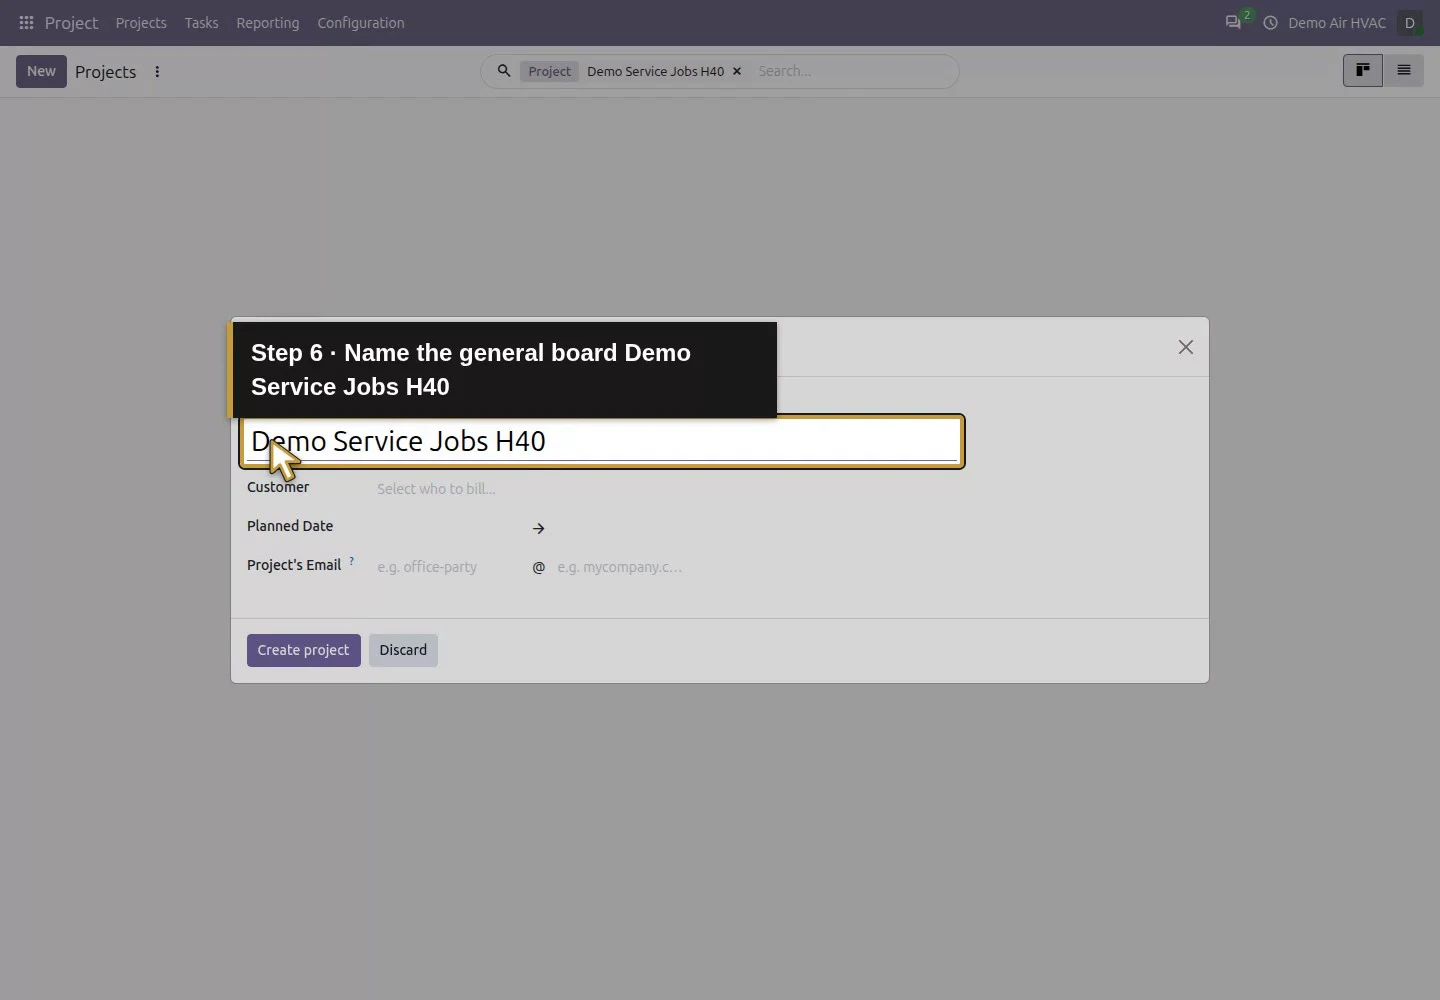
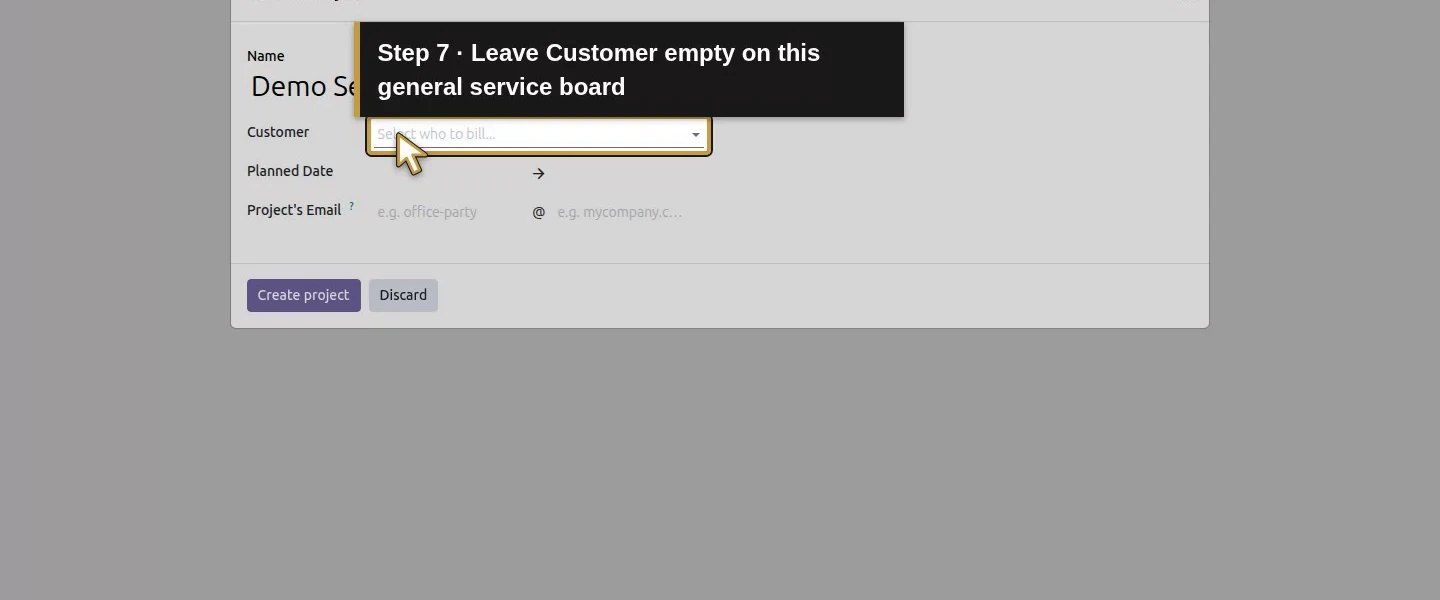
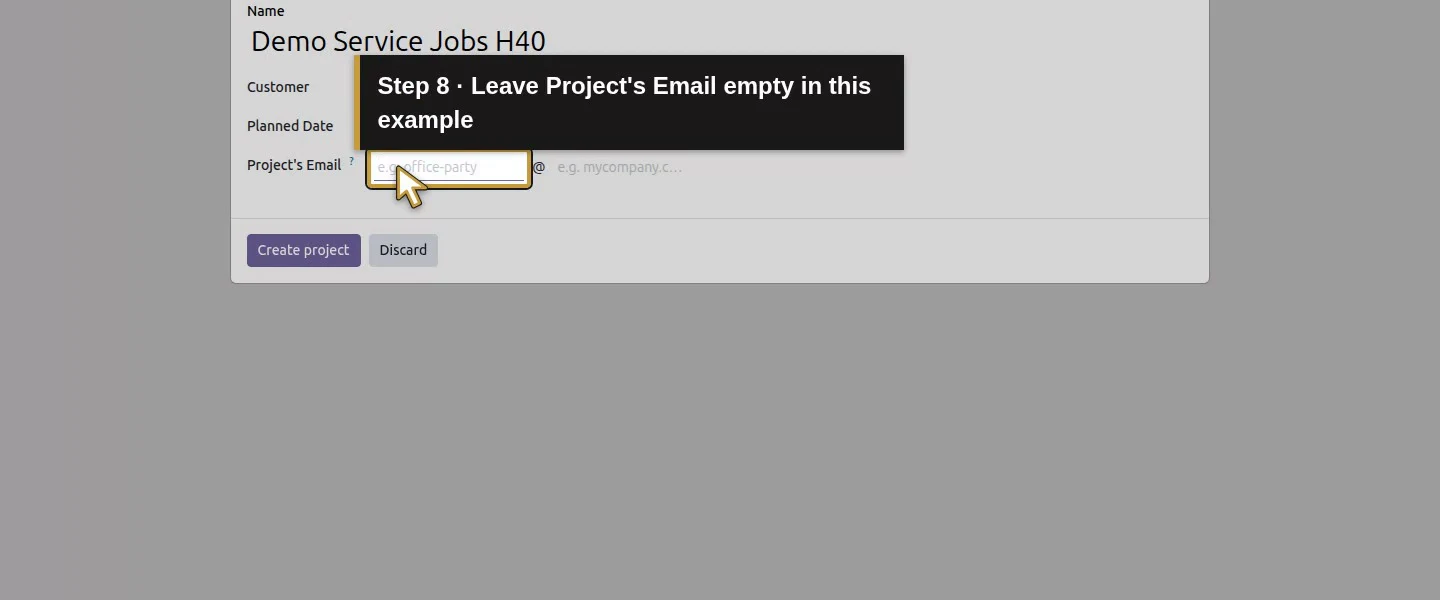
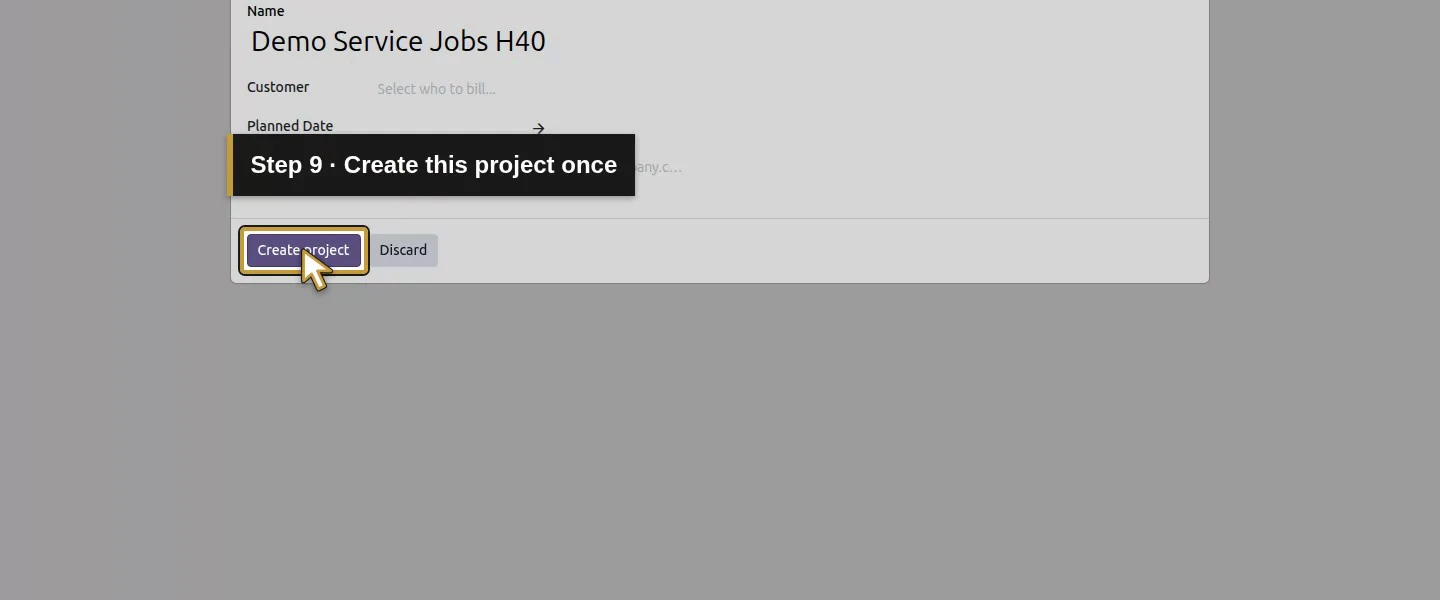
Open Project → Projects, search for an existing Demo Service Jobs H40, and choose New only if absent. In Create Project, enter that Name and choose Create project. Keep a general service board's Customer and Project's Email empty for this example.
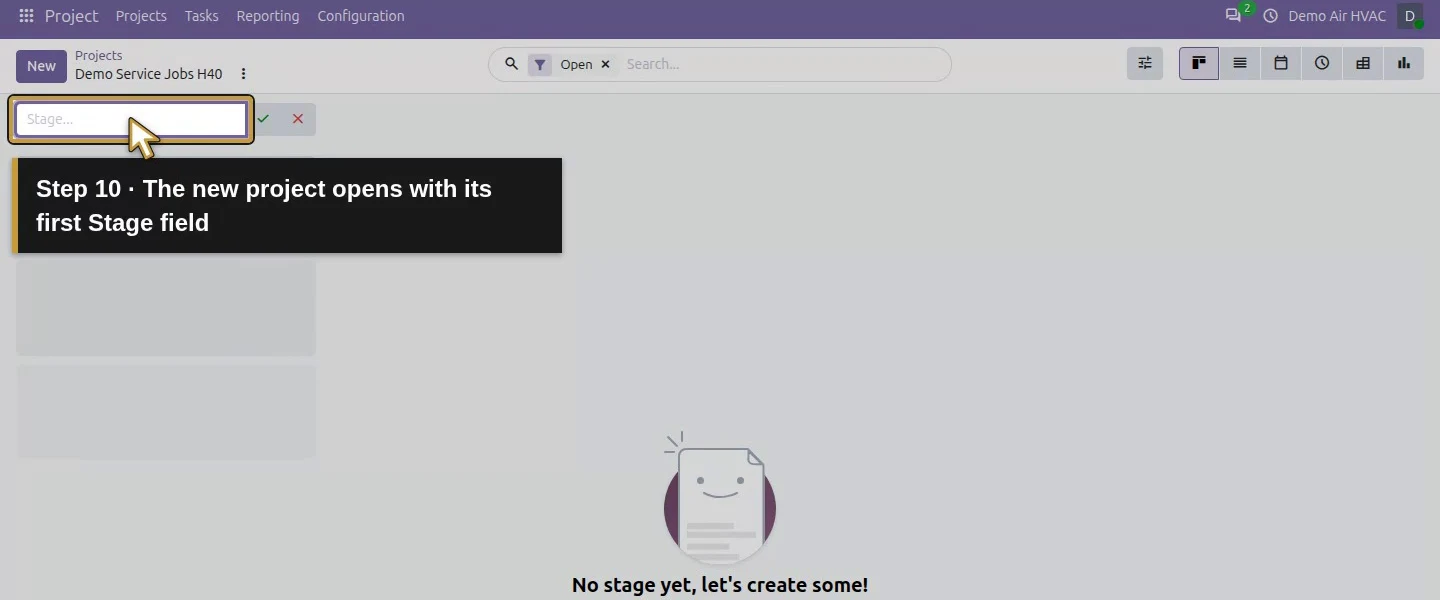
Open the app menu.Choose Project.Search the exact service-board name before creating it.No matching service-job project exists.Choose New for this absent project.Name the general board Demo Service Jobs H40.Leave Customer empty on this general service board.Leave Project's Email empty in this example.Create this project once.The new project opens with its first Stage field.
Step 2. Set the intended project visibility
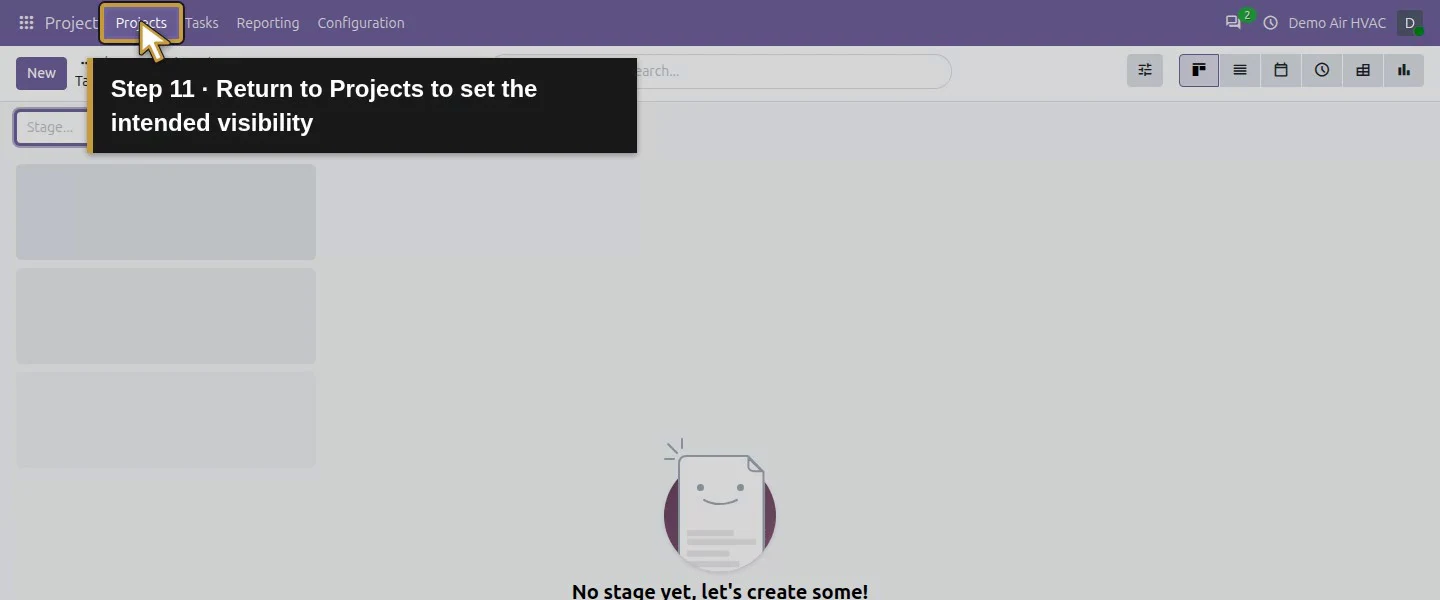
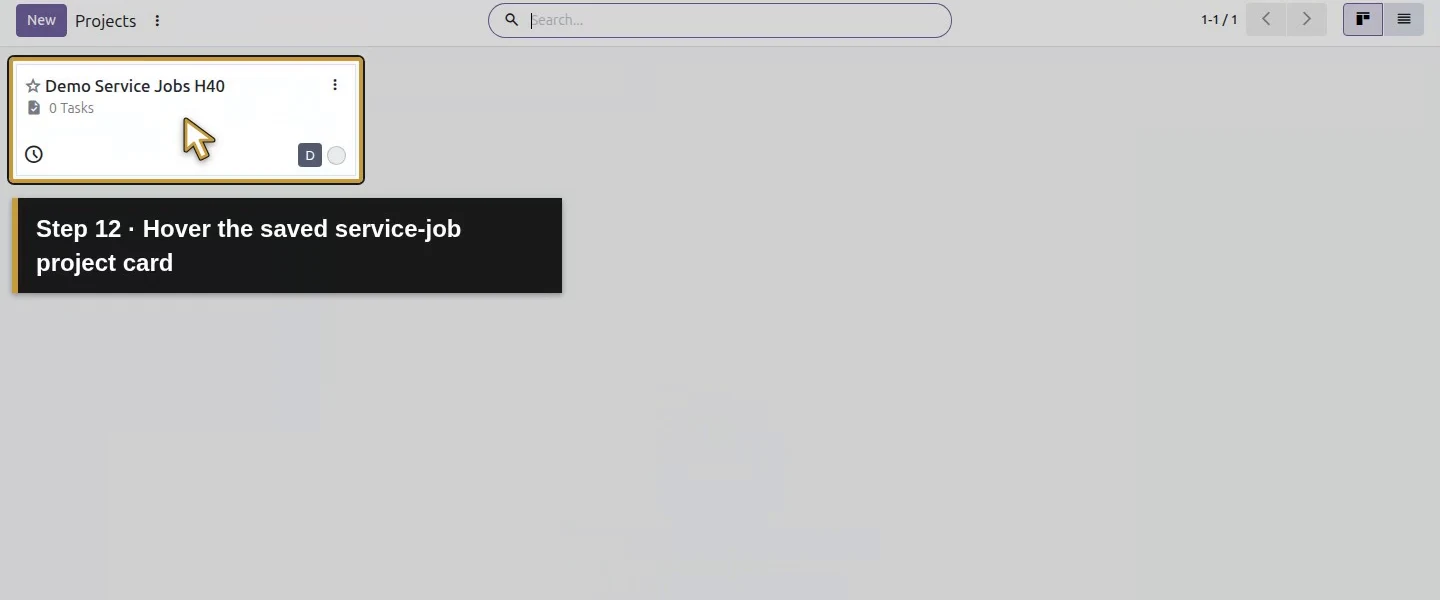
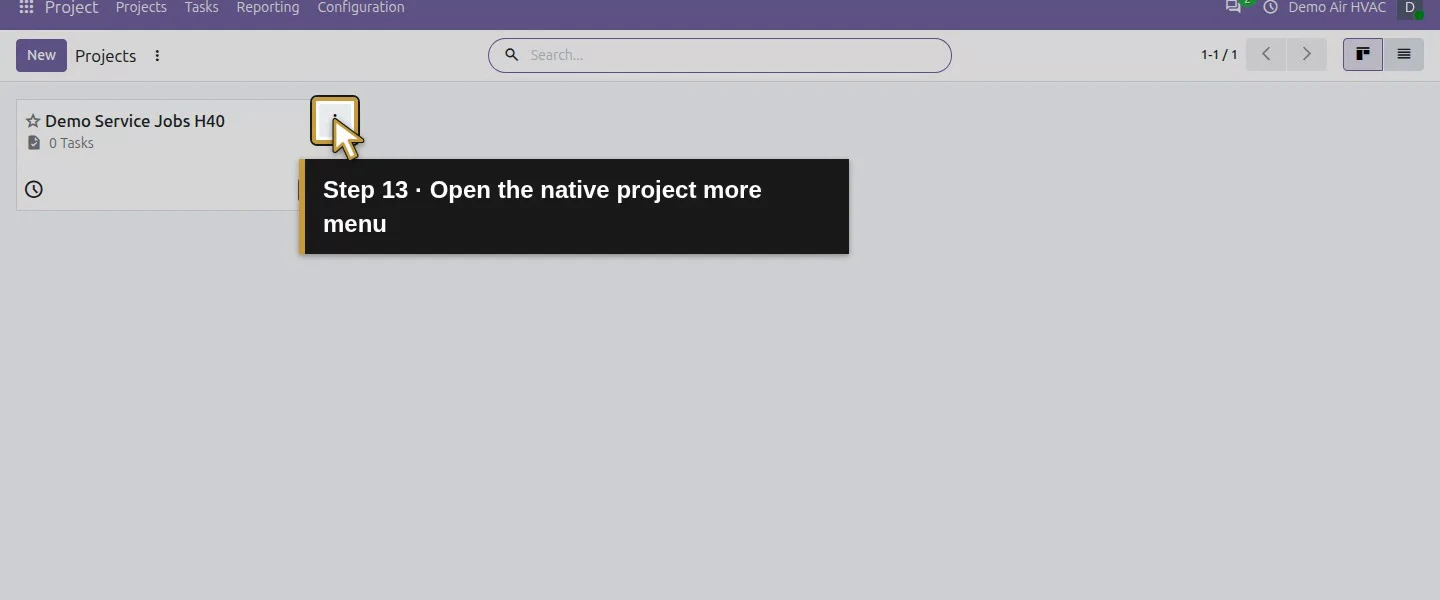
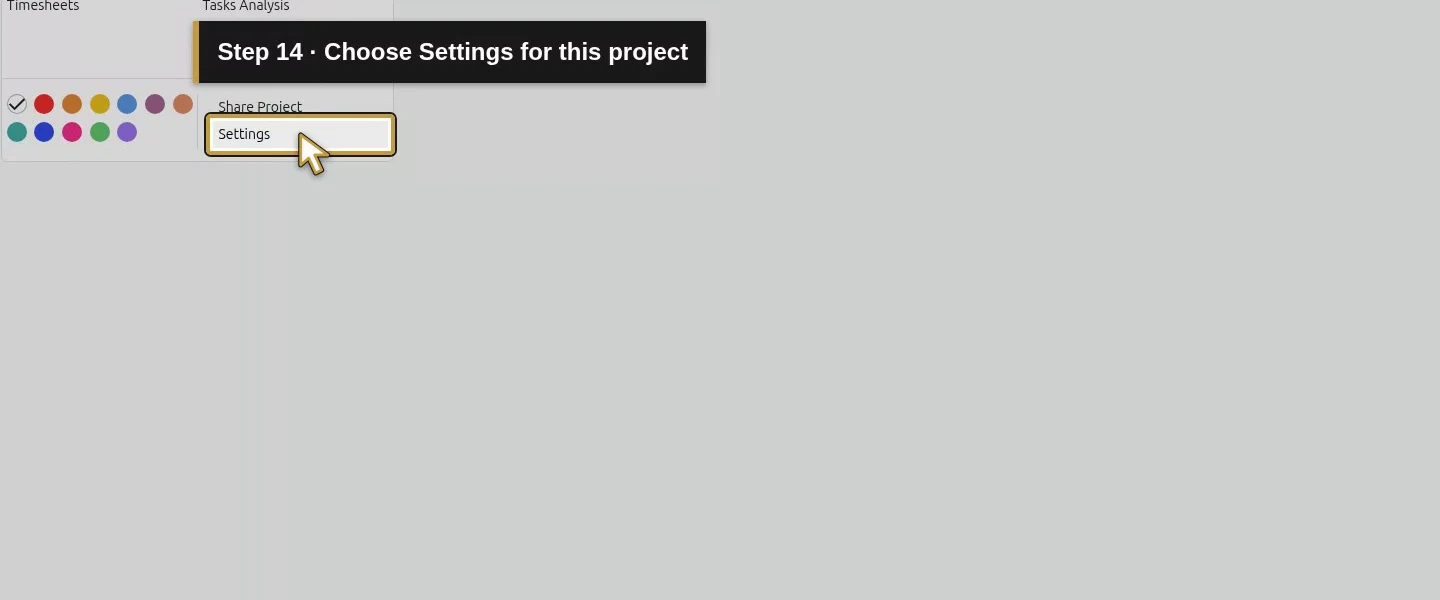
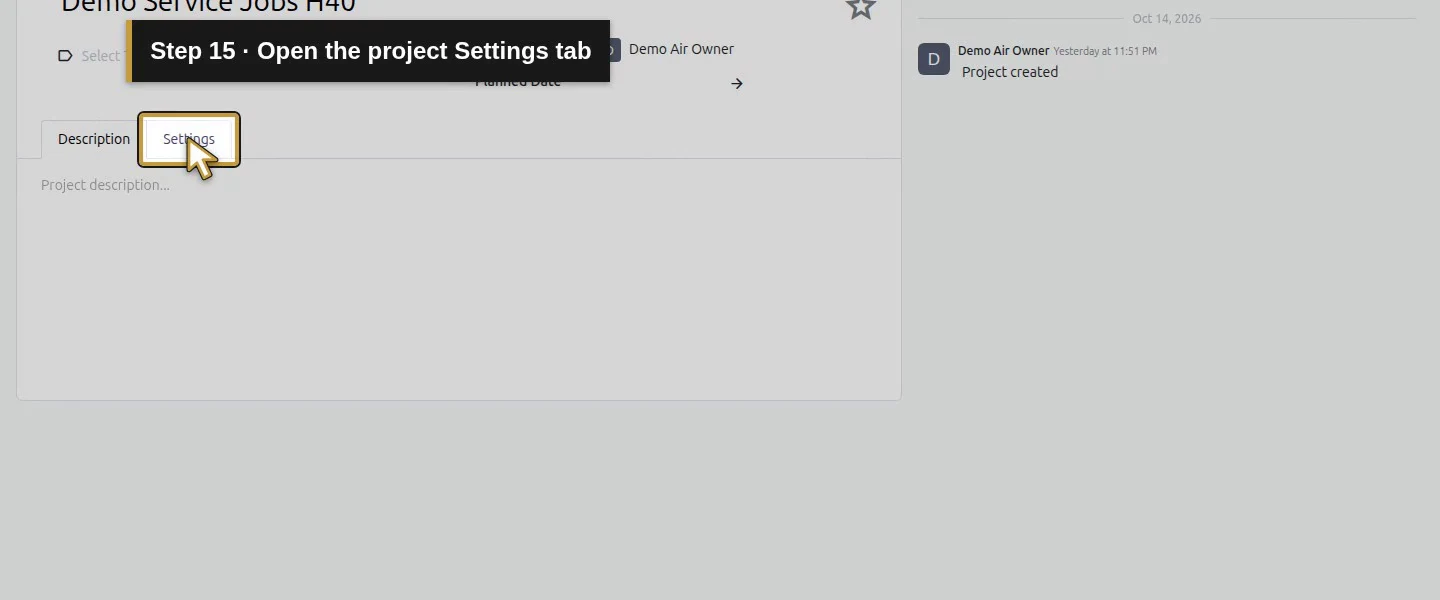
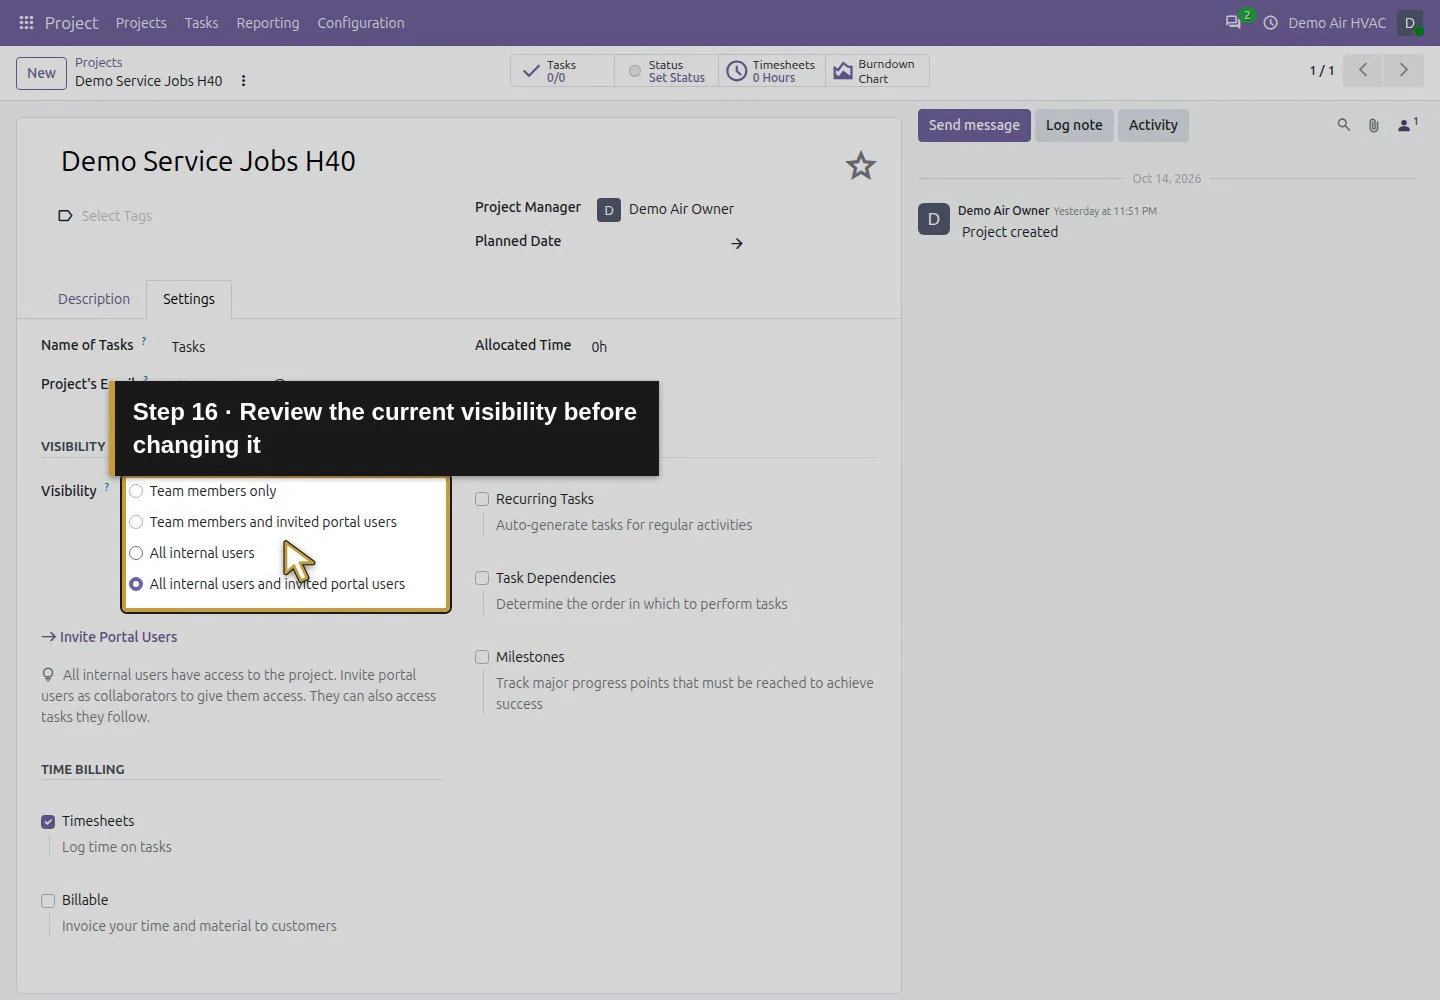
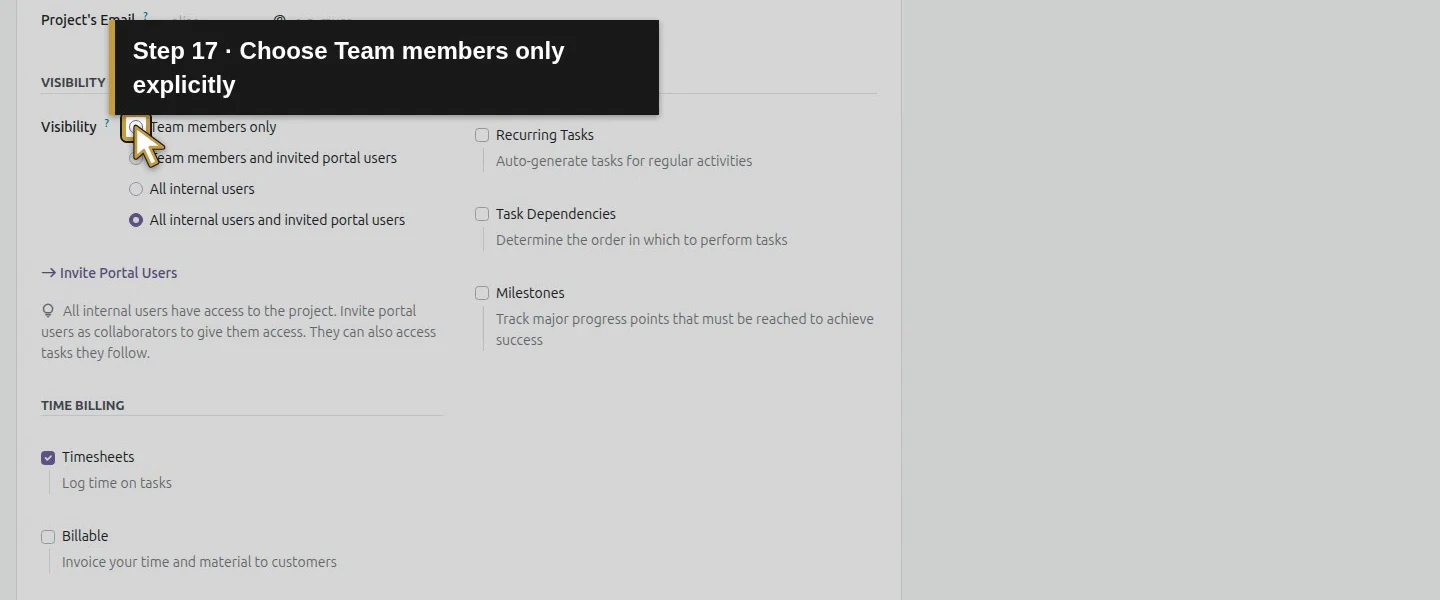
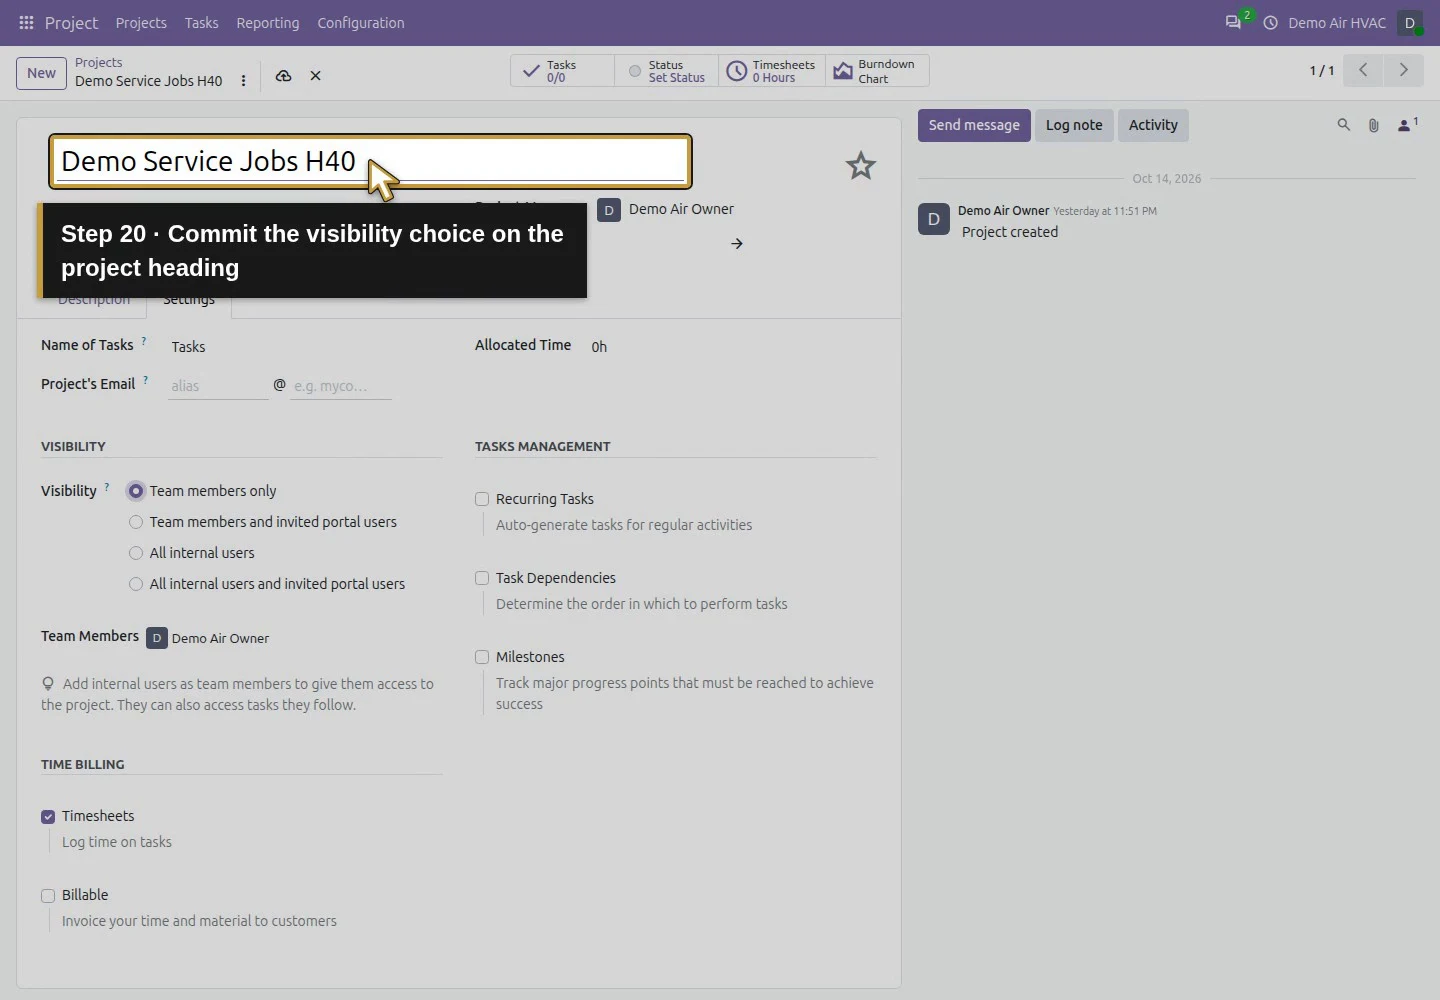
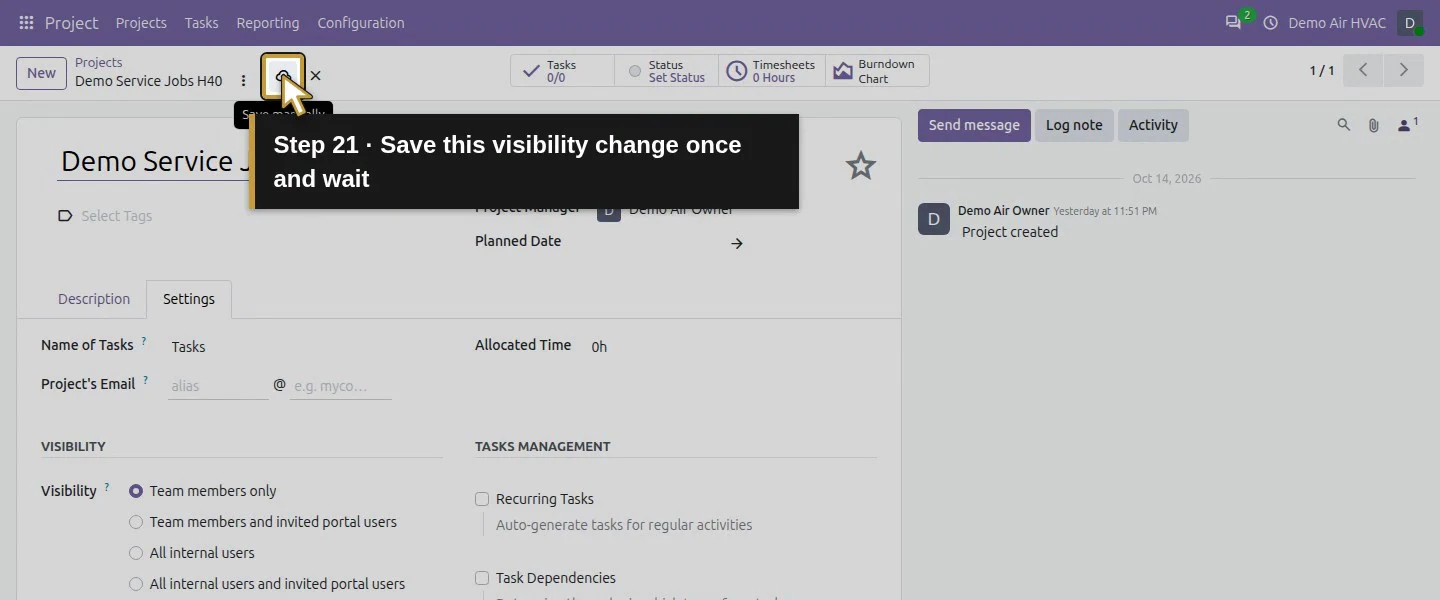
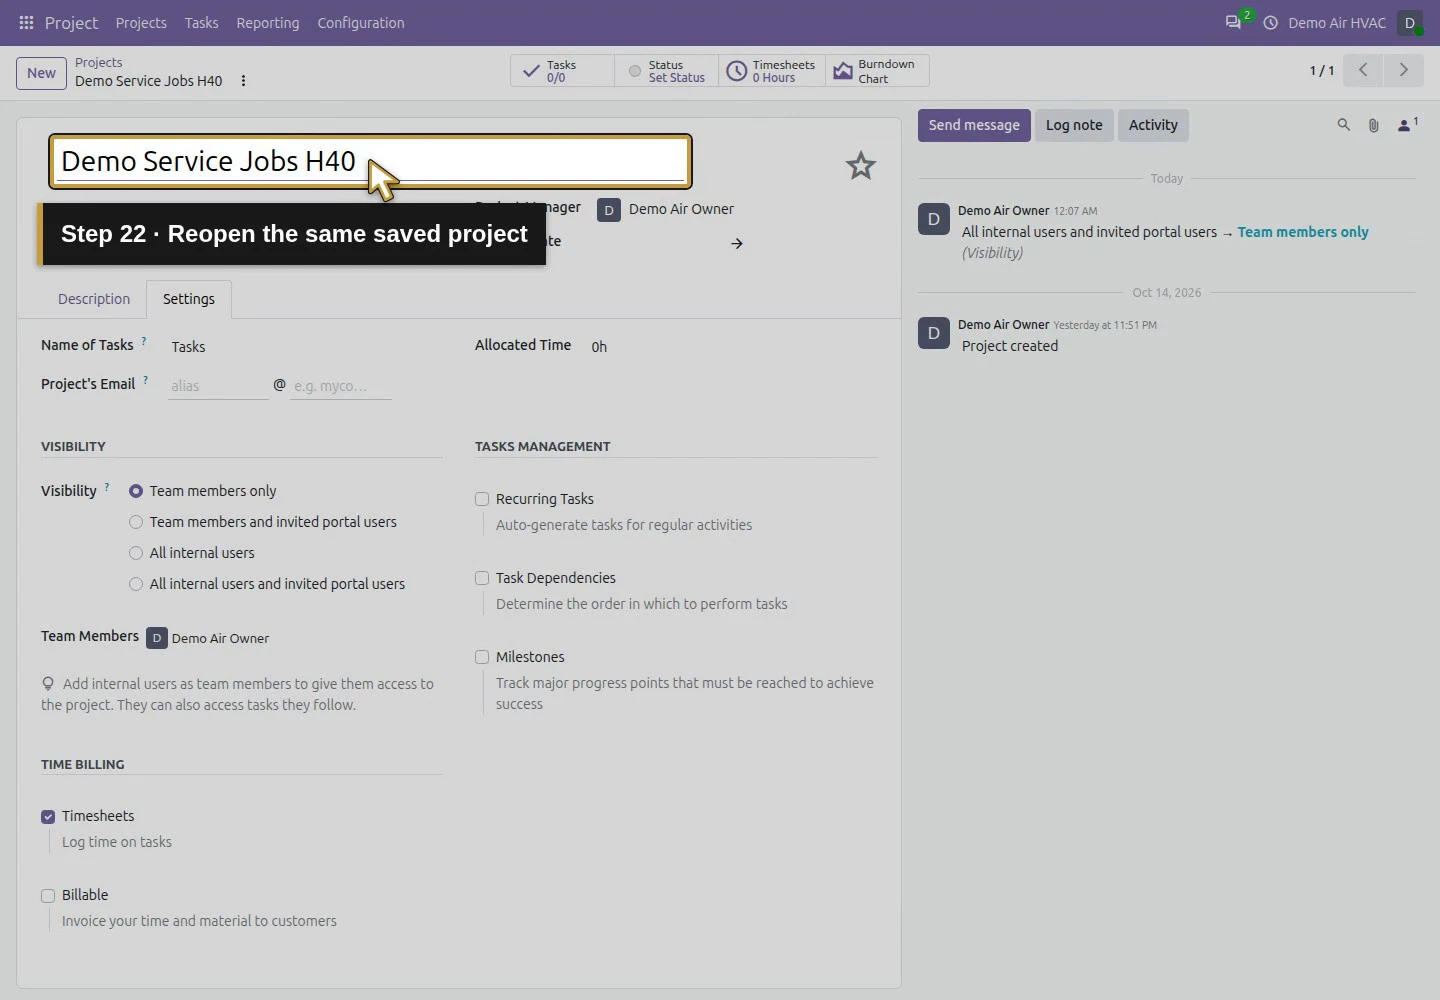
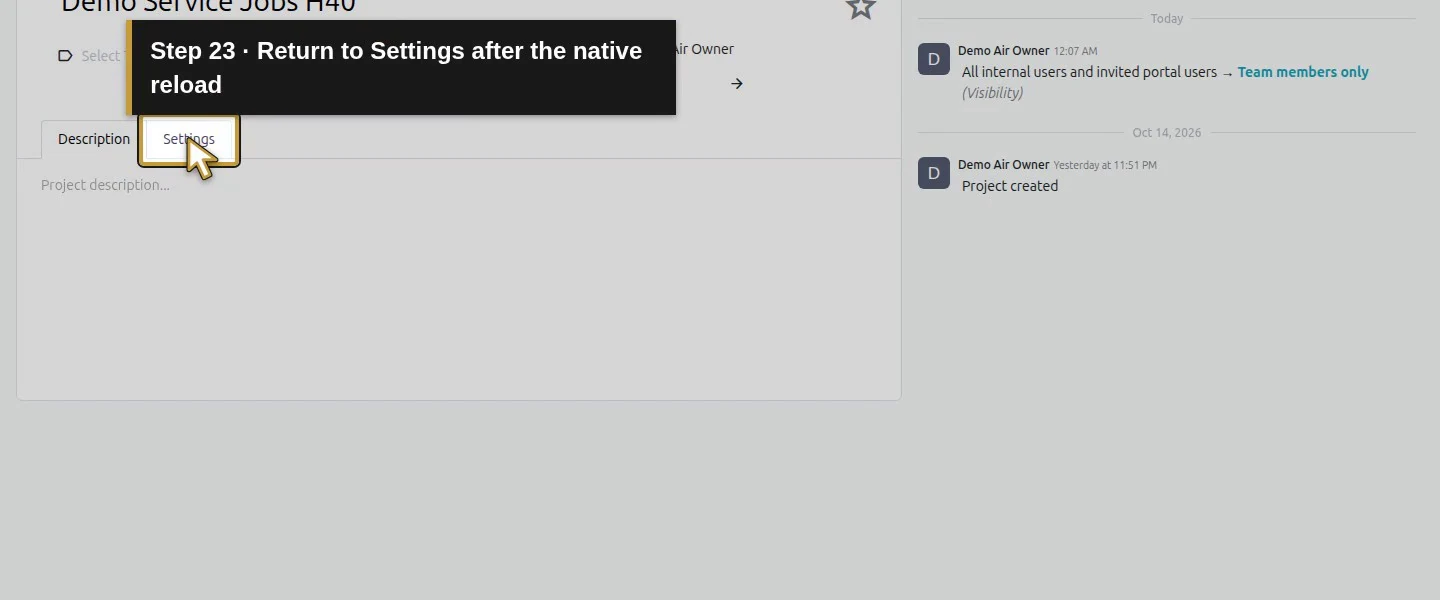
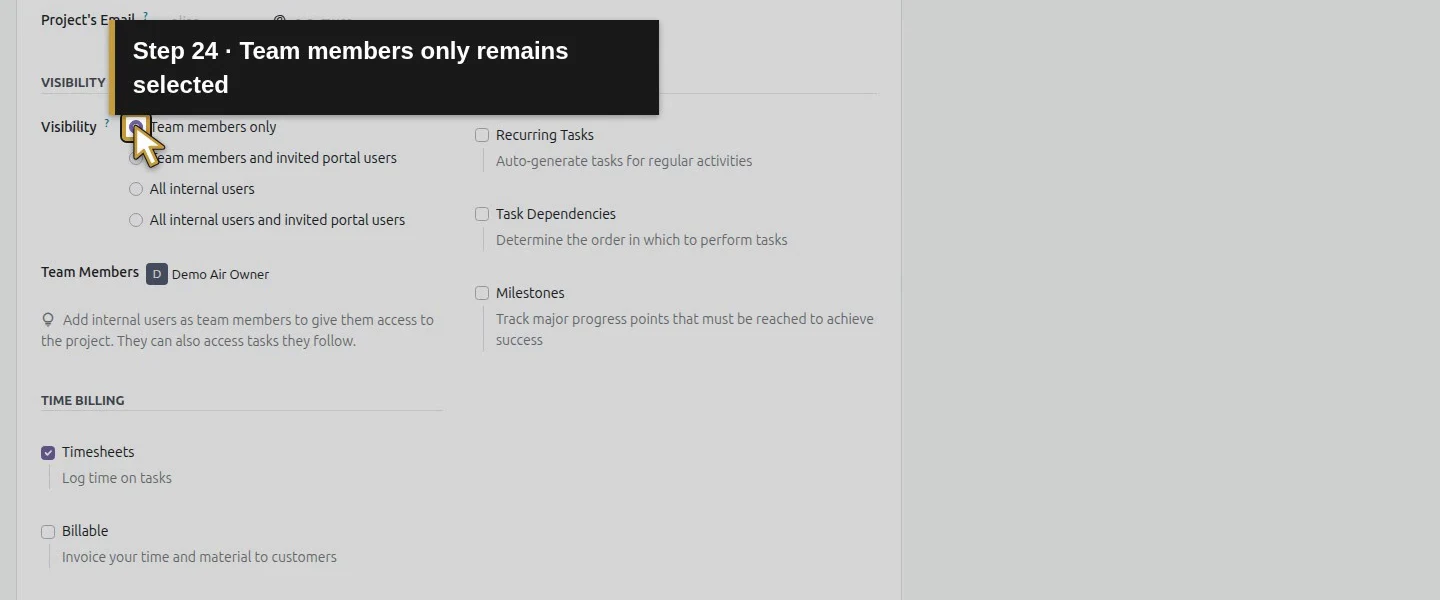
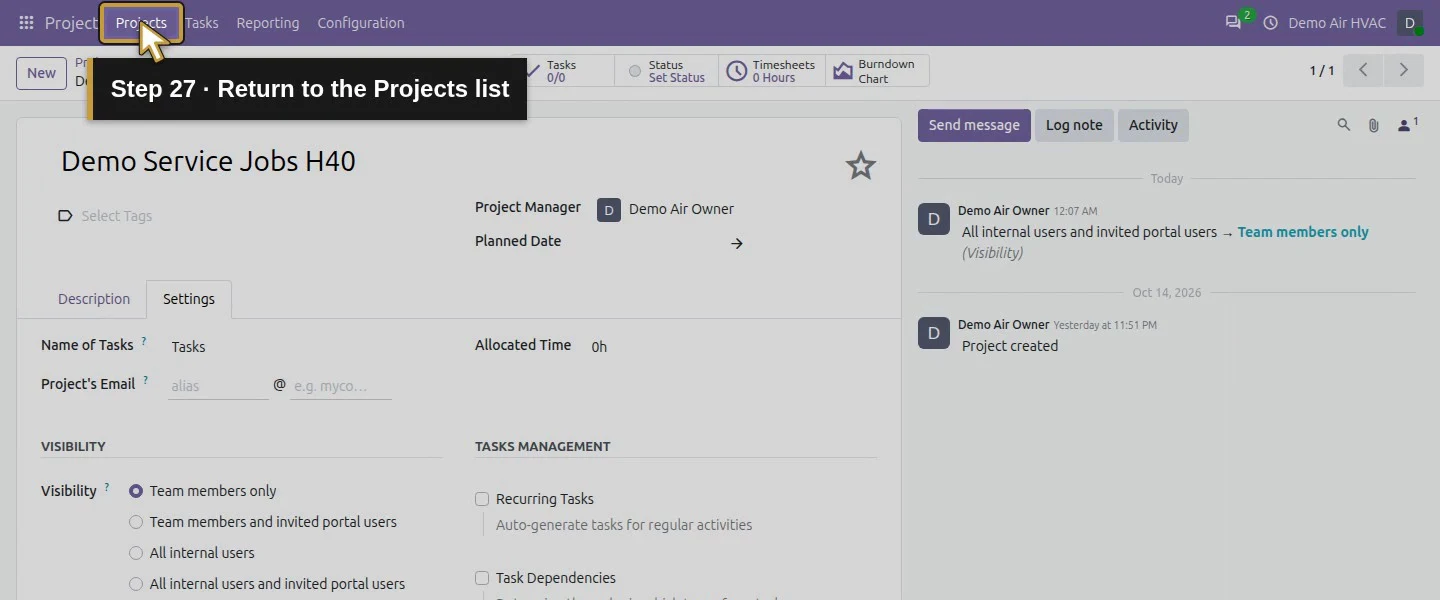
From Projects, hover the project card, open its more_vert menu and choose Settings. On the form's Settings tab, change Visibility from the tested default All internal users and invited portal users to Team members only. Choose Save manually and reopen. This changes native visibility; it does not prove every employee has Project access.
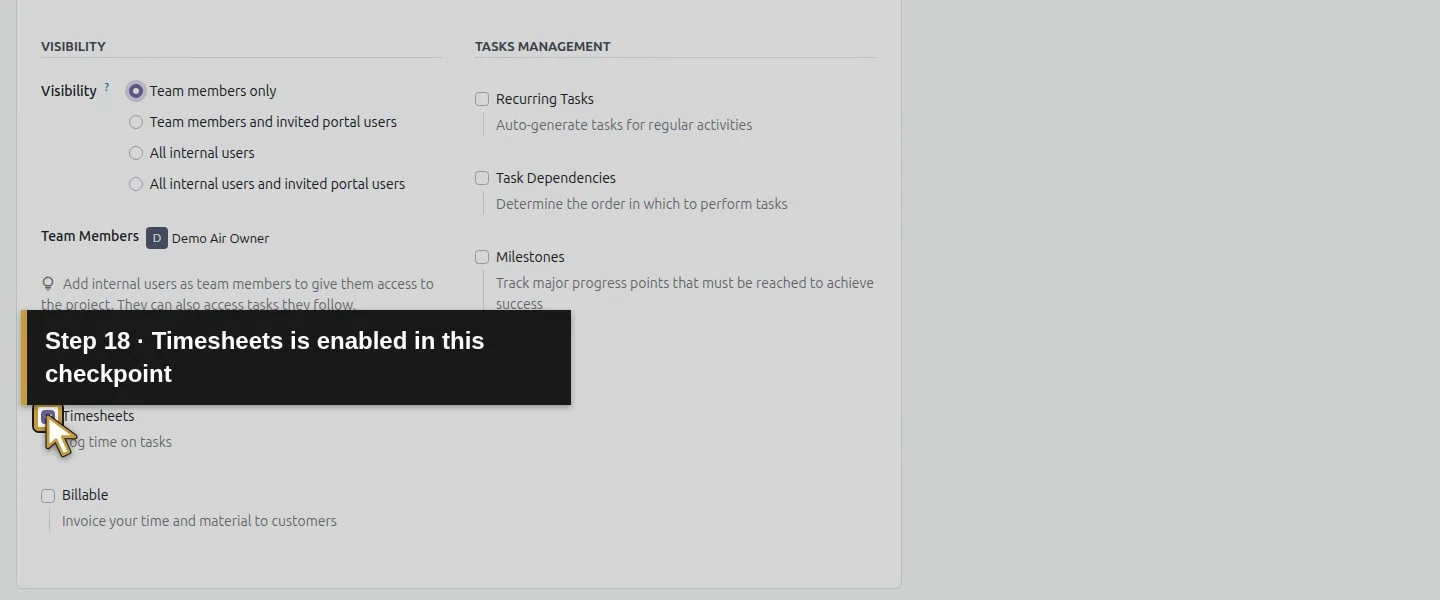
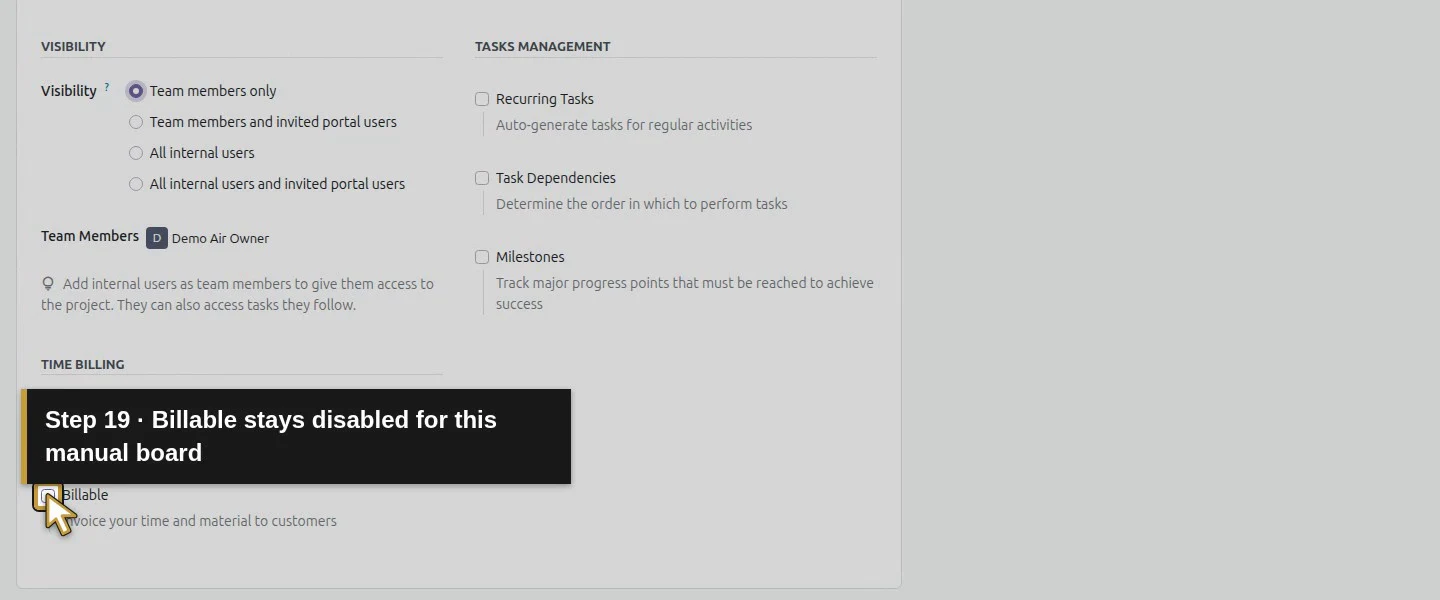
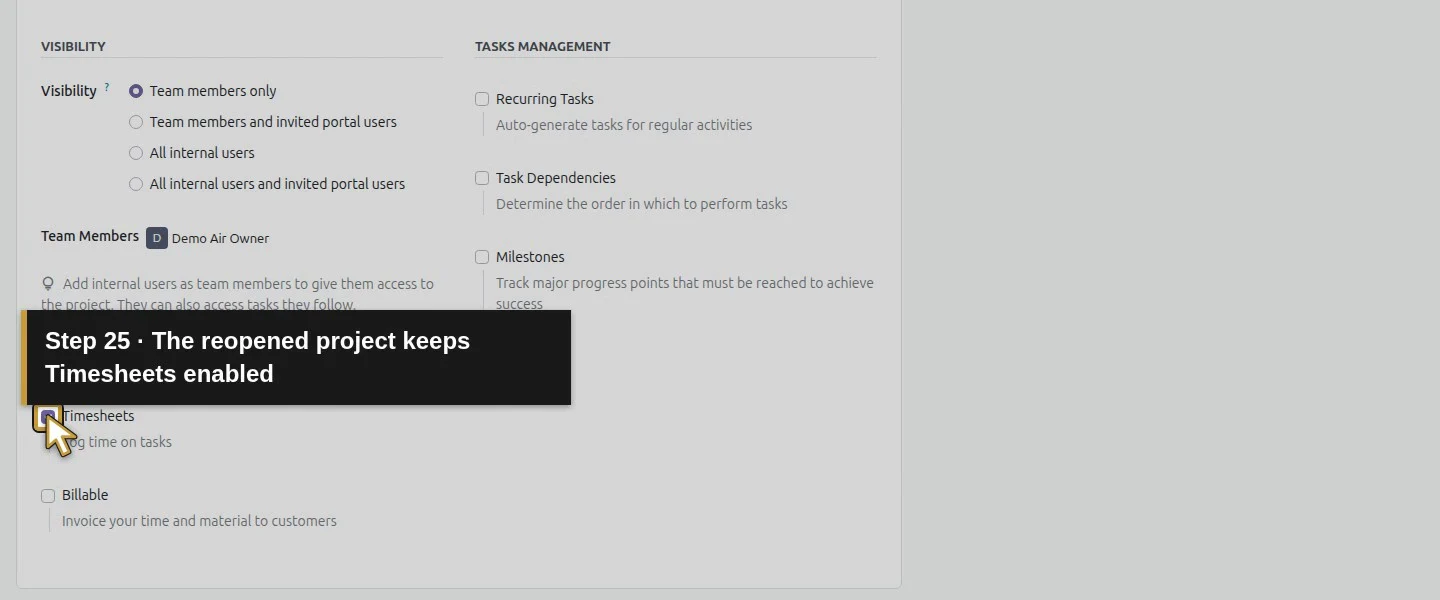
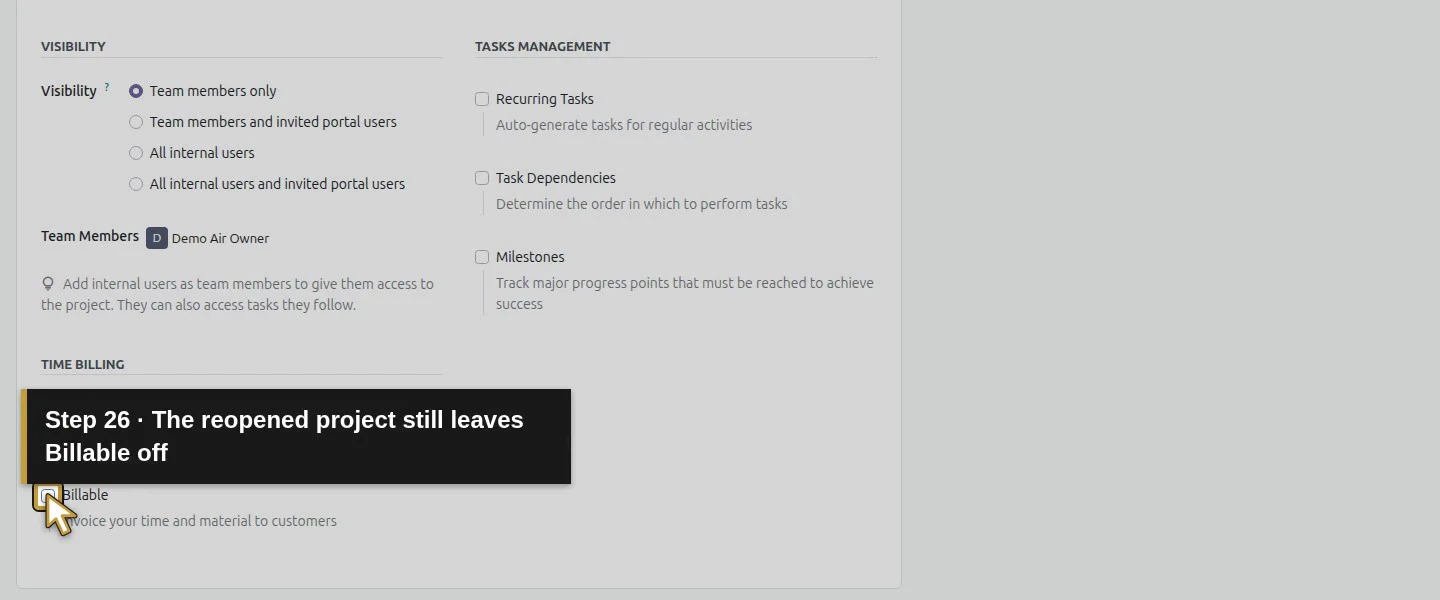
Return to Projects to set the intended visibility.Hover the saved service-job project card.Open the native project more menu.Choose Settings for this project.Open the project Settings tab.Review the current visibility before changing it.Choose Team members only explicitly.Timesheets is enabled in this checkpoint.Billable stays disabled for this manual board.Commit the visibility choice on the project heading.Save this visibility change once and wait.Reopen the same saved project.Return to Settings after the native reload.Team members only remains selected.The reopened project keeps Timesheets enabled.The reopened project still leaves Billable off.
Step 3. Create the three stages
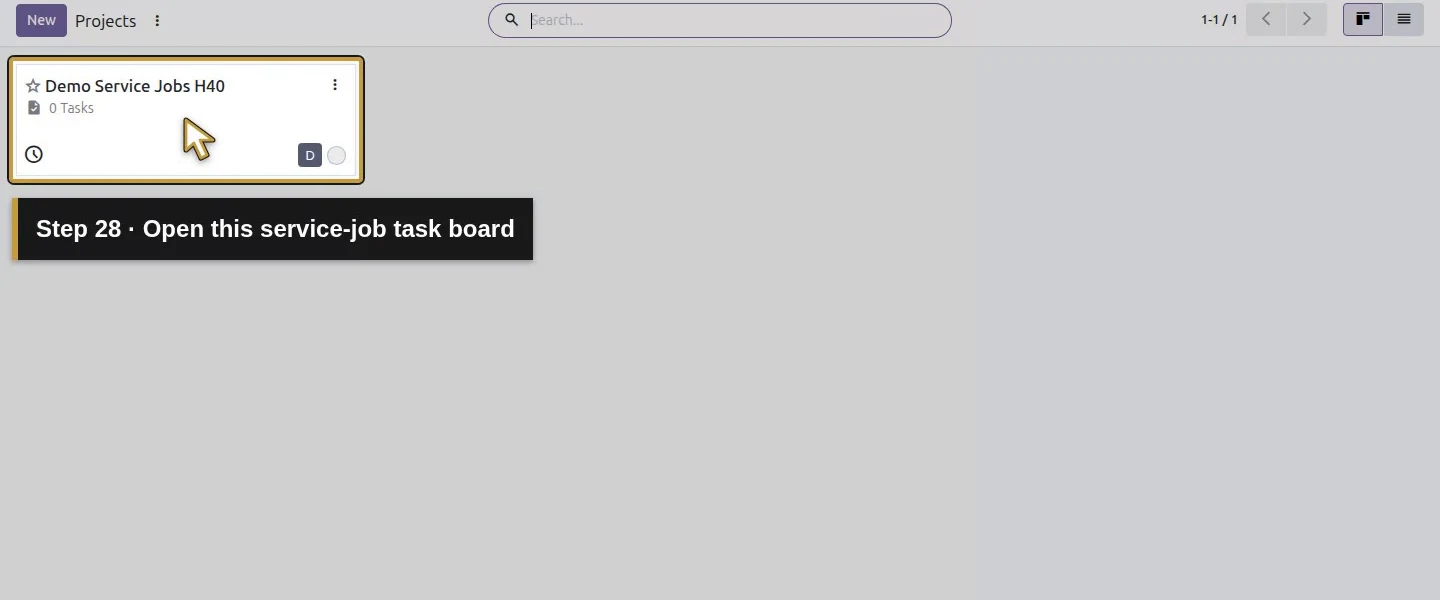
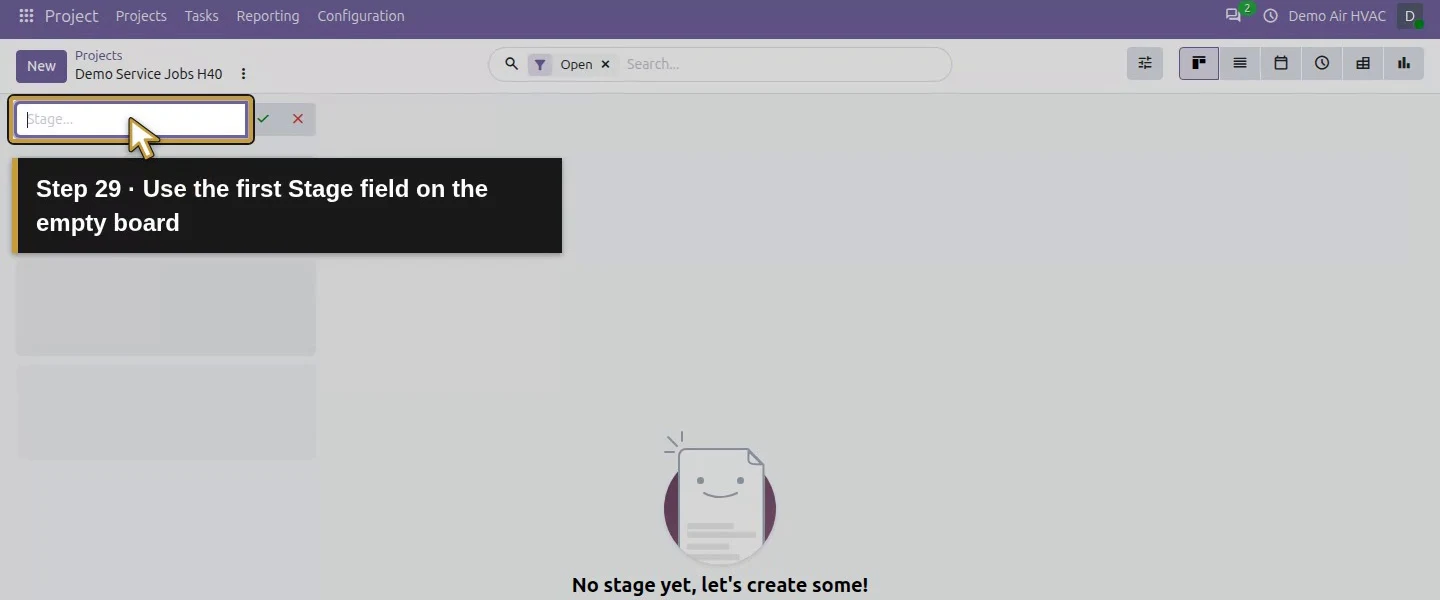
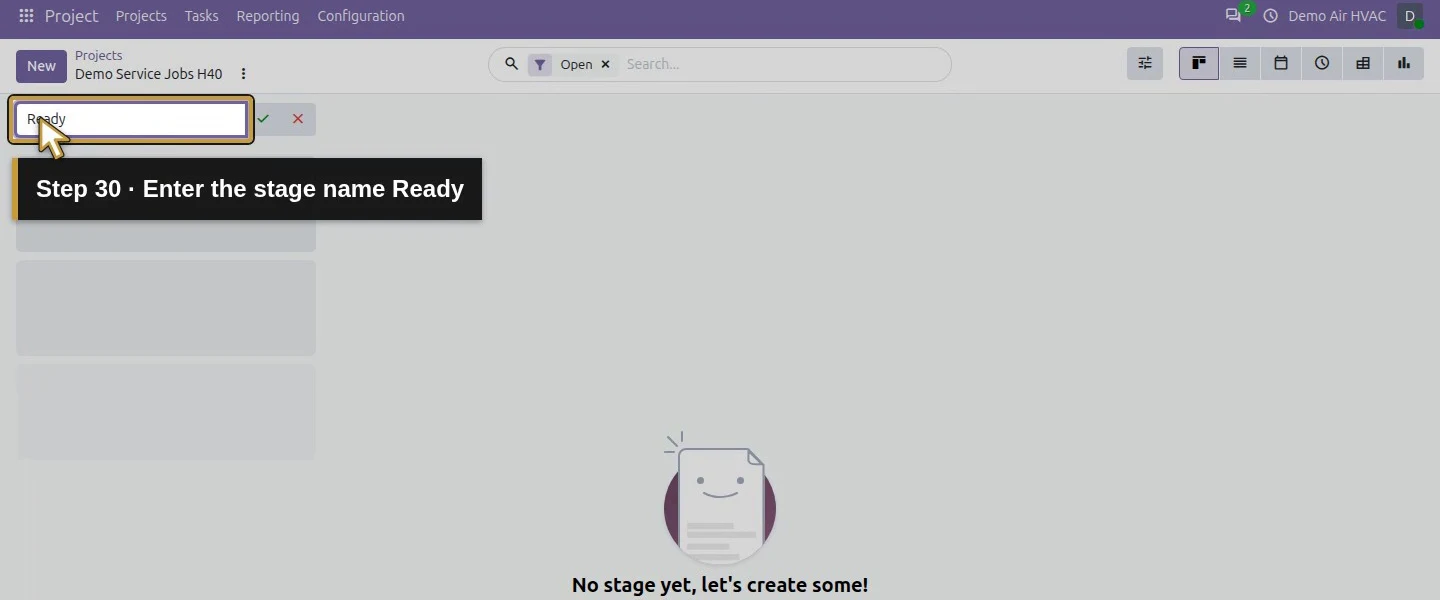
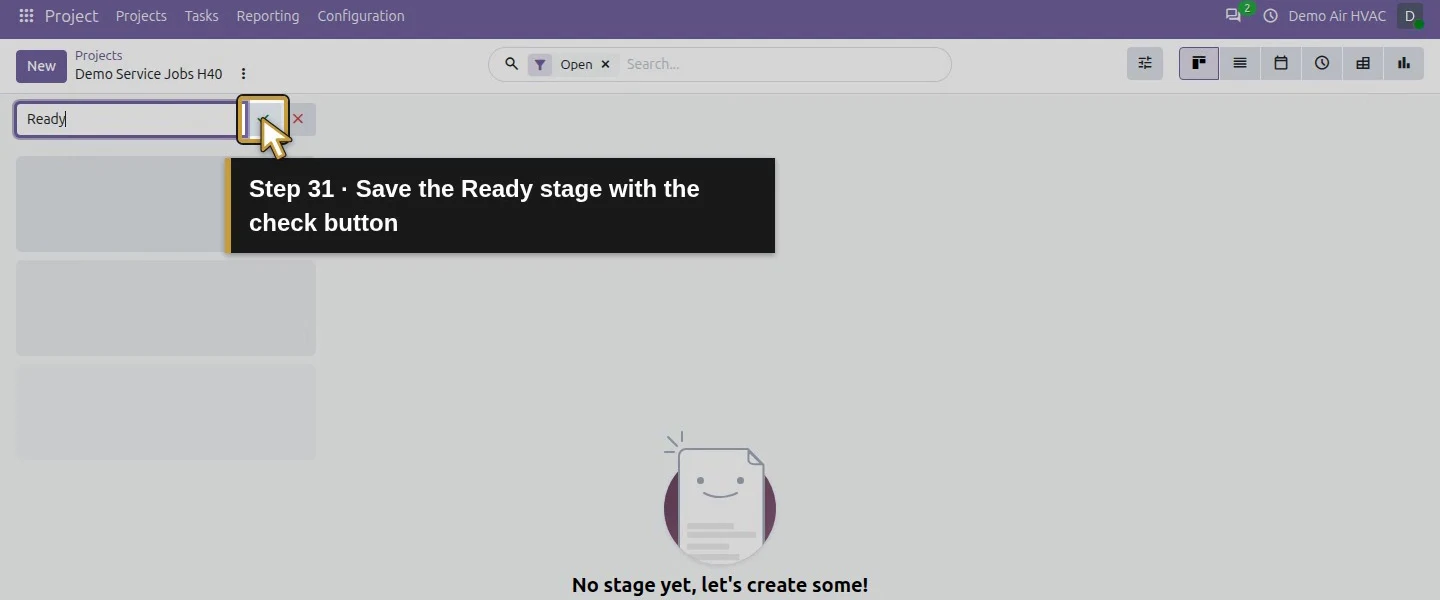
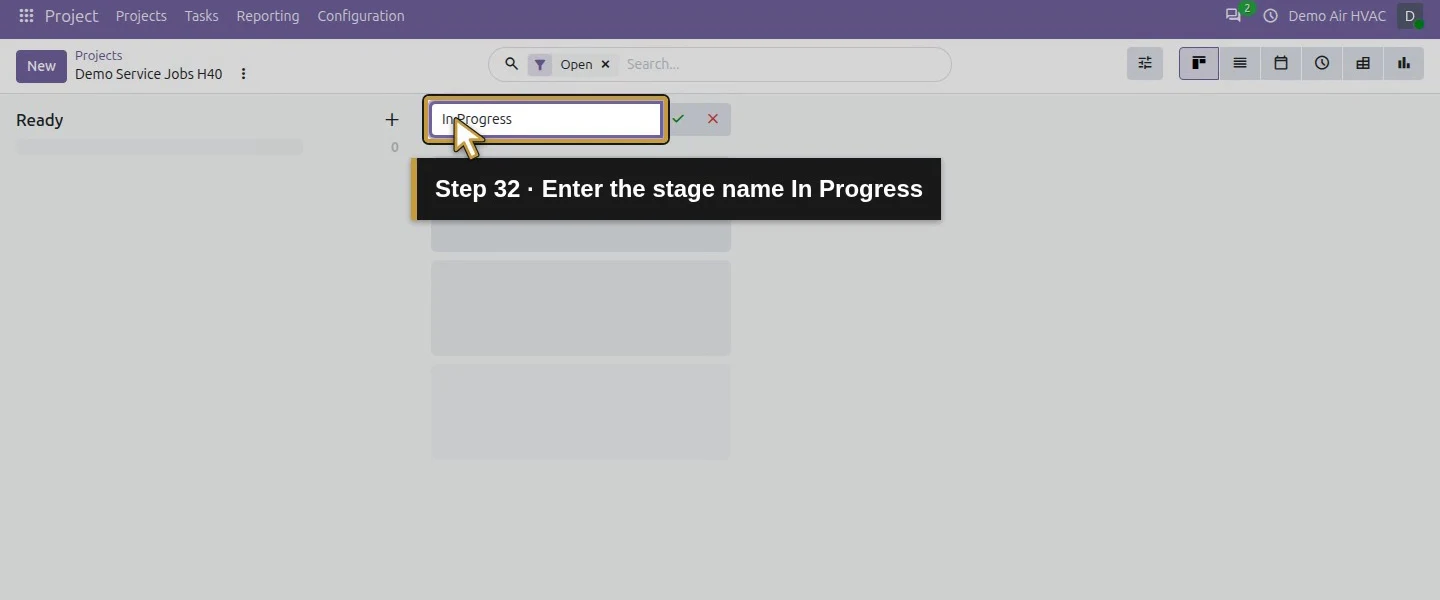
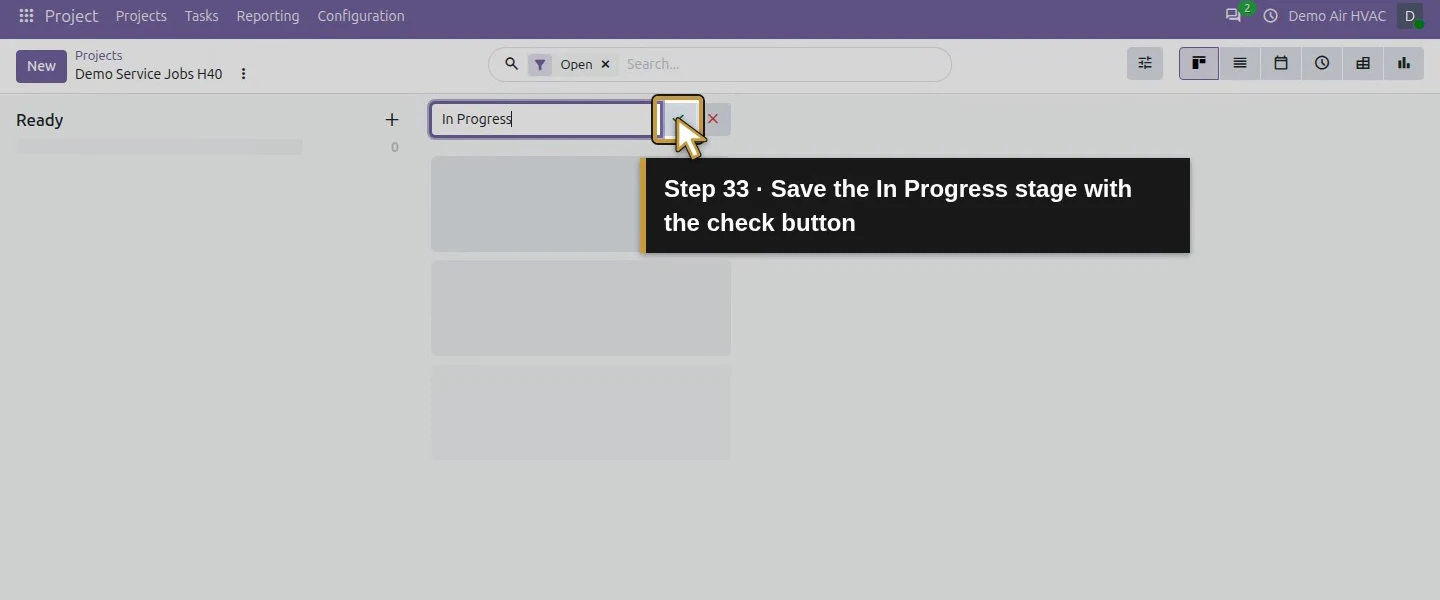
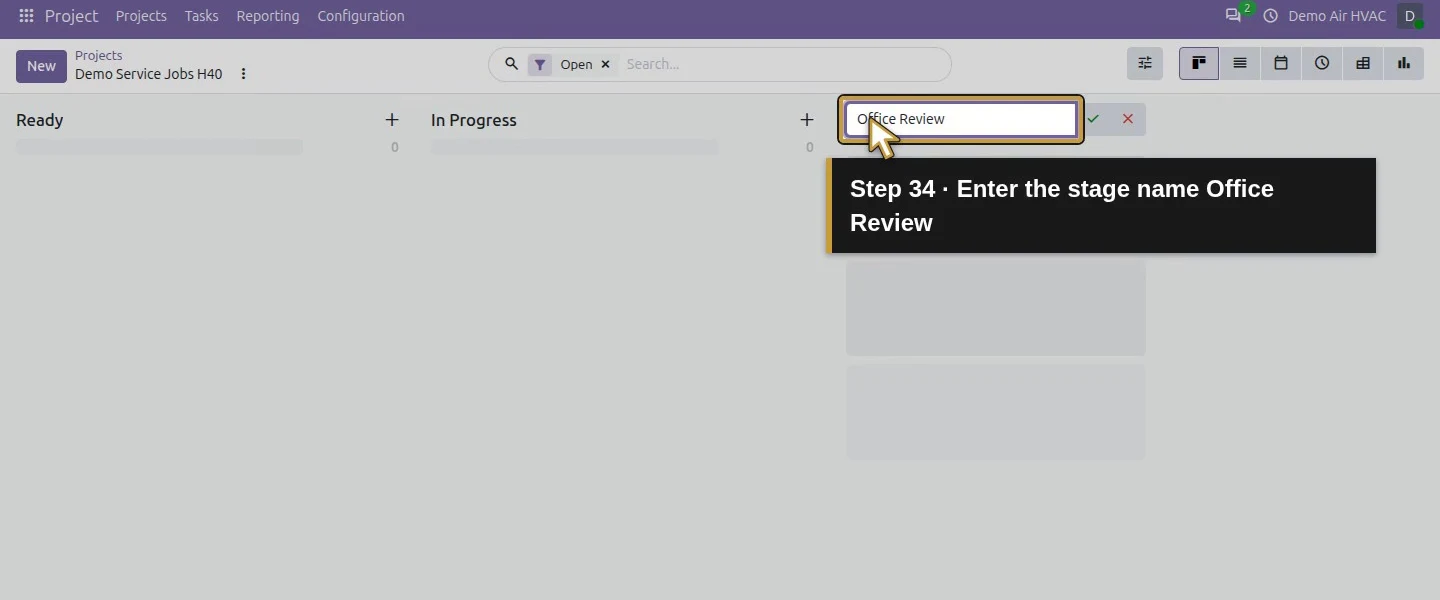
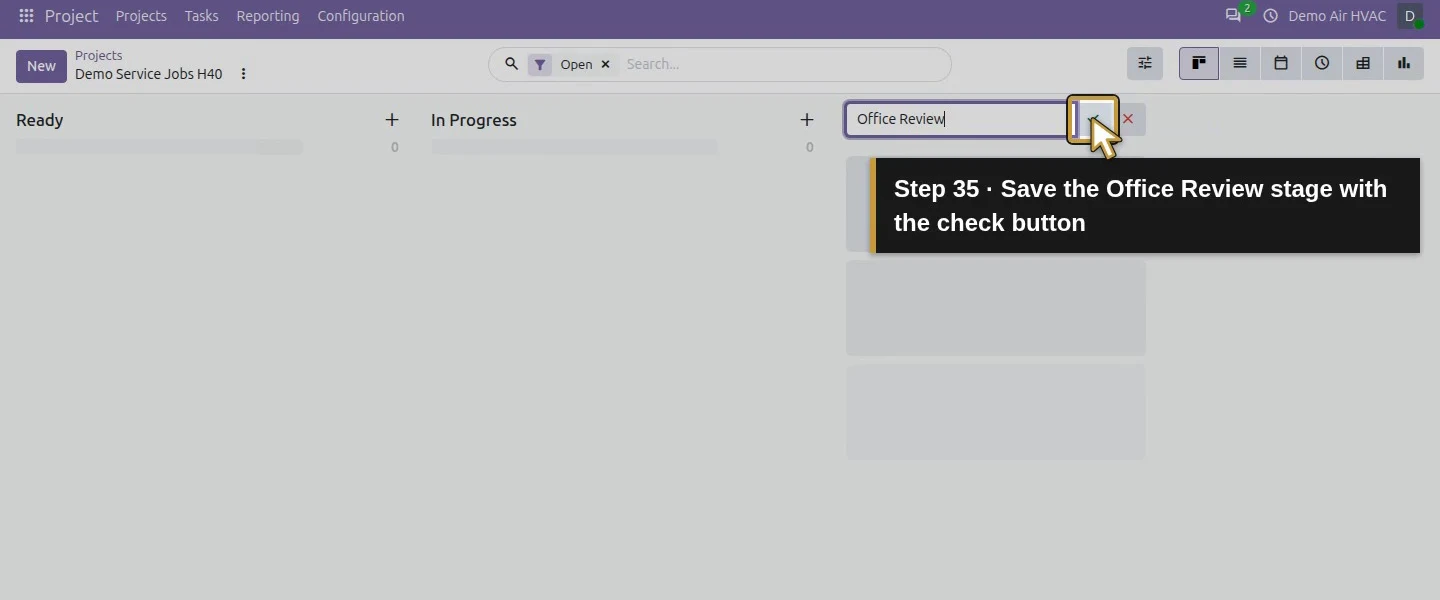
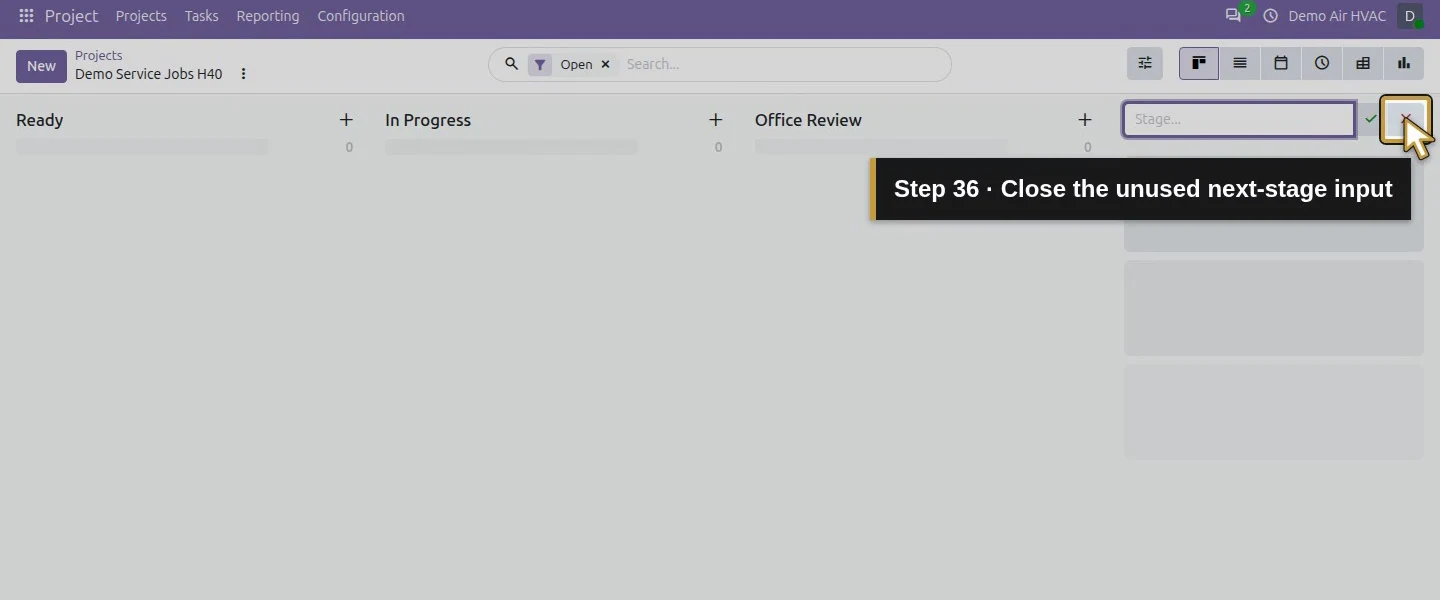
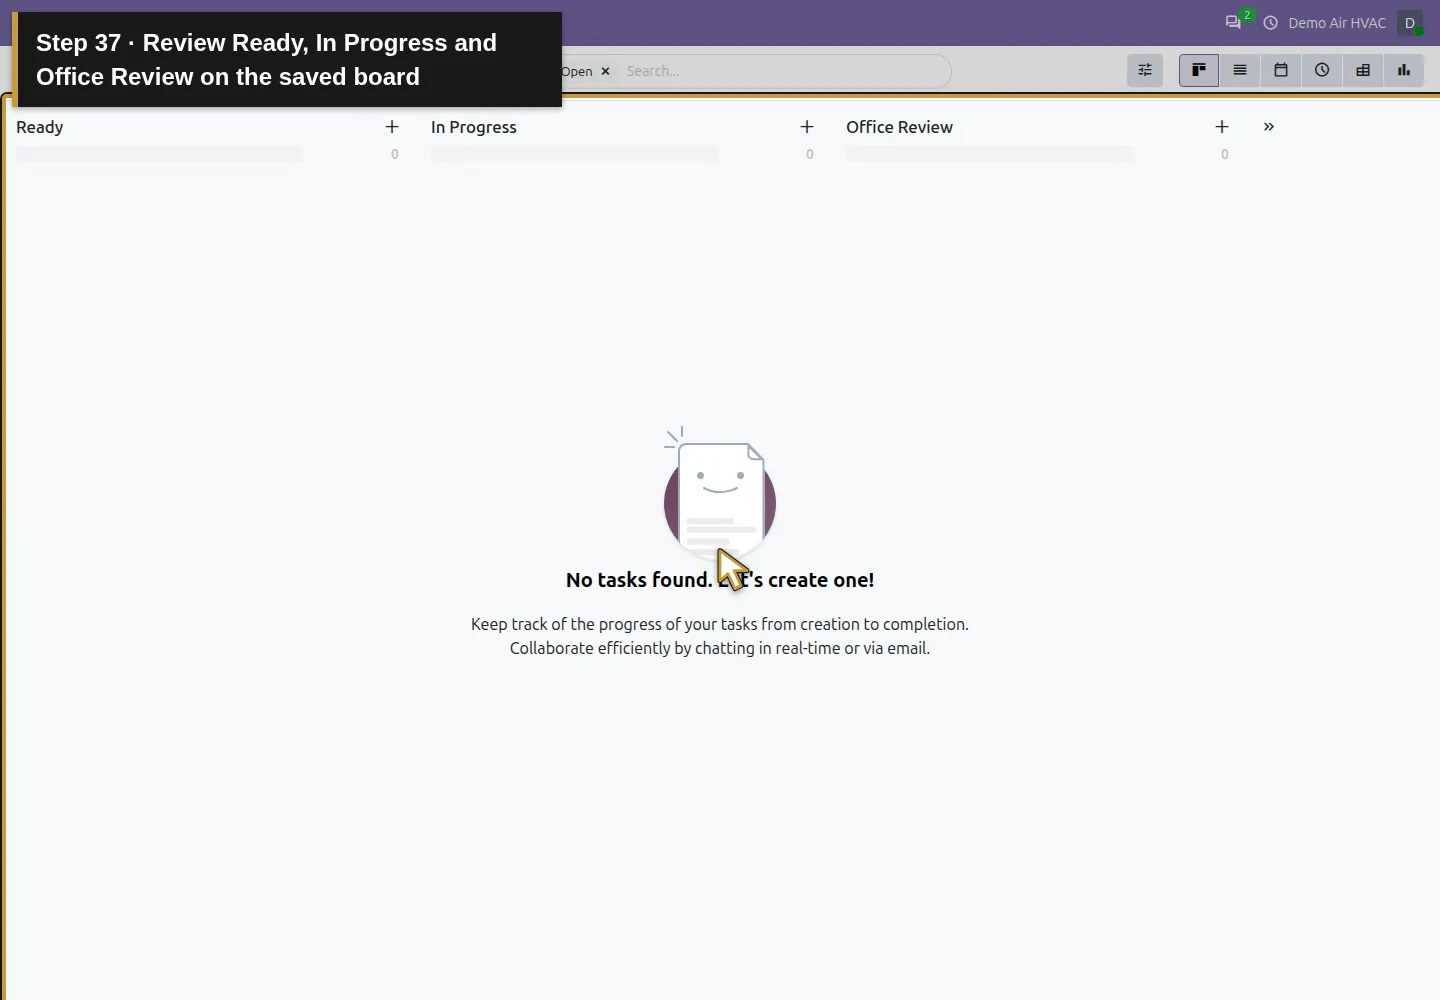
Open the project's task board. In the first Stage... field enter Ready and click the check button. Add In Progress and Office Review the same way, then close the unused next-stage input. Review the exact saved spelling. Existing stages can be edited by hovering their header and choosing Settings → Edit → Stage Name → Save.
Return to the Projects list.Open this service-job task board.Use the first Stage field on the empty board.Enter the stage name Ready.Save the Ready stage with the check button.Enter the stage name In Progress.Save the In Progress stage with the check button.Enter the stage name Office Review.Save the Office Review stage with the check button.Close the unused next-stage input.Review Ready, In Progress and Office Review on the saved board.
Step 4. Add and describe the manual job
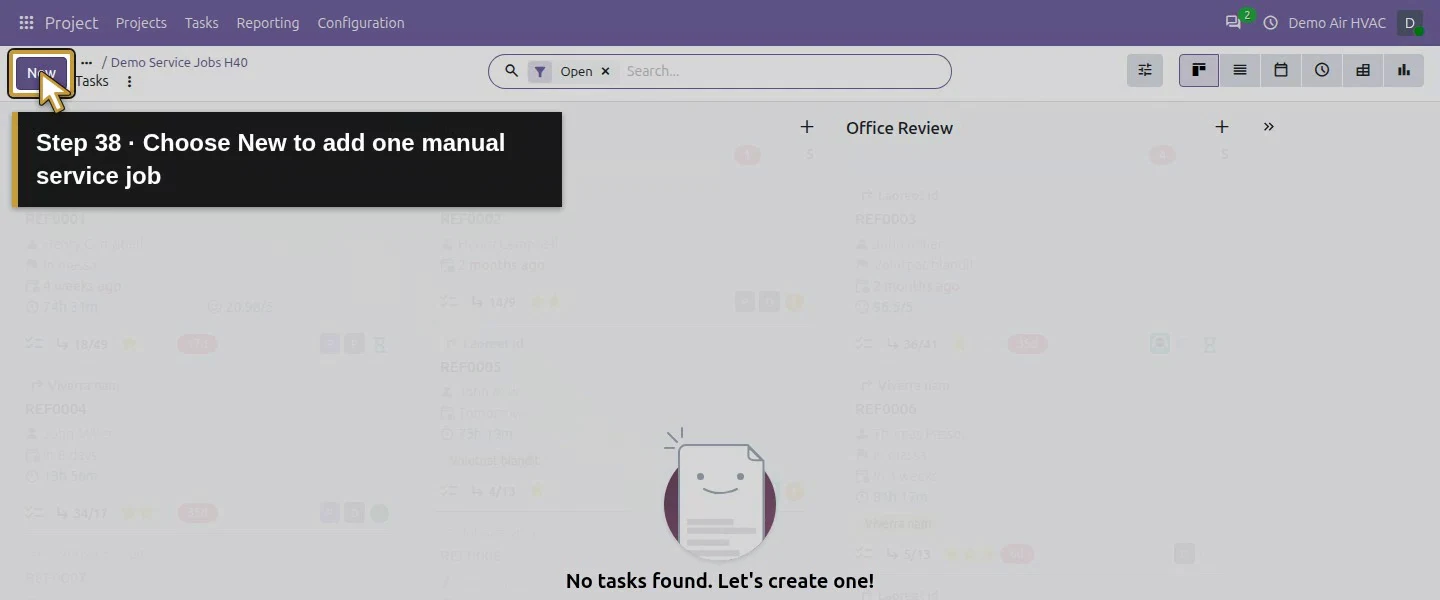
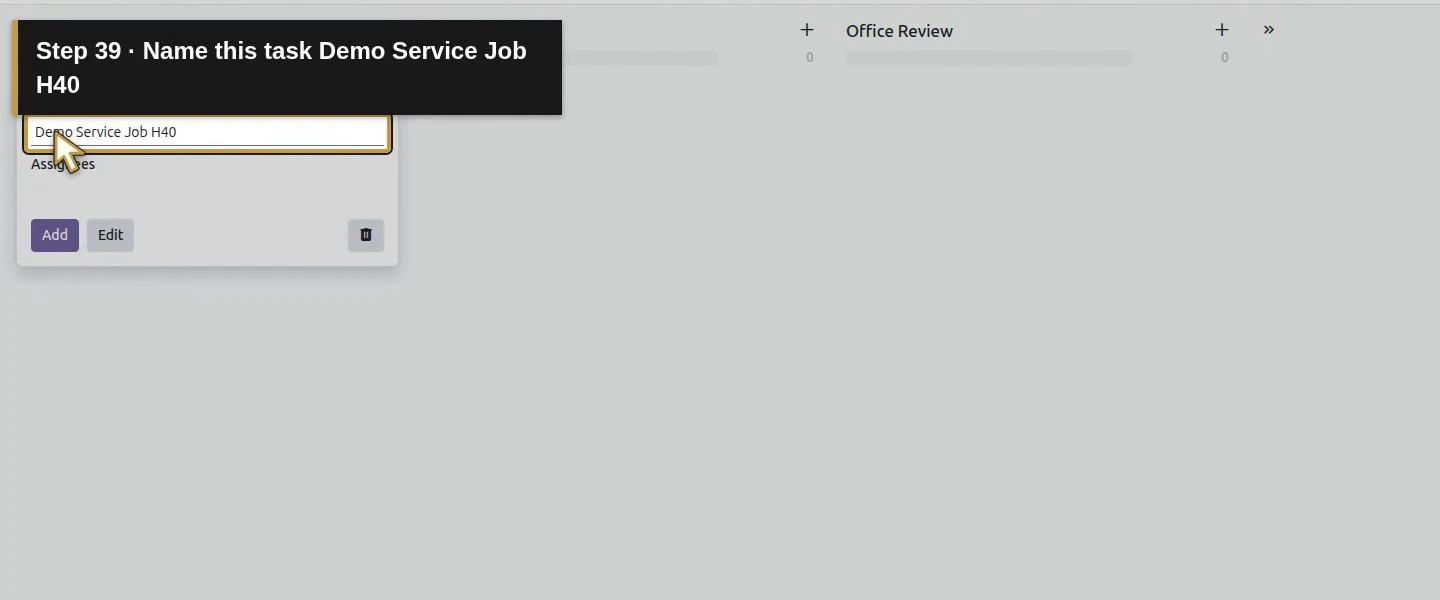
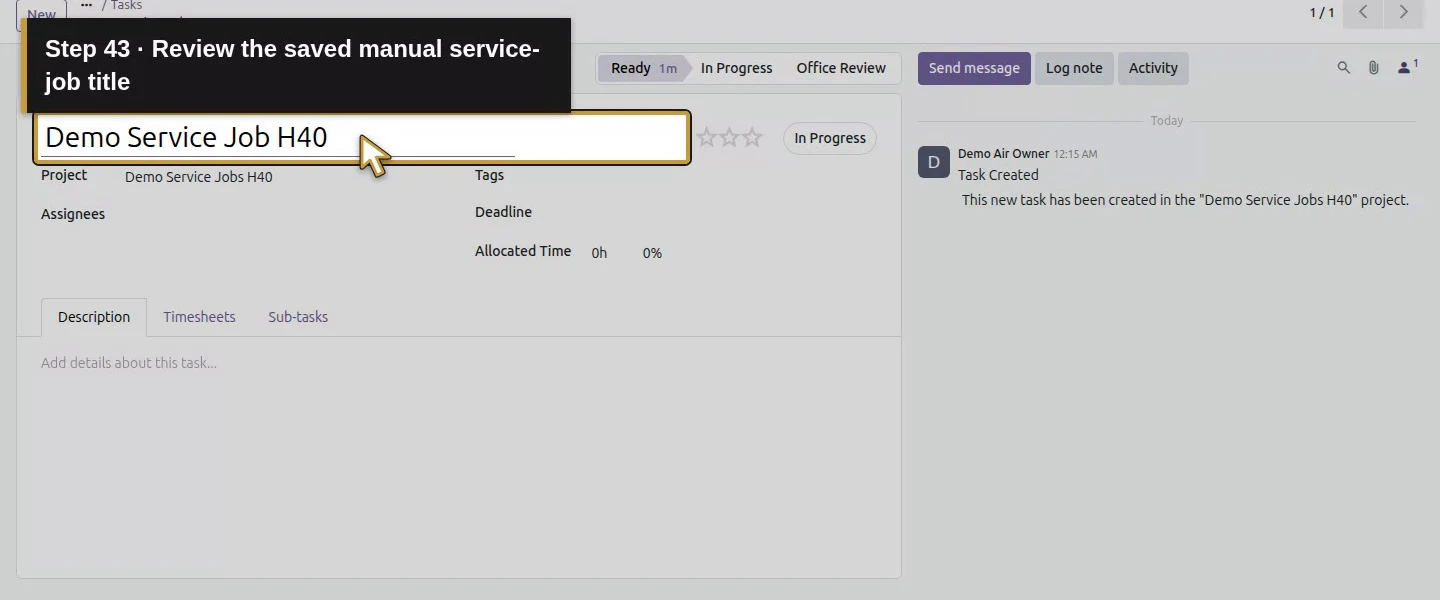
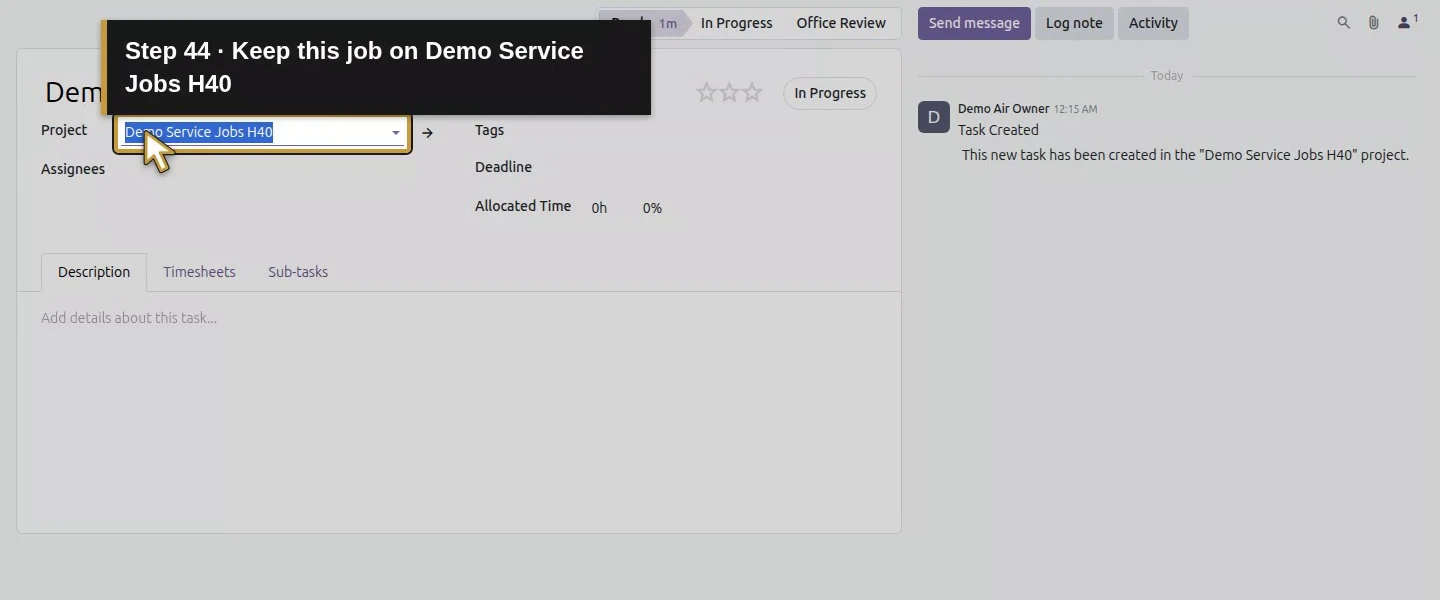
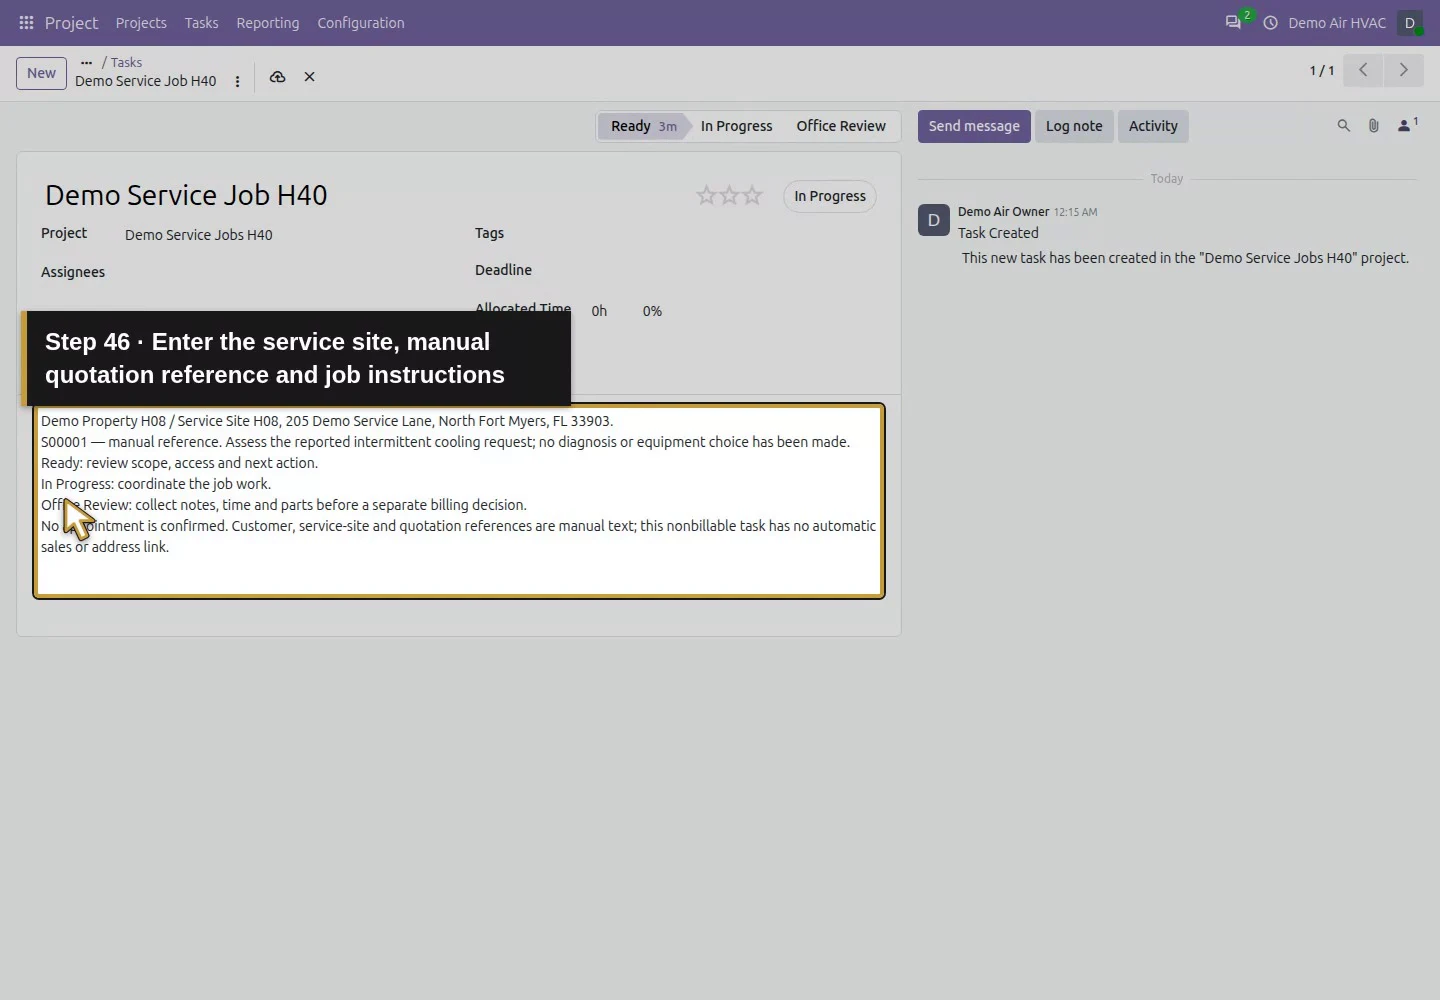
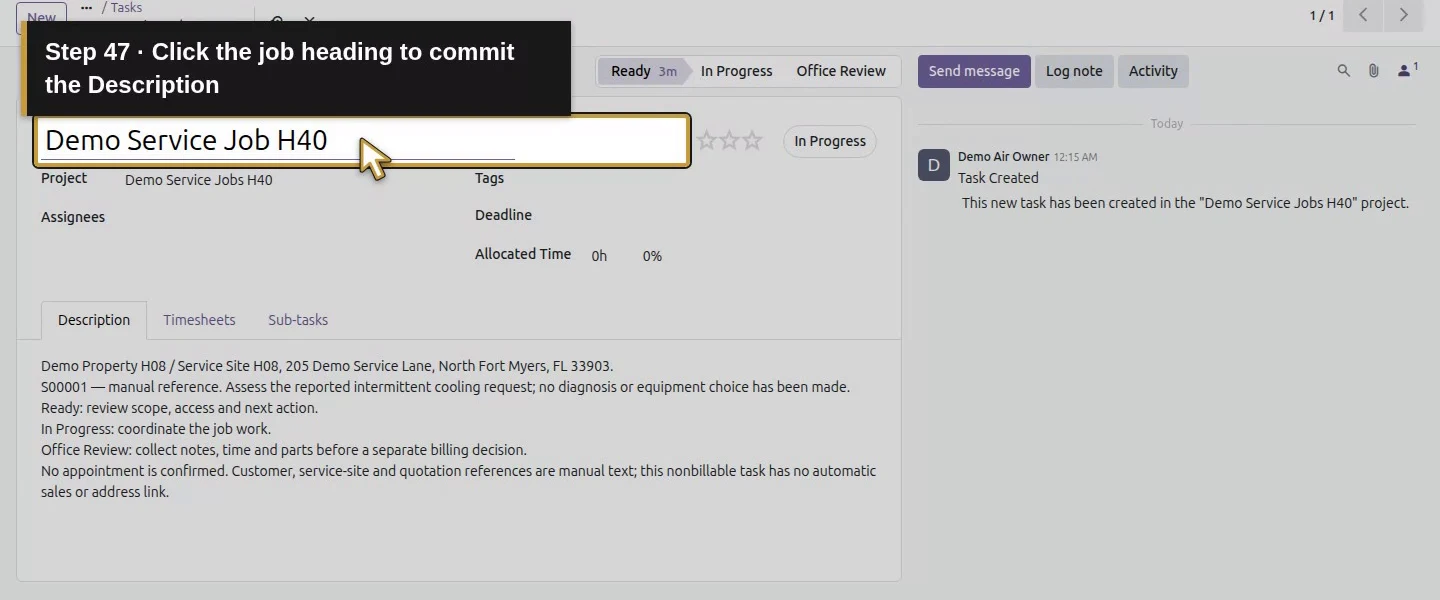
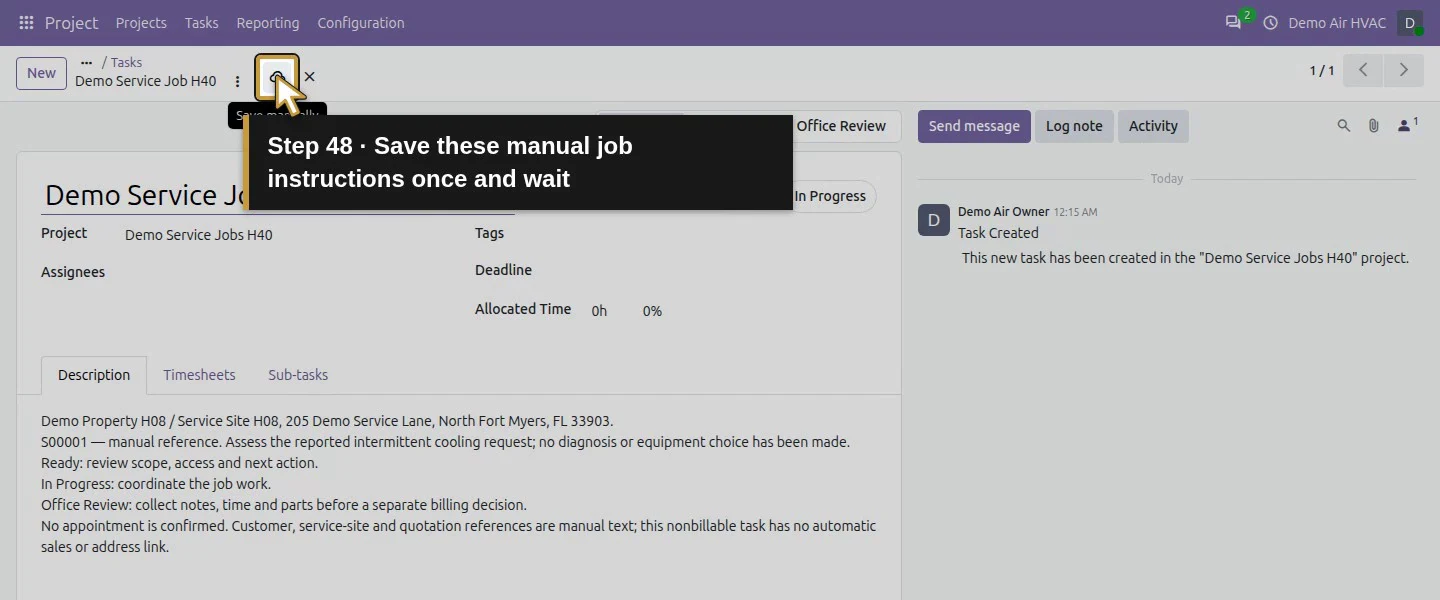
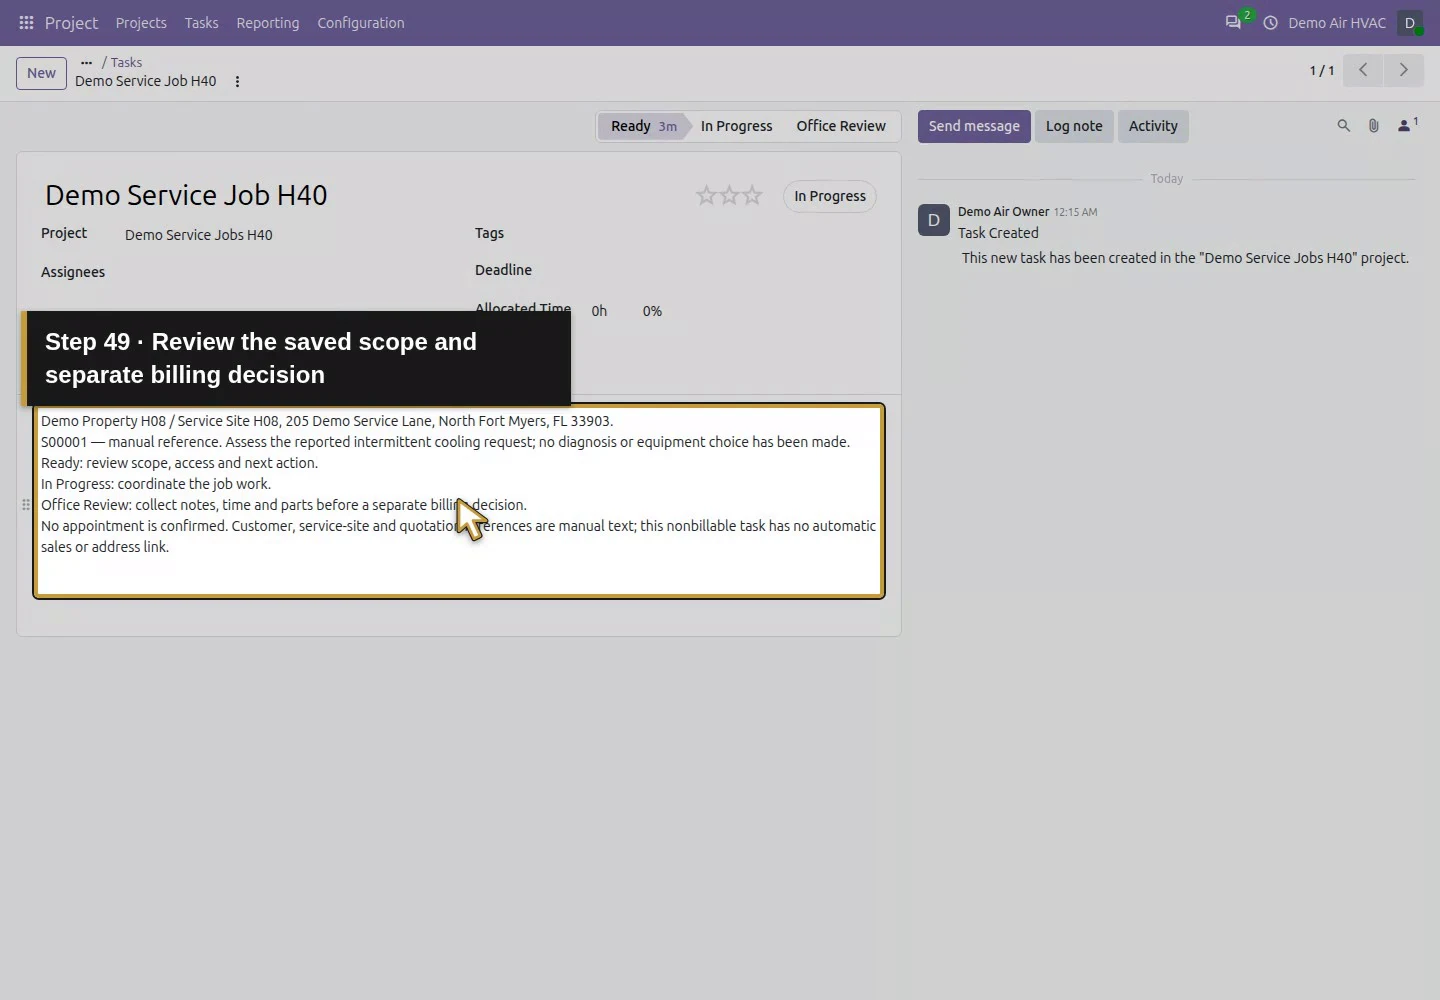
Choose New, enter Demo Service Job H40 in Task Title and choose Add. Open the task and write the existing customer, service address, assessment scope and S00001 — manual reference in Description. Include the meaning of each stage and that no appointment is confirmed. Save the description. This nonbillable task form did not expose a separate Customer or service-address selector.
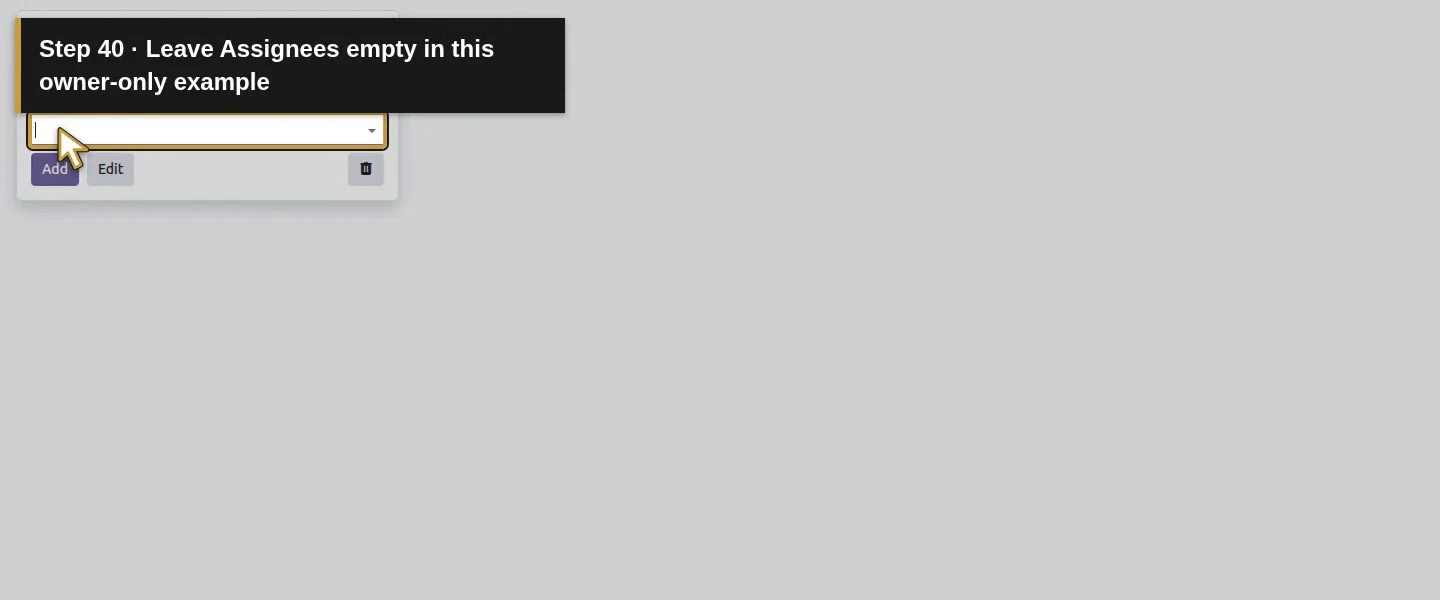
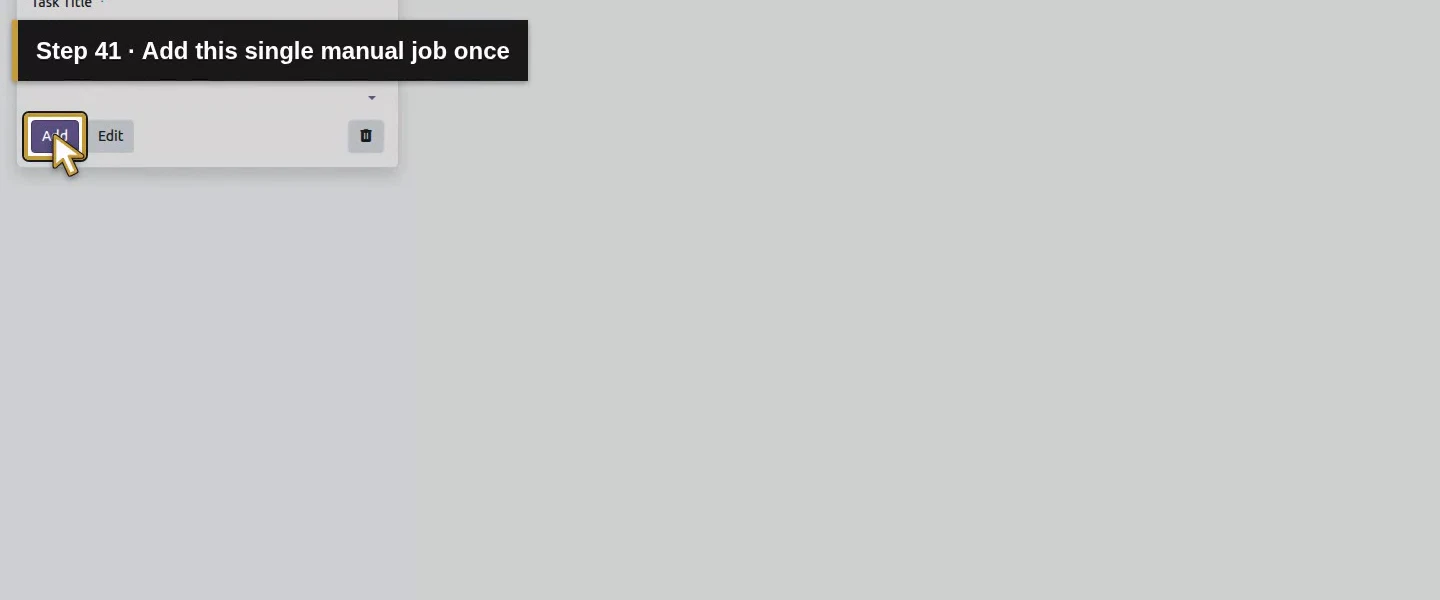
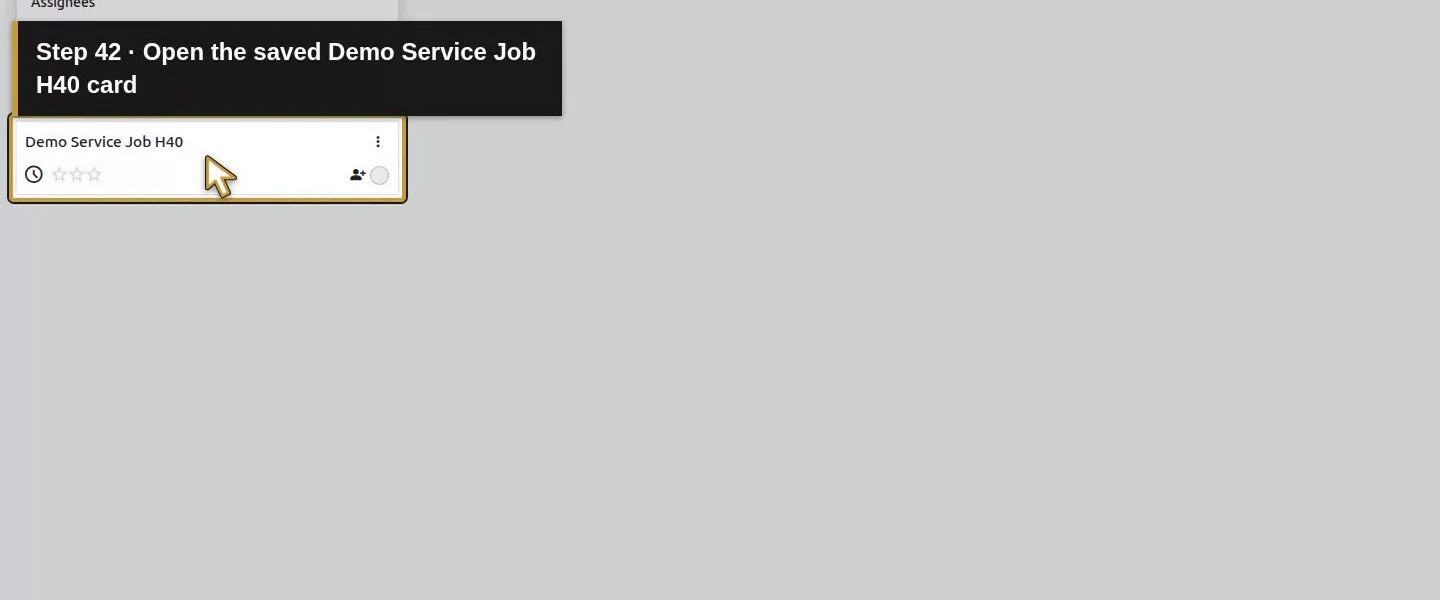
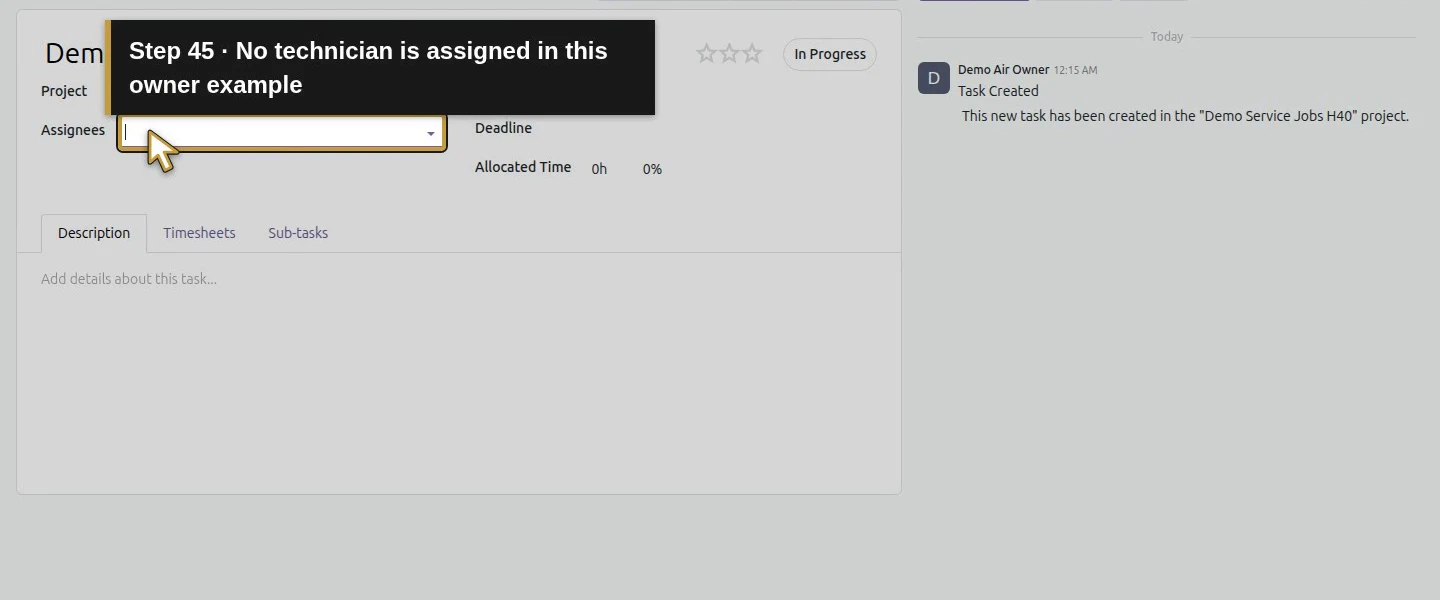
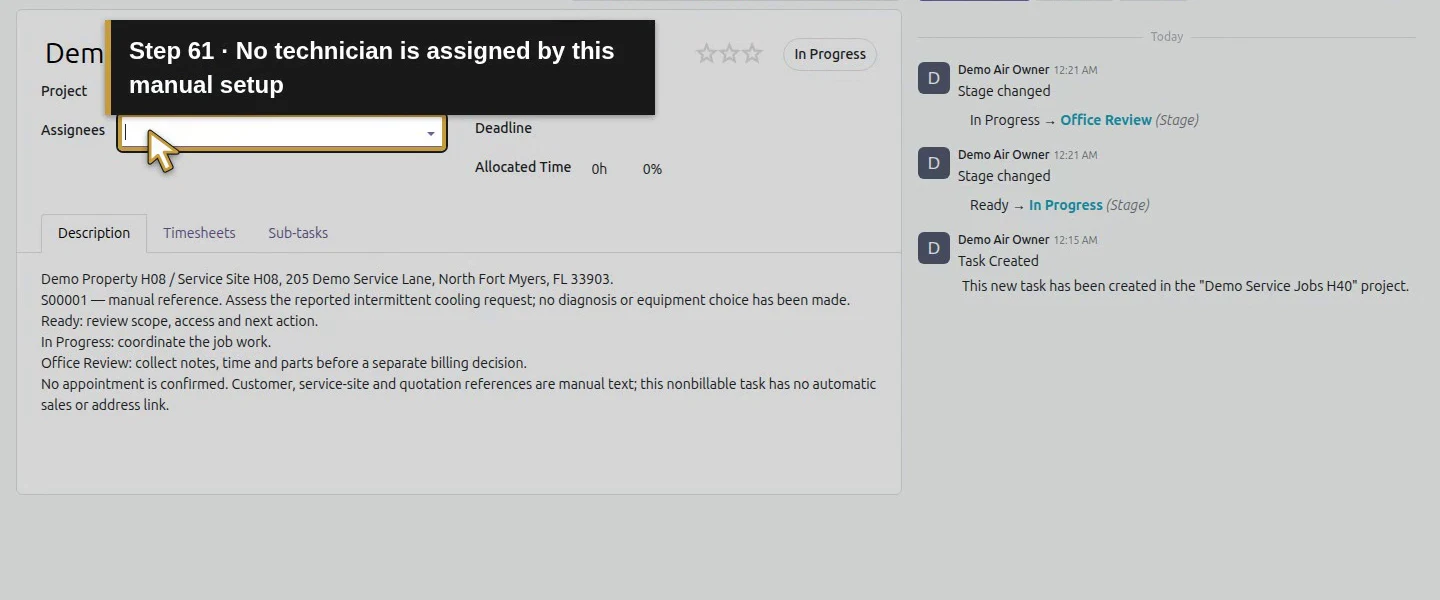
Choose New to add one manual service job.Name this task Demo Service Job H40.Leave Assignees empty in this owner-only example.Add this single manual job once.Open the saved Demo Service Job H40 card.Review the saved manual service-job title.Keep this job on Demo Service Jobs H40.No technician is assigned in this owner example.Enter the service site, manual quotation reference and job instructions.Click the job heading to commit the Description.Save these manual job instructions once and wait.Review the saved scope and separate billing decision.
Step 5. Move and reopen the task
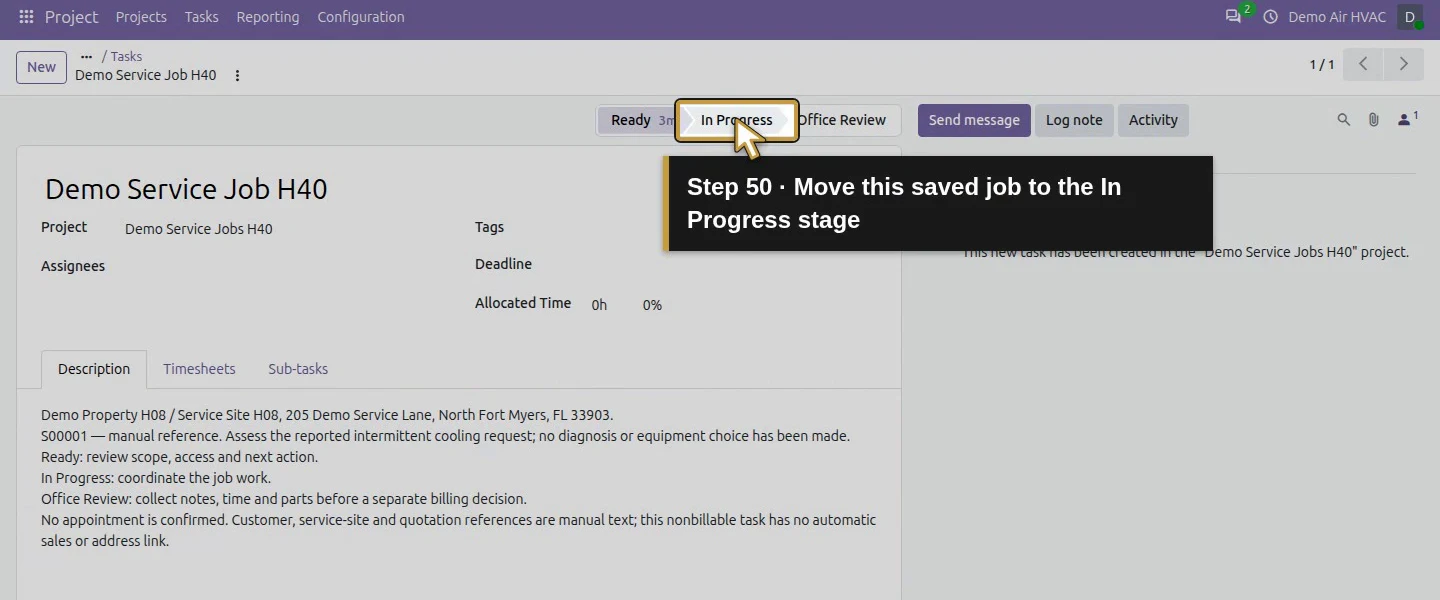
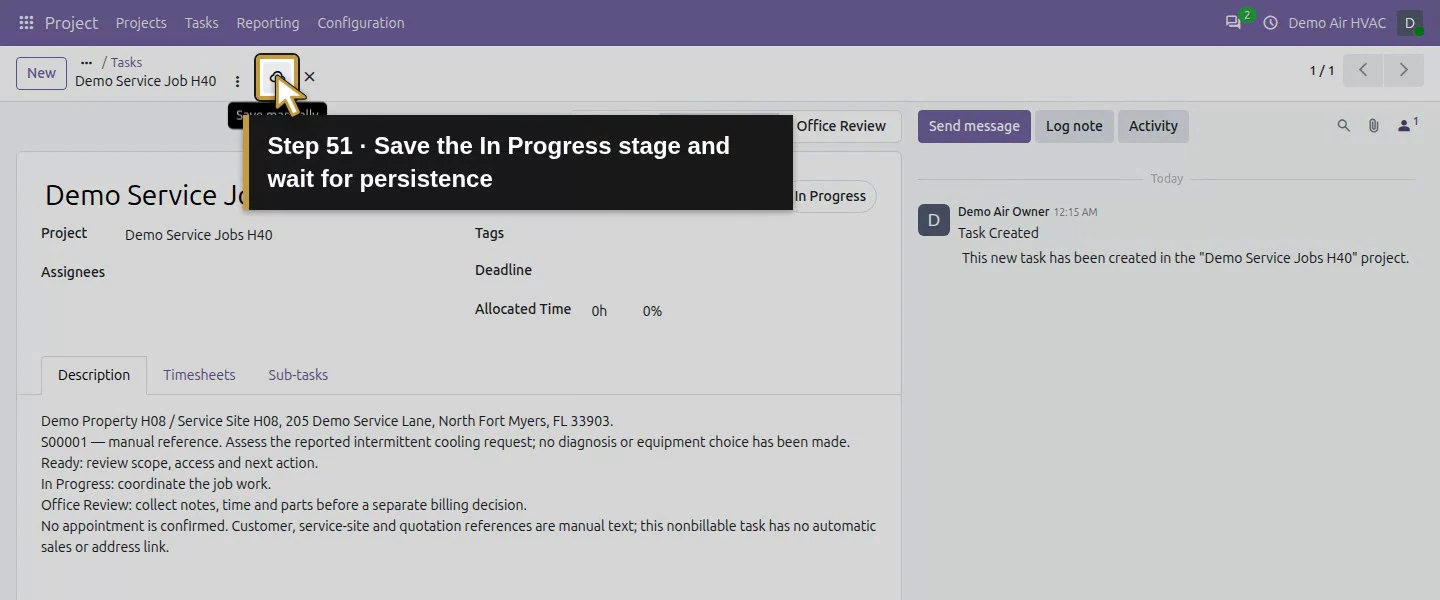
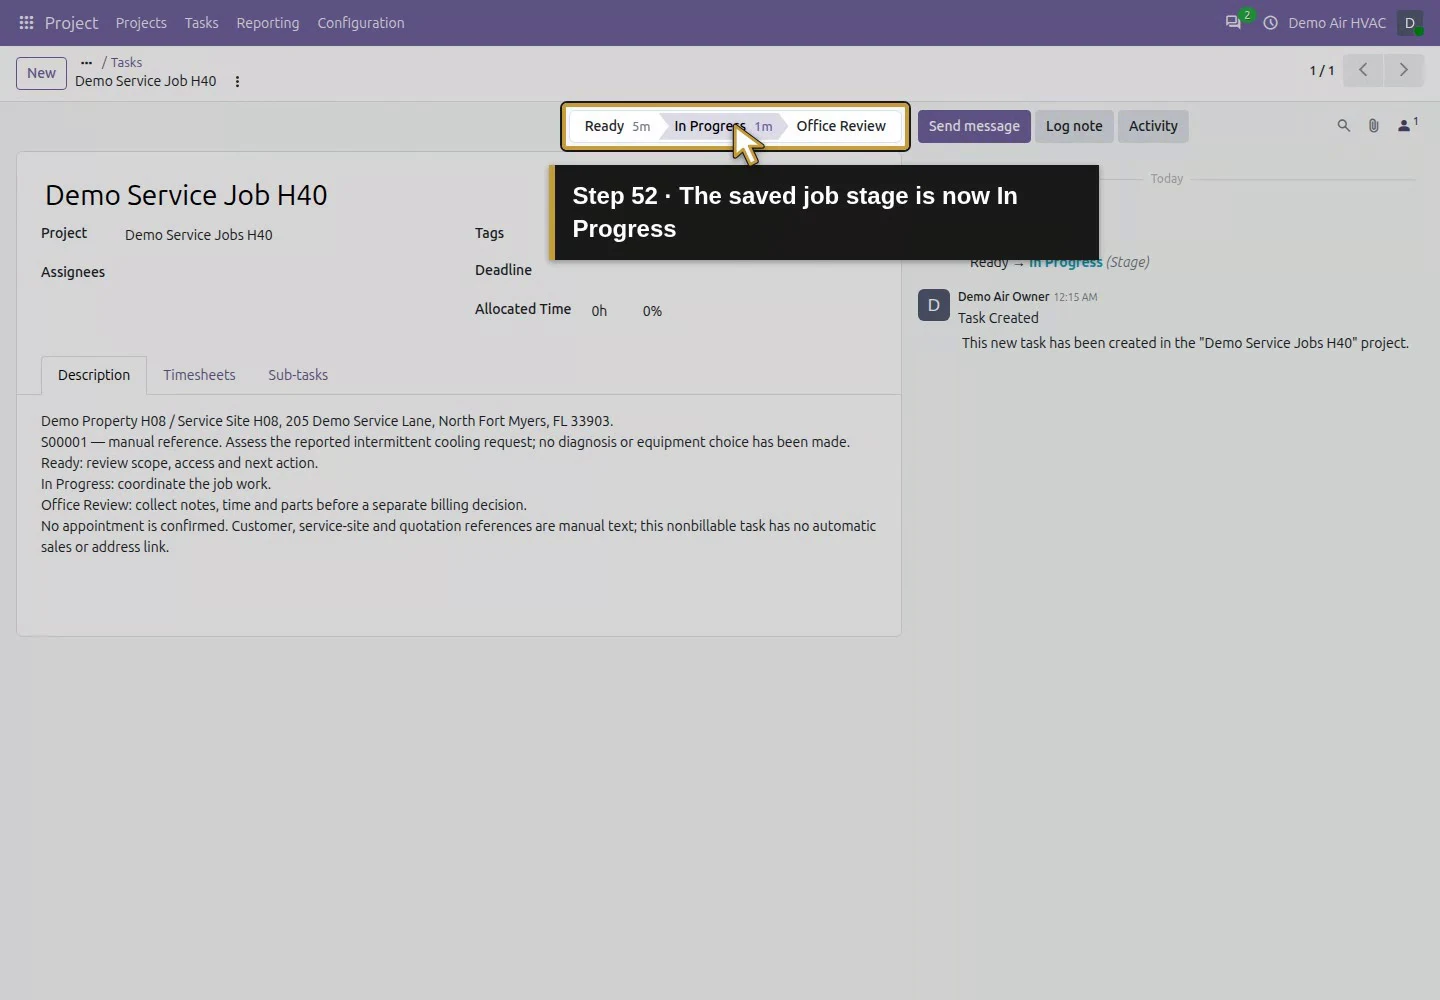
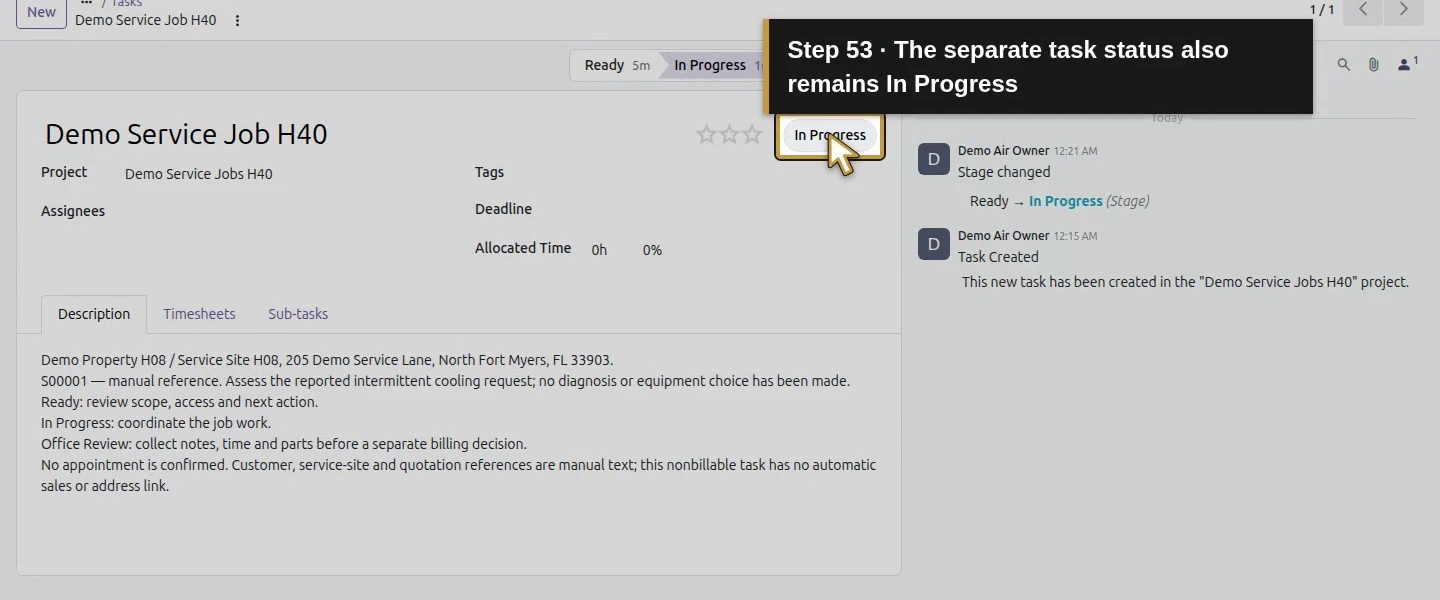
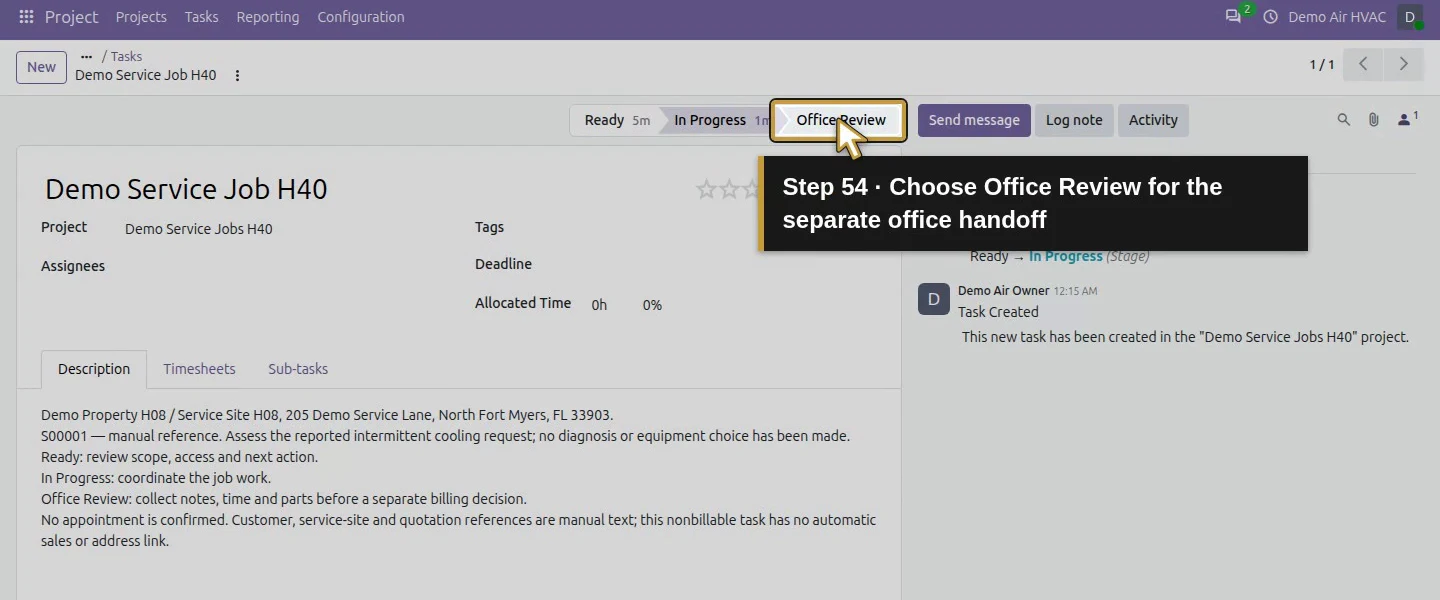
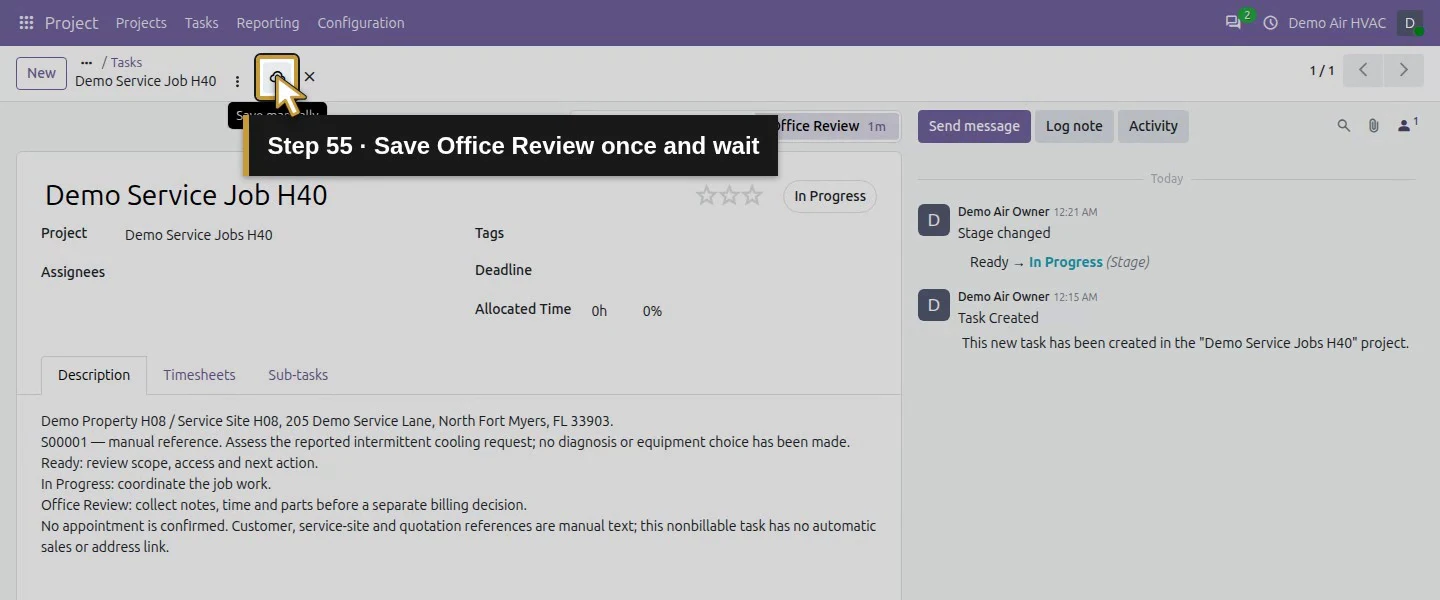
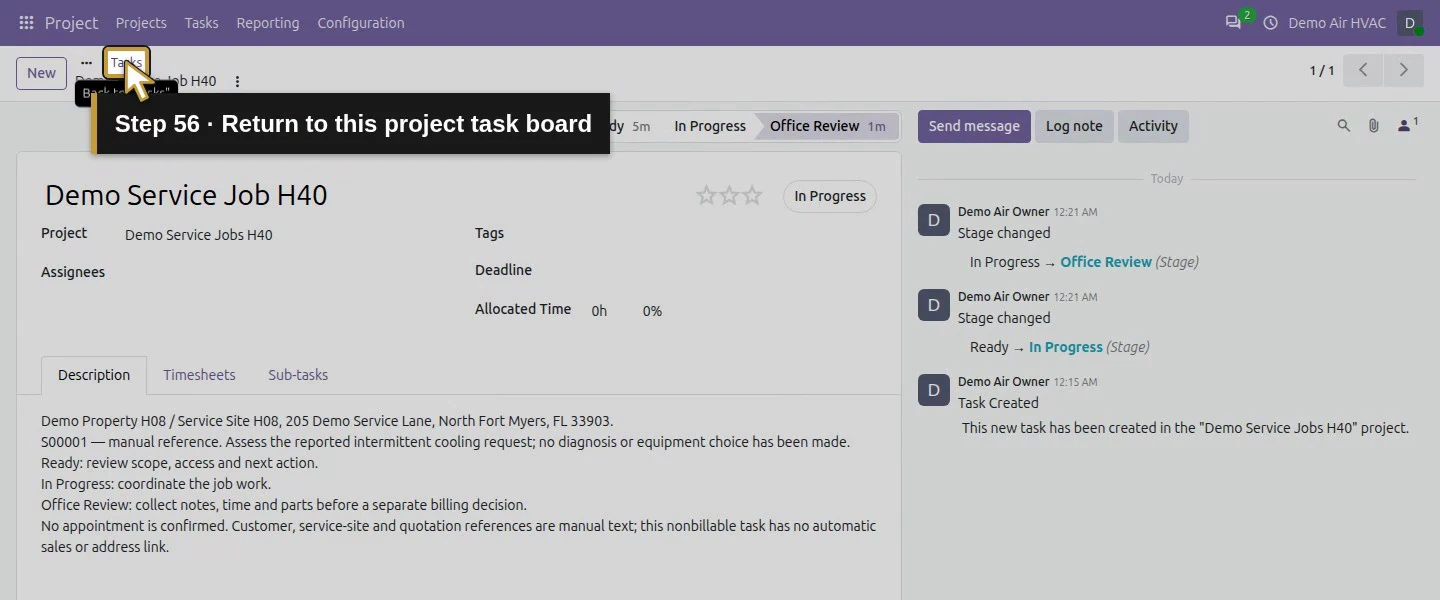
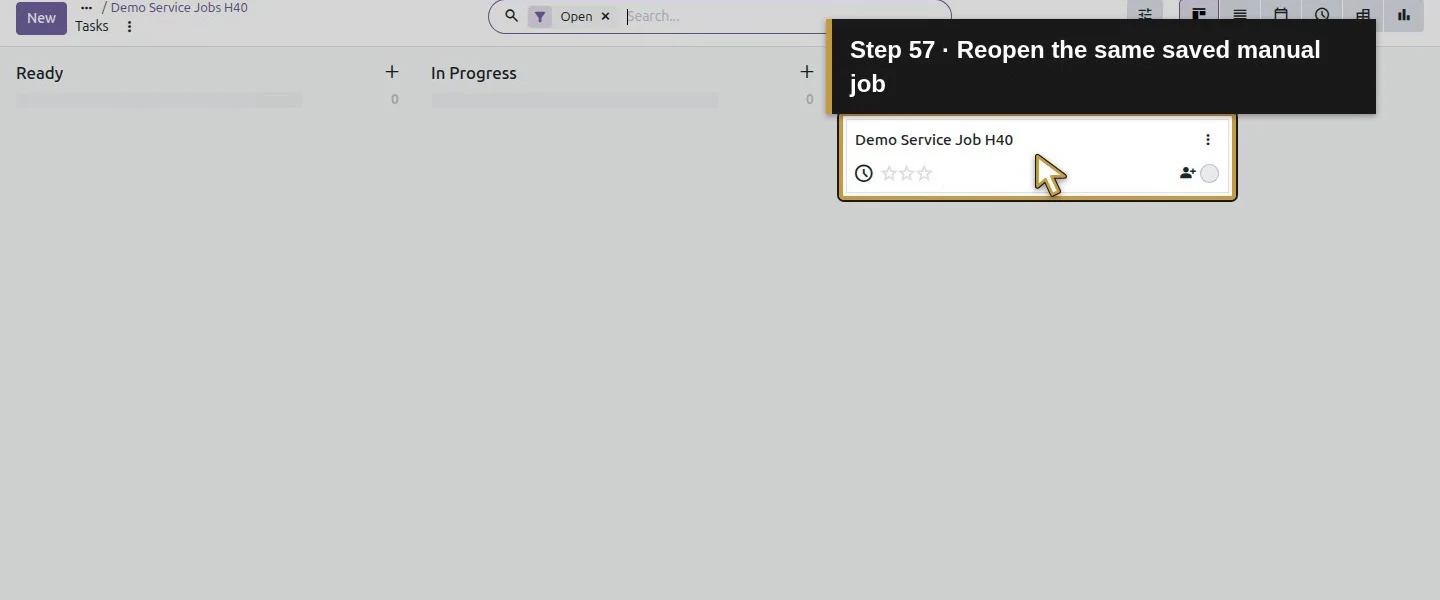
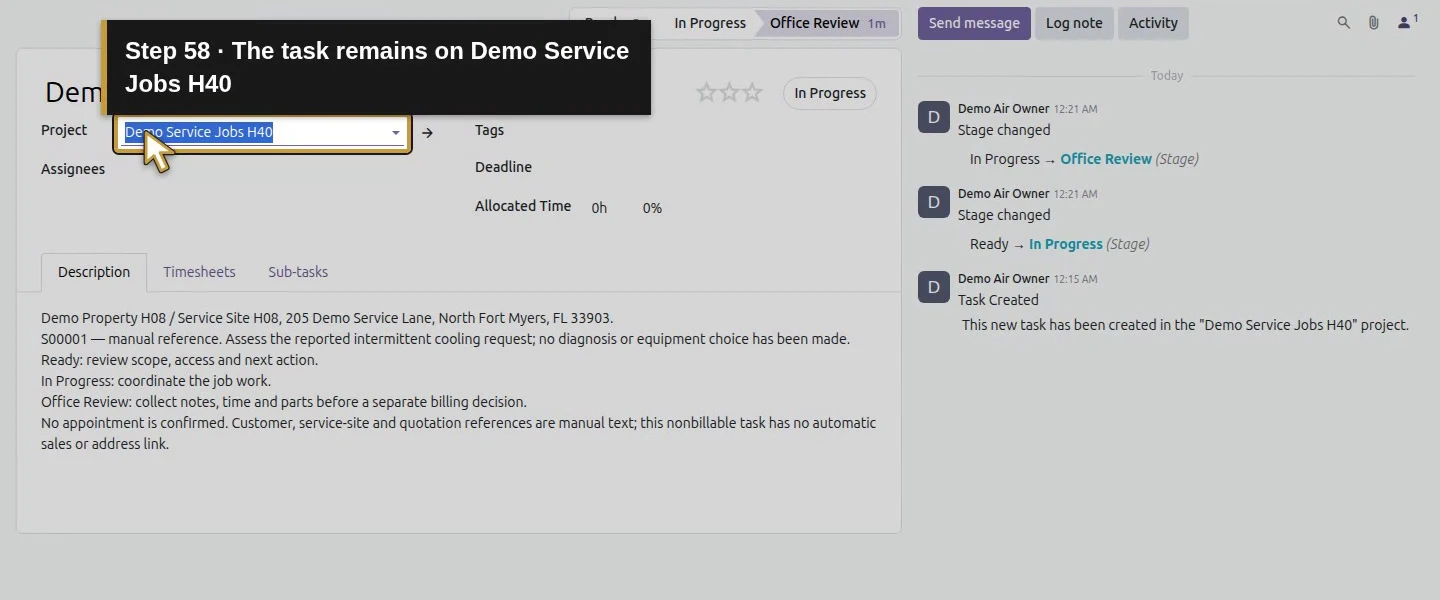
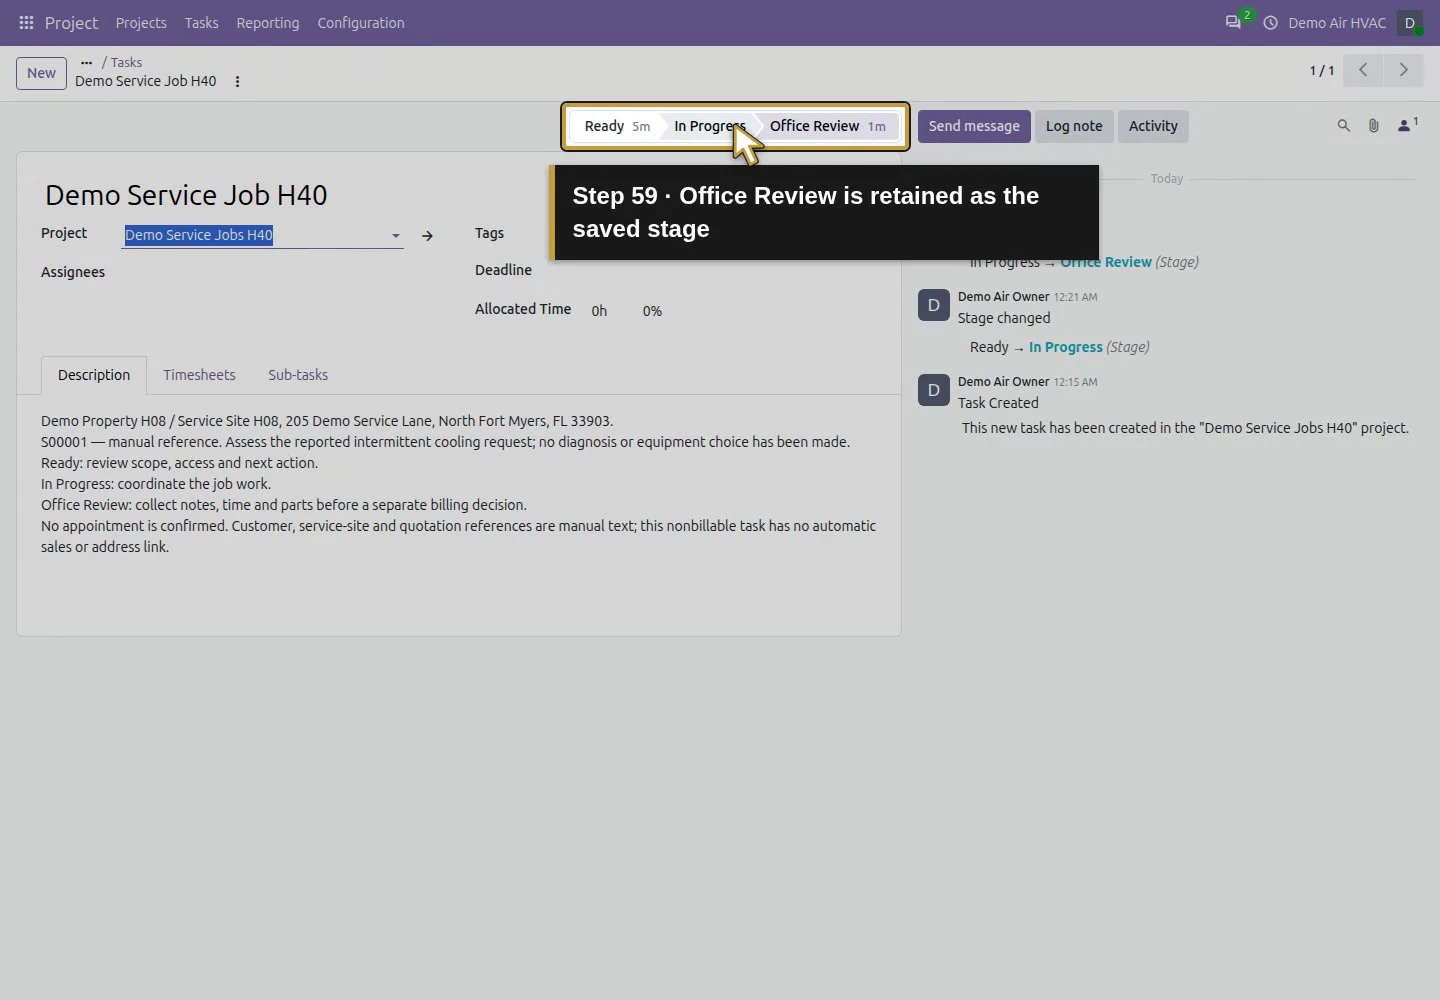
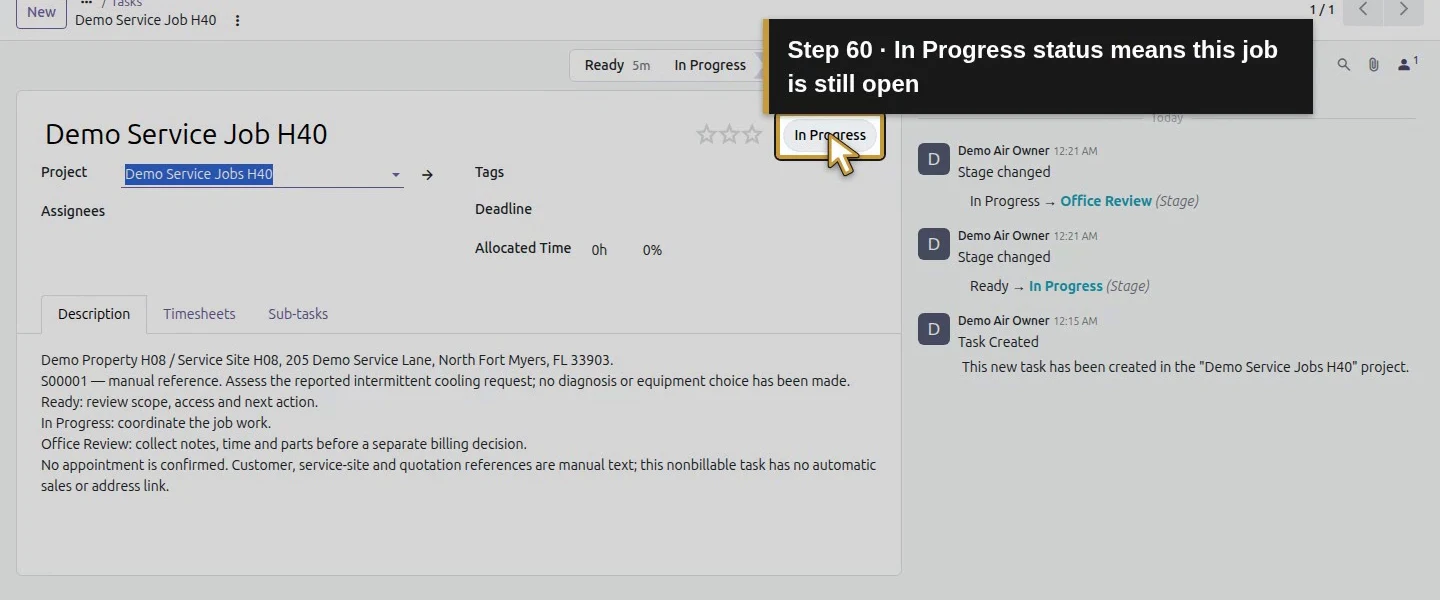
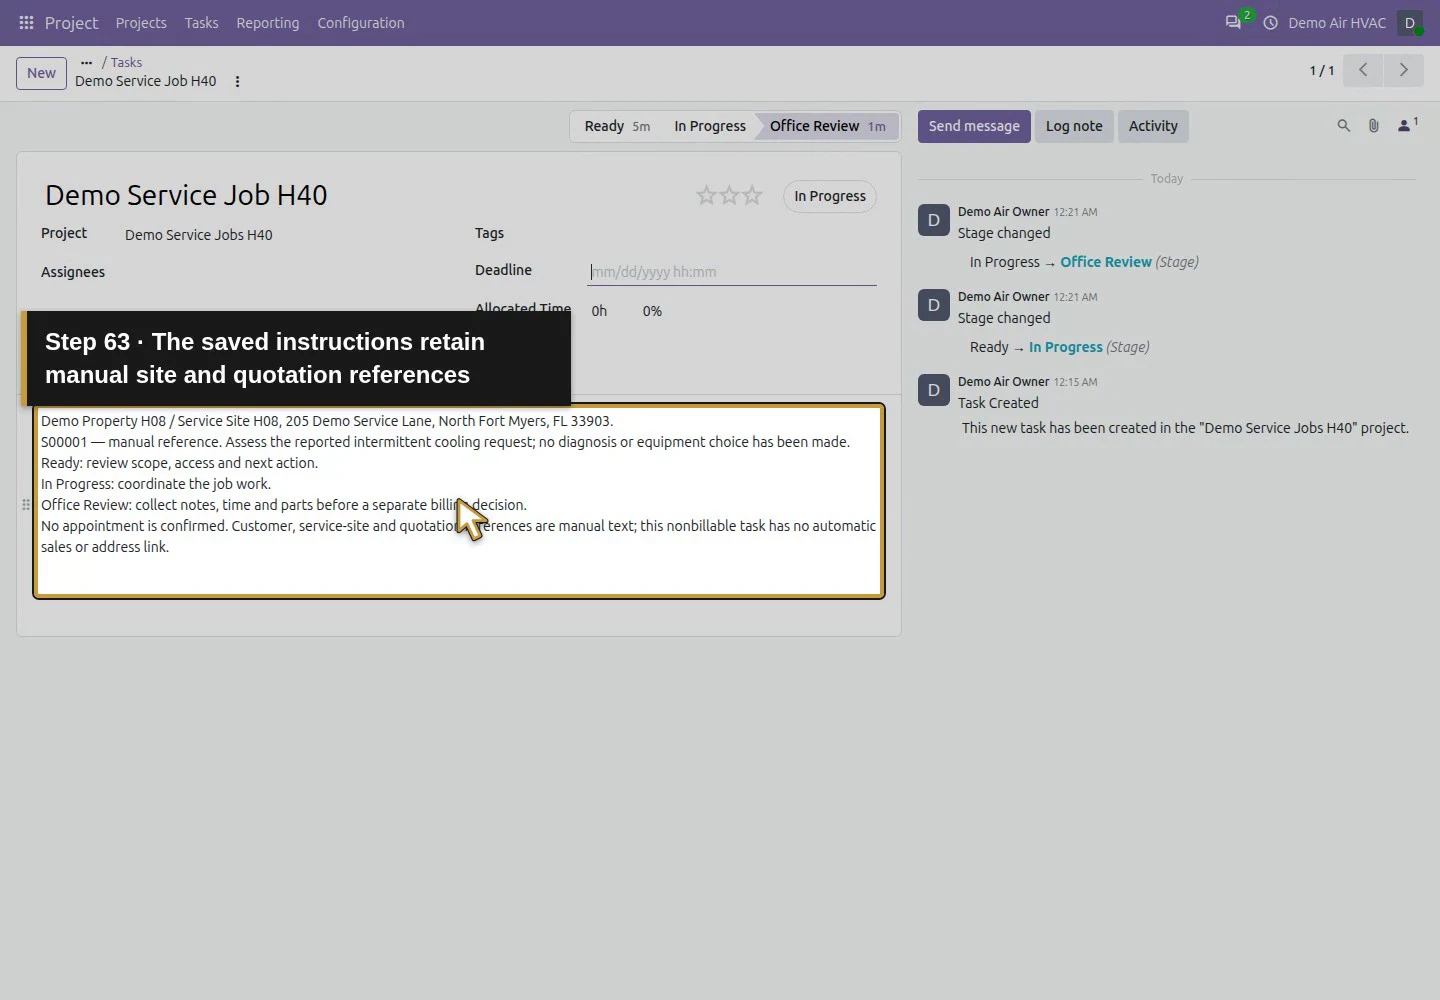
On the task's stage bar, choose In Progress, click Save manually and wait for the save to finish. Then choose Office Review, click Save manually again and wait before reopening the task. Check project, saved Description and Office Review stage. The separate task-status button still shows In Progress. A stage label alone did not close the job, book a visit or make it invoice-ready.
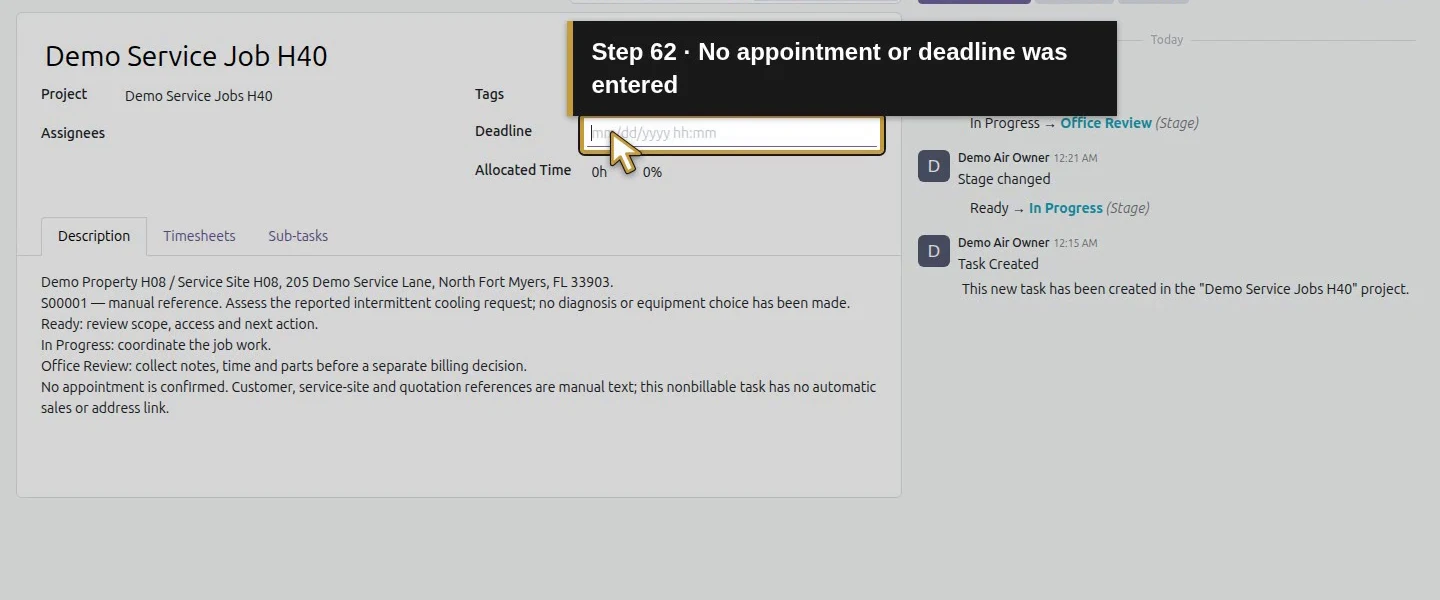
Move this saved job to the In Progress stage.Save the In Progress stage and wait for persistence.The saved job stage is now In Progress.The separate task status also remains In Progress.Choose Office Review for the separate office handoff.Save Office Review once and wait.Return to this project task board.Reopen the same saved manual job.The task remains on Demo Service Jobs H40.Office Review is retained as the saved stage.In Progress status means this job is still open.No technician is assigned by this manual setup.No appointment or deadline was entered.The saved instructions retain manual site and quotation references.
Check the result
Project 2 Demo Service Jobs H40 retains Team members only visibility and the Ready/In Progress/Office Review stages. Task 5 Demo Service Job H40 retains its Description and Office Review stage, while task state remains In Progress. It has no assignee, customer relation or sales-line link; its customer/site/quotation references are manual text. The owner can reopen the project and task.
If your screen differs
New-project visibility initially included internal users and invited portal users; choose the intended option explicitly. This test did not prove access for a technician or portal user. Assignment/role testing stays in its own lesson. Timesheets is enabled and Billable disabled on this project; neither setting proves time entry or invoicing. Project tasks alone do not prove dispatch, route planning, technician availability or a confirmed appointment.
Frequently asked questions
Can I manage HVAC service jobs with Odoo Project?
This native example creates a manual board and task with saved stages and job instructions. It does not demonstrate dispatch, route optimization or customer appointment booking.
How do I create job stages in Odoo Project?
In the project's task board, enter each Stage name and click the check button. This test saved Ready, In Progress and Office Review; the stage header's Settings → Edit lets the owner review the saved name.
Is an Odoo Project stage the same as job completion?
No. After moving this task to Office Review, its separate task status remained In Progress. Closing the work and deciding invoicing readiness require their own review.
Continue building the business
Continue with the sales-generated task guide, which uses a separate verified service configuration. Preserve this manual task as its own example.
Talk to an Odoo partner
Bring your current process and the result you need to Onward to plan your Odoo workflow. Talk to an Odoo partner.