
Running an HVAC business with Odoo
How do I create a workshop repair order in Odoo?
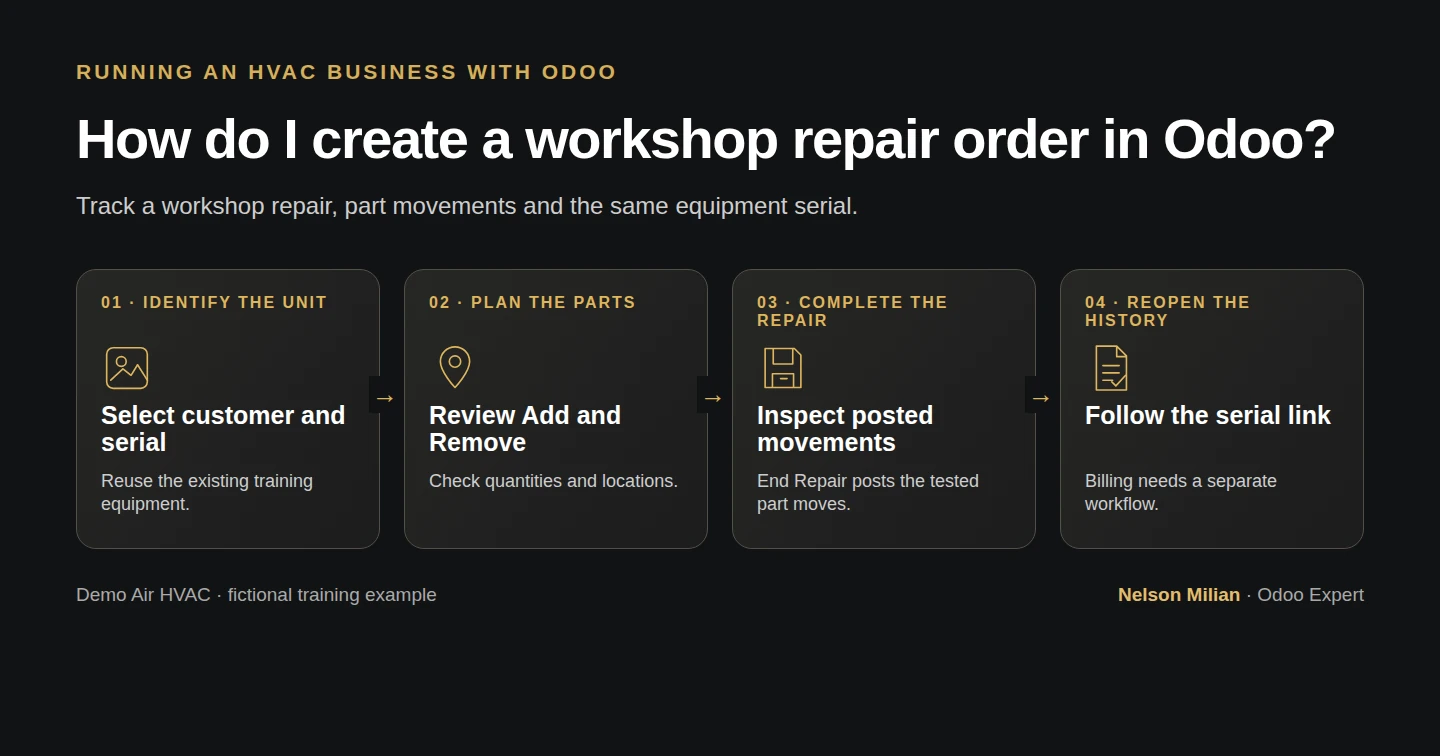
Create a workshop repair order in Odoo, record added and removed parts, and check the serial number and resulting stock movements.
Alex needs a workshop record for a training unit already held in stock. He will record one replacement filter and one removed filter, finish the repair, then check the parts movements and the serial number's repair record.
Alex Rivera and Demo Air HVAC are fictional training examples. Prices, dates, quantities and business situations in this guide are illustrative.
Before you begin
Tested in stock Odoo 20.0-20260926 Community as the demo owner administrator, with official modules and standard configuration. Use the official Inventory and Repairs modules. Complete H33 and H38 first. The example uses the existing Demo Serial Equipment H33, serial DEMO-SN-H33-001, and Demo Return-Air Filter H12. At this checkpoint the warehouse has three filters, the van has two, and the identified unit has one Unit in WH/Stock. Use a training database and review the repair operation's part locations: this test used WH/Stock for new parts, Production for their intermediate destination, and Inventory adjustment for removed parts. The fictional customer reference does not establish ownership or a prior customer return.
Step-by-step workflow
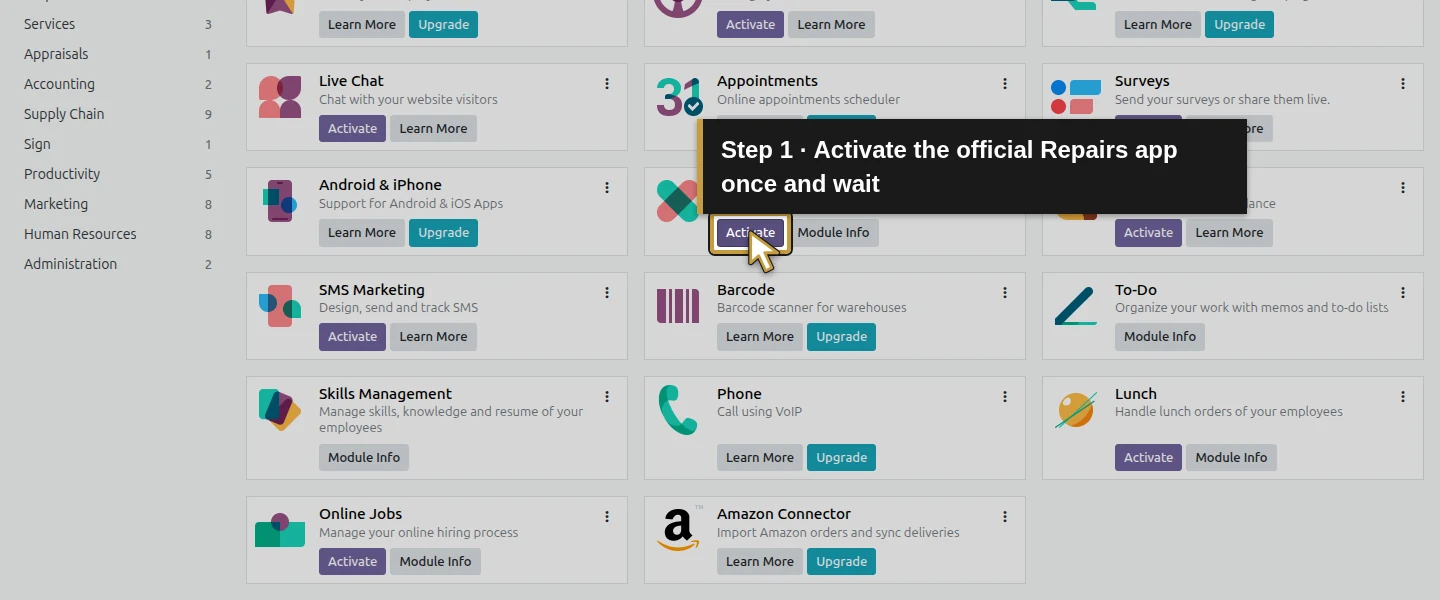
Step 1. Activate the official Repairs app
Open Apps and locate Repairs, technical name repair. Click Activate. In this test it was available as a Community app and installed successfully. Open Repairs → Orders. Existing Inventory stock and the serial number remain the starting records; activating the app does not create the repair for you.
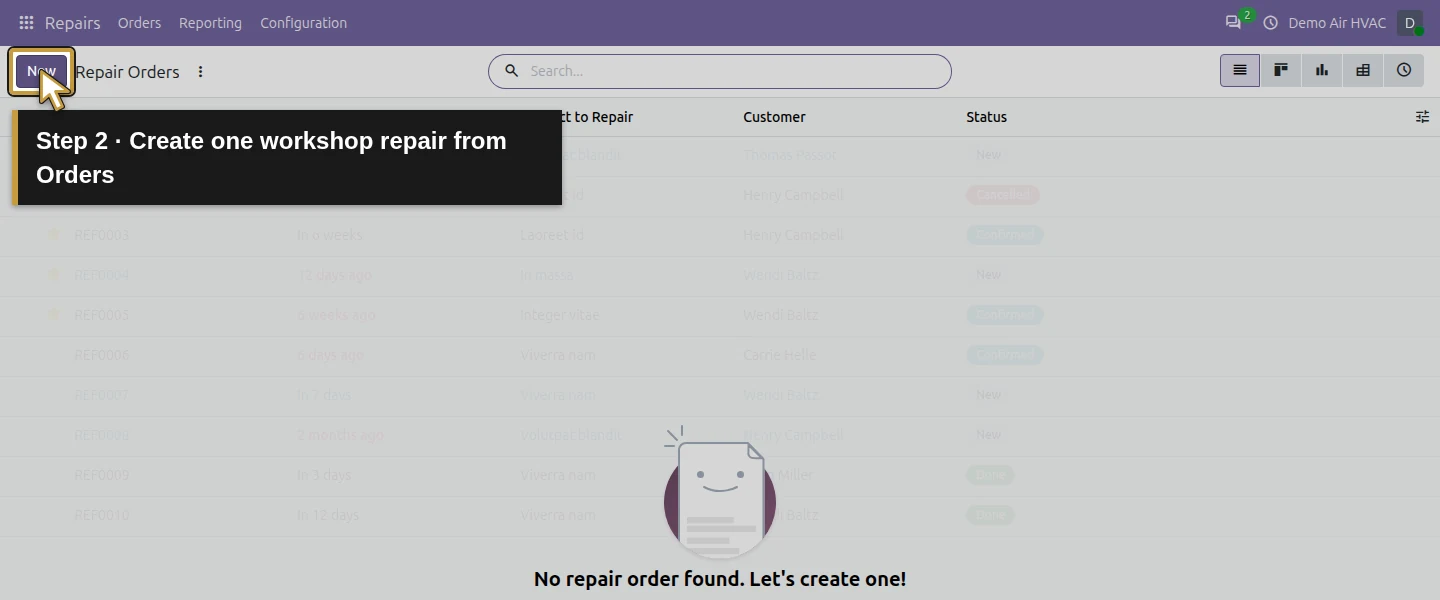
Step 2. Identify the customer and the unit
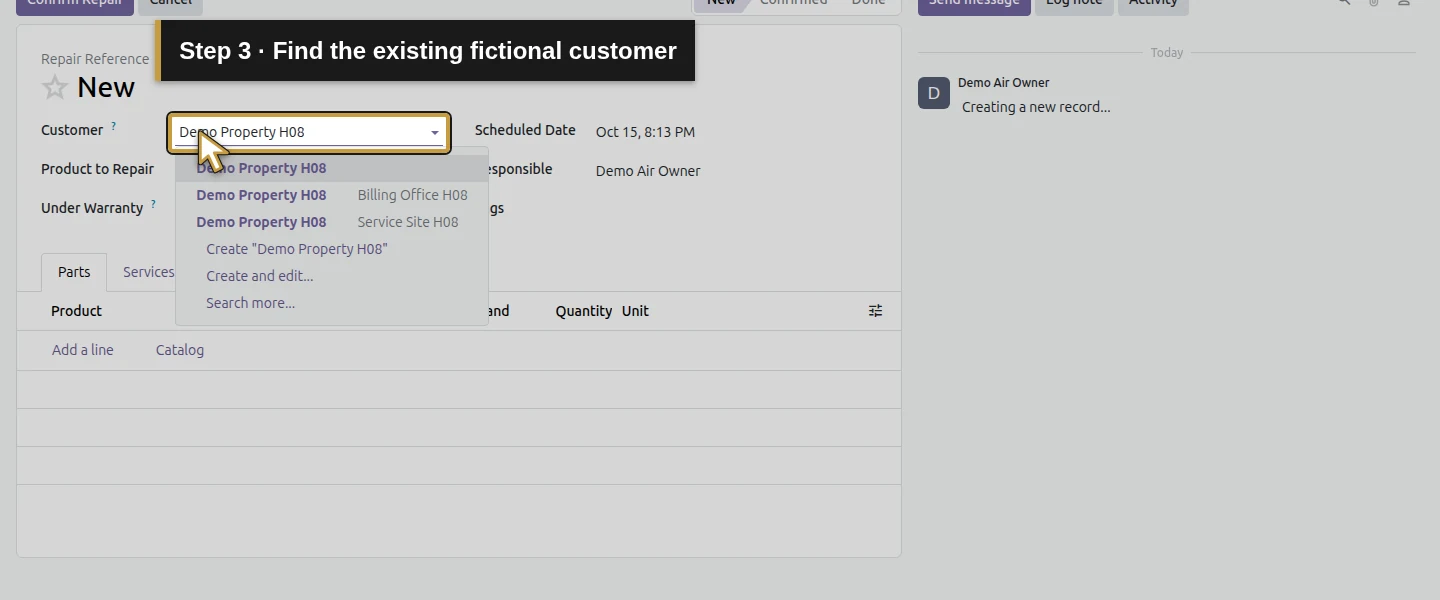
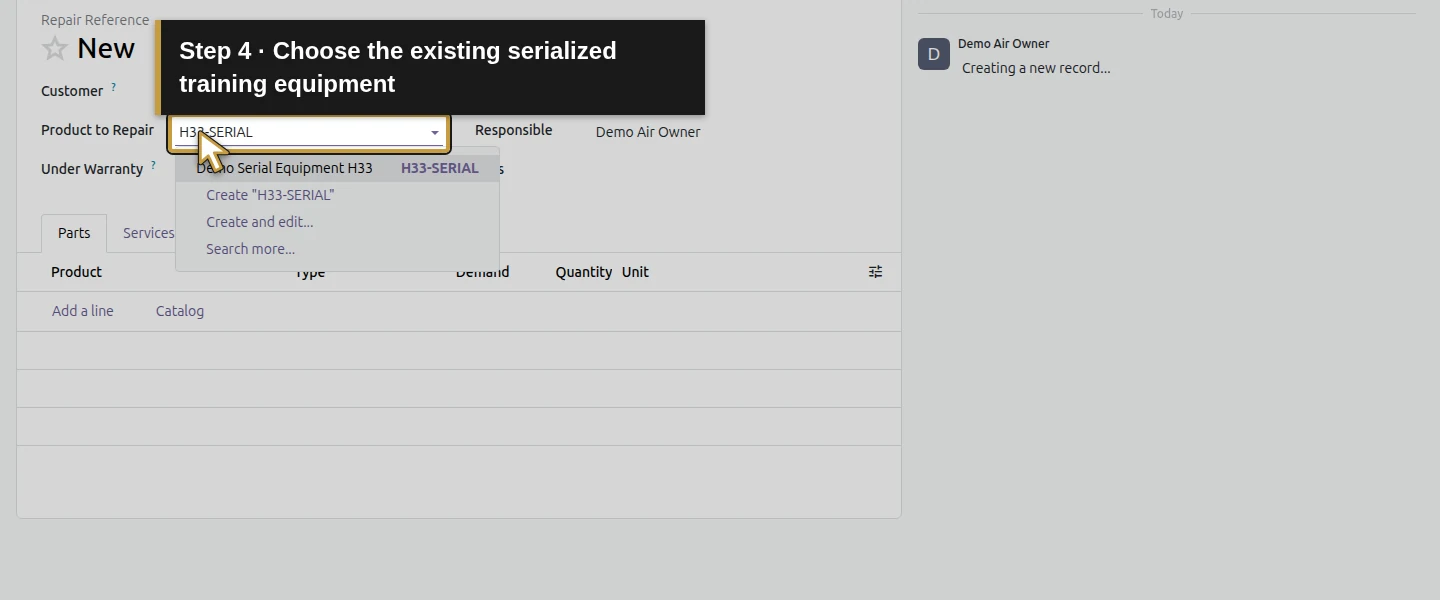
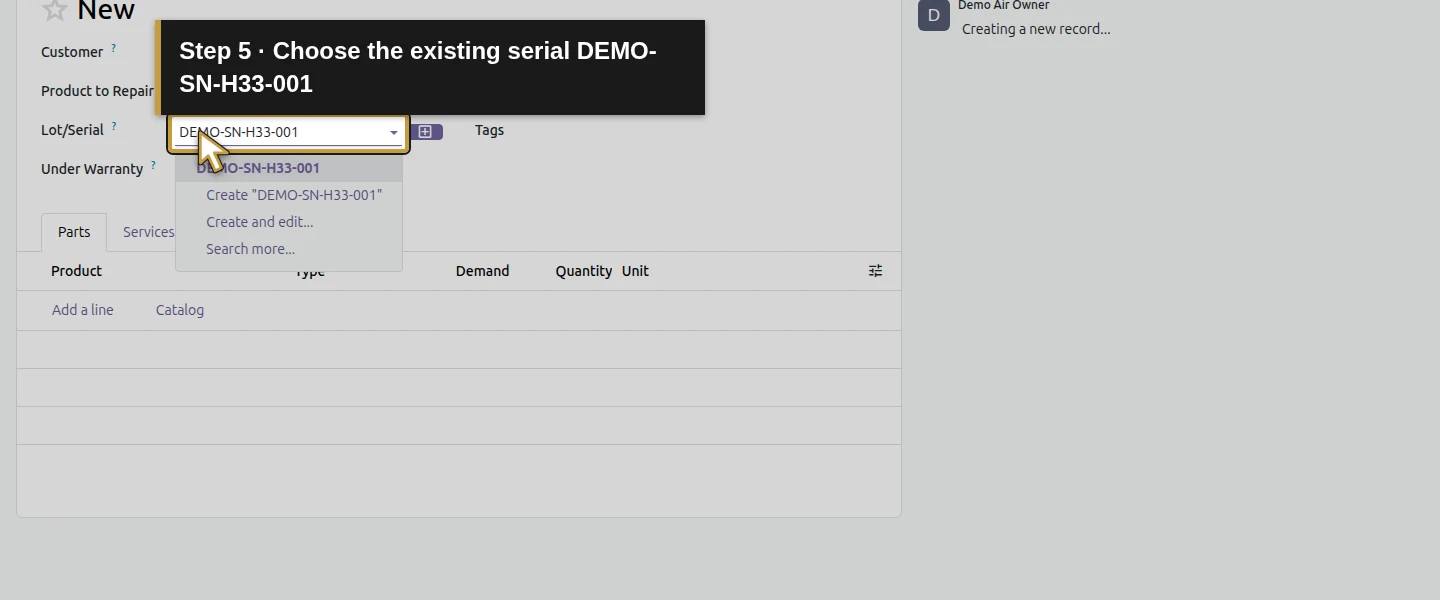
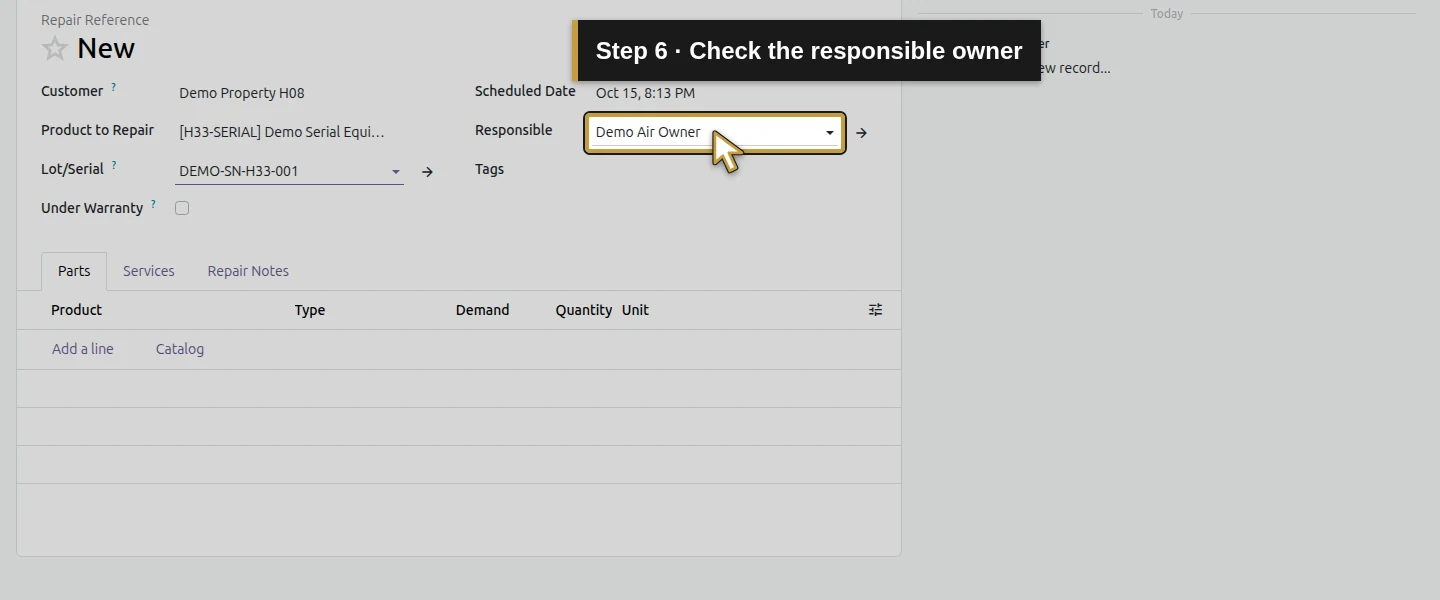
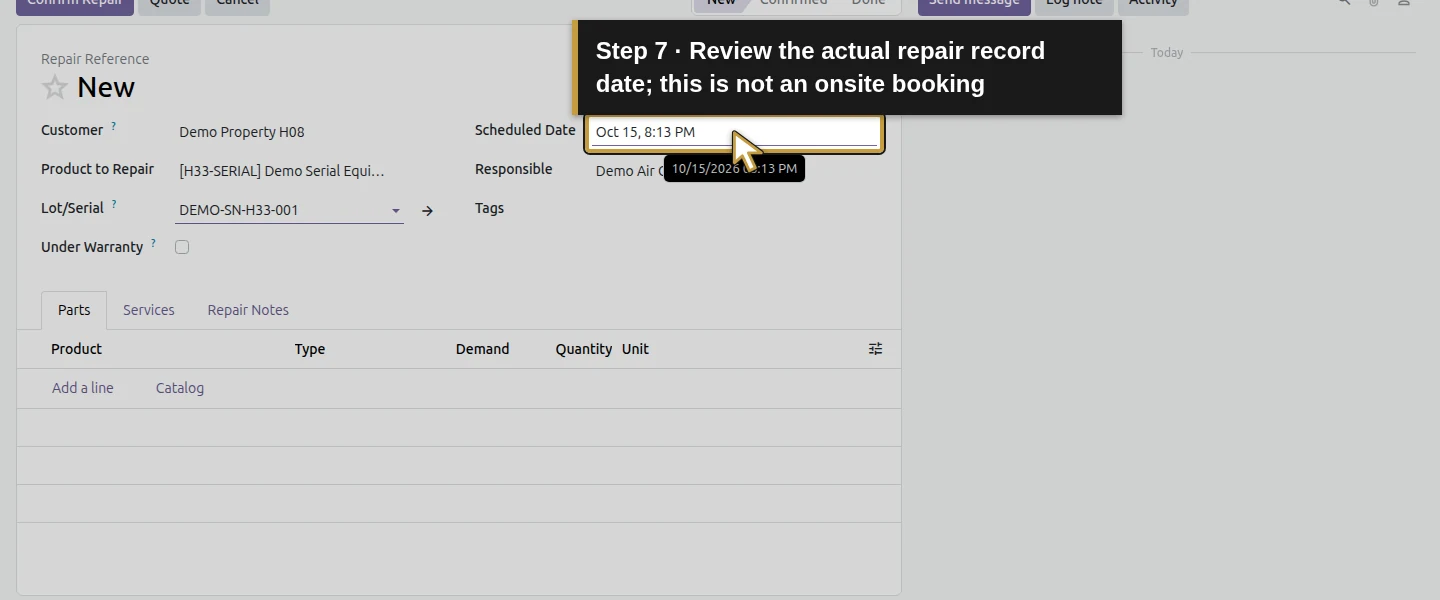
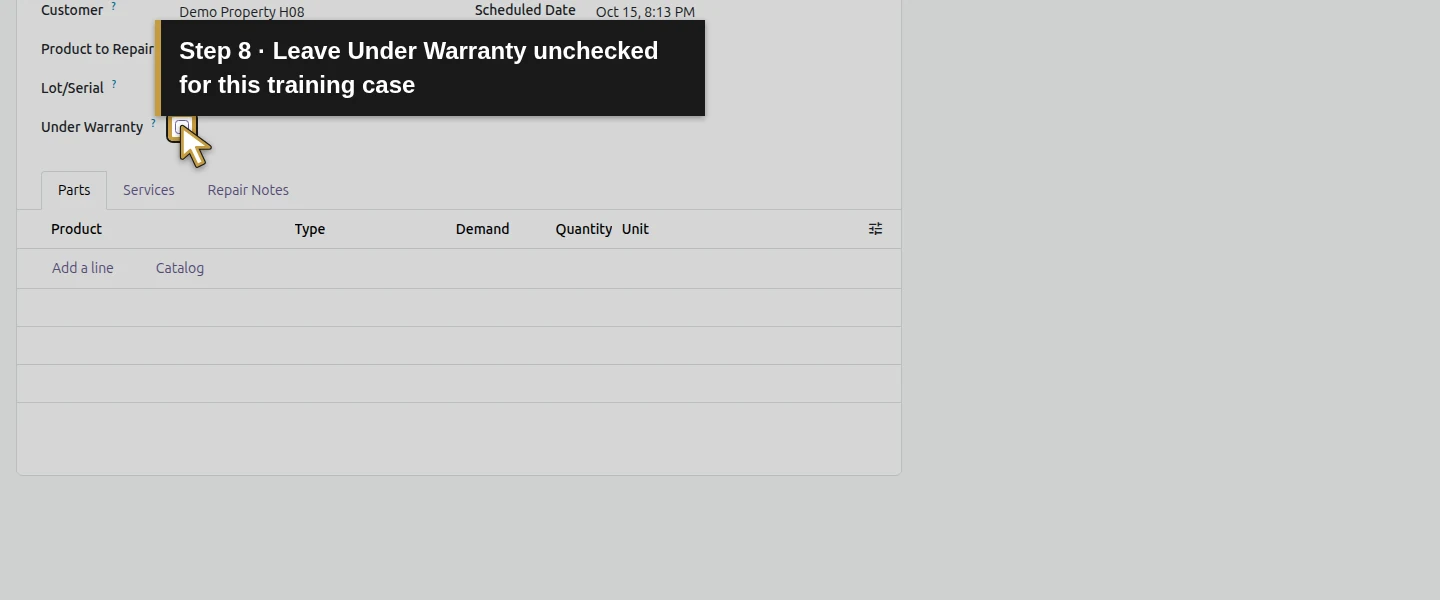
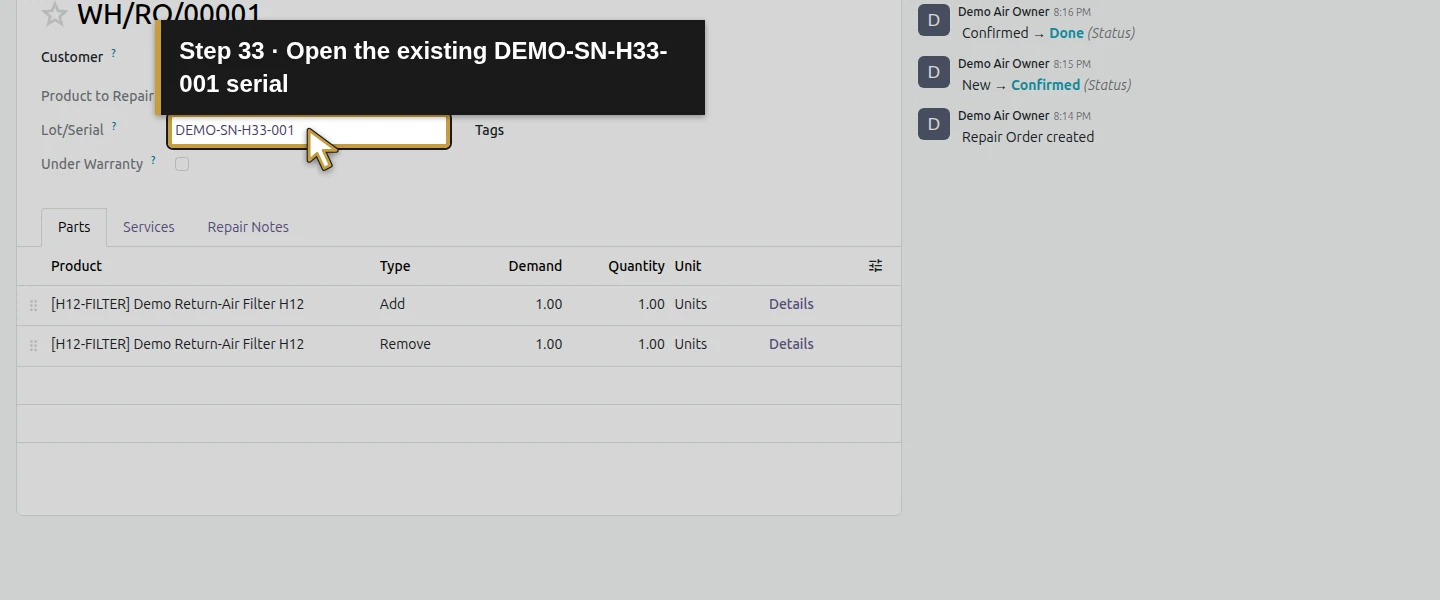
Click New. Select Demo Property H08 in Customer and Demo Serial Equipment H33 in Product to Repair. In Lot/Serial, choose the existing DEMO-SN-H33-001 entry. Review the Responsible person and Scheduled Date. This serial-tracked form does not show a separate Product Quantity field; Step 8 checks the completed movement for 1 Unit. Leave Under Warranty unchecked for this example. A scheduled date here is a repair record date; this workflow does not book an onsite visit.
Step 3. Write the repair instructions
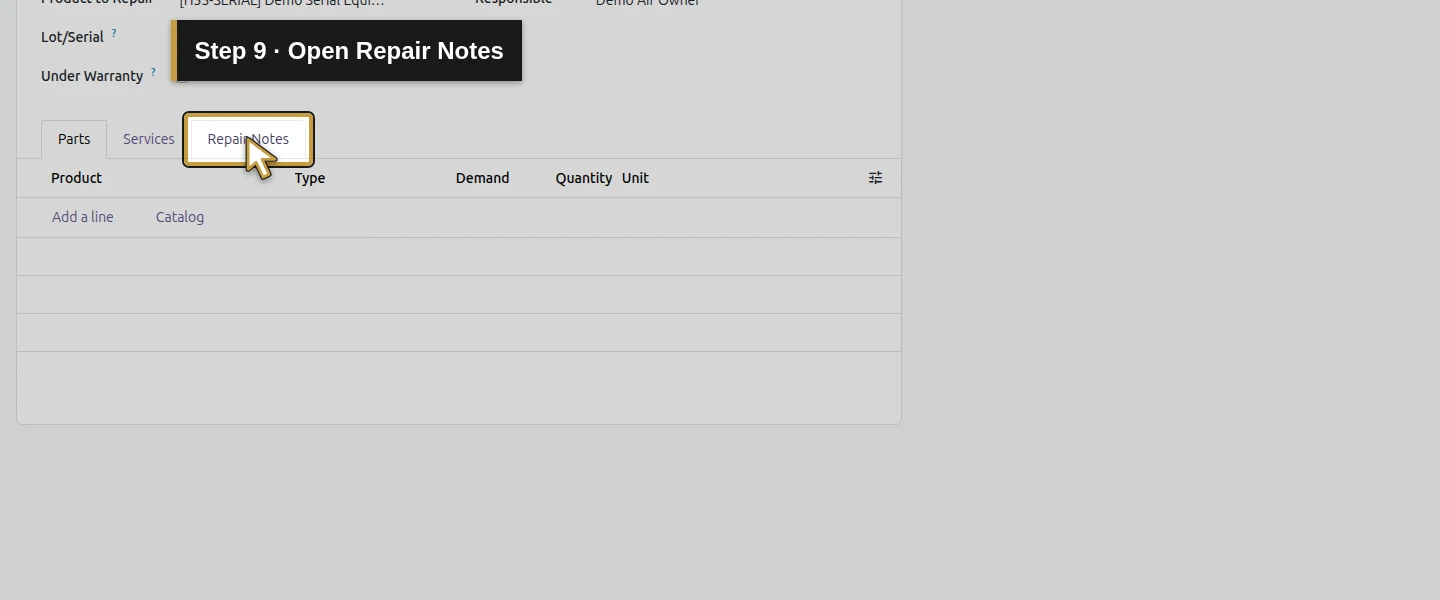
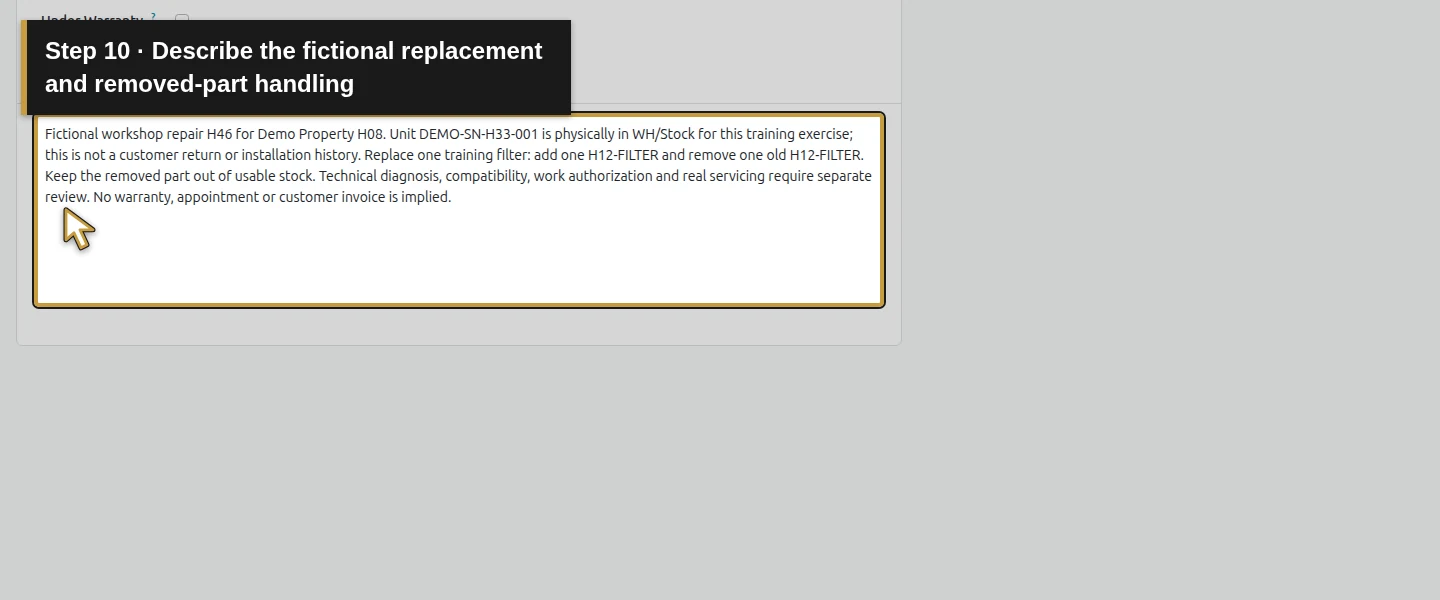
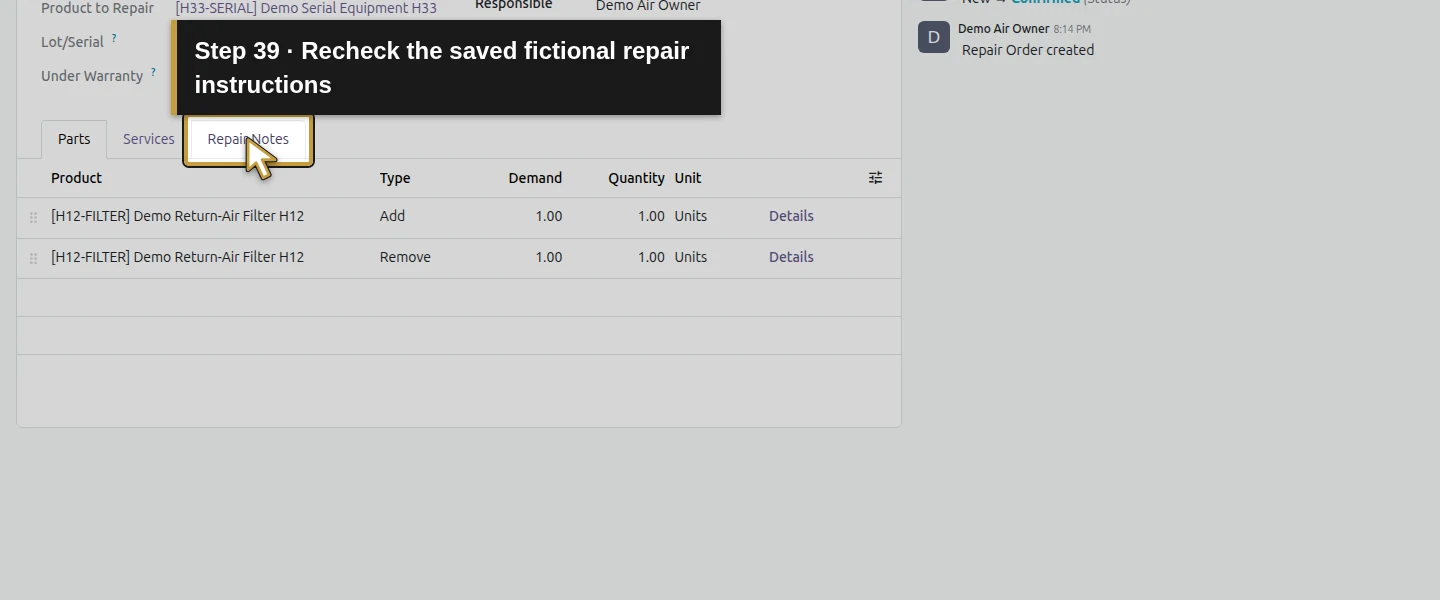
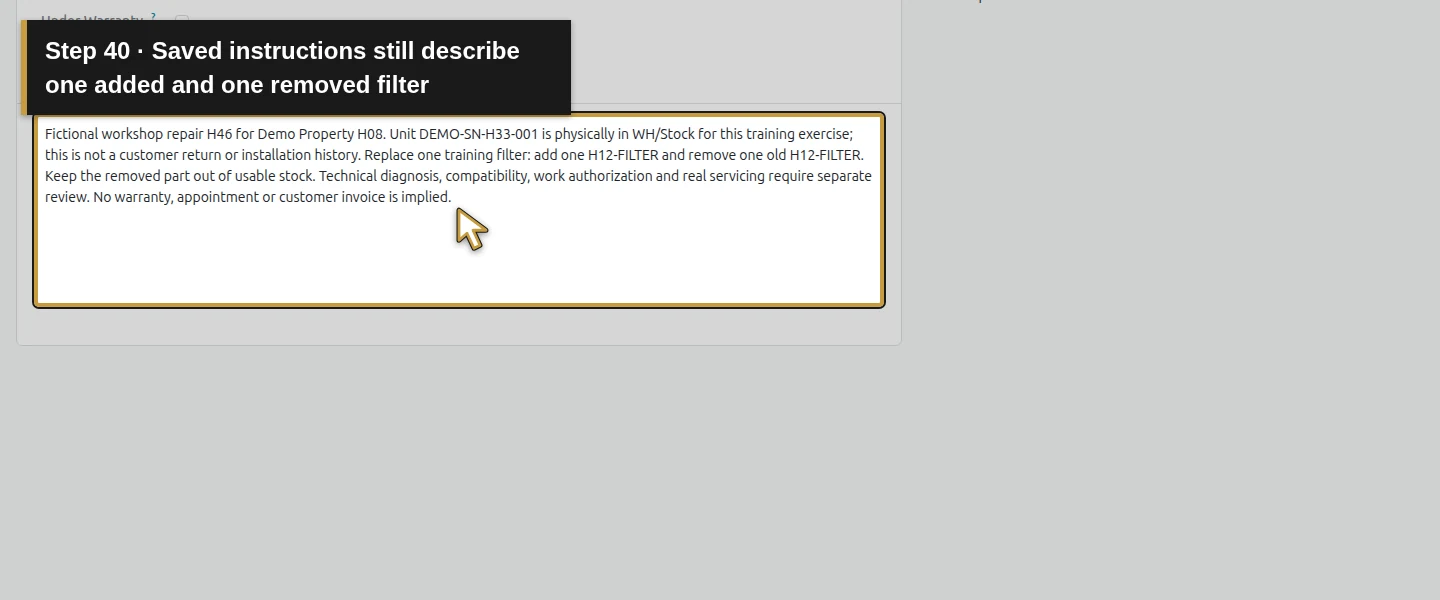
Open Repair Notes. Describe the fictional filter replacement, the identified unit and the training location. State that one new filter will be added and one old filter removed, with the old part kept out of usable stock. Technical diagnosis, compatibility, authorization and any real warranty decision require separate review. Save these details with the parts below.
Step 4. Add the replacement and removed-part lines
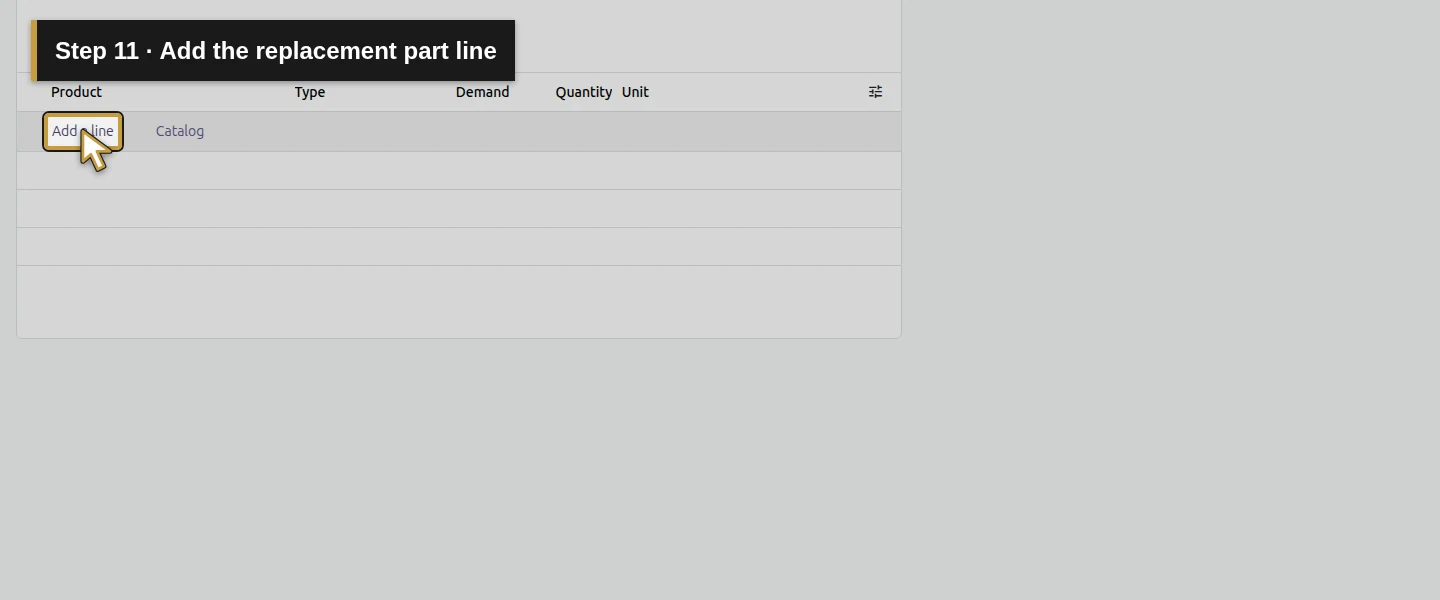
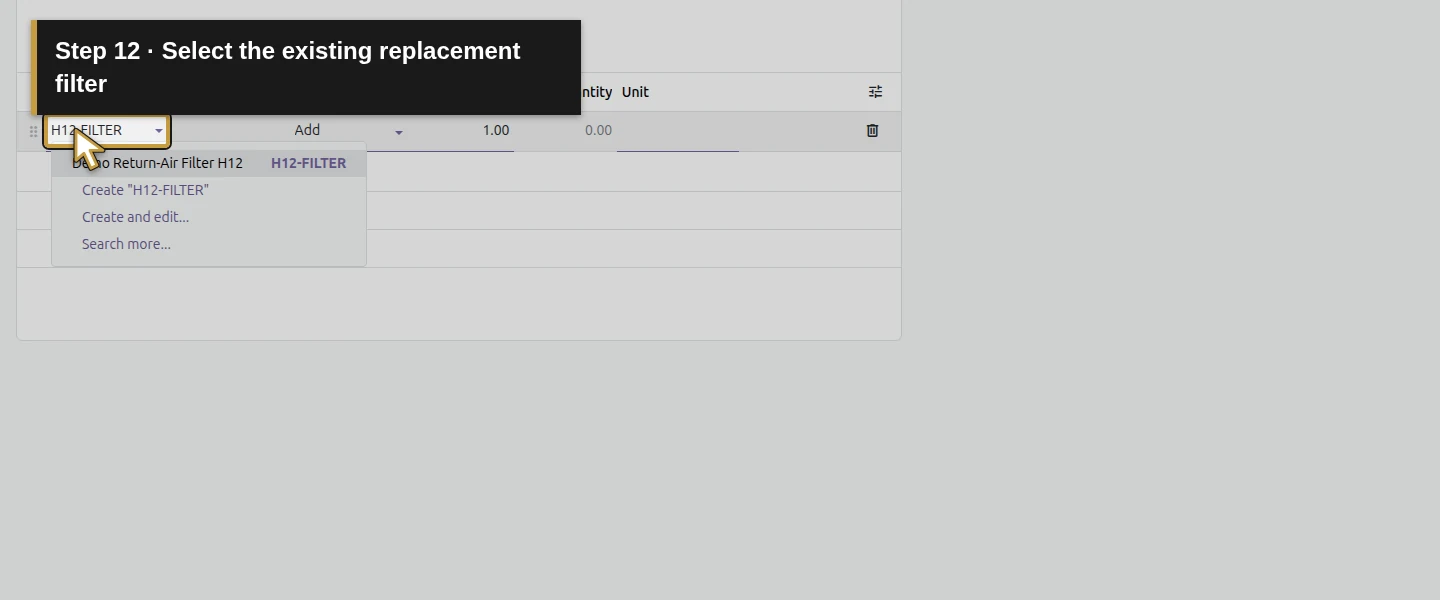
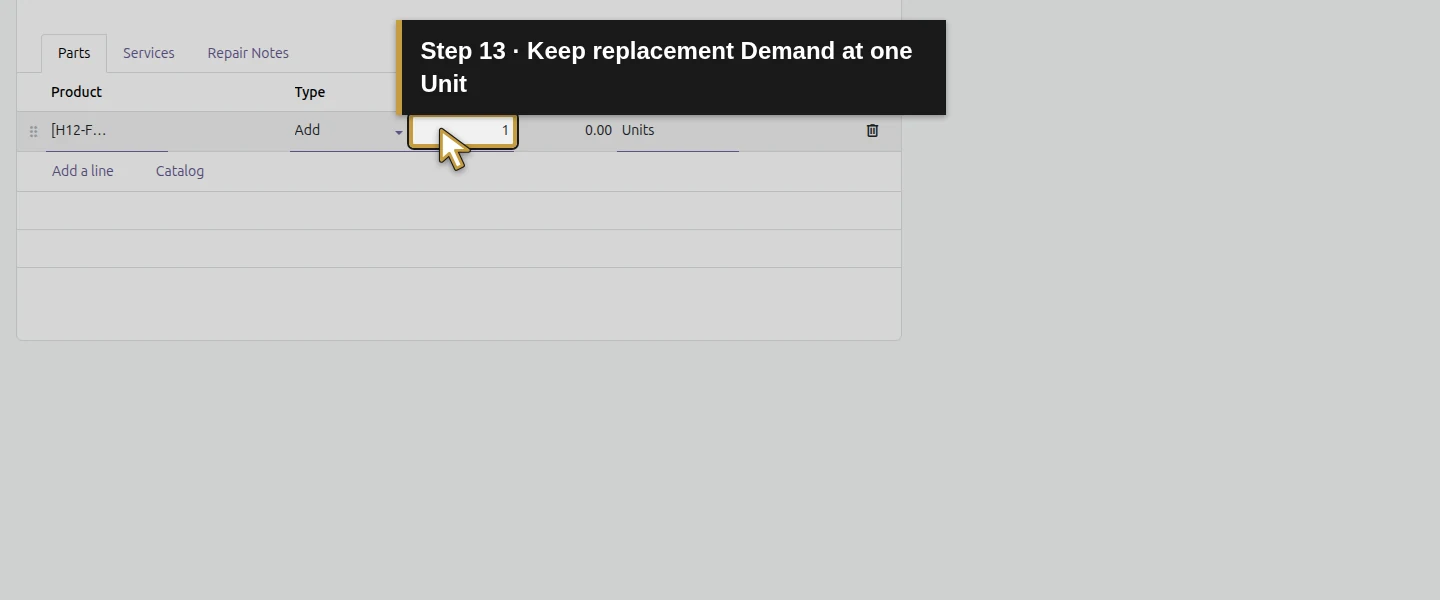
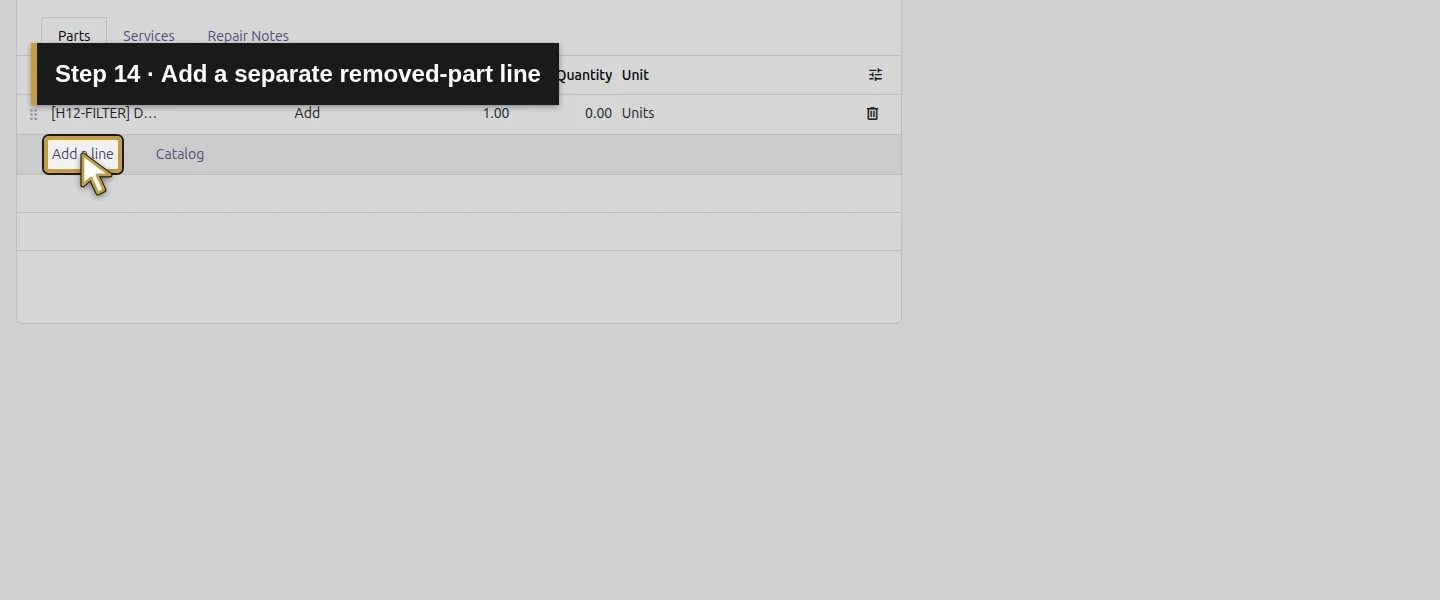
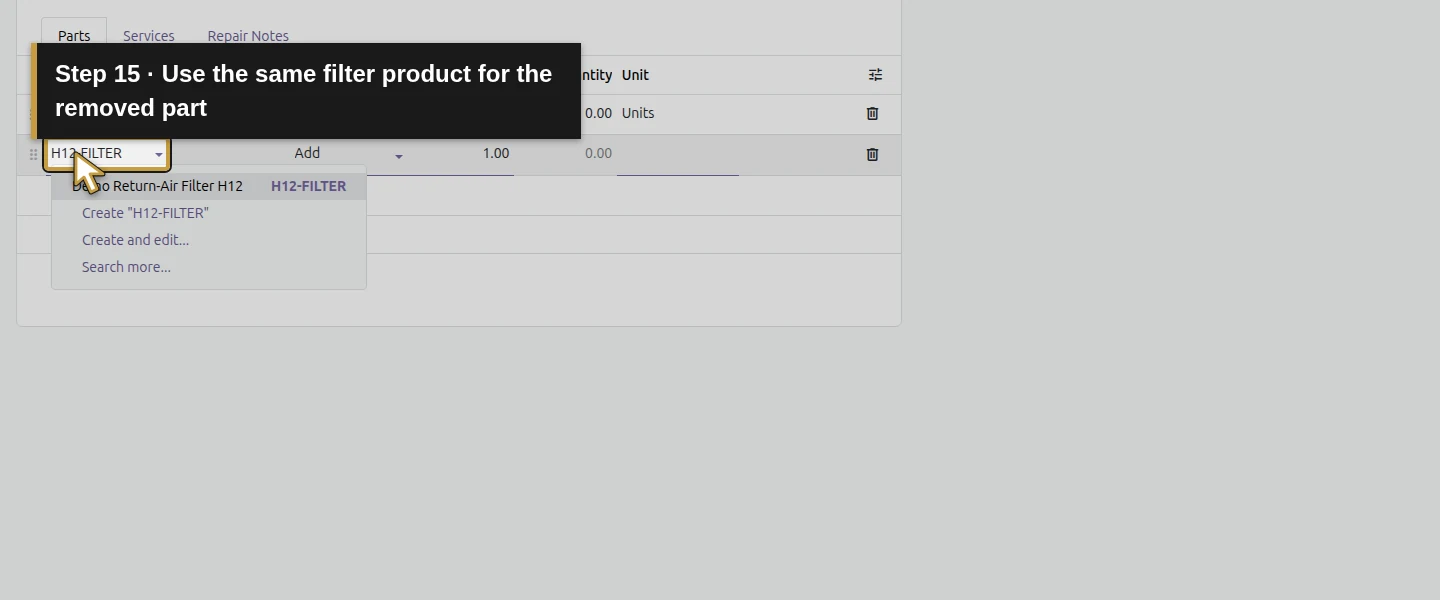
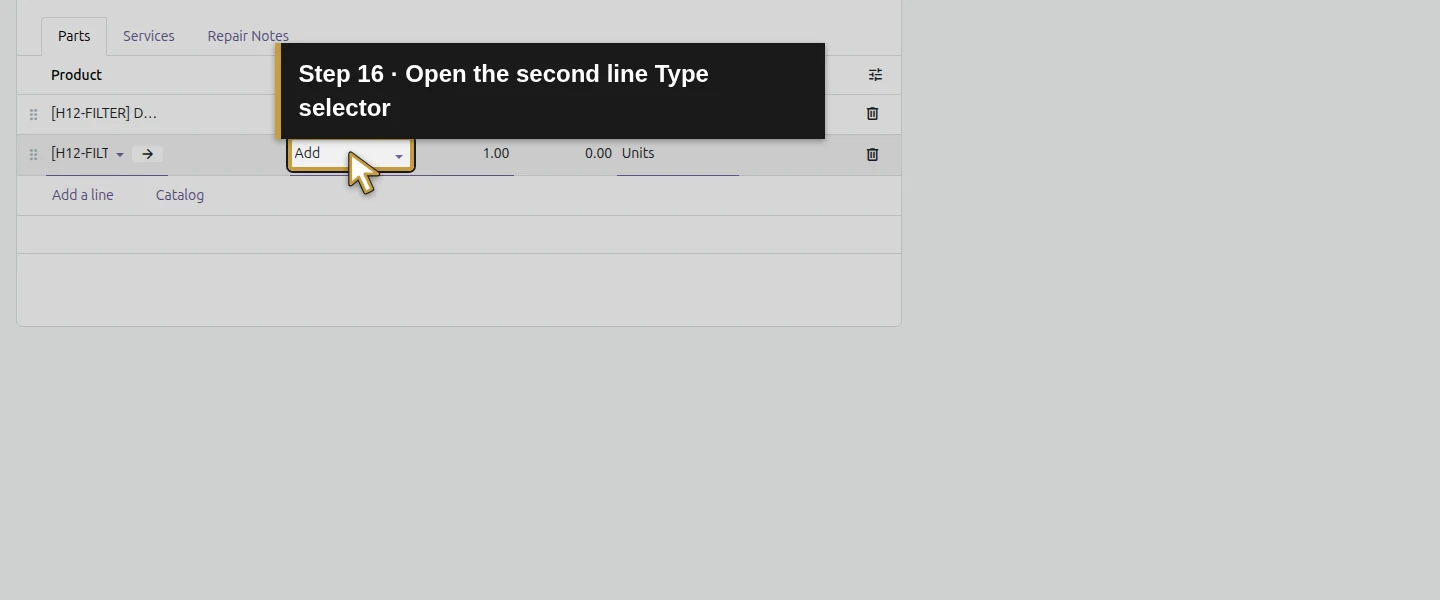
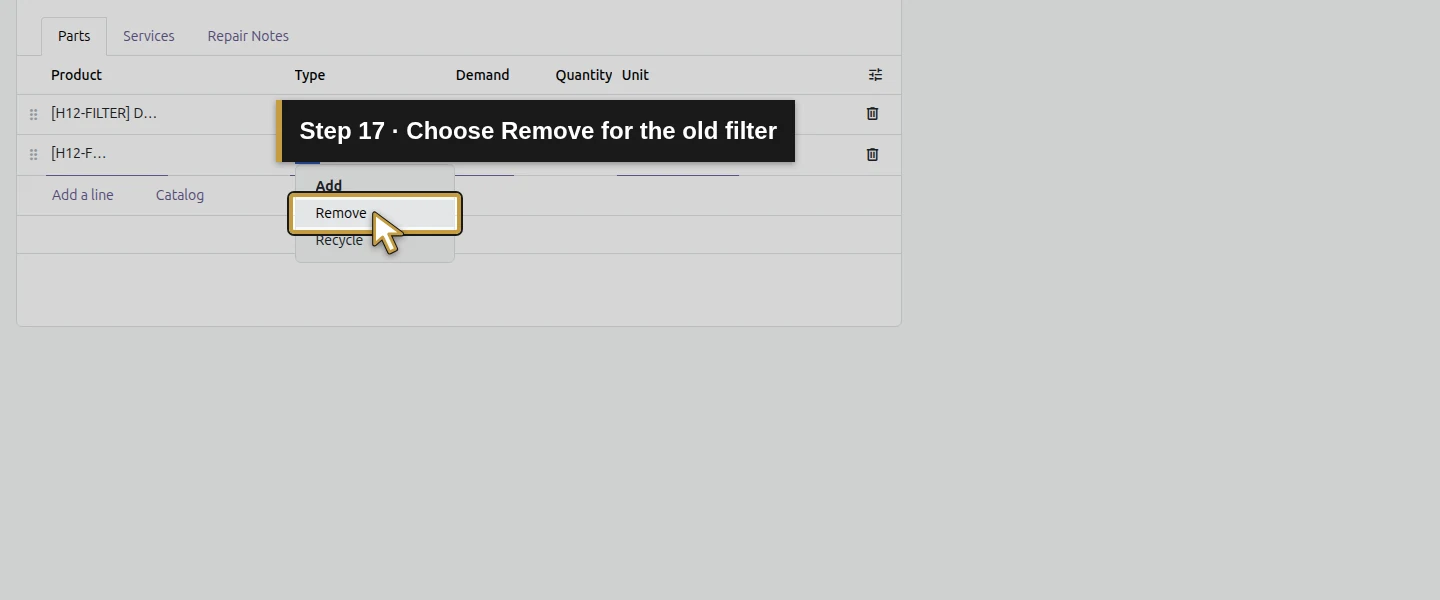
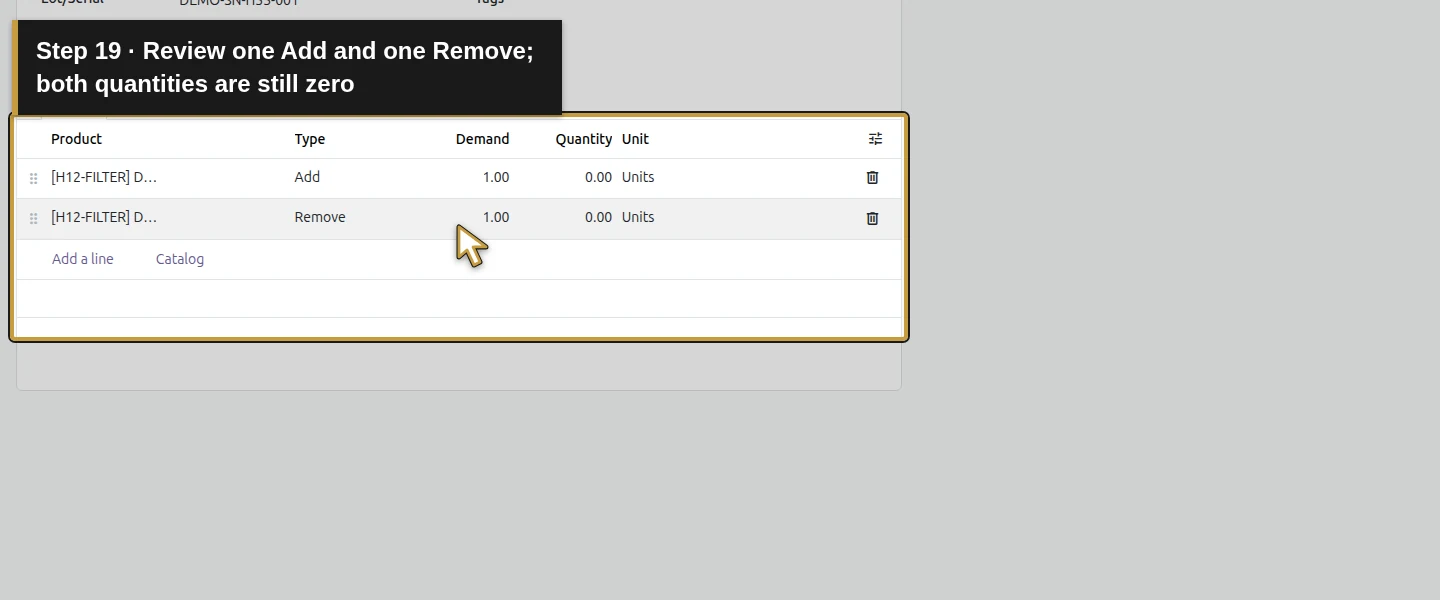
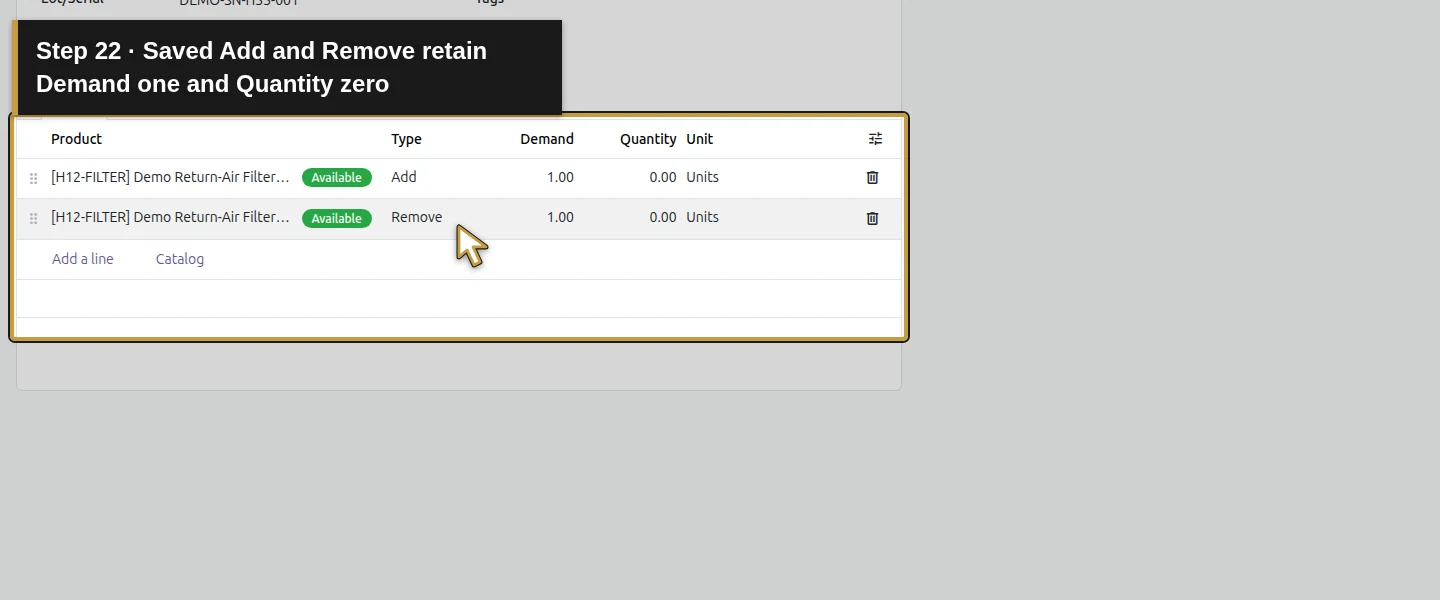
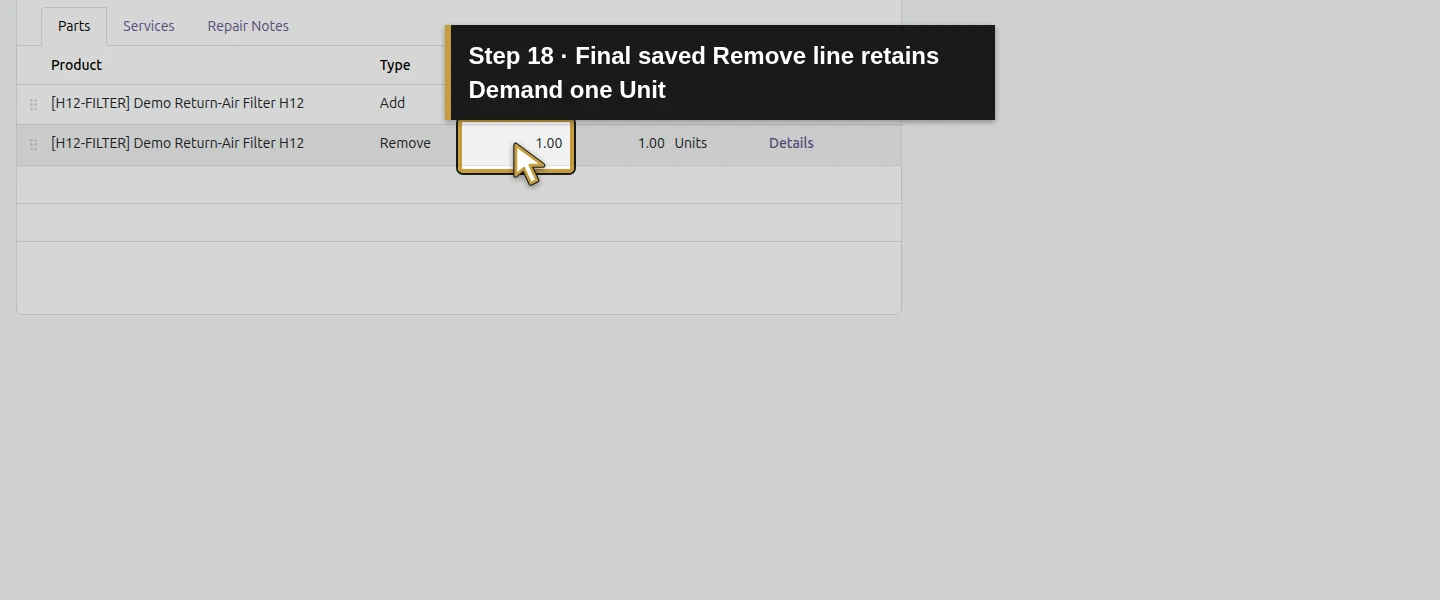
On Parts, click Add a line and select Demo Return-Air Filter H12 from the product picker. Keep Type as Add and Demand as 1 Unit. Add a second line for the same product. Open its Type selector and choose Remove, also with Demand 1 Unit. Before confirmation both Quantity values are zero in this example. The two types describe different movements; do not enter two Add lines for a replacement.
Step 5. Save and confirm the repair
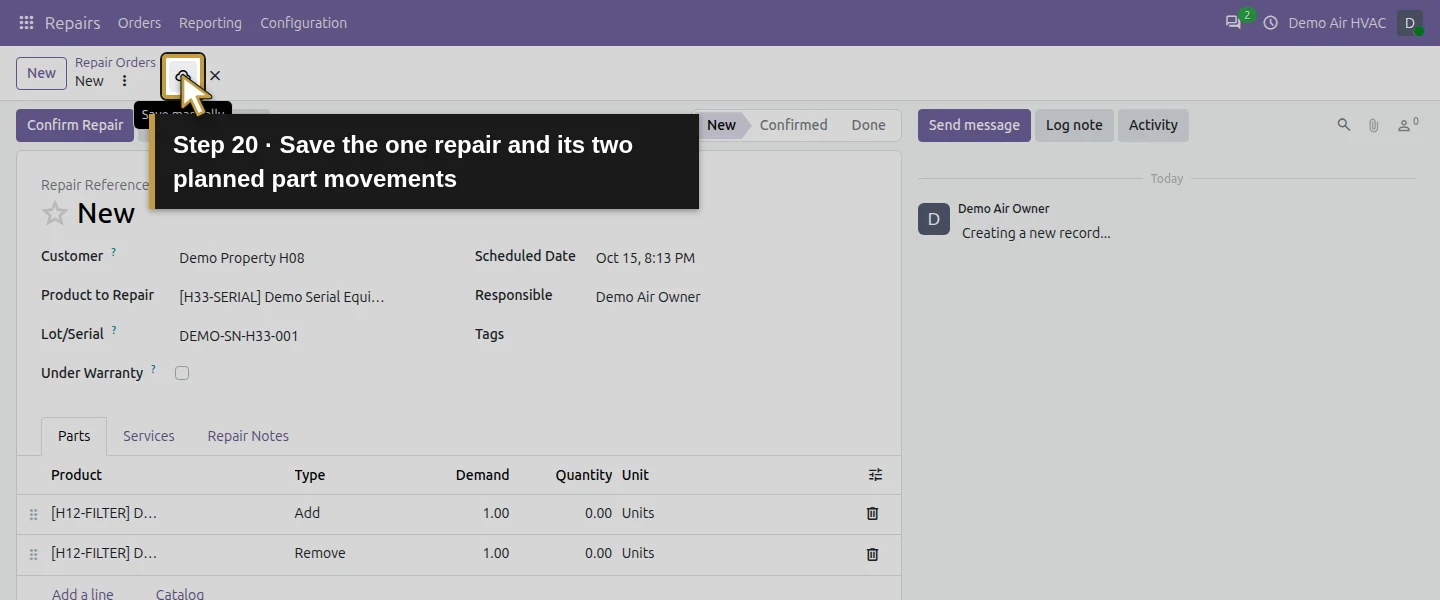
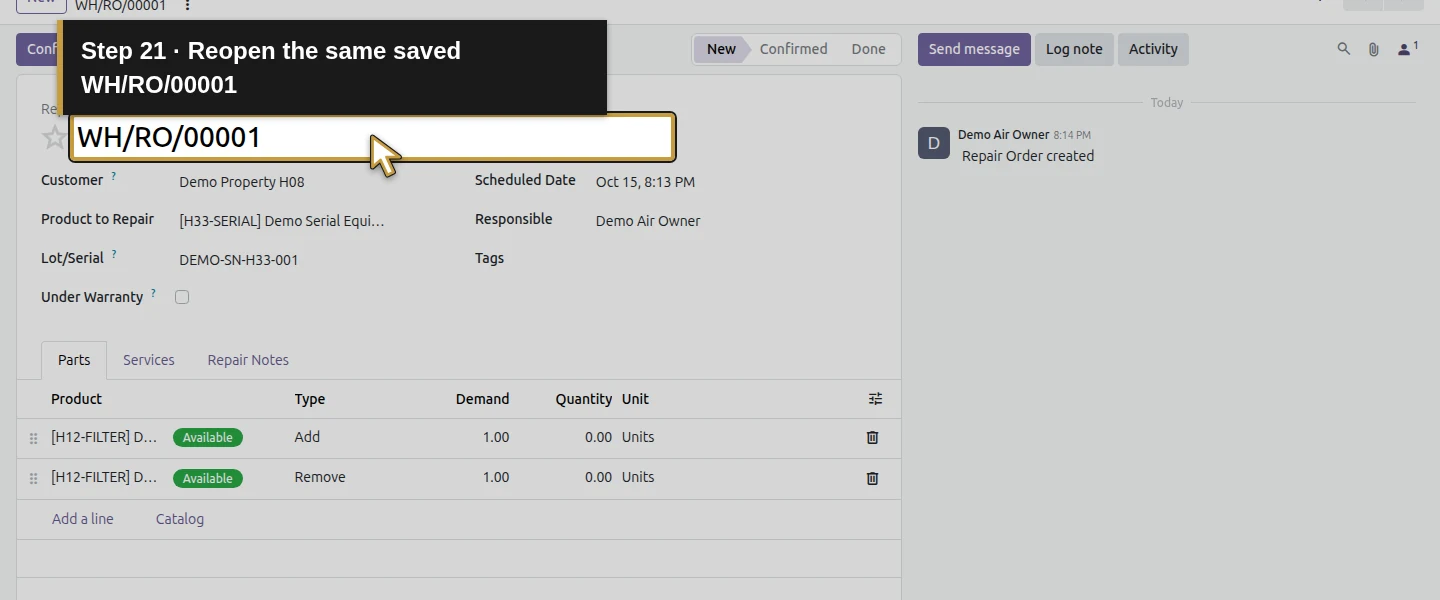
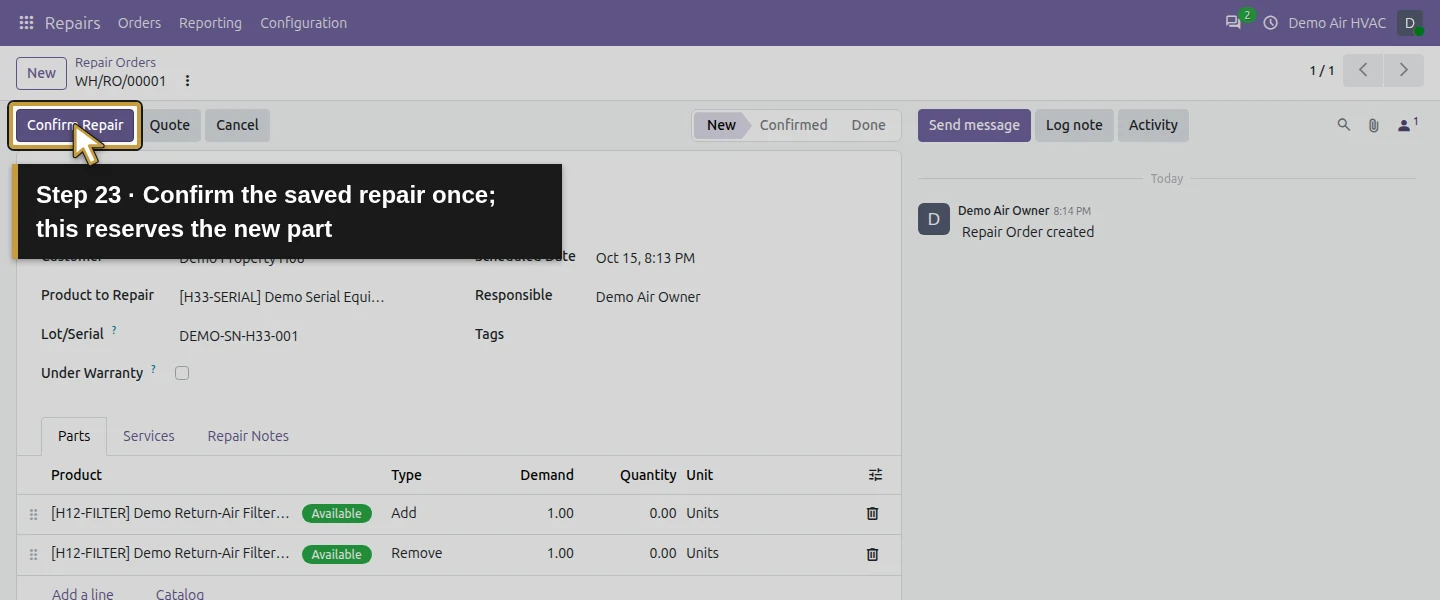
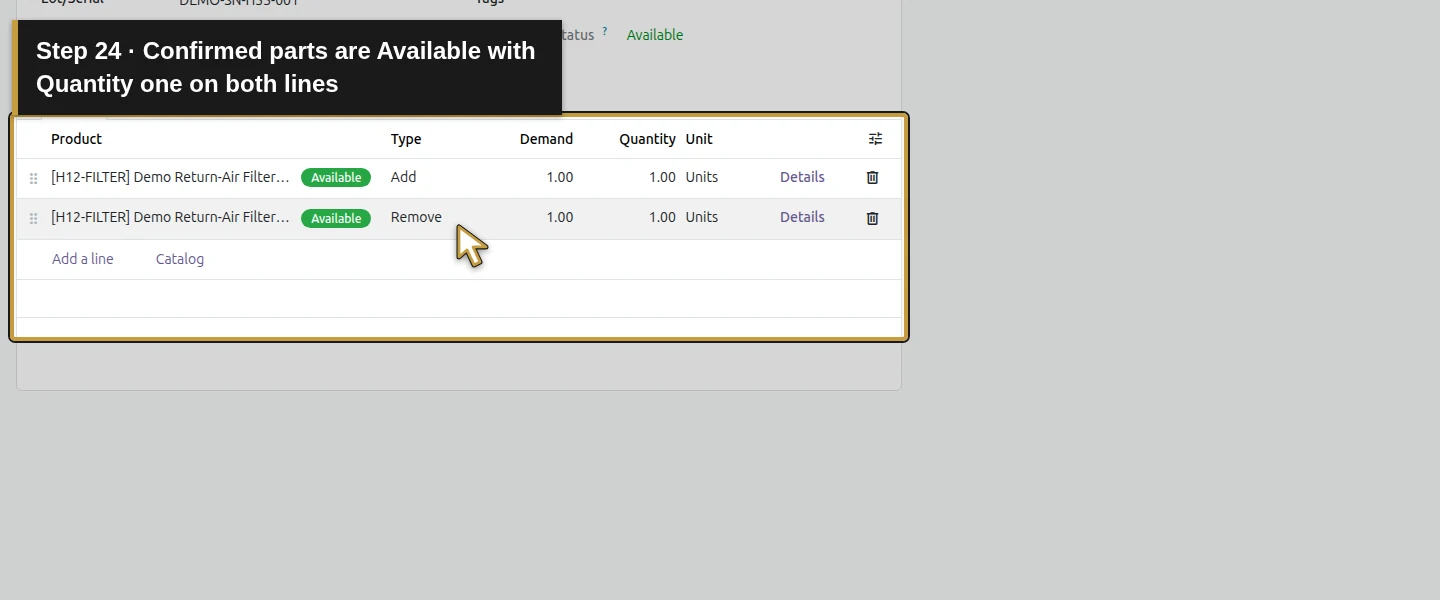
Click Save manually and reopen the saved repair, WH/RO/00001. Check the customer, equipment, serial and the Add/Remove types. Click Confirm Repair. The status becomes Confirmed, Component Status is Available, and the two Quantity values become 1.00. The new filter is reserved from WH/Stock, while physical filter stock remains five at this stage. Check the quantities against the actual training work before finishing.
Step 6. Review the reserved part
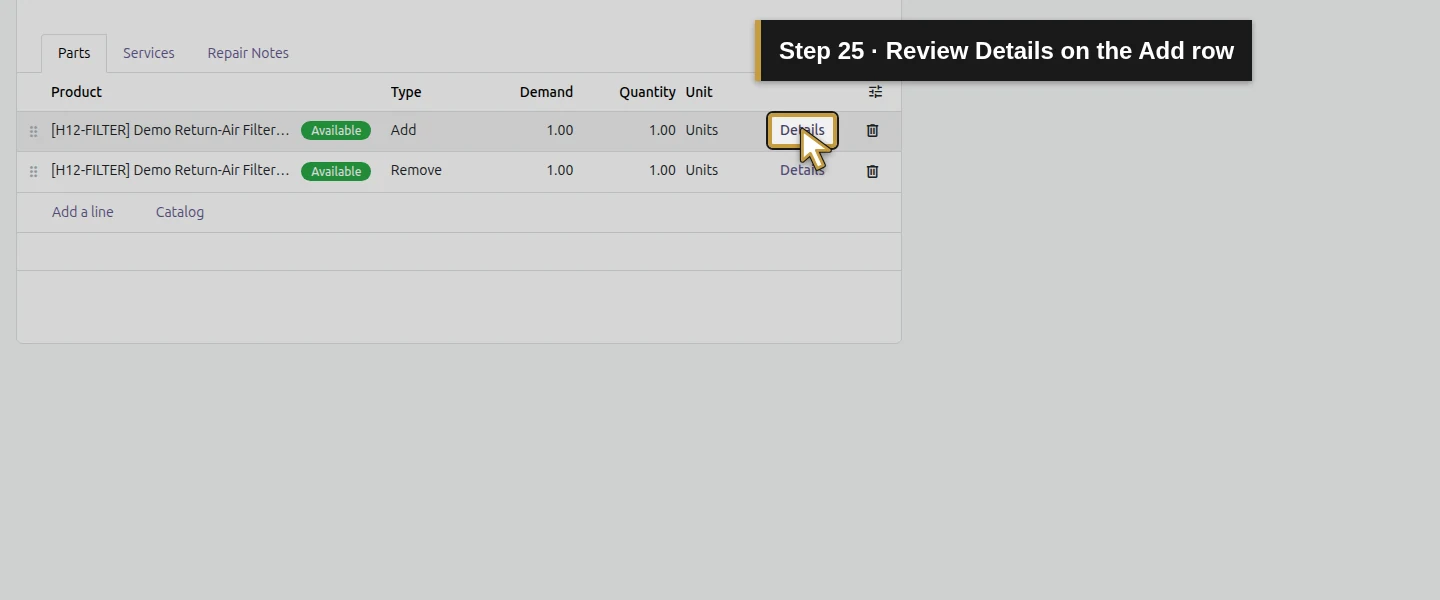
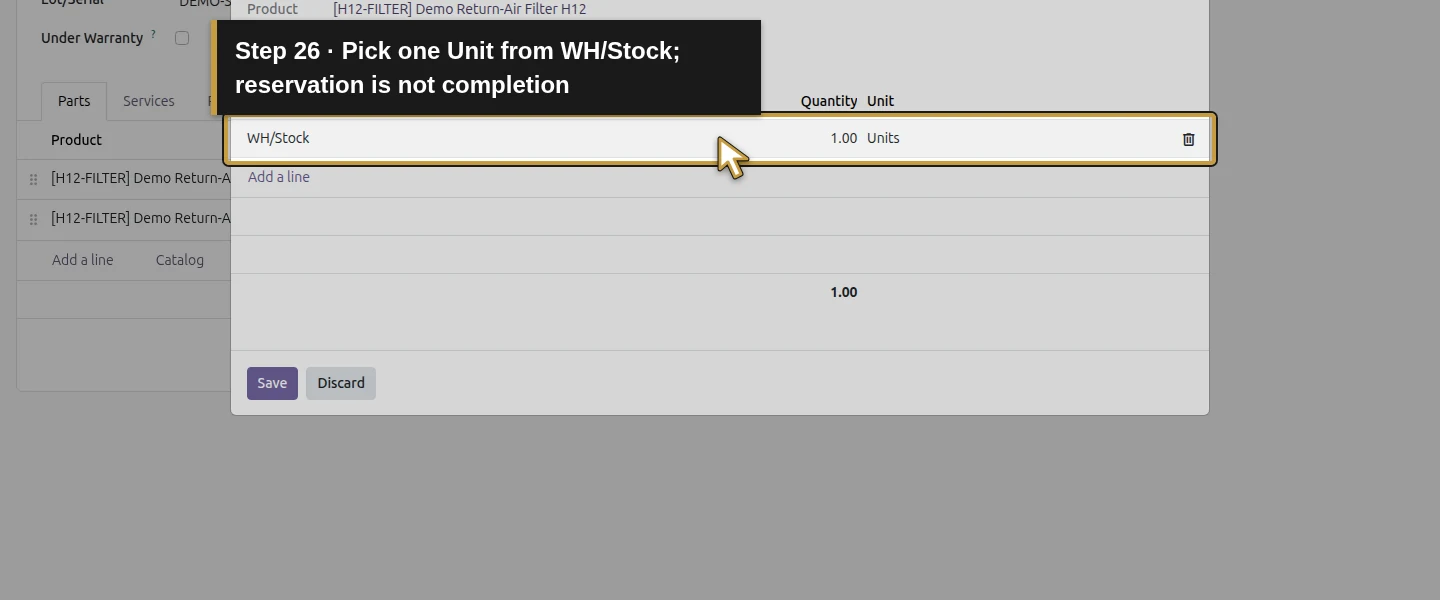
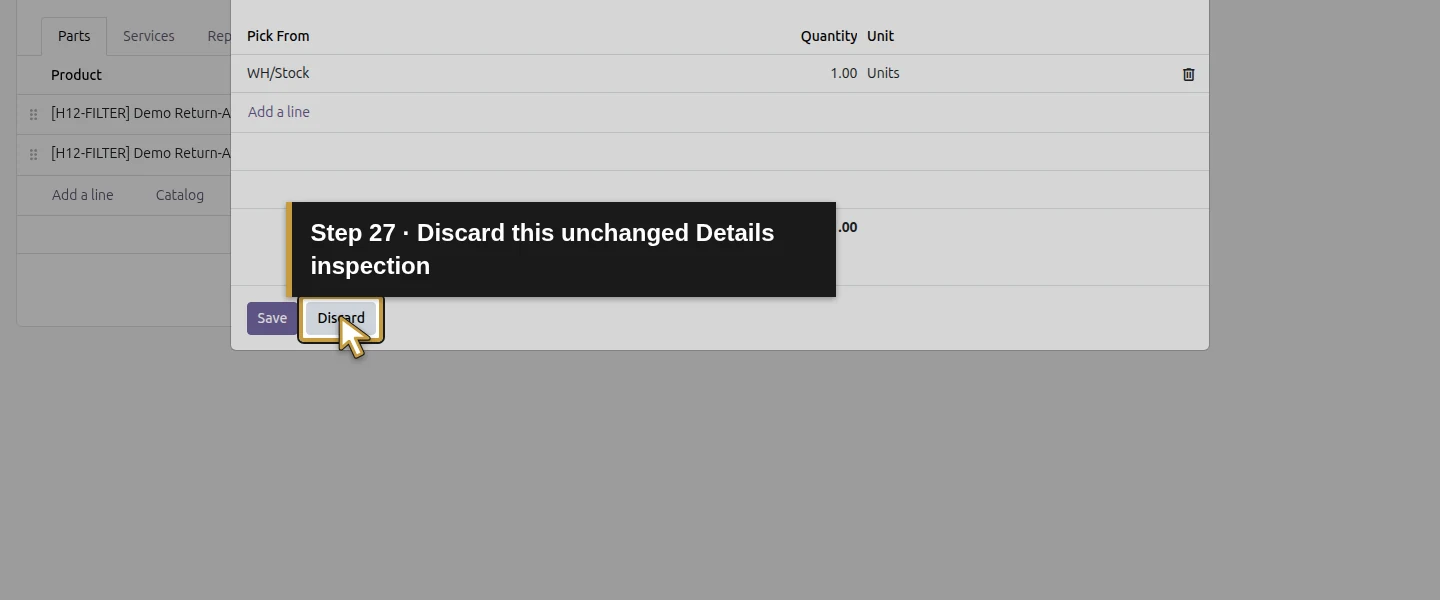
Click Details on the Add row. Detailed Operations shows Pick From WH/Stock and Quantity 1.00 Units. Review that source and quantity. Click Discard to close this unchanged inspection. The tested form offered End Repair directly after confirmation; it had no separate Start Repair step. Resolve any part or quantity discrepancy before completing the work.
Step 7. End the repair and check its status
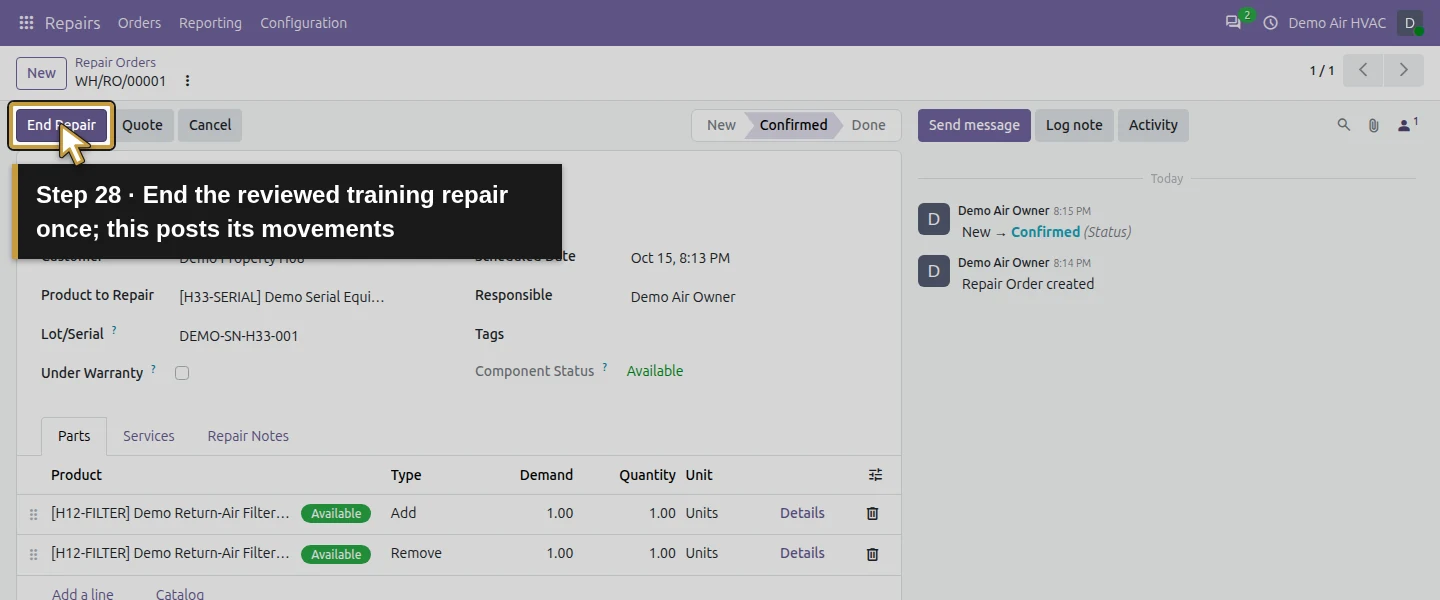
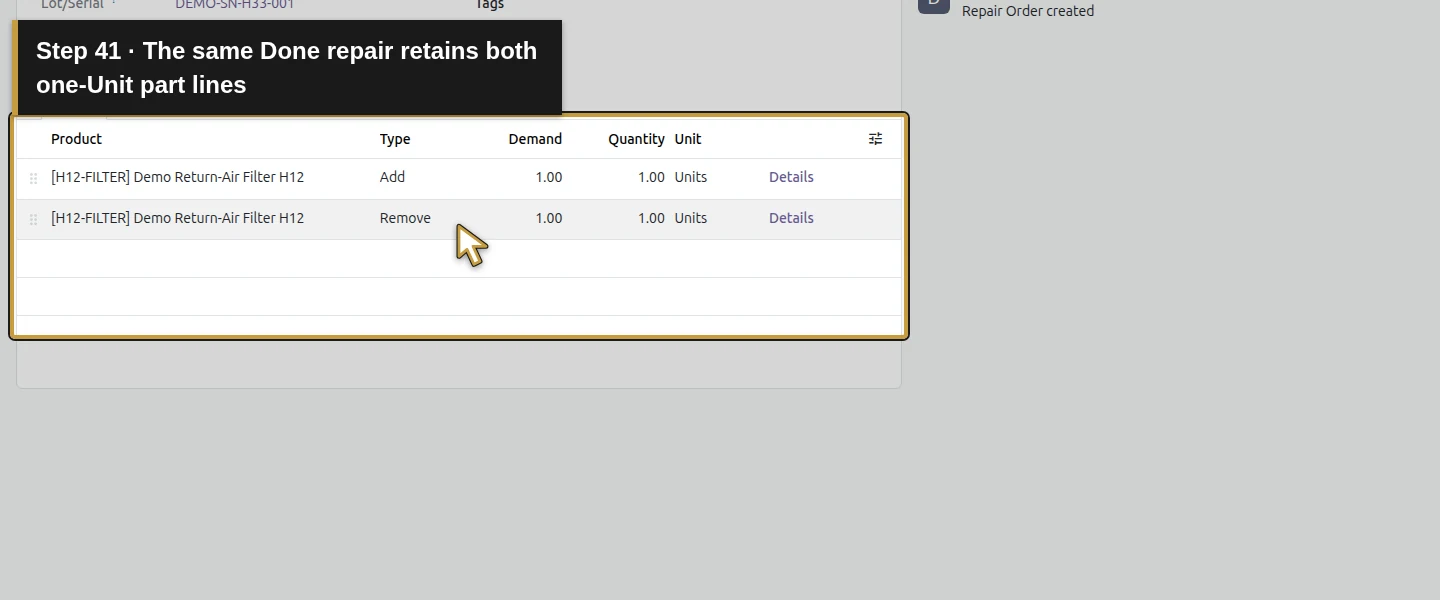
Click End Repair only after reviewing the completed training work and quantities. In this test the action posted the movements and changed the repair directly to Done, without a further confirmation dialog. The two Parts rows retain Demand 1.00 and Quantity 1.00. Quote and Invoice are separate buttons; this exercise does not click them. Ending this repair created no quotation, sales order or customer invoice.
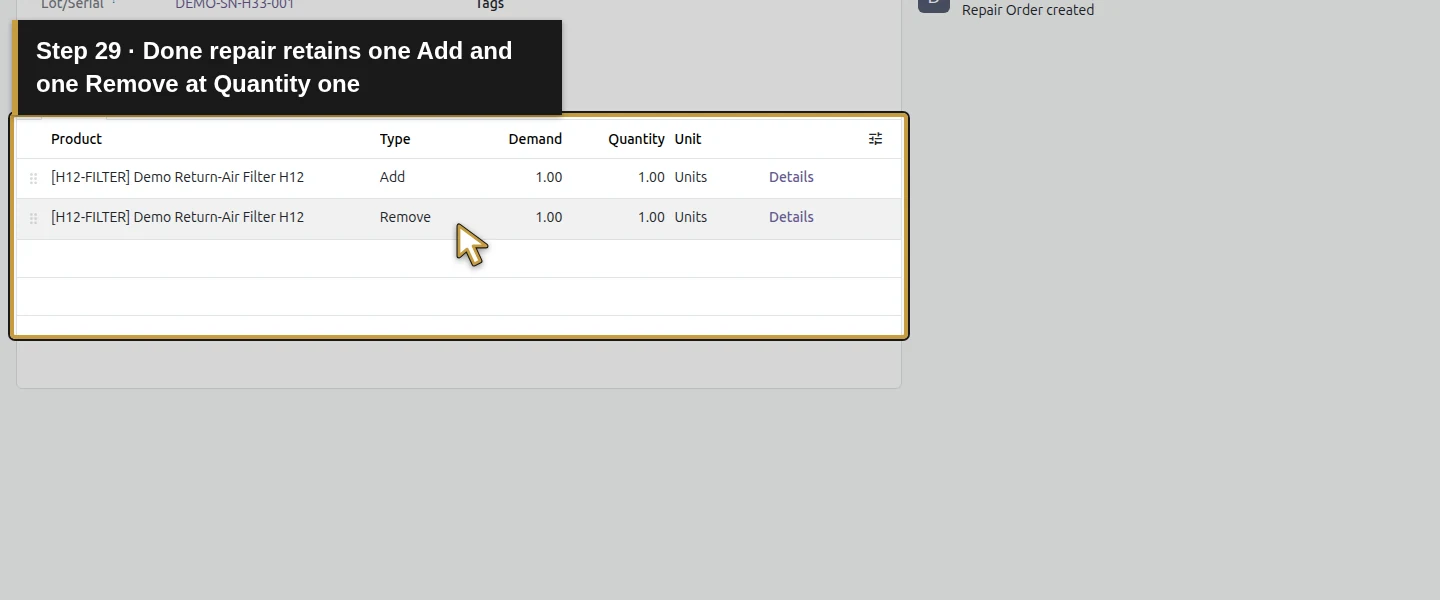
Step 8. Inspect the completed product movements
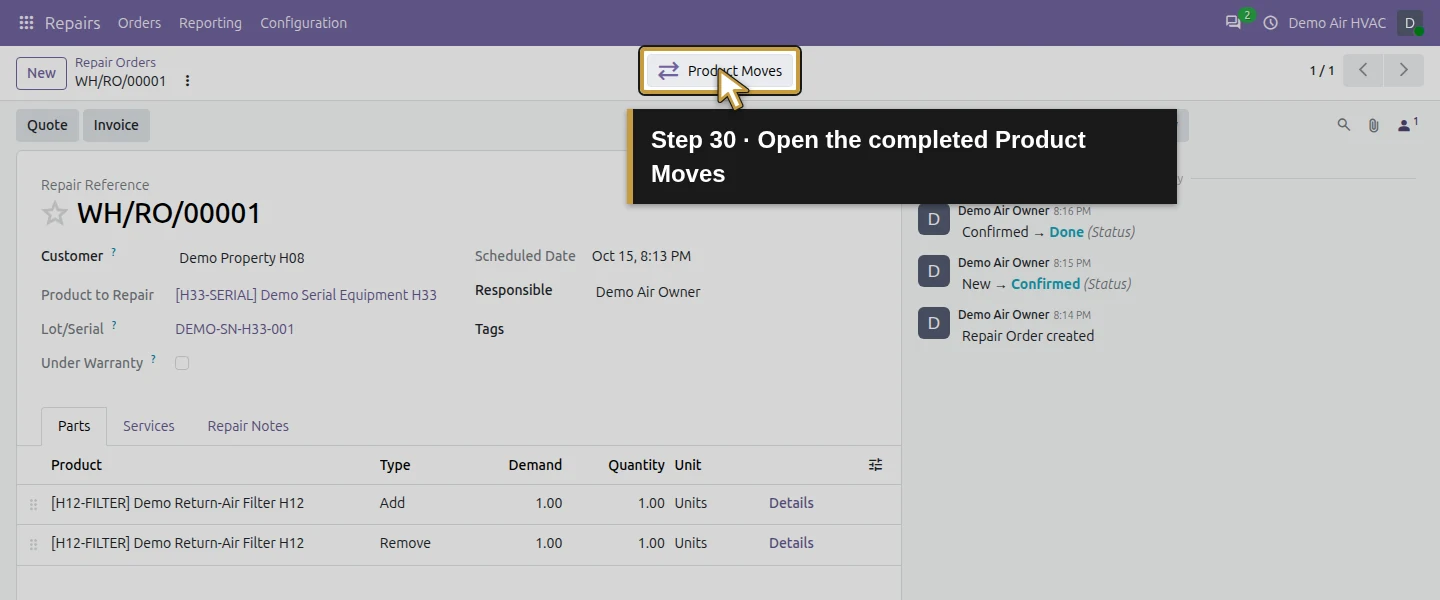
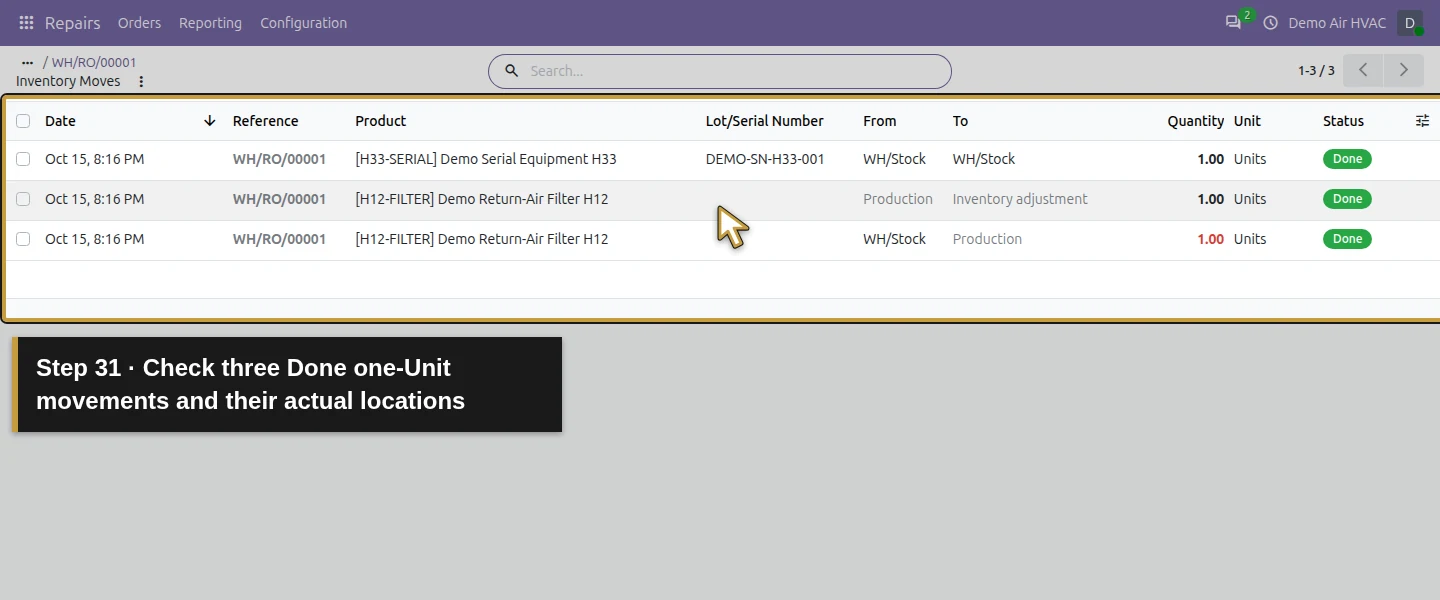
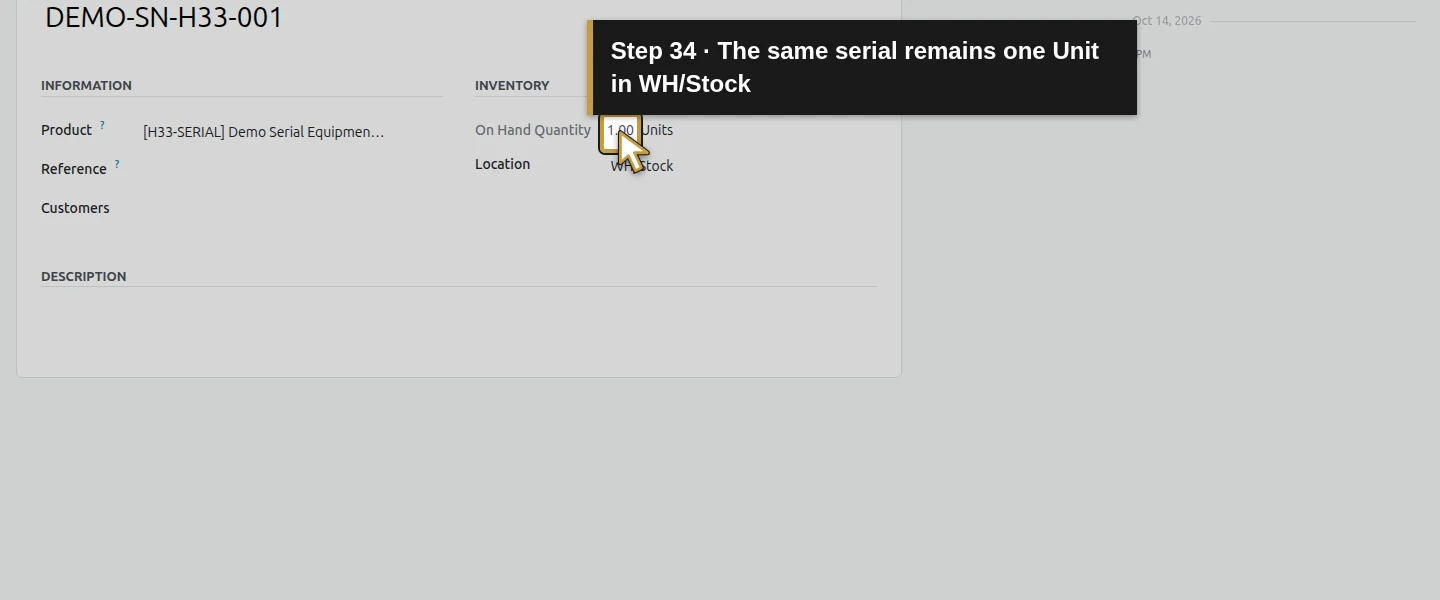
Click Product Moves. The Inventory Moves list contains three Done rows linked to WH/RO/00001: one new filter from WH/Stock → Production, one removed filter from Production → Inventory adjustment, and the repaired unit with its serial from WH/Stock → WH/Stock. Check each quantity is 1 Unit. Usable filters now total four: two in the warehouse and two in the van. The removed filter was not returned to usable stock. The equipment quantity remains one.
Step 9. Reopen the repair through its serial number
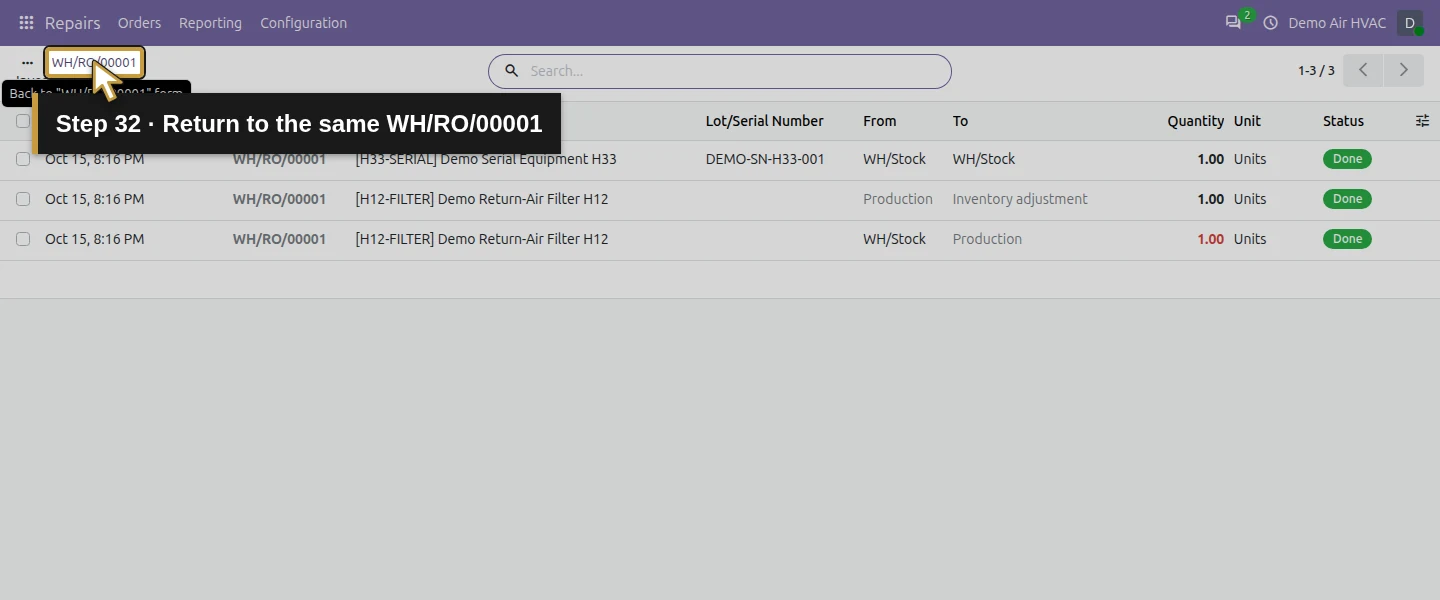
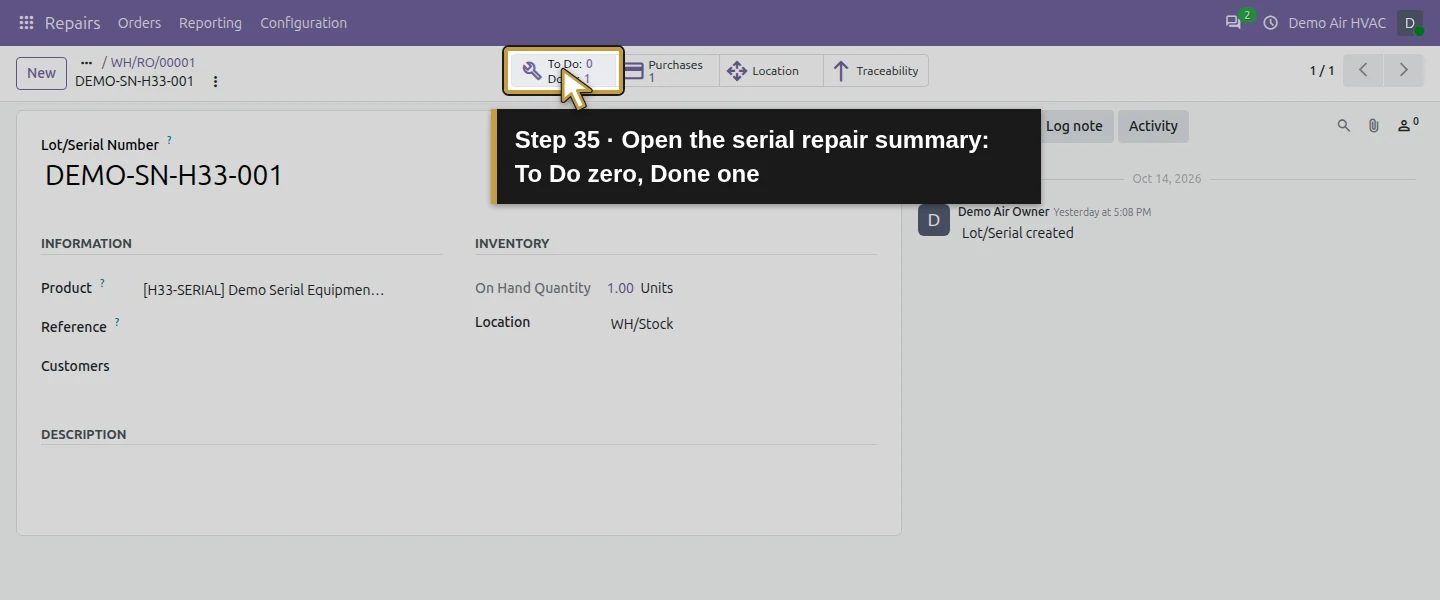
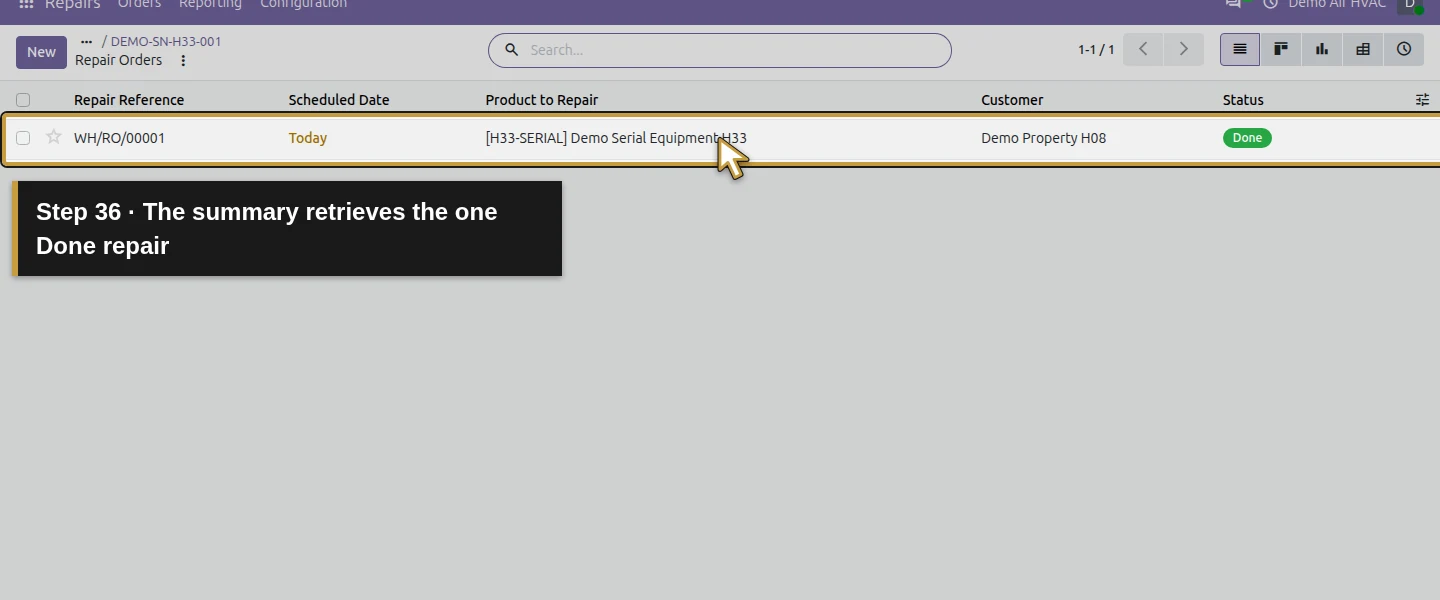
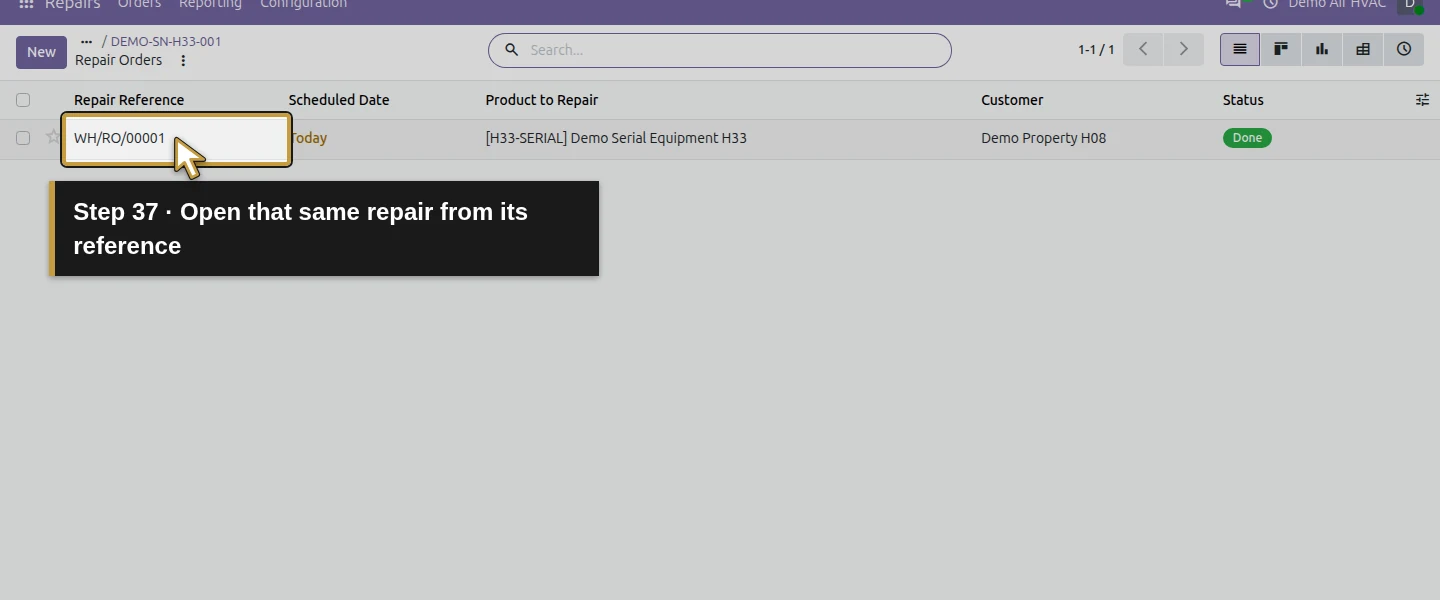
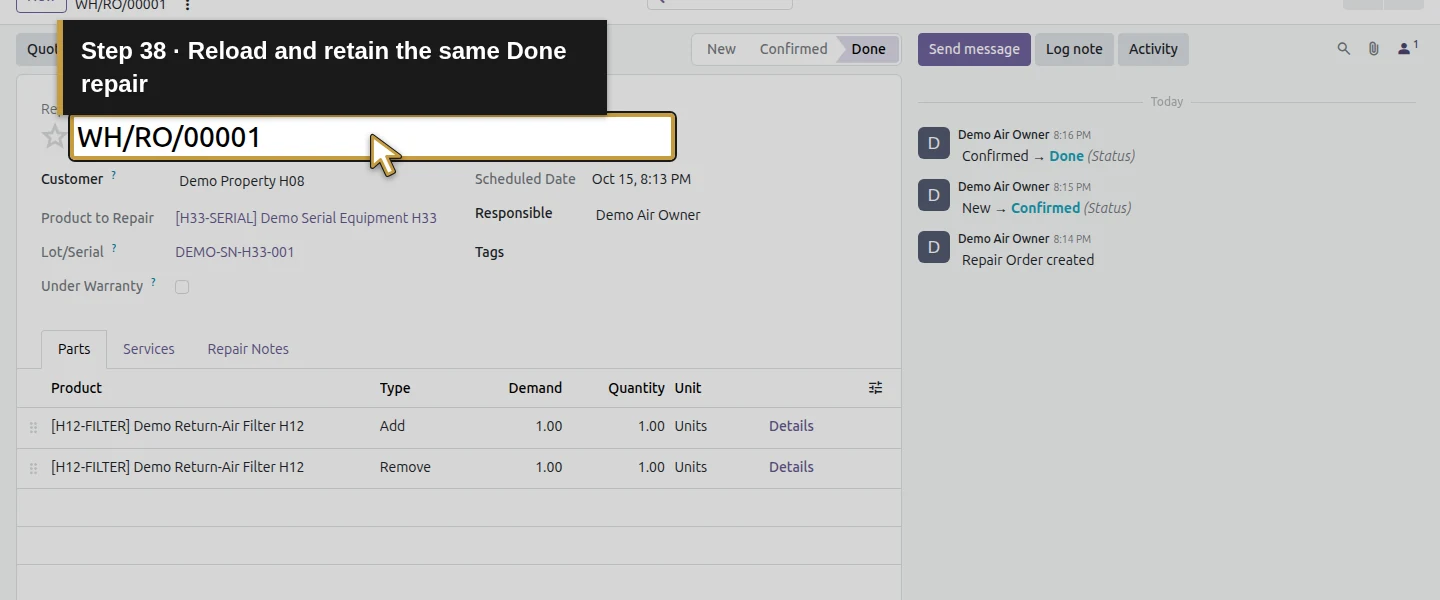
Return to WH/RO/00001, then click DEMO-SN-H33-001. Its repair summary shows To Do: 0 / Done: 1. Open that summary to see the one Done repair, then open WH/RO/00001 and reload it. Check the same unit, customer, notes, parts and Done state. This is a tested workshop repair record for the serial; a full installed-equipment or onsite service history needs its own workflow.
Check the result
WH/RO/00001 is one saved Done repair for product23/serial DEMO-SN-H33-001 and Demo Property H08. It has one Add filter and one Remove filter, each Demand/Quantity one Unit, plus a same-location movement for the identified equipment. The serial's repair summary retrieves this same Done record. Usable filters decreased from five to four, with two in WH/Stock and two in the van; the equipment stays at one Unit. Six earlier quotations and finance moves remain unchanged, and no customer invoice or sales order was created.
If your screen differs
Confirmation populated the quantities and reserved the new filter; that did not prove work had physically happened. End Repair posted this test's movements immediately. Review the operation's locations, part types and actual quantities before completion, especially when your defaults differ. The removed filter's Inventory adjustment destination kept it outside usable stock here. Recycle, missing/insufficient parts, partial quantities, warranty handling, labor/service billing and other user roles were not exercised. One owned-stock training unit was used; the workflow does not establish receipt/return handling for a customer-owned unit, legal ownership or a complete onsite service history.
Frequently asked questions
How do I create a workshop repair order in Odoo?
Open the official Repairs app, choose Orders → New, and select the customer, Product to Repair and existing Lot/Serial. Add the repair notes and the Parts lines with the correct Add/Remove types and demand. Save, Confirm Repair, review the populated quantities, then End Repair. The tested stock Odoo 20 form changed directly from Confirmed to Done.
Does an Odoo repair order track added and removed parts?
Yes, in this tested case the Parts tab retained separate Add and Remove lines. Product Moves showed one replacement filter moving WH/Stock to Production and one removed filter moving Production to Inventory adjustment, each one Unit and Done. Usable filters decreased by one. The actual destinations depend on the repair operation; Recycle was not tested.
Does ending an Odoo repair automatically invoice the customer?
It did not in this exercise. WH/RO/00001 reached Done, and separate Quote and Invoice buttons were visible. We did not use those buttons. The repair had no linked sales order, earlier quotations and accounting records stayed unchanged, and no customer invoice existed. Billing needs a separate verified procedure; this result does not cover every warranty or service configuration.
Continue building the business
Continue with H57: How do I issue a credit note and record a refund in Odoo?. Credit notes and refund records use that separate financial workflow.
Talk to an Odoo partner
Bring your current process and the result you need to Onward to plan your Odoo workflow. Talk to an Odoo partner.