
Running an HVAC business with Odoo
How do I track where my Odoo CRM leads come from?
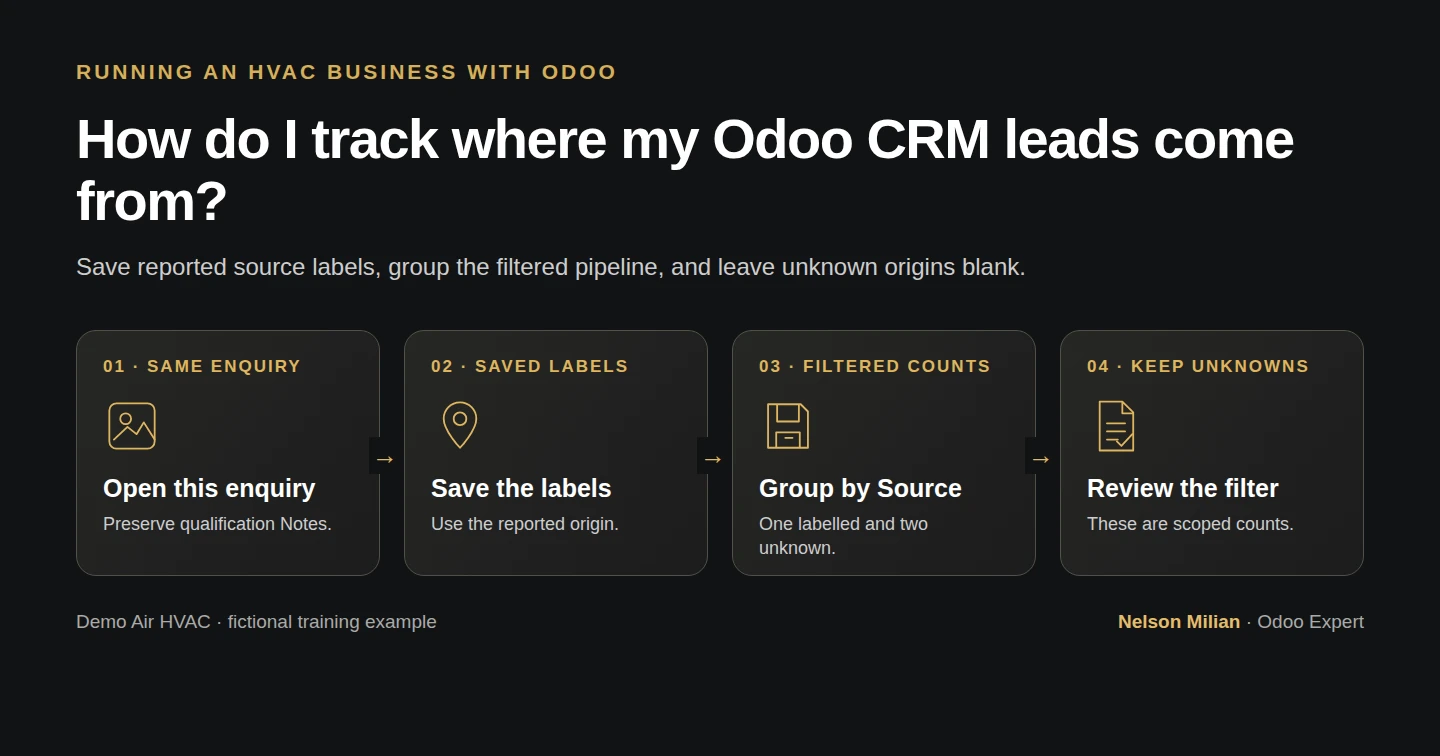
Save source, medium and campaign labels on an Odoo opportunity, then group the visible pipeline by Source.
Alex wants to see where service enquiries came from. The office can save a reported source on an existing opportunity and group its current pipeline by that label. This example uses a fictional website enquiry and leaves unknown sources blank.
Alex Rivera and Demo Air HVAC are fictional training examples. Prices, dates, quantities and business situations in this guide are illustrative.
Before you begin
Tested in stock Odoo 20.0-20260926 Community as the demo owner administrator, with official modules and standard configuration. Complete opportunity qualification. Reuse Demo Service Enquiry H16, customer Demo Property H08 and its existing qualification Notes. This is a manual-label workflow using CRM and native marketing fields. Website-form capture is a separate pending lesson.
Step-by-step workflow
Stock Odoo 20 Community, owner role. Save reported Source, existing Website Medium and a fictional Campaign on the same qualified enquiry. Reopen the fields, then group List View by Source under My Opportunities: one labelled record and two unknowns. Qualification Notes, other enquiries, contacts, orders, finance and stock stay unchanged. These manual labels and filtered counts establish no automatic website attribution, conversion, acquisition cost or campaign ROI.
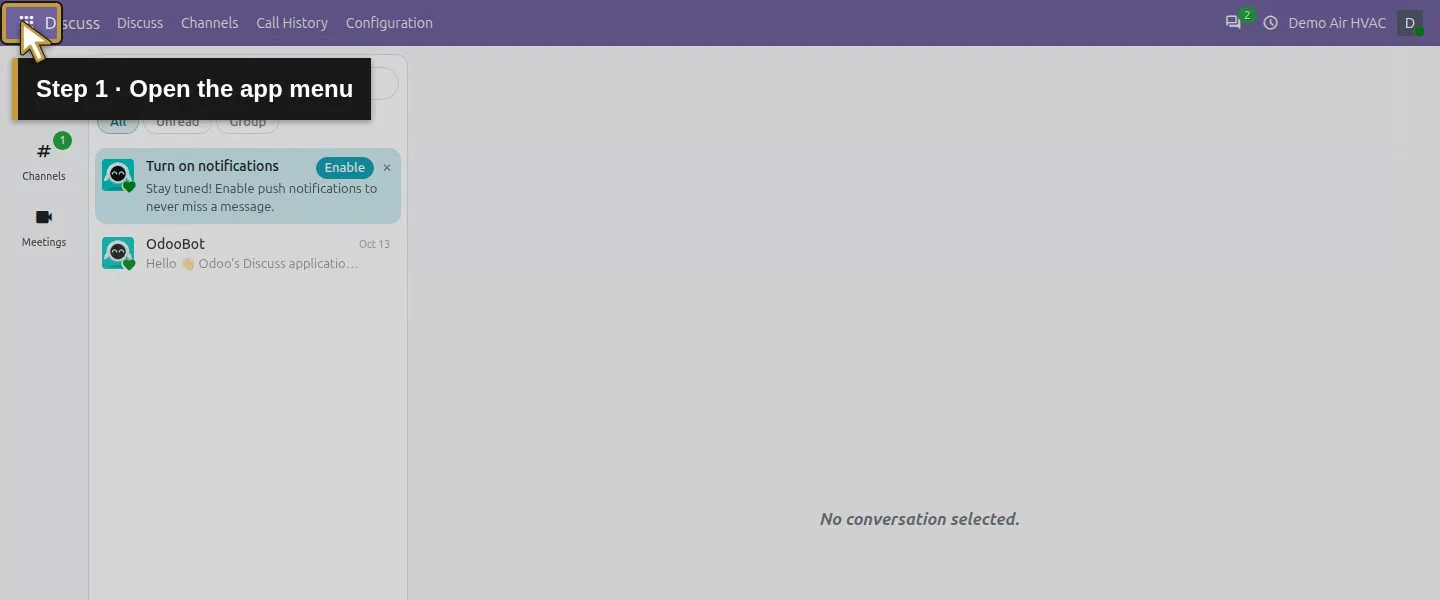
Step 1. Open the existing enquiry
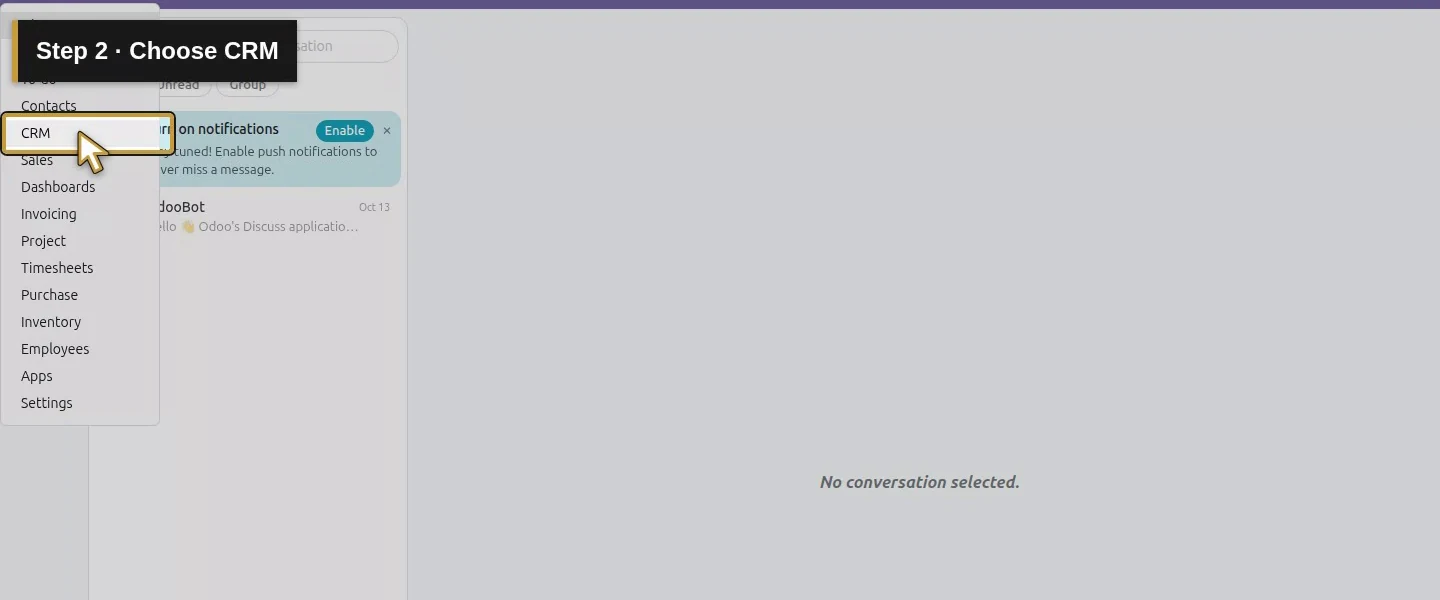
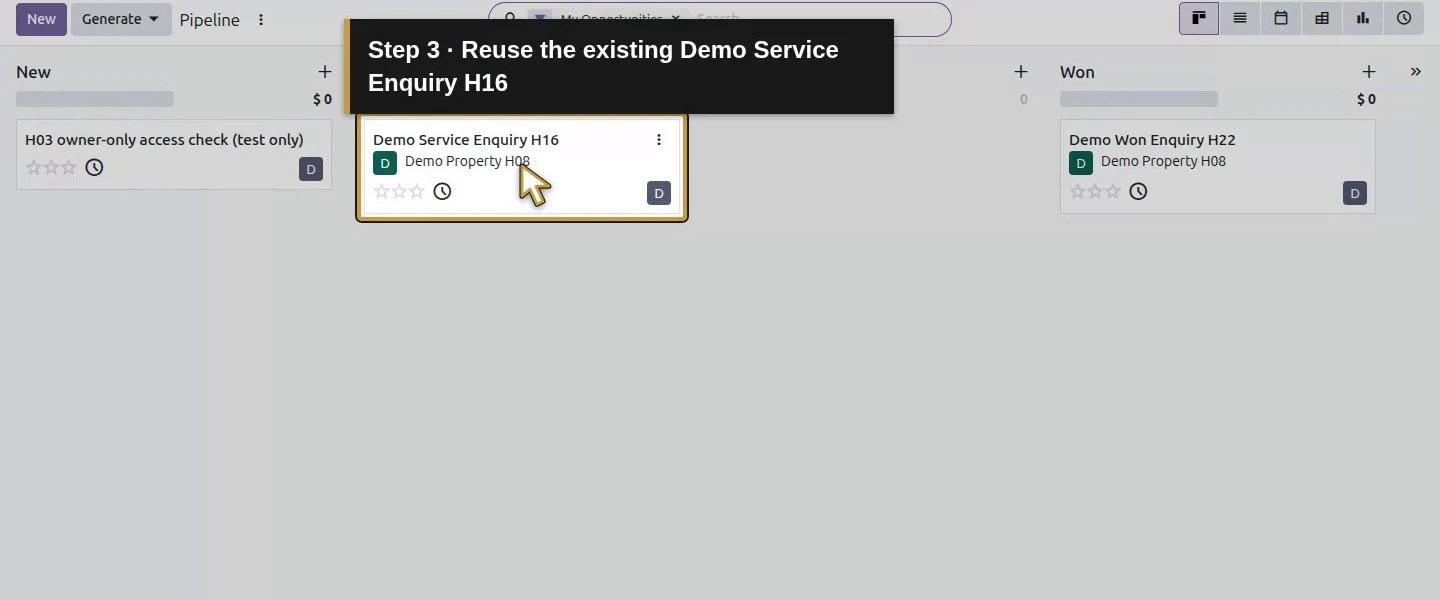
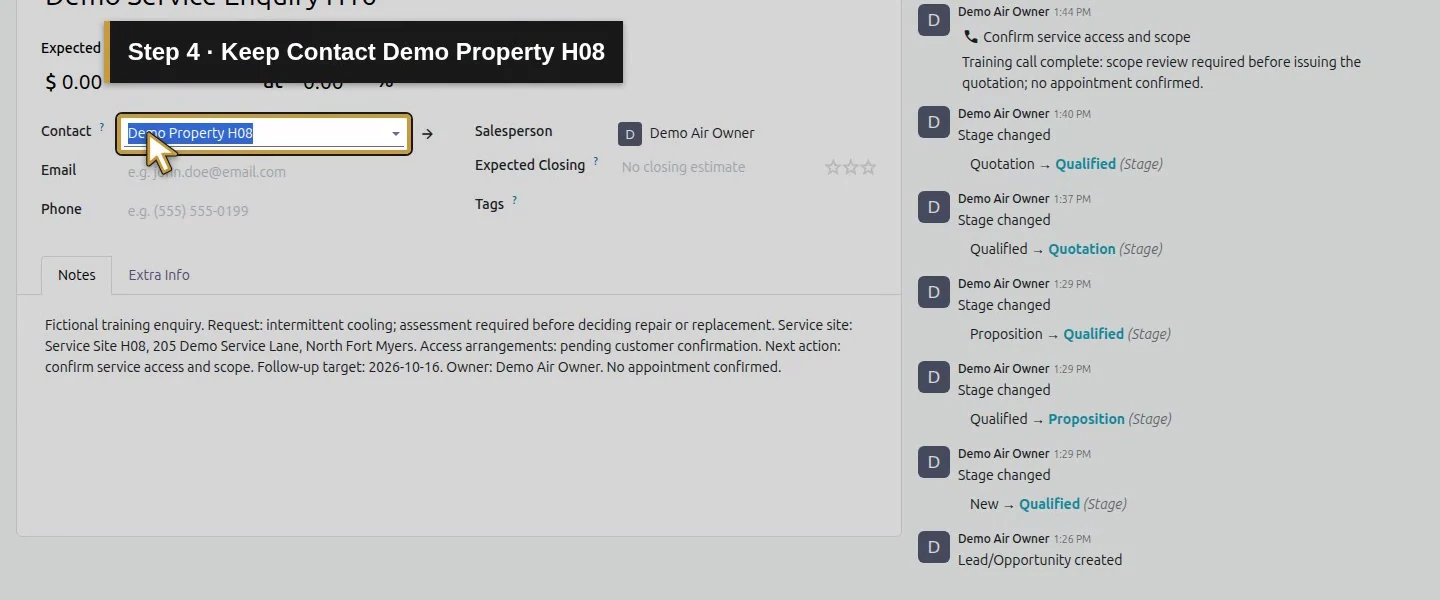
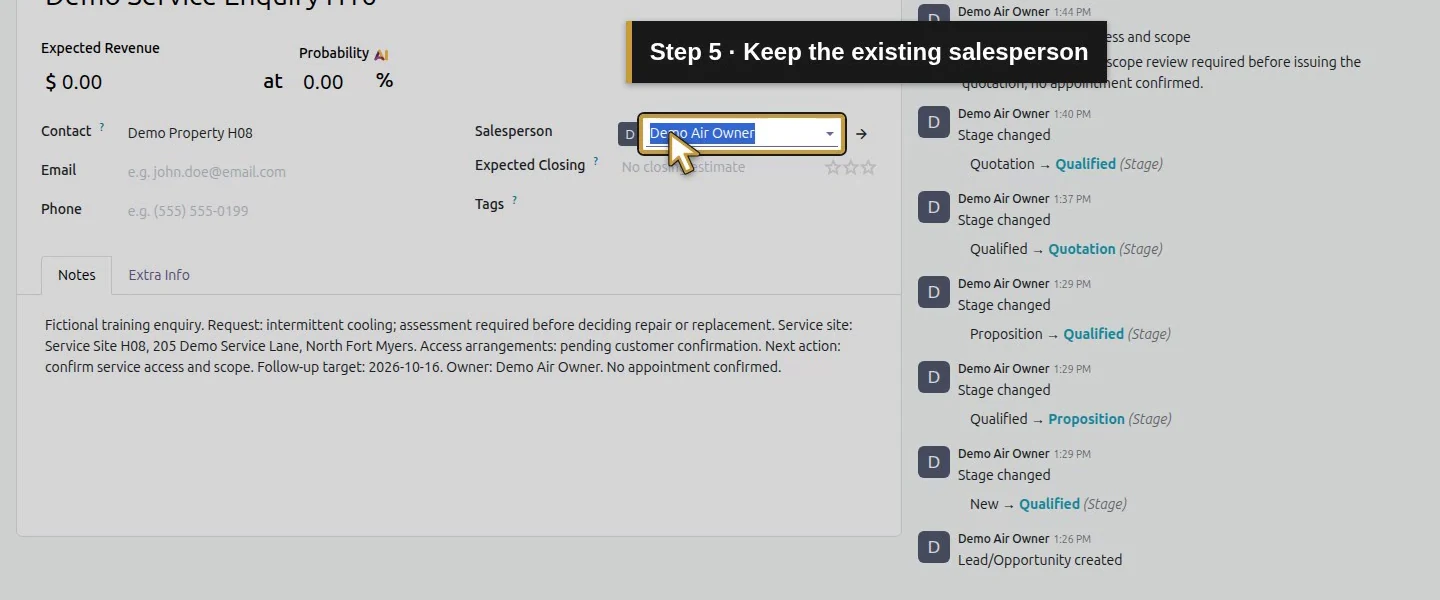
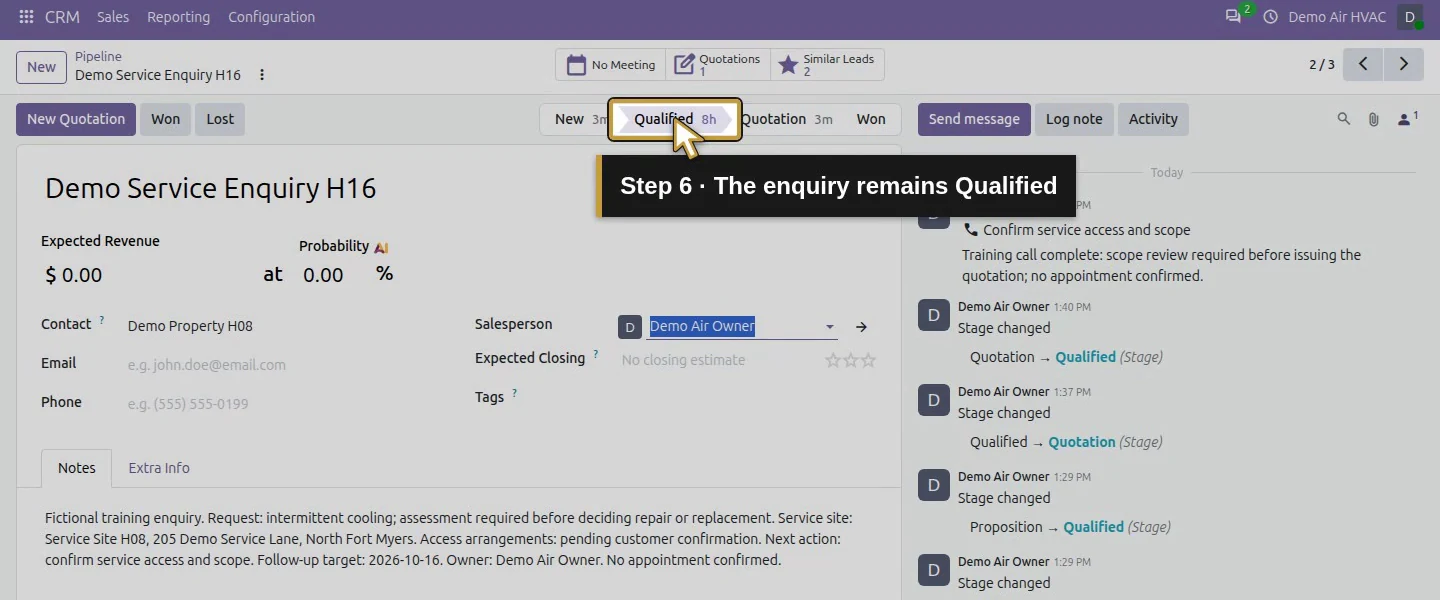
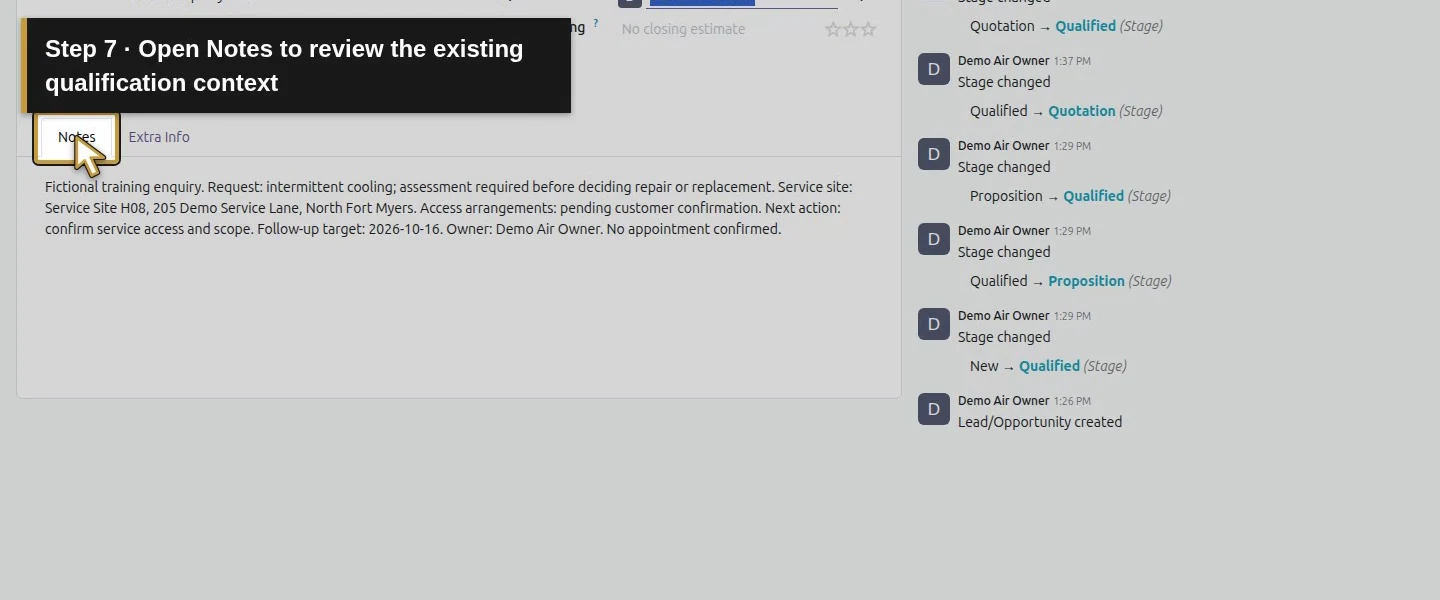
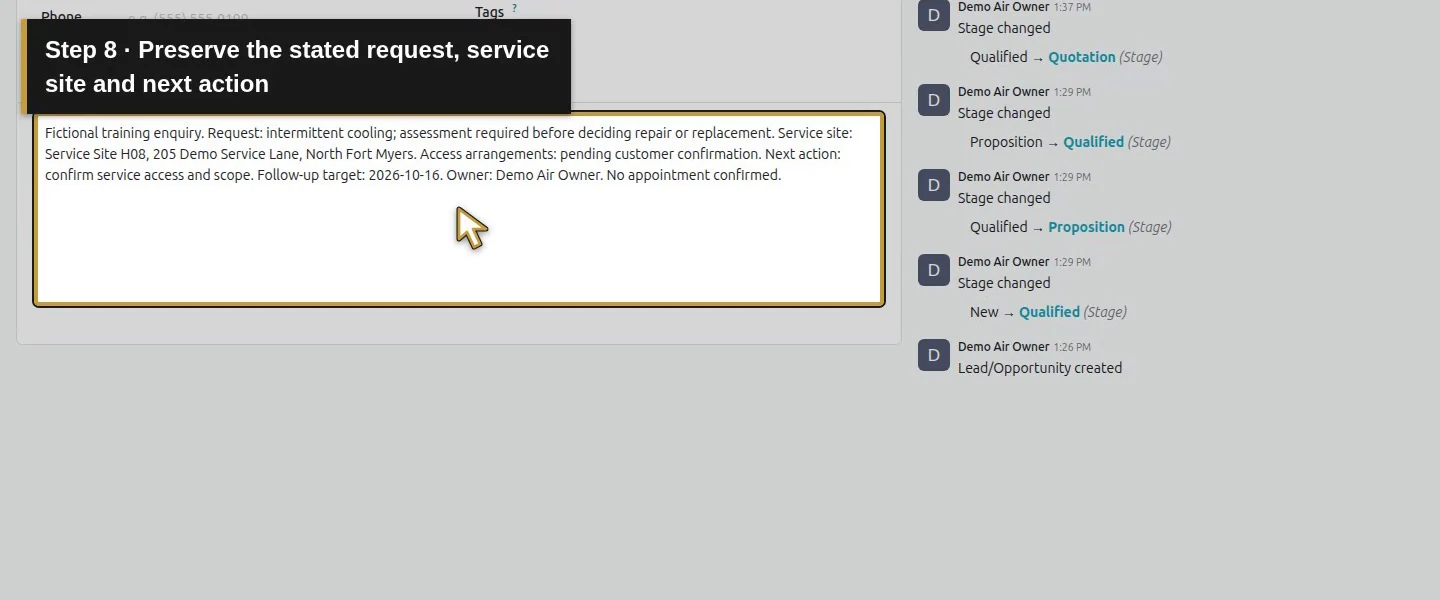
Open CRM → Pipeline and select Demo Service Enquiry H16. Check the customer, salesperson and Qualified stage. Reuse this record; creating another lead would split the example's enquiry and quotation history.
Step 2. Find the marketing fields
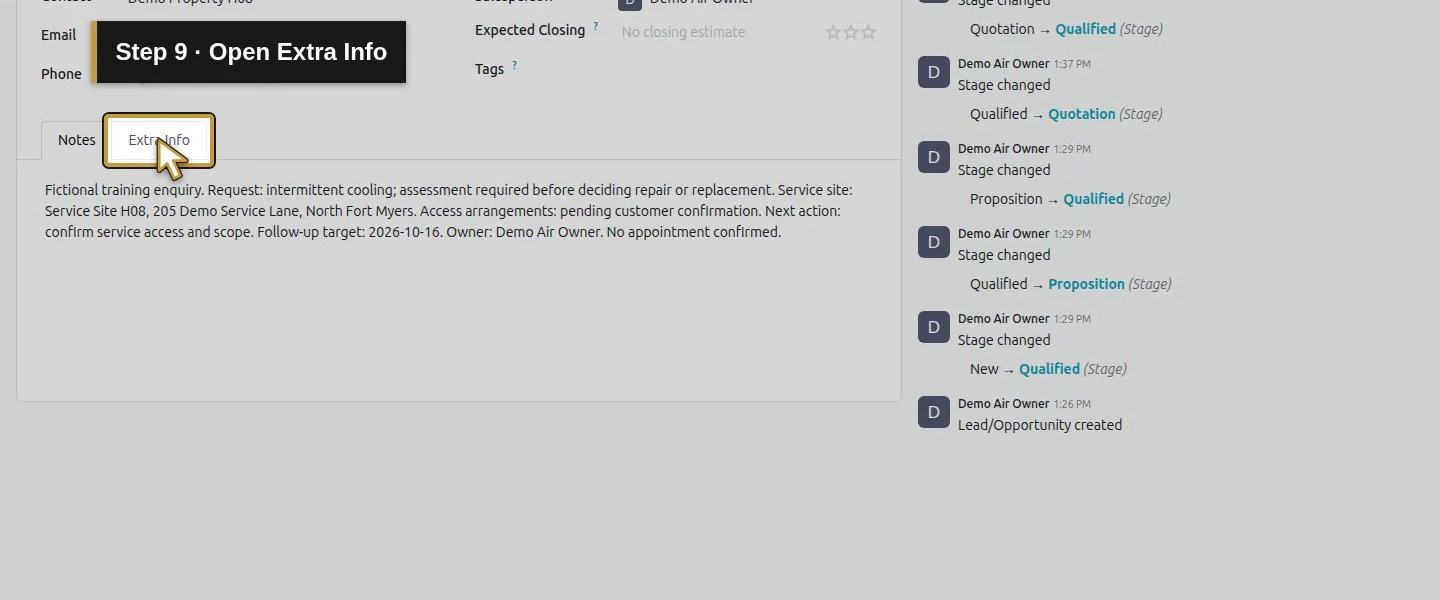
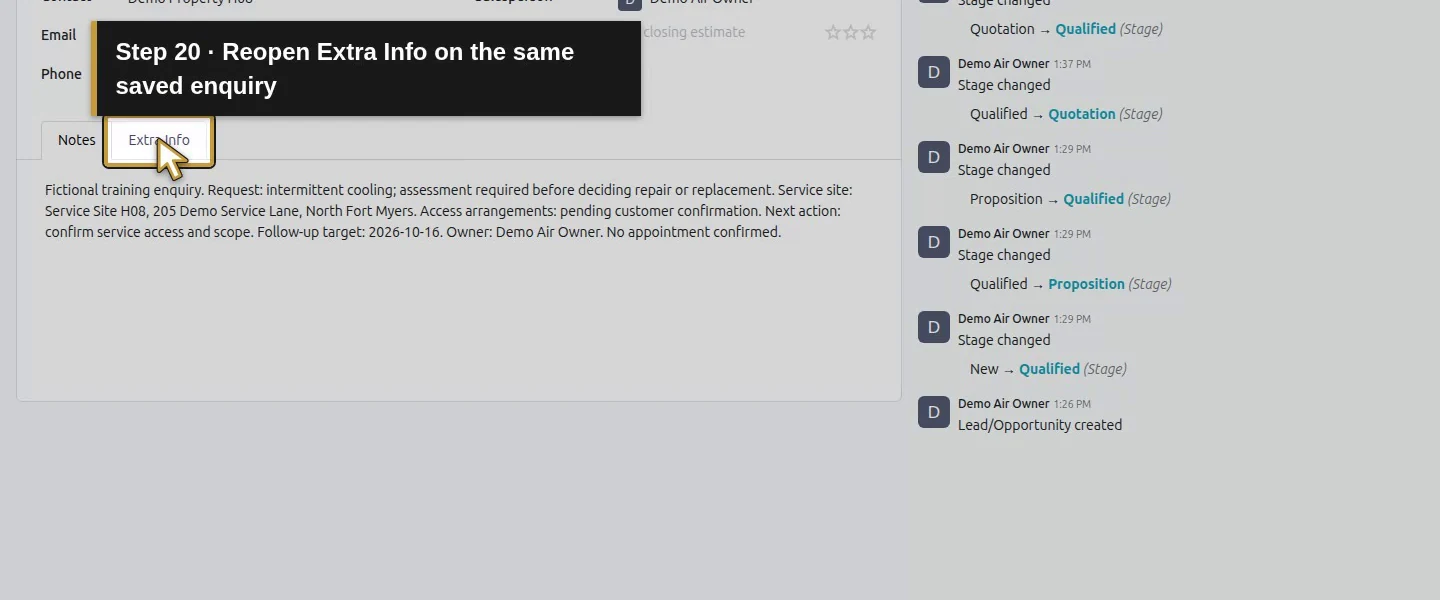
Choose Extra Info. In Marketing, locate Campaign, Medium, Source and Referred By. Use the reported origin of an enquiry; an empty value is appropriate when the office has no reliable source.
Step 3. Select the channel and source
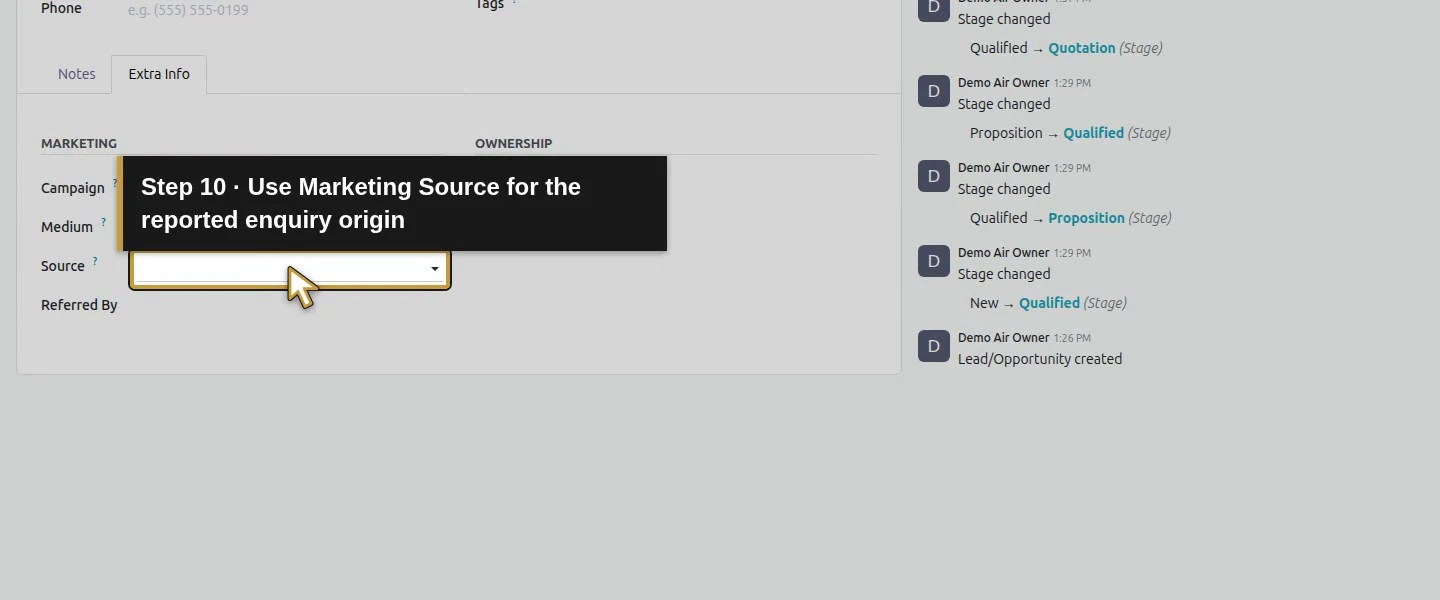
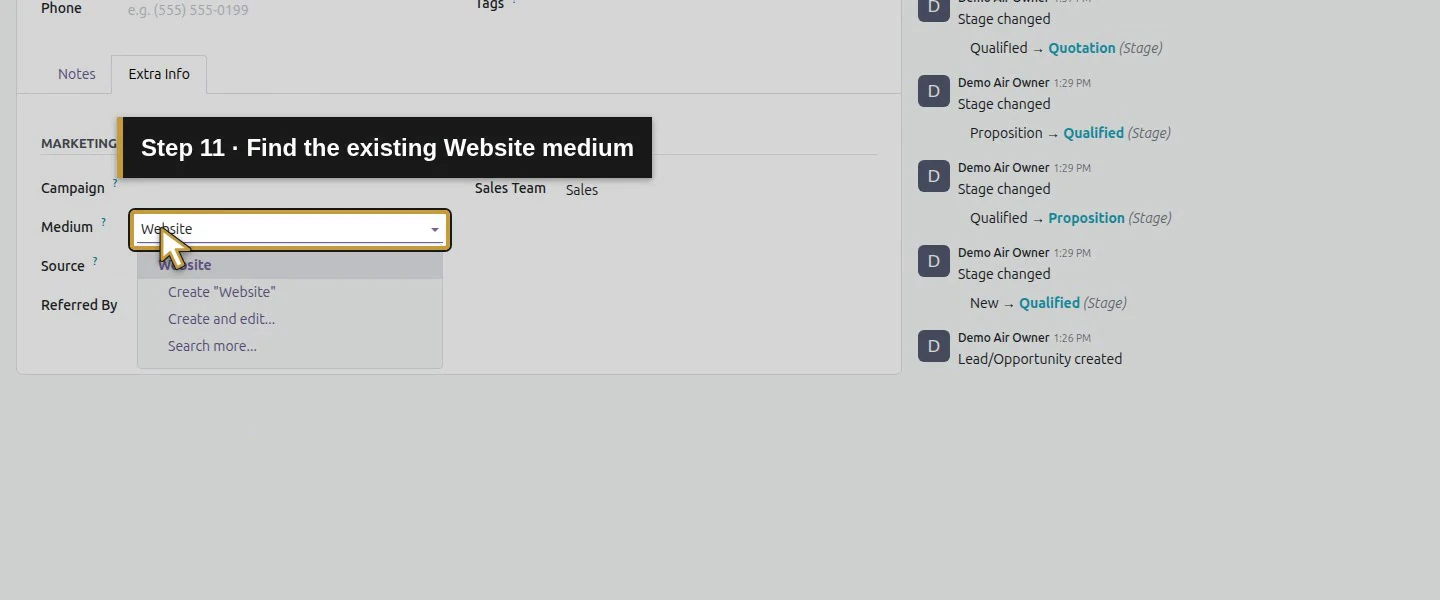
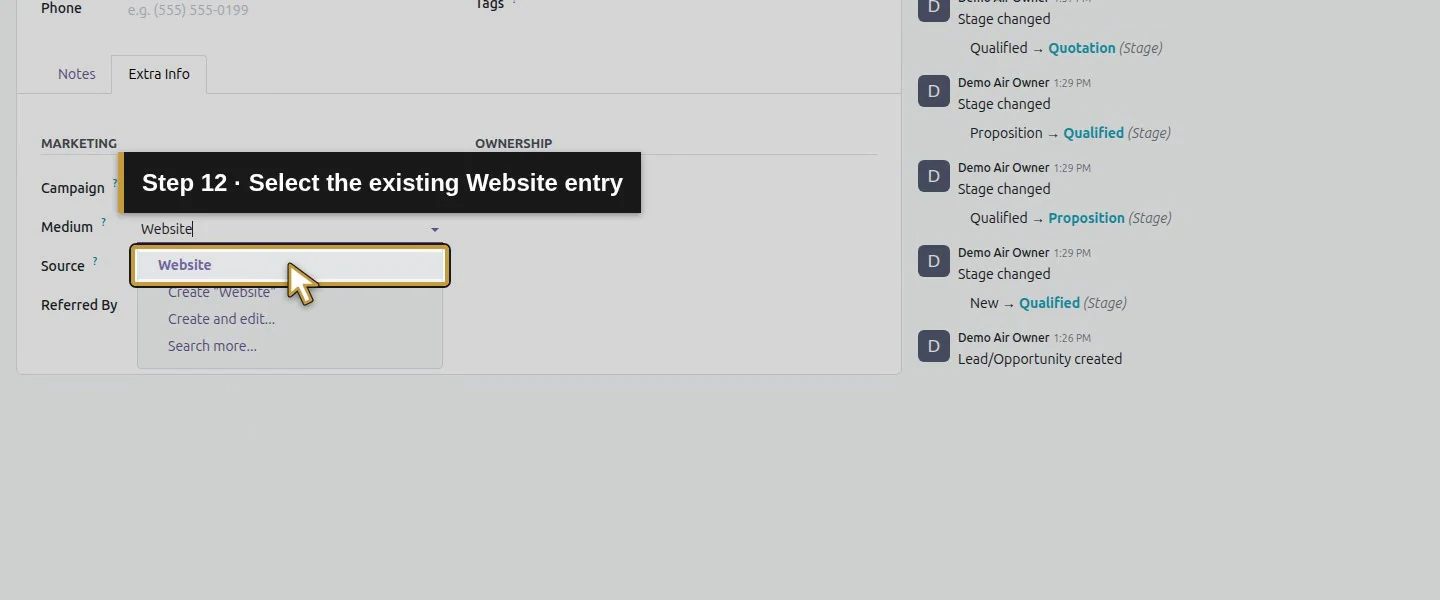
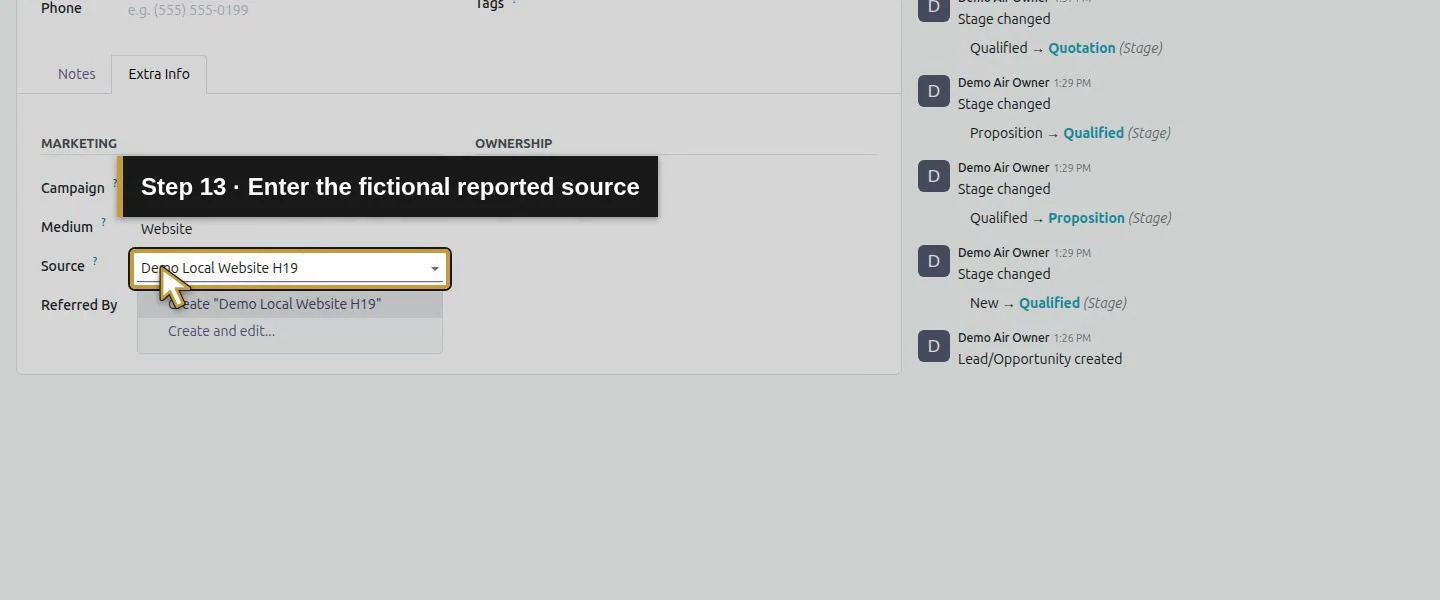
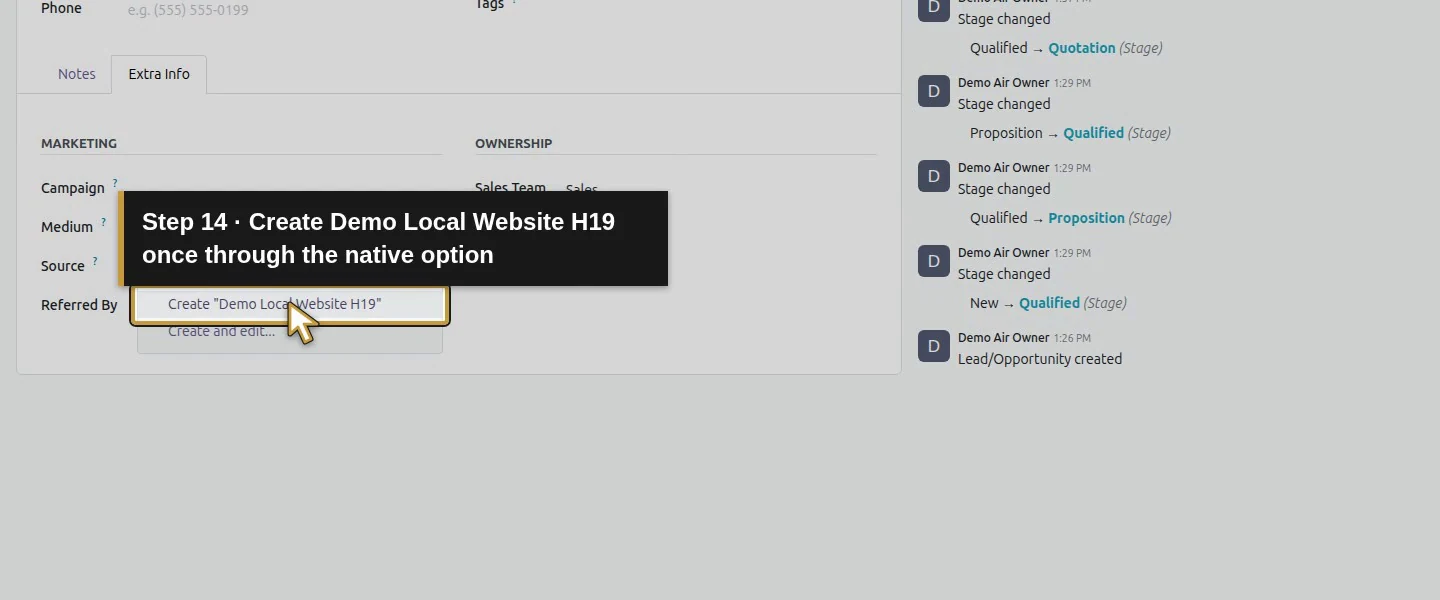
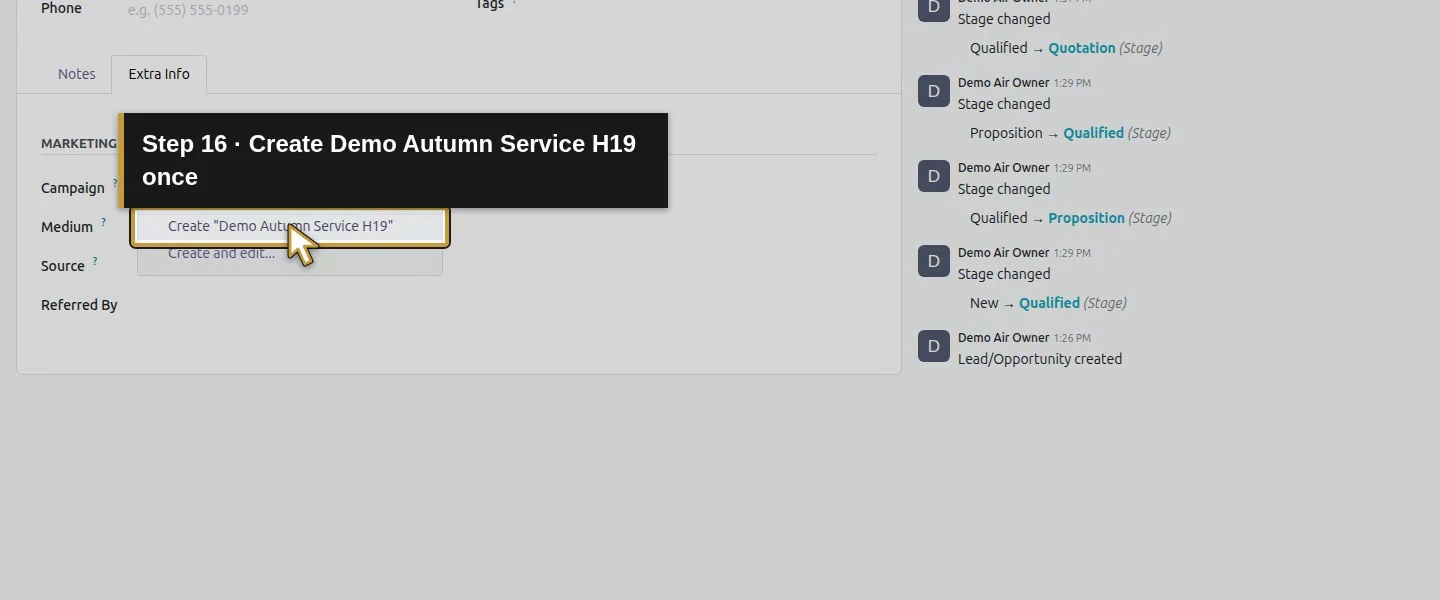
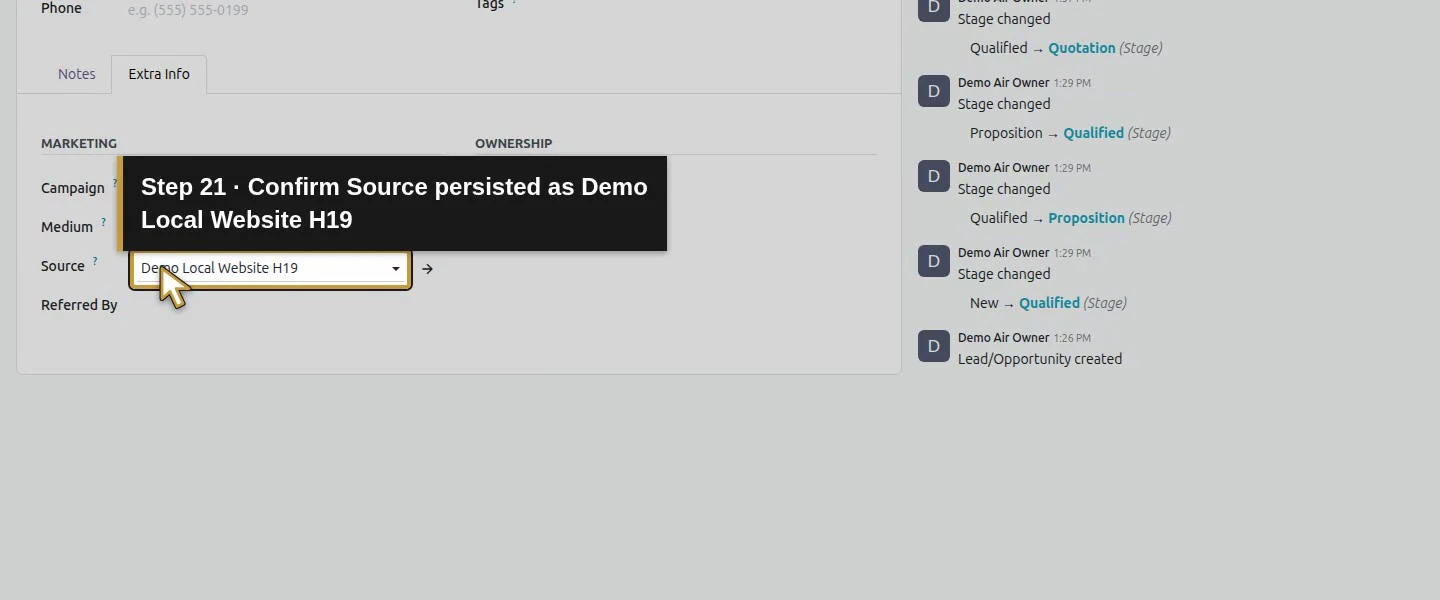
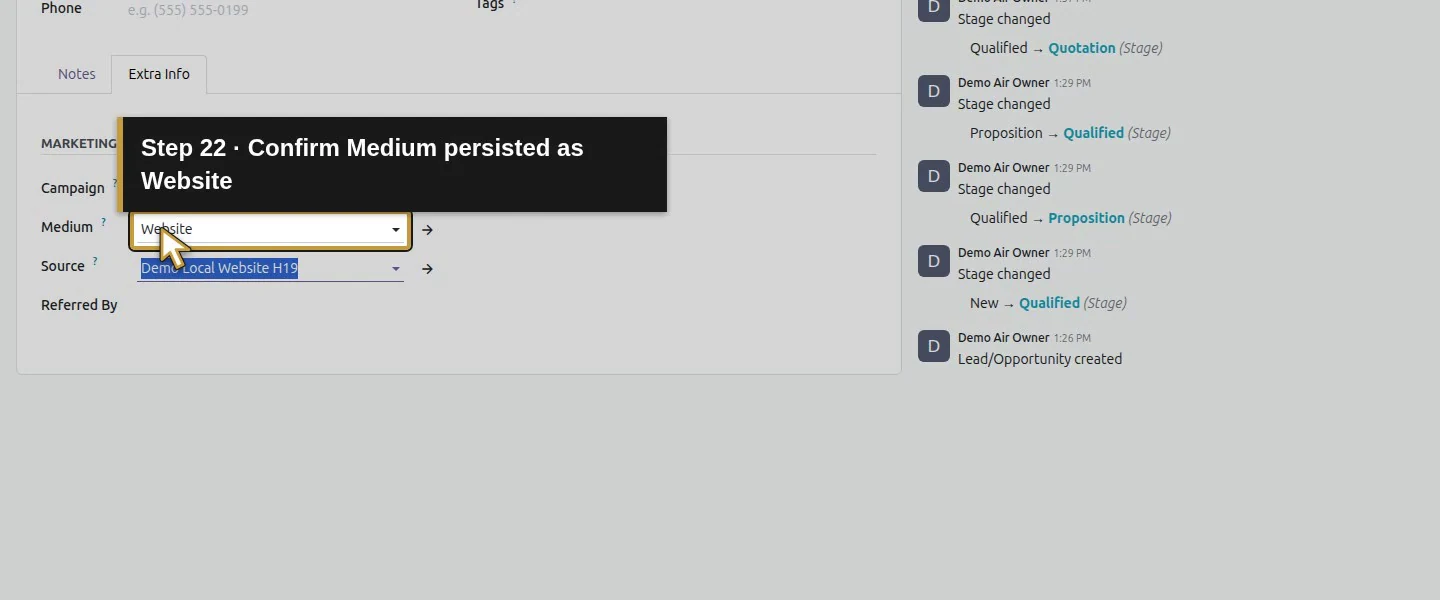
Set Medium to the existing Website entry. In Source, type Demo Local Website H19 and choose the native Create option if it is absent. This fictional source describes the reported origin; it does not prove how a visitor arrived at the website.
Step 4. Set the campaign and save
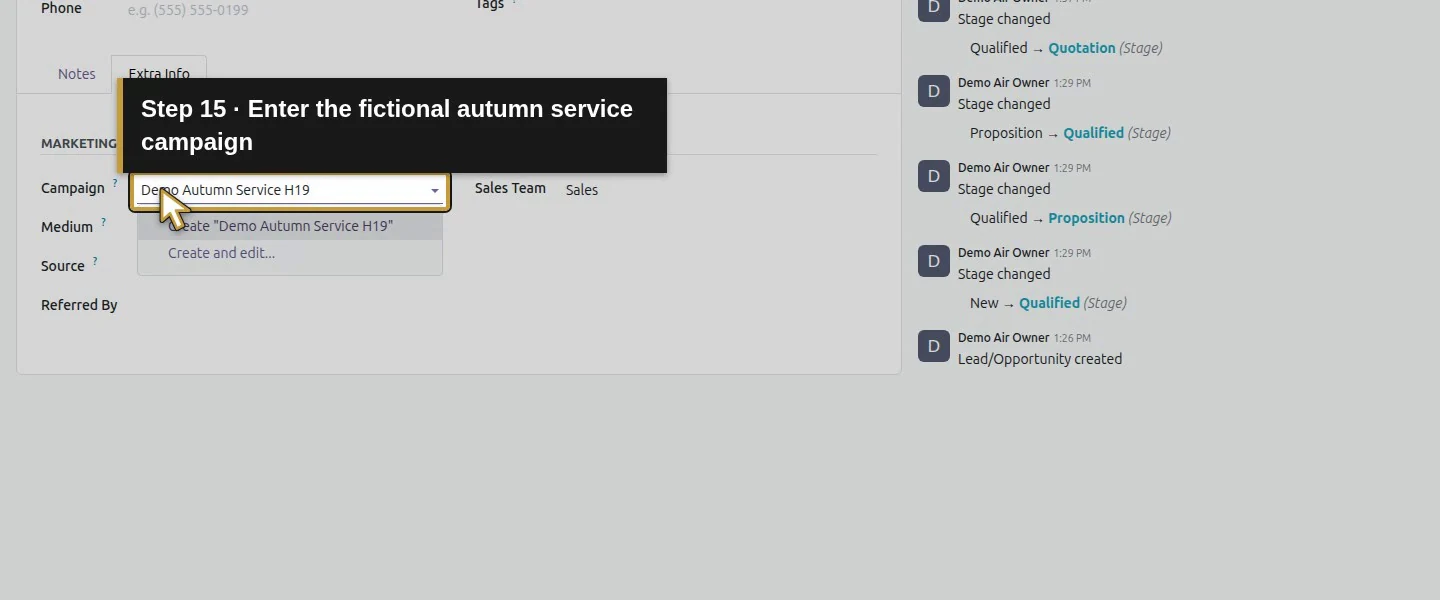
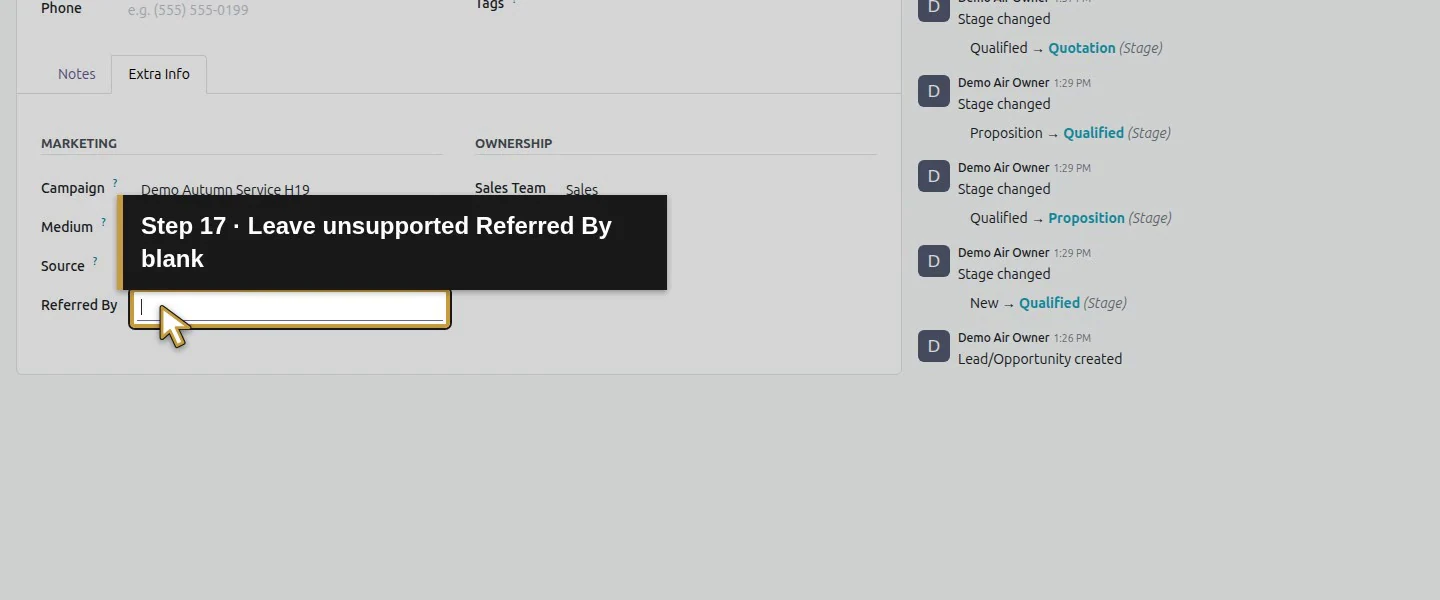
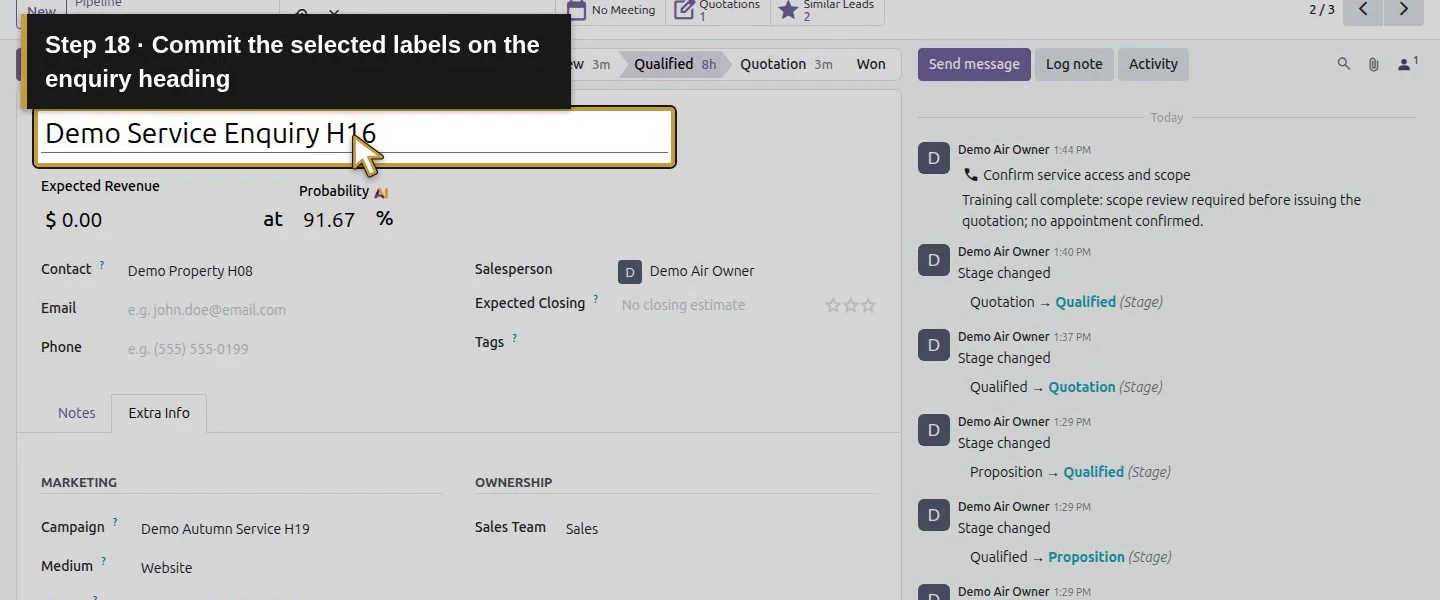
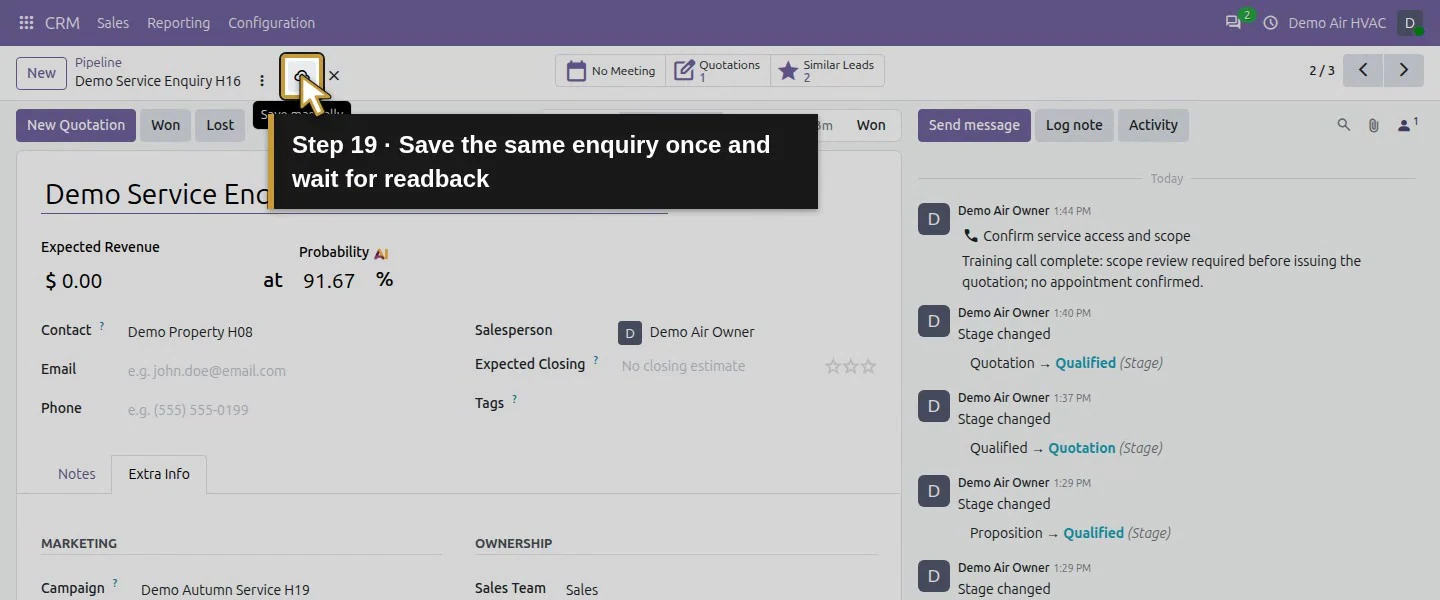
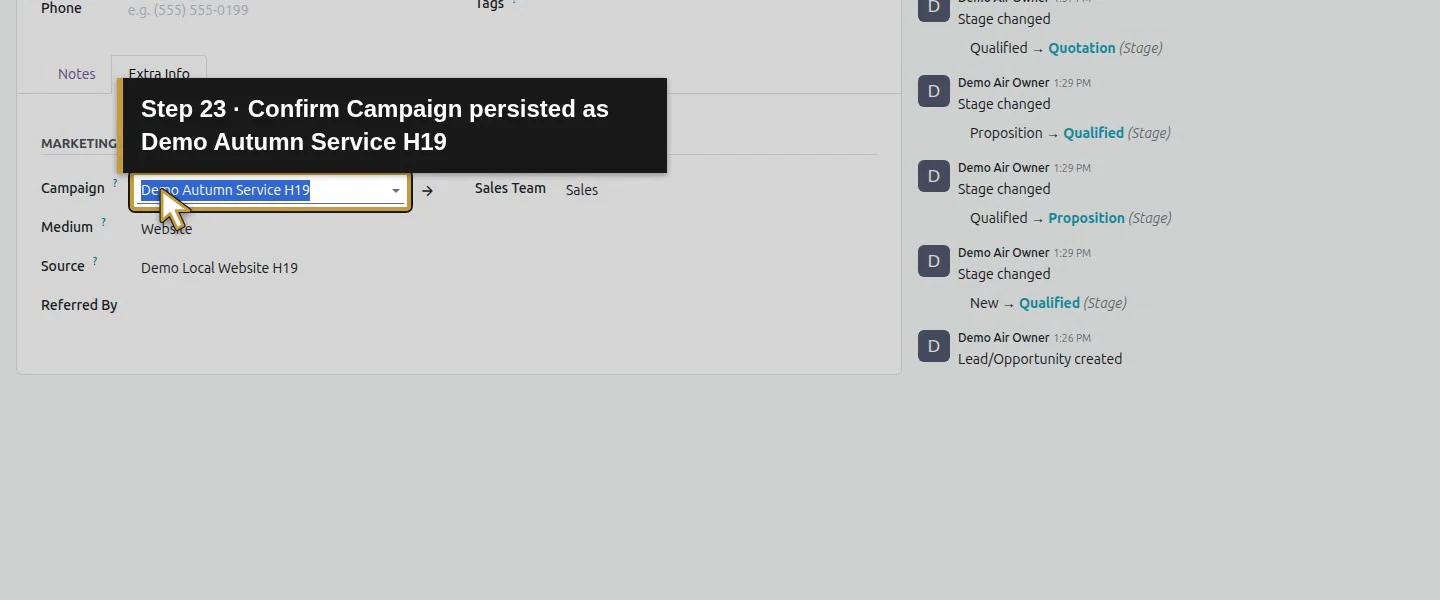
In Campaign, enter Demo Autumn Service H19 and choose Create if absent. Leave Referred By blank. Choose Save manually, wait for the form to settle, then reopen Extra Info. Confirm all three labels persist on the same enquiry.
Step 5. Group the visible pipeline by Source
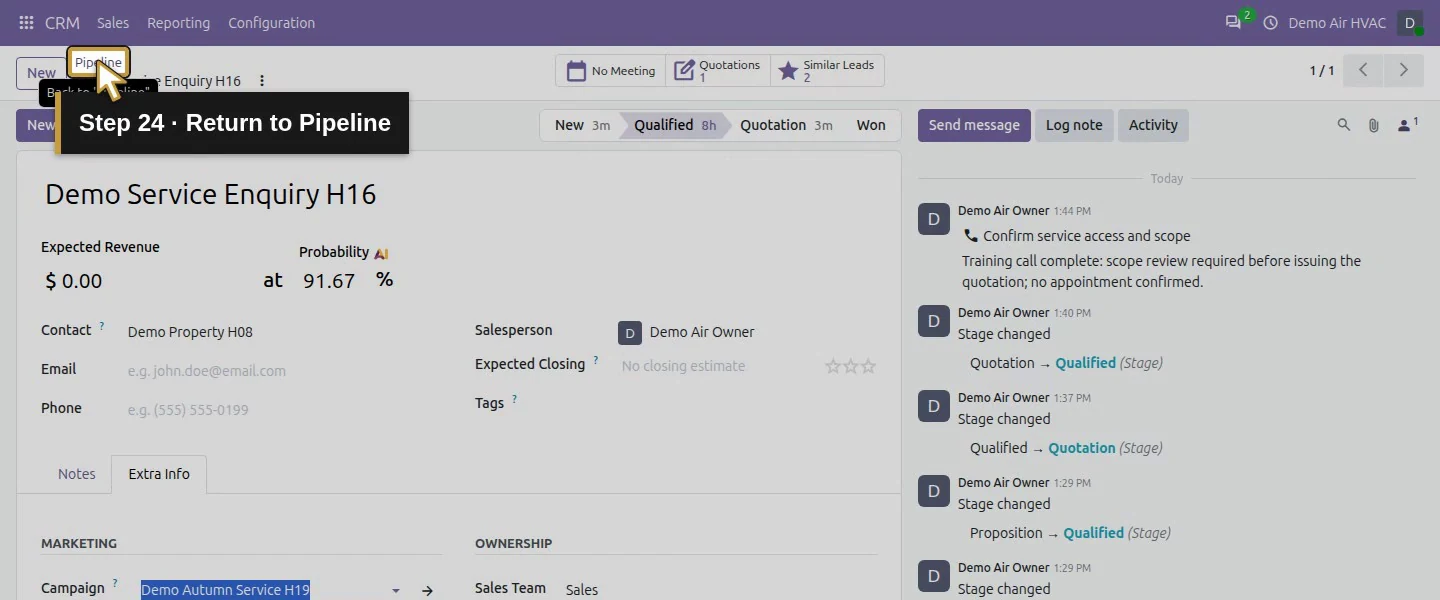
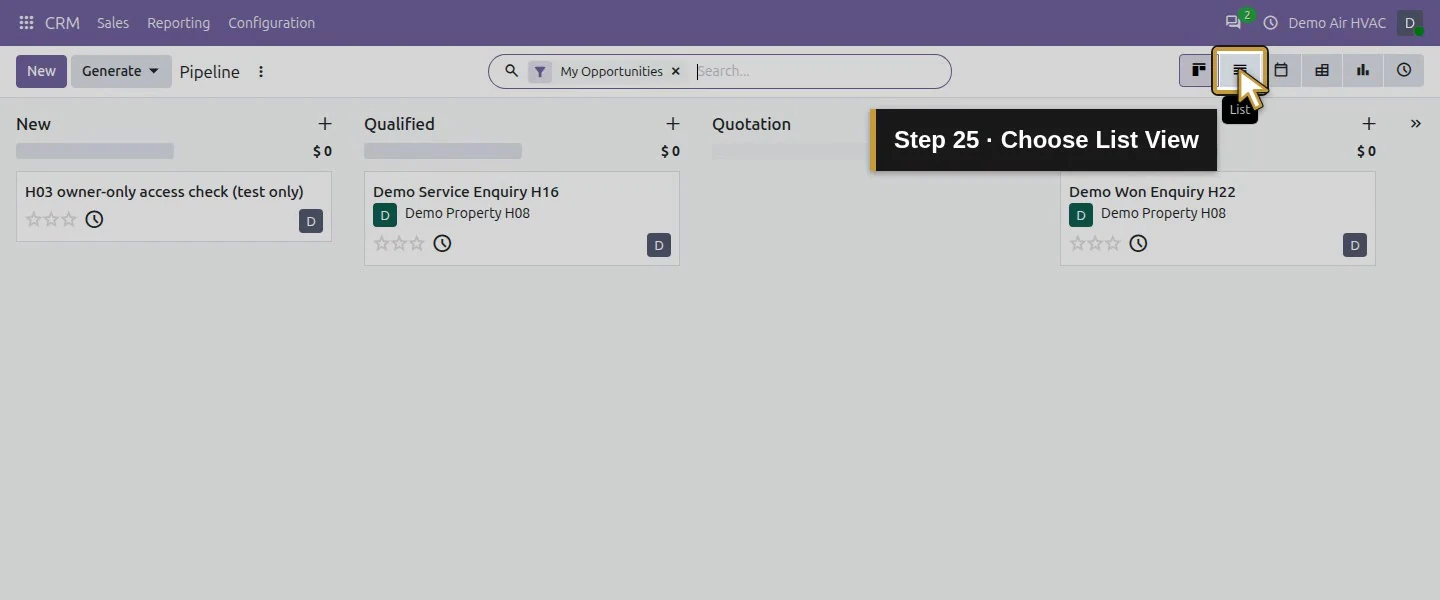
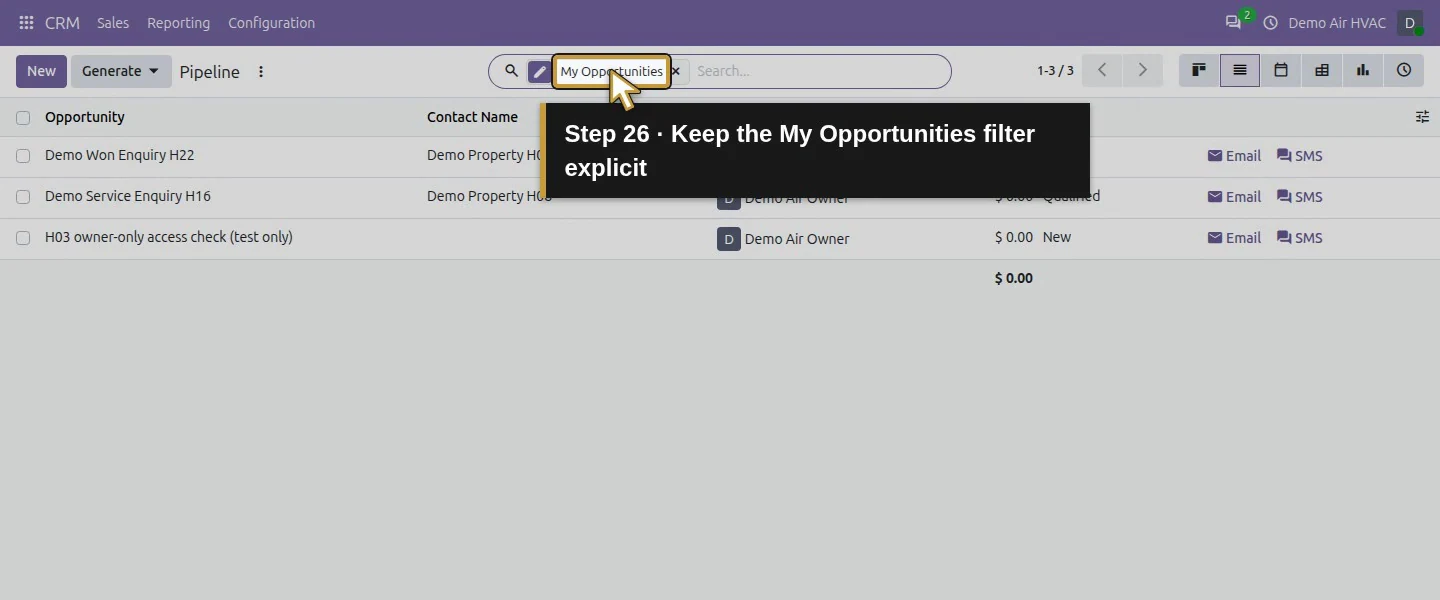
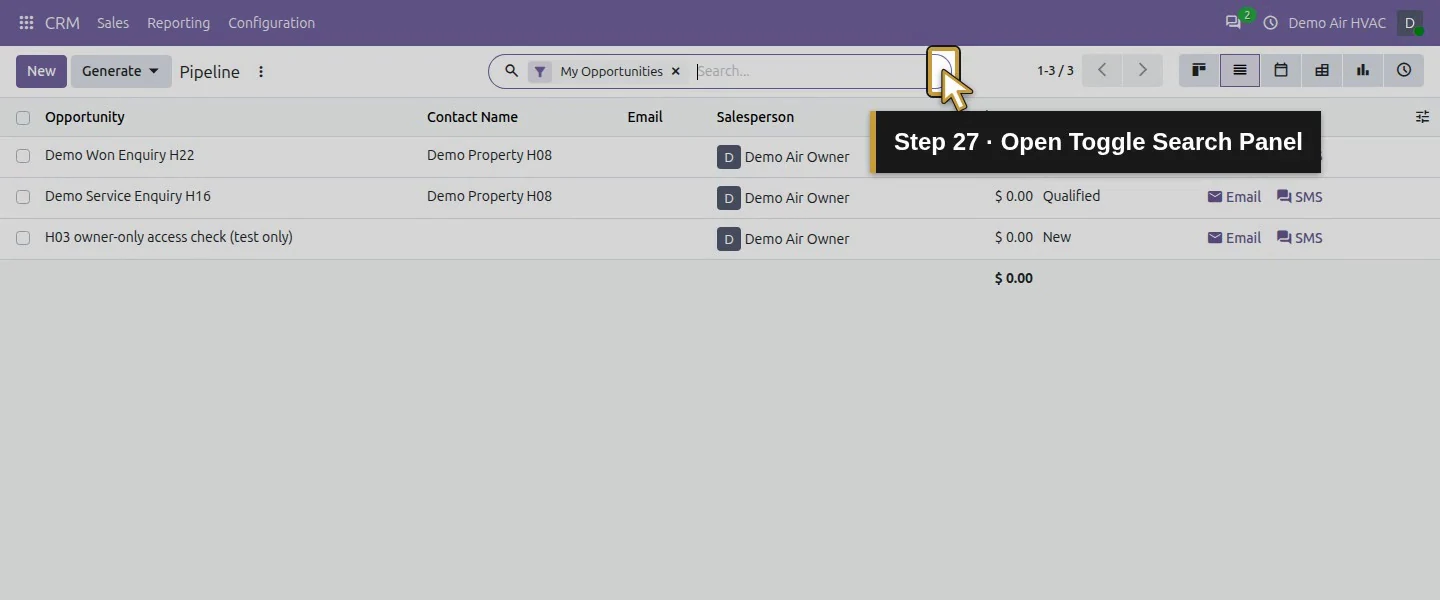
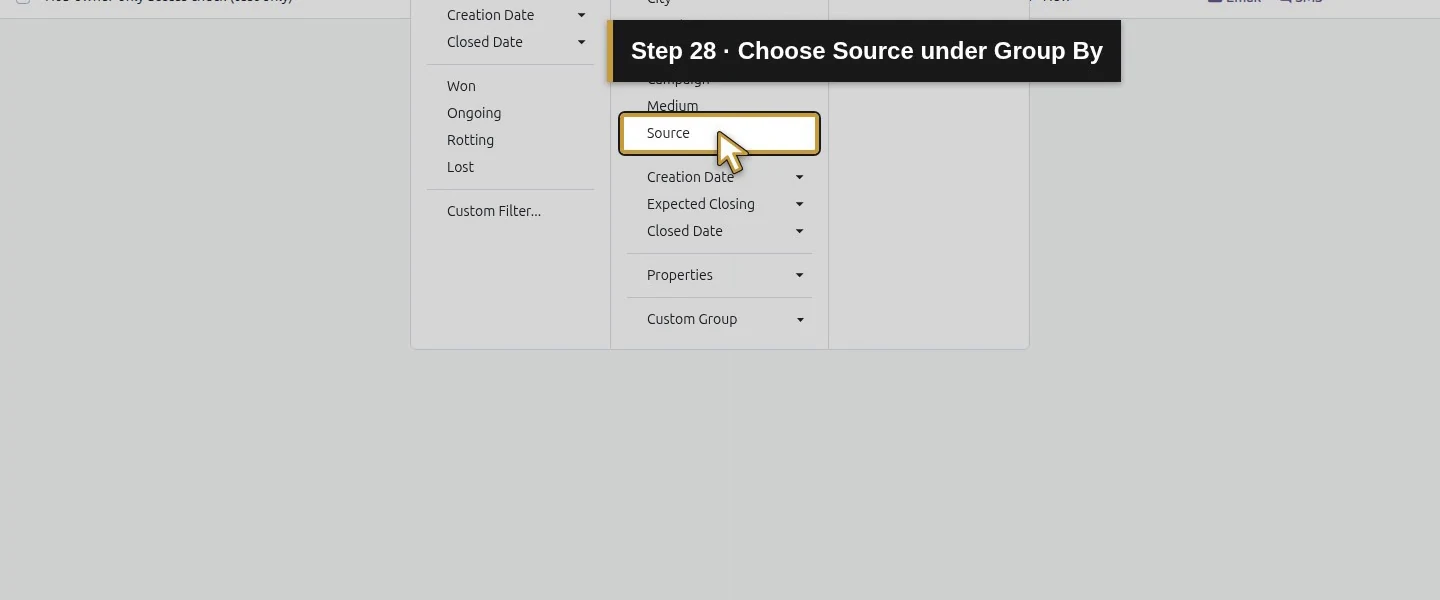
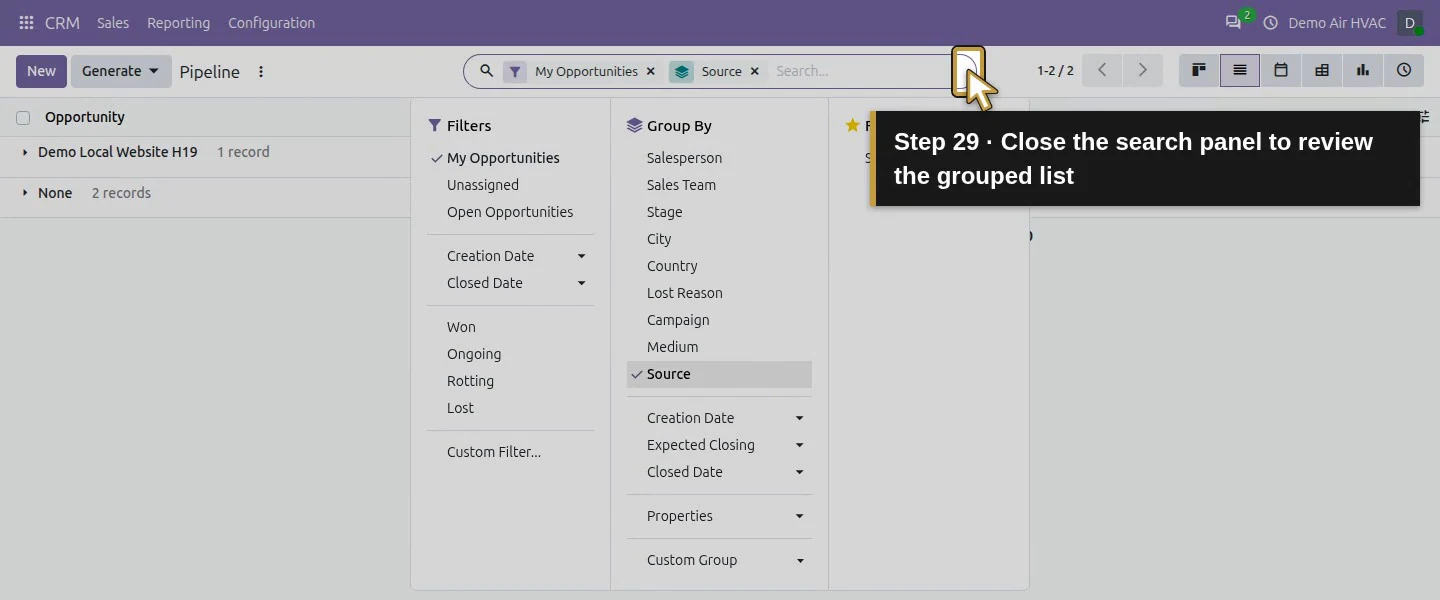
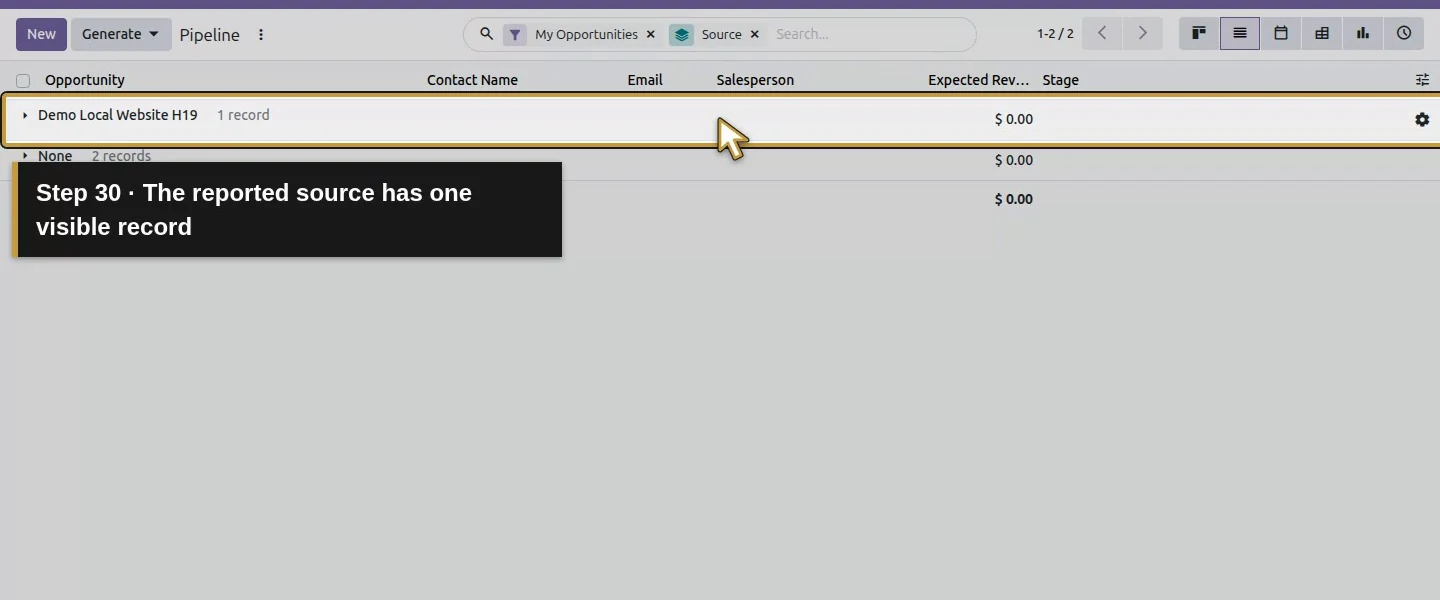
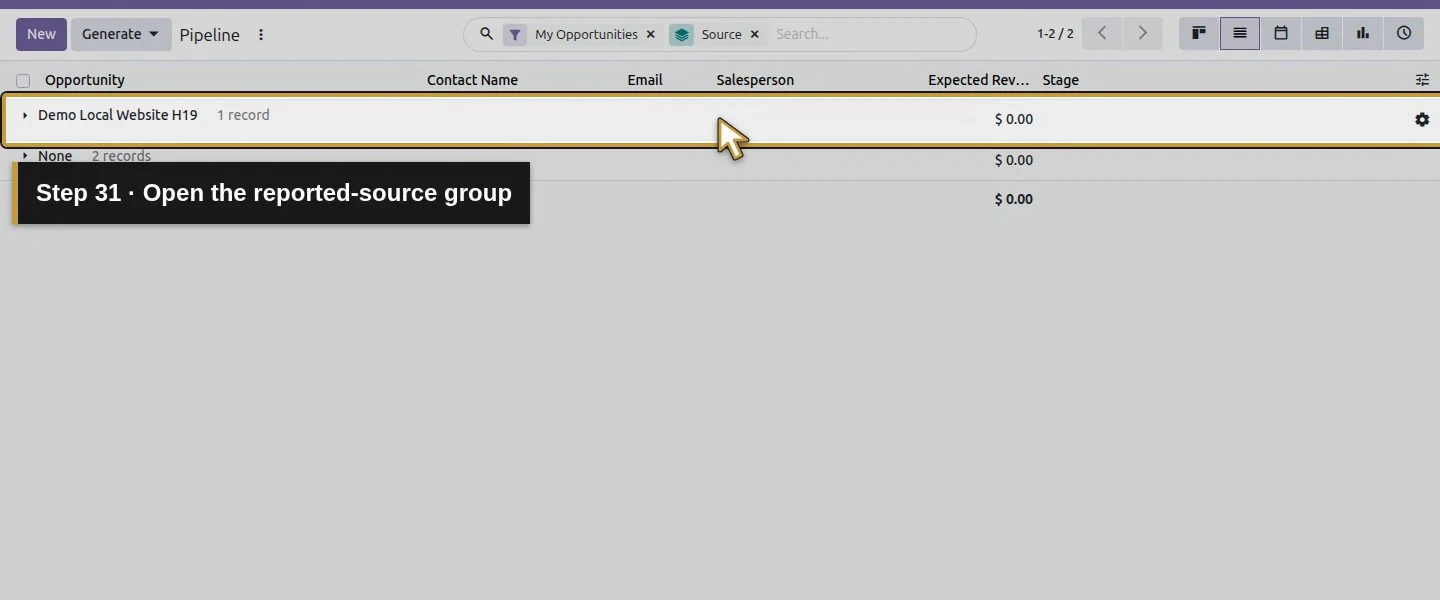
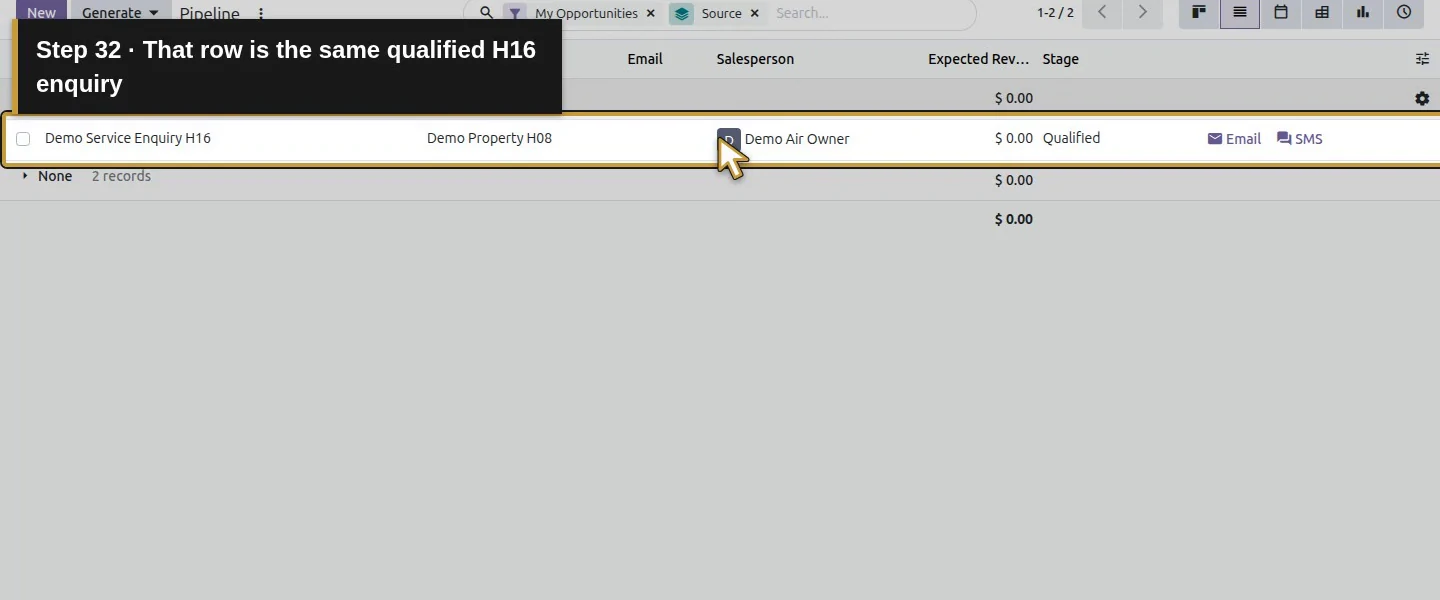
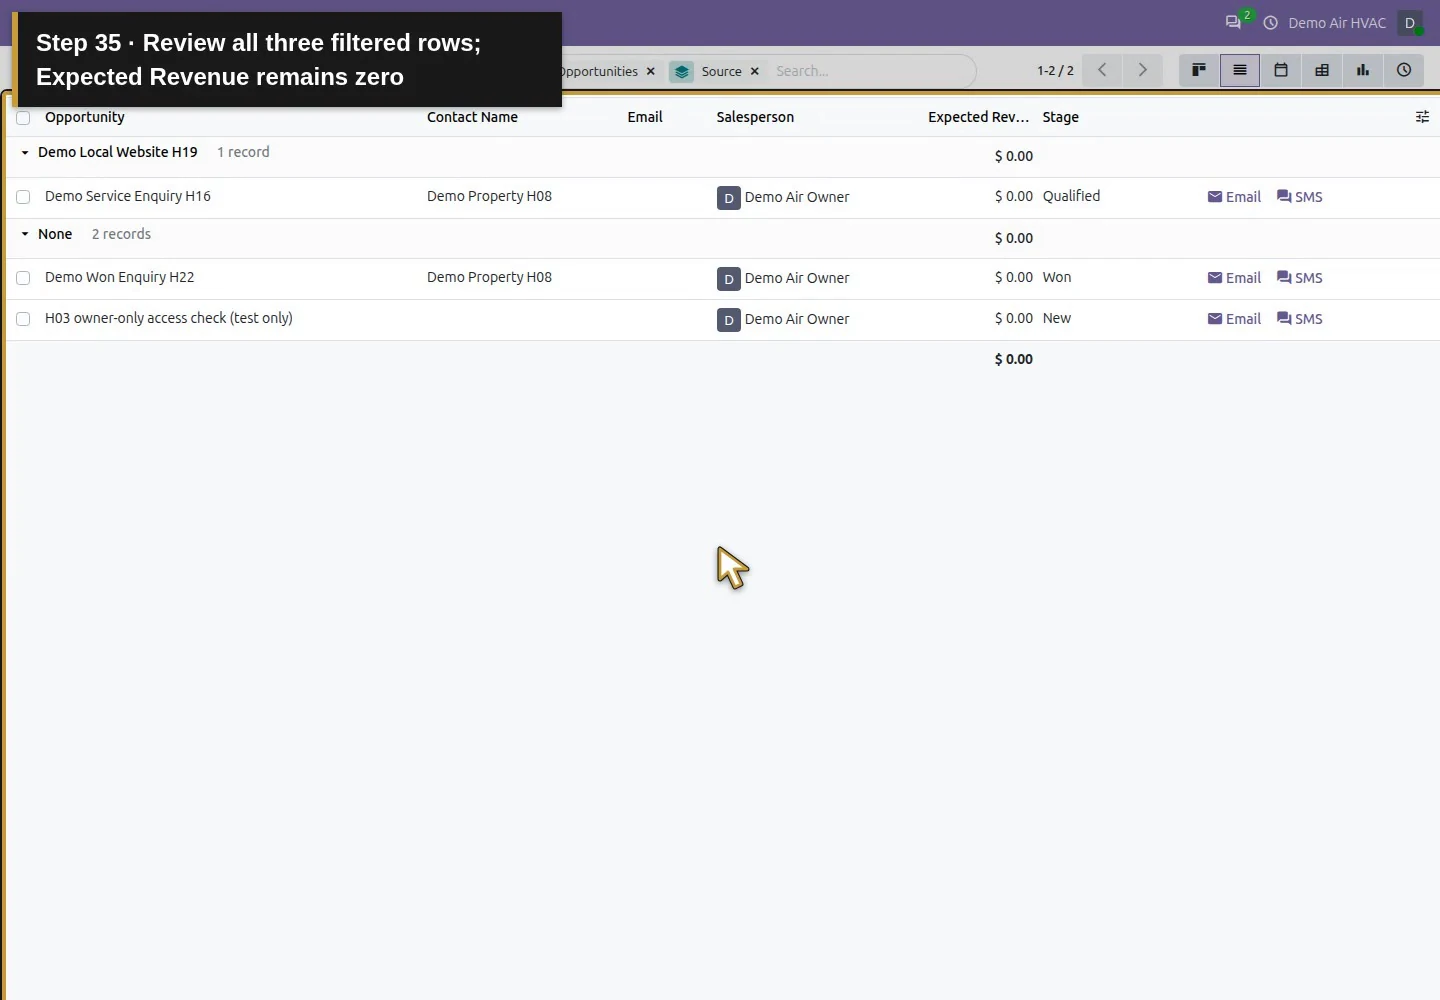
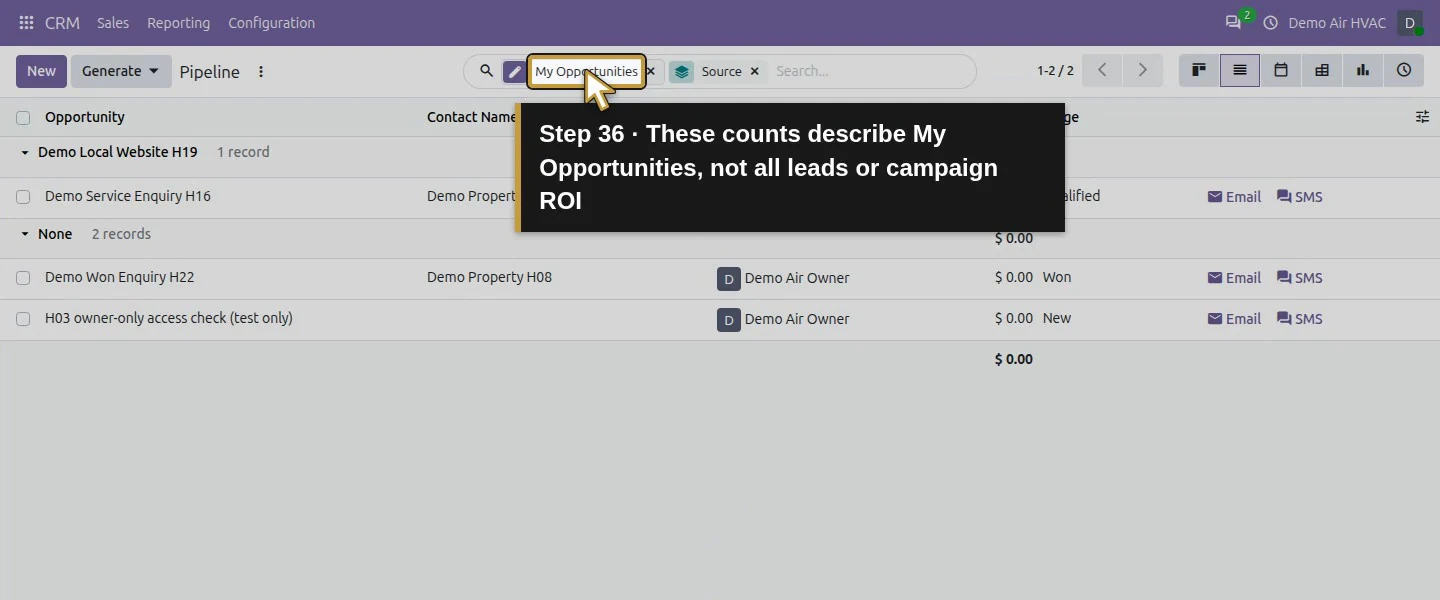
Return to CRM → Pipeline, choose List View, open Toggle Search Panel, and select Group By → Source. Keep the visible My Opportunities filter explicit: it limits the report. In this fixture, Demo Local Website H19 has one record and None has two. Review the rows before drawing conclusions.
Step 6. Keep unknowns and reporting limits visible
Leave unsupported sources empty. Group counts describe the records included by the current filter; they do not establish all enquiries, revenue, customer acquisition cost or marketing ROI. The training rows have zero Expected Revenue. Automatic website attribution still needs its own native verification.
Check the result
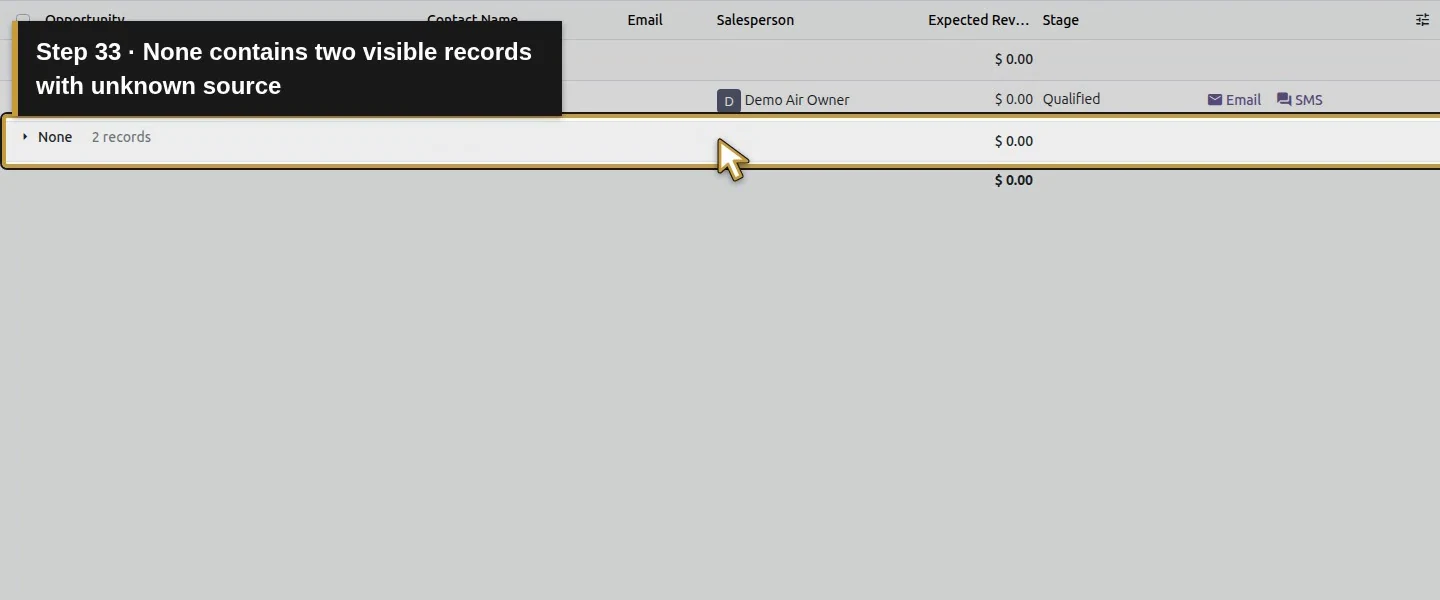
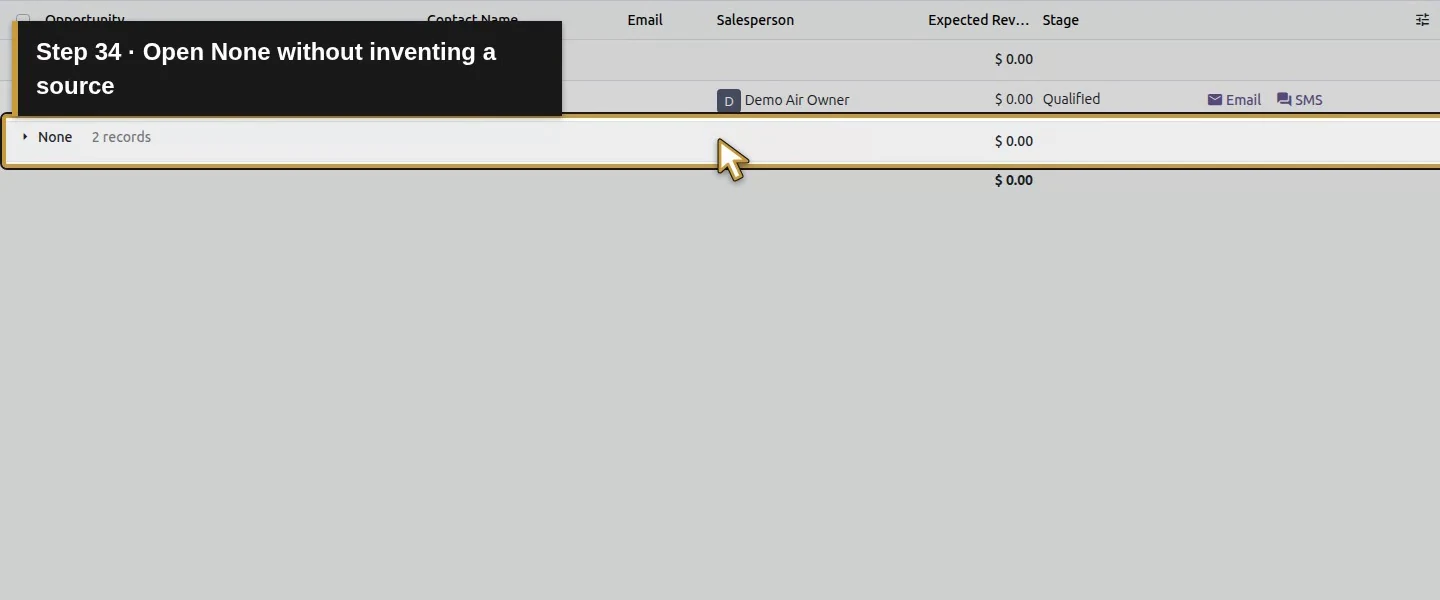
Opportunity 3 retains Source Demo Local Website H19, Medium Website and Campaign Demo Autumn Service H19 after reopening. Its customer and Qualified stage remain. Group By → Source under My Opportunities shows one labelled row and two None rows. Other enquiries retain blank source values and their prior outcomes; no new customer, lead, order or invoice was created.
If your screen differs
These labels were entered manually. They do not establish automatic website tracking, first-touch/last-touch attribution or real campaign results. The enquiry's displayed Probability recalculated to 91.67% during the saved-field test; it is a native CRM estimate, not measured campaign conversion. Group results change with filters and archive visibility. Website-form capture remains unverified in H18.
Frequently asked questions
How do I track the source of leads in Odoo CRM?
On this opportunity form, Extra Info exposes Marketing Source, Medium and Campaign. Save a reliable reported source, reopen it, then group the filtered pipeline by Source.Does Odoo automatically track website lead sources?
This guide verifies manual source labels and grouping only. Automatic website capture and visitor attribution require separate tests; the presence of marketing fields does not prove either workflow.Why are some Odoo opportunities missing a lead source?
The None group includes visible records with no saved source. Keep unknown origins blank and check the report's filters before comparing counts. Do not replace missing information with a guessed campaign.Continue building the business
Use activities for an internal follow-up. Website enquiries remains a separate draft pending native verification.
Talk to an Odoo partner
Bring your current process and the result you need to Onward to plan your Odoo workflow. Talk to an Odoo partner.