Running an HVAC business with Odoo
How do I send website enquiries into Odoo CRM?
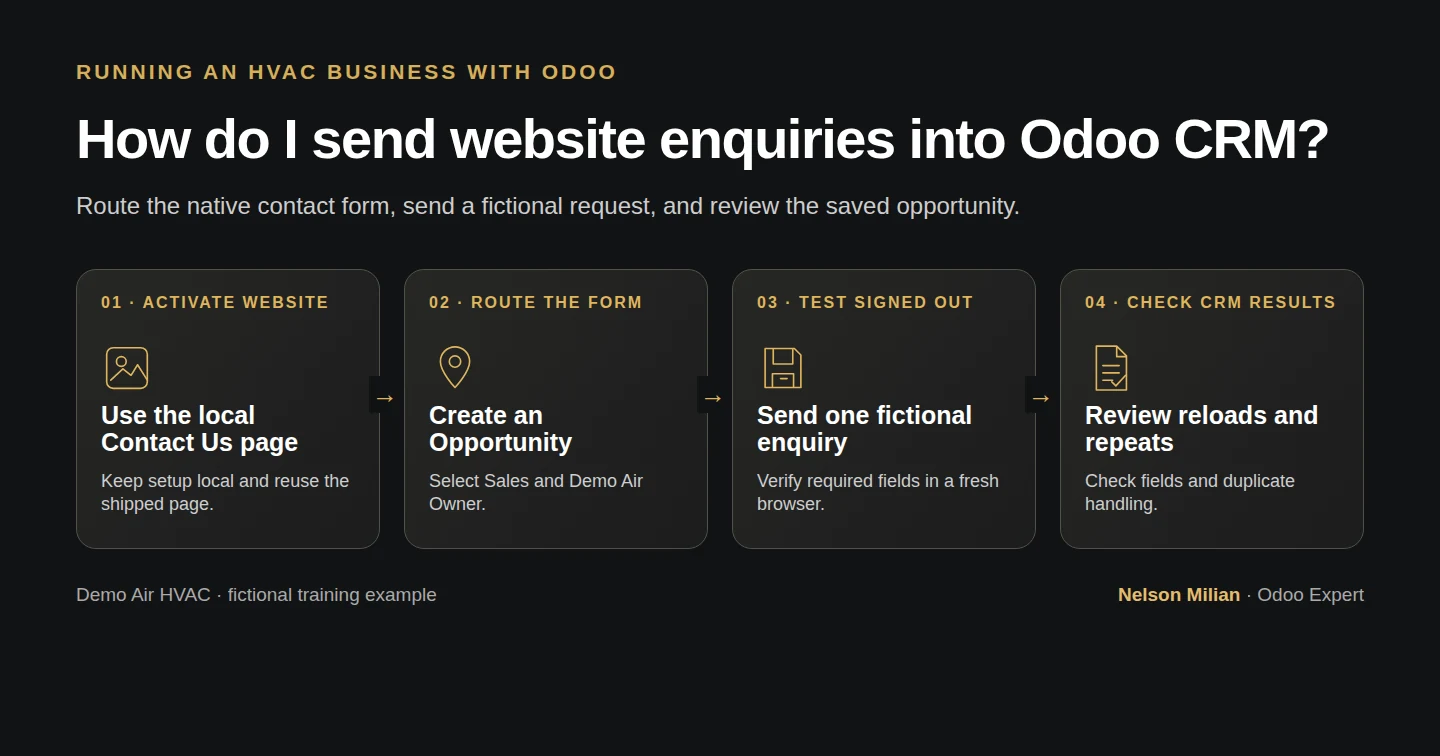
Configure Odoo’s standard website enquiry form to create CRM opportunities, then check mapping, routing and repeat submissions.
Alex wants a visitor’s cooling enquiry to reach the person who will qualify it. We configure the existing Contact Us form with Odoo’s native CRM action and submit fictional details from a signed-out browser. The first request creates one New opportunity assigned to Demo Air Owner. We also test a thank-you-page reload and a deliberate repeat request, so the intake procedure reflects what the form actually does.
Alex Rivera and Demo Air HVAC are fictional training examples. Prices, dates, quantities and business situations in this guide are illustrative.
Before you begin
Tested in stock Odoo 20.0-20260926 Community as the demo owner administrator, with official modules and standard configuration. Complete H16 sales pipeline setup. Use a local training website and a separate signed-out browser, with outgoing messages captured by the local mail sink. The official Website app and website_crm integration are installed during this workflow. Website editing uses the stock Editor and Designer permission; the demonstration runs as the owner. Keep the existing pipeline and business records. This exercise configures enquiry intake on the default Contact Us page. Its sample website name, contact details and marketing copy still need a separate review before a public launch.
Step-by-step workflow
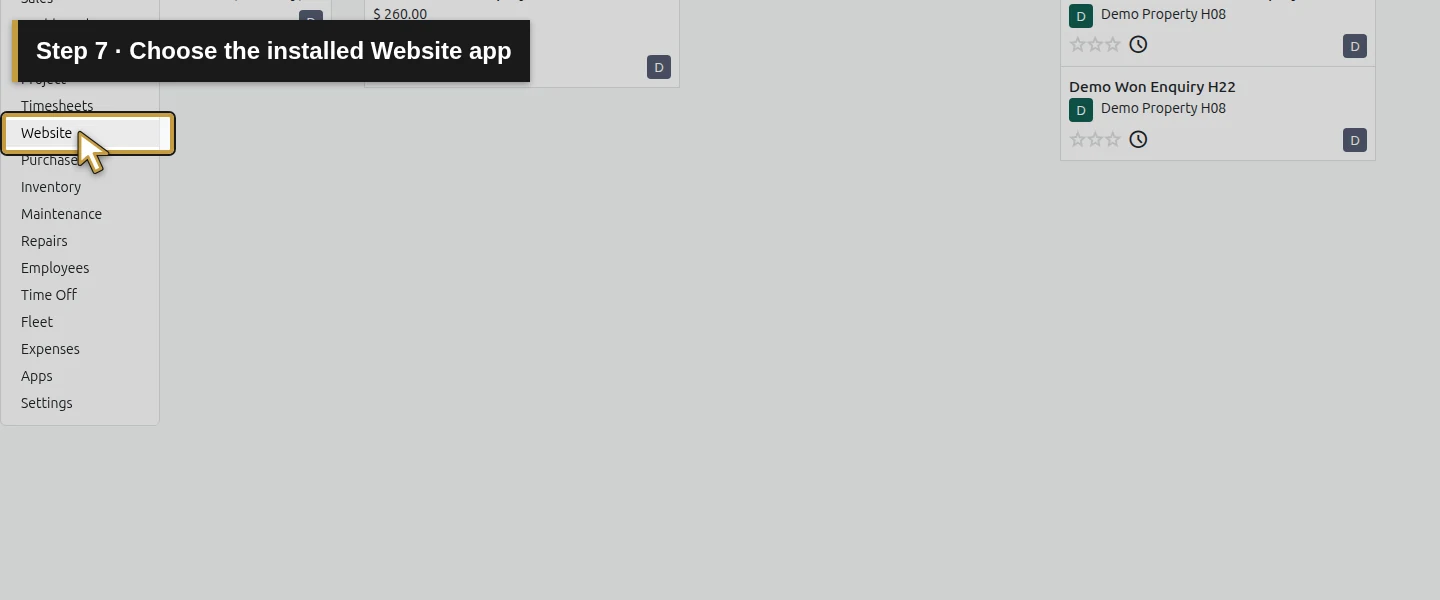
Step 1. Activate the official Website app
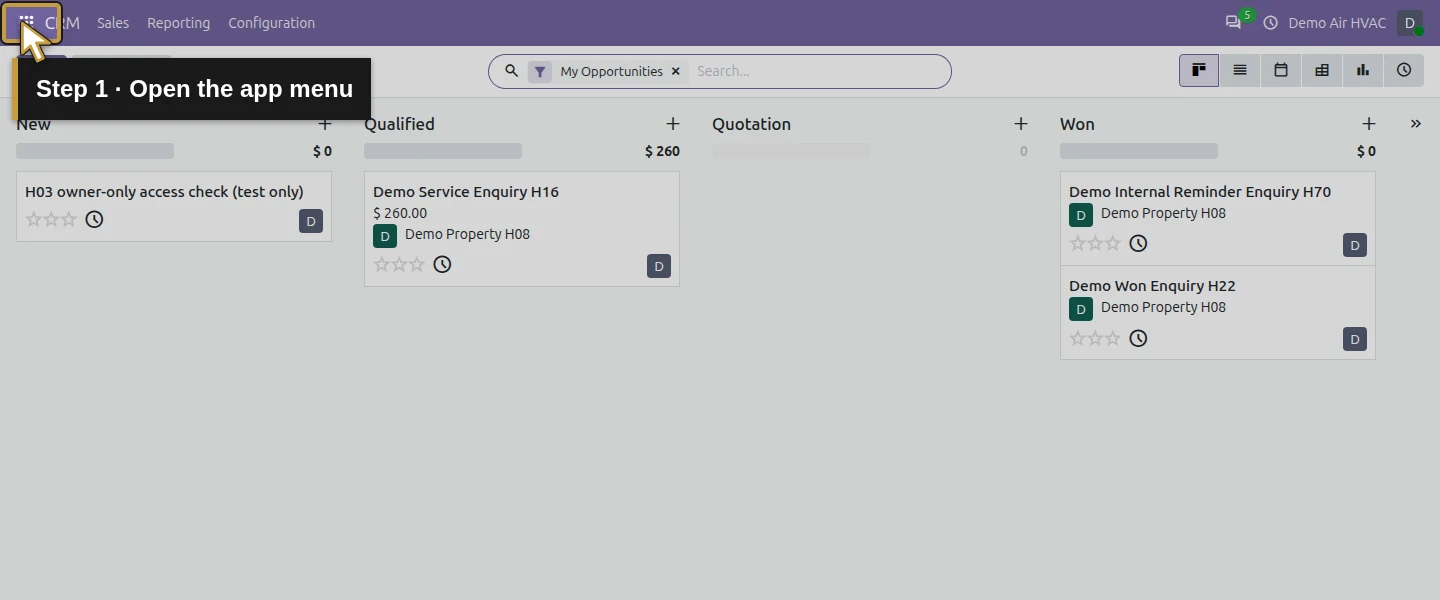
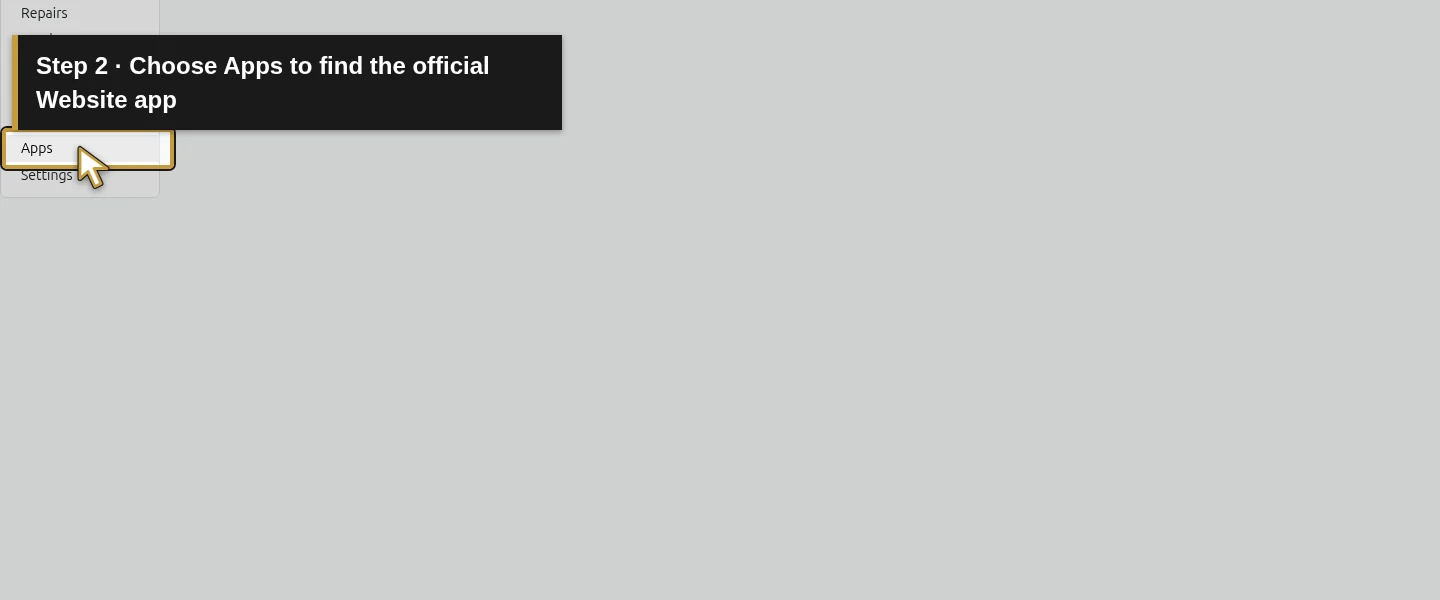
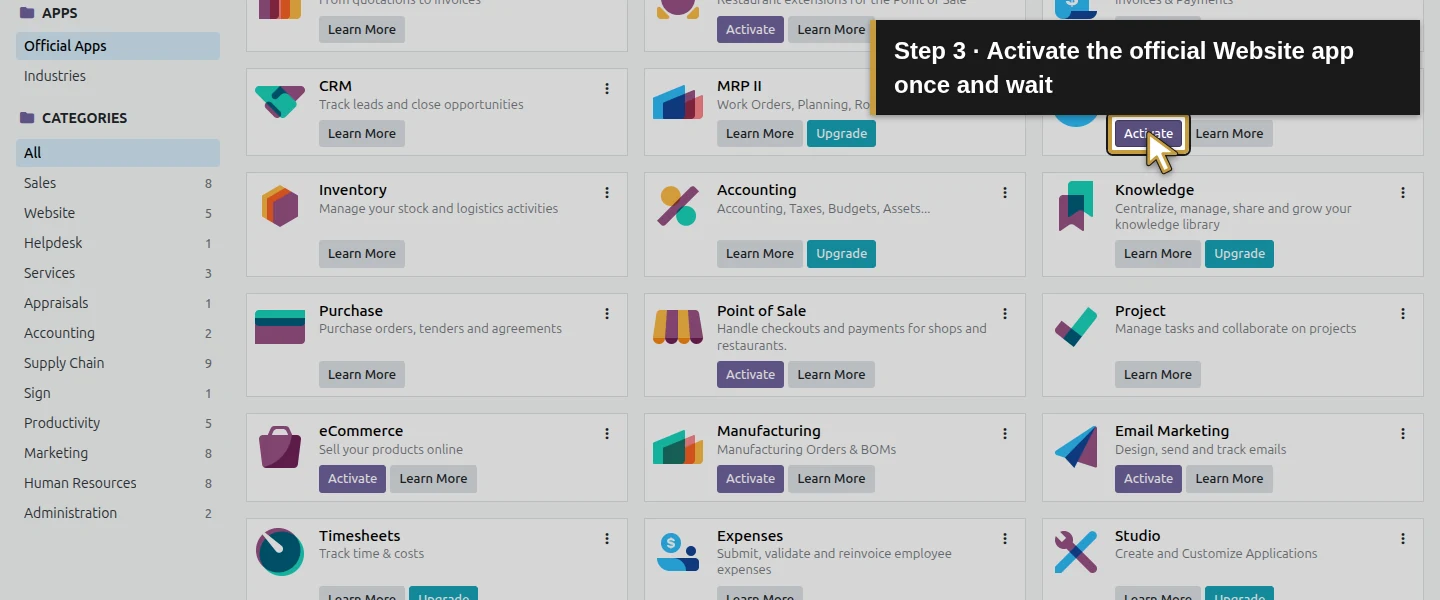
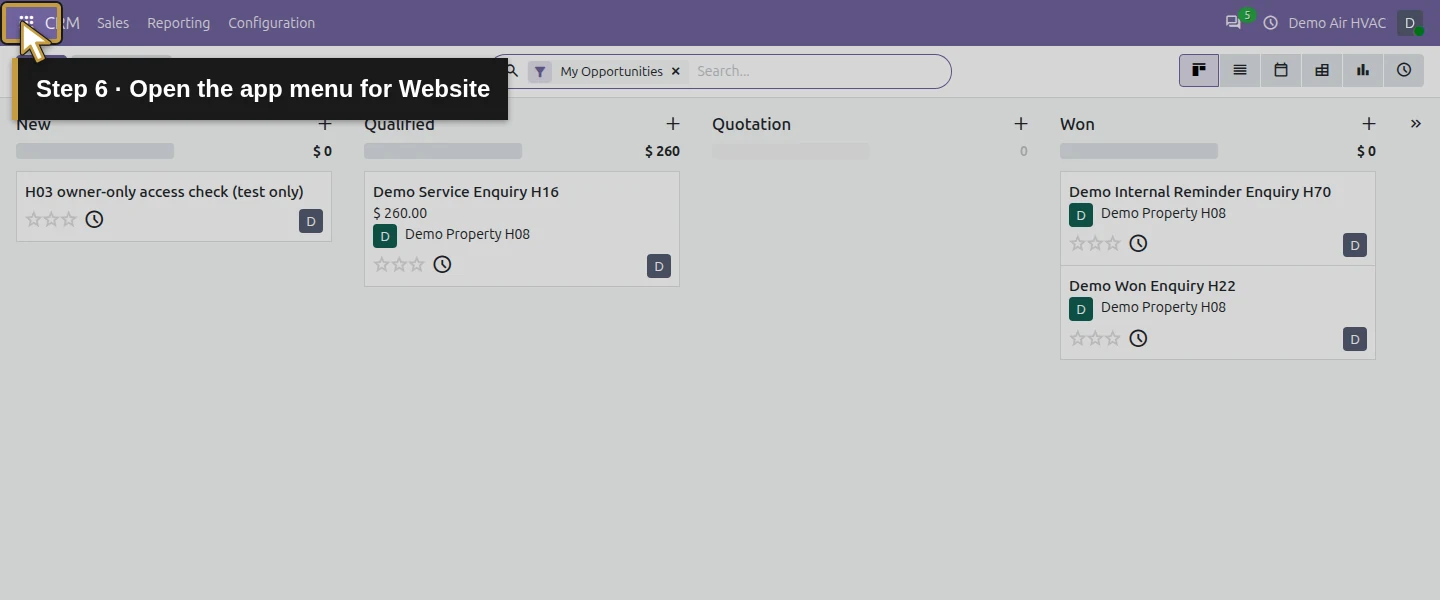
Open Apps, find Website and click its card’s Activate once. Wait for installation and the website setup screen to finish. The native installation in this checkpoint also installs Odoo’s official website_crm integration alongside the existing CRM app. If Website is already installed, reuse it. Do not click Activate again because loading takes time. No additional marketplace integration is needed for the form action demonstrated here.
Step 2. Use the local site without the website generator
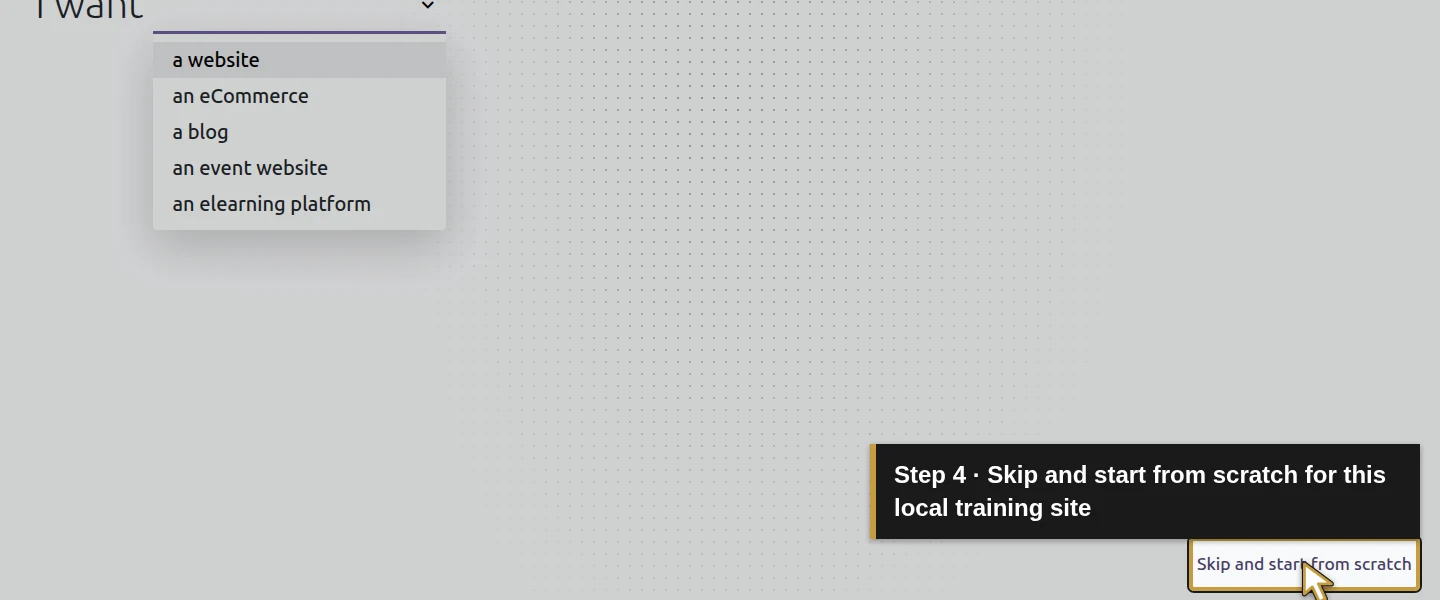
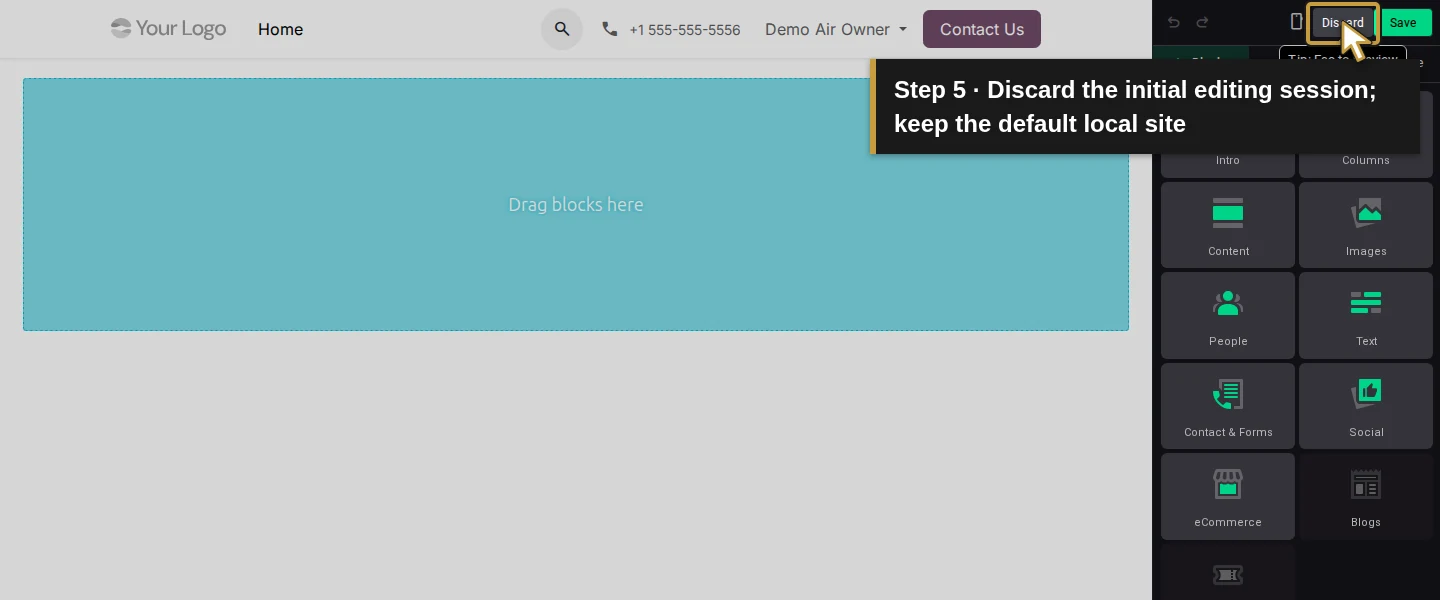
On the configurator, click Skip and start from scratch. Odoo opens the default local website in its editor. Click Discard to leave this initial edit session. We have not entered generated copy or connected an external provider. Keep this as a training website while checking the enquiry path; the default template is not a finished HVAC company site.
Step 3. Open the existing Contact Us page
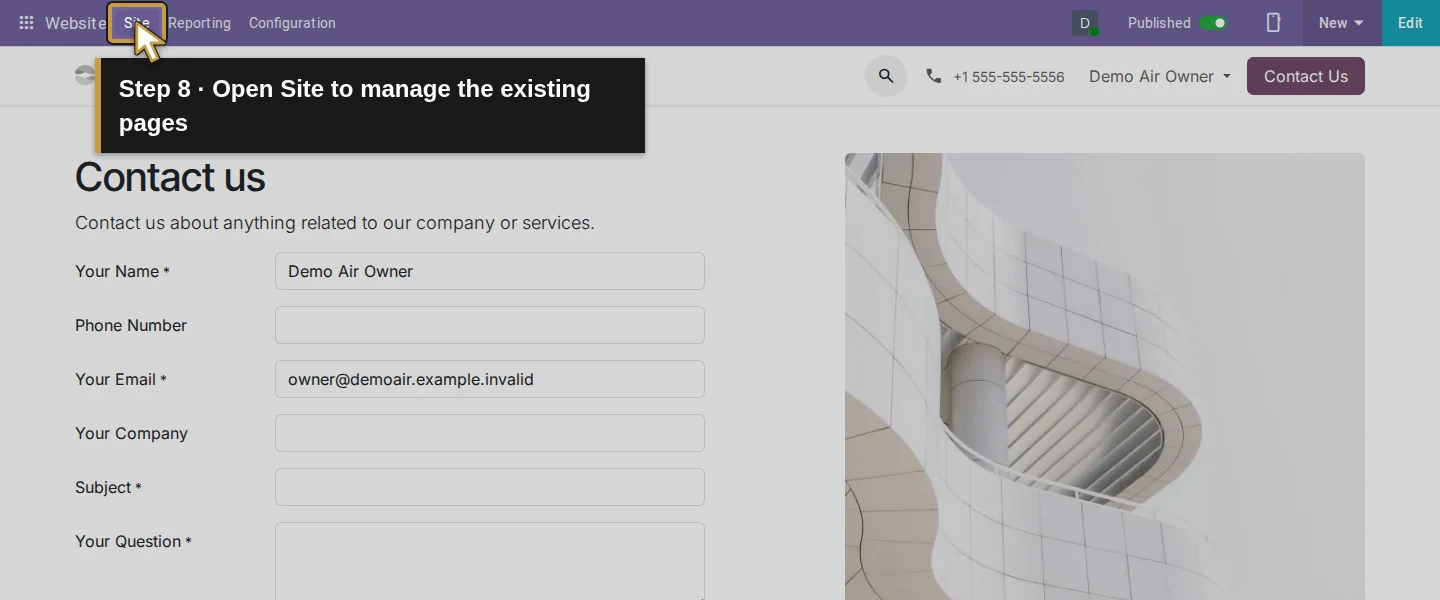
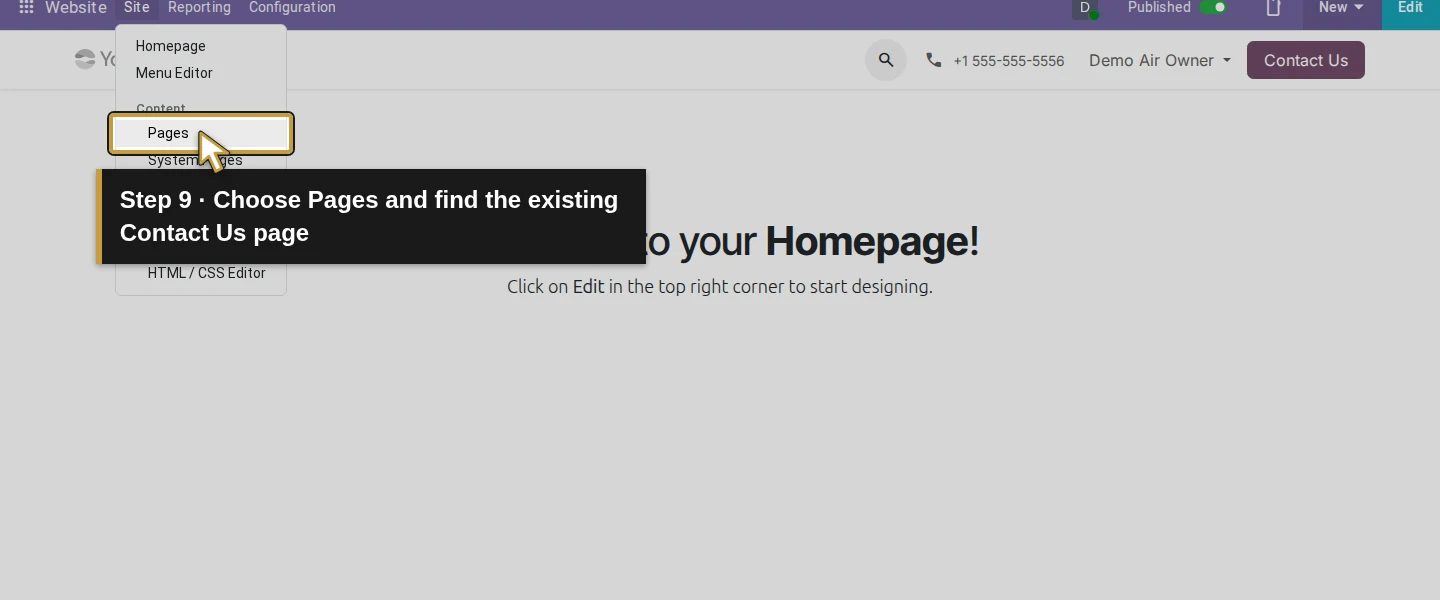
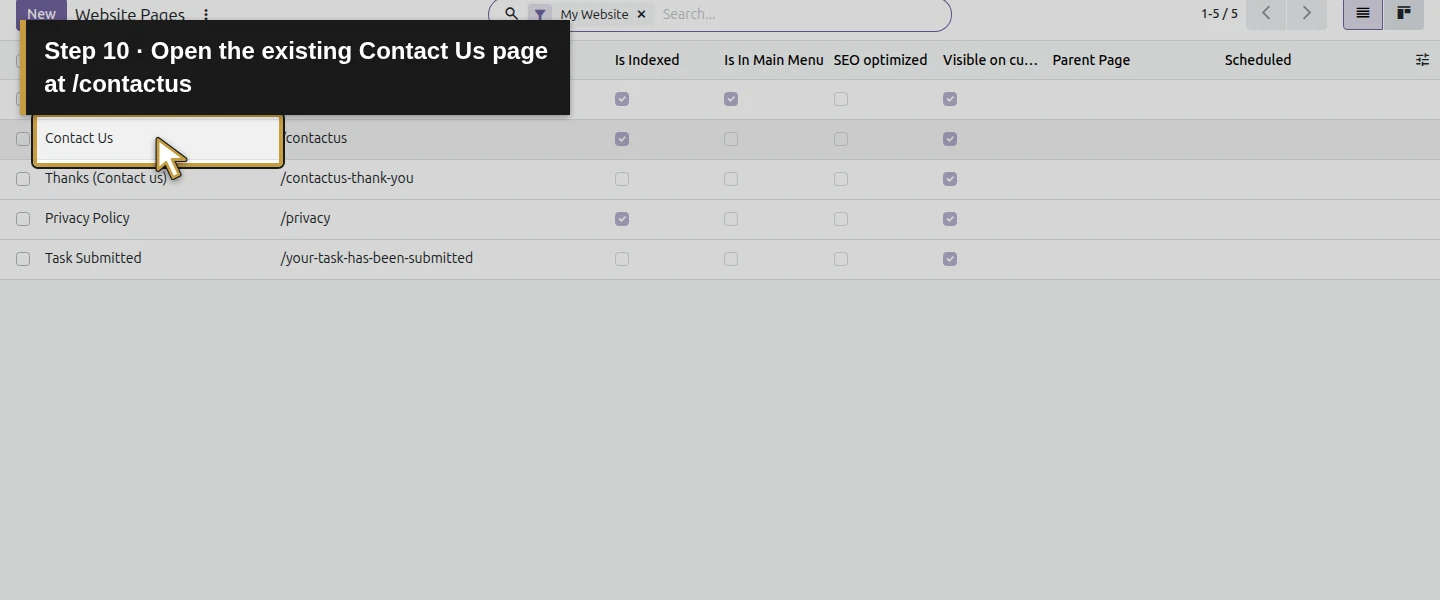
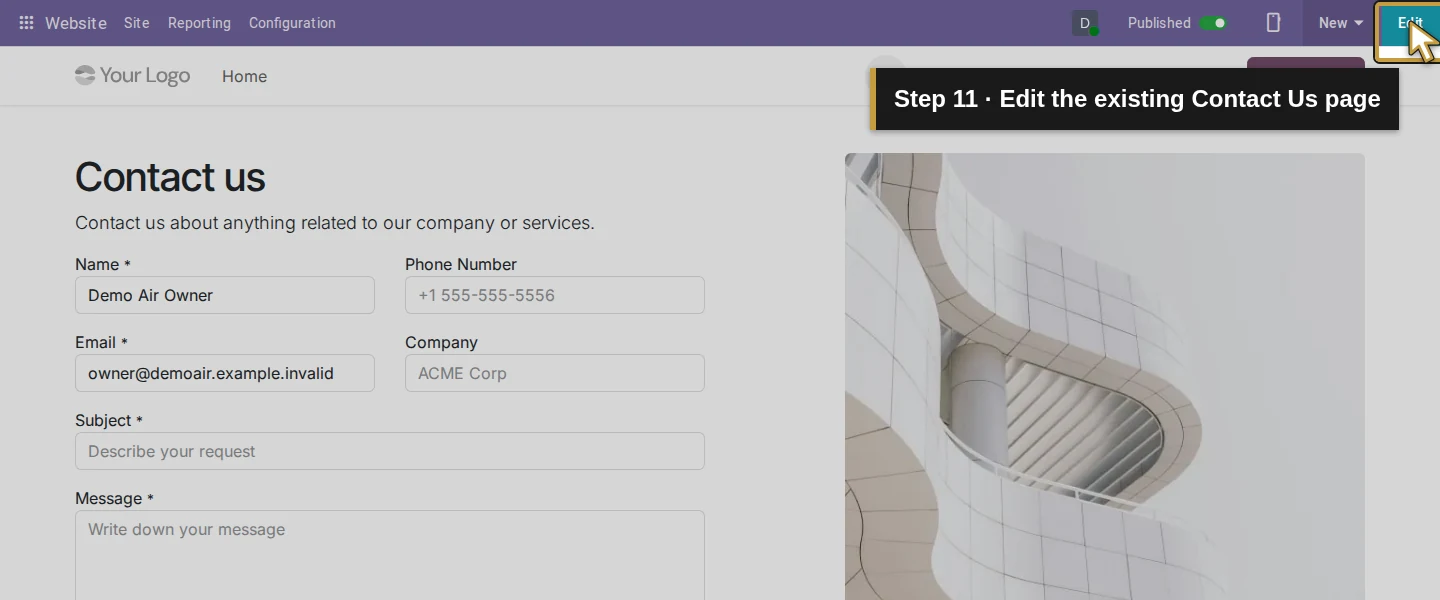
From the Website app, open Site → Pages. The list includes Home, Contact Us and Thanks (Contact us). Click the Contact Us row, verify that the page is /contactus, then click Edit. This route matters: the editor initially opened the homepage in our test when reached through the front-end shortcut. Confirm the visible Contact Us form before changing anything.
Step 4. Select the form’s settings
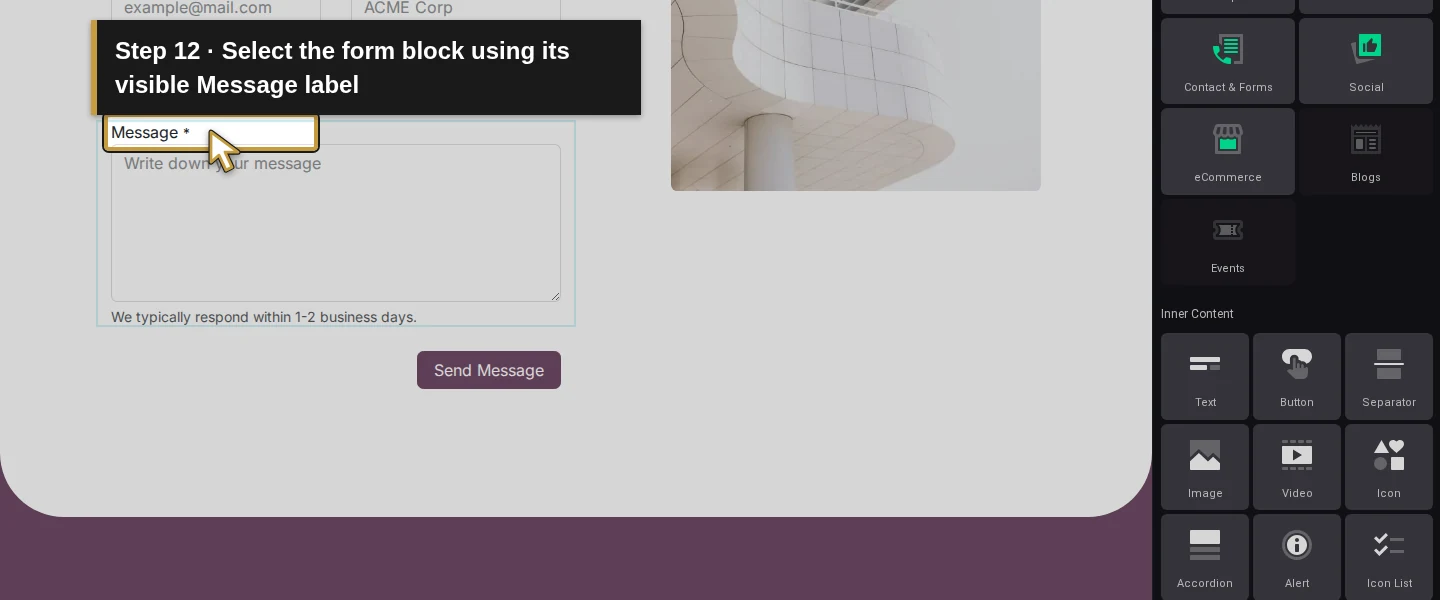
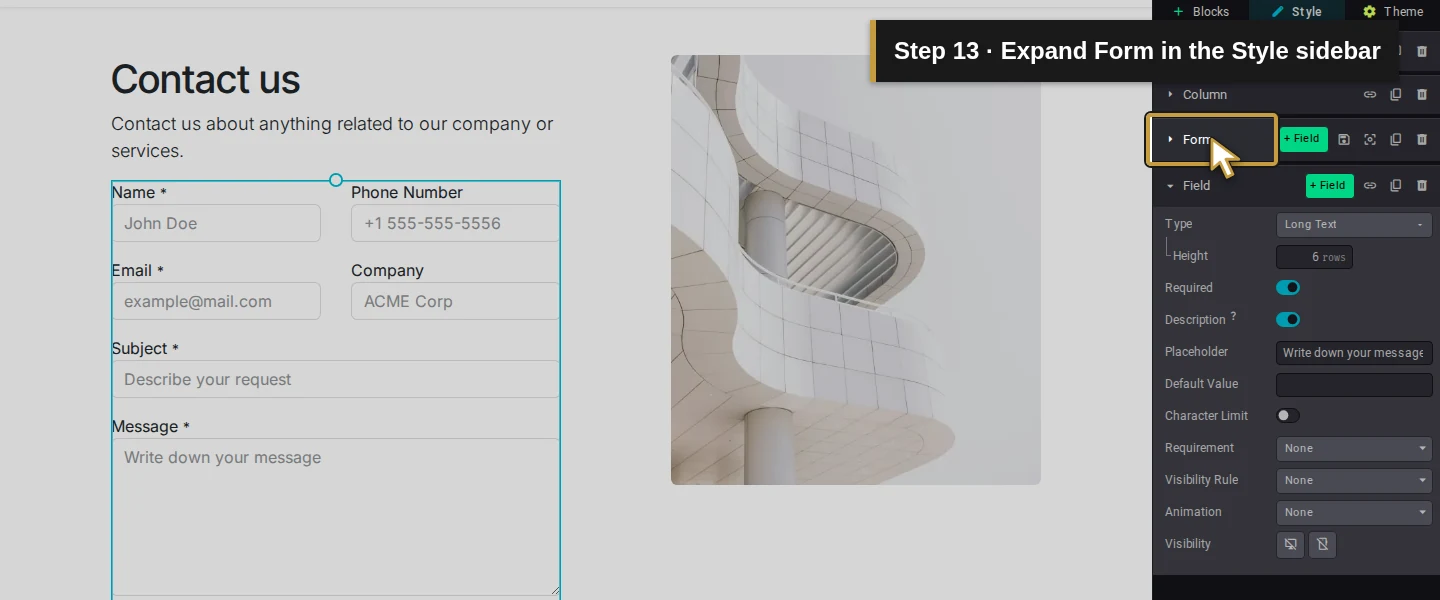
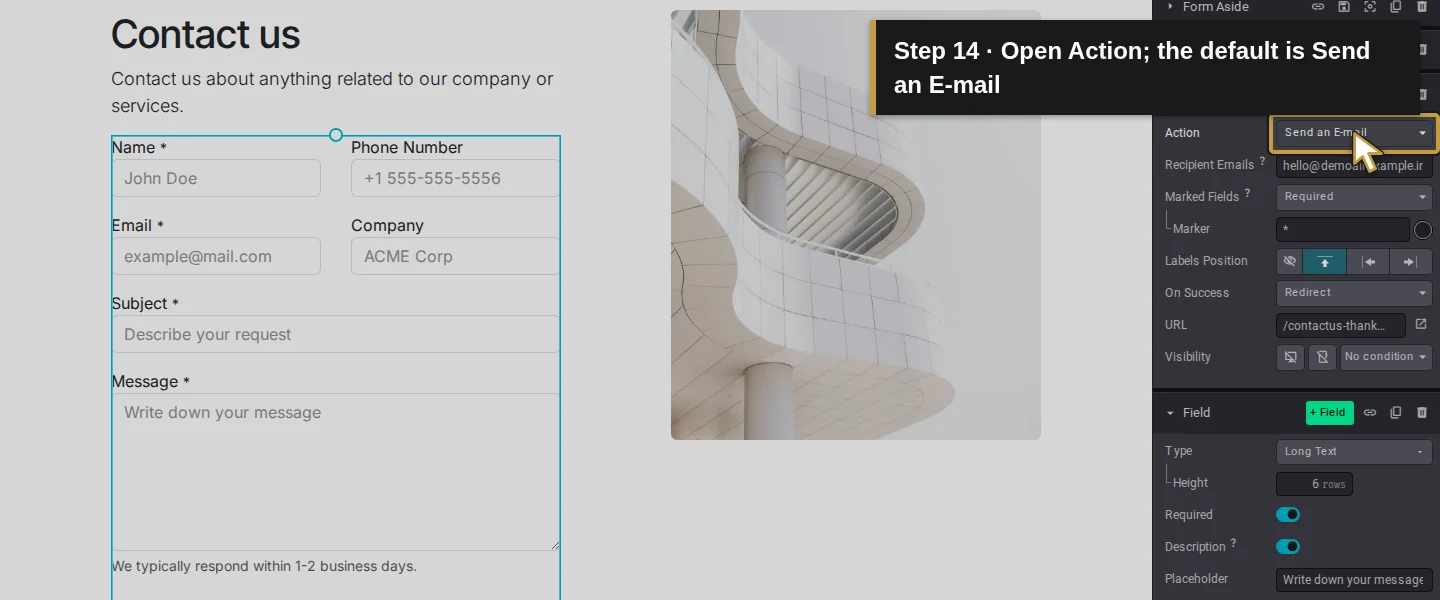
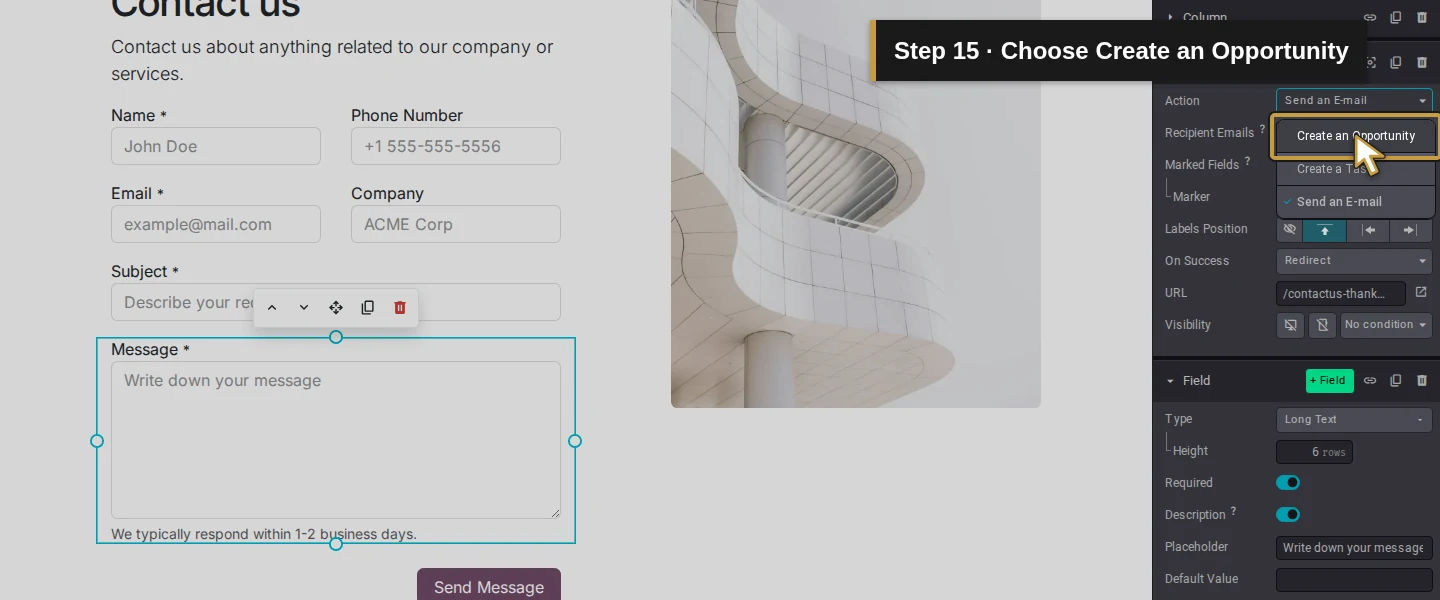
Click inside the form block. The Style tab opens and may initially show settings for a selected Field. In the sidebar, click Form to expand the form’s settings. Find Action. The existing page initially uses Send an E-mail, even with the CRM integration installed. A form that shows a thank-you page may therefore be sending email rather than creating a CRM record.
Step 5. Choose Create an Opportunity
Open the Action dropdown and choose Create an Opportunity. The native editor updates the standard form fields: Your Name, Phone Number, Your Email, Your Company, Subject and Your Question. The form’s destination is now CRM. We use the existing fields and the shipped action; no endpoint, field, script or business rule is authored for this intake workflow.
Step 6. Choose who receives the enquiry
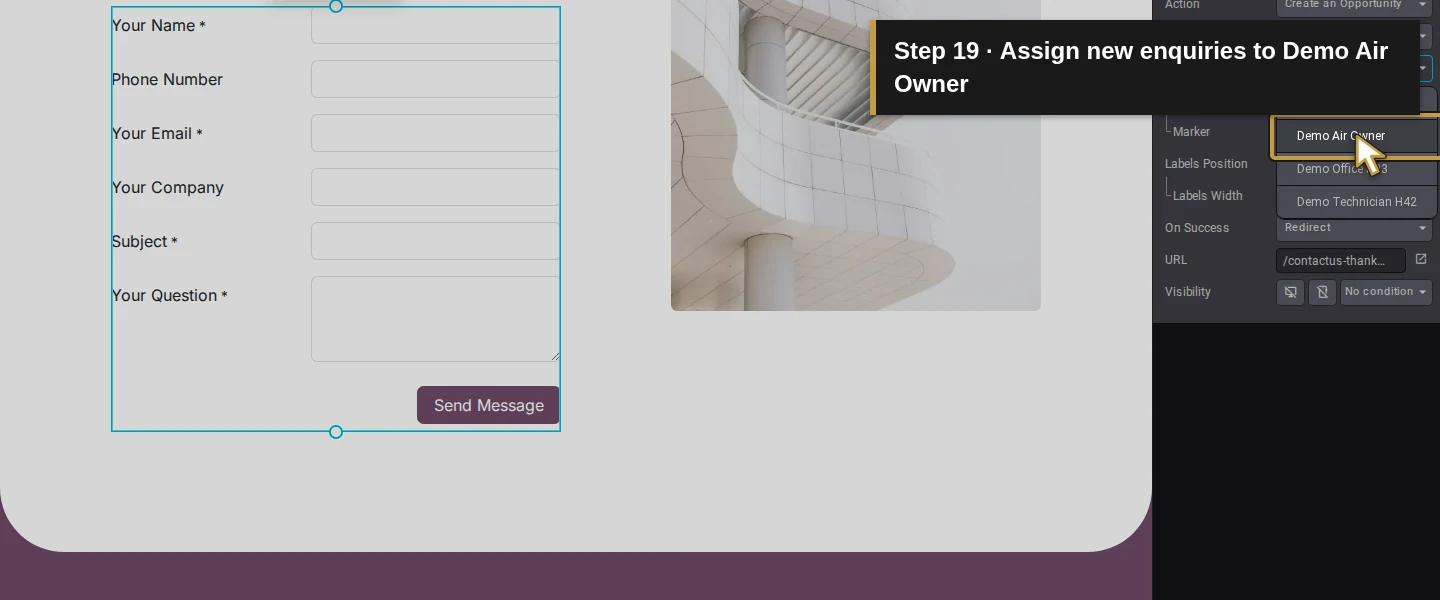
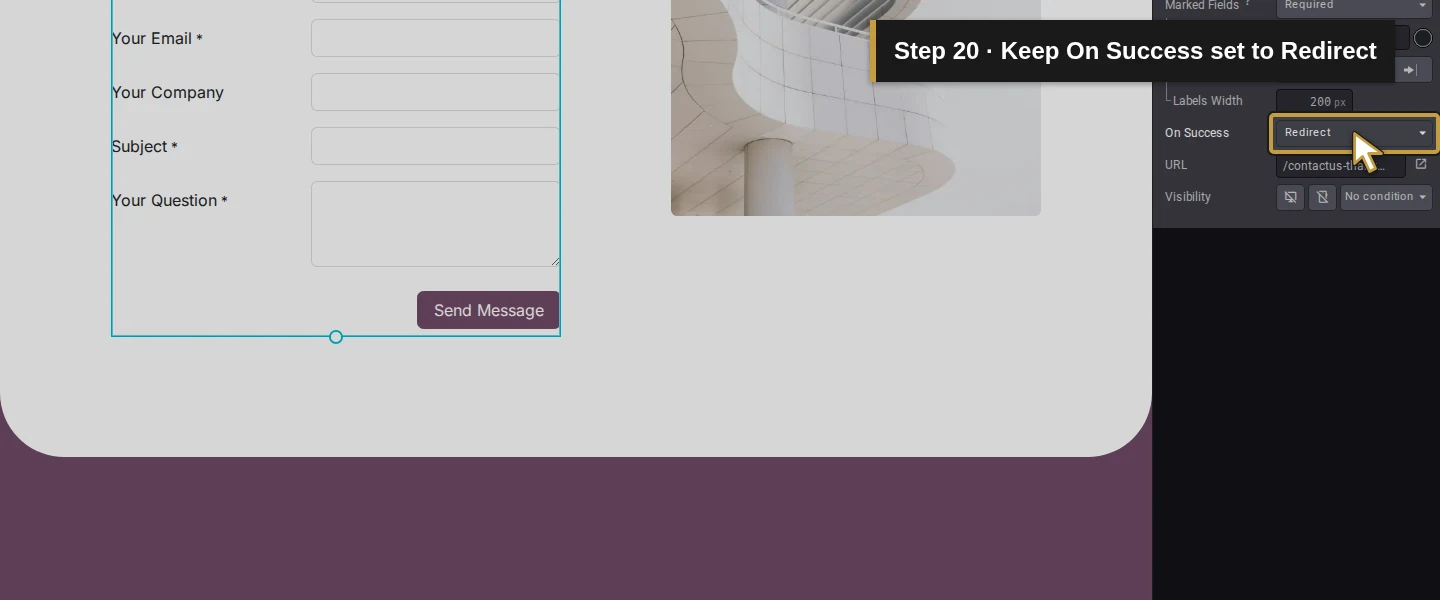
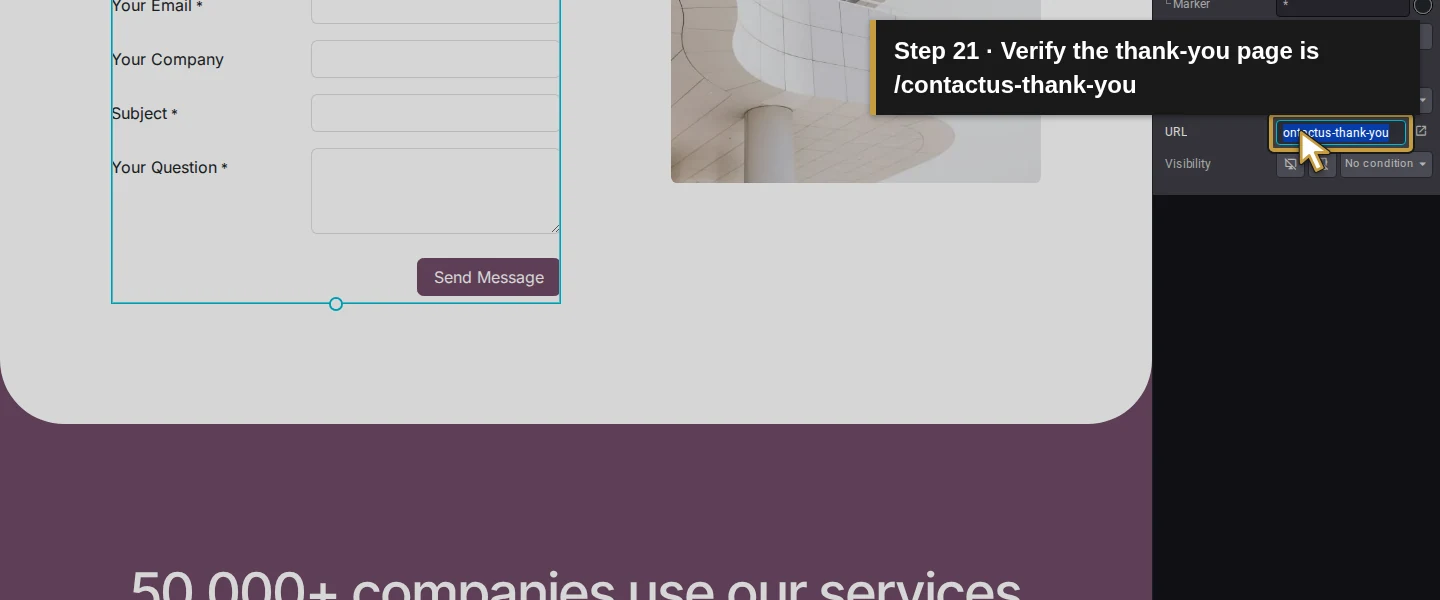
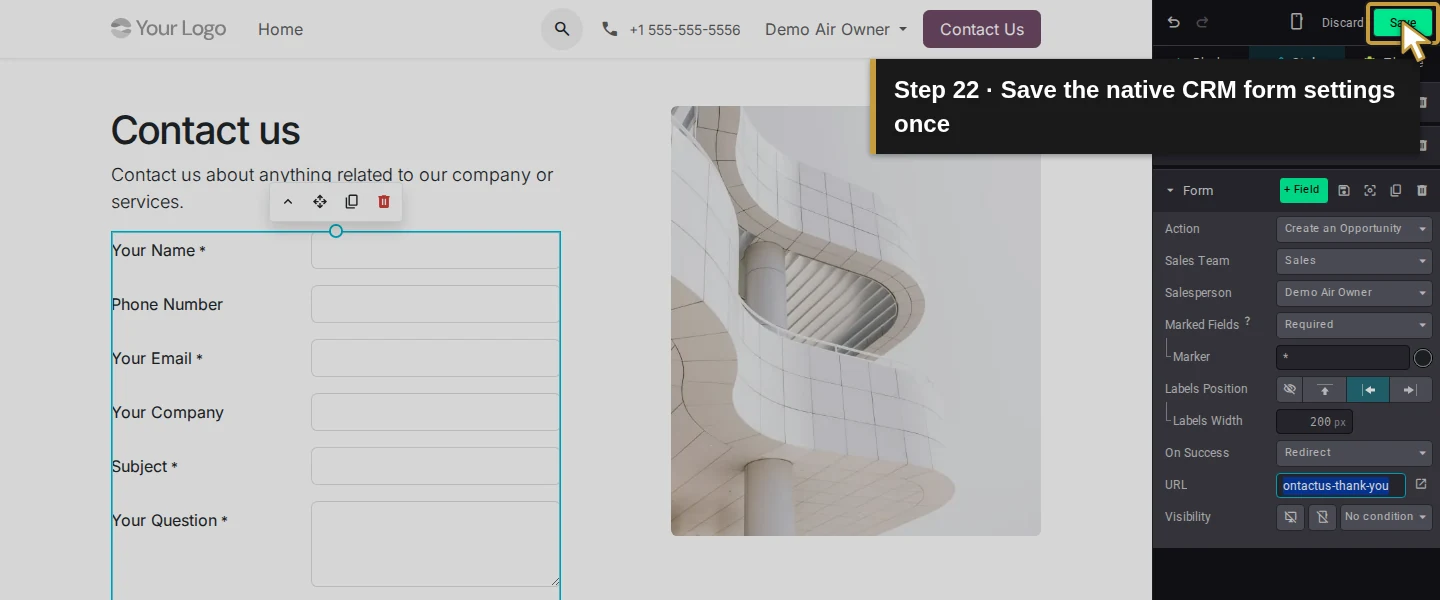
In the Form settings, set Sales Team → Sales and Salesperson → Demo Air Owner. These are native routing controls exposed after choosing the CRM action. The Sales team already exists; there is no reason to create another team for this test. Keep On Success → Redirect with /contactus-thank-you. Review all three settings before saving, because a redirect alone does not establish the intended owner or CRM destination.
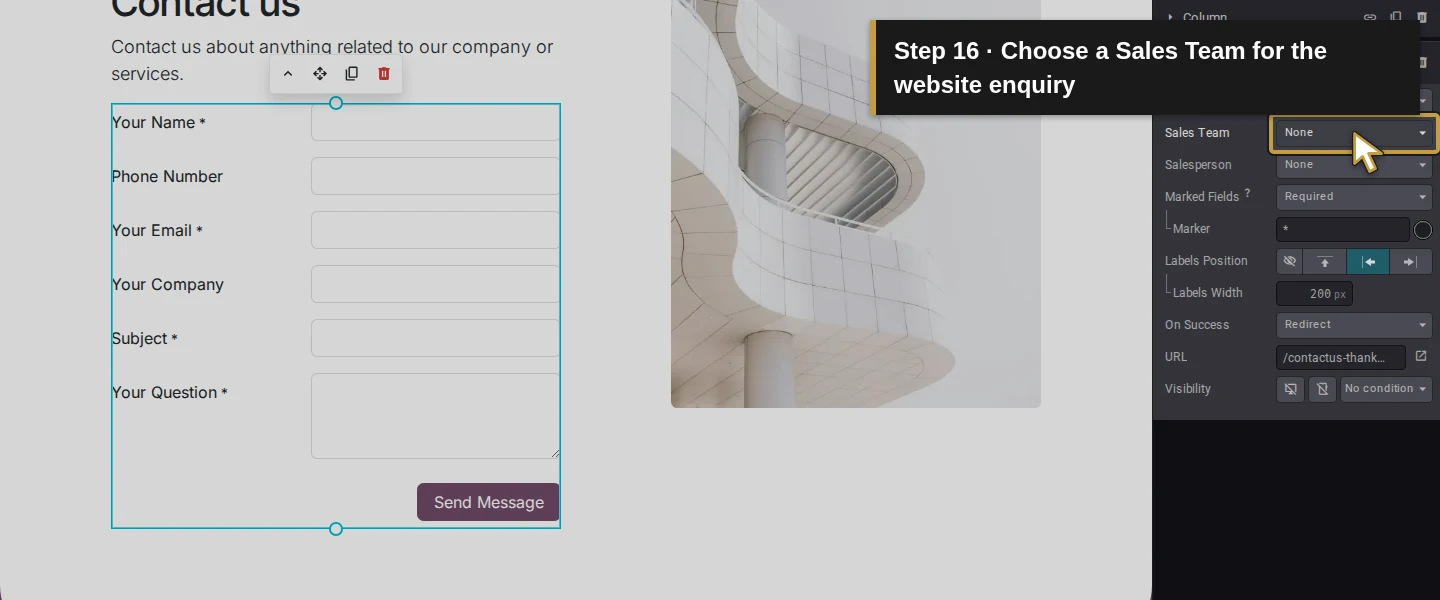
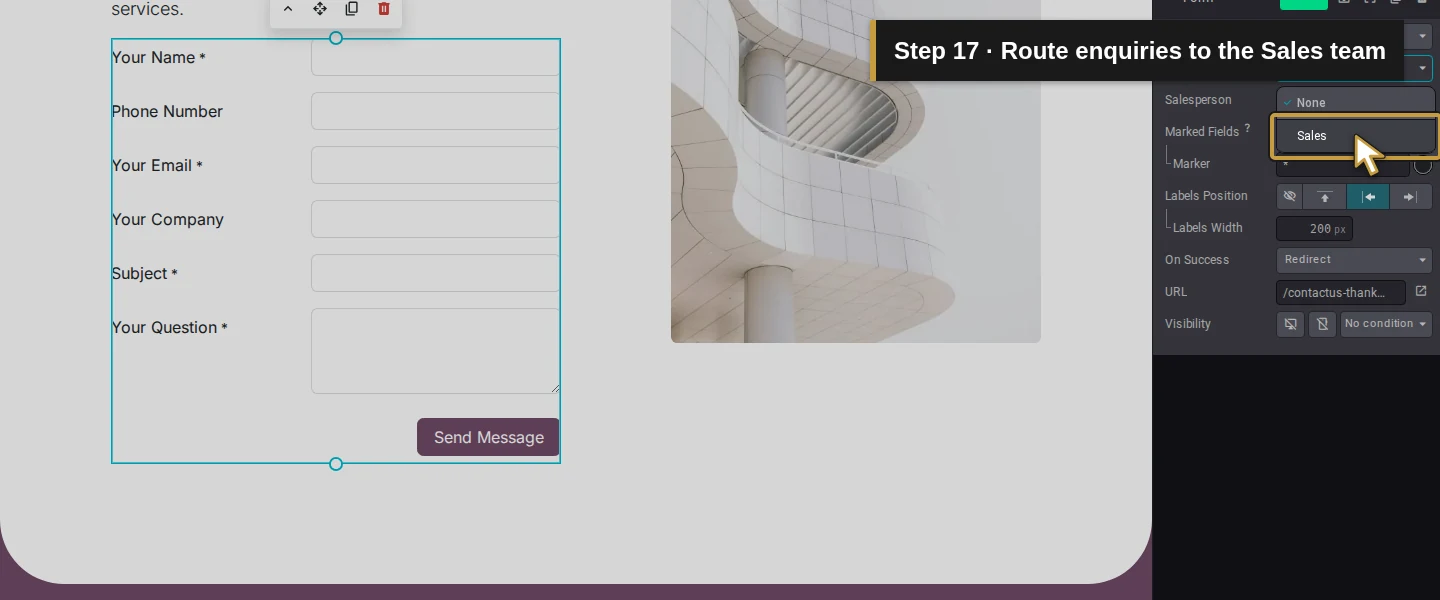
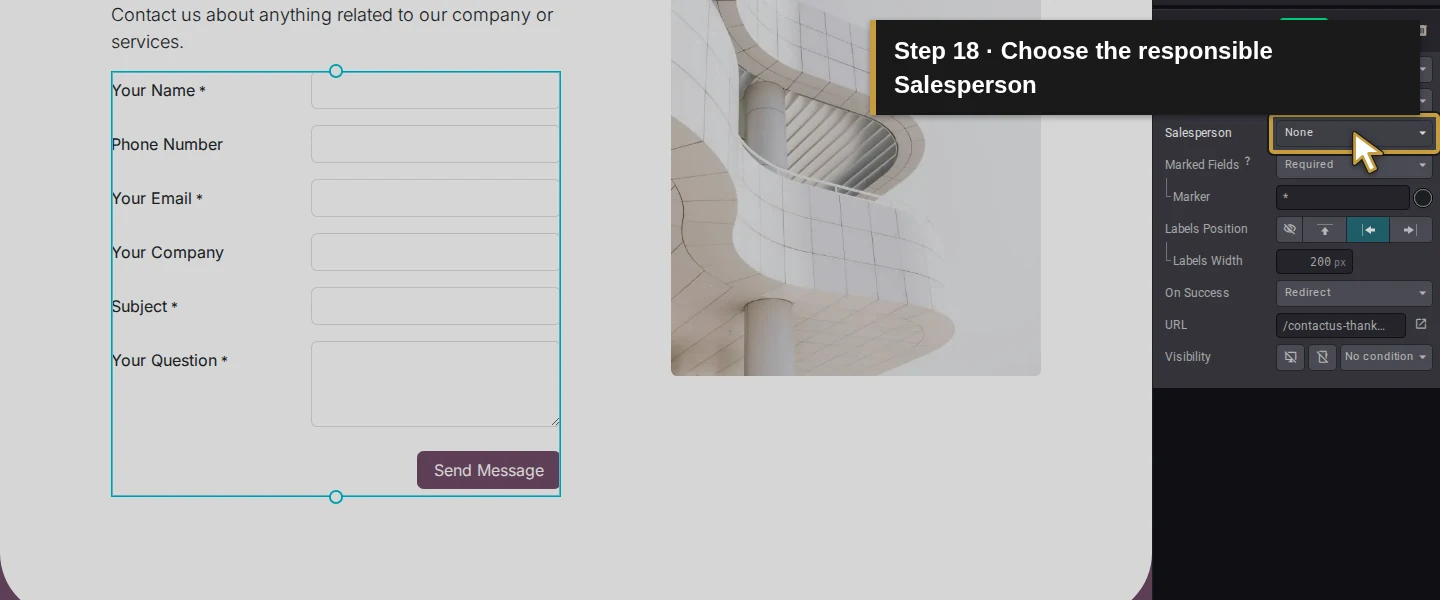
Step 7. Save and inspect the signed-out form
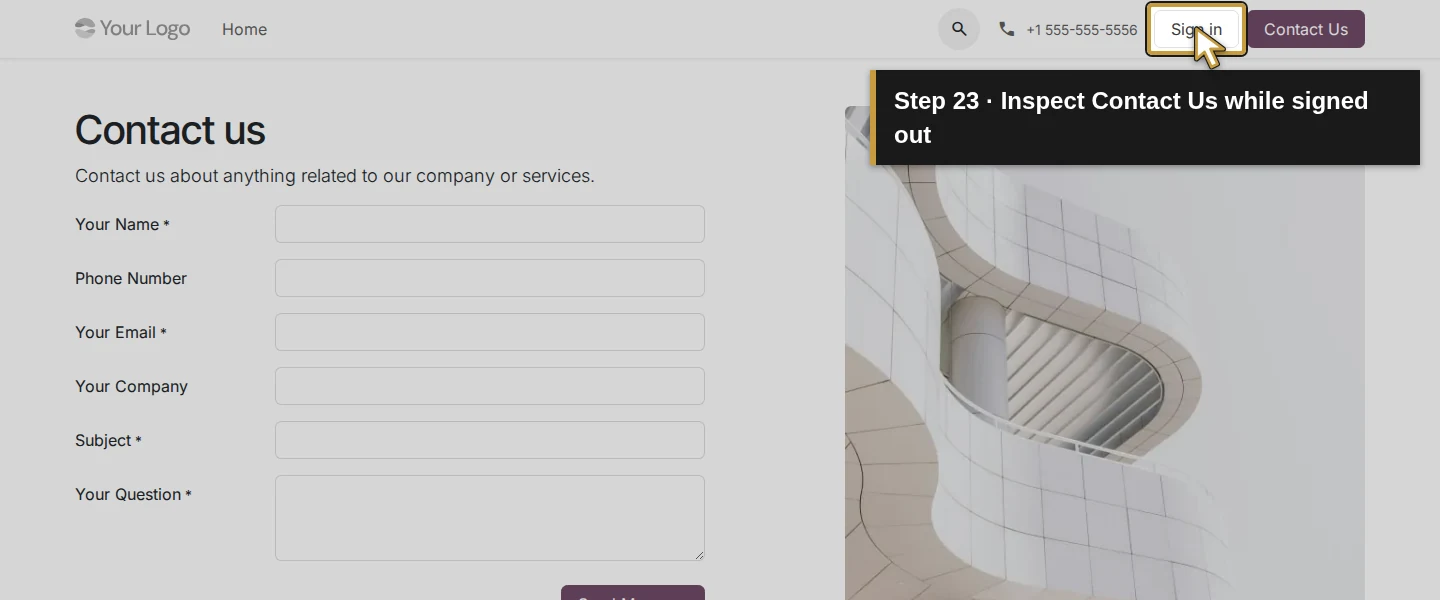
Click the editor’s Save once and wait until the editing controls close. In the separate signed-out browser, open /contactus on the local website. Sign in should be visible in the header. Check that Your Name, Your Email, Subject and Your Question are required, while Phone Number and Your Company are optional. Do not submit while editing the website or while signed in as the owner.
Step 8. Send one labelled fictional service request
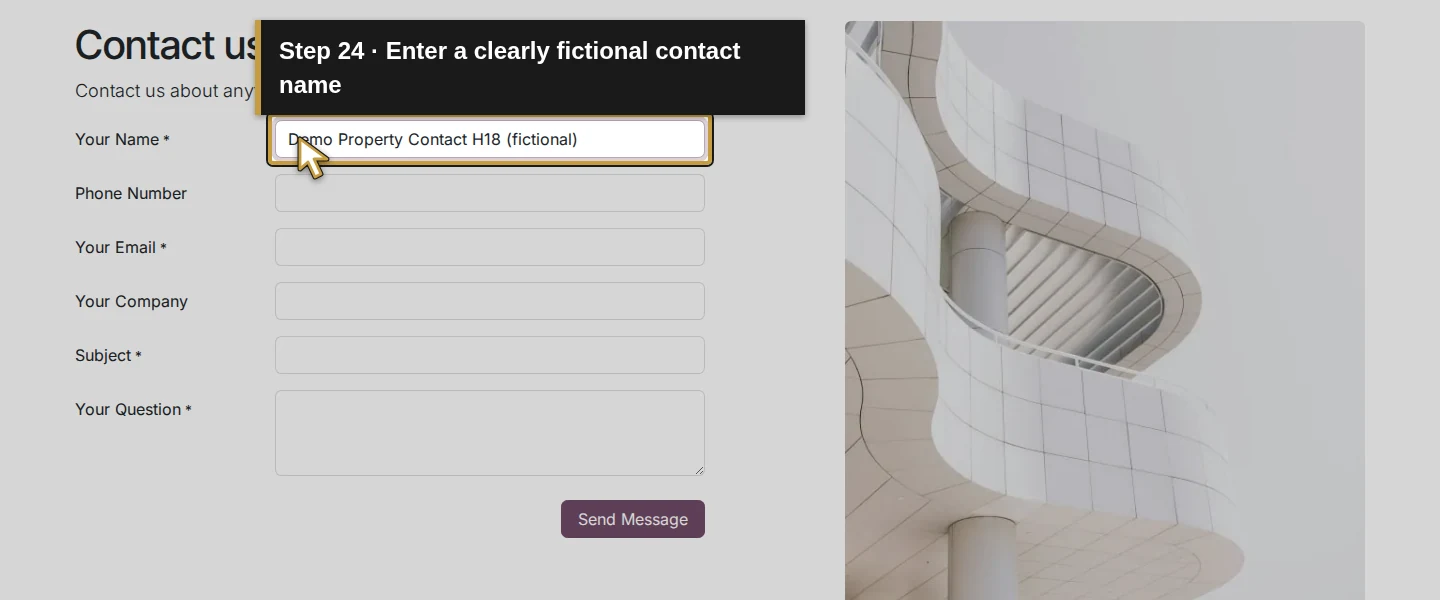
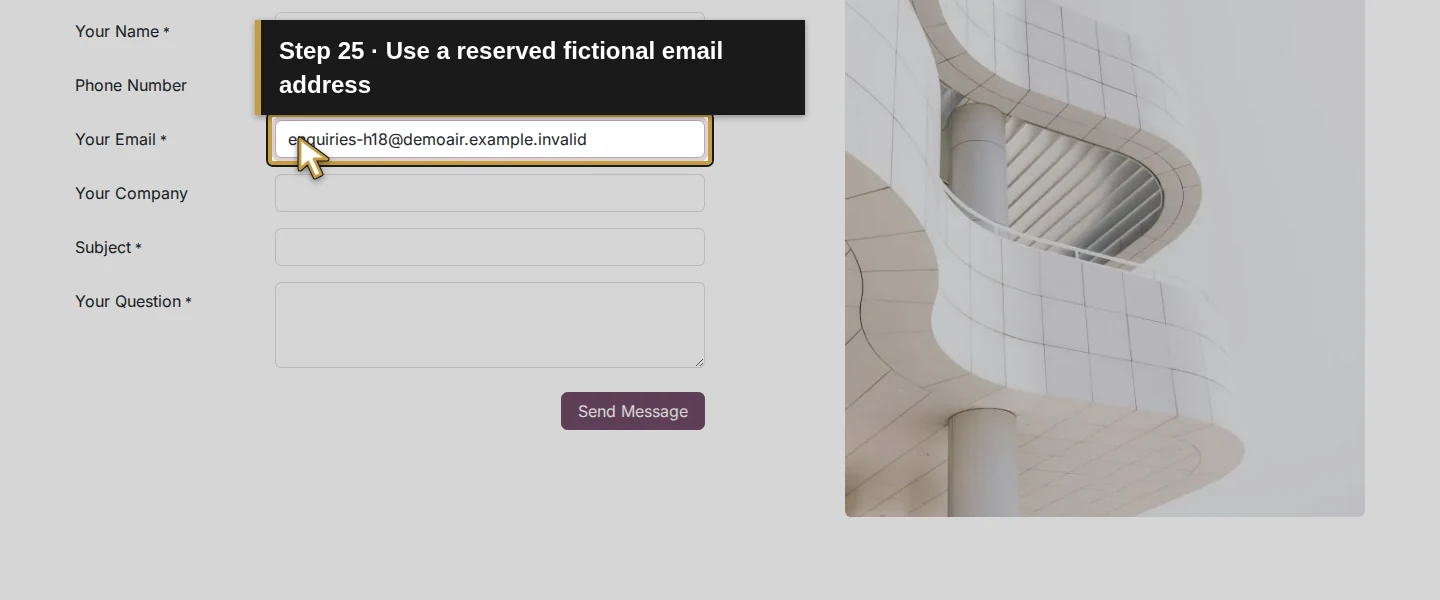
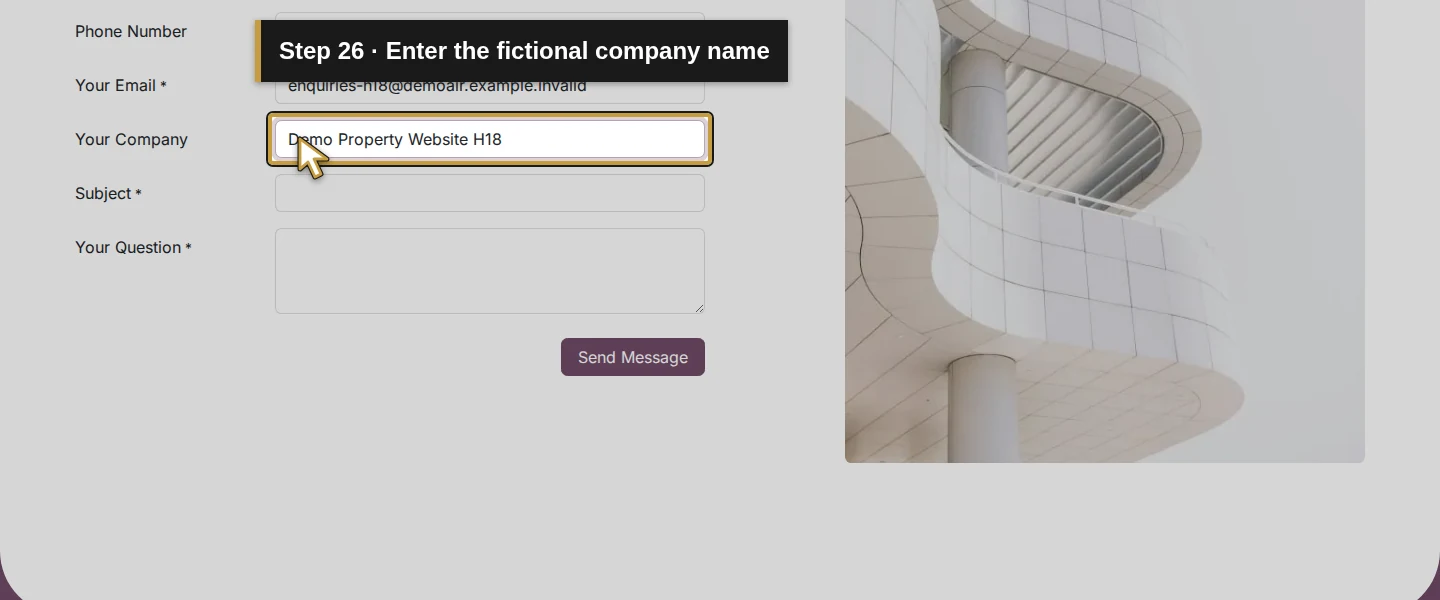
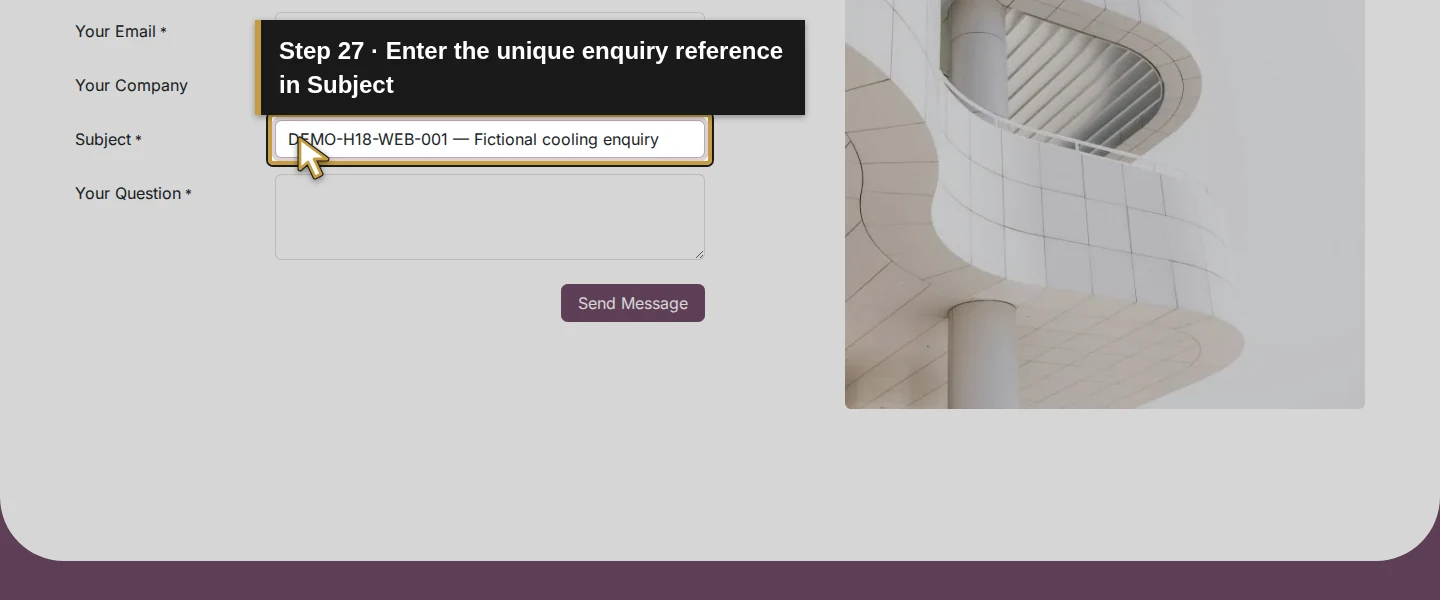
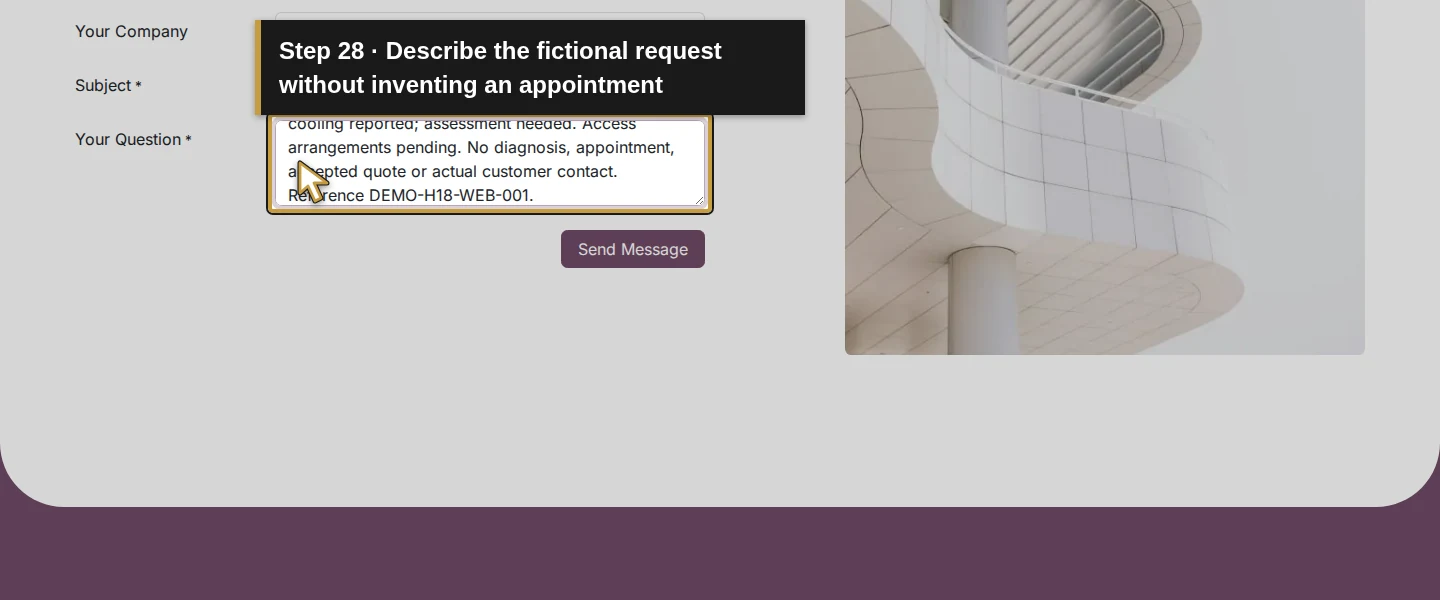
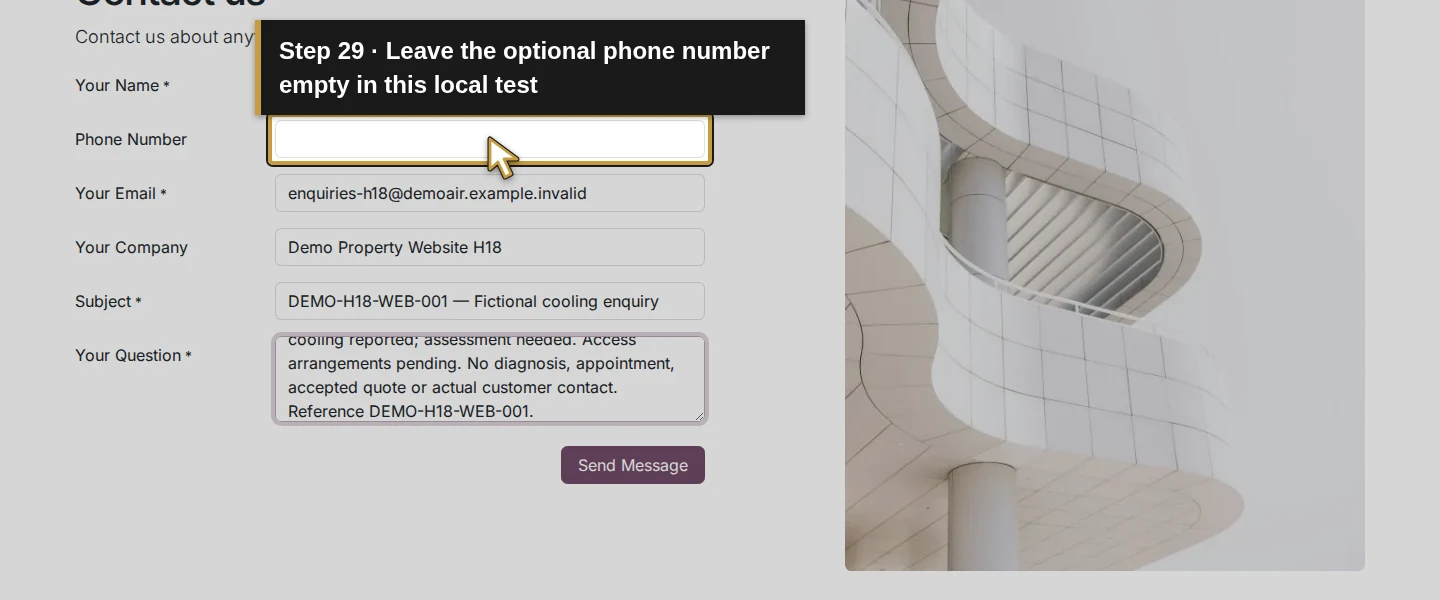
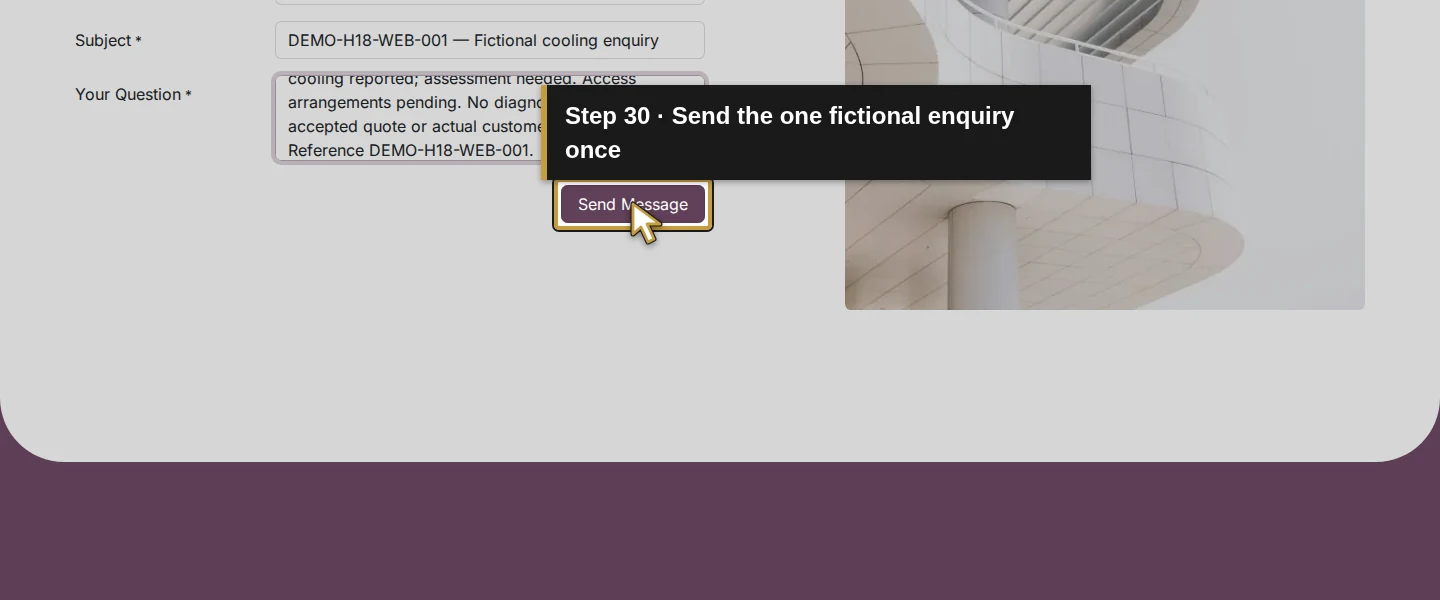
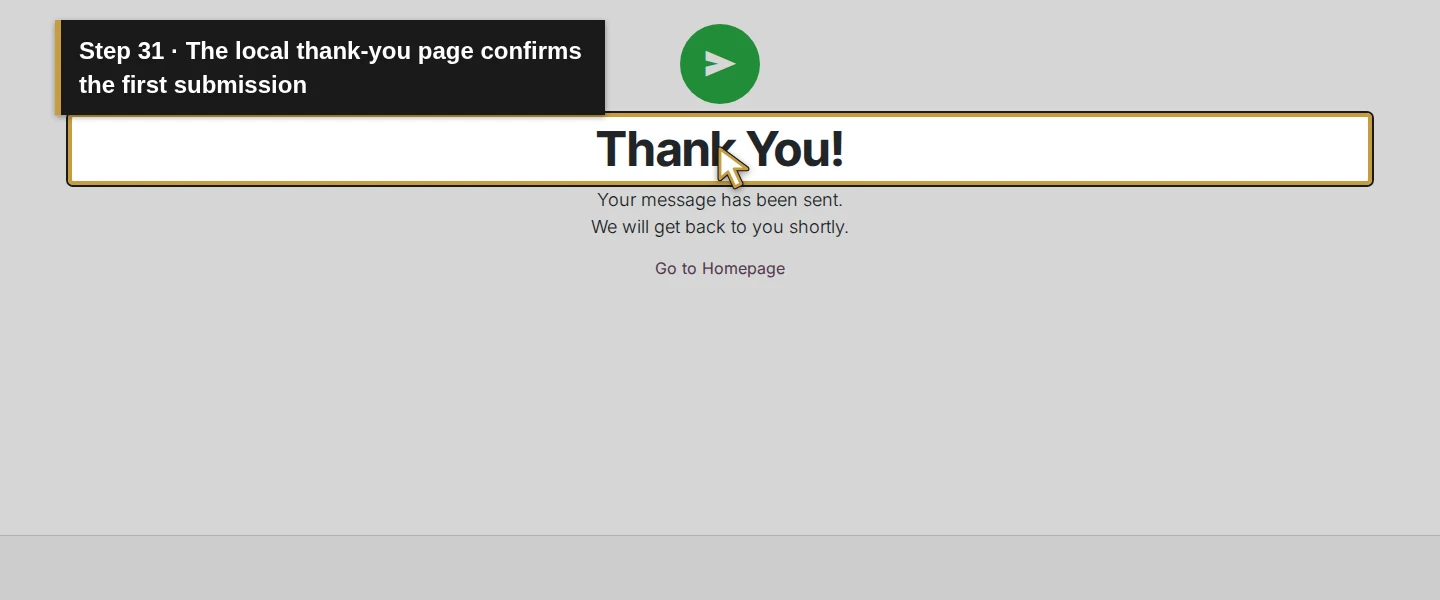
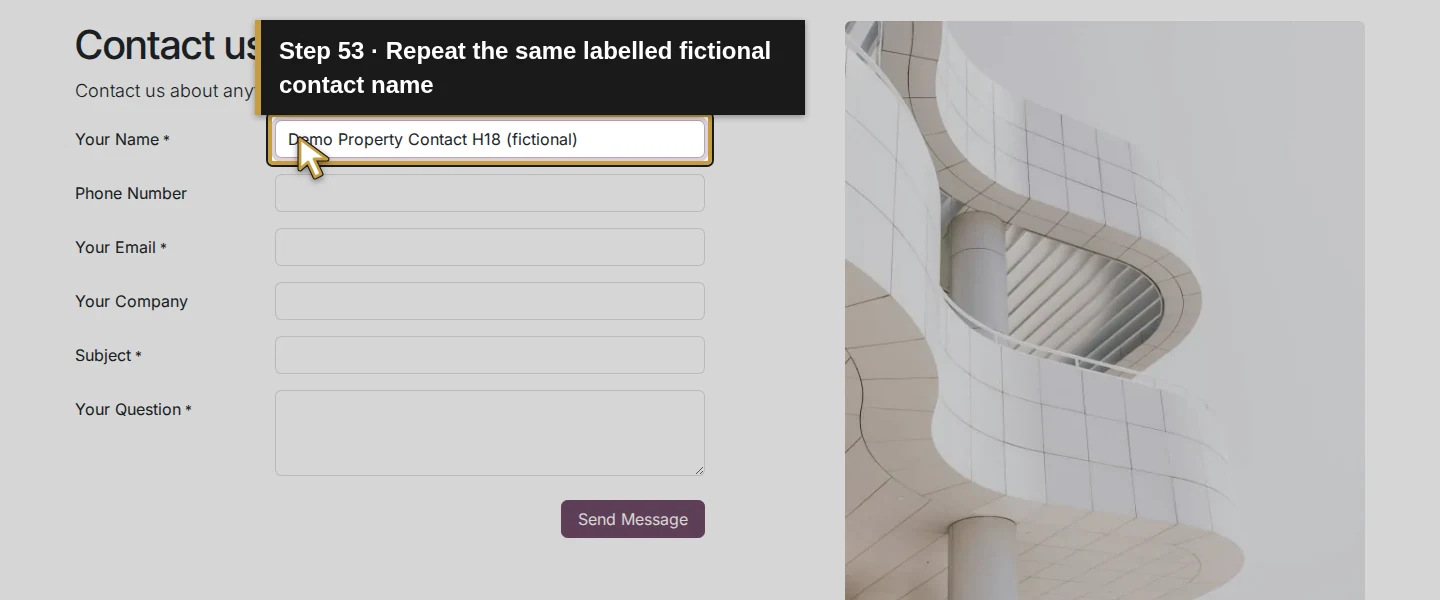
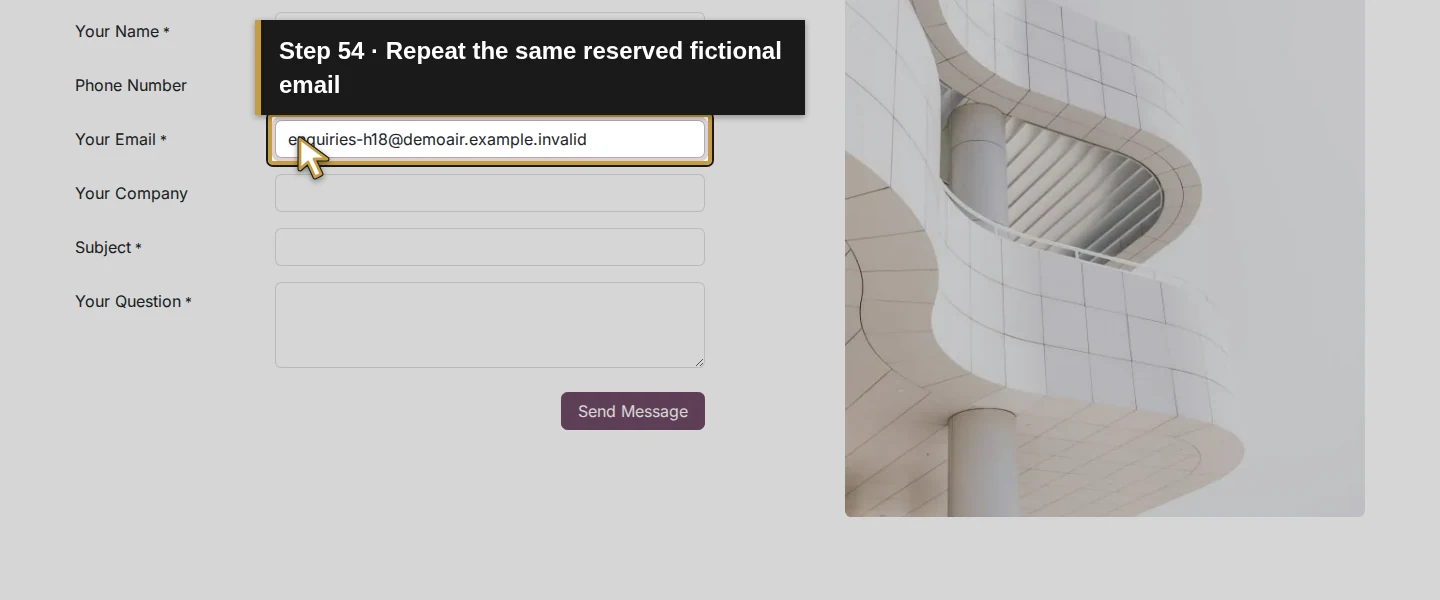
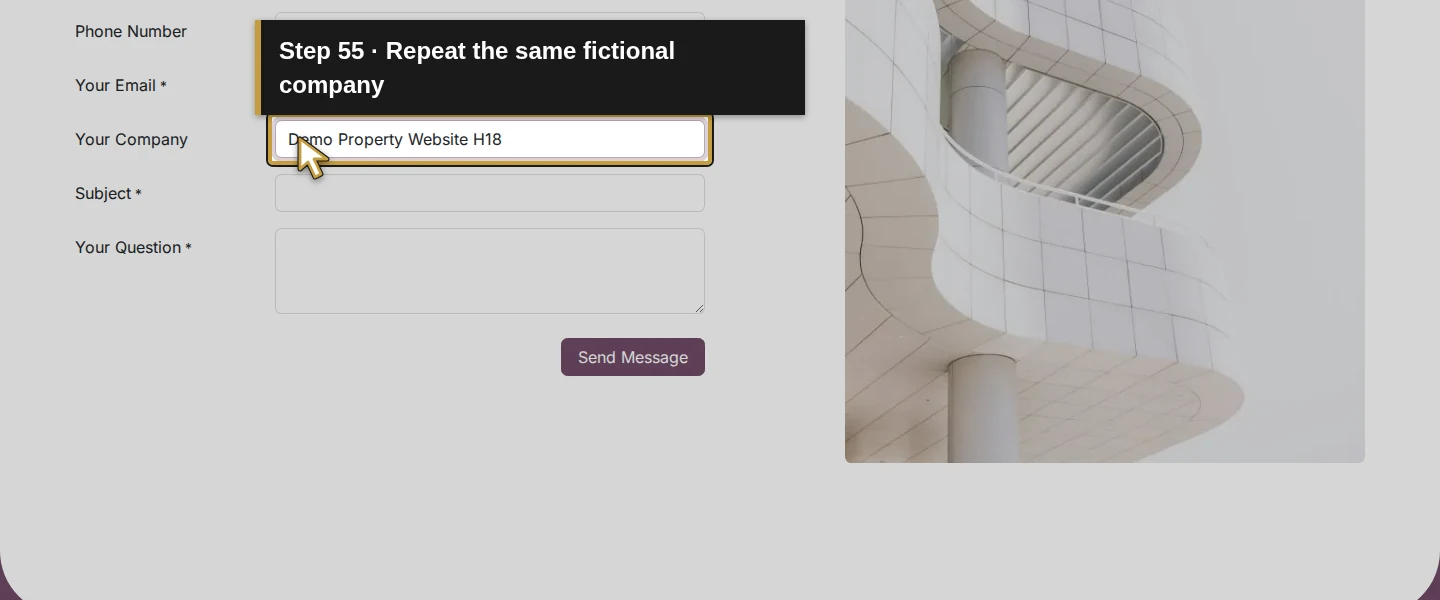
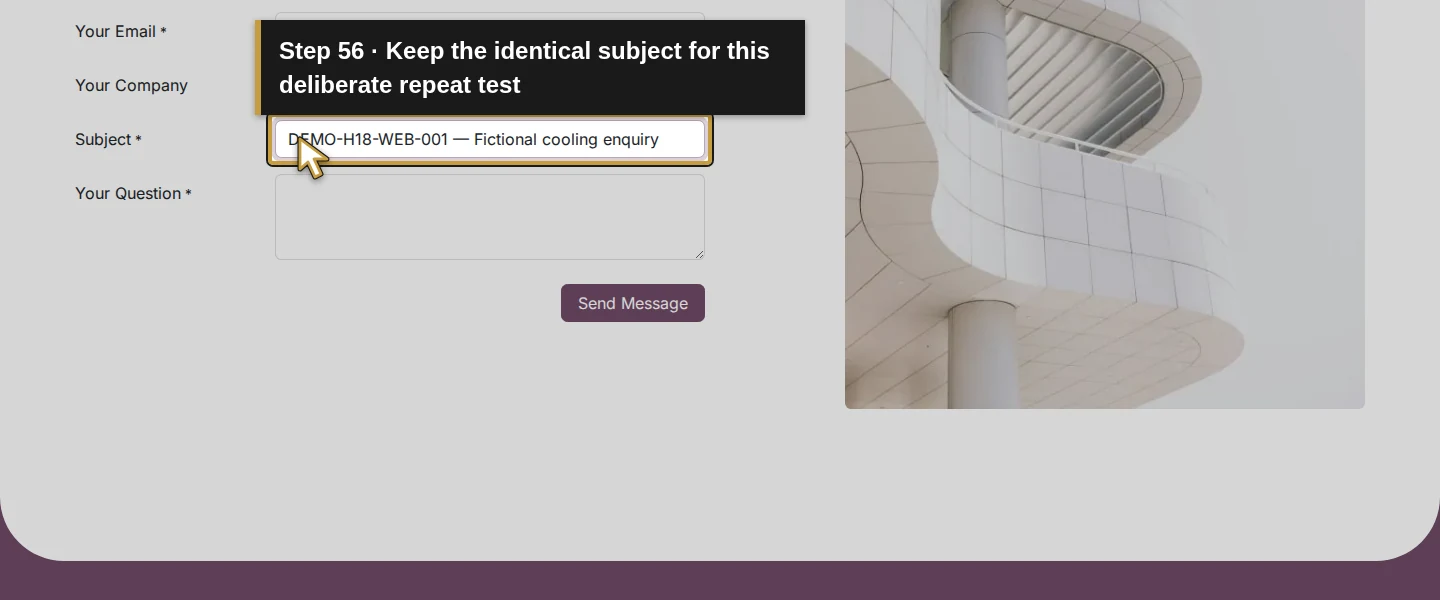
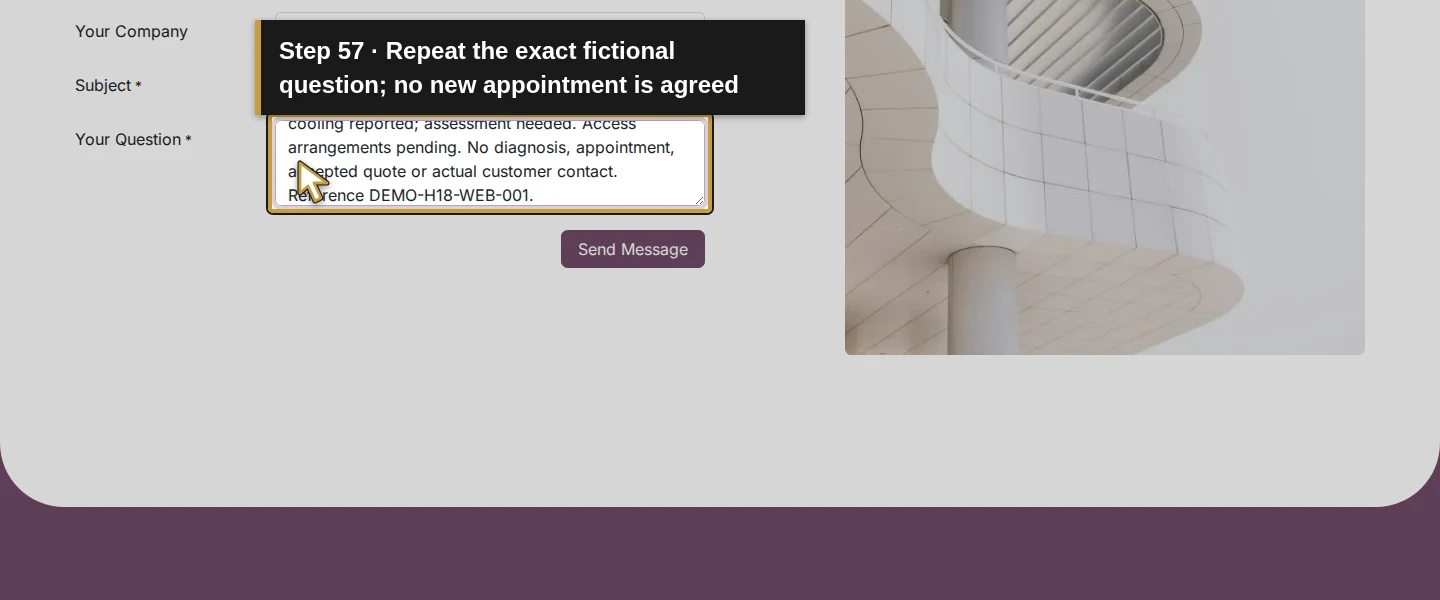
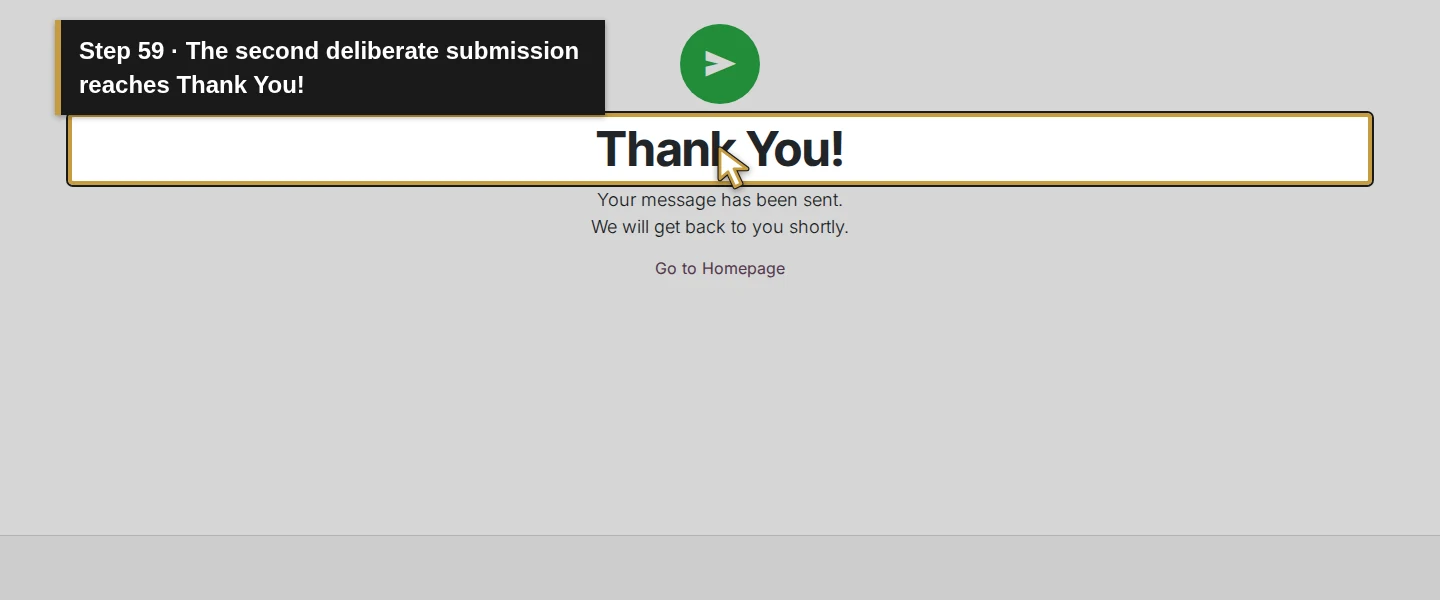
Enter Demo Property Contact H18 (fictional) in Your Name, enquiries-h18@demoair.example.invalid in Your Email and Demo Property Website H18 in Your Company. Leave Phone Number empty. Set Subject to DEMO-H18-WEB-001 — Fictional cooling enquiry. In Your Question, enter: FICTIONAL H18 LOCAL TRAINING. Intermittent cooling reported; assessment needed. Access arrangements pending. No diagnosis, appointment, accepted quote or actual customer contact. Reference DEMO-H18-WEB-001. Click Send Message once. The browser reaches /contactus-thank-you and shows Thank You! / Your message has been sent.
Step 9. Find the actual opportunity in CRM
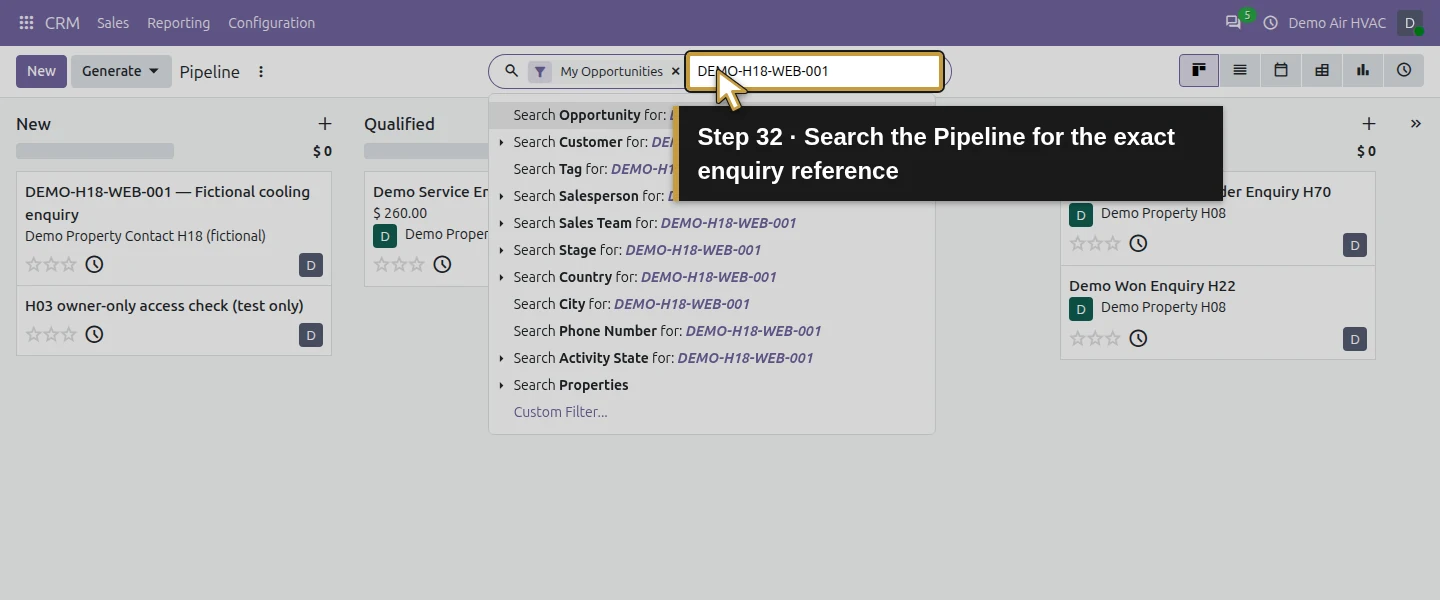
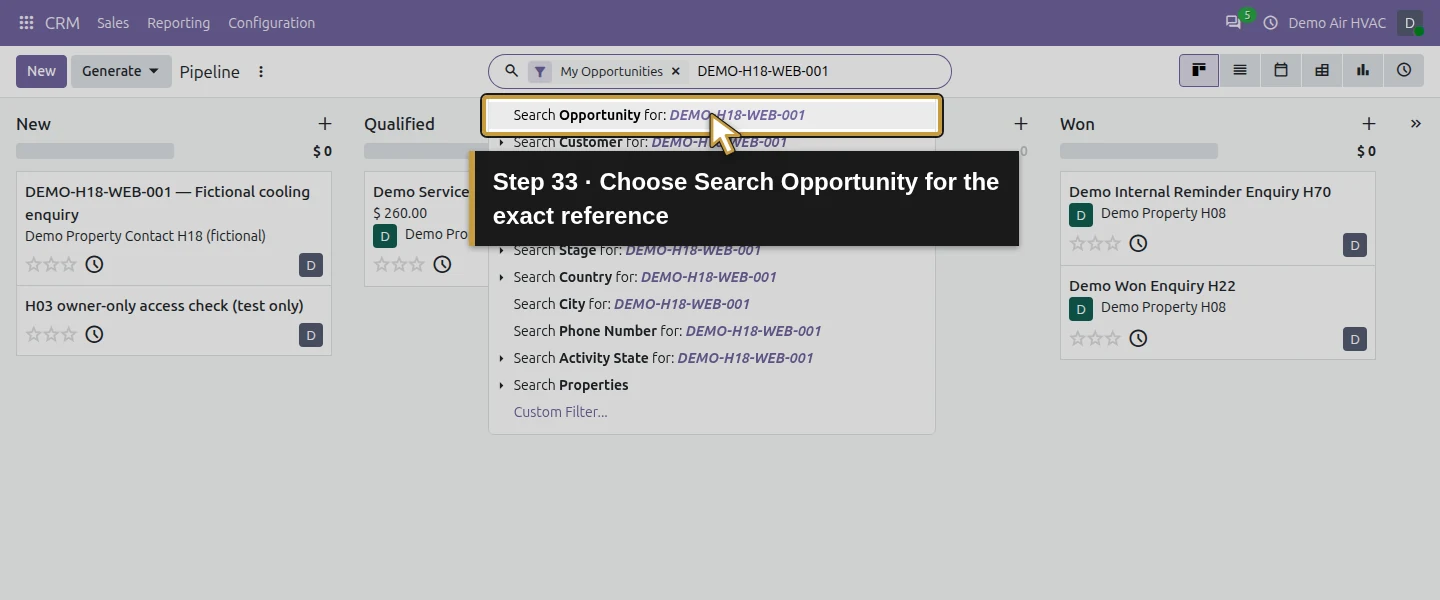
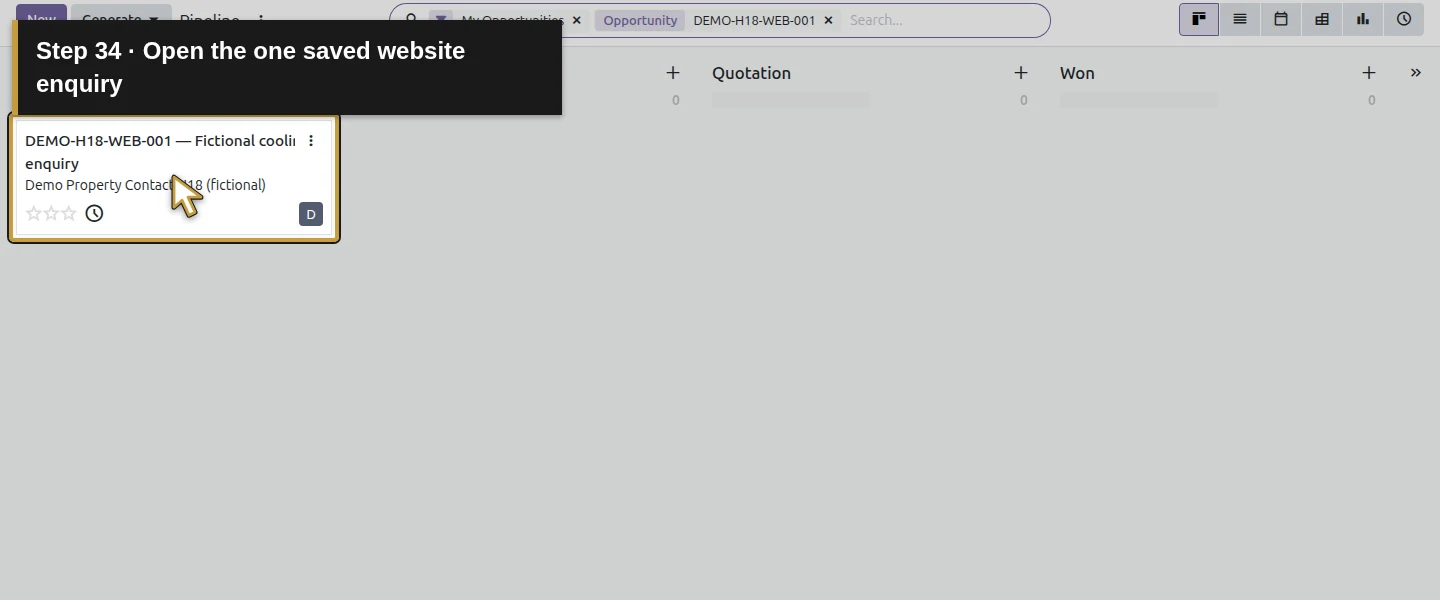
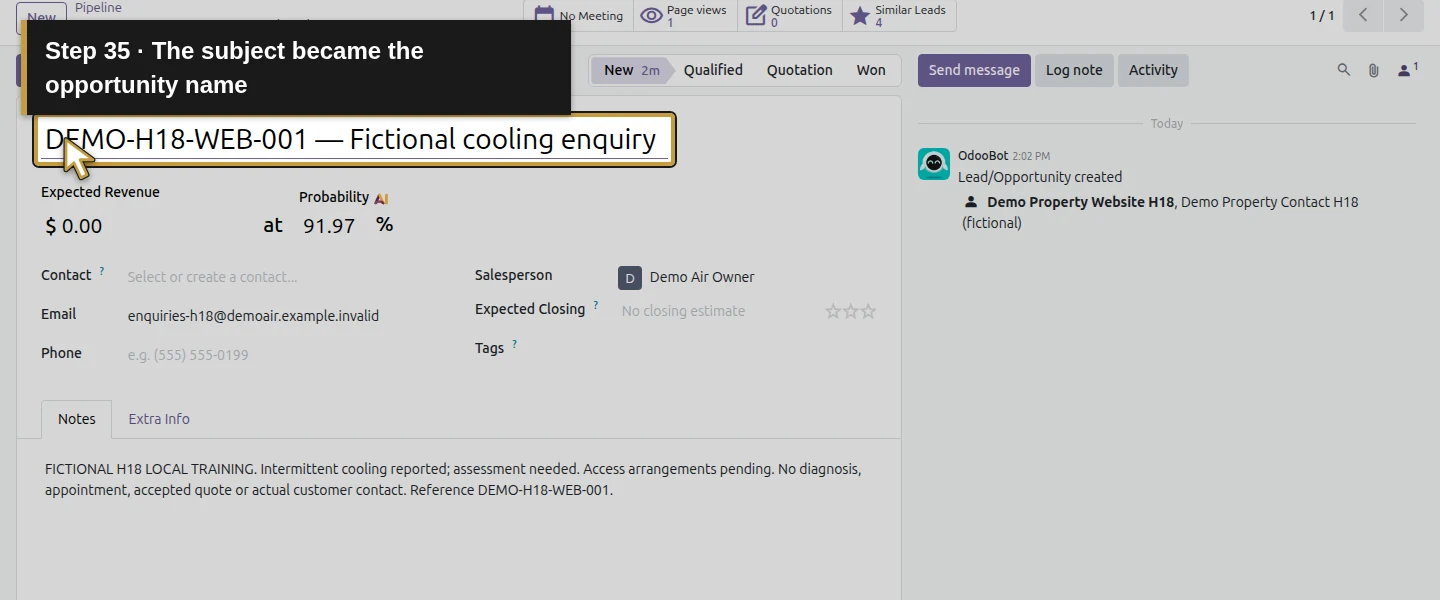
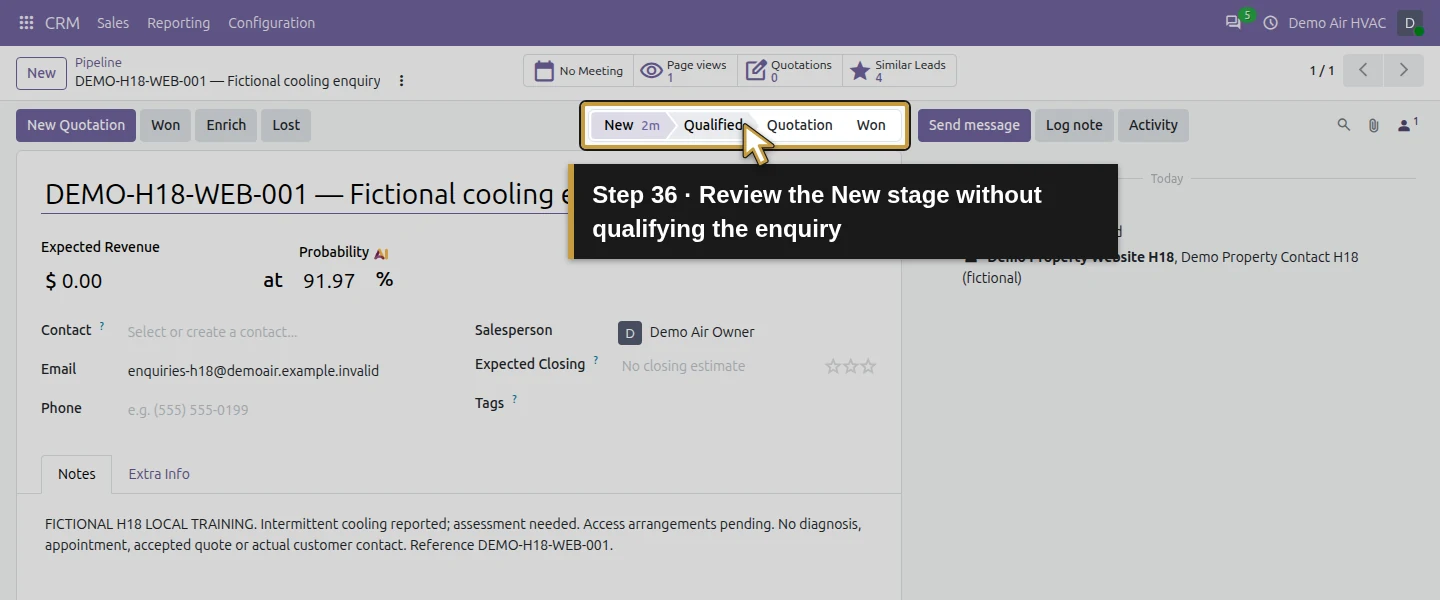
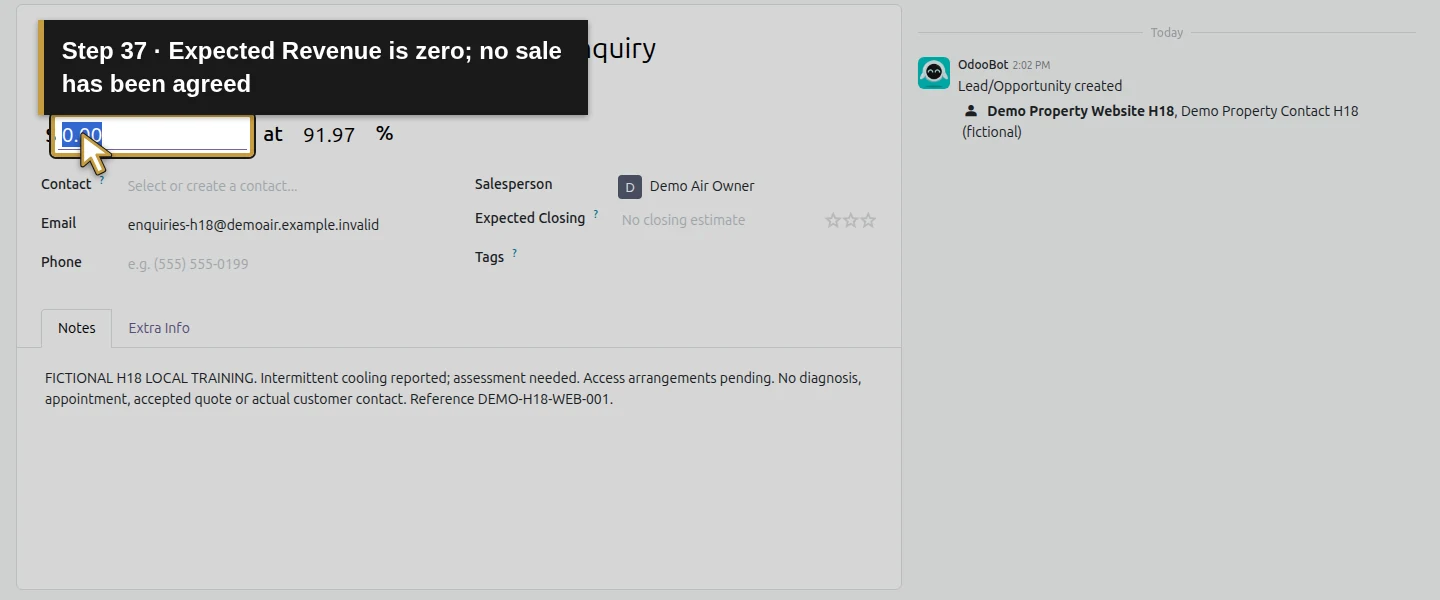
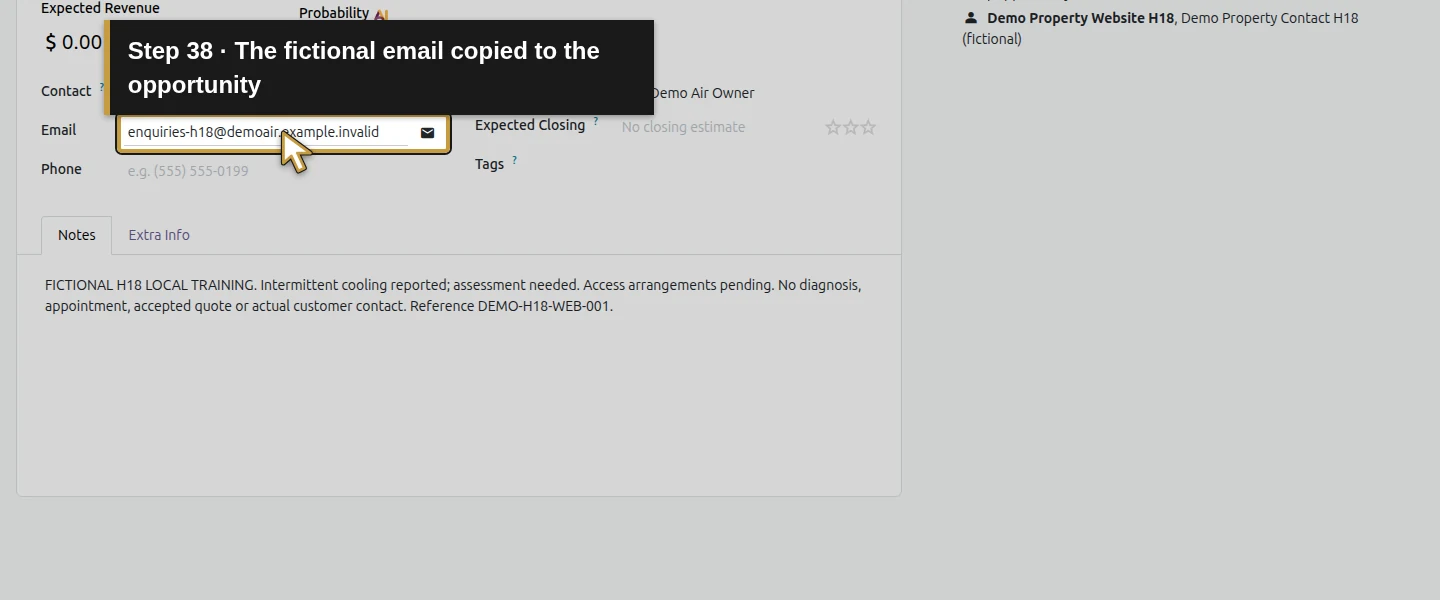
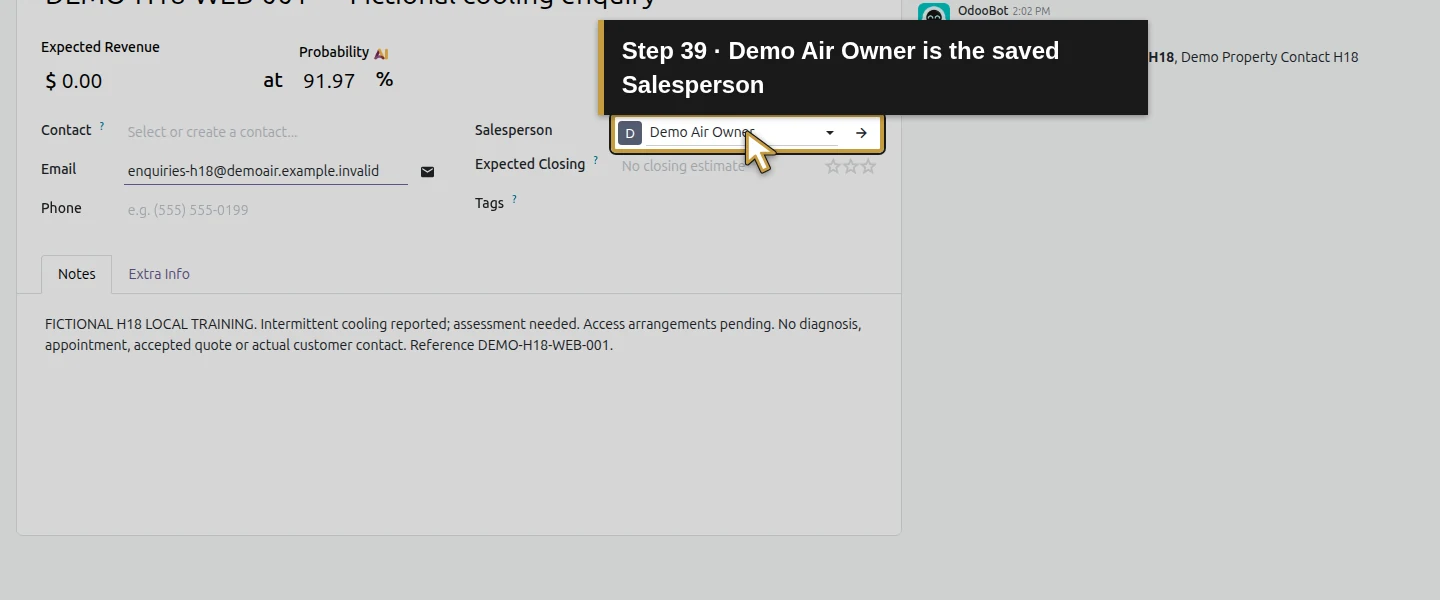
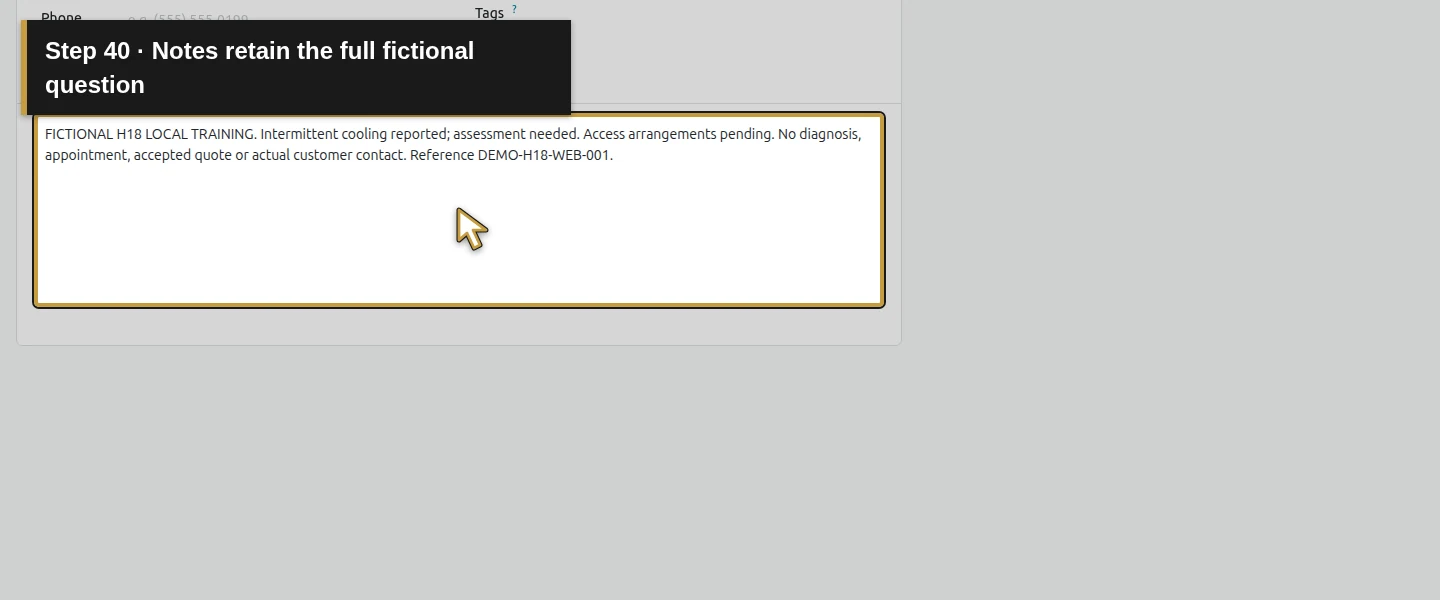
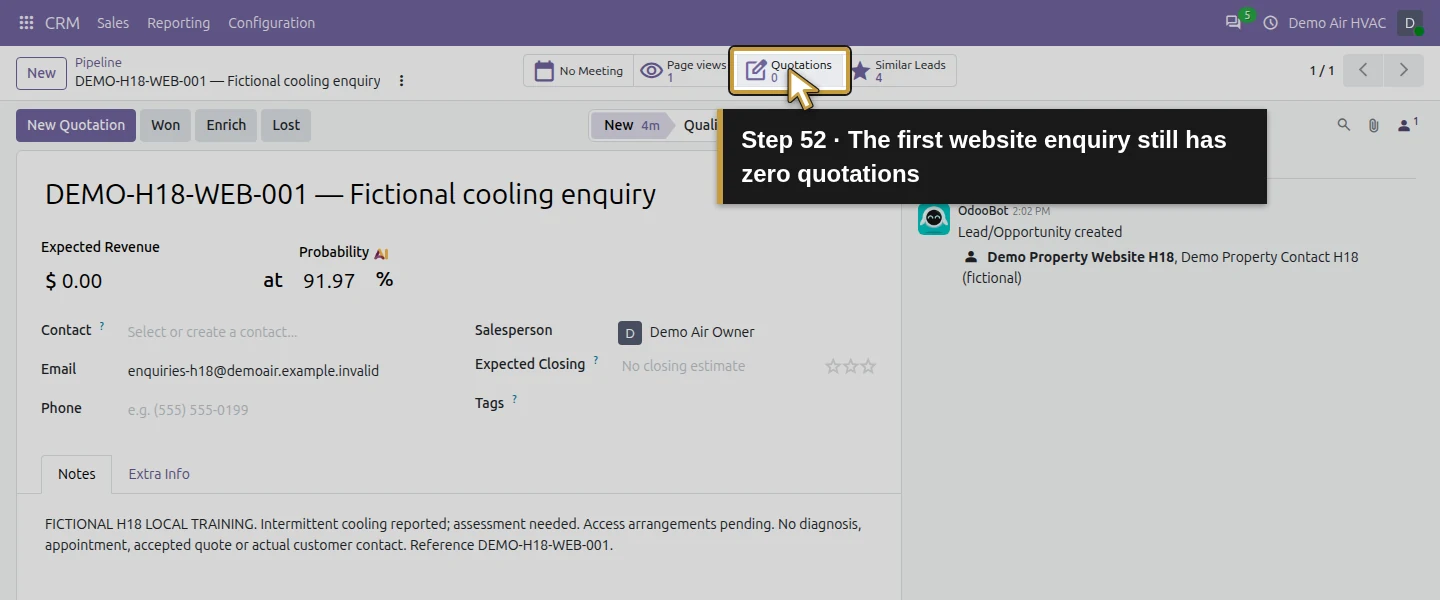
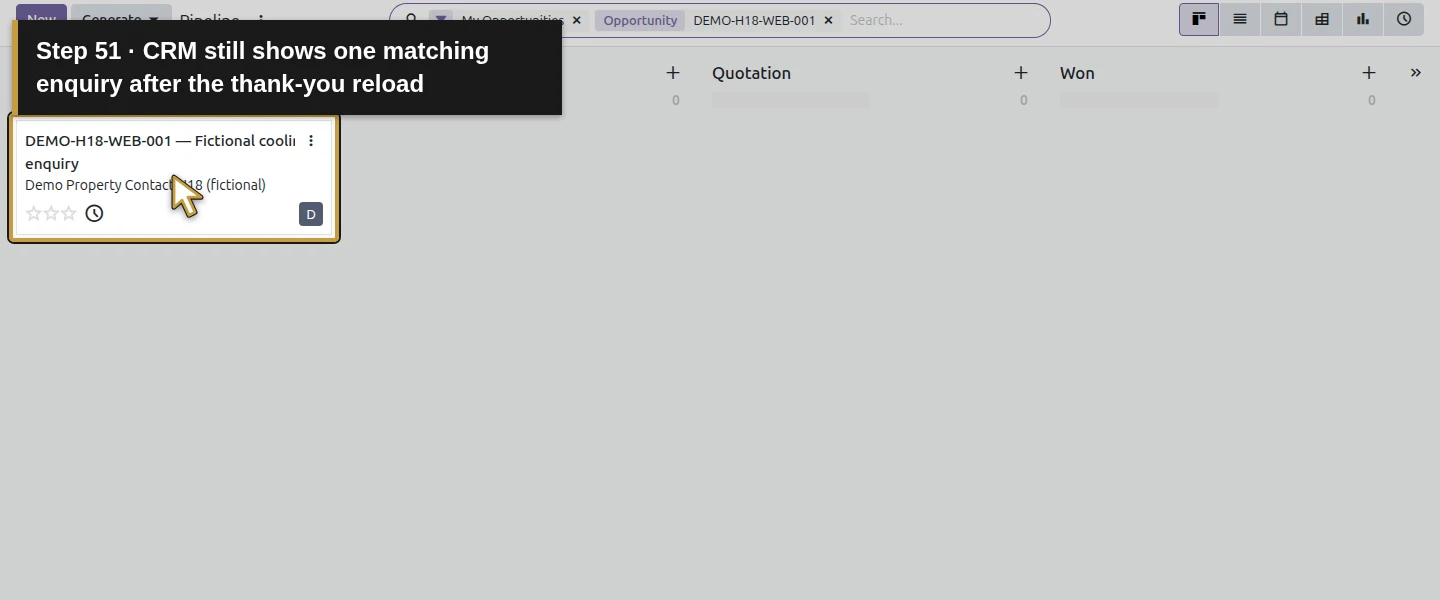
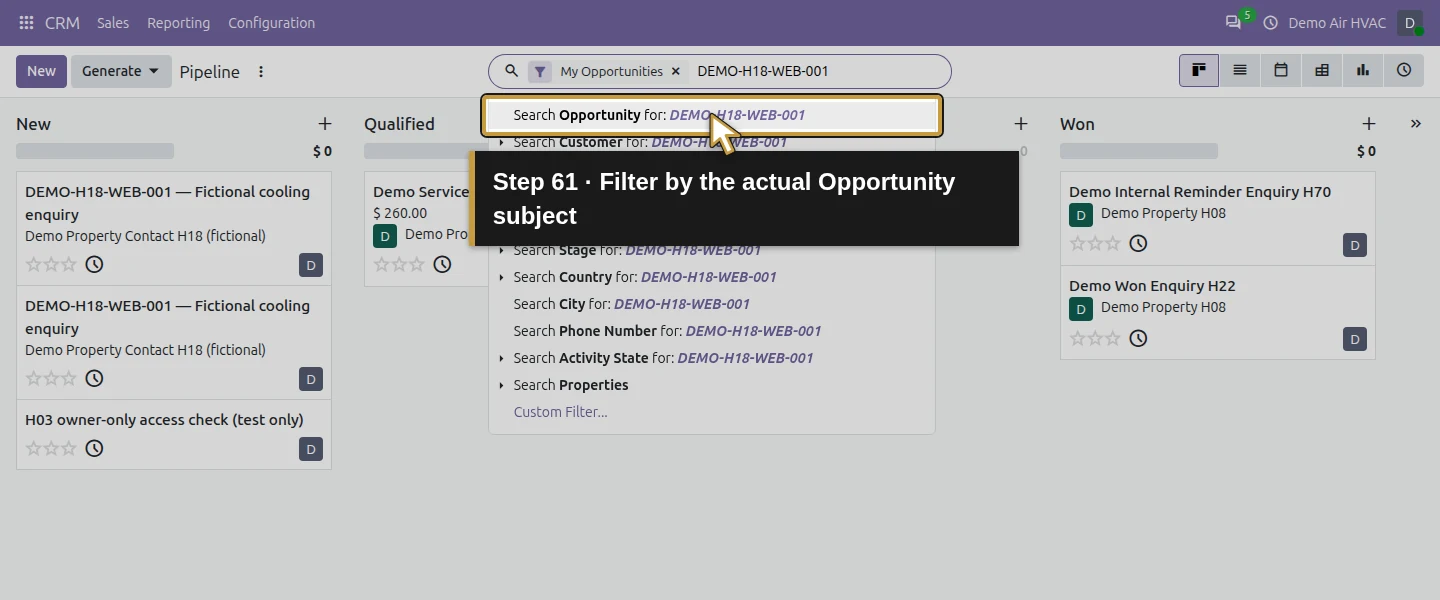
Return to the owner’s CRM → Pipeline. Type DEMO-H18-WEB-001 into search and choose Search Opportunity for: DEMO-H18-WEB-001. Open the matching opportunity. After this first submission, the saved result is one opportunity in New, assigned to Demo Air Owner with $0 Expected Revenue and no quotation. The subject became the opportunity’s name, the email copied correctly and Notes contains the full fictional question. Leave the enquiry unqualified; the visitor has not approved work or booked a visit.
Step 10. Check company, contact, routing and attribution
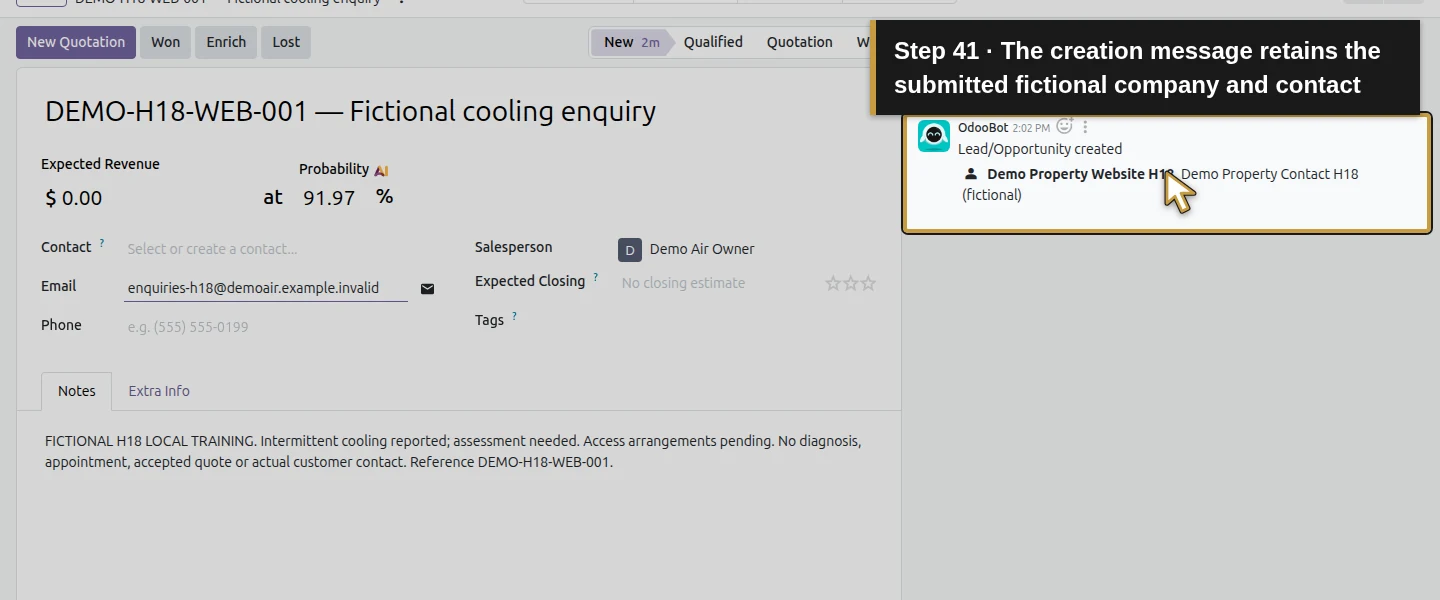
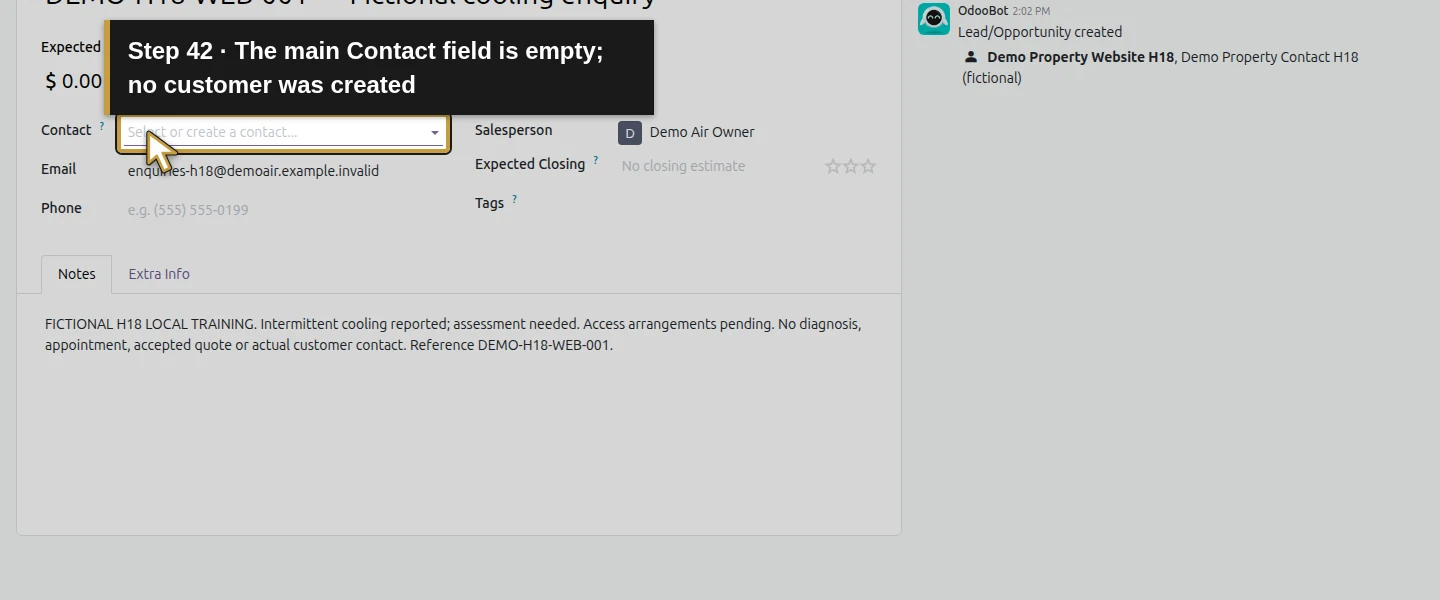
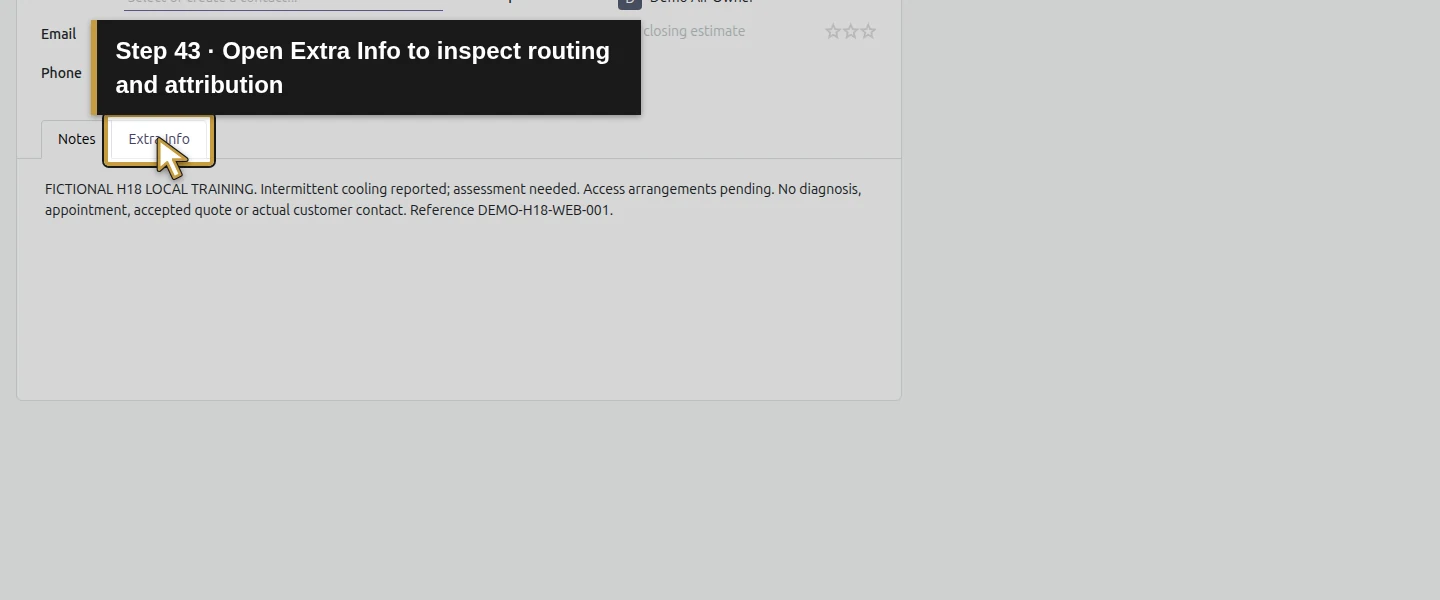
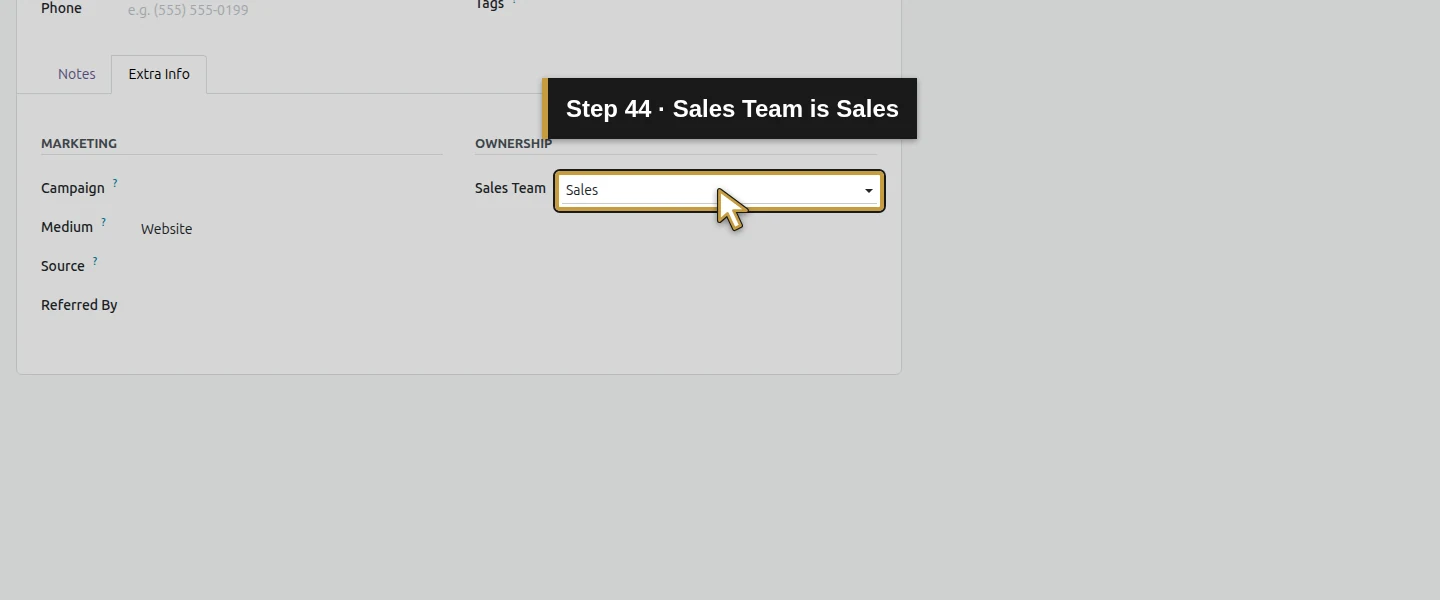
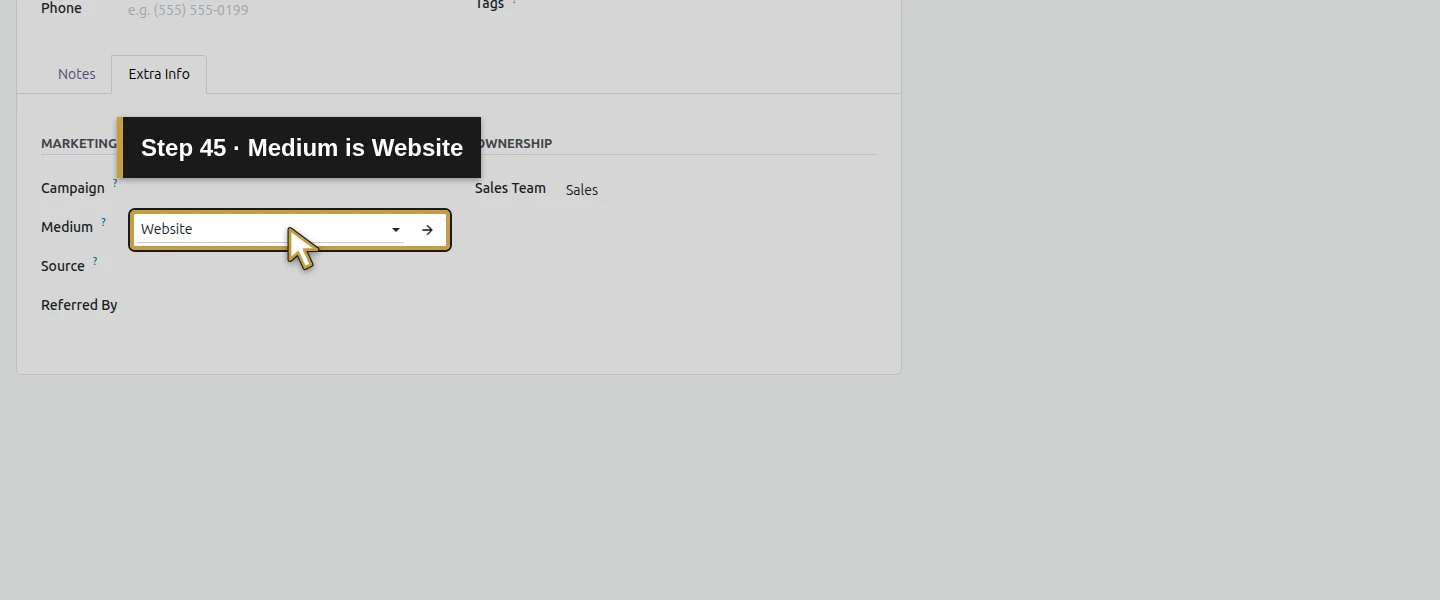
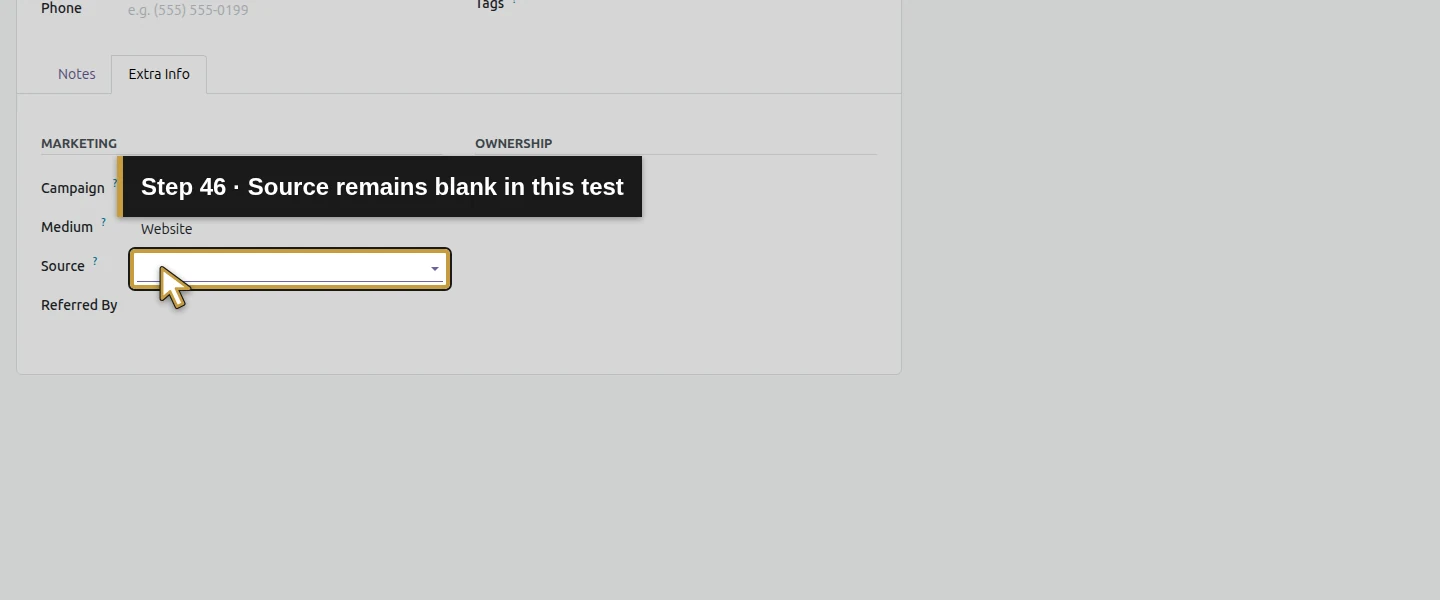
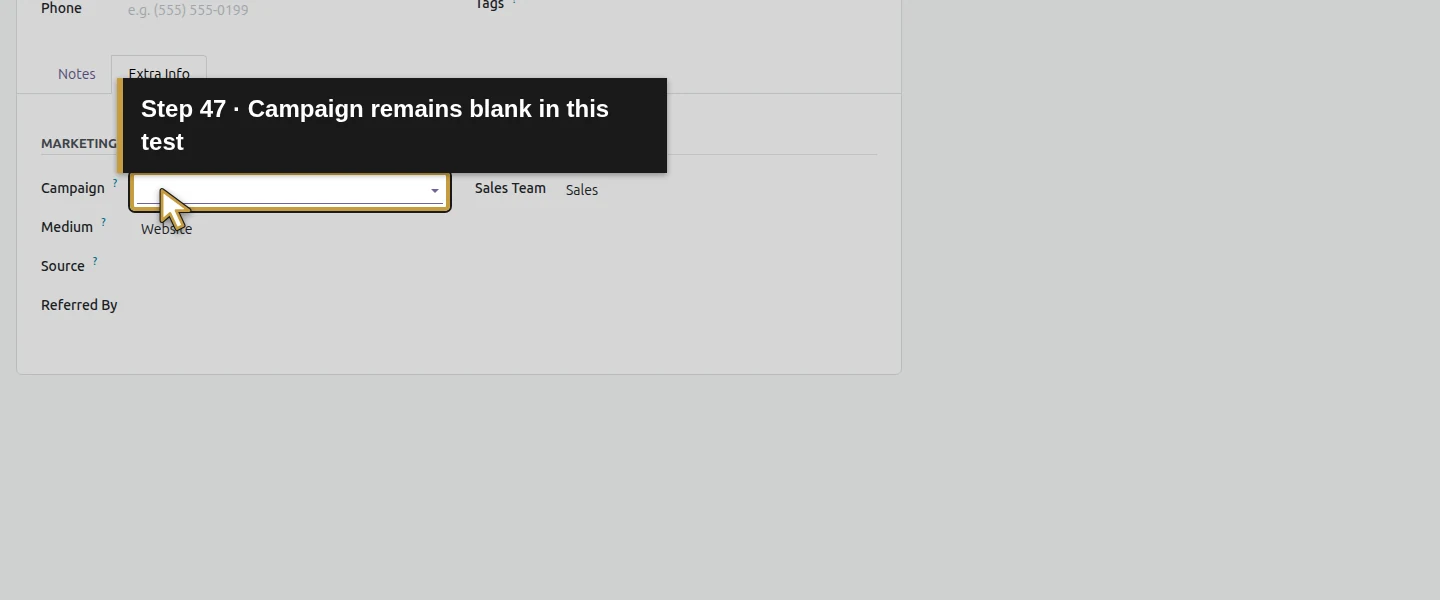
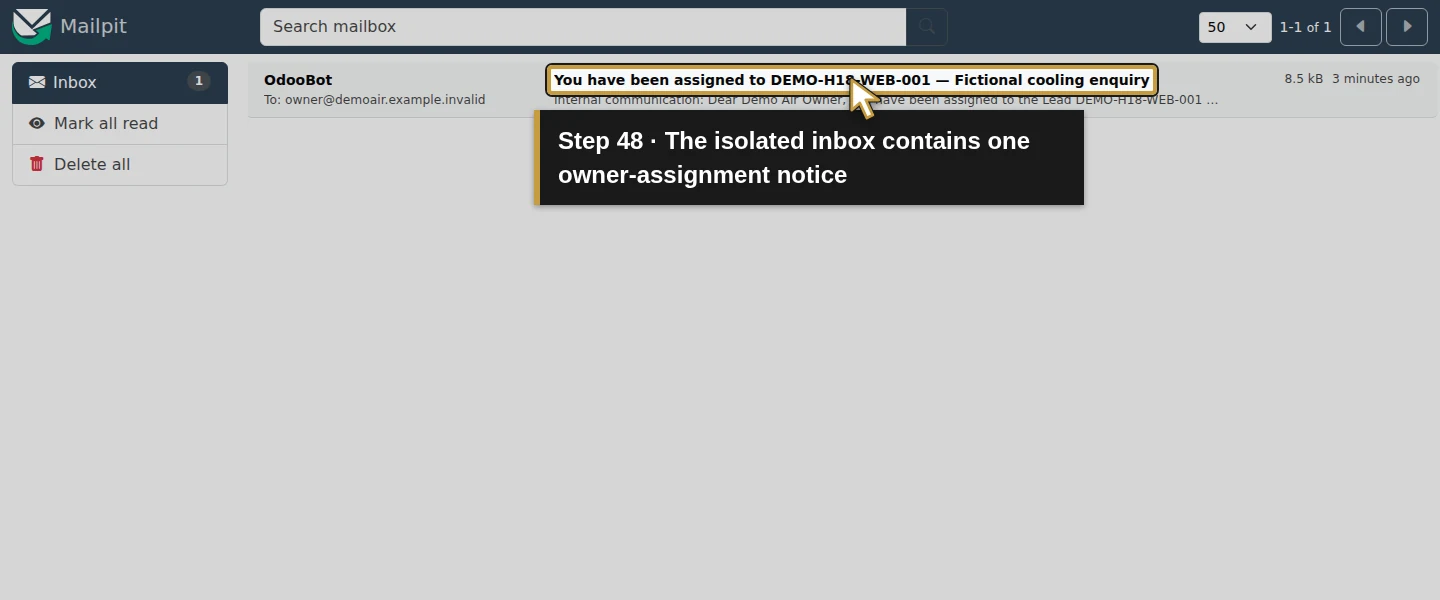
In the opportunity’s creation message, check Demo Property Website H18 and Demo Property Contact H18 (fictional). Open Extra Info to check that Sales Team is Sales and Medium is Website, while Source and Campaign are blank in this test. The main Contact field remains empty: these submitted names did not create a customer contact automatically. The local mail sink receives one assignment notice to Demo Air Owner. That is evidence of this local owner notification, not a customer acknowledgement or external mail-provider delivery.
Step 11. Reload the thank-you page without resending
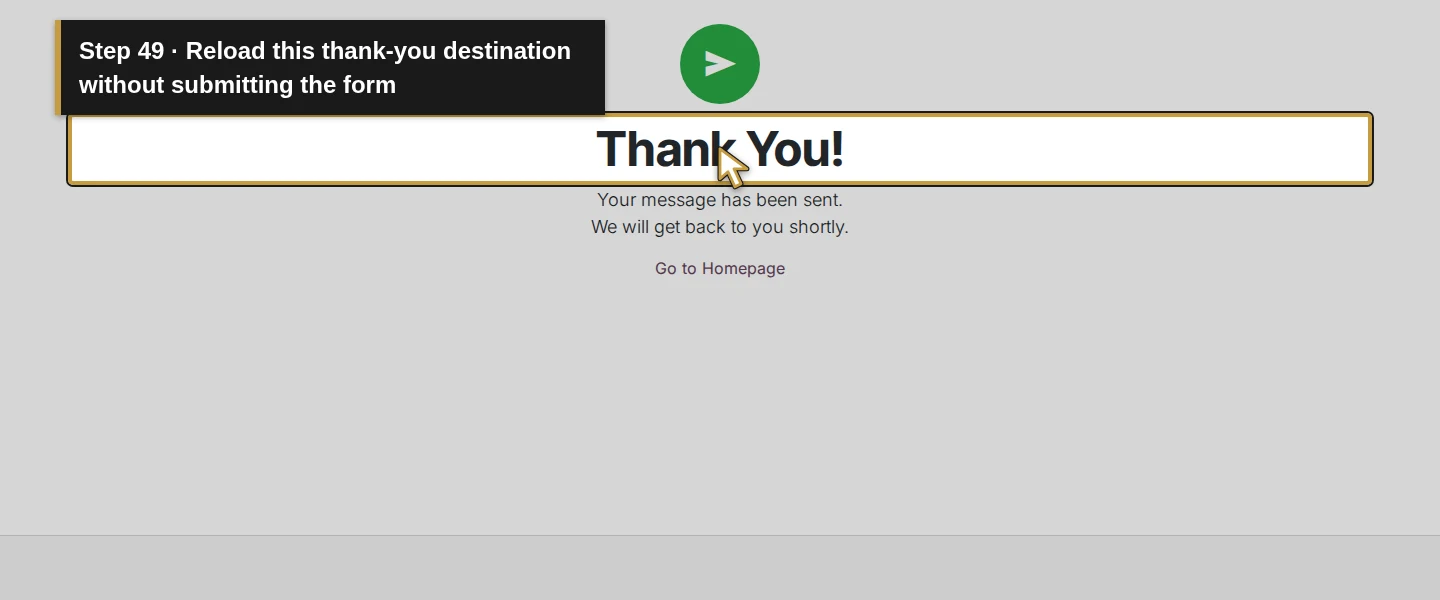
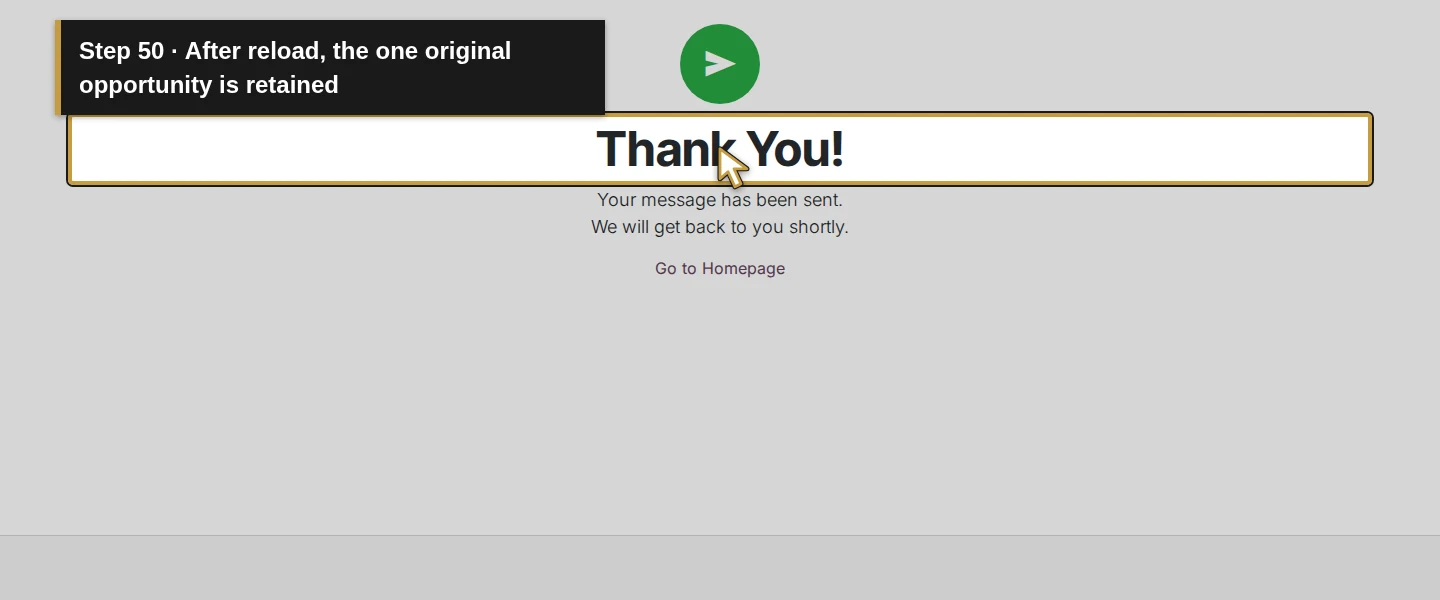
In the signed-out browser, reload /contactus-thank-you. Recheck the same reference in CRM. It still has one opportunity. The thank-you page is a separate destination; refreshing it did not repeat the submitted form in this test. Use this check before treating a reload as the cause of any duplicate enquiry.
Step 12. Test one deliberate repeat in the training environment
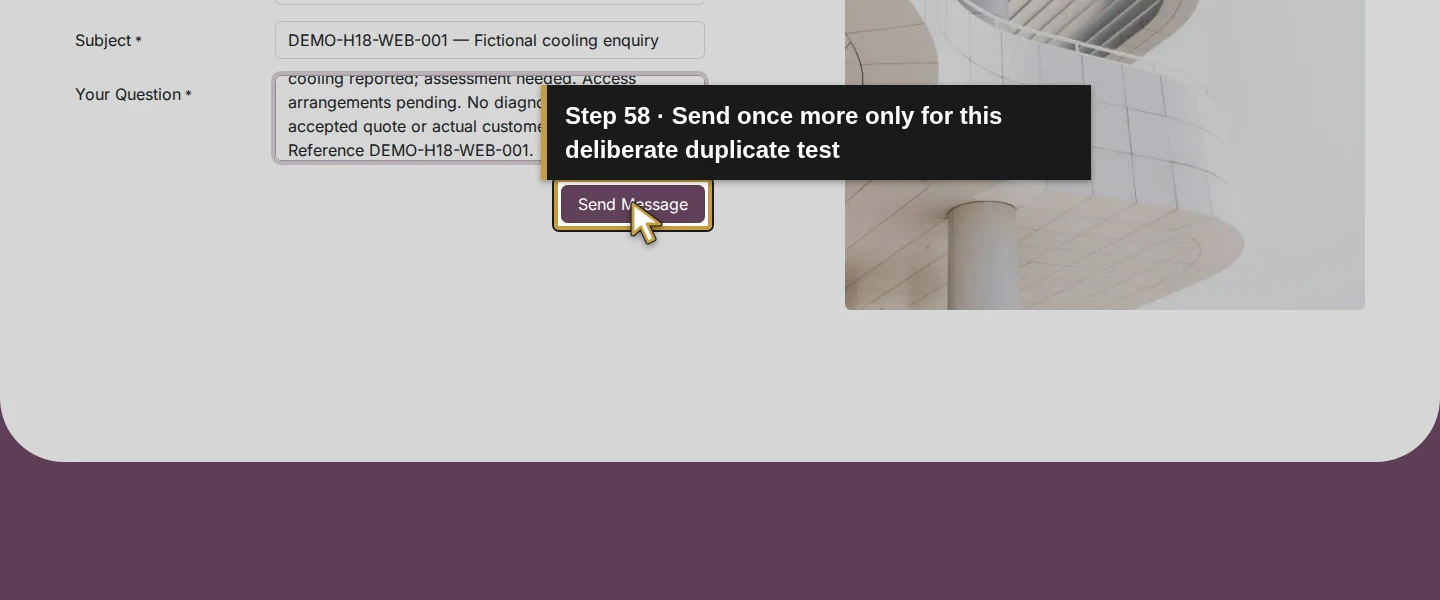
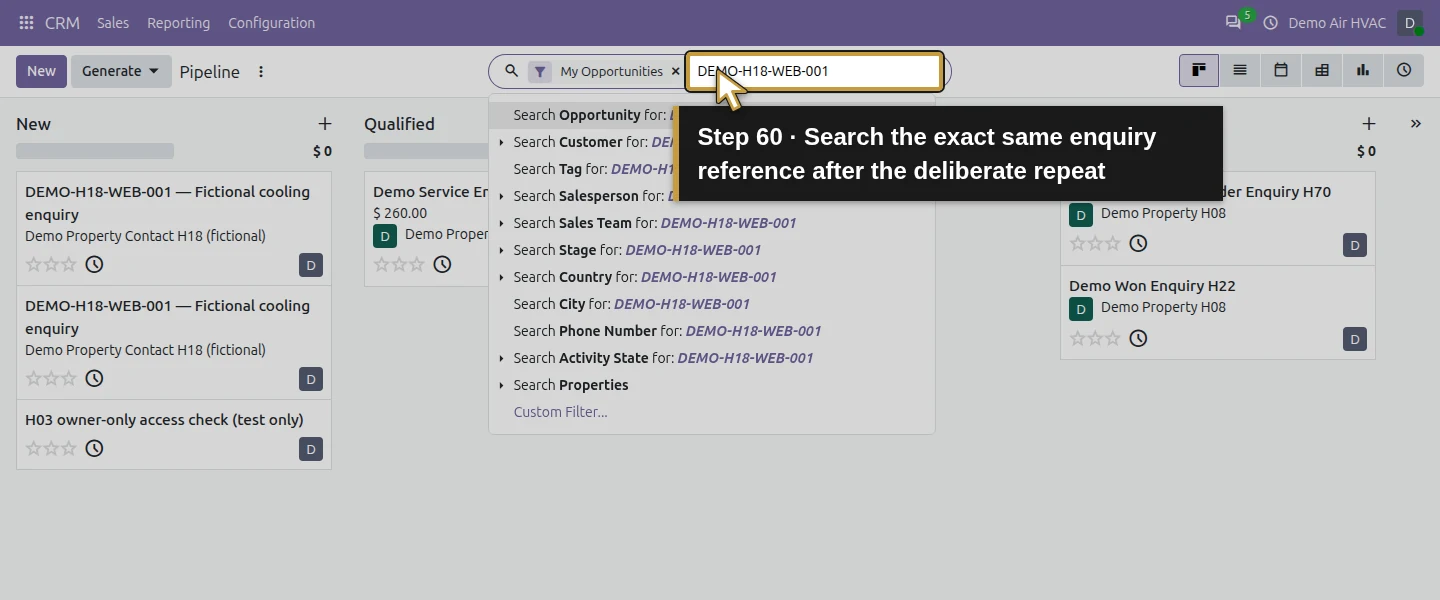
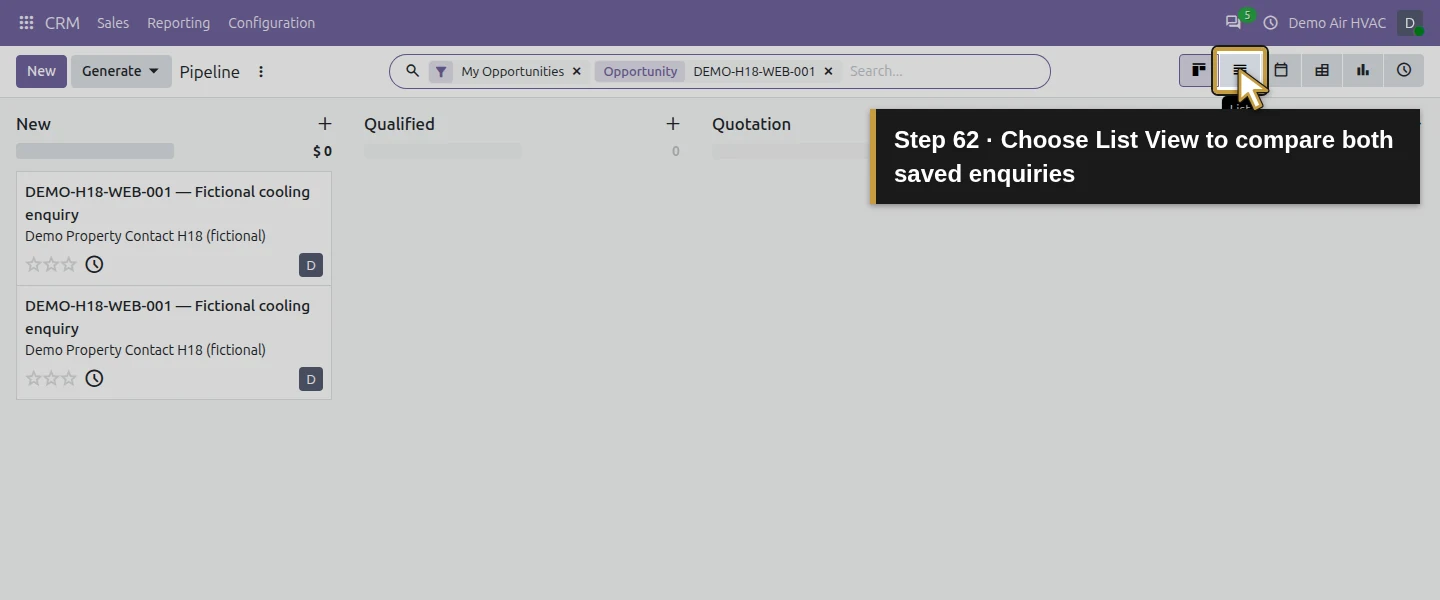
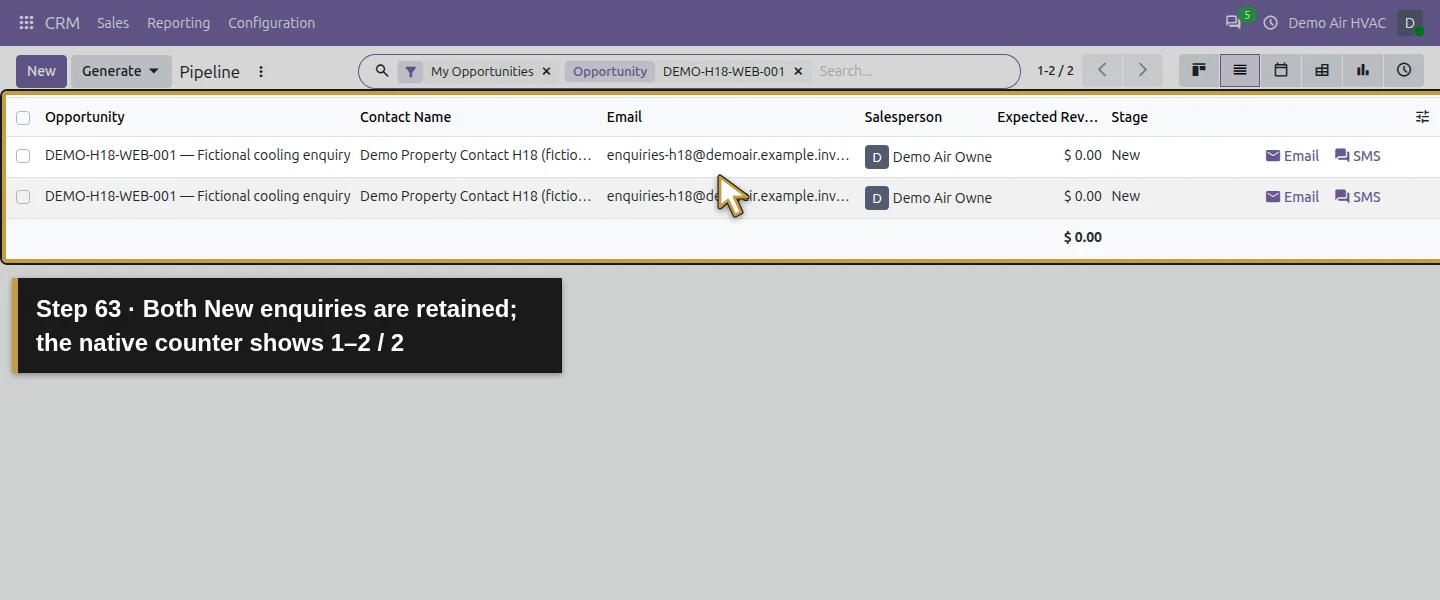
To check repeat-request handling, return to /contactus, enter the exact same fictional values and click Send Message once more. Search the reference again in CRM and click List View. The native counter shows 1–2 / 2: two separate New opportunities with the same subject, contact name, email and owner. Both have zero expected revenue and no quotation. Keep these labelled training results. The form did not automatically merge or reject the second identical submission. Review possible duplicates before contacting a customer or starting work.
Check the result
The saved native Contact Us form creates CRM opportunities and routes them to Sales / Demo Air Owner. The first anonymous request produces one New opportunity with its submitted subject, name, company, email and question. Medium is Website; Source and Campaign remain blank, and no customer contact or quotation is created. Reloading the thank-you page keeps one result; one deliberate identical resubmission creates a second. Two owner-assignment notices arrive in the local sink. The original six CRM opportunities, source/stage definitions and H68 saved favorite remain unchanged. Prior business and portal results match after accounting for the official Website Editor group added to the owner and inactive system account. Both full checkpoint archives pass their recorded byte counts and SHA256 hashes.
If your screen differs
If the request is absent from CRM, first inspect the saved form Action: Send an E-mail and Create an Opportunity have different destinations. Check the correct page, current website, required fields and routing settings, then search the actual submitted subject in CRM. Wait for the visible editor or record view to settle before continuing. The default page’s sample branding and claims are outside this intake test and need review before public use. This guide tests one owner, one local website, one first submission, one thank-you reload and one explicit repeat. It does not establish spam protection, automatic deduplication, custom source attribution, automatic contact creation, public hosting readiness, appointment booking or confirmed sales.
Frequently asked questions
How do I connect an Odoo website contact form to CRM?
In the tested stock Odoo 20 Community website editor, select the existing form, expand Form settings and change Action from Send an E-mail to Create an Opportunity. Set Sales Team and Salesperson, save, then submit fictional details from a signed-out local browser. Open the resulting CRM opportunity to verify its fields and routing; the thank-you page alone is insufficient.Why is my Odoo website form not creating a lead?
Check which action the saved form uses and search CRM for the submitted subject. The default Contact Us page in this test still used Send an E-mail after the official integration was installed. Changing it to Create an Opportunity produced an opportunity in New, rather than a separate lead-qualification record. Required fields, page selection and routing also need checking.Does Odoo automatically remove duplicate website enquiries?
The demonstrated standard form did not: a deliberate second submission of identical fictional details created a second CRM opportunity. Reloading the separate thank-you page did not create another. Review the matching CRM records before responding; automatic duplicate prevention, merging and spam controls are not established by this workflow.Continue building the business
Continue with H19: How do I track where my Odoo CRM leads come from?. Distinguish the Website medium observed here from the source and campaign values reviewed there. Qualify each actual request before scheduling or quoting work.
Talk to an Odoo partner
Bring your current process and the result you need to Onward to plan your Odoo workflow. Talk to an Odoo partner.