
Running an HVAC business with Odoo
How do I schedule maintenance for company tools in Odoo?
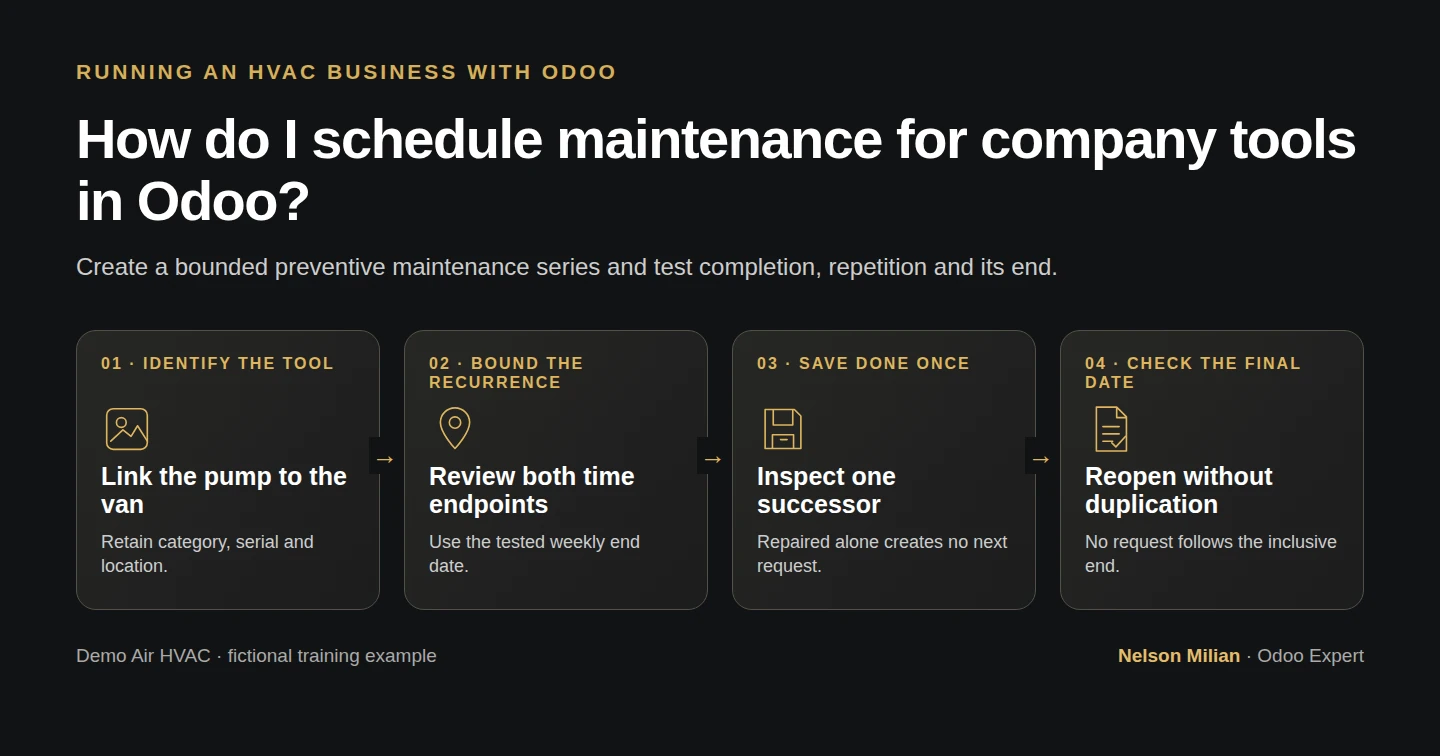
Assign a company tool to a service van, schedule a preventive inspection and verify weekly recurrence stops at its end date in Odoo.
Alex needs a reminder to inspect Demo Air’s own vacuum pump. We create a fictional company-tool record, link it to the existing service van and schedule a half-hour preventive request. Then we check the exact control that generates the next weekly occurrence and confirm that the end date stops the series.
Alex Rivera and Demo Air HVAC are fictional training examples. Prices, dates, quantities and business situations in this guide are illustrative.
Before you begin
Tested in stock Odoo 20.0-20260926 Community as the demo owner administrator, with official modules and standard configuration. Complete Which Odoo apps do I need to run an HVAC business? and How do I track service vans and vehicle costs in Odoo?, including its prerequisites. Reuse the existing Demo Van 01 Fleet record and WH/Demo Van 01 Inventory location. The owner performs the procedure; technician access is unchanged and was not tested for Maintenance. Activate the Odoo-authored Maintenance app. With Fleet, Employees and Inventory already installed, the official fleet_maintenance, hr_maintenance and stock_maintenance integrations also install. All four modules are Odoo-authored LGPL-3. This example deliberately uses October 7 and October 14, 2026 as fictional training dates captured on October 16, in America/New_York. Choose reviewed dates and responsibility for actual operations; no inspection, calibration or certification is performed here.
Step-by-step workflow
Step 1. Activate Maintenance and check for existing tools
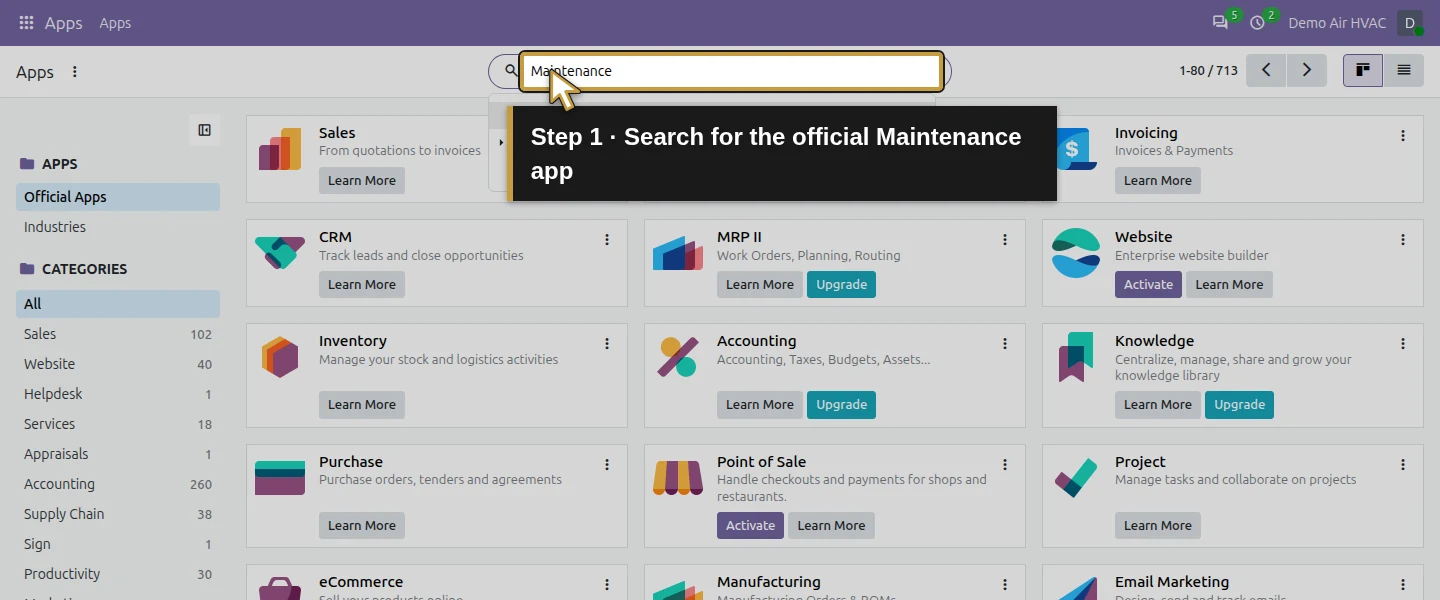
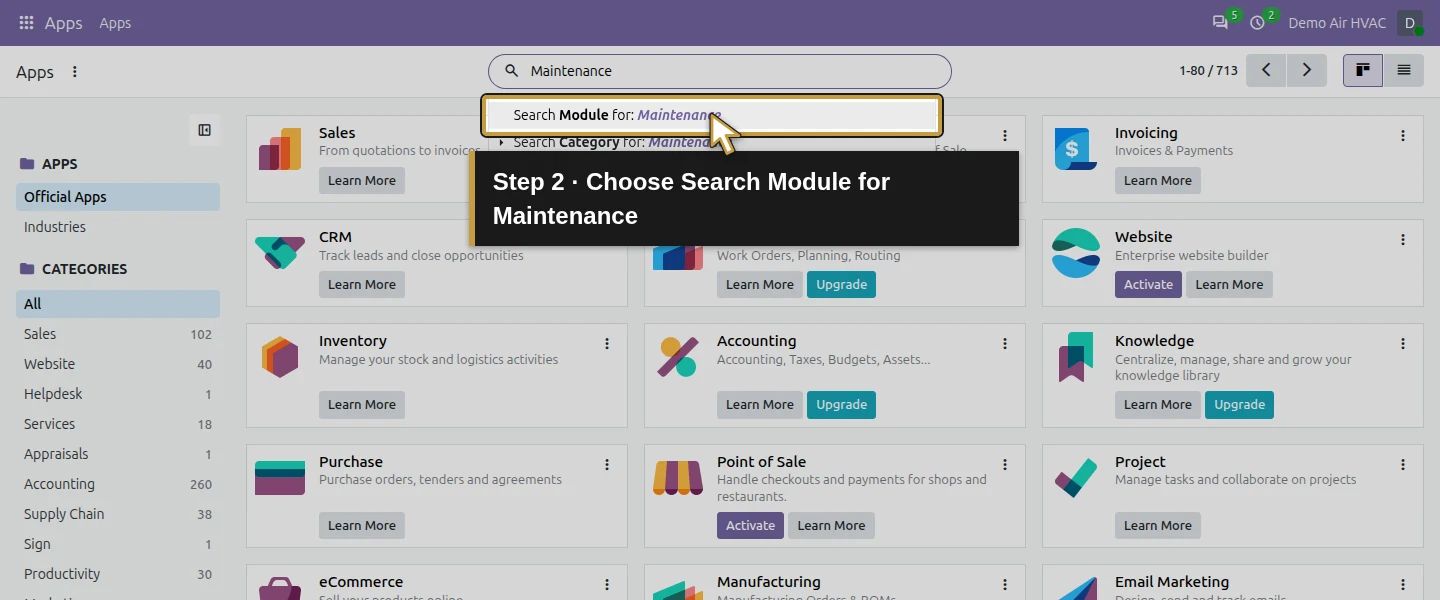
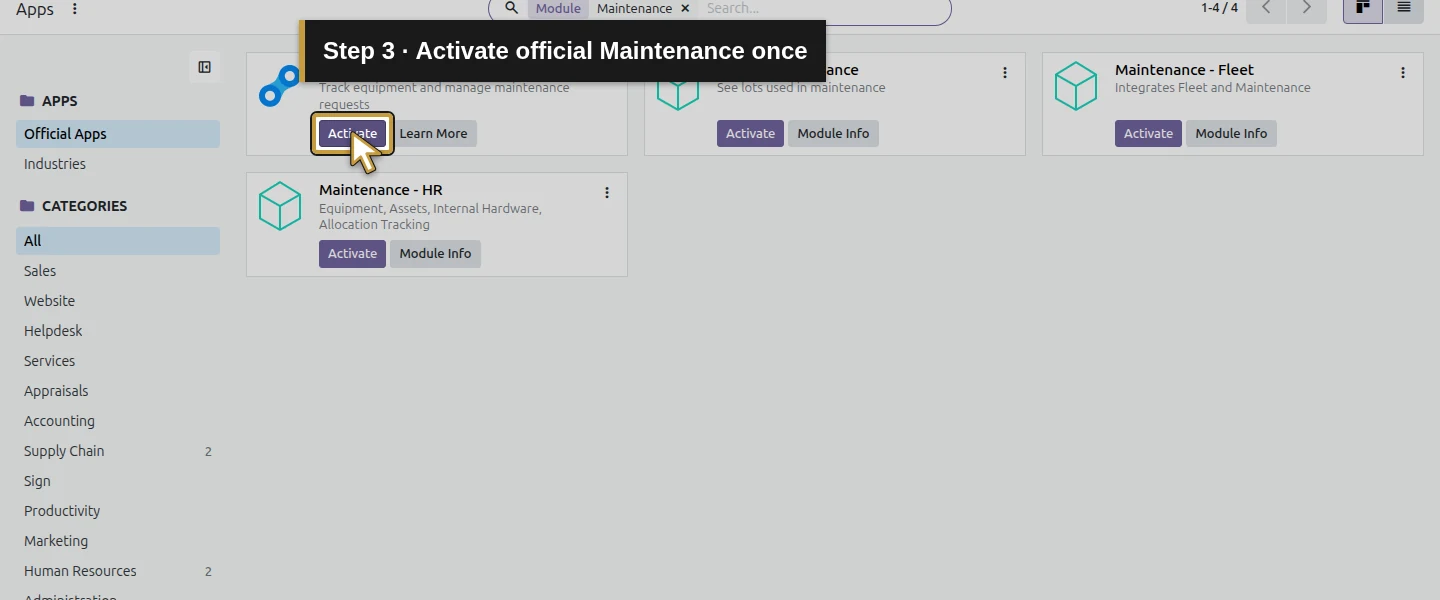
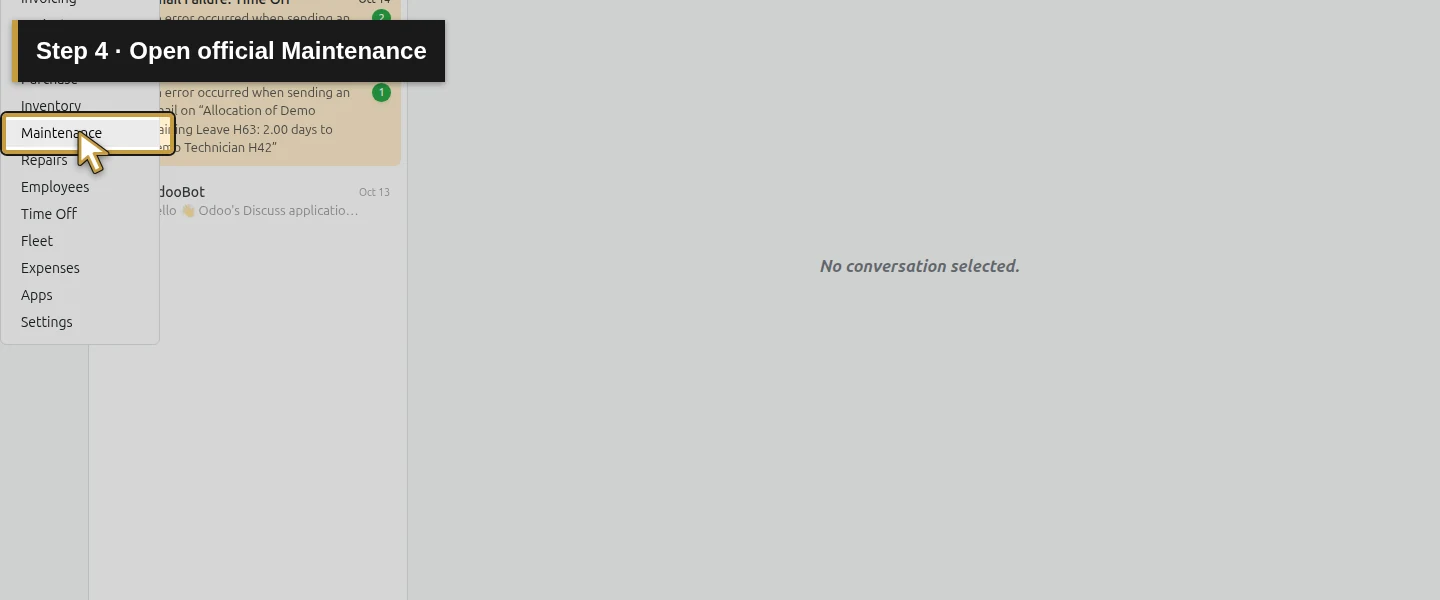
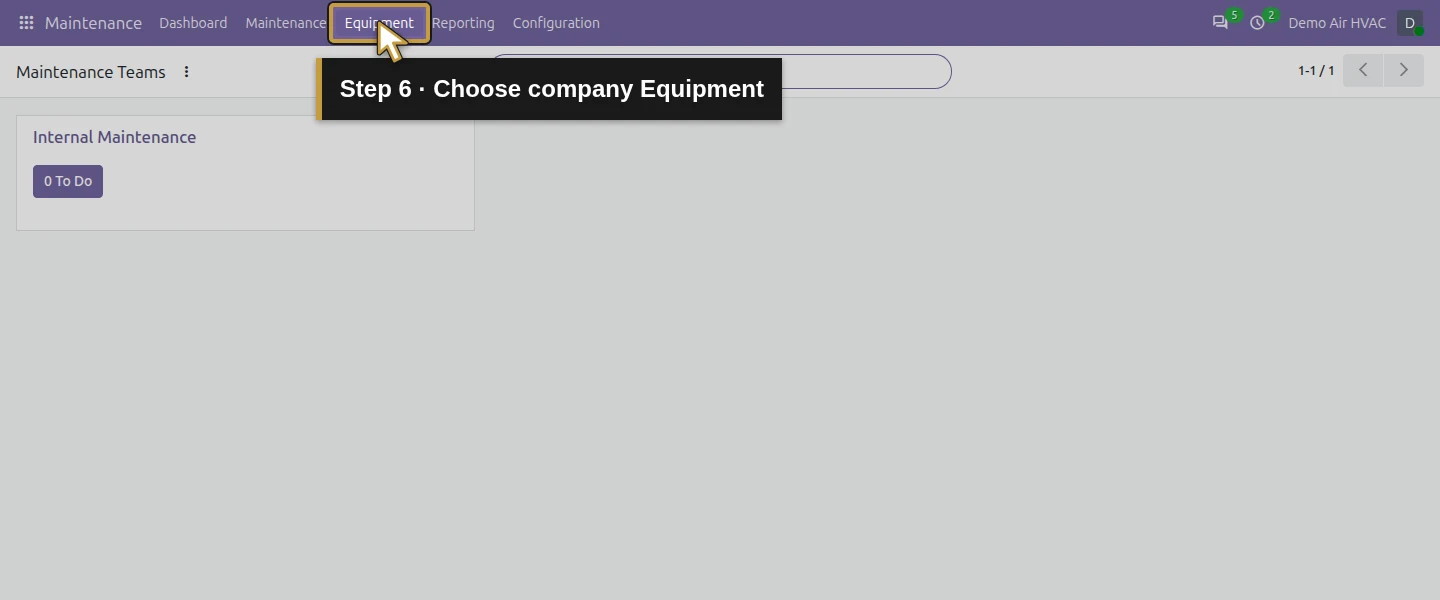
Open Apps, search Maintenance, choose the actual Search Module for: Maintenance suggestion and click Activate on the Odoo-authored app once. Wait for installation before opening Maintenance. The tested starting database has no equipment or maintenance requests. Search your own equipment records before adding another pump. Installation gives the owner the stock Maintenance administration permission; it does not demonstrate that the existing technician can manage this app.
Step 2. Create the equipment category
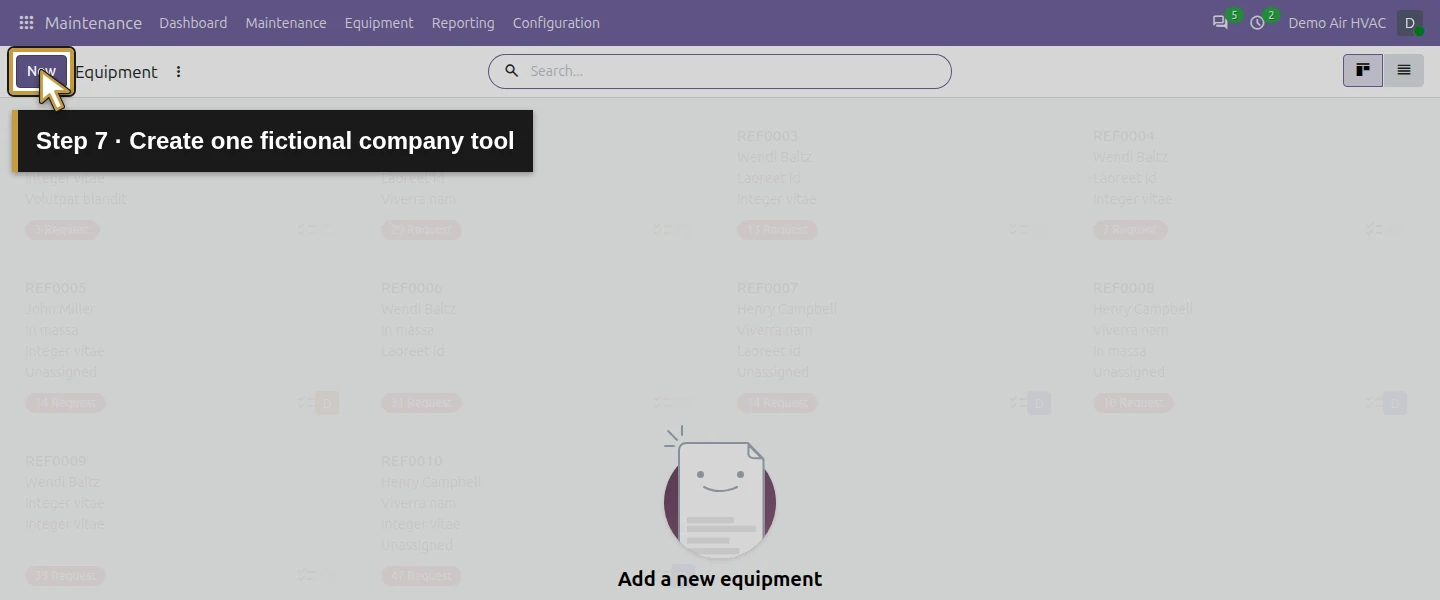
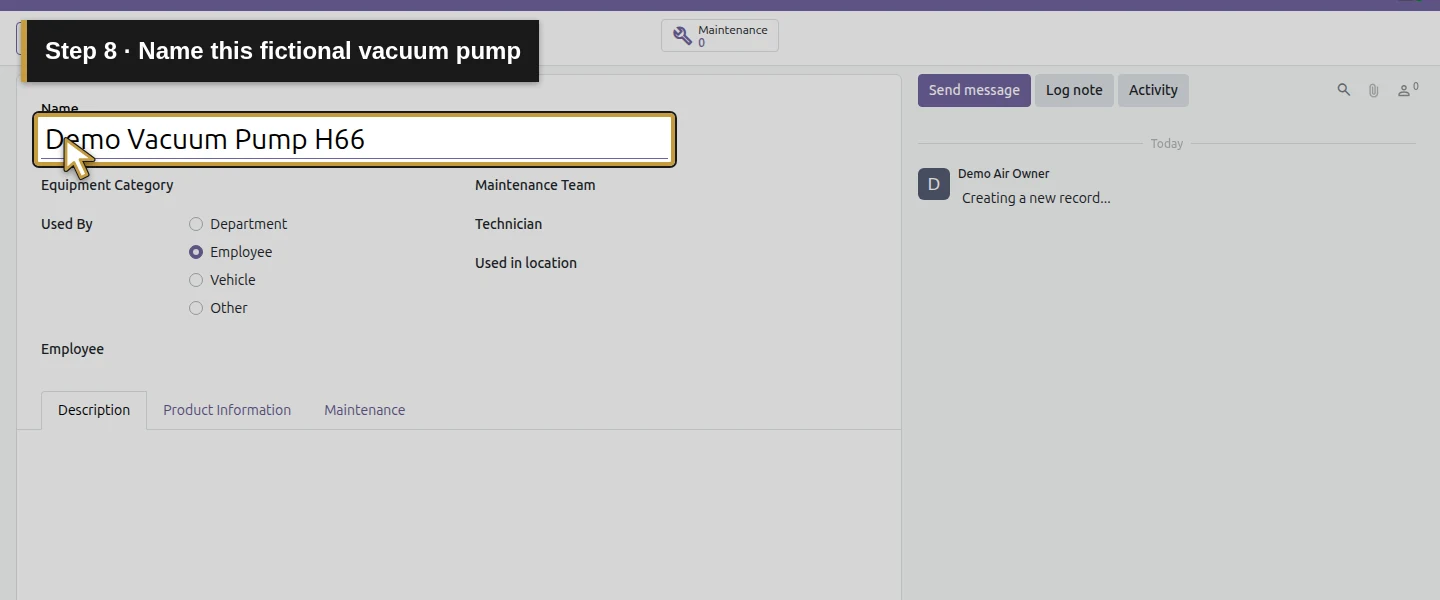
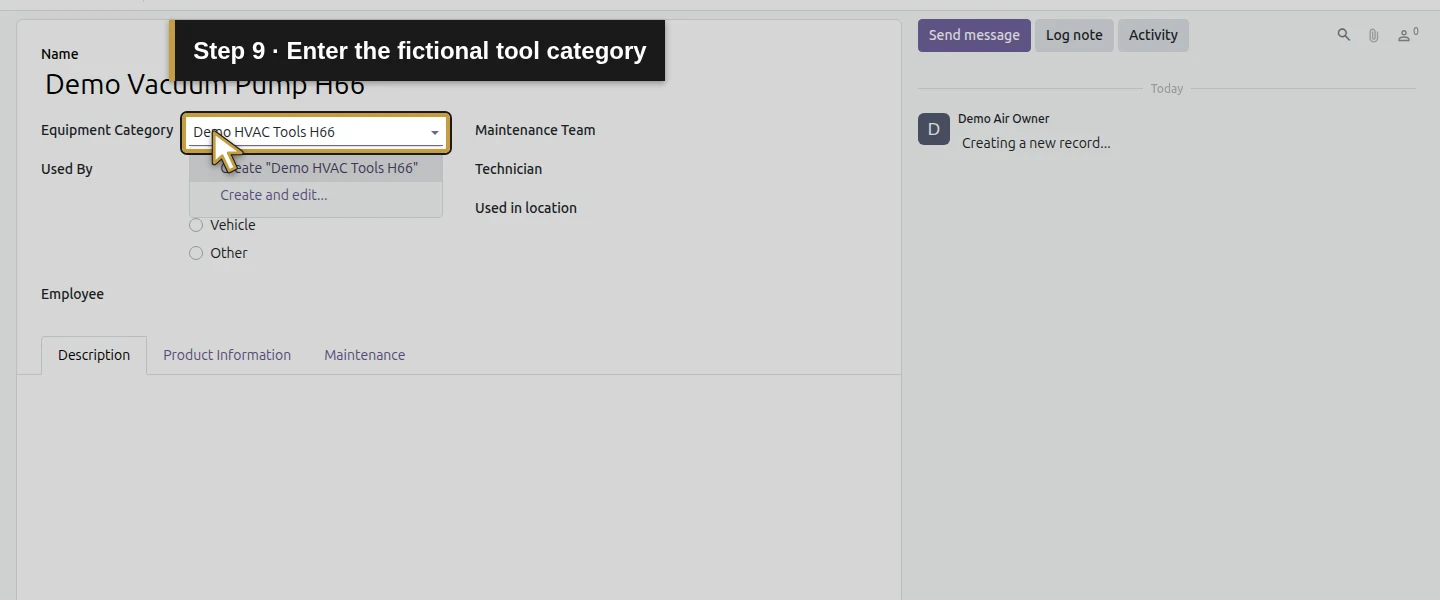
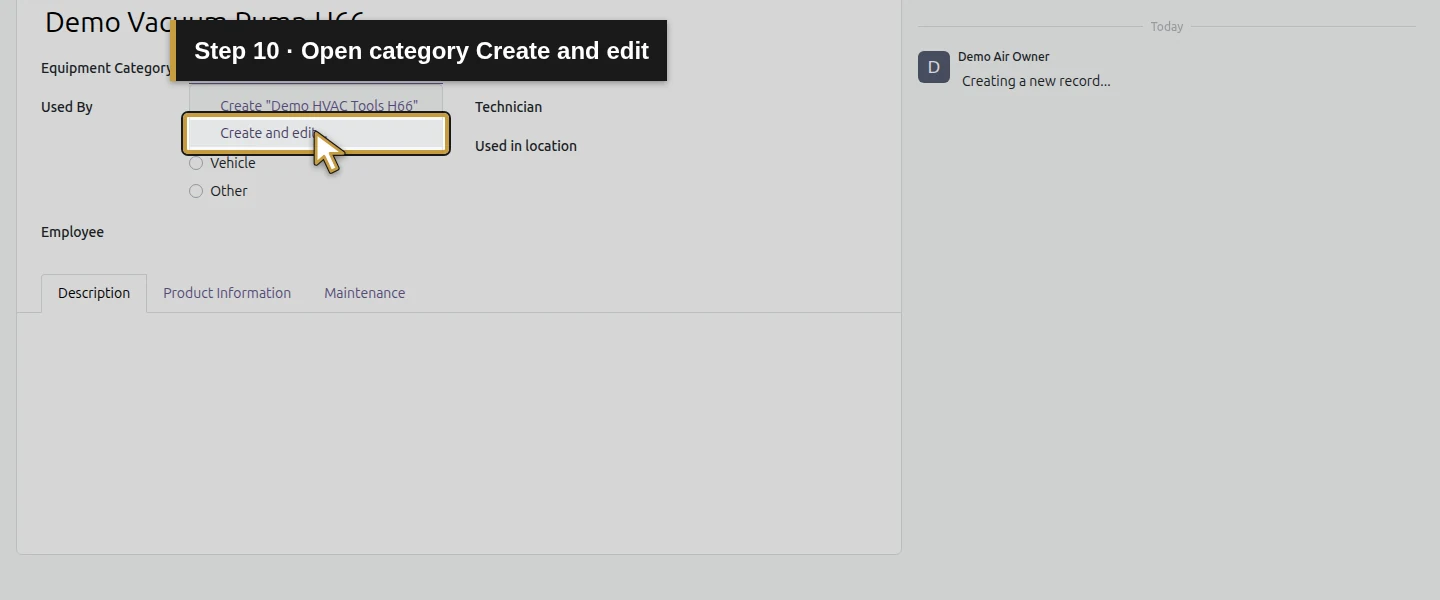
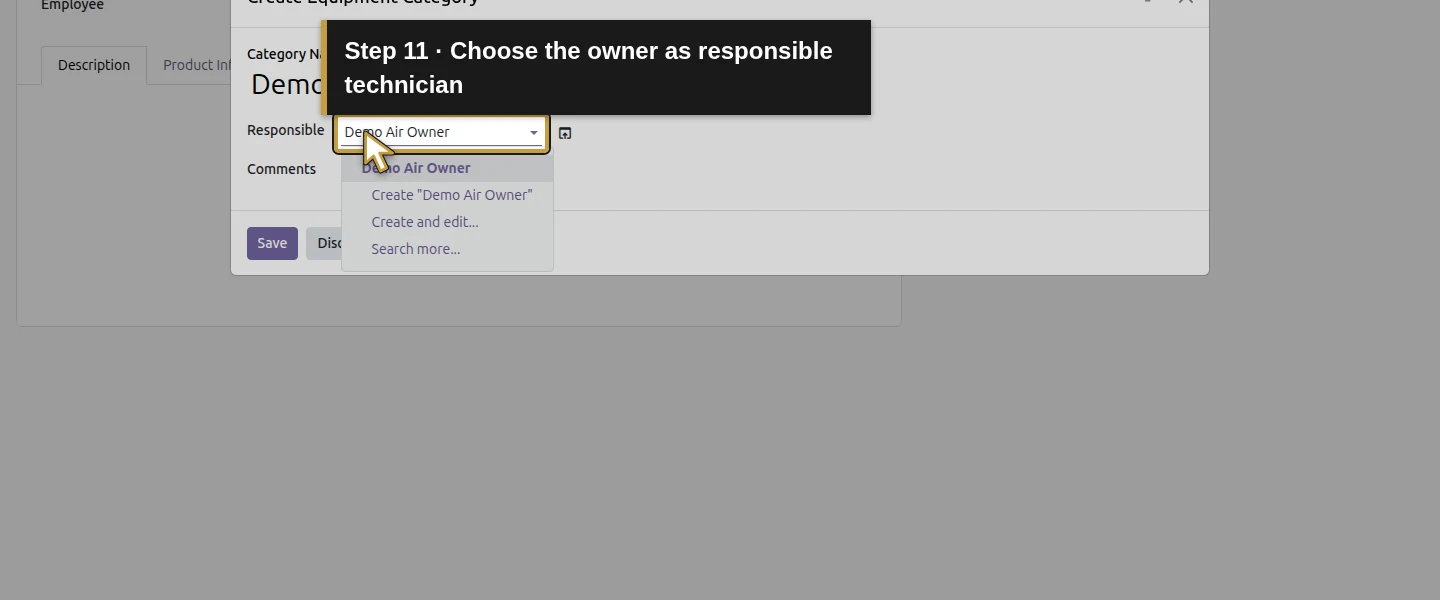
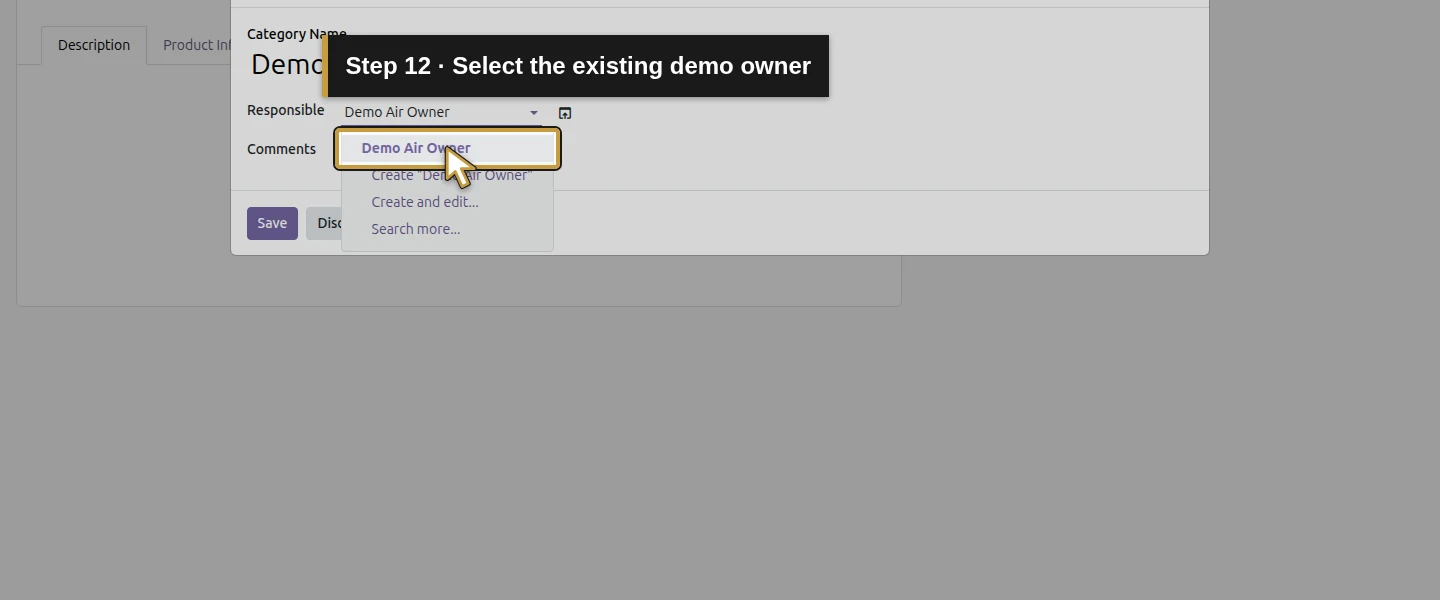
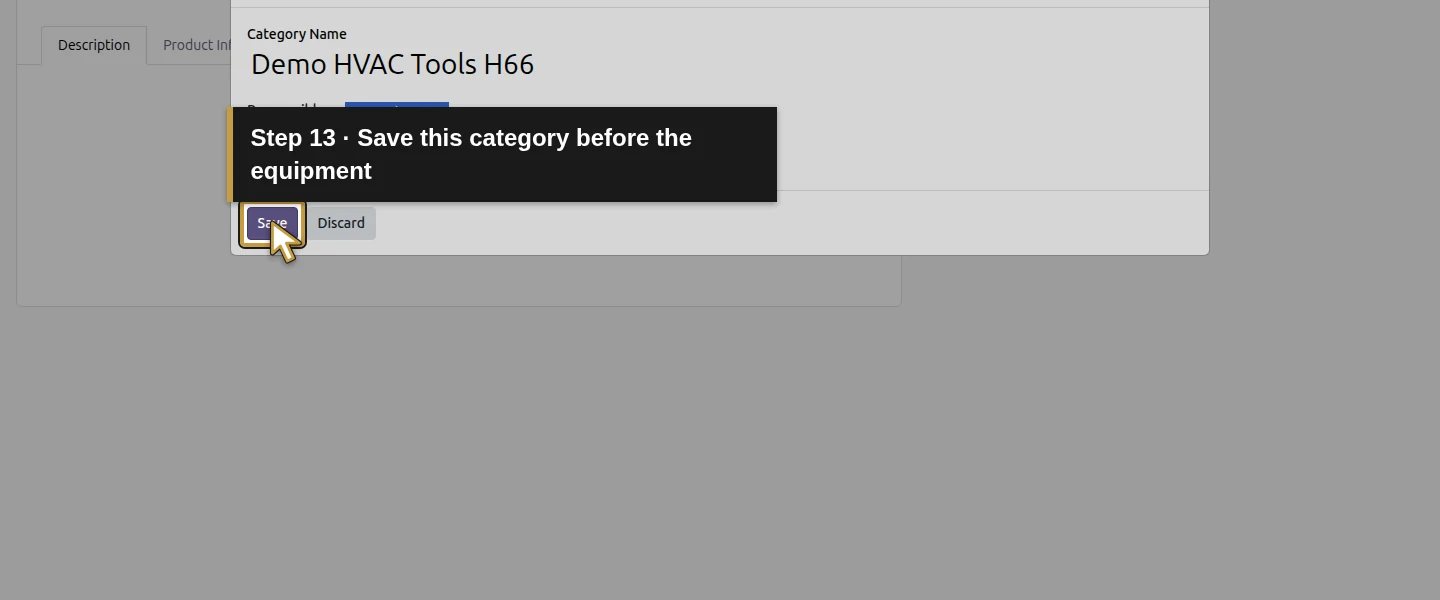
Open Maintenance → Equipment → New. Enter Name Demo Vacuum Pump H66. In Equipment Category, enter Demo HVAC Tools H66 and select Create and edit…. In the native category dialog, select Demo Air Owner as Technician Responsible, retain Demo Air HVAC and click Save. This saves the category; the parent equipment still needs its own Save. The category supplies the equipment’s Technician in this test.
Step 3. Assign the pump to the existing van and location
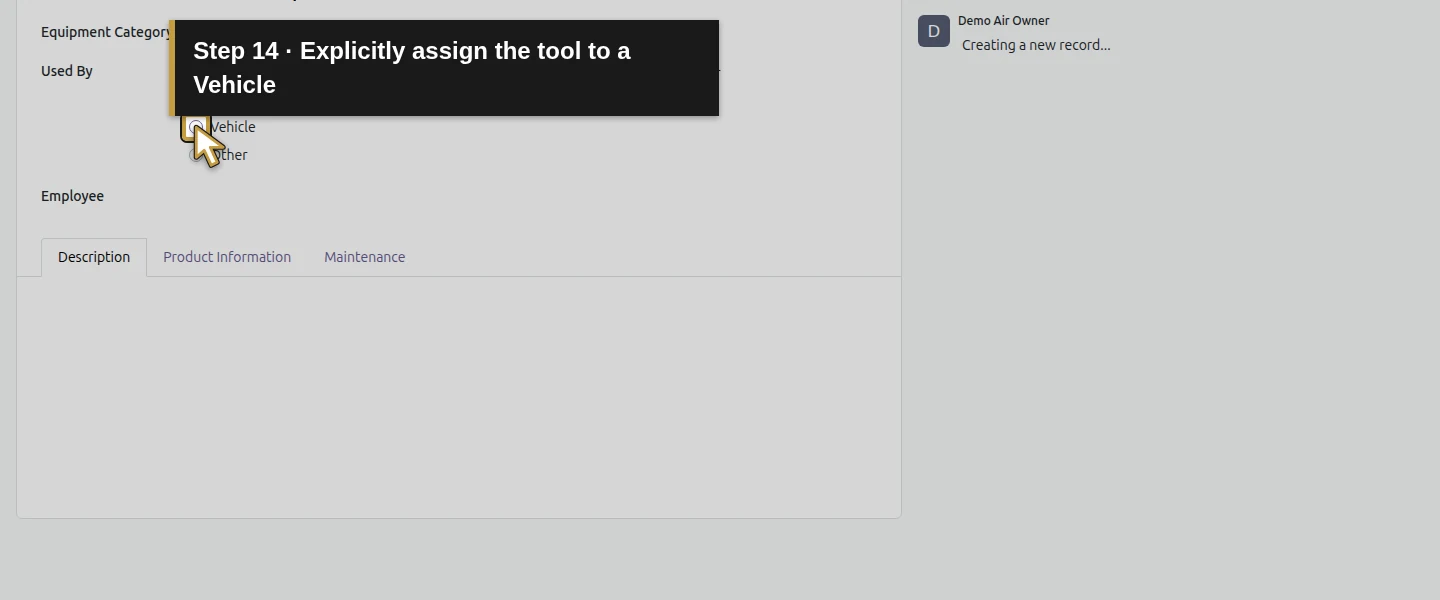
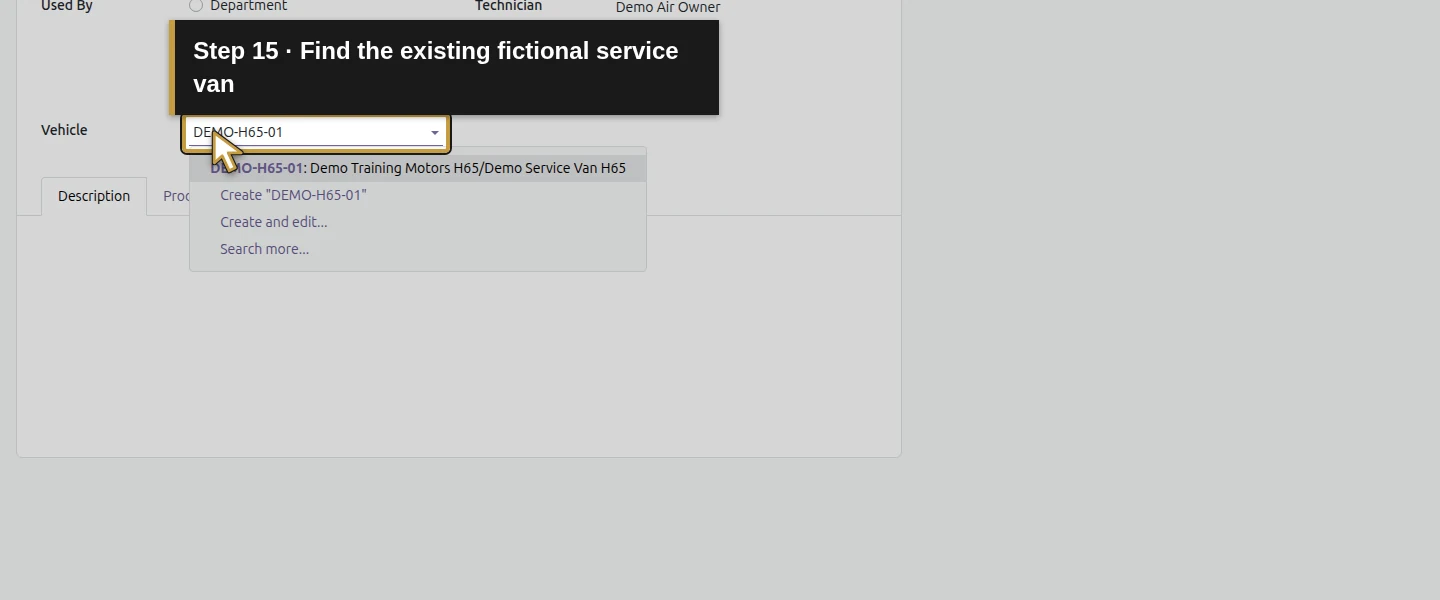
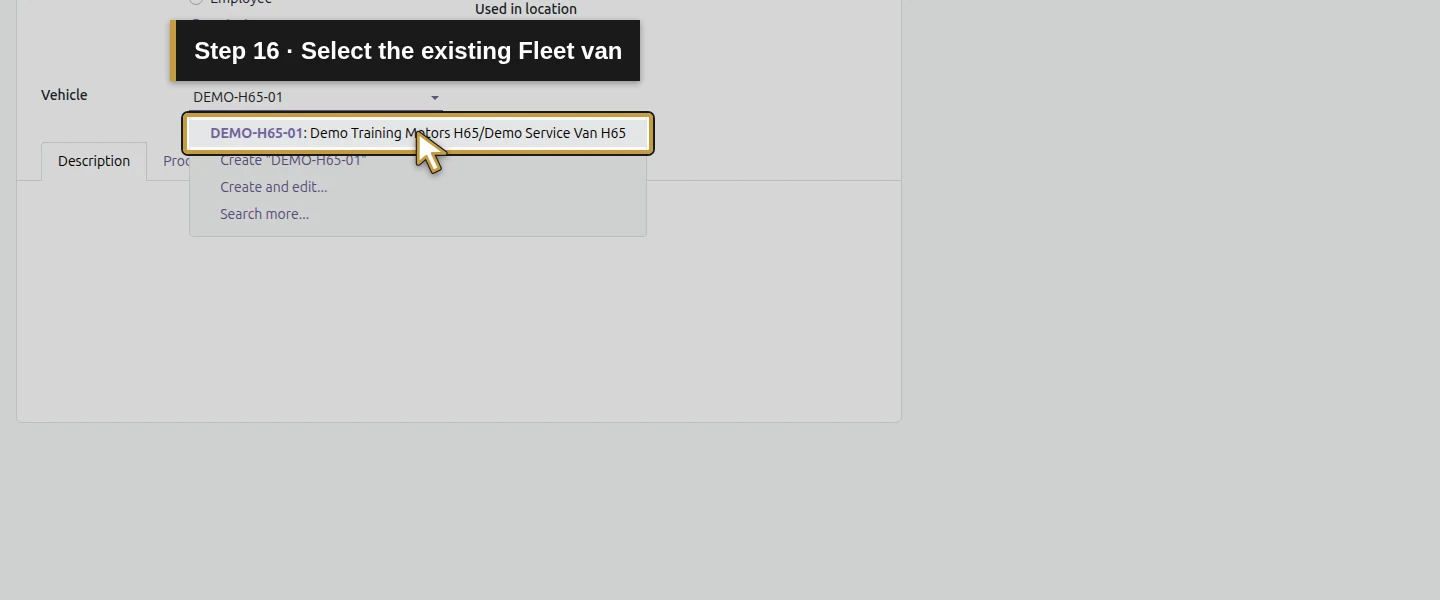
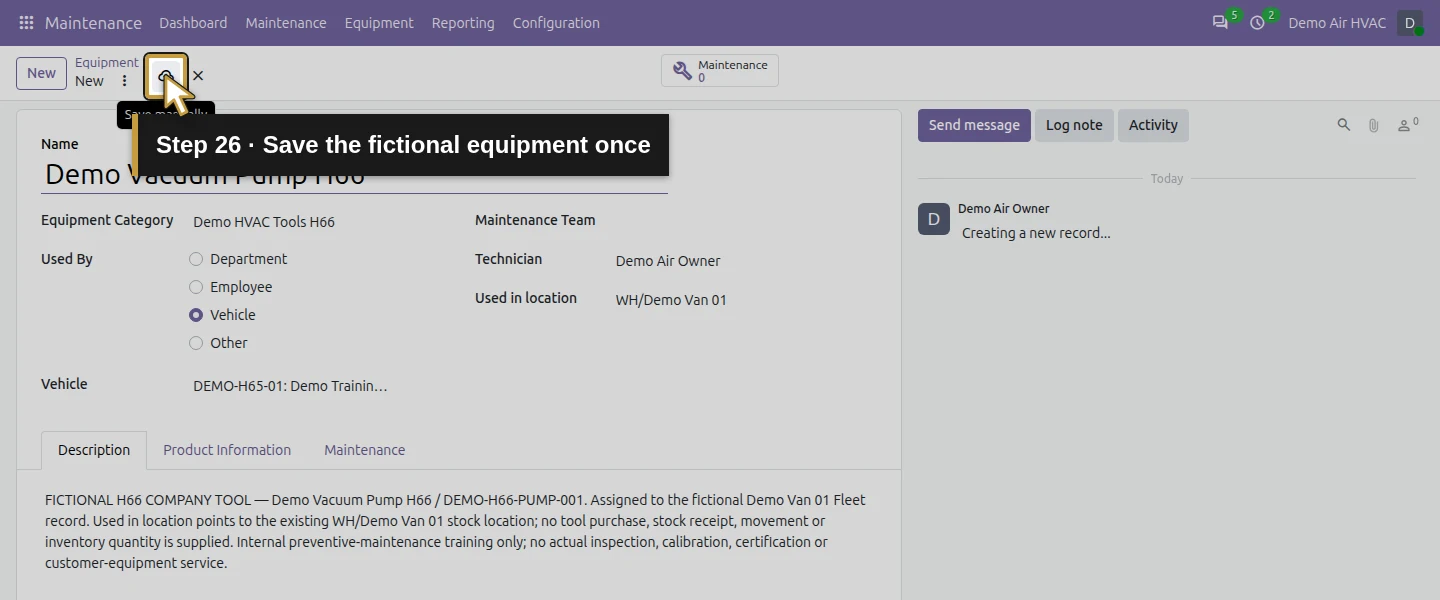
Under Used By, explicitly select Vehicle; the initial form selected Employee. In Vehicle, choose DEMO-H65-01: Demo Training Motors H65/Demo Service Van H65, the existing fictional van. In Used in location, select the existing WH/Demo Van 01. Retain Technician Demo Air Owner. The tool’s Maintenance Team remains empty in this test; select the team explicitly on its request later. Vehicle is a real Fleet link and Used in location is a real Inventory location link supplied by the installed official integrations. Selecting them does not supply a tool purchase or stock quantity.
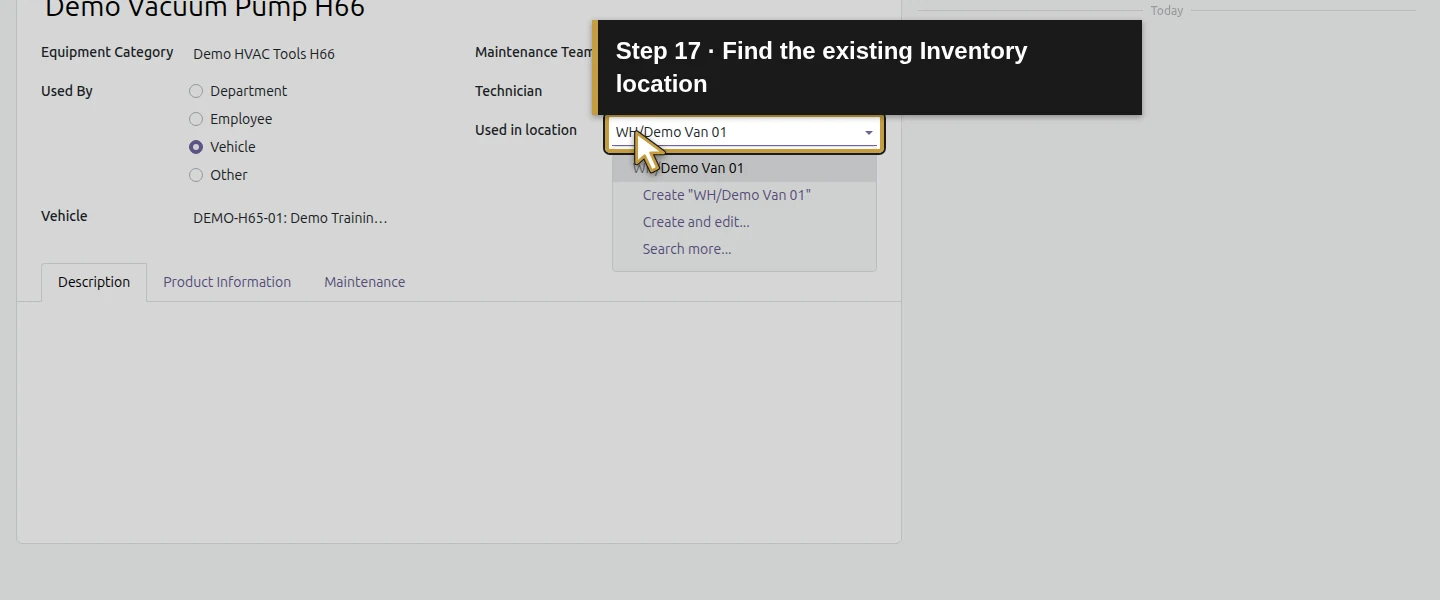
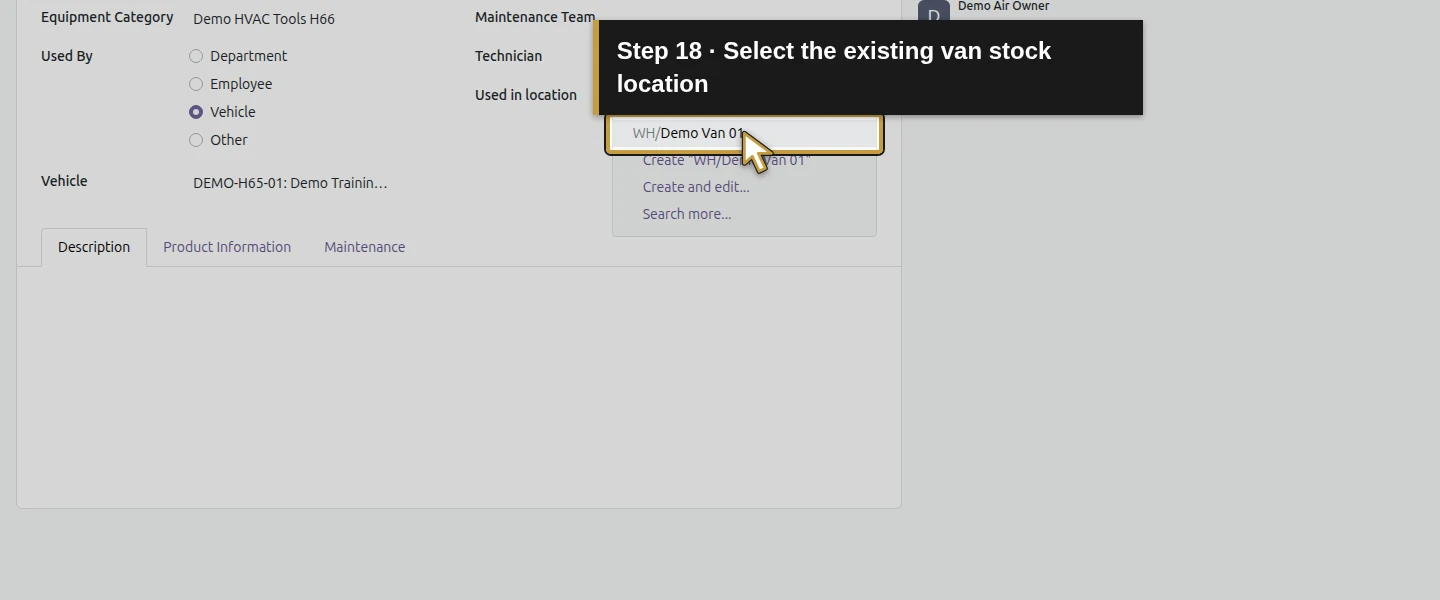
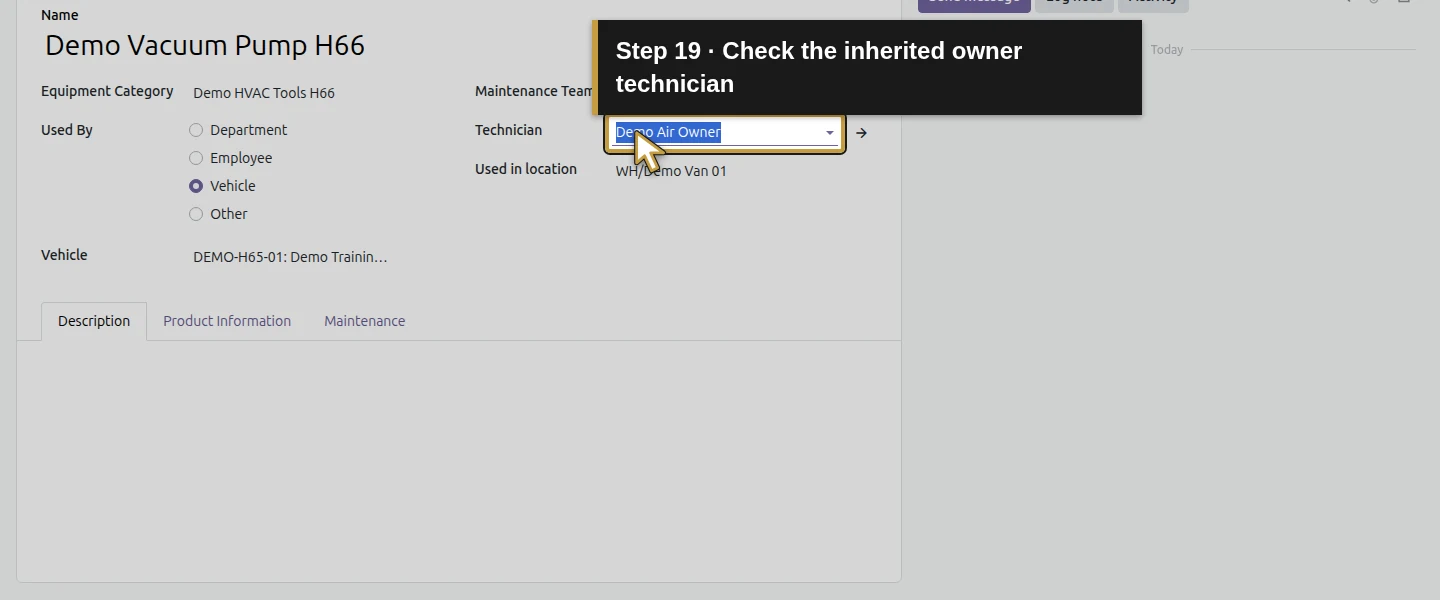
Step 4. Identify and save the fictional tool
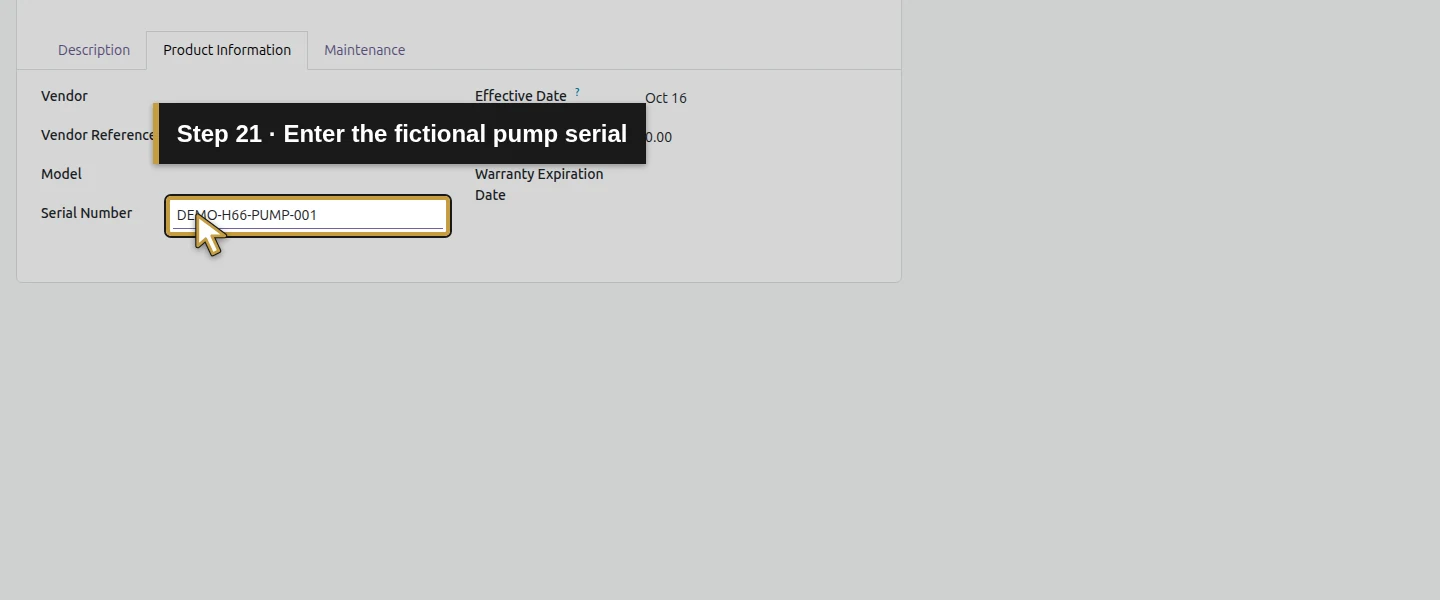
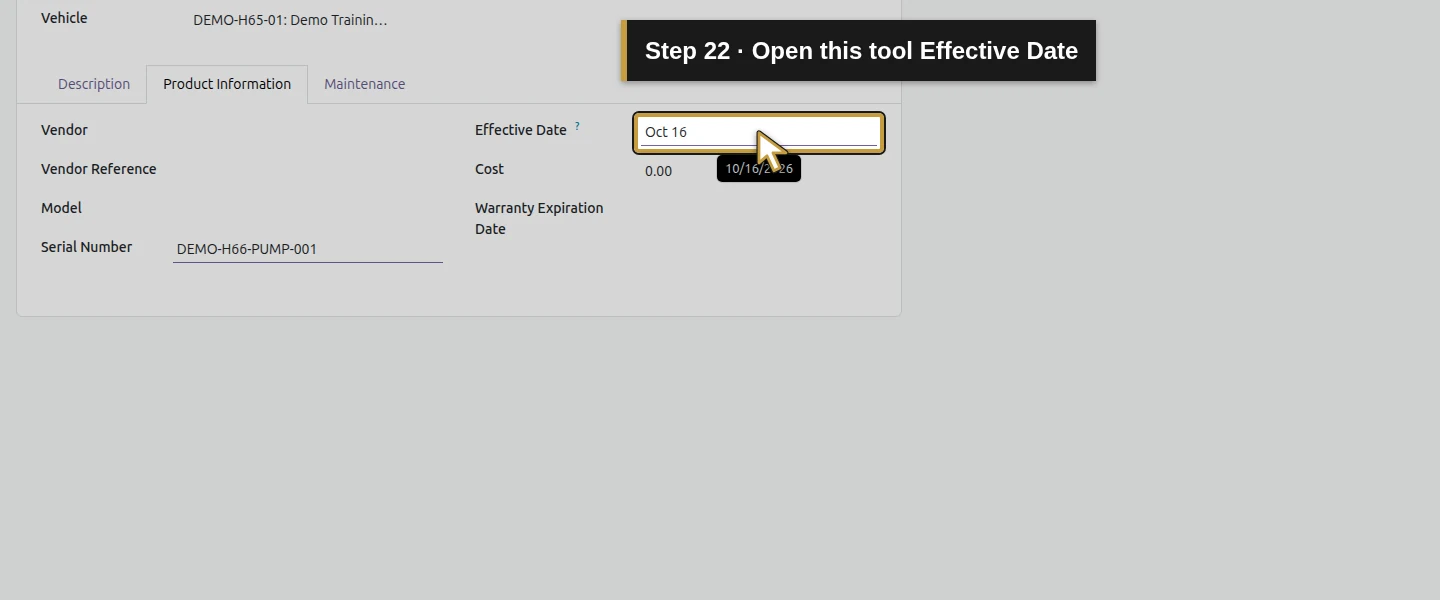
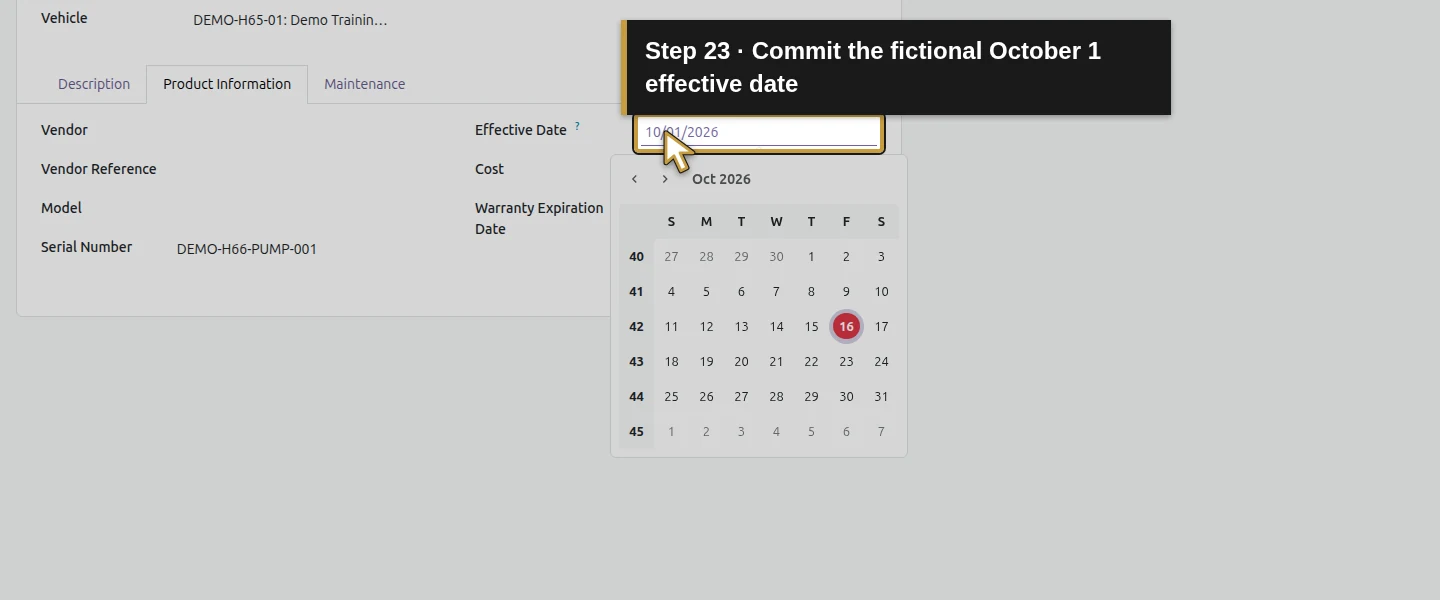
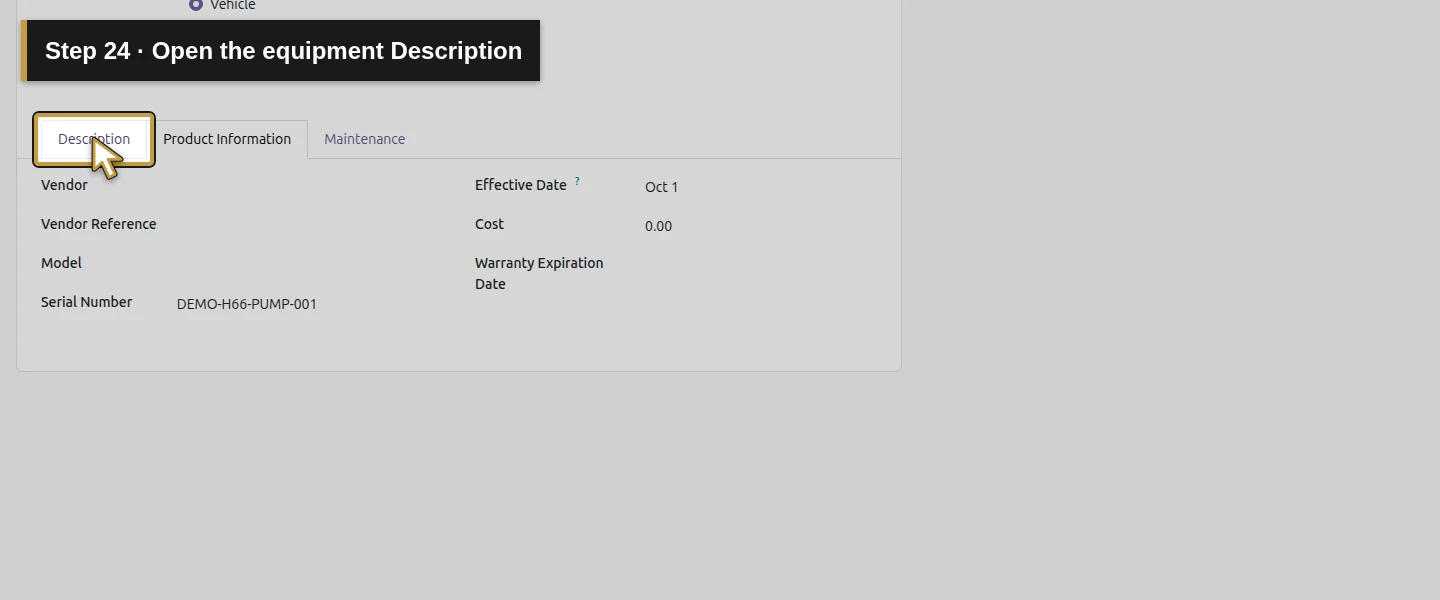
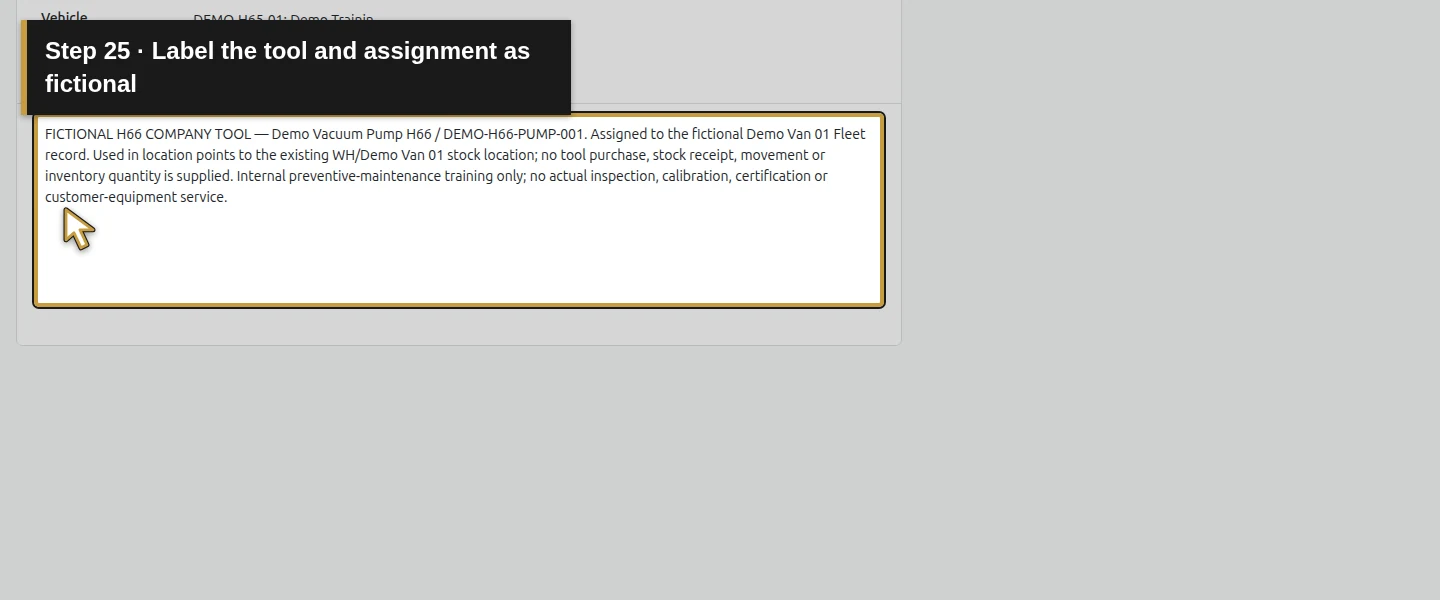
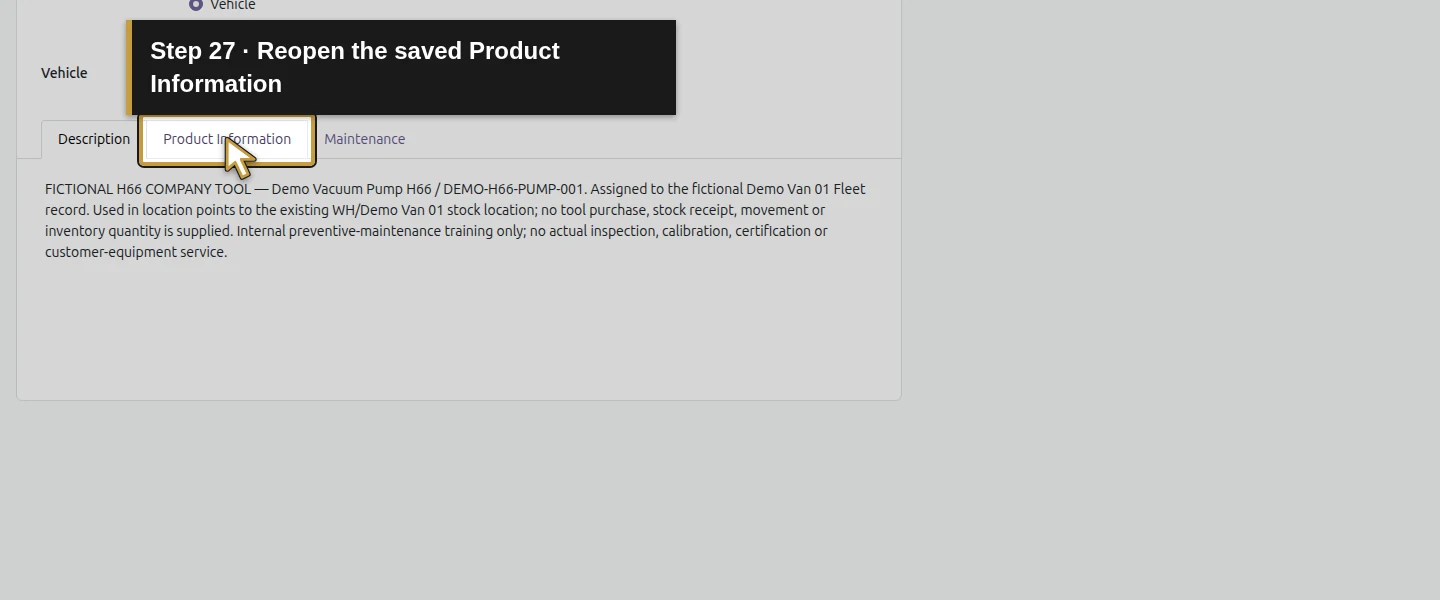
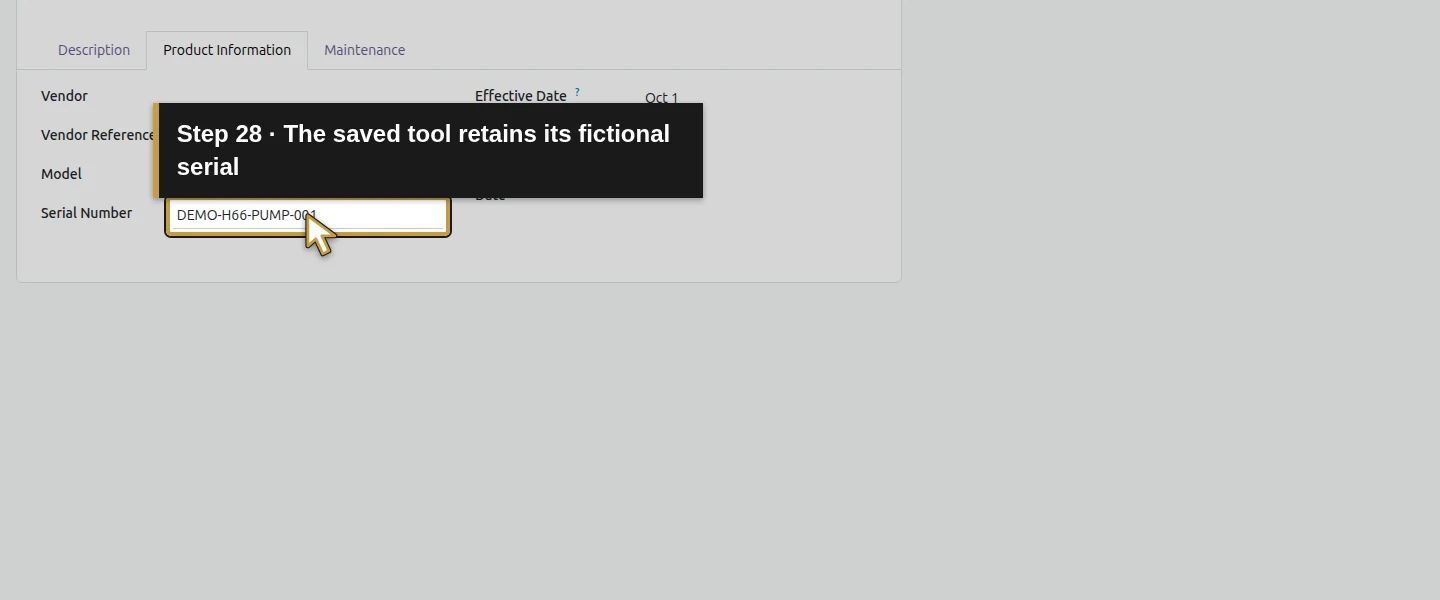
On Product Information, enter Serial Number DEMO-H66-PUMP-001 and set Effective Date October 1, 2026, committing the date with Enter. On Description, label the tool, serial and van assignment as fictional training data. Explain that no actual inspection, calibration, purchase, receipt or stock movement is recorded. Click Save manually, then reload. Check the same name/category, Vehicle assignment, van, location and serial. Employee is empty under the selected Vehicle assignment. The Assigned Date on the main form is a separate field from Effective Date; this capture retained its October 16 default.
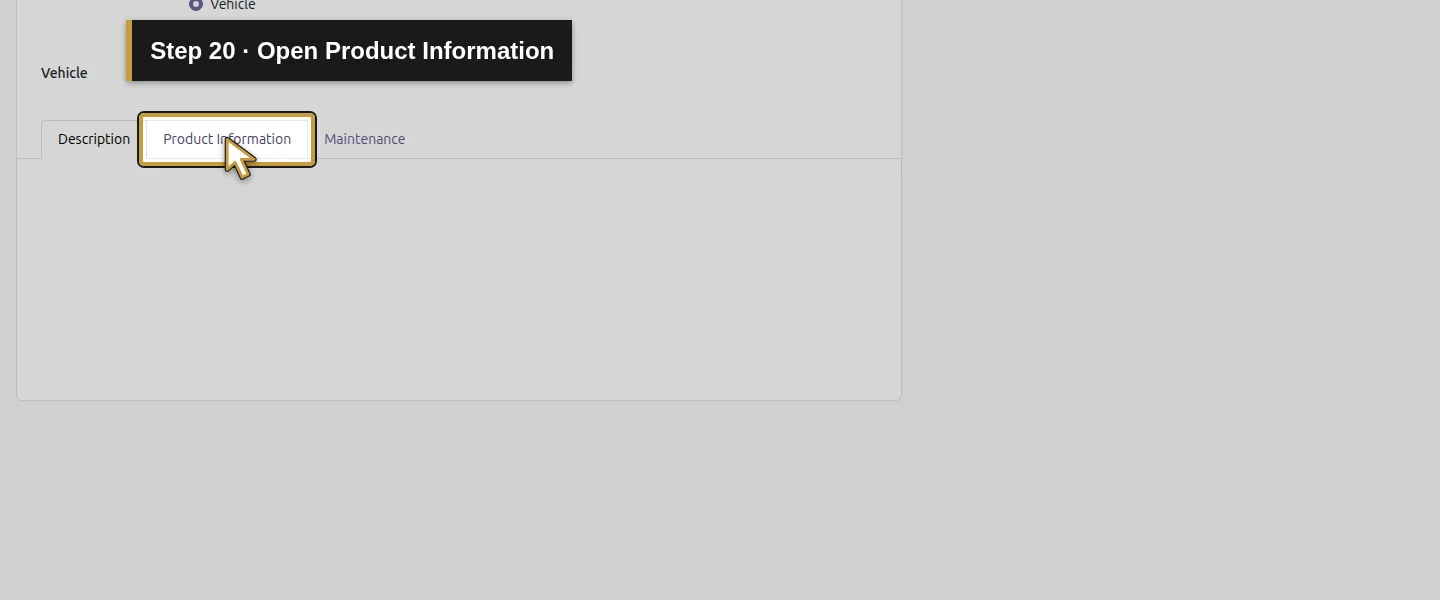
Step 5. Create a request from the saved equipment
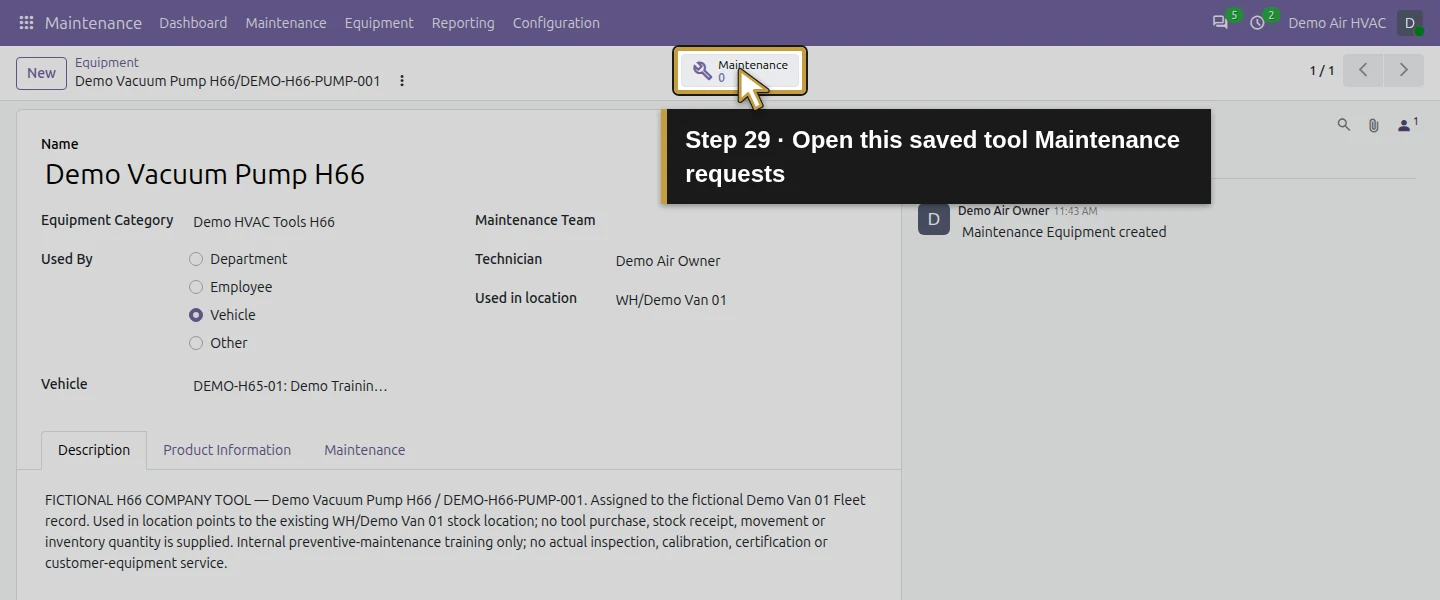
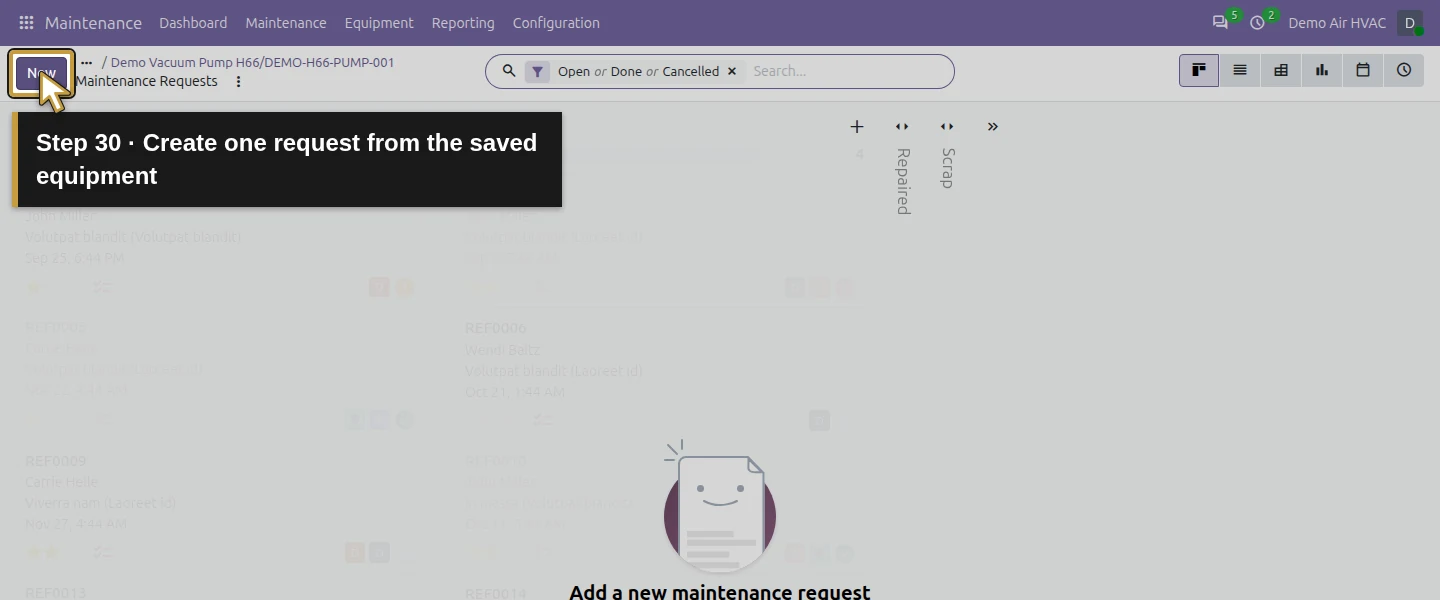
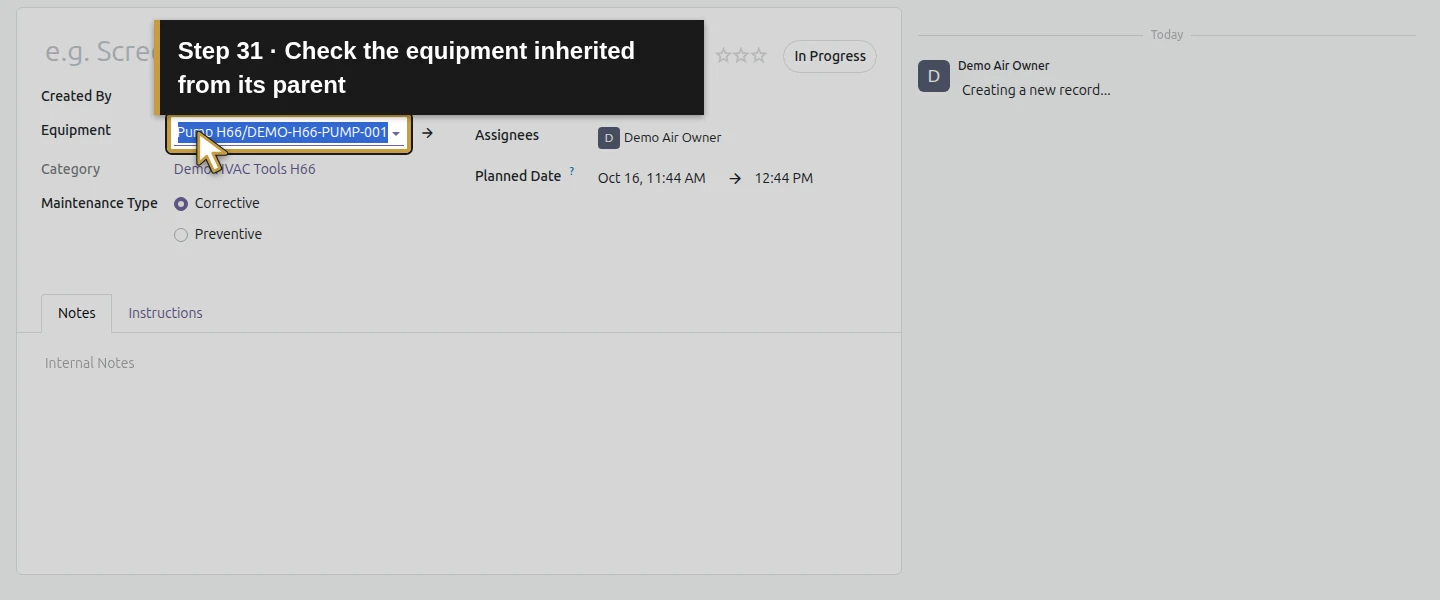
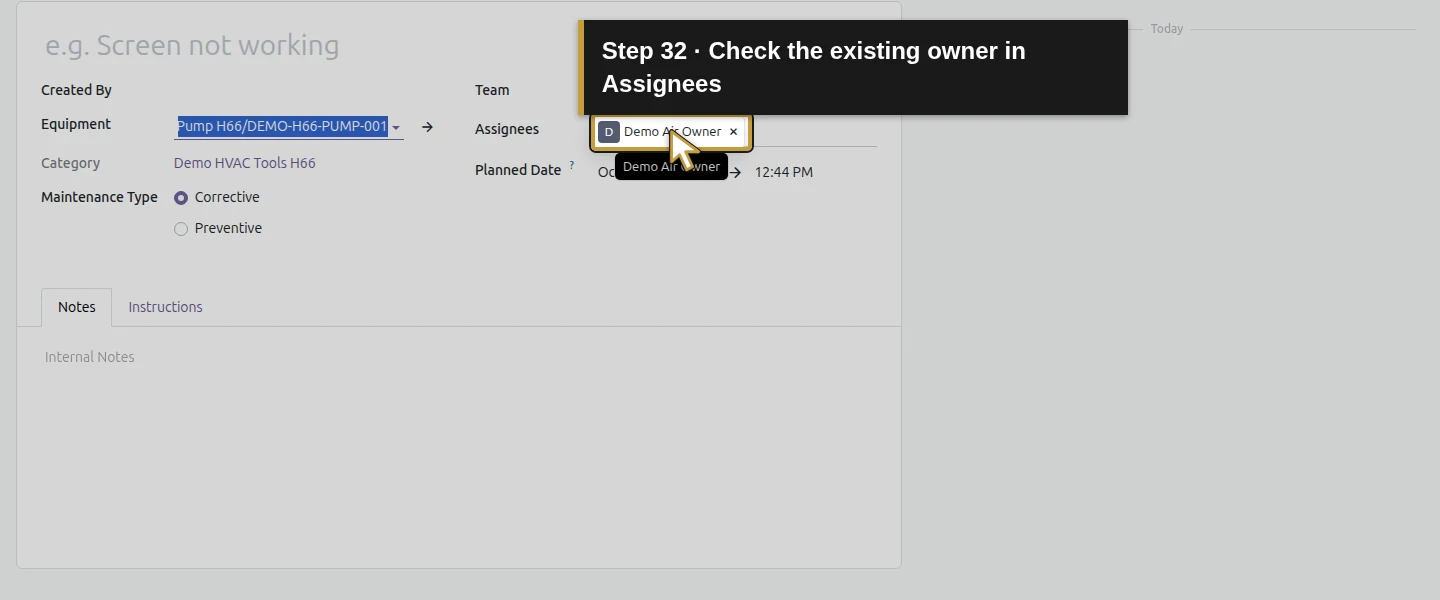
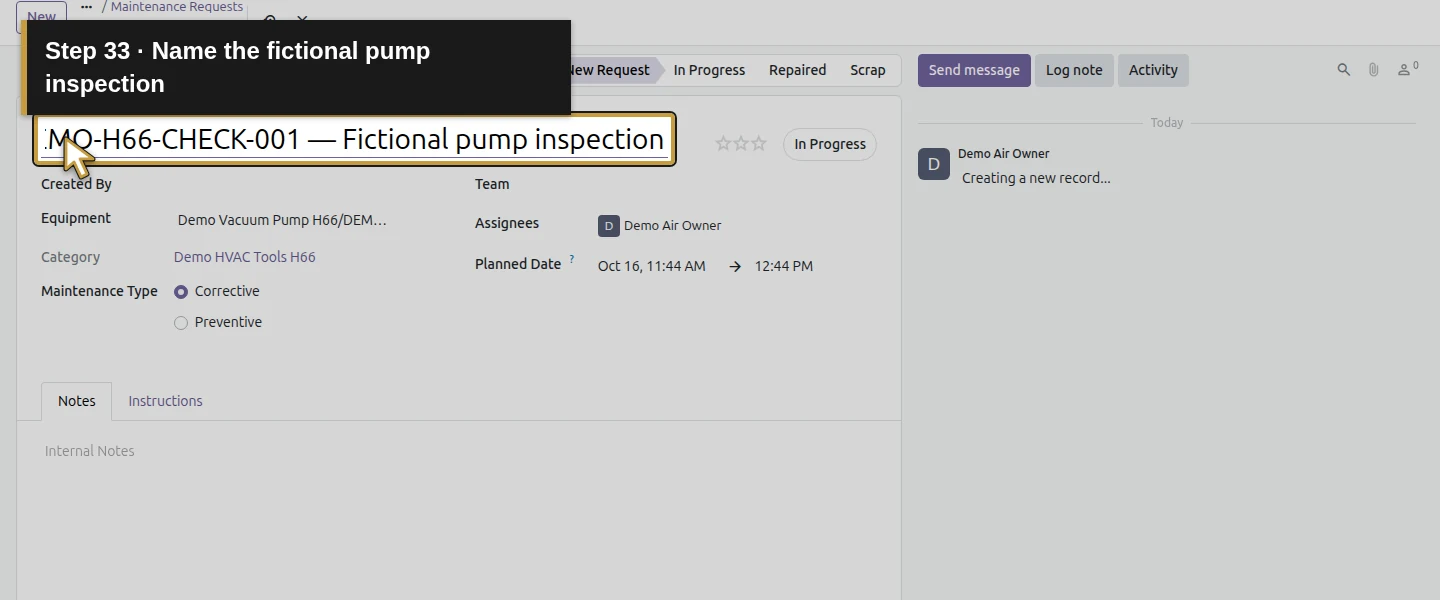
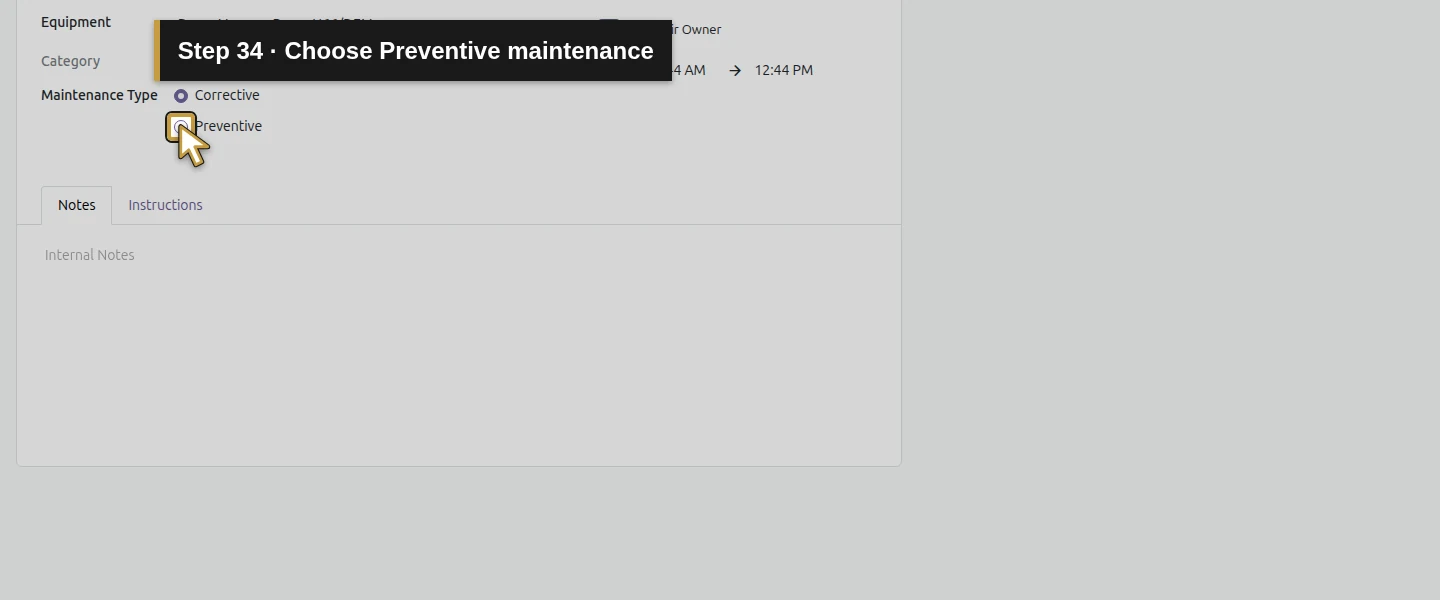
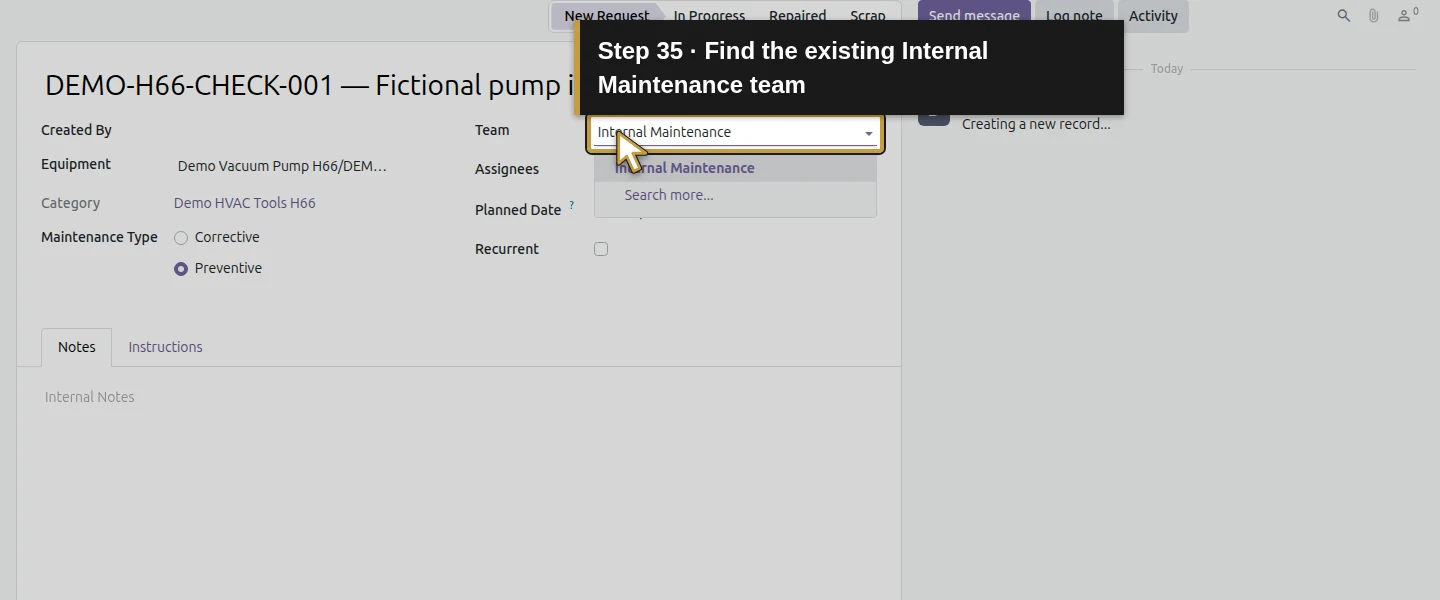
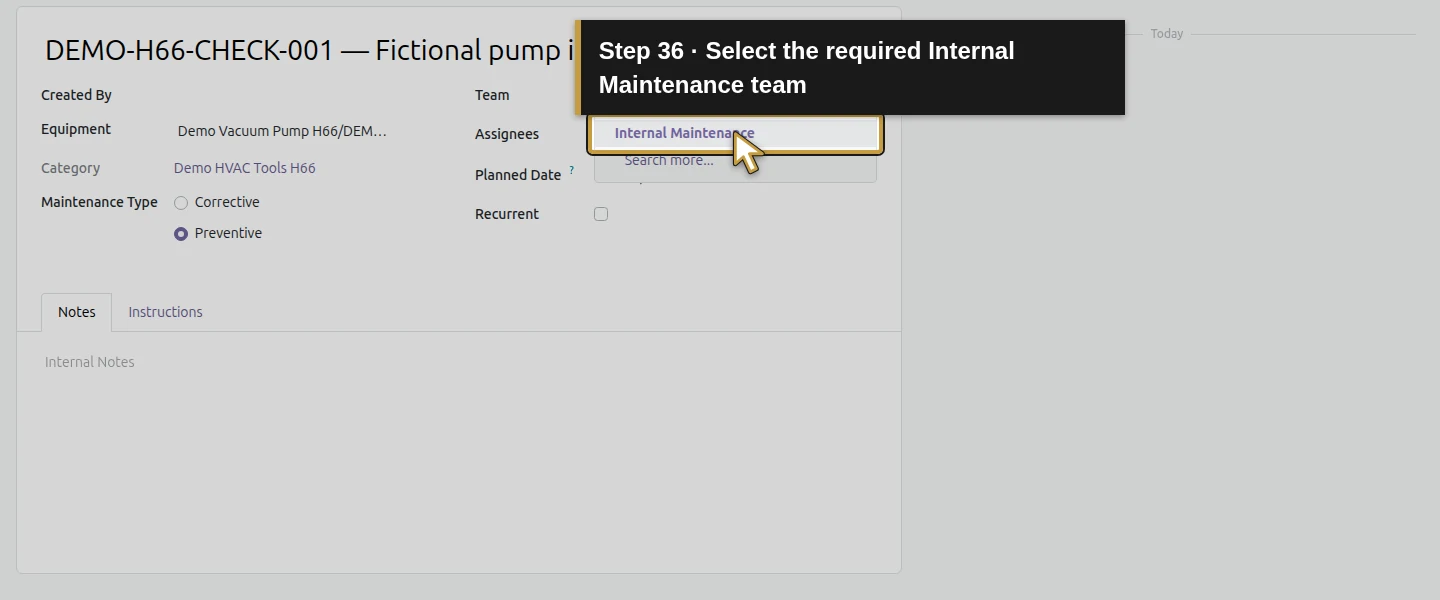
Click 0 Maintenance, then New. Equipment is preselected as Demo Vacuum Pump H66/DEMO-H66-PUMP-001 and Assignees includes Demo Air Owner. Enter Subjects DEMO-H66-CHECK-001 — Fictional pump inspection. Select Preventive as Maintenance Type and explicitly choose Internal Maintenance in Team. That required field was initially empty even though the team existed. Category follows the equipment. The Created By field stays empty in this test; it is not proof of the assignee.
Step 6. Set both planned time endpoints
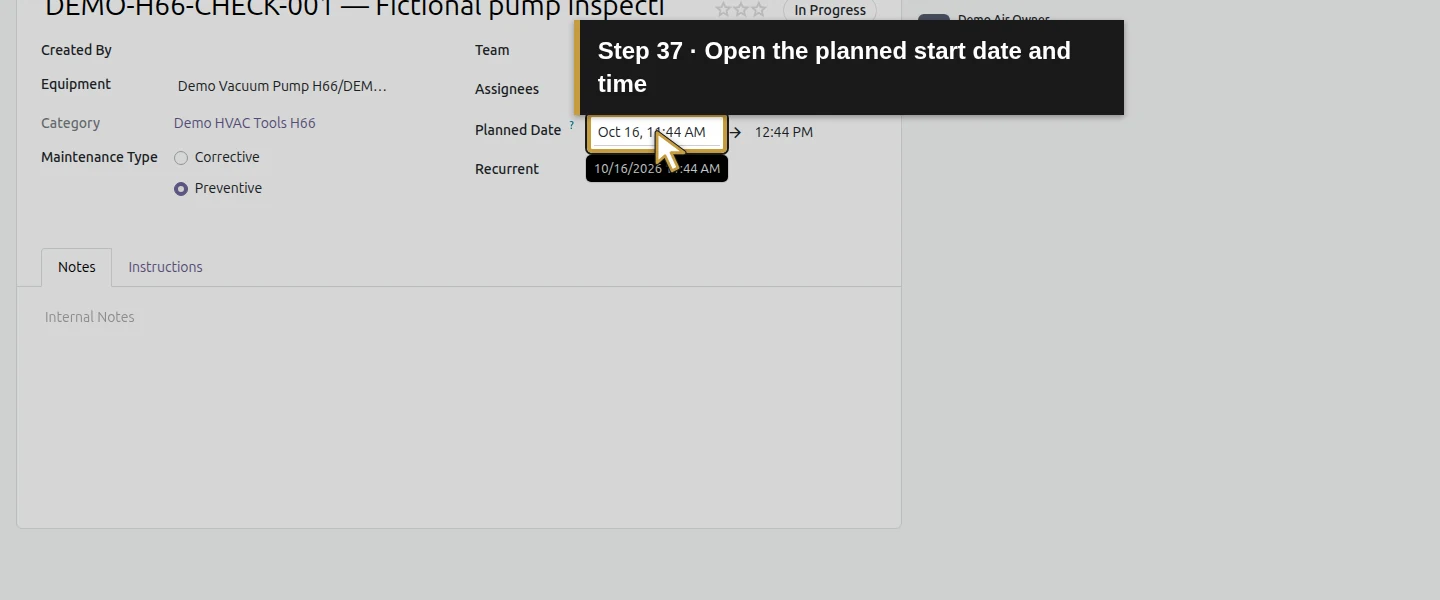
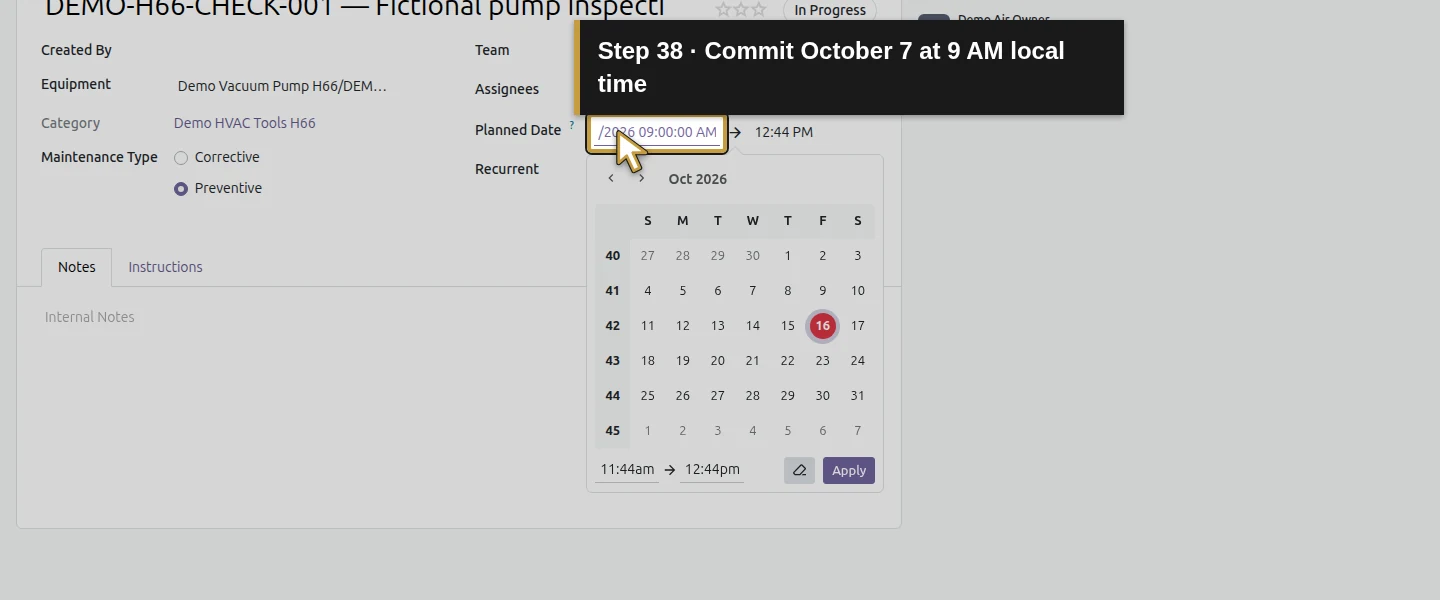
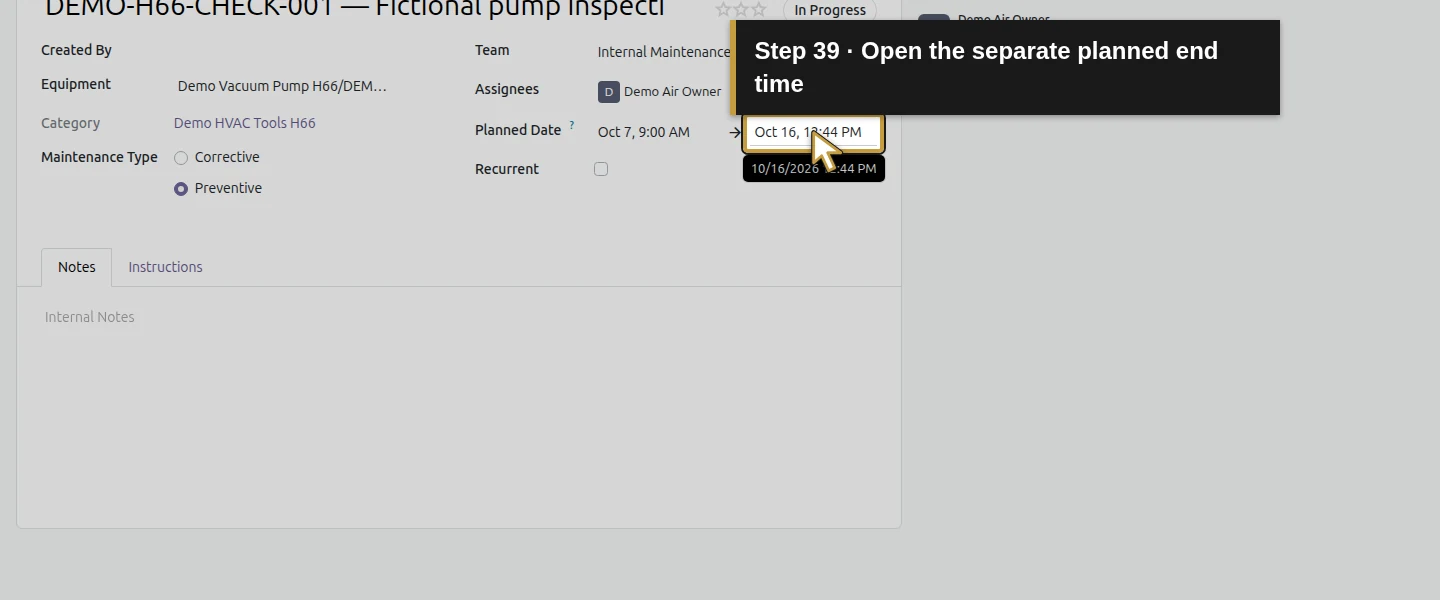
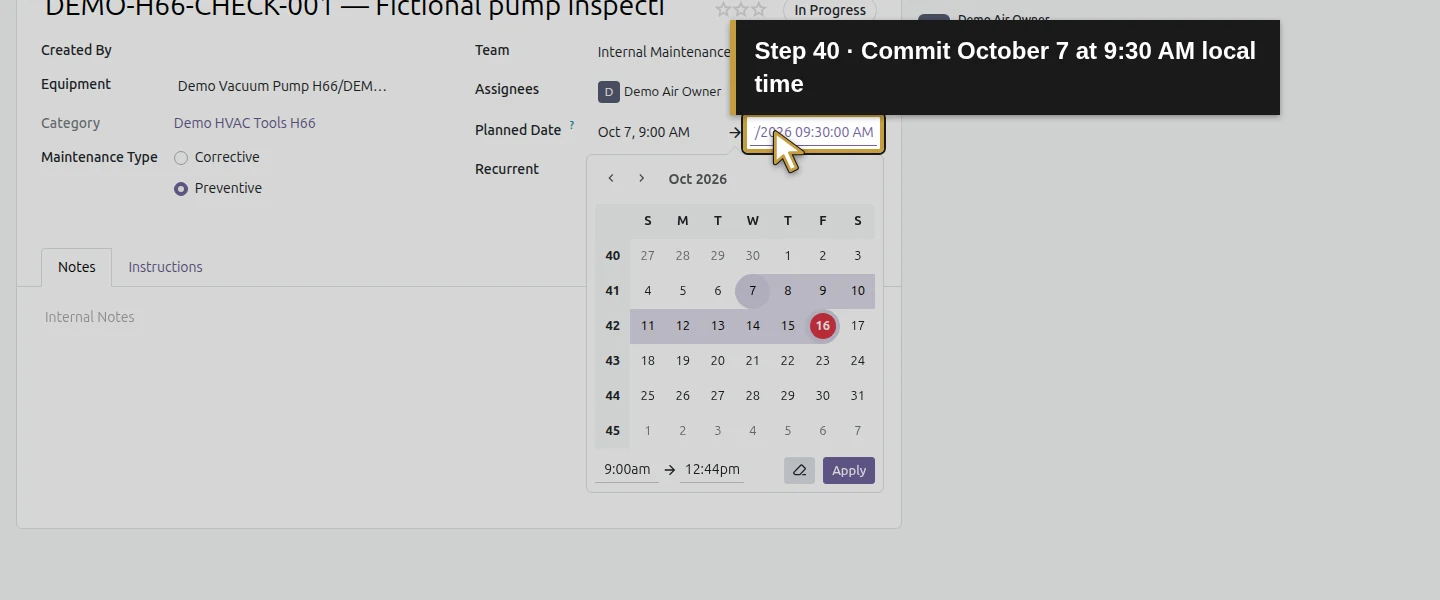
Click the start value beside Planned Date?, enter October 7, 2026, 9:00 AM and press Enter. Click the end value, enter October 7, 2026, 9:30 AM and press Enter. Review both displayed endpoints. The initial form proposed a one-hour window; changing only the start would not establish the intended half-hour duration. These local times save as 13:00–13:30 UTC in this configured timezone. Keep the timezone and actual operating schedule under review.
Step 7. Bound the weekly recurrence and save
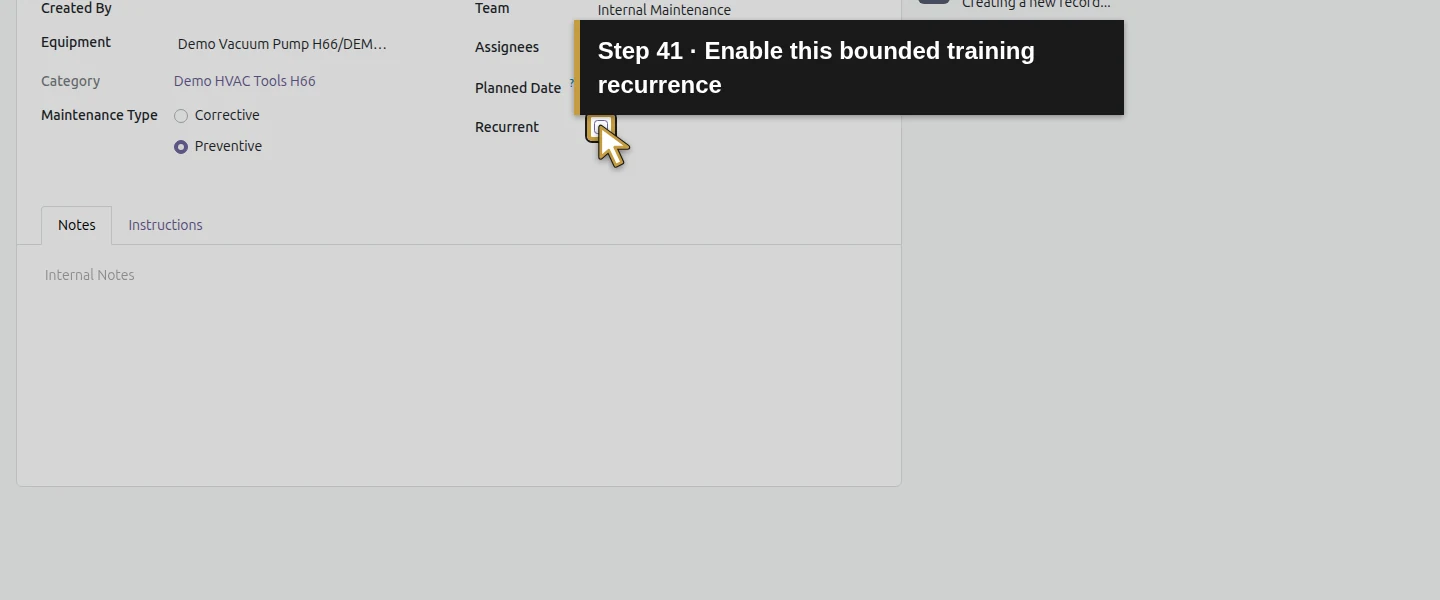
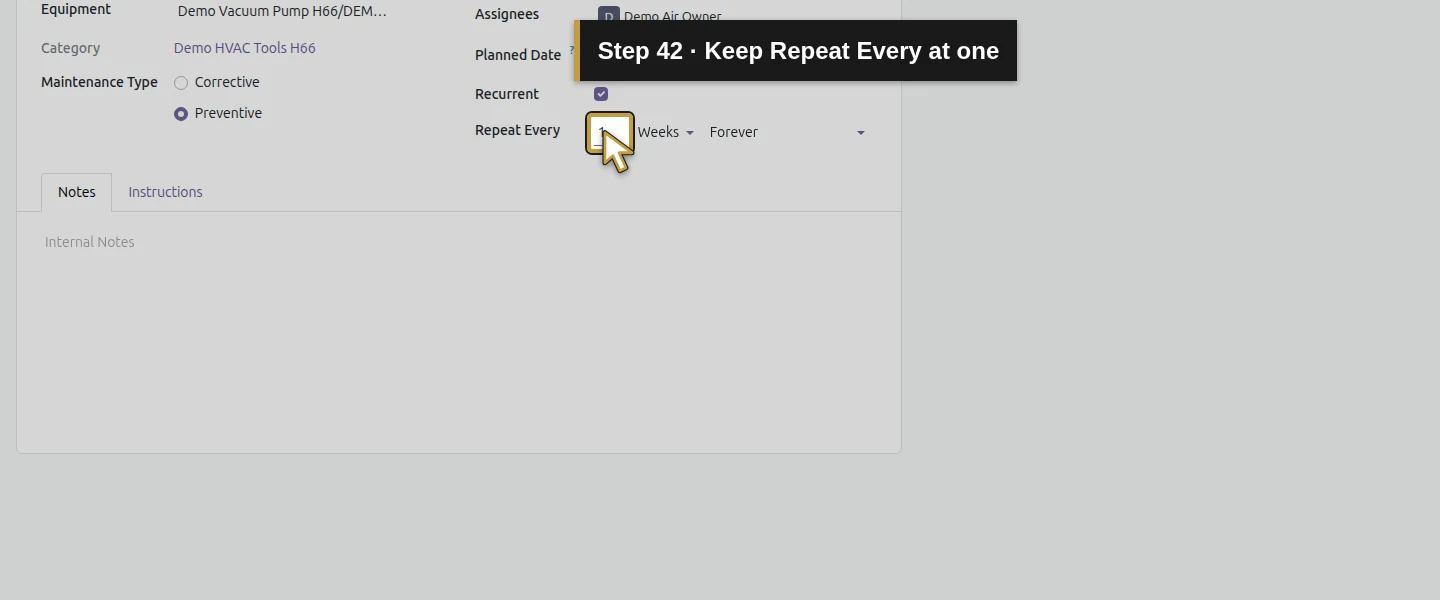
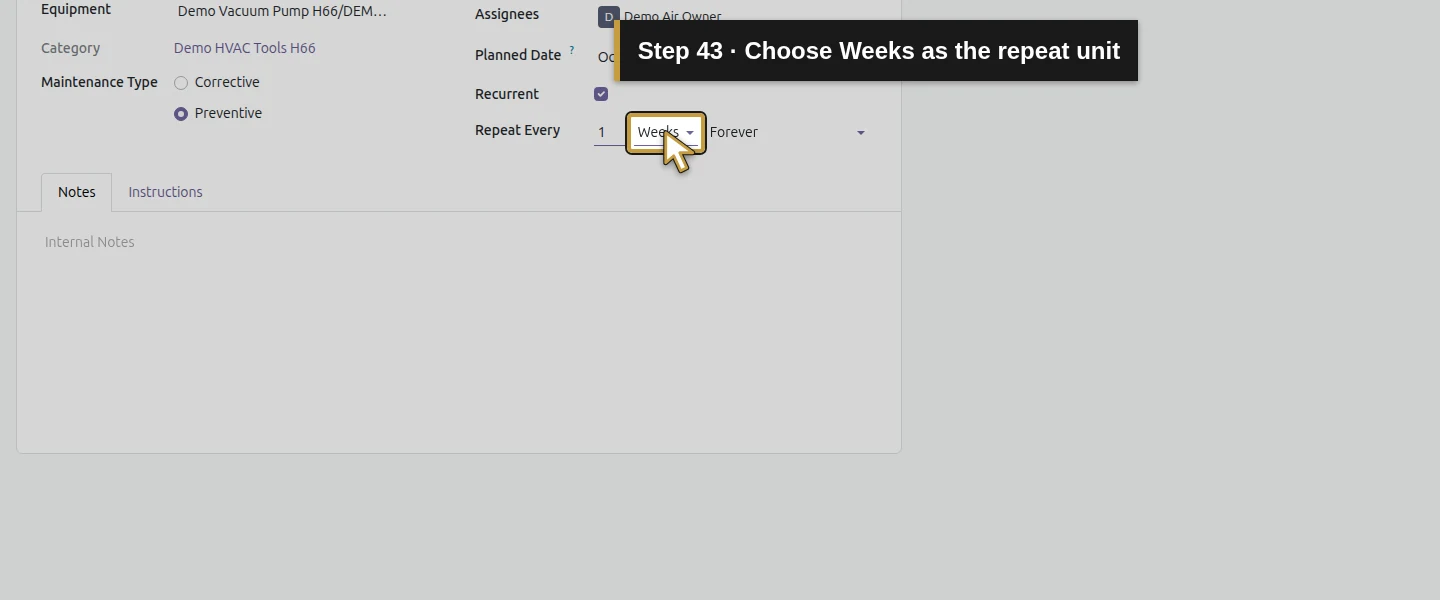
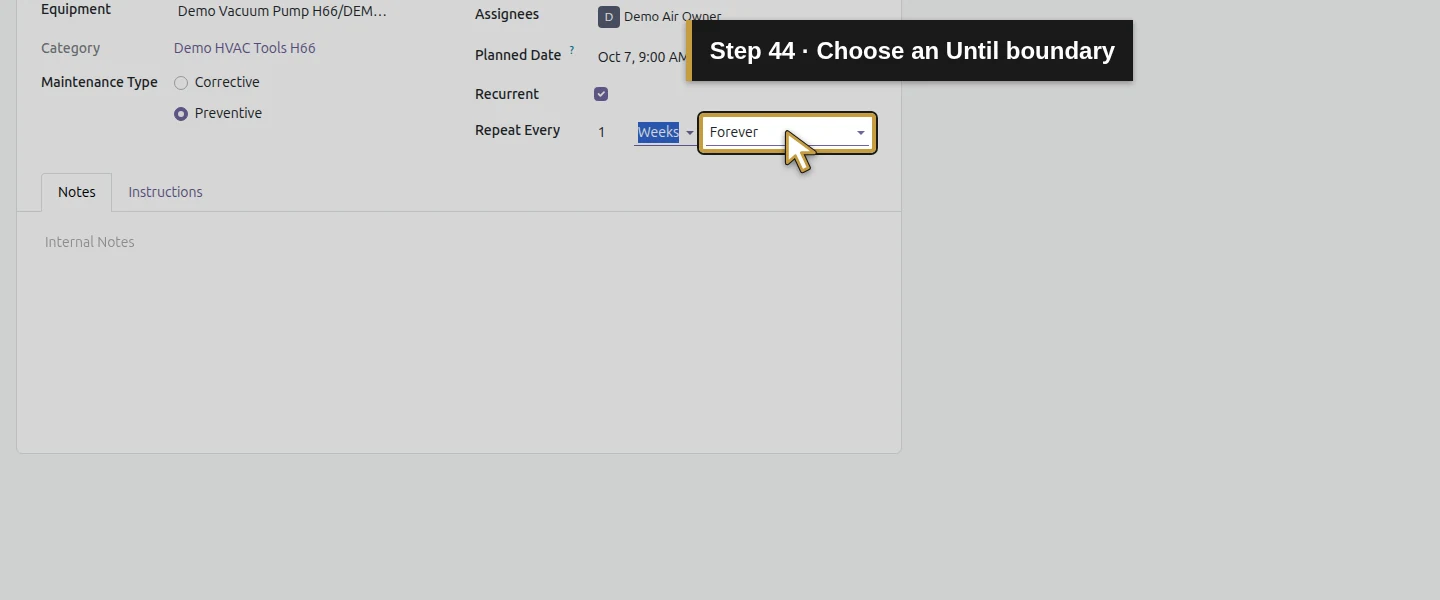
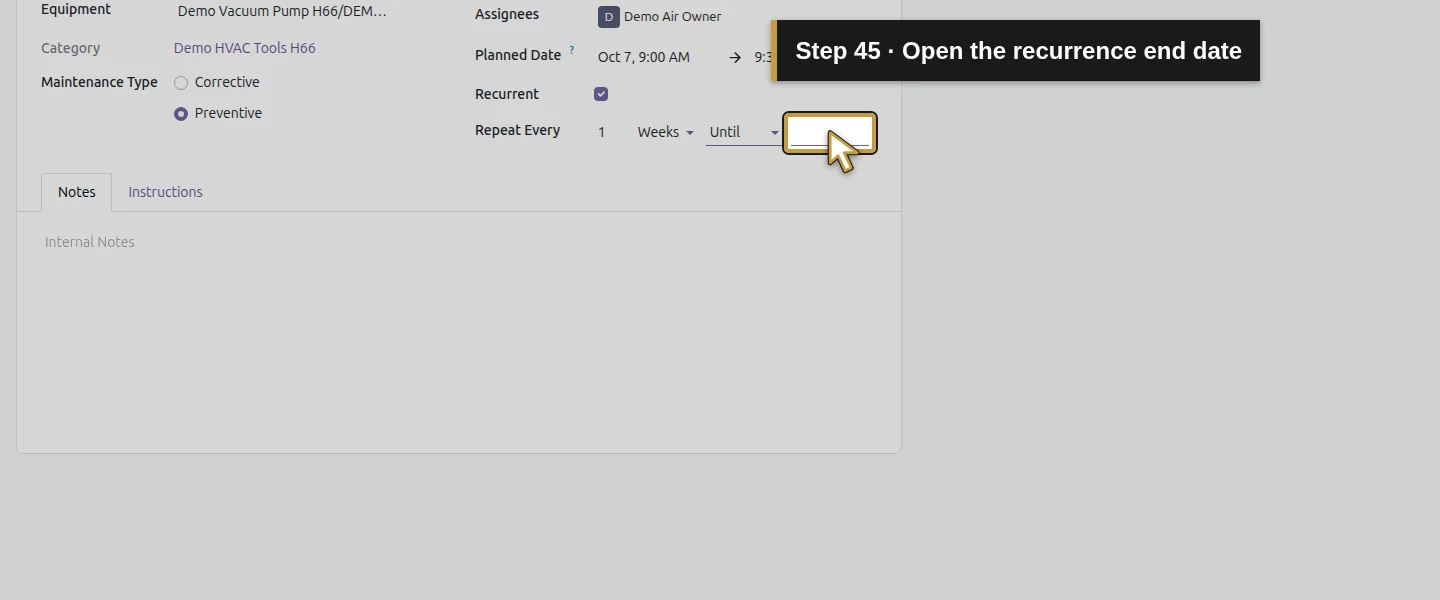
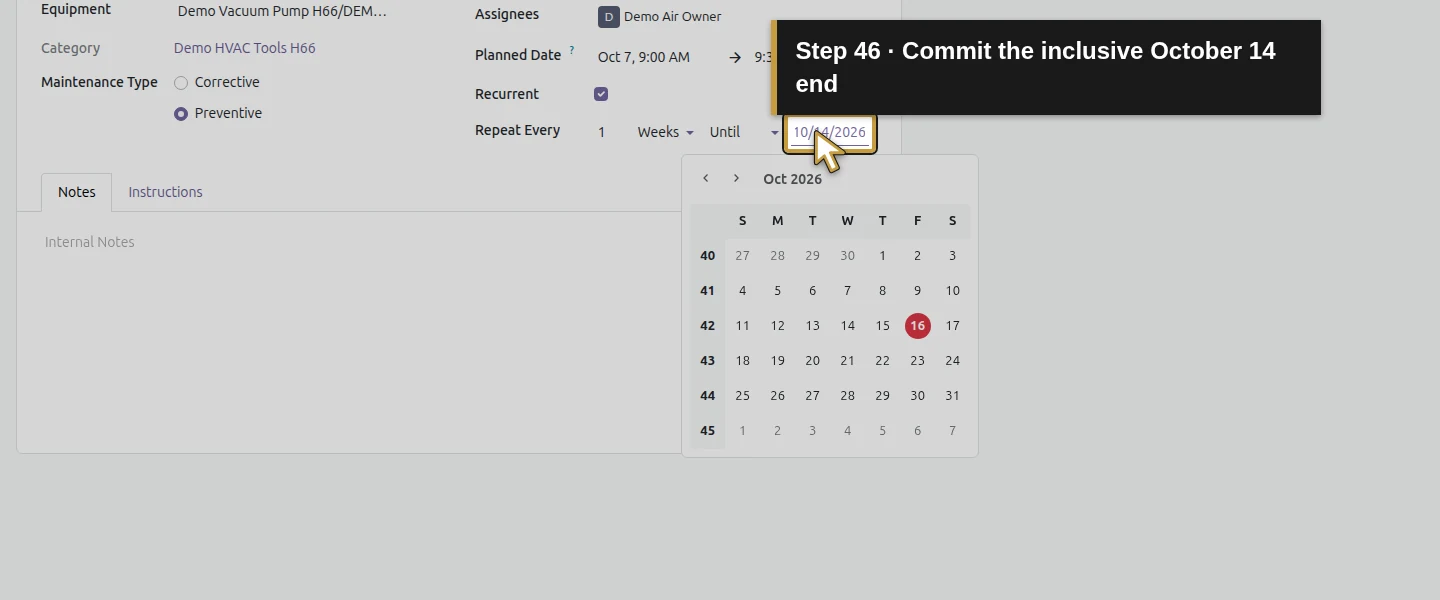
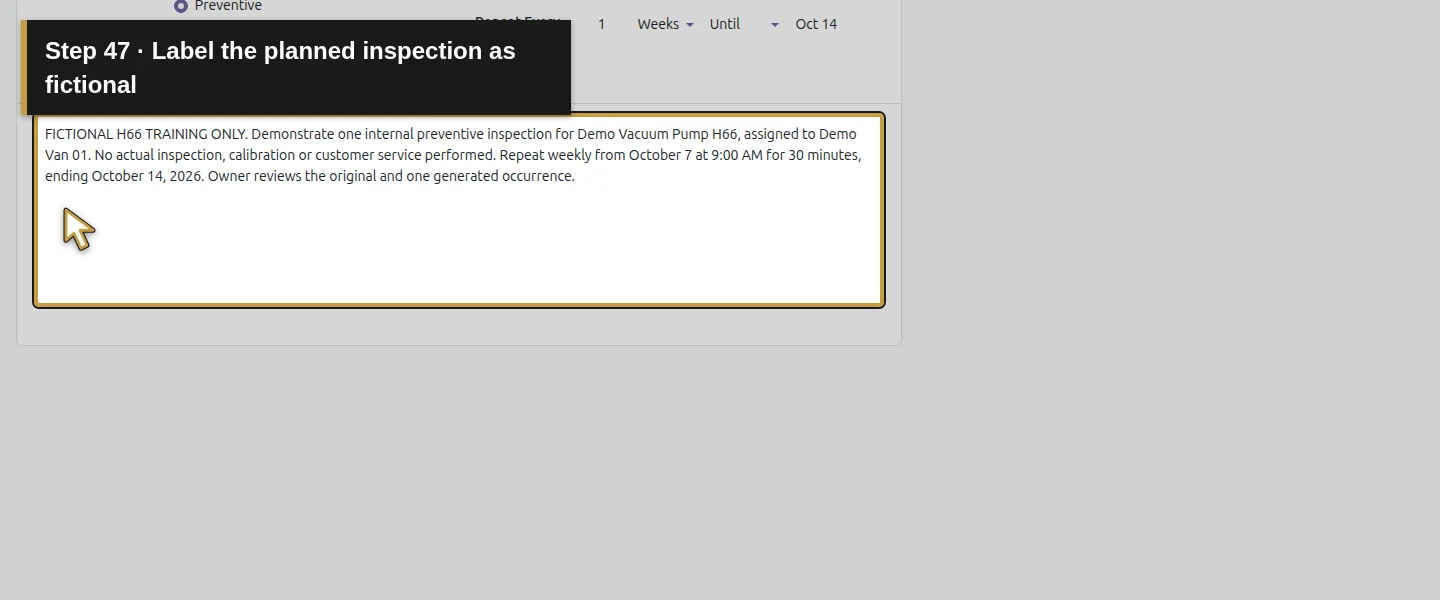
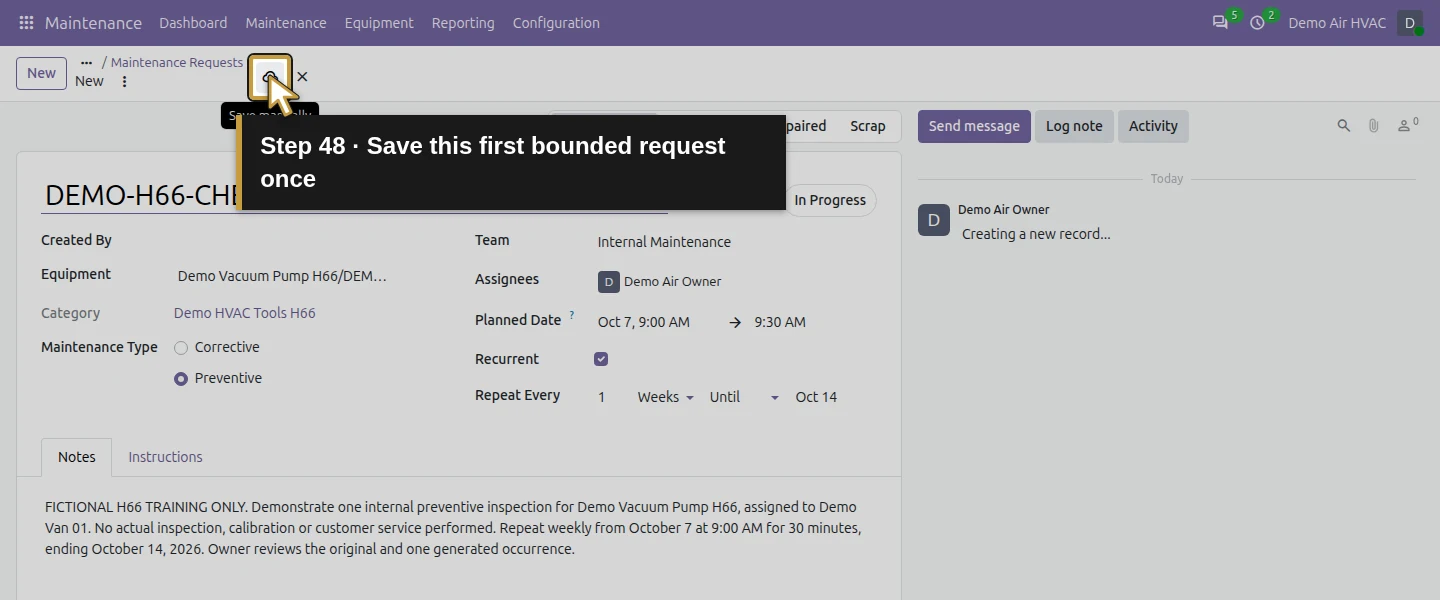
Check Recurrent. Set Repeat Every 1, choose Weeks, then choose Until and enter October 14, 2026, committing the date with Enter. In Notes, label this as fictional internal preventive-maintenance training, with no actual inspection or calibration performed. Include the half-hour weekly plan and end date. Click Save manually, wait for the saved state and reload. Confirm one request, New Request stage, In Progress state, the existing tool/team/owner assignee, both dates and the retained recurrence settings.
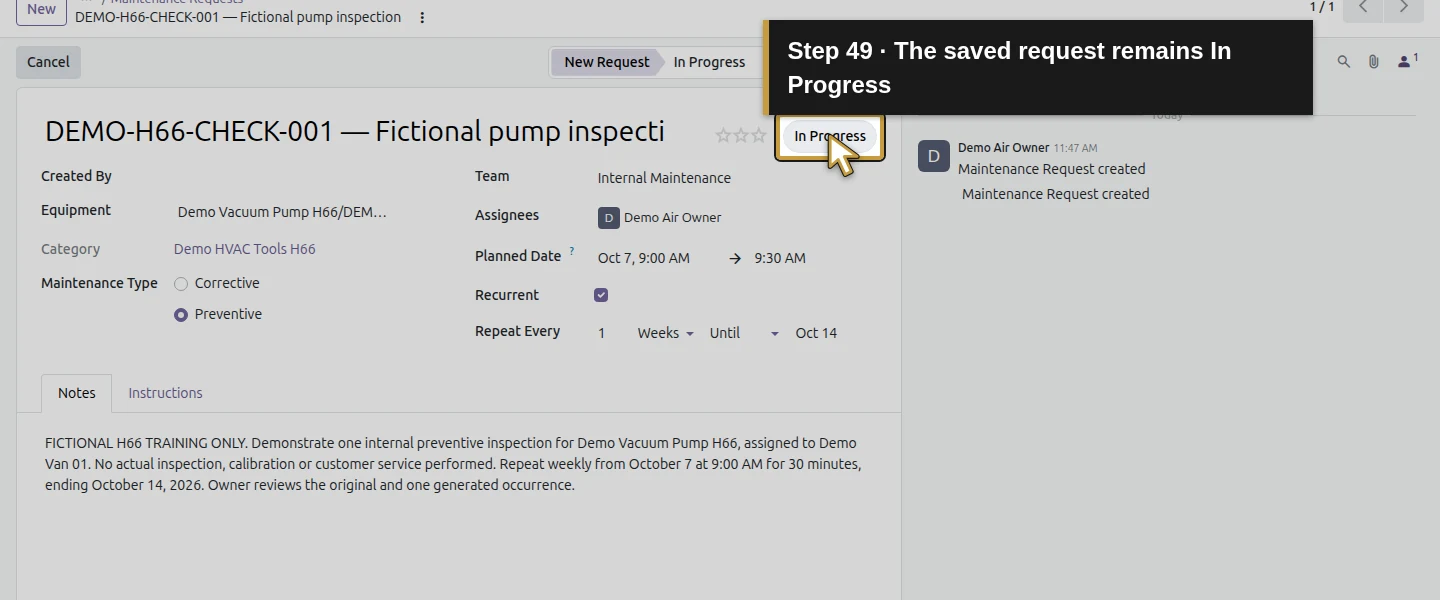
Step 8. Check what Repaired alone does
On the October 7 request, select Repaired in the stage bar and click Save manually. The separate state control still reads In Progress. In this test there is still one request, Close Date is empty and no October 14 occurrence has been created. Repaired is the workflow stage; it is not the completion trigger demonstrated here. This training check prevents a stage change from being mistaken for working recurrence.
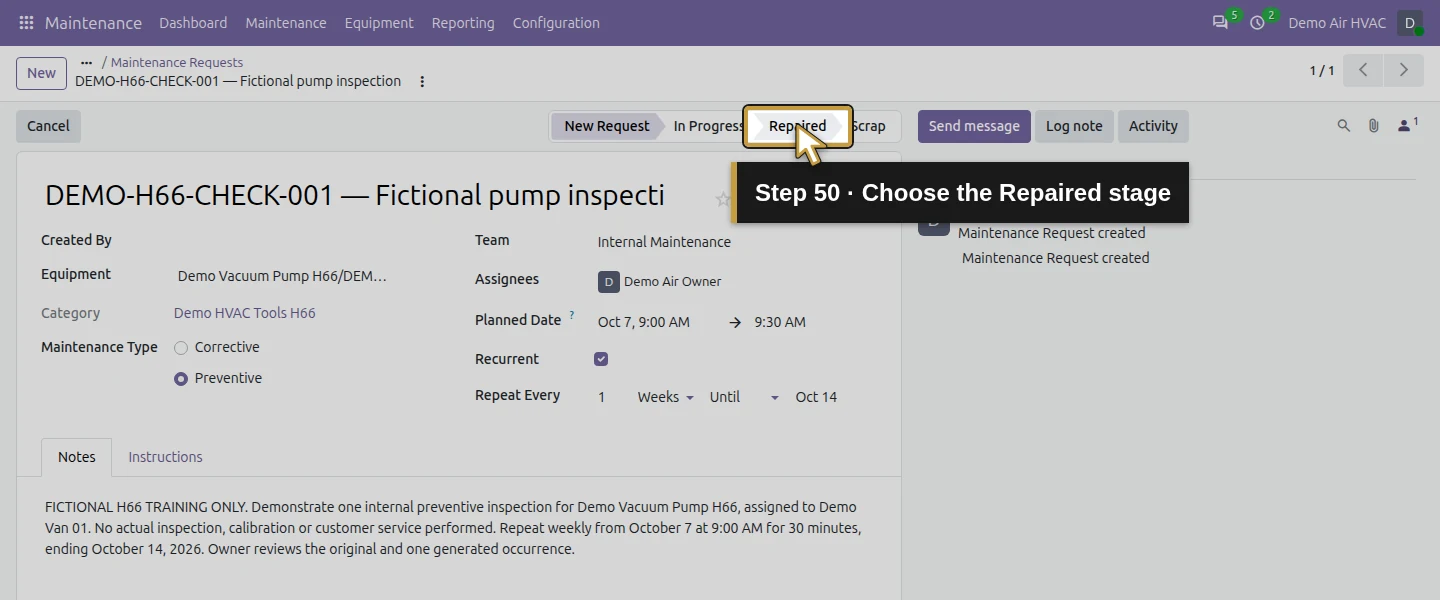
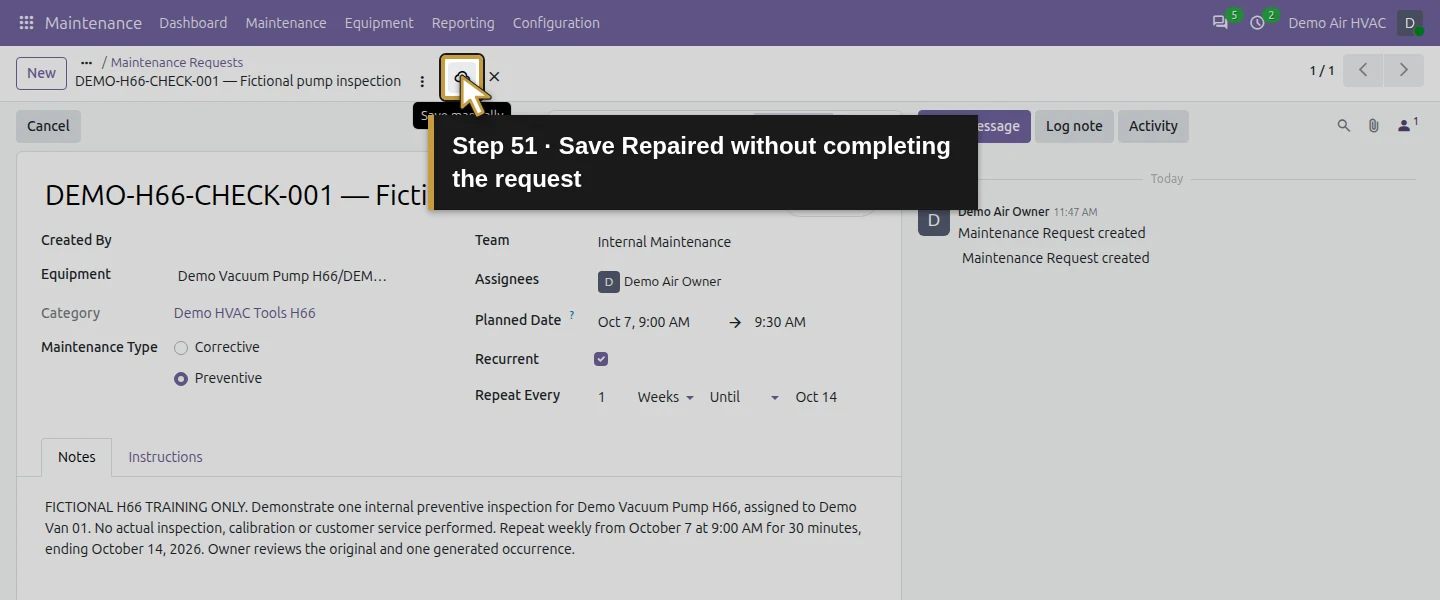
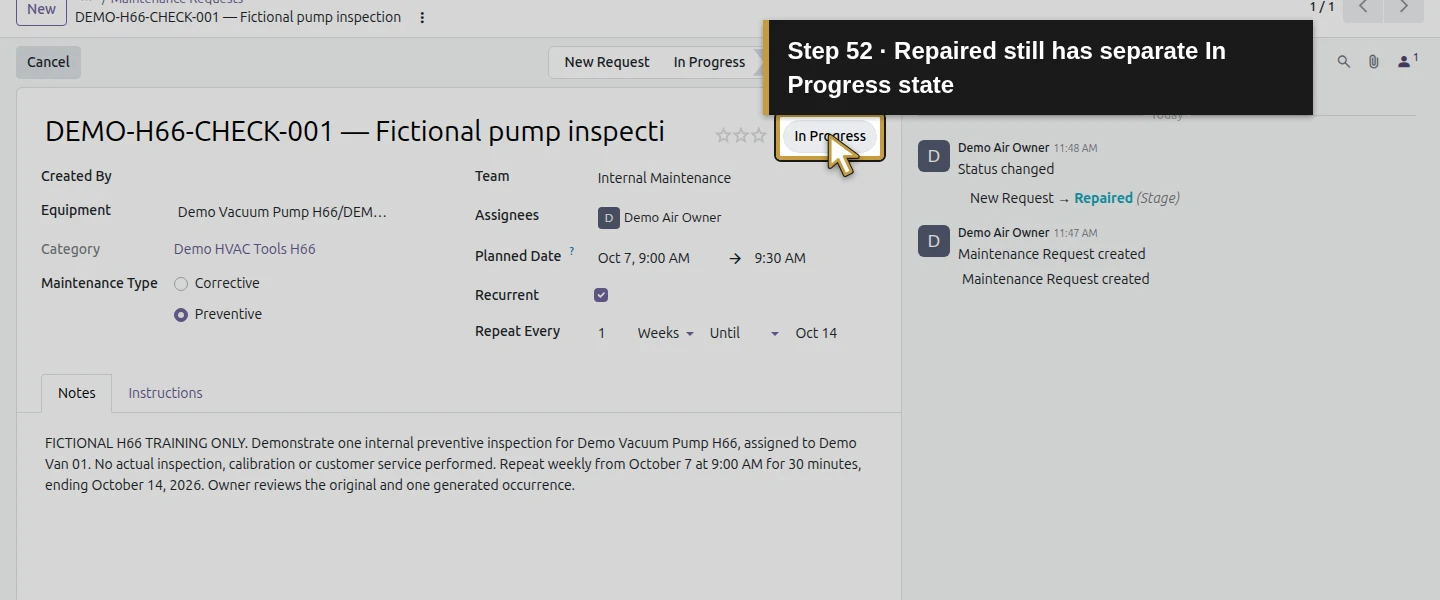
Step 9. Mark the original request Done once
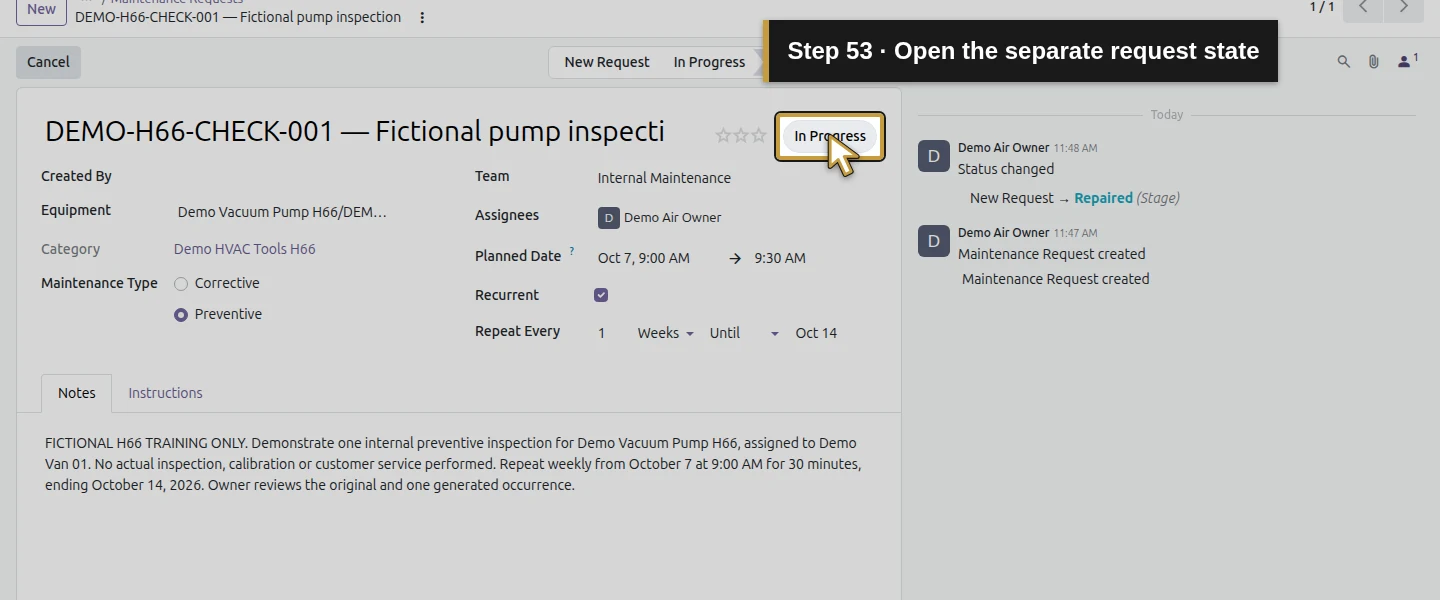
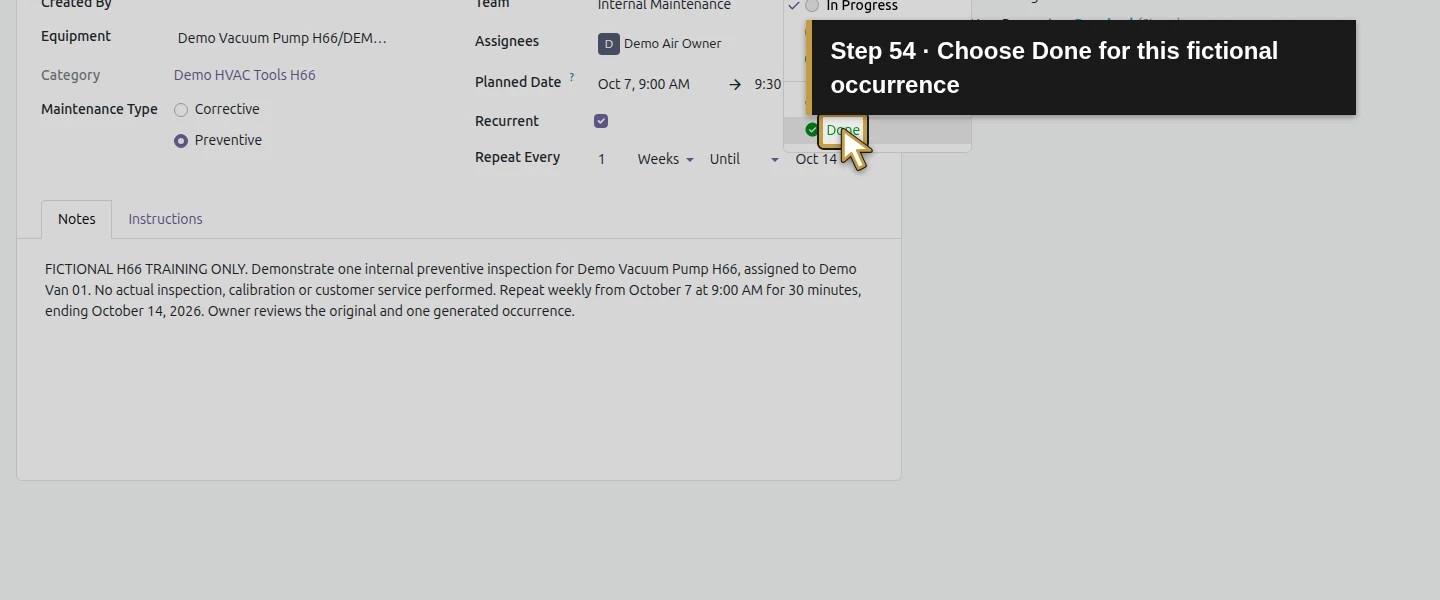
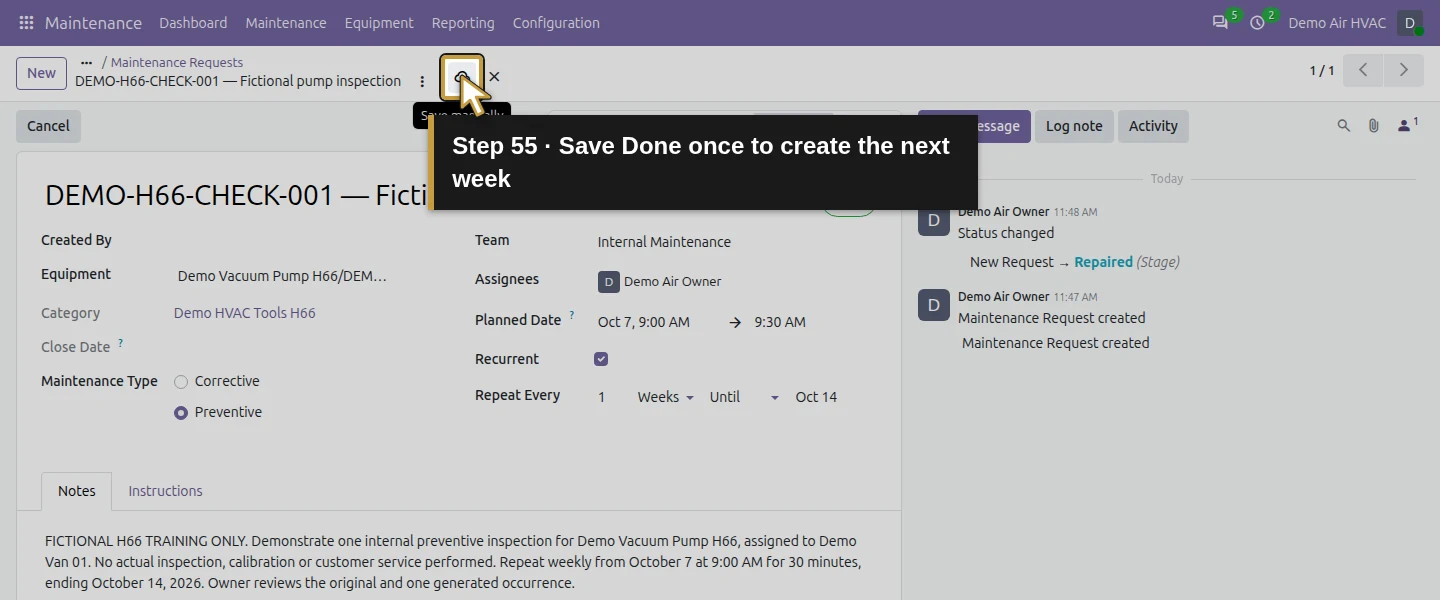
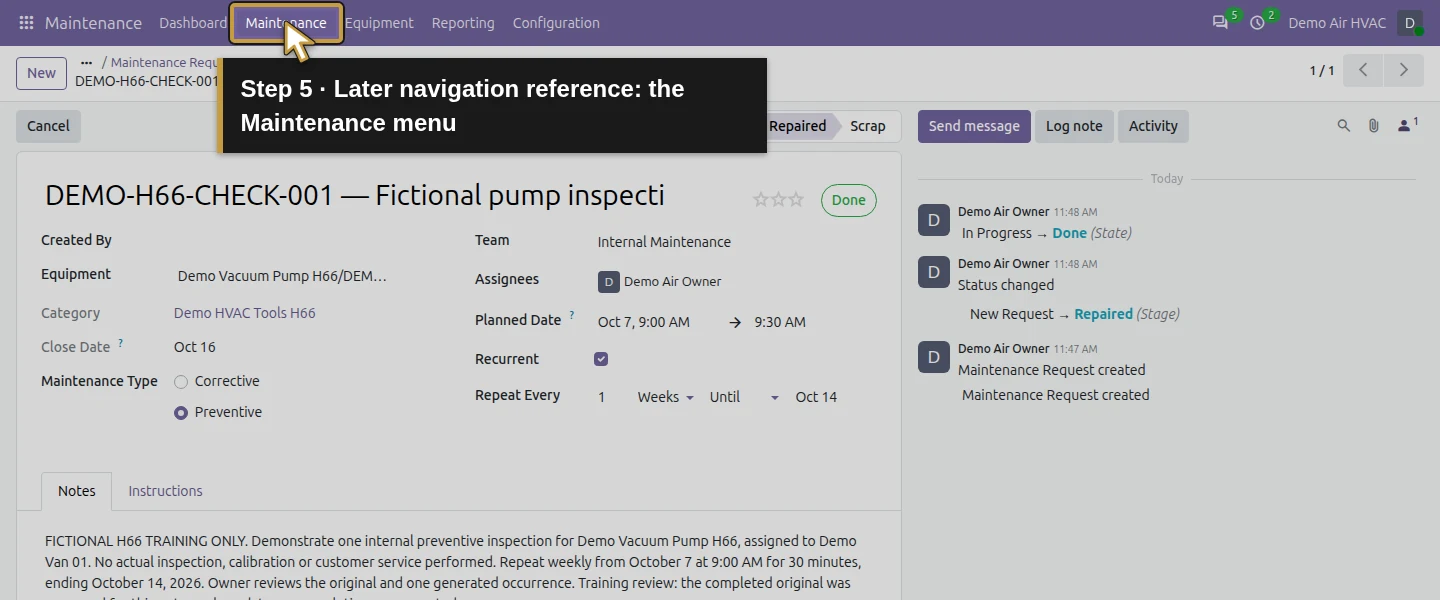
Open the separate In Progress state dropdown beside the subject/priority area, select Done and click Save manually once. Reload. The original remains Repaired/Done and Close Date becomes October 16, the actual completion day, while Planned Date remains October 7. Native recurrence creates one new request for October 14, 9:00–9:30 AM, in New Request/In Progress, with the same equipment, team, assignee, subject and repeat settings. It advances from the original planned start, not from the completion date. This is triggered by saving Done; no scheduled job or calendar-date wait was used.
Step 10. Reopen without repeating completion
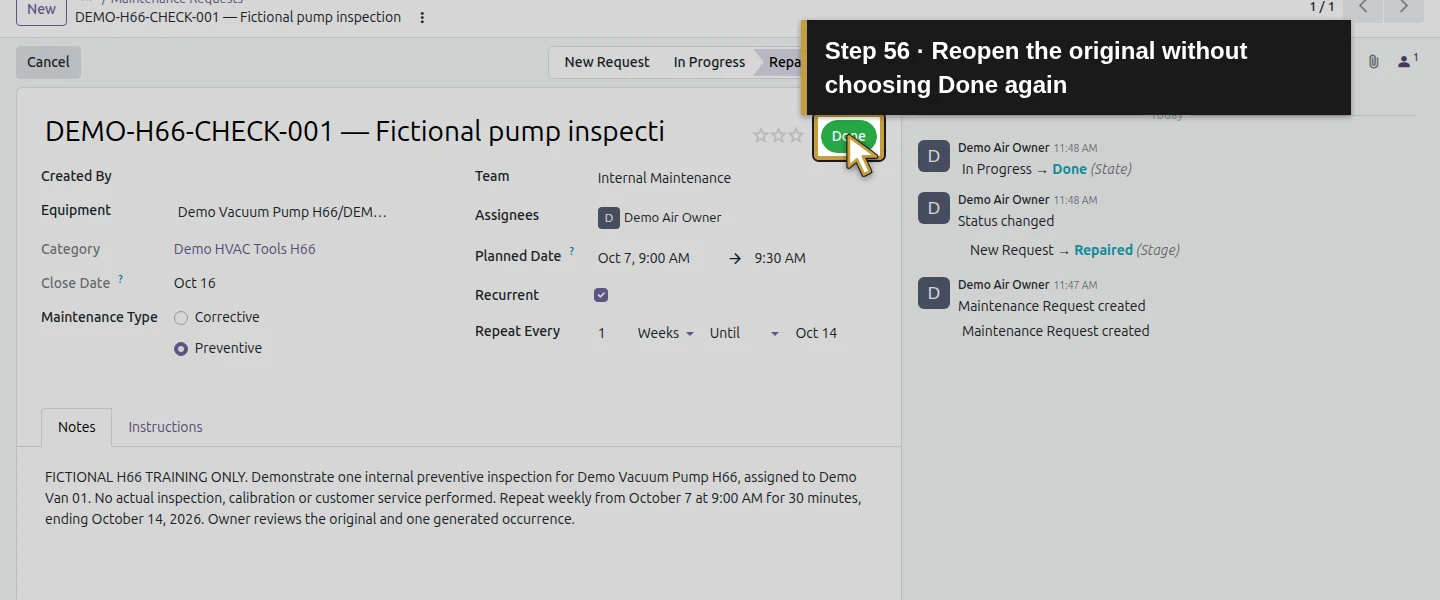
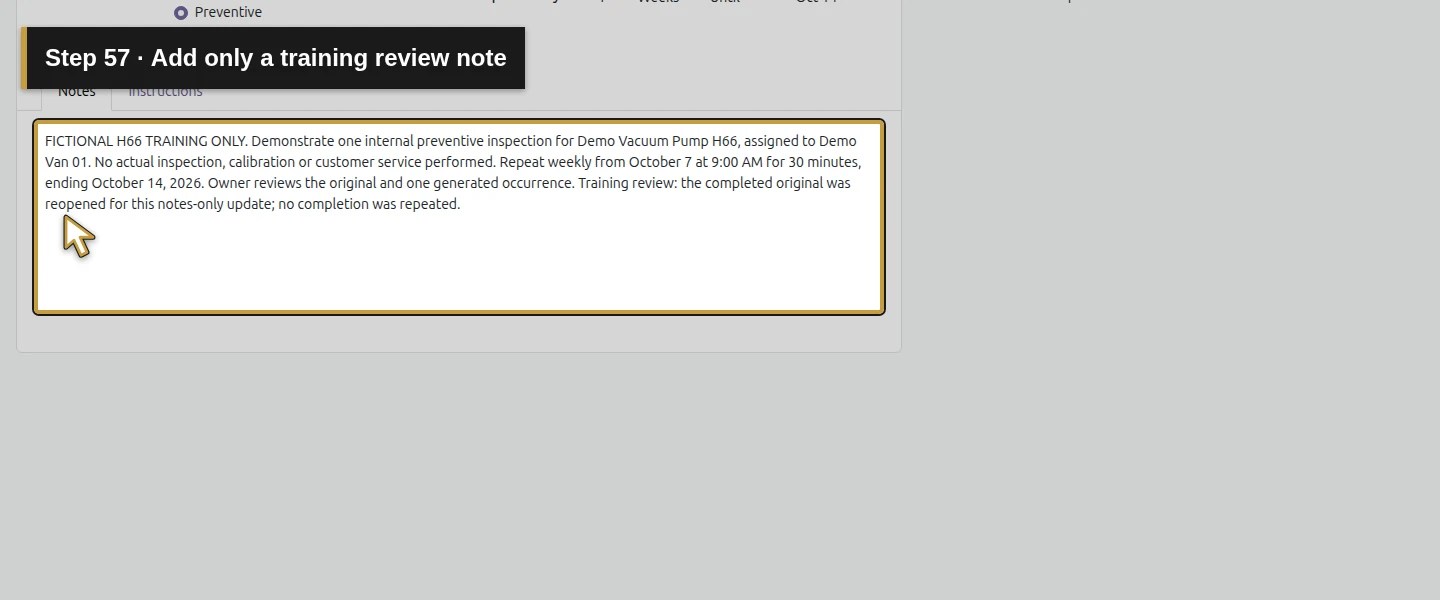
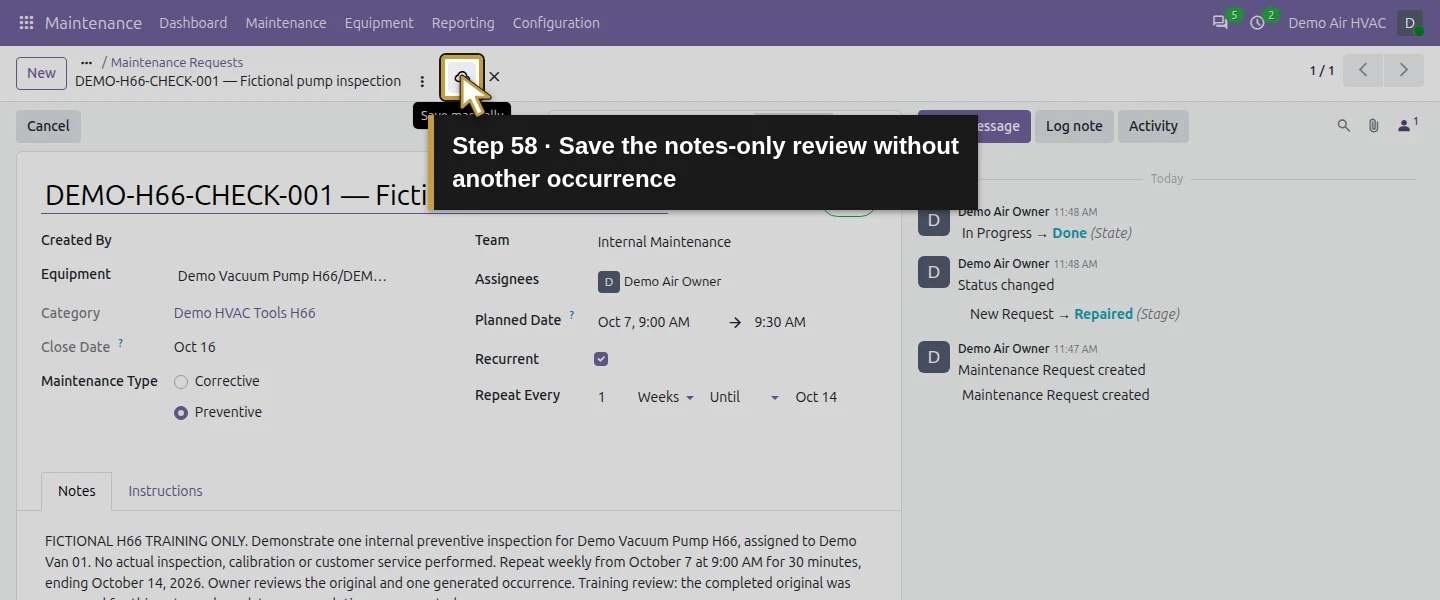
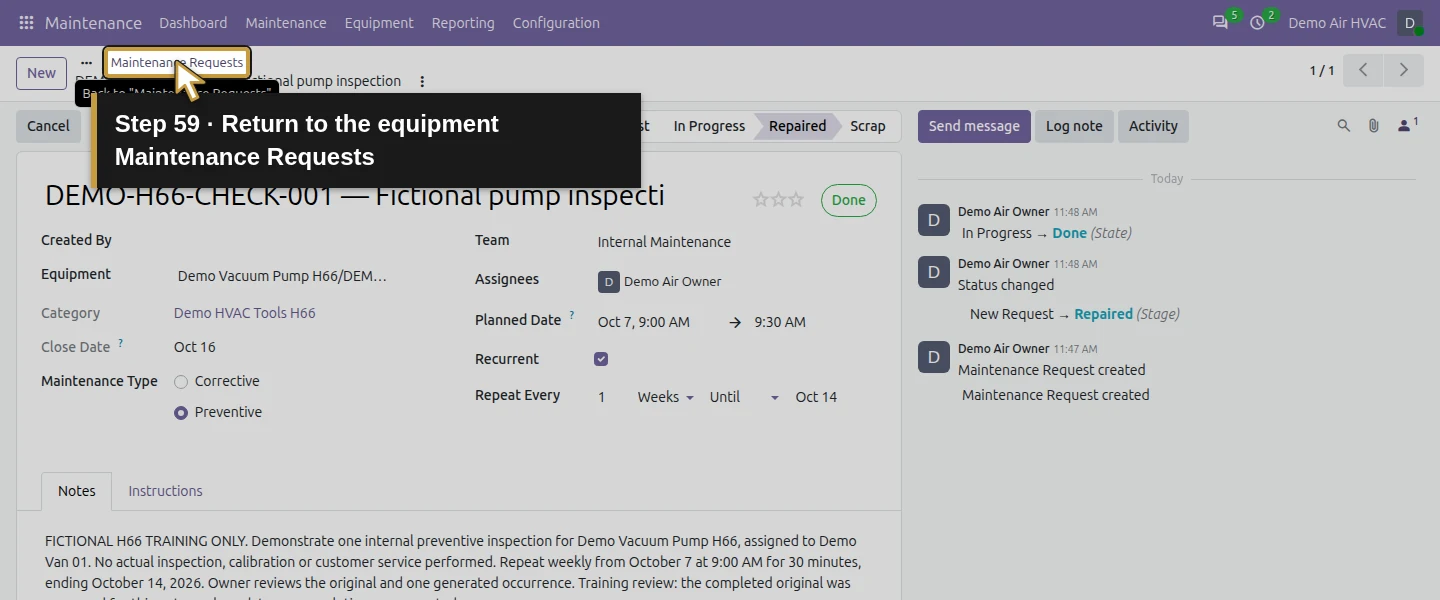
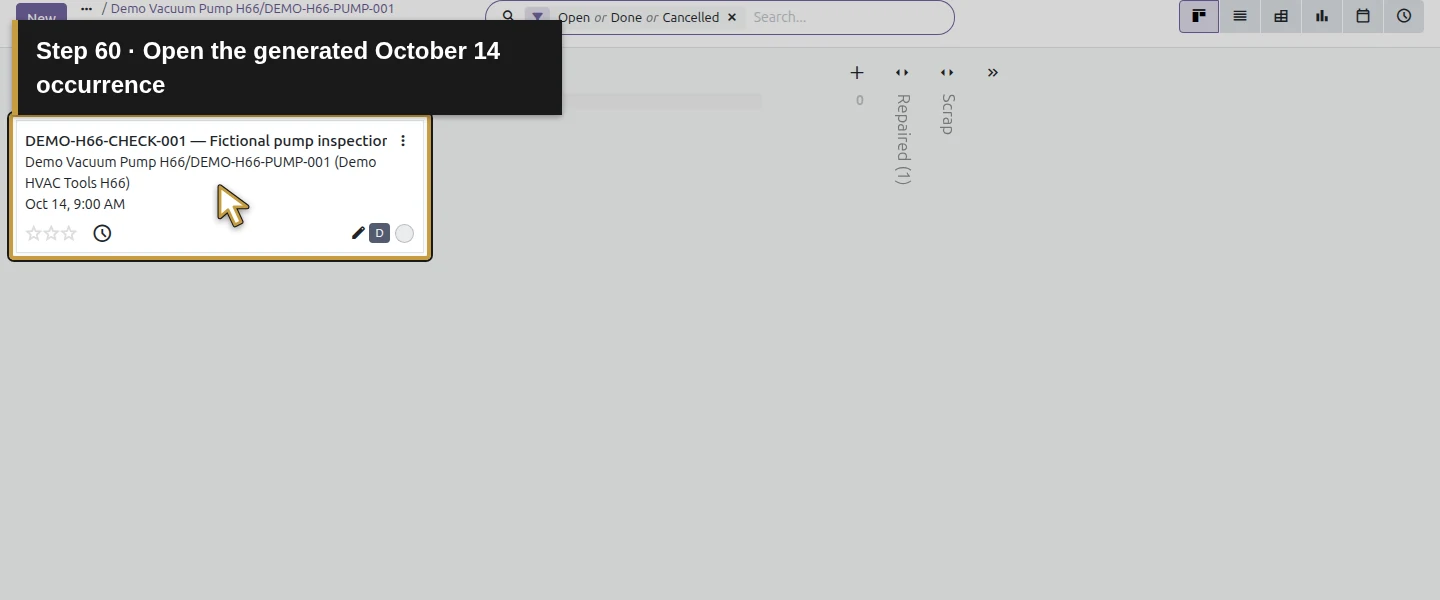
Reload the completed original. Add a short training-review sentence to Notes, save that notes-only change and reload. There are still exactly two requests; an ordinary note edit did not create another occurrence. Click the Maintenance Requests breadcrumb to find the generated October 14 card, then open it. Its subject is copied, so check its planned date to distinguish it from the original. Do not reopen the completed original and apply Done again as a duplication test; that behavior is outside this guide’s verification.
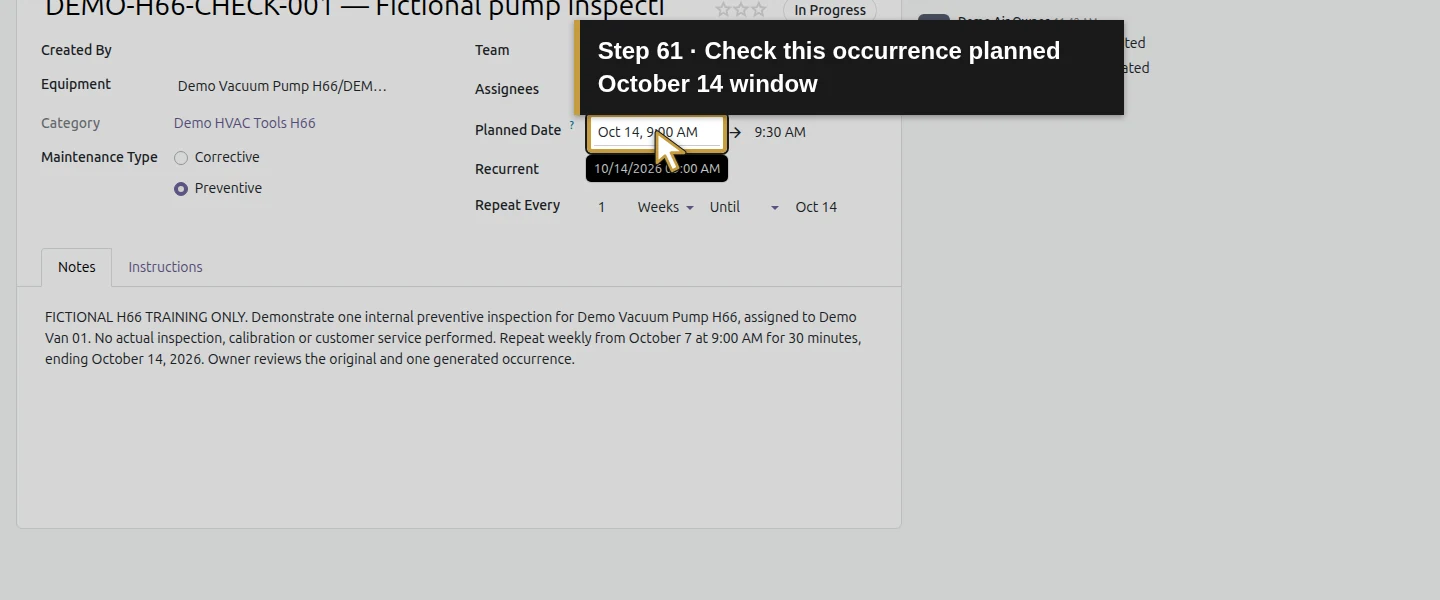
Step 11. Complete the final occurrence and check the stop
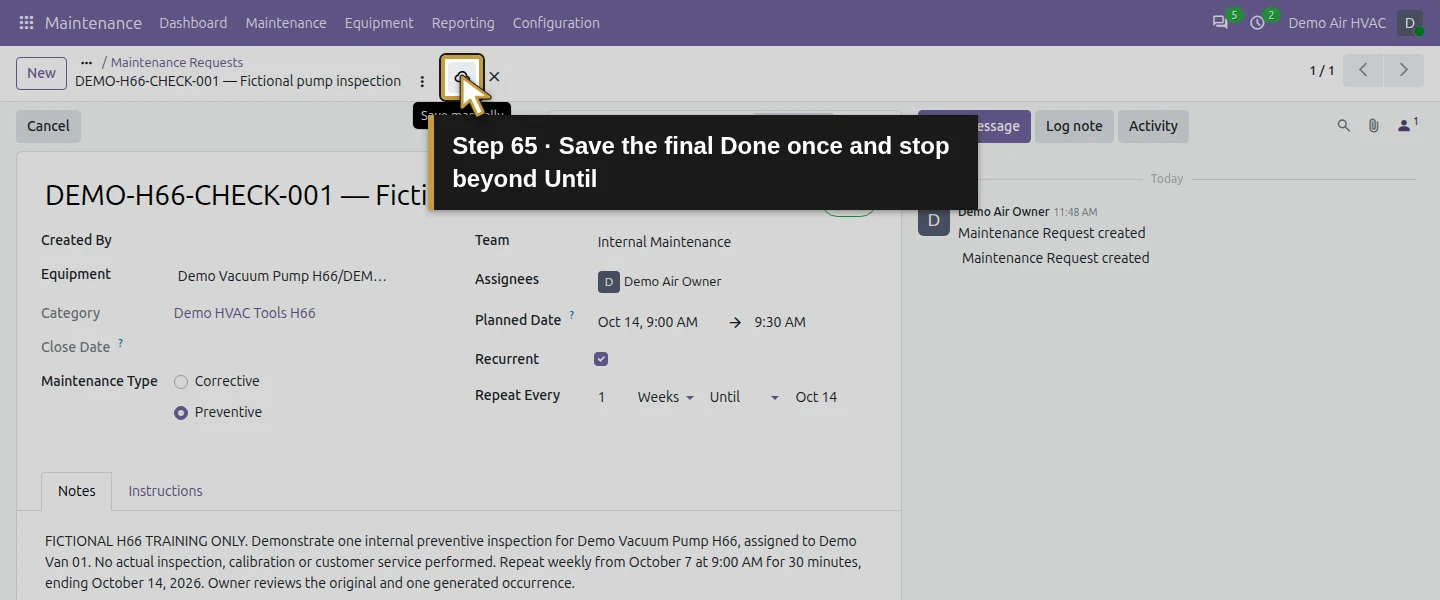
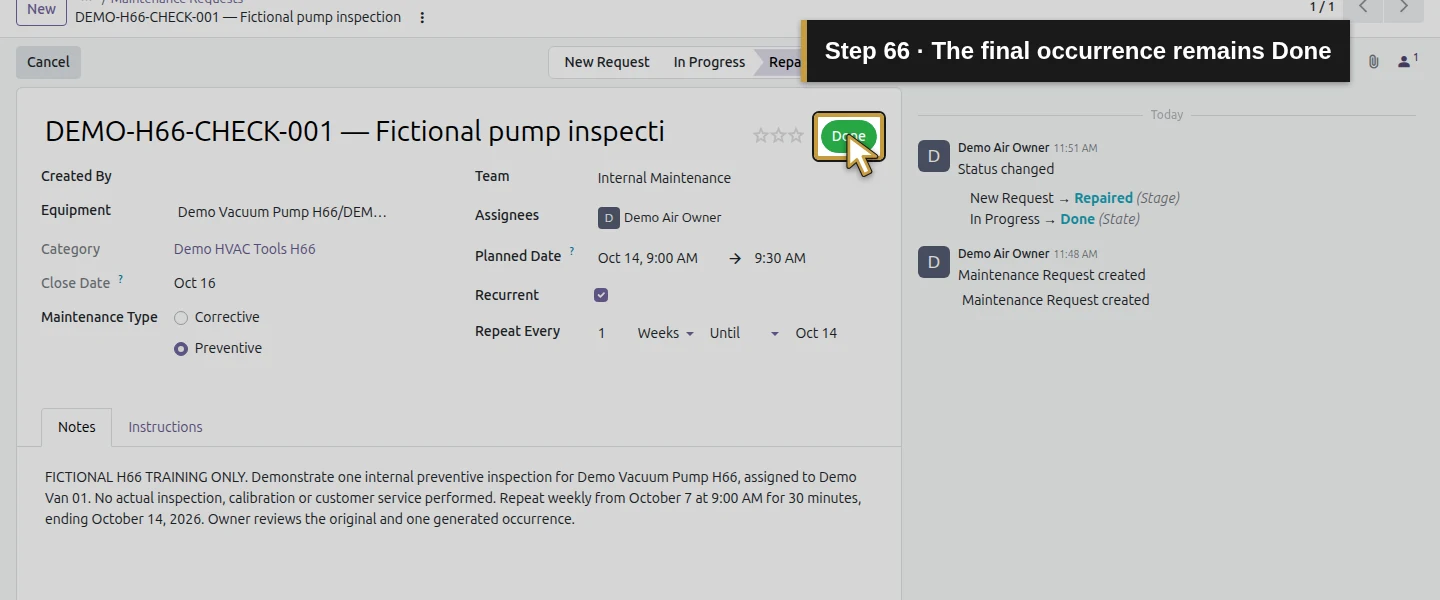
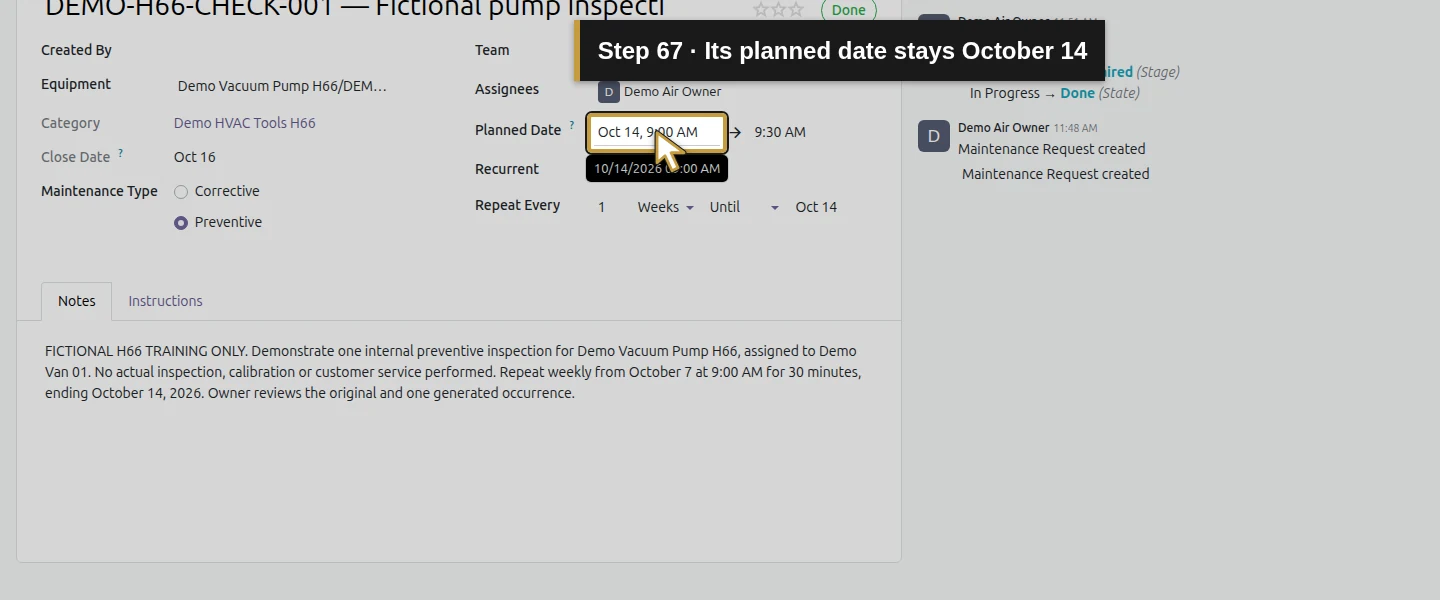
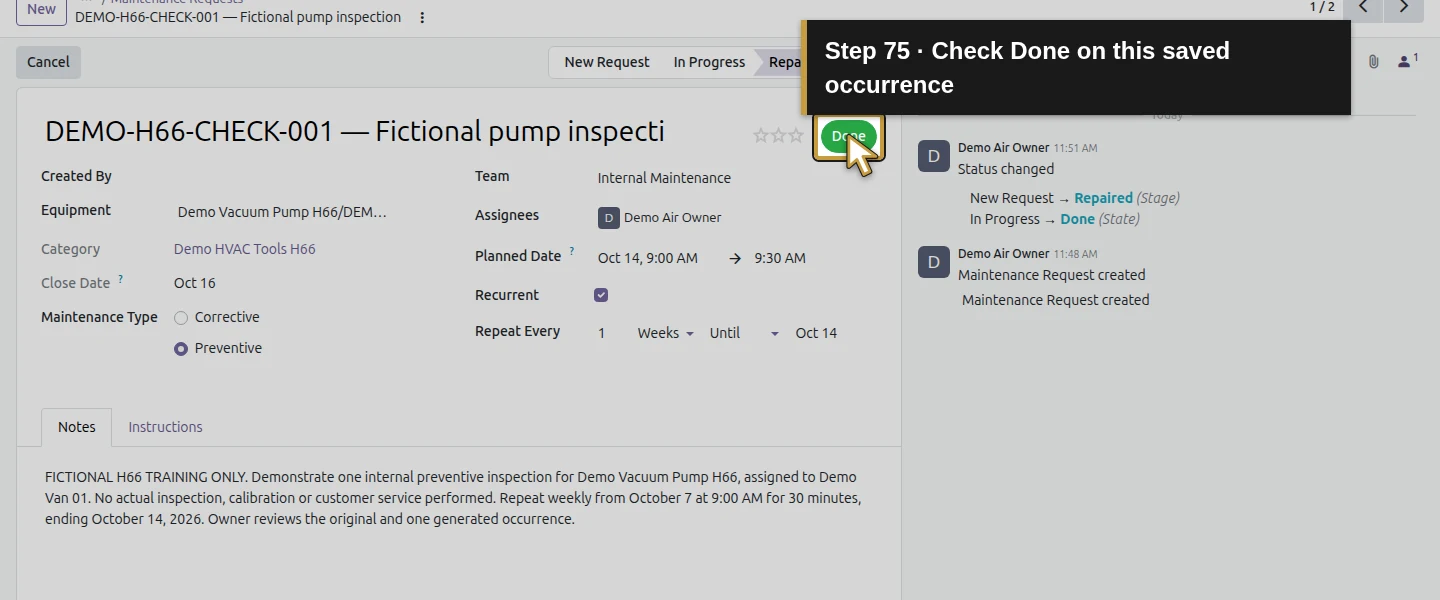
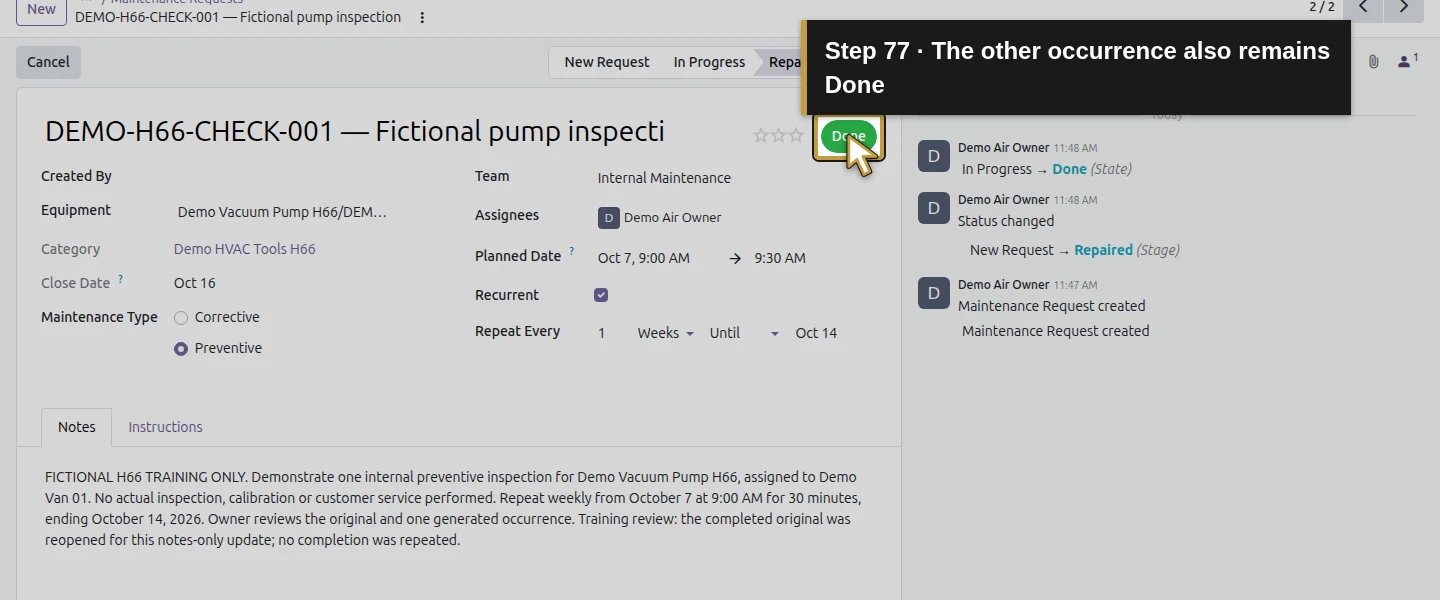
For the fictional October 14 occurrence, select Repaired, use the separate state dropdown to choose Done, then save and reload. Both requests now retain Repaired/Done and the October 16 close date. No October 21 request is created because it falls after Until October 14. The October 14 occurrence itself was allowed, so the end date is inclusive in this test. Recurrent remains checked on the saved requests; the end-date boundary stopped creation without clearing that setting.
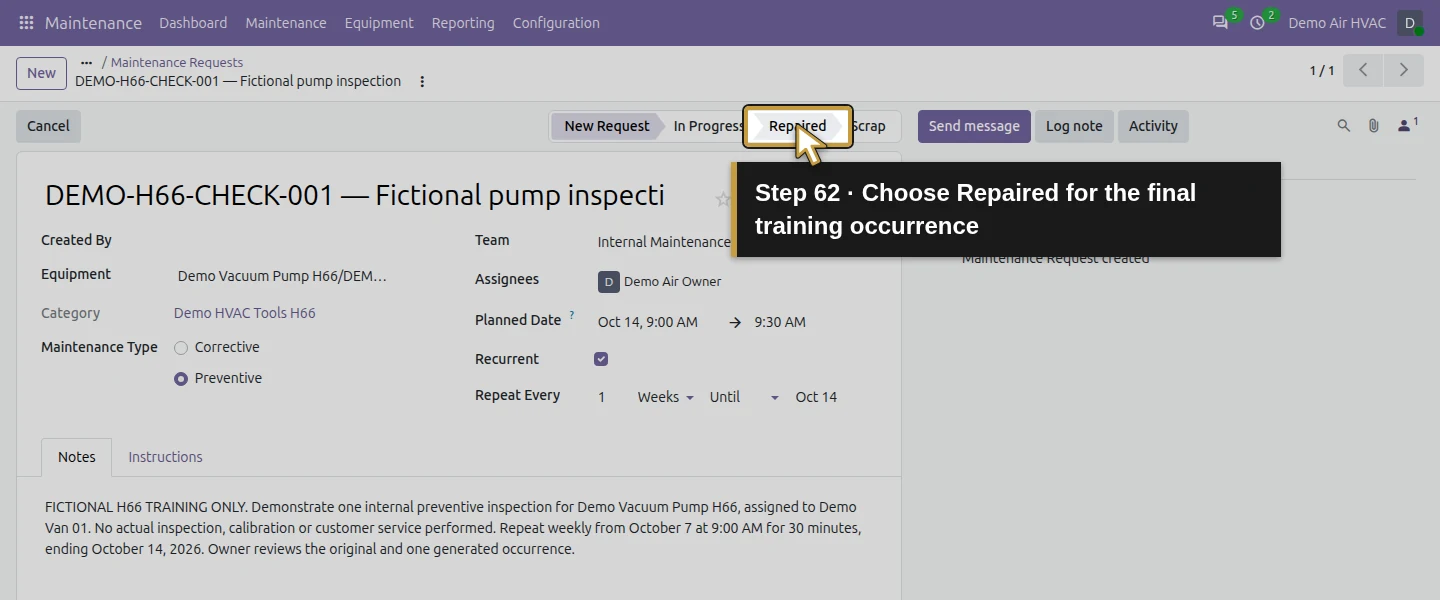
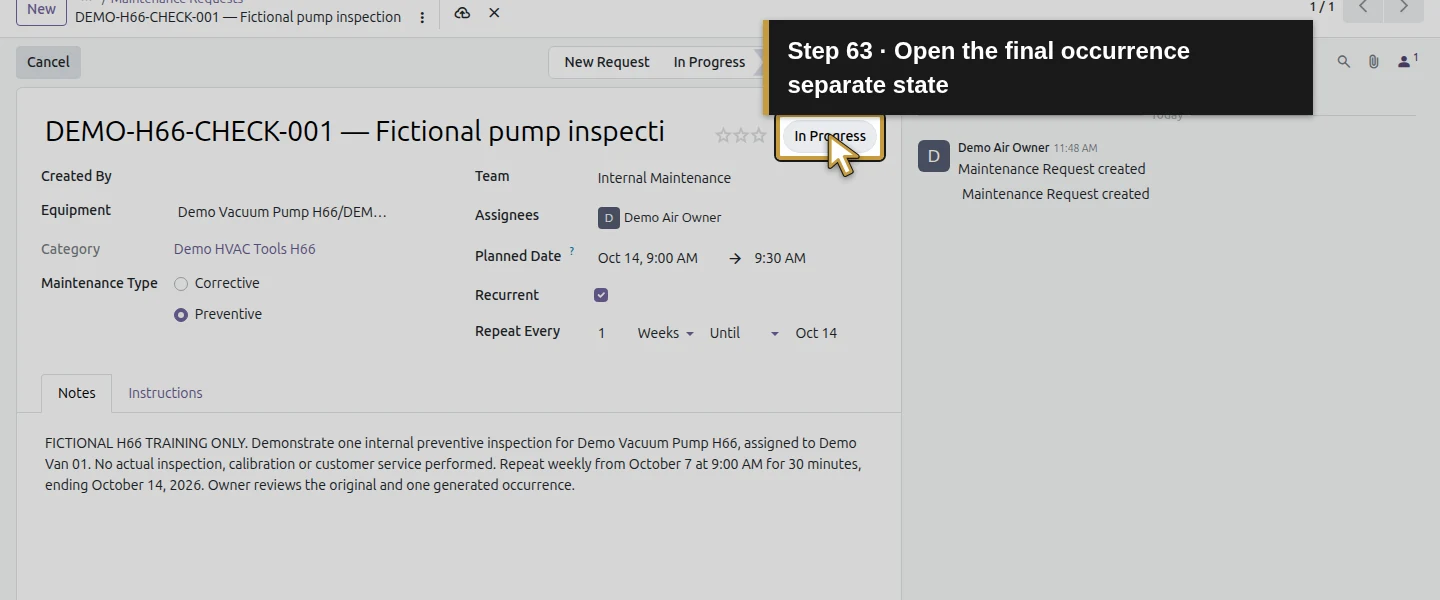
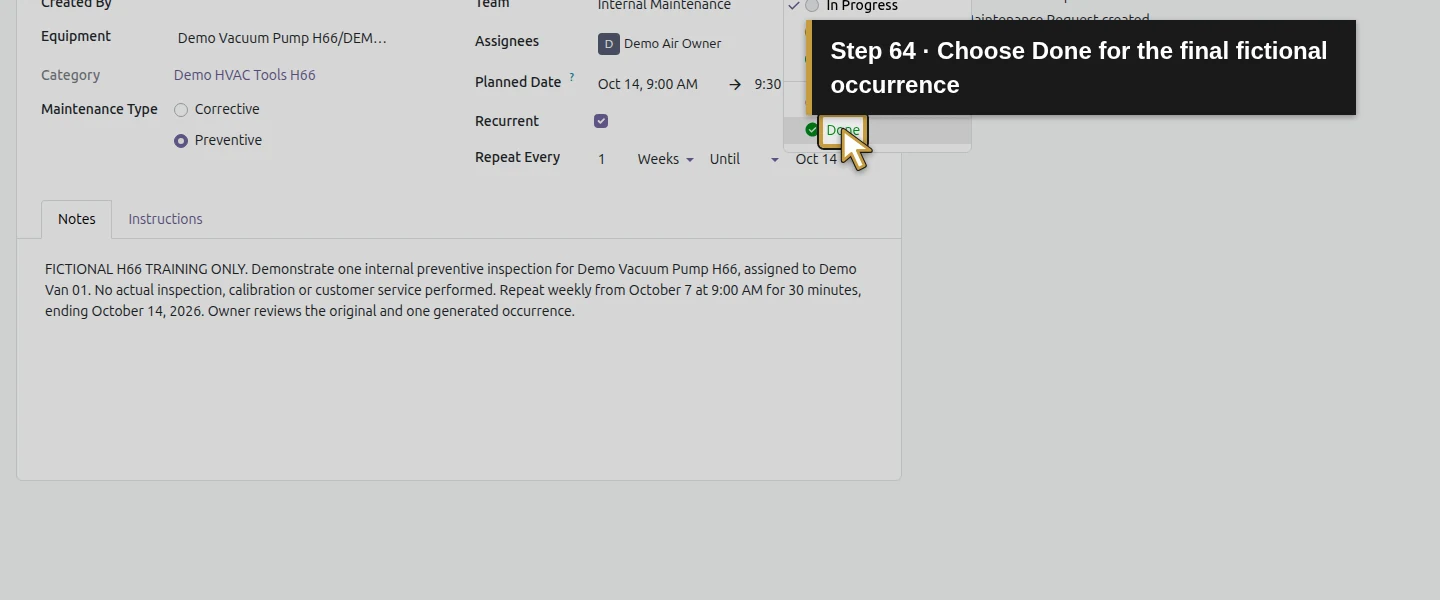
Step 12. Review the equipment’s history and preserve the handoff
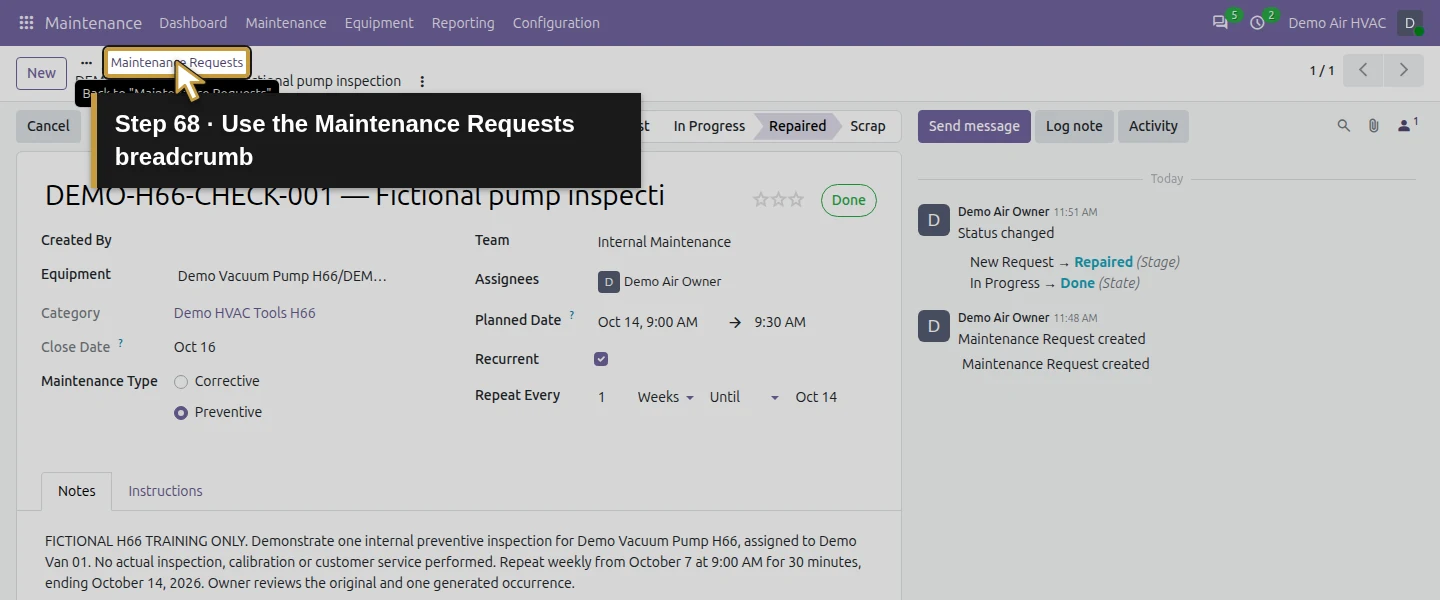
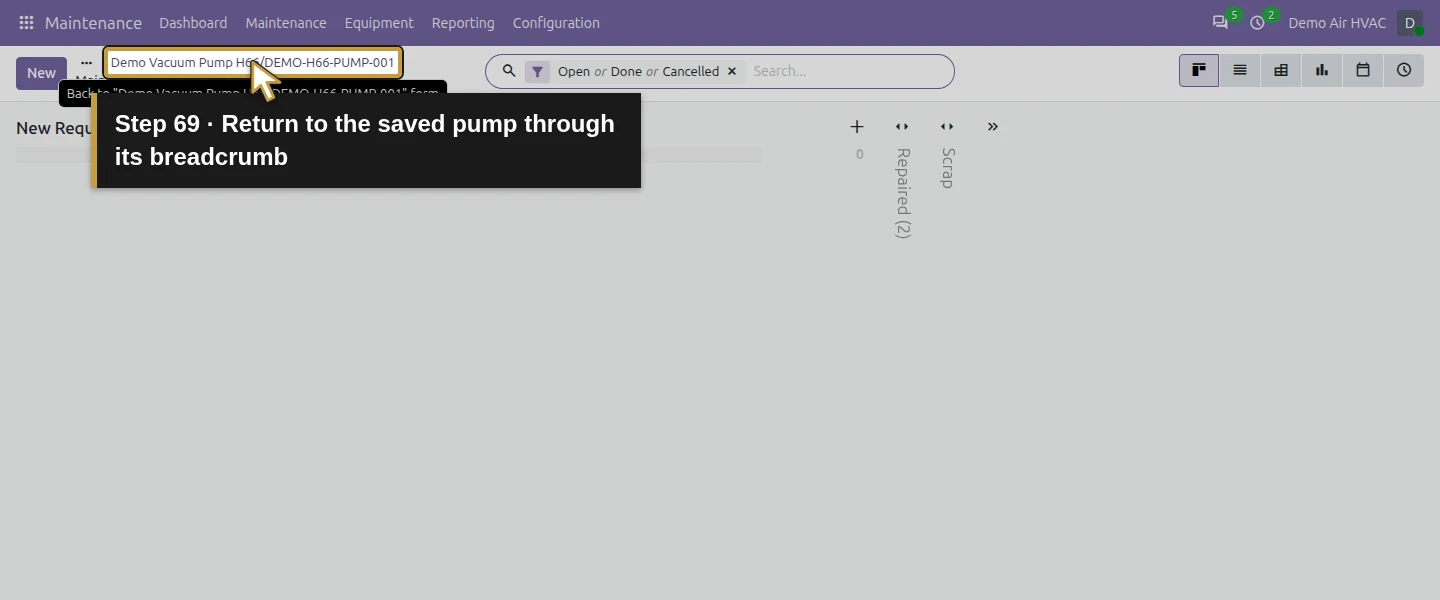
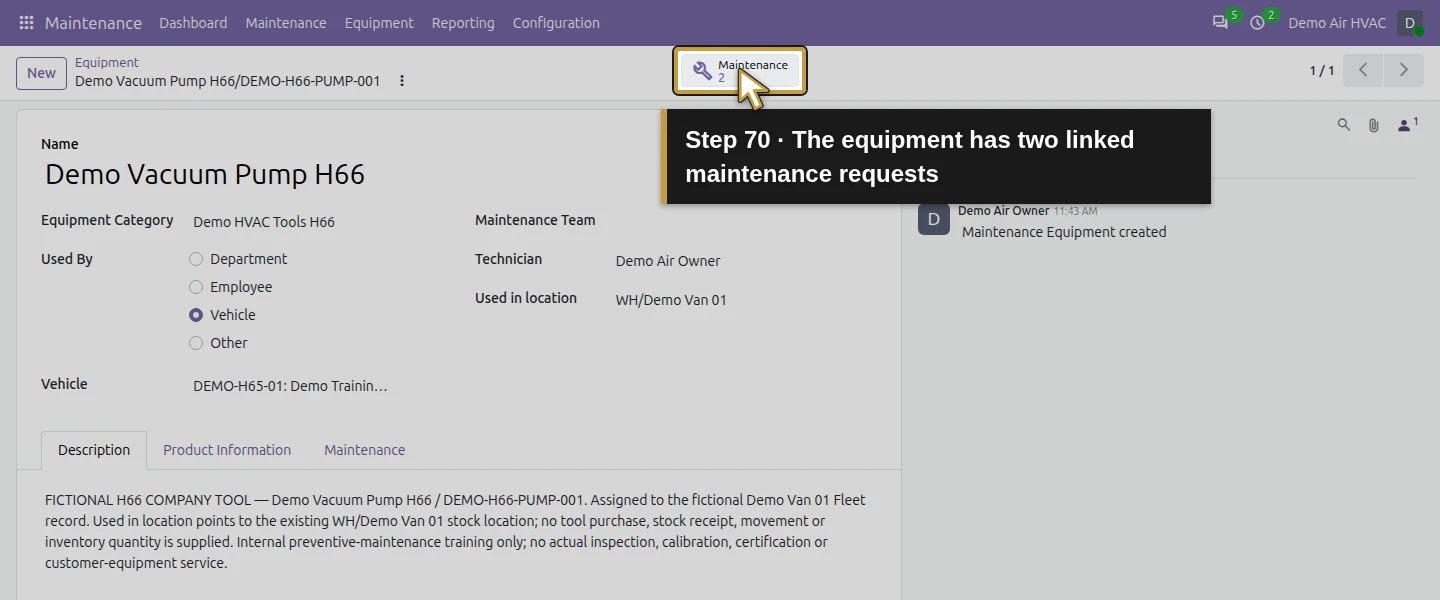
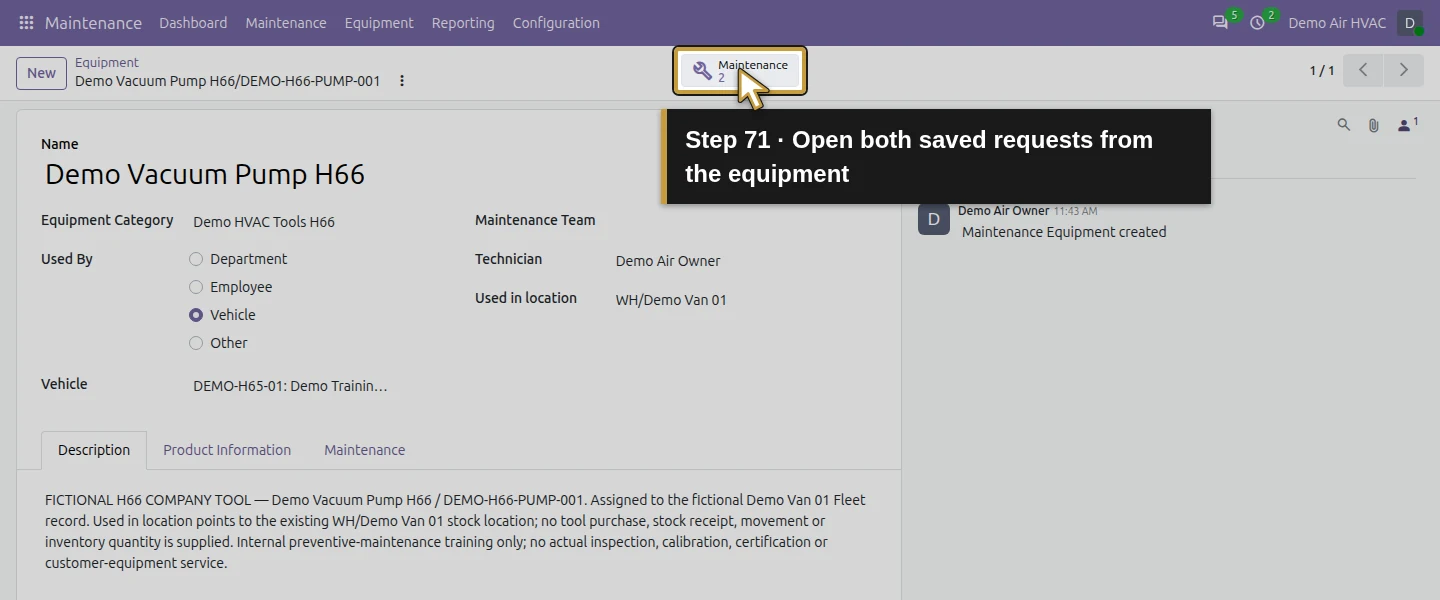
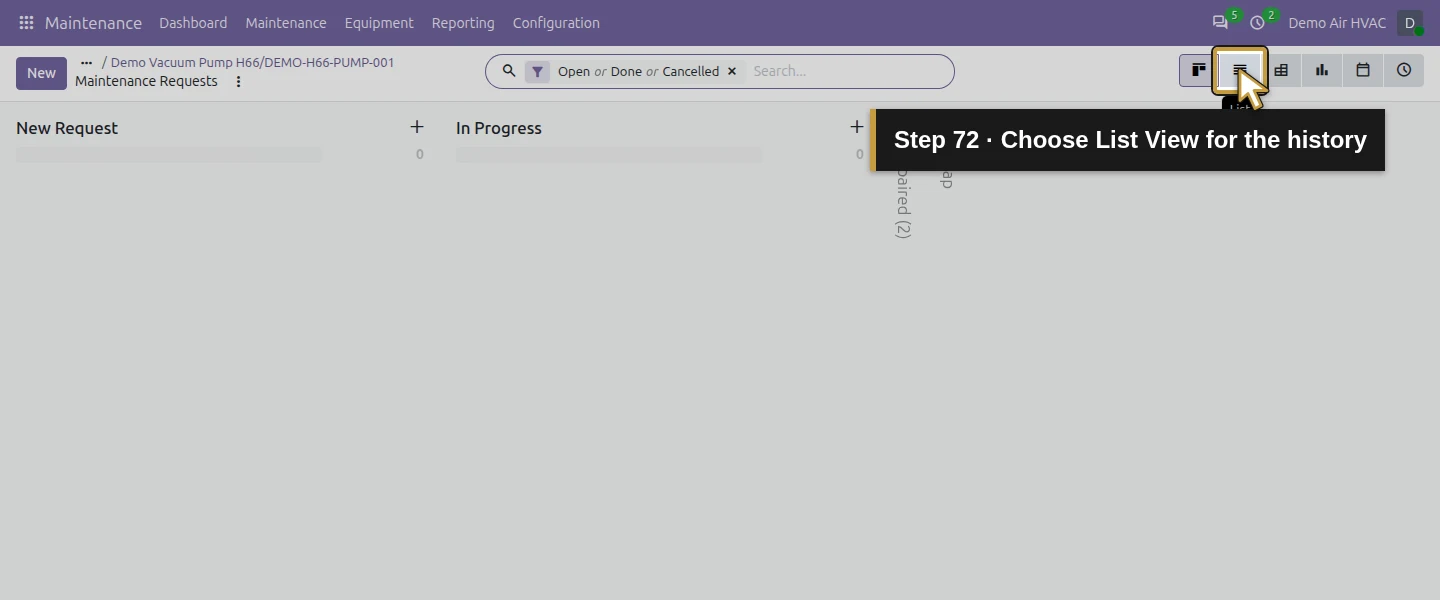
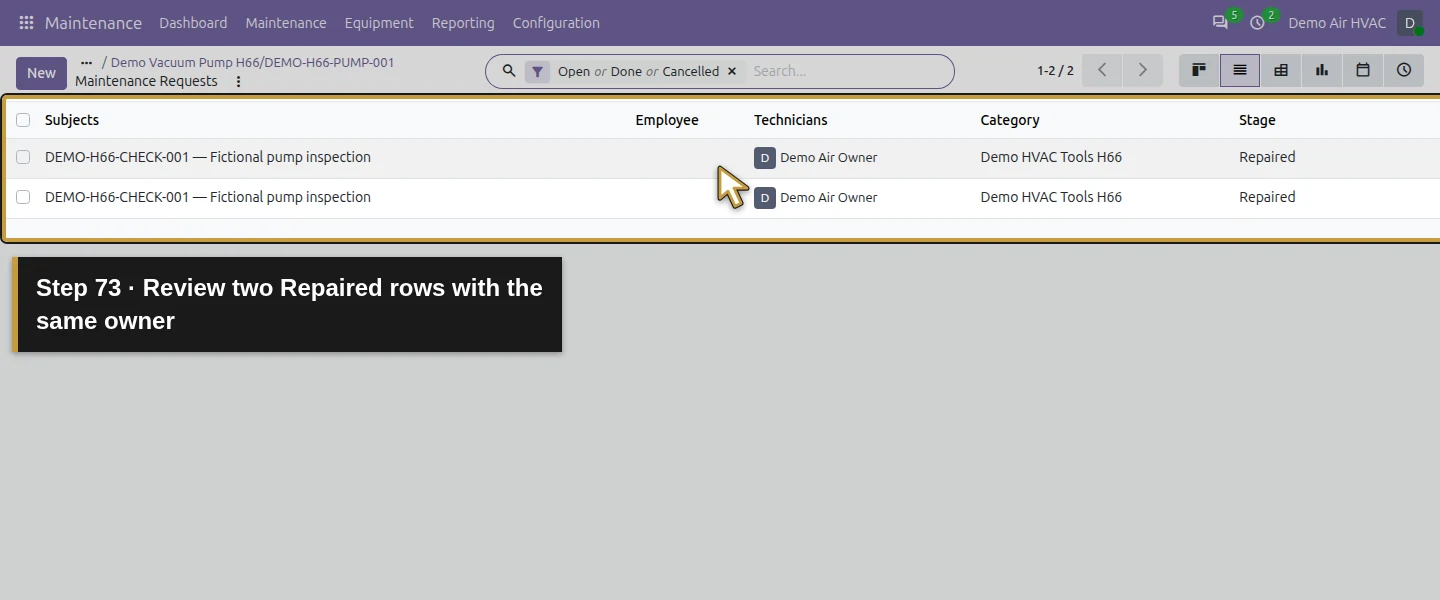
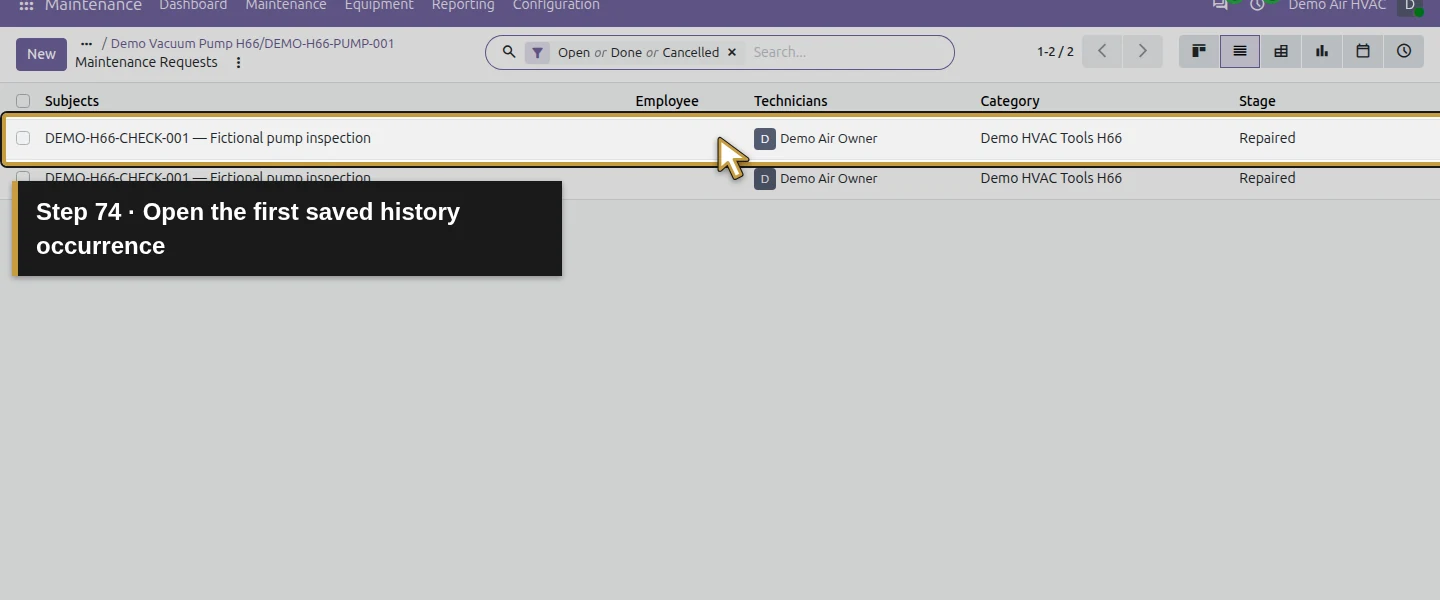
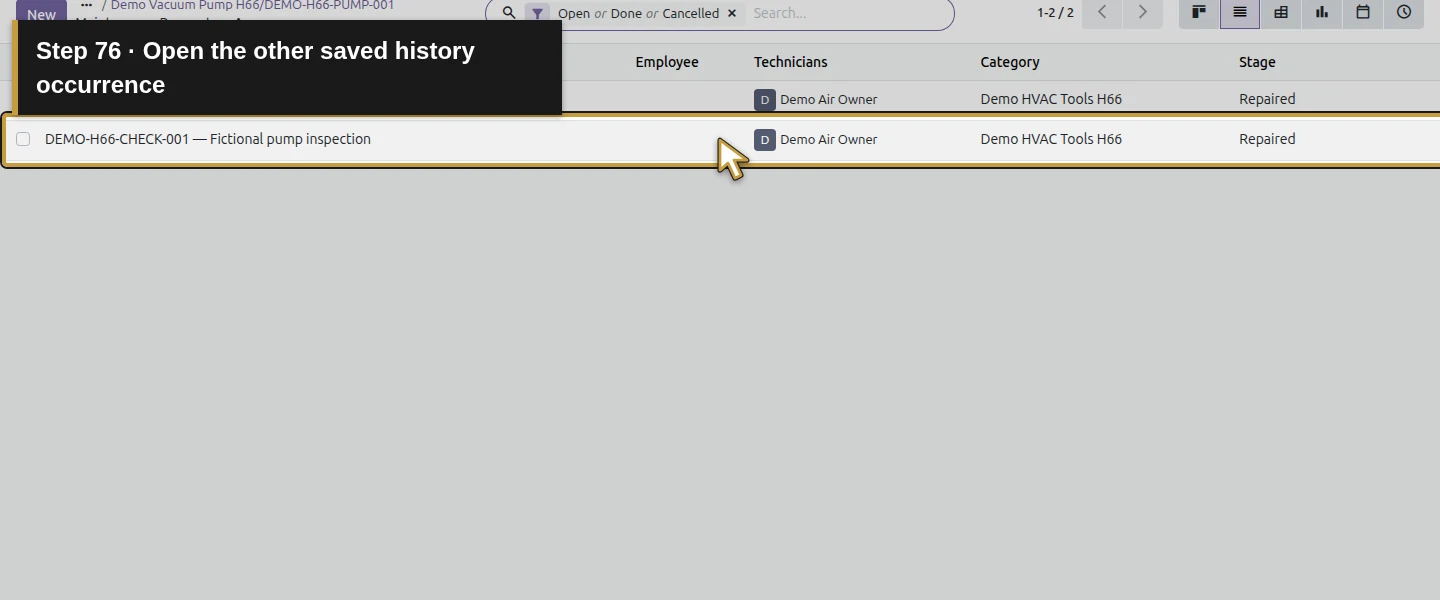
Use the breadcrumbs to return to the saved pump. Its smart button now shows 2 Maintenance. Open it and choose List View: the two saved rows retain the same subject, owner technician and Repaired stage. Open each record to check its planned date and separate Done state. The equipment has two linked requests and zero open requests. Its serial does not match a stock lot in this example, and no pump stock quantity was supplied. The existing Fleet service/$75 draft bill, filters, employee leave, billed time and earlier financial records remain unchanged.
Check the result
One company-owned training pump retains category, serial, Vehicle assignment, Fleet van and Inventory location. One half-hour preventive request is saved for October 7. Repaired alone creates no successor; saving the separate Done state creates exactly one October 14 request with the same half-hour window. Reload and a notes-only save leave two requests. Completing the final occurrence creates no October 21 request beyond the inclusive October 14 end date. Both remain Repaired/Done, with two linked requests and zero open. Scoped preservation checks retain the prior $75 Fleet draft, stock, timesheet, time-off and financial records. There are still 18 accounting moves, eight payments and zero Bank entries.
If your screen differs
Confirm the actual record and visible controls after navigation; this client briefly exposes stale cached content before the new form settles. Team must be selected on the request, both planned-time endpoints need review and Repaired stage differs from Done state. The bounded weekly preventive case is the demonstrated automation. Forever, other intervals, cancellation, reopening/reapplying Done, notifications, other-role access and overdue escalation were not tested. This is internal company-tool scheduling, with no actual inspection, calibration compliance, customer-installed equipment history, stock movement or automatic dispatch established.
Frequently asked questions
How do I schedule maintenance for company tools in Odoo?
Create the company-owned equipment under Maintenance → Equipment, select its category and responsibility, then open its Maintenance smart button and create a Preventive request. Review Team, Assignees and both planned time endpoints before saving. The tested owner workflow uses stock Odoo 20 Community and official Fleet/Employees/Inventory integrations for the available assignment links.Can Odoo Maintenance manage customer-installed HVAC equipment?
This guide demonstrates a company-owned pump linked to the company’s Fleet van and Inventory location. It does not establish a customer-installed equipment register, service agreement, customer equipment history or calibration compliance. Those outcomes need their own verified workflow; the company-tool example is not evidence that they are implemented.Does Odoo automatically create the next tool-maintenance request?
In the tested weekly Preventive request, Recurrent with Repeat Every 1 Week and Until October 14 creates the next planned occurrence when the separate state is saved as Done. Repaired stage alone does not. Completing the October 14 occurrence creates no October 21 request beyond the end date. Reload and a notes-only edit retained two requests; reapplying Done and other recurrence modes were not tested.Continue building the business
Continue with How do I track HVAC job costs in Odoo?. Reuse the existing van, tool and job records rather than rebuilding the business for later lessons.
Talk to an Odoo partner
Bring your current process and the result you need to Onward to plan your Odoo workflow. Talk to an Odoo partner.