
Running an HVAC business with Odoo
How do I export Odoo business records to a spreadsheet?
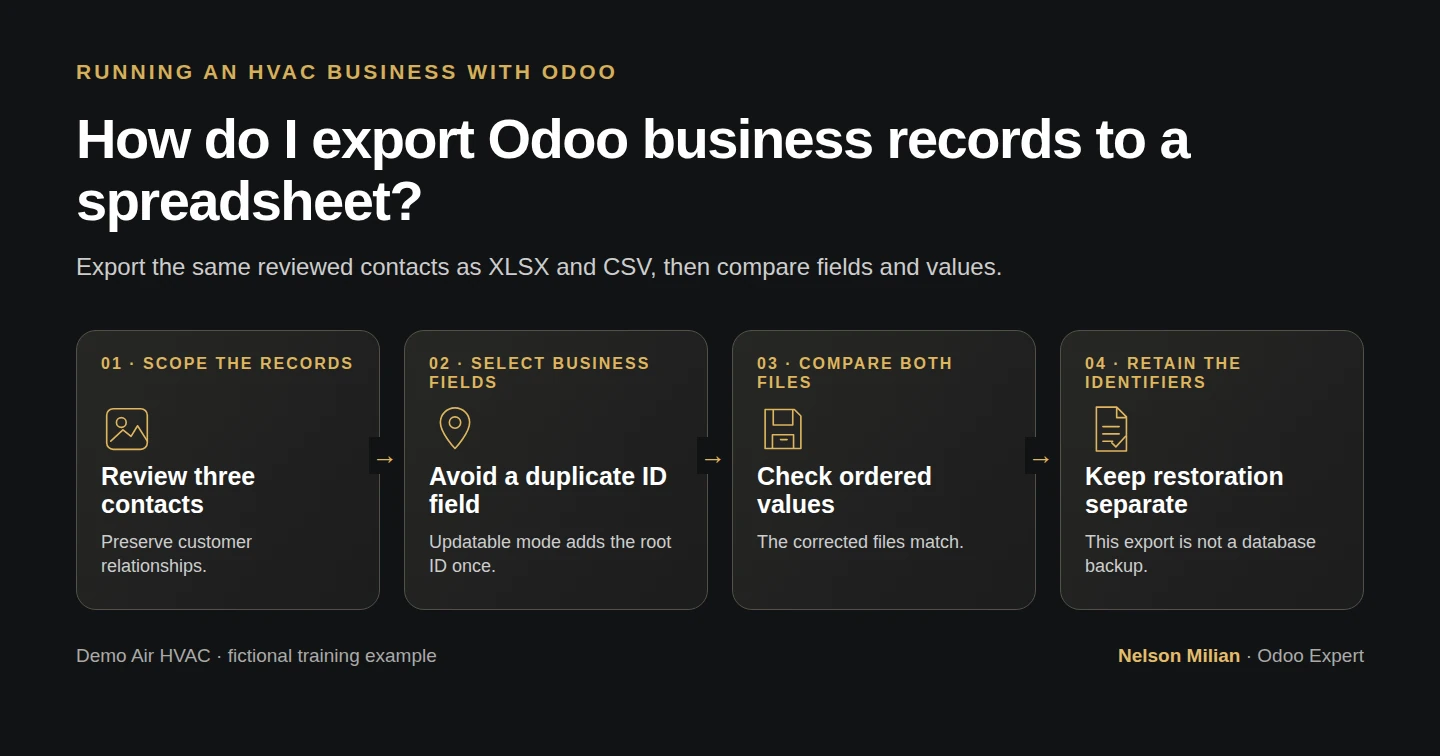
Export selected Odoo contacts to Excel and CSV with stable identifiers, review address relationships and avoid duplicate identifier columns.
Alex needs a small spreadsheet for reviewing the imported customer and its billing/service addresses. Odoo’s native export provides Excel and CSV files with the existing identifiers and address relationships. This guide checks three selected records and seven output columns, including the automatic identifier column supplied by the tested export option.
Alex Rivera and Demo Air HVAC are fictional training examples. Prices, dates, quantities and business situations in this guide are illustrative.
Before you begin
Tested in stock Odoo 20.0-20260926 Community as the demo owner administrator, with official modules and standard configuration. Complete How do I add a customer with different billing and service addresses in Odoo? and How do I import customer contacts into Odoo?. Use the three existing H09 records: Demo Property Import H09, Demo Billing Import H09 and Demo Site Import H09. The latter two link to the first contact, and the service Street is already 145 Demo Updated Site Road. Their existing External IDs are demoair_h09.customer, demoair_h09.billing and demoair_h09.delivery. No new contacts or identifiers are needed. The source records retain H09’s actual classification; this export does not change an individual record into a company.
Download the fictional example CSV from this walkthrough to compare the seven headers and address relationships. It contains the actual three-record native export; the workbook uses the same ordered values.
Step-by-step workflow
Step 1. Open Contacts and filter the reviewed records
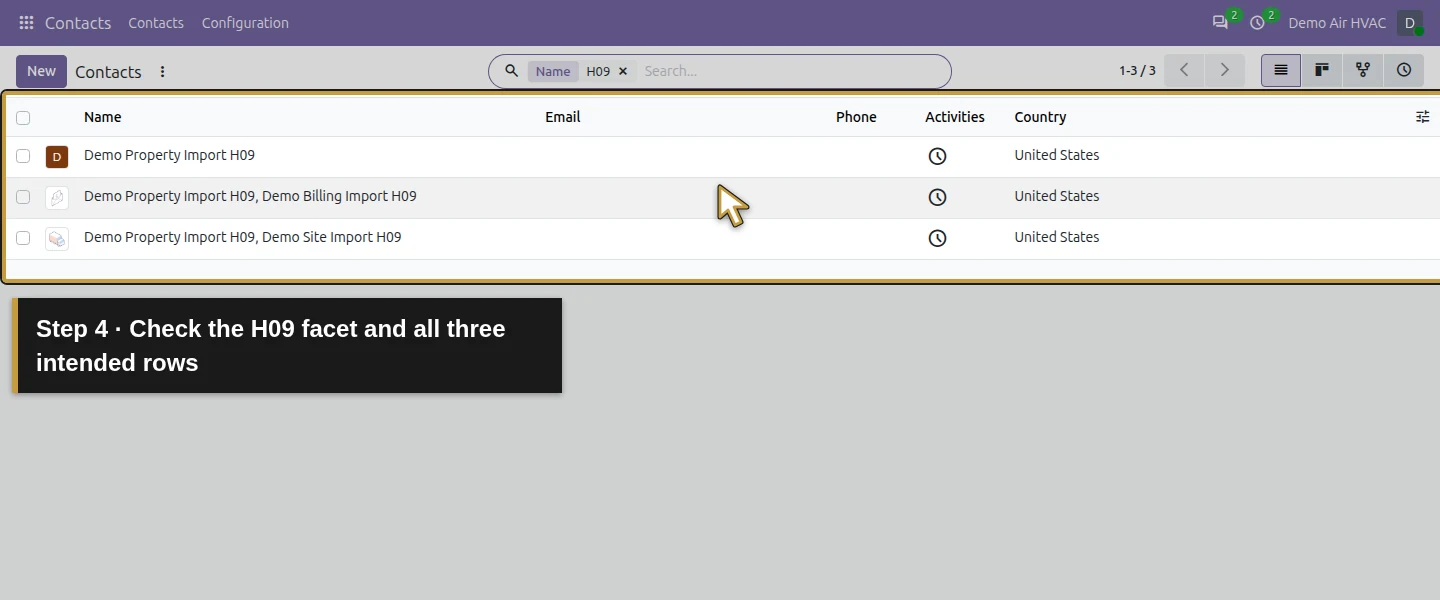
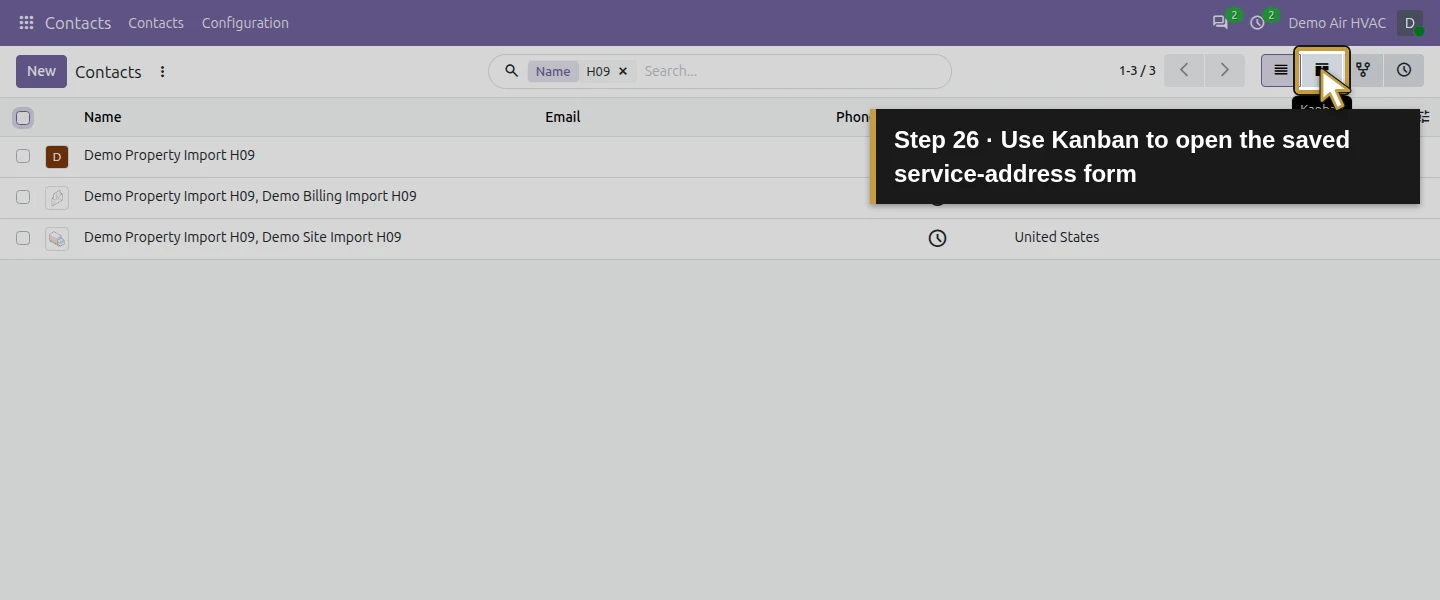
Open Contacts and use List View. In Search, enter H09 and choose Search Name for: H09. Check the Name: H09 facet and 1–3 / 3 result count. The visible children include the parent name in their displayed names; verify the property, billing and service rows rather than assuming a name search always identifies the intended records. The unfiltered Contacts list shows eleven records to this owner at the tested checkpoint.
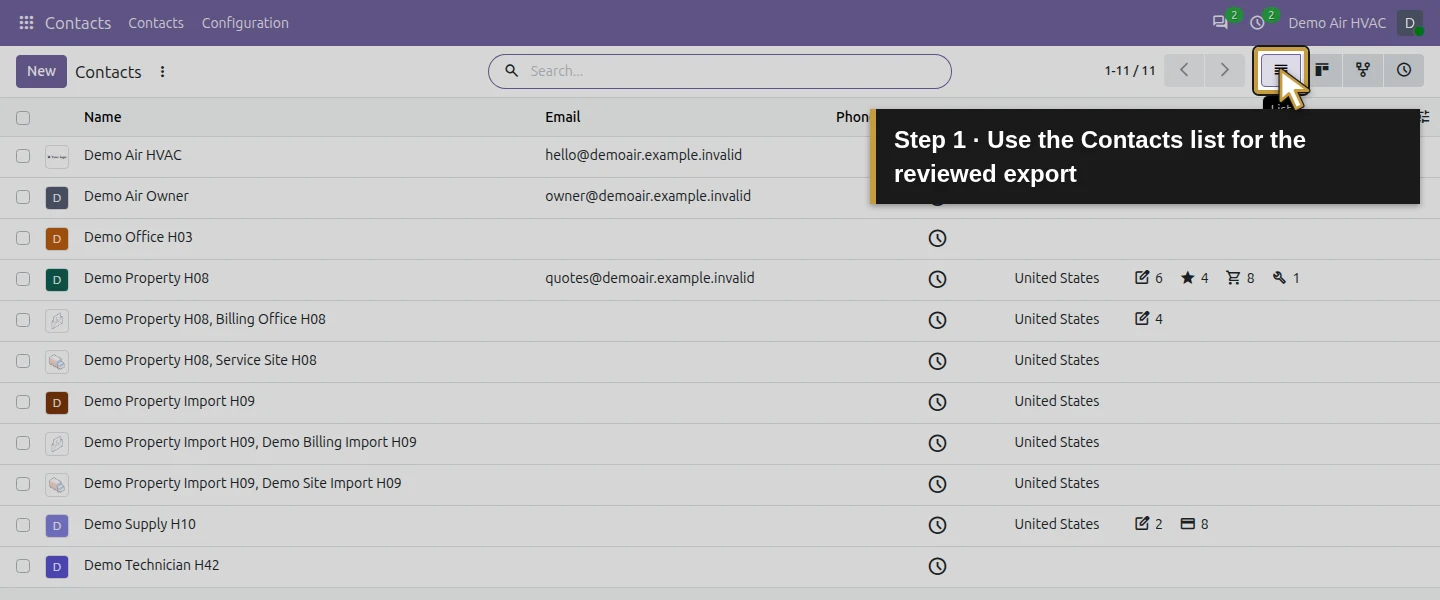
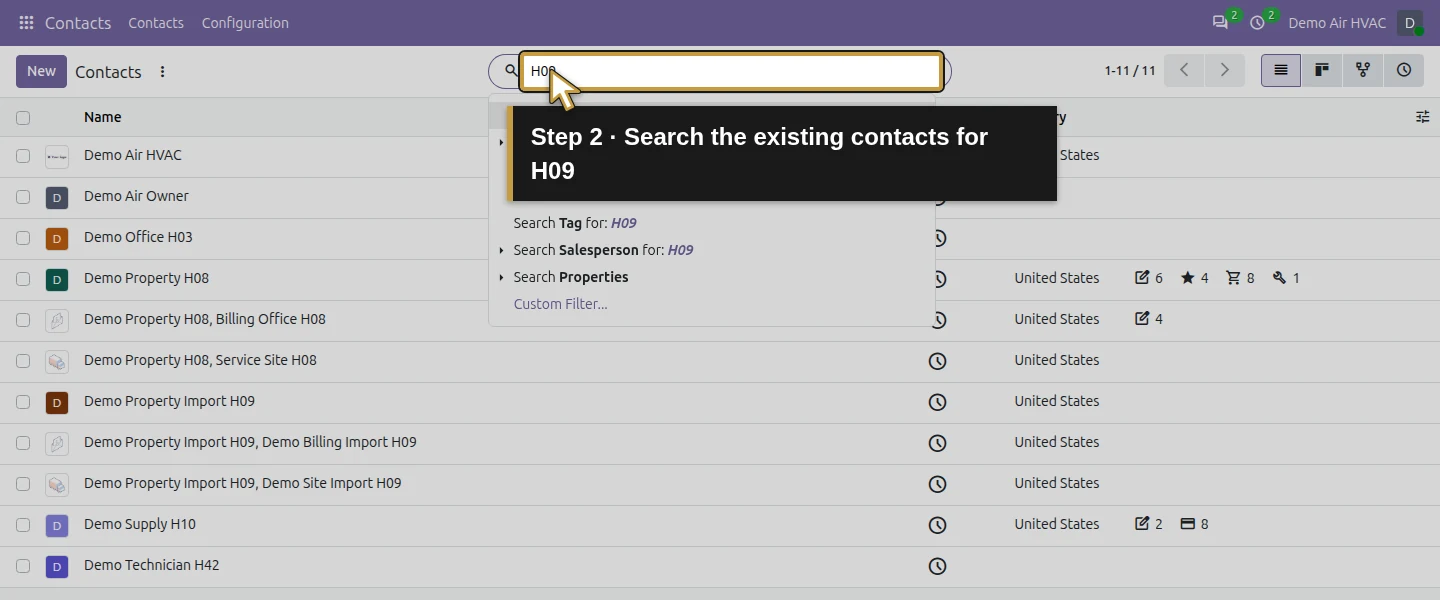
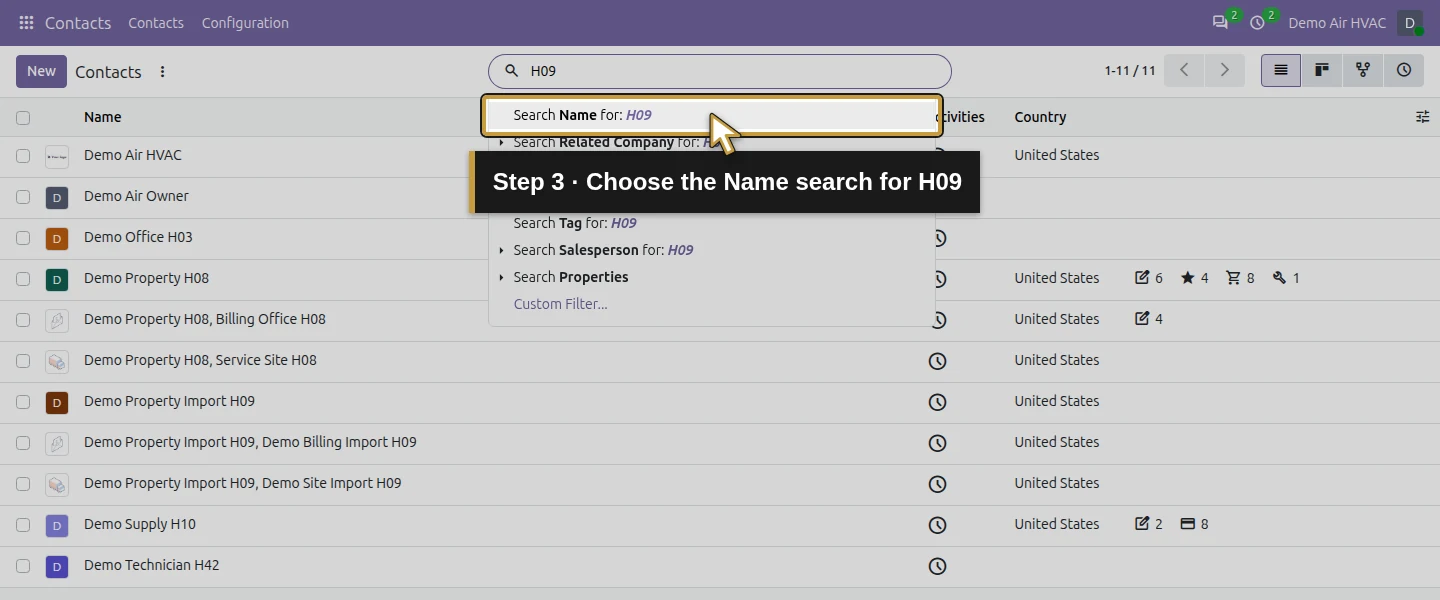
Step 2. Select only those three rows
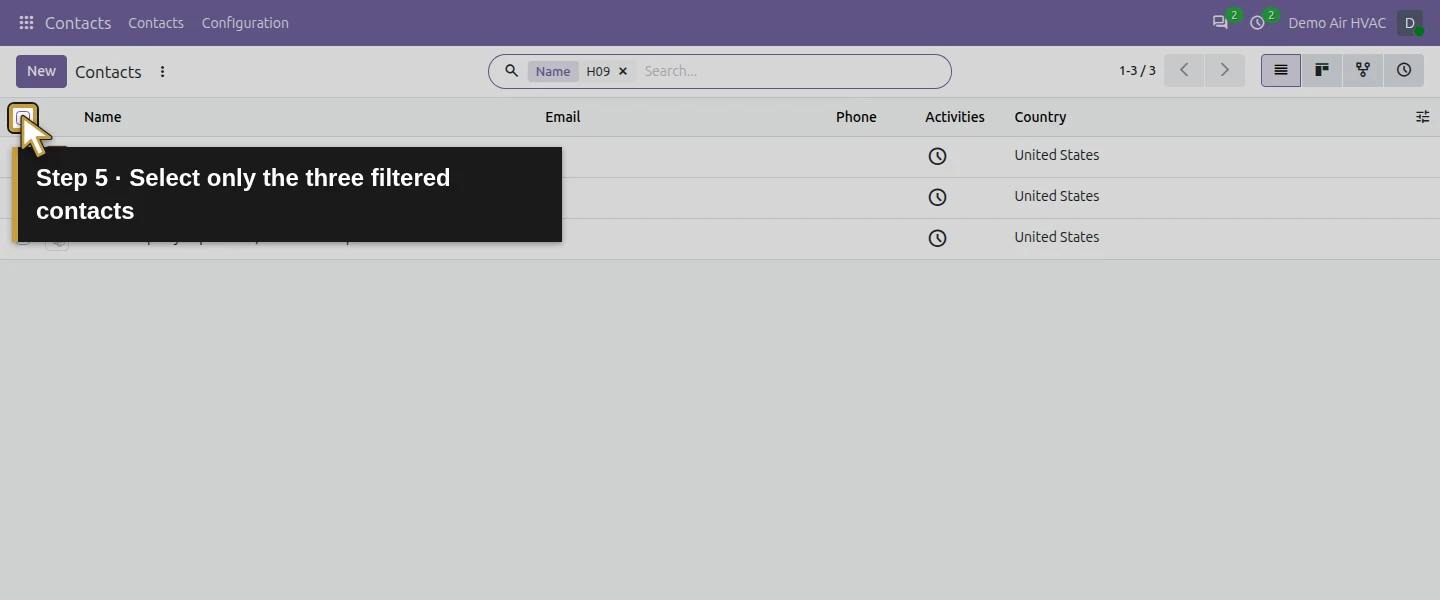
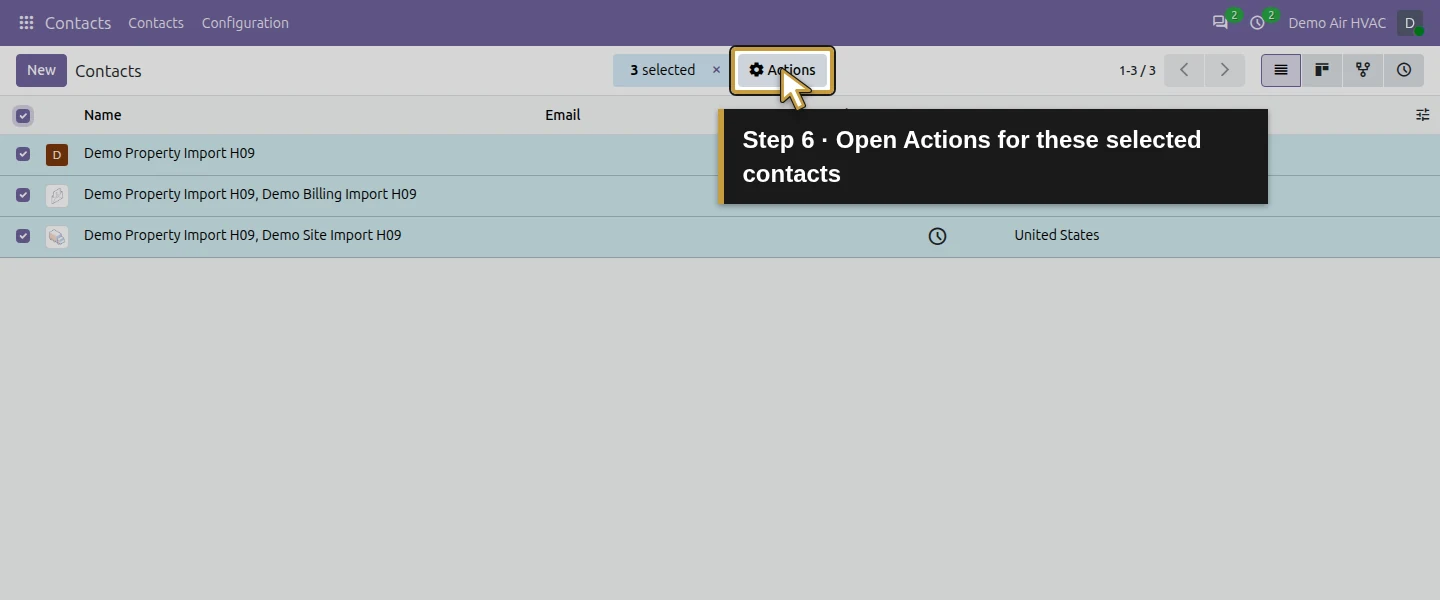
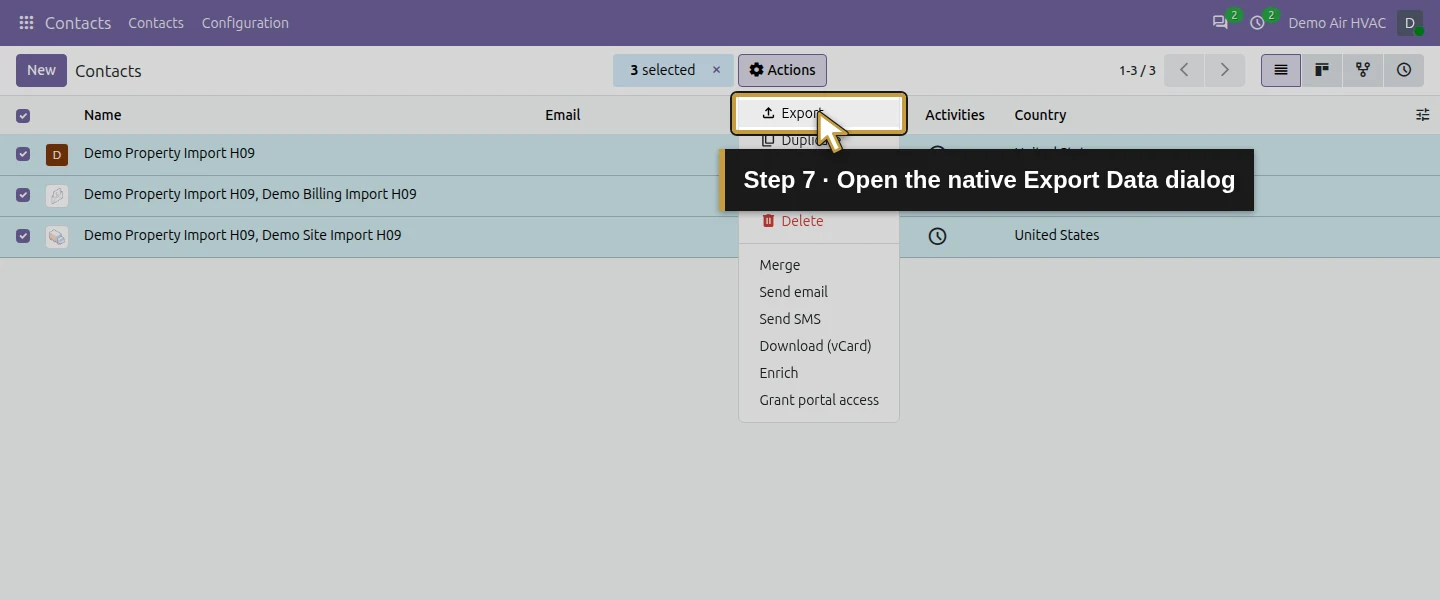
Use the list header checkbox after confirming the filtered scope. Check 3 selected. Then open Actions → Export. The selection matters: this file is a reviewed contact subset, not all records or all related business activity. Avoid adding unrelated customer, employee or billing fields merely because the exporter makes them available.
Step 3. Choose the updatable-field mode and clear the defaults
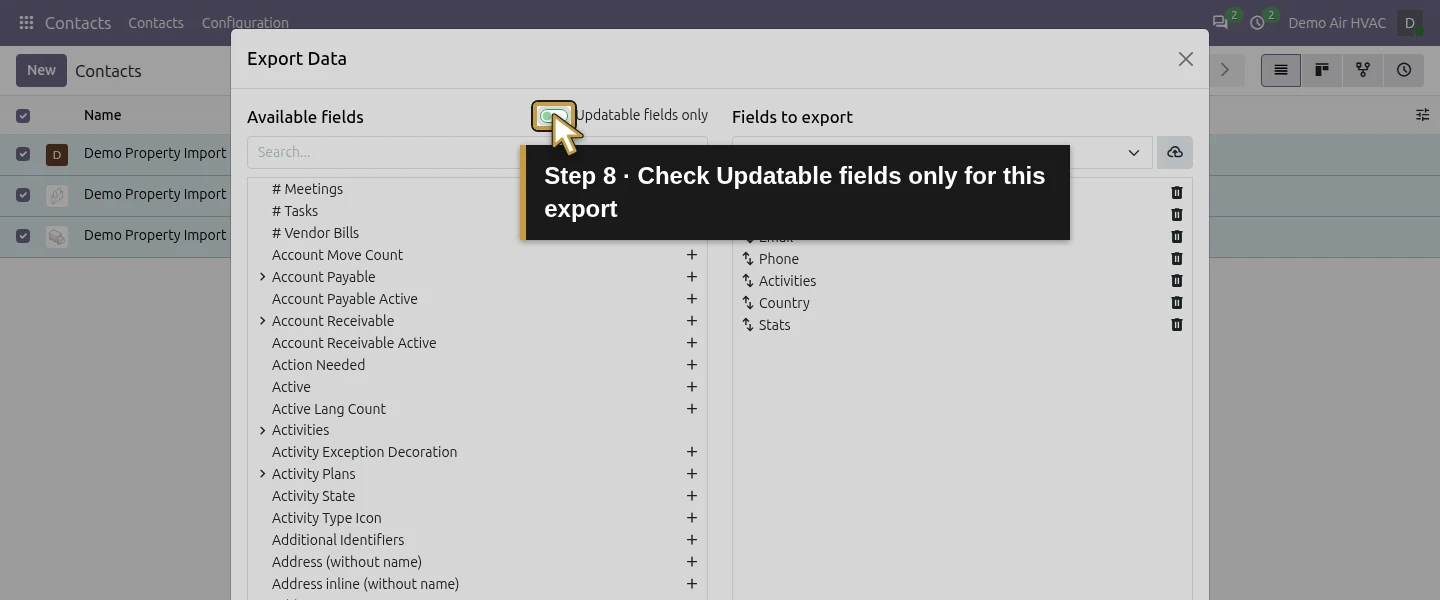
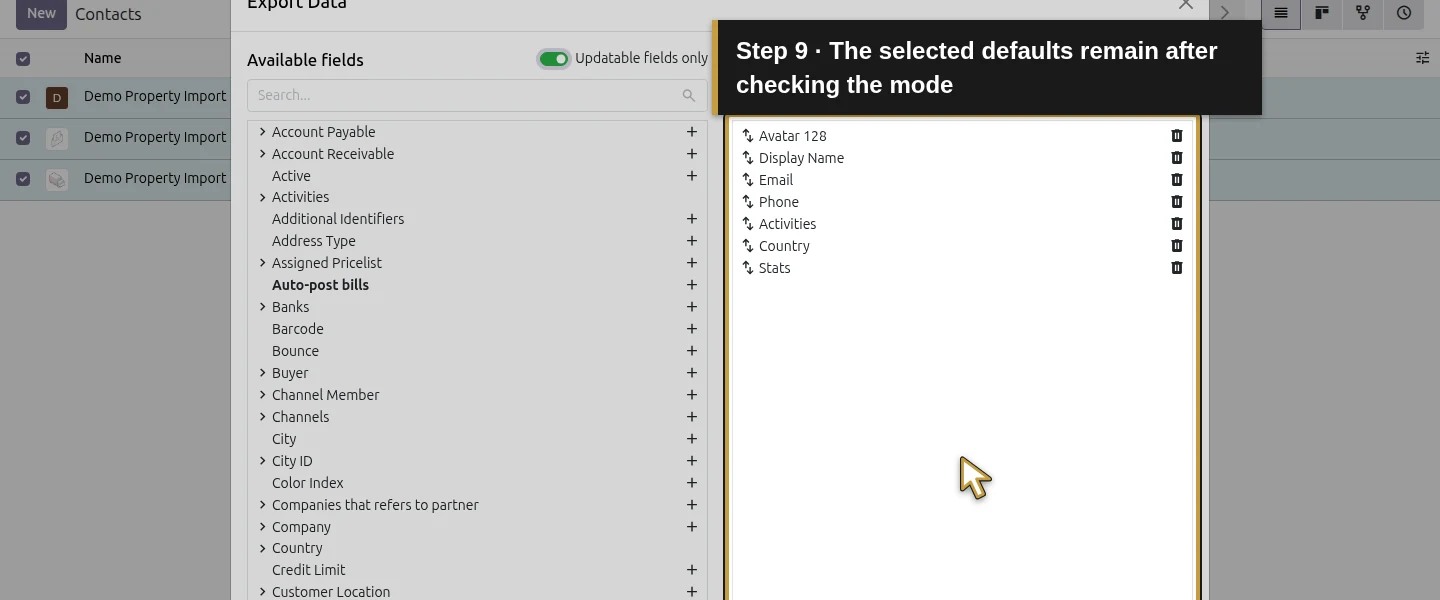
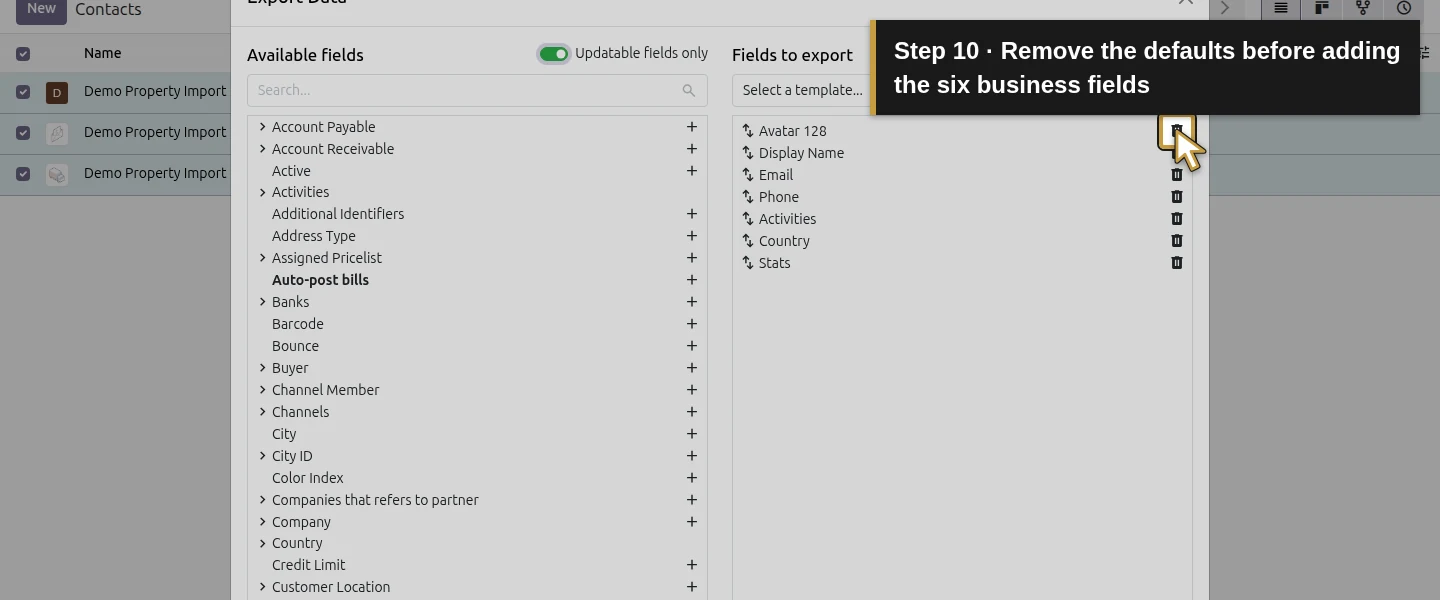
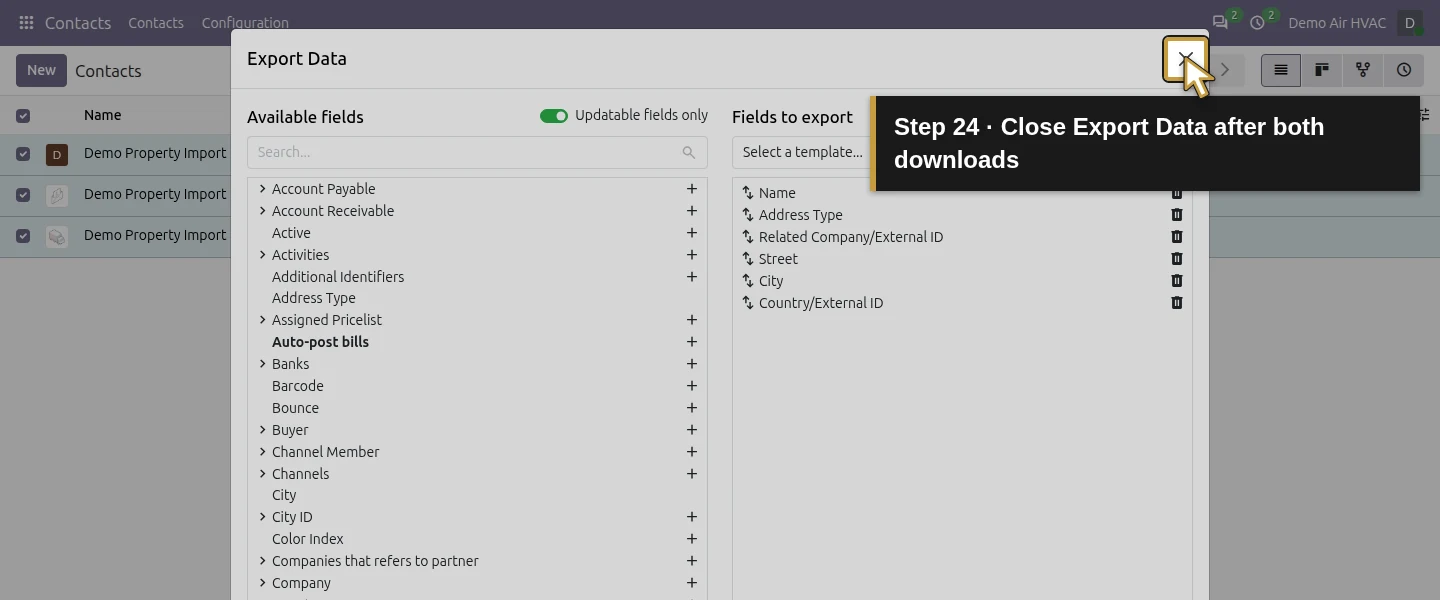
In Export Data, check Updatable fields only. Review Fields to export separately: in this test the checkbox filtered the available-field list but did not clear existing selected defaults. Remove the initially selected Avatar 128, Display Name, Email, Phone, Activities, Country and Stats entries using their remove icons. This example will export only the six business fields chosen next.
Step 4. Select six useful business fields
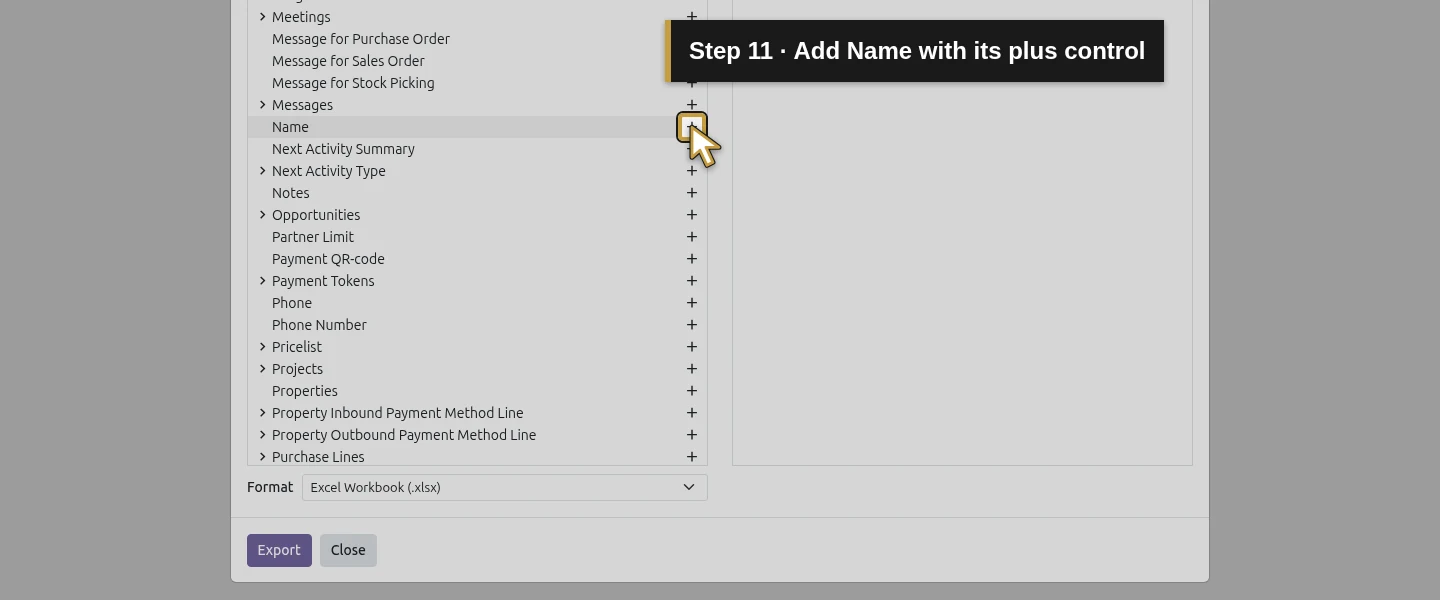
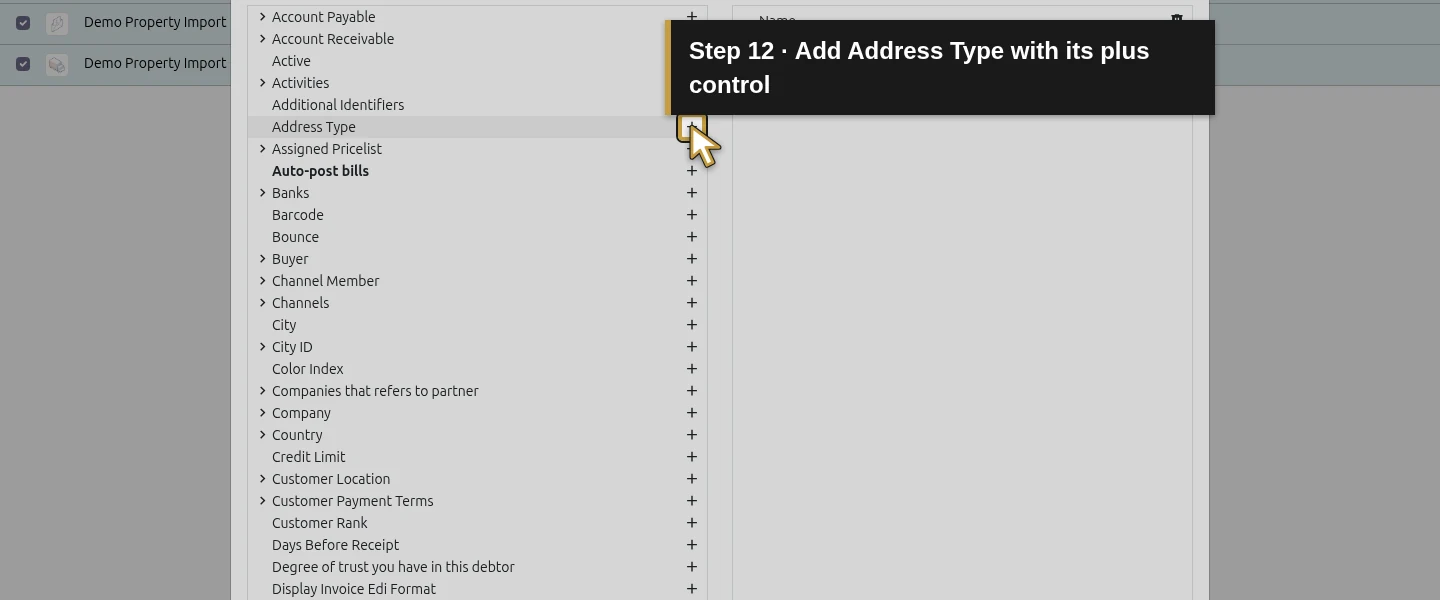
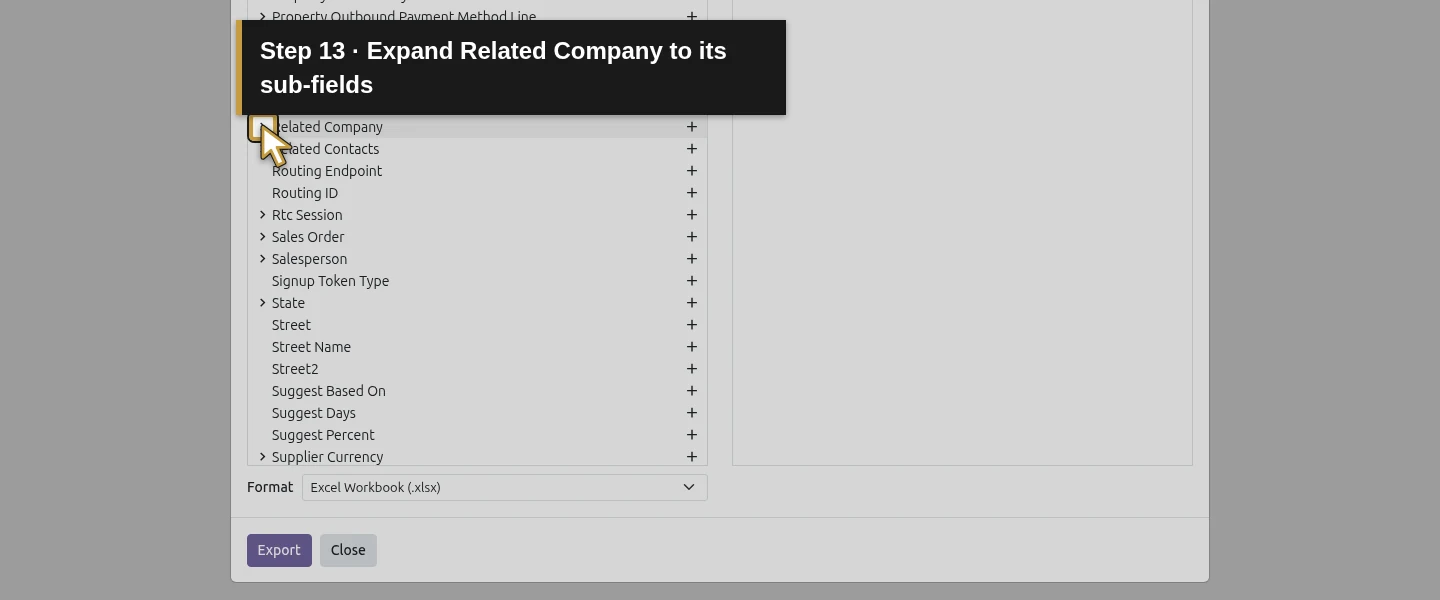
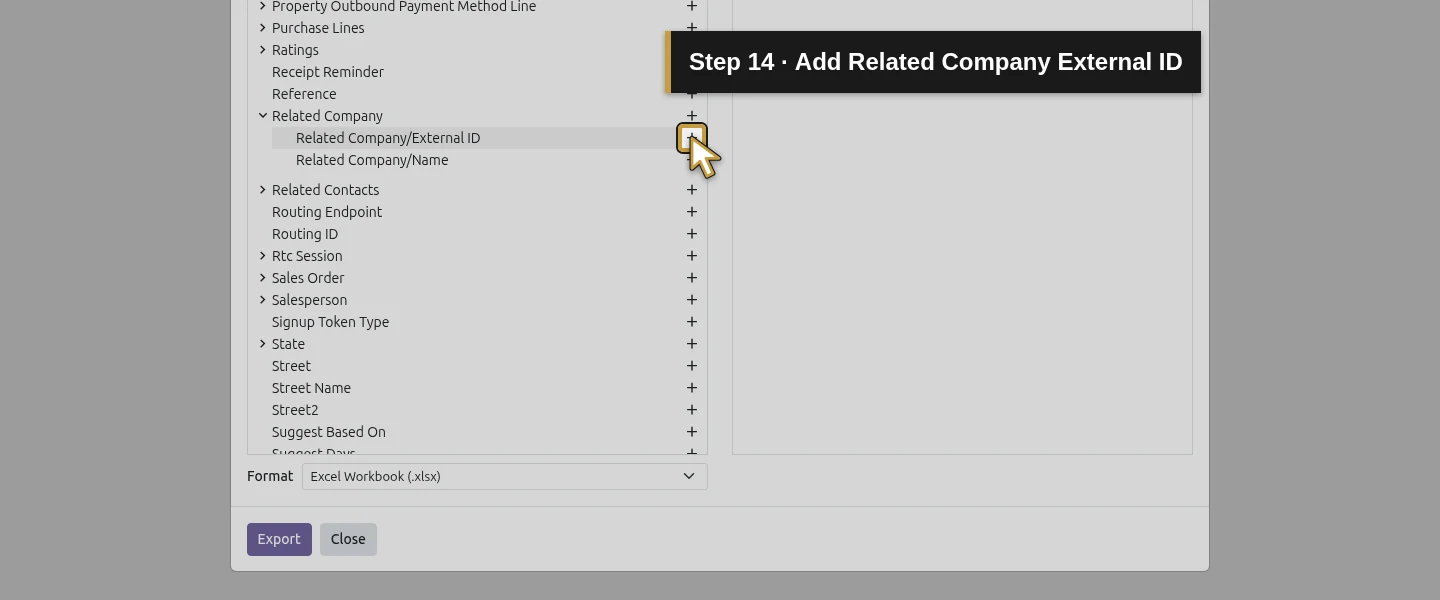
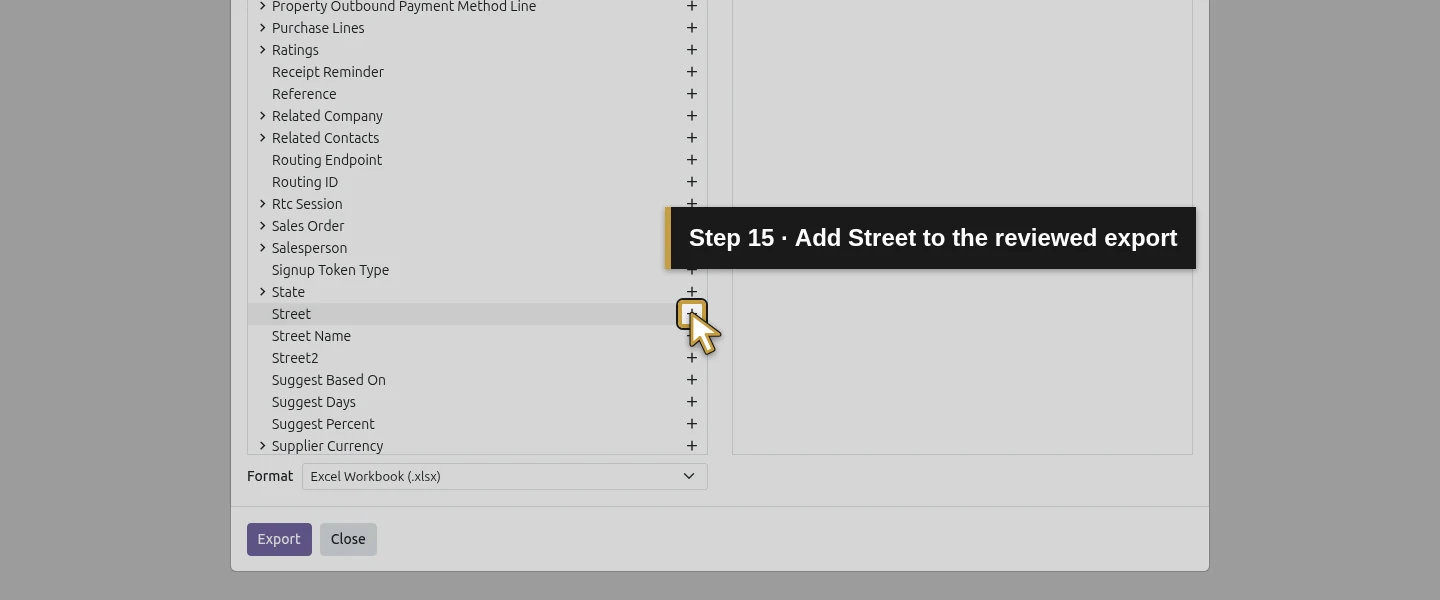
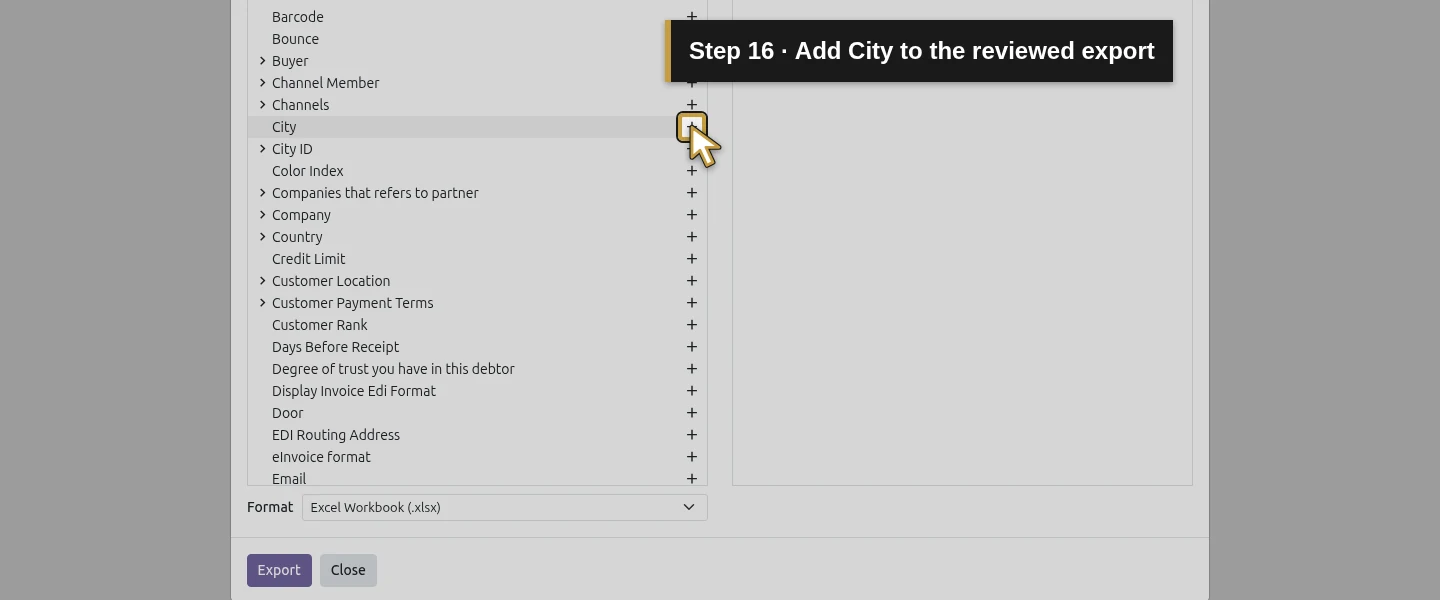
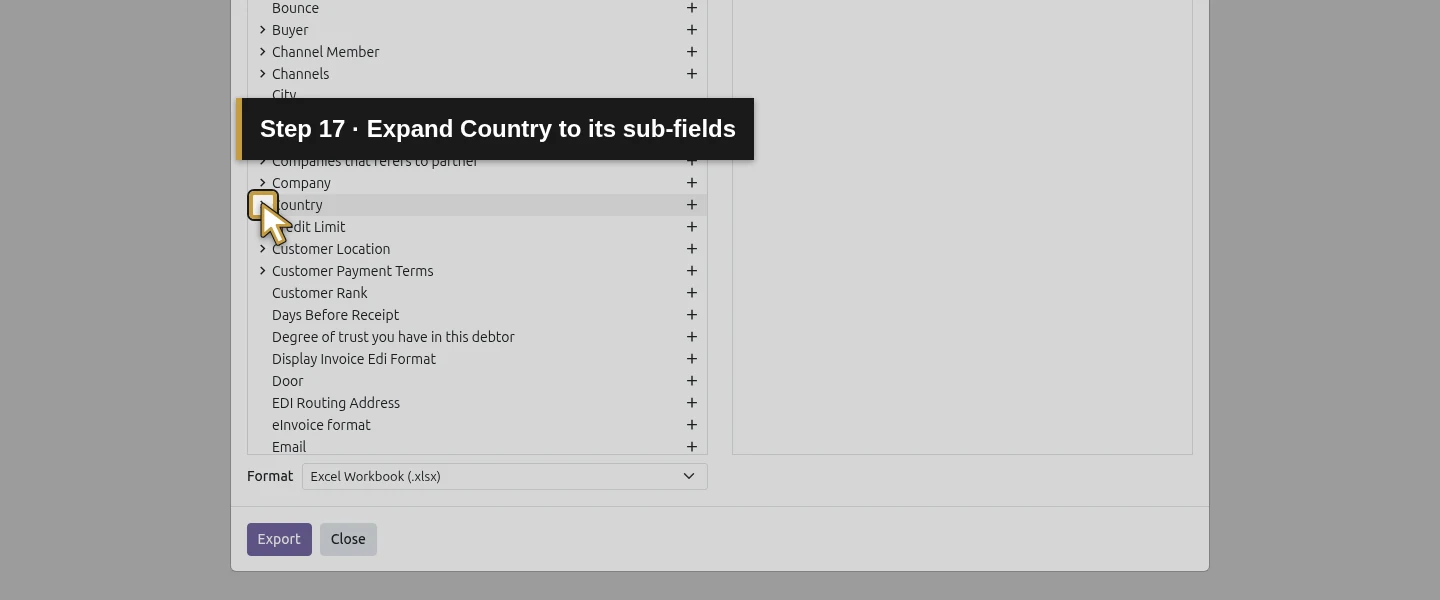
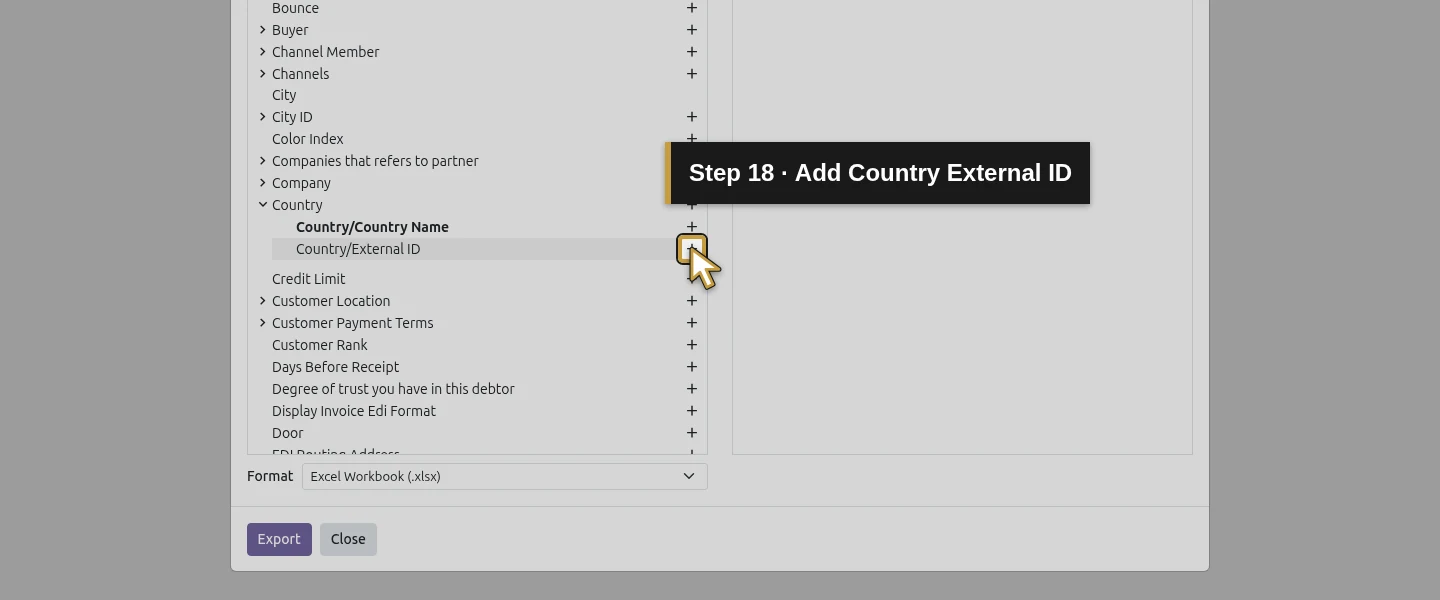
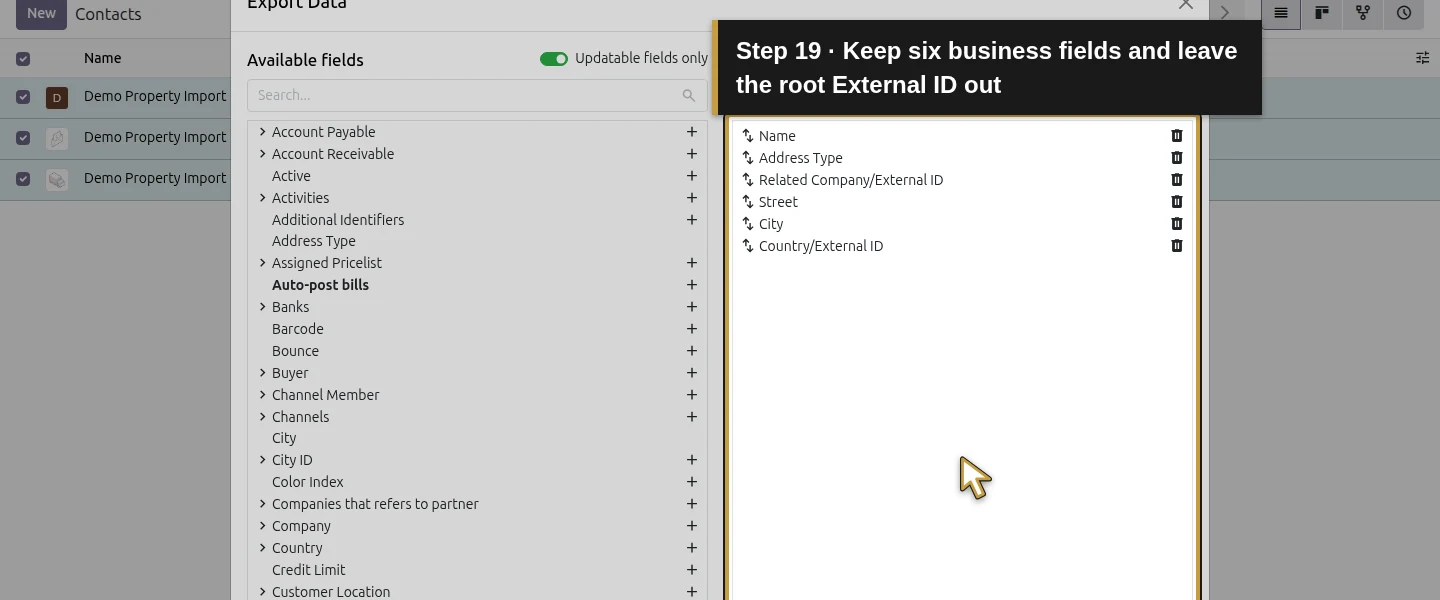
Click the + control beside Name and Address Type in Available fields. Expand Related Company with its small sub-fields arrow, click + beside its External ID child field, then collapse the branch. Add Street and City with their + controls. Expand Country, add its External ID child field with +, then collapse it. Check this order under Fields to export: Name, Address Type, Related Company/External ID, Street, City, Country/External ID. These six fields preserve the relationship through identifiers rather than relying on a repeated parent display name.
Step 5. Let the tested mode add the record identifier once
With Updatable fields only checked, the demonstrated exporter automatically adds the root id column to the output. Leave External ID out of the selected six fields. In an earlier native verification, explicitly selecting it as well produced two id headers; those intermediate files remain historical evidence. The procedure here selects six business fields and exports each format once, producing those six fields plus one automatic identifier column. Inspect actual header uniqueness, not just the number of visible field selections.
Step 6. Download the native Excel workbook
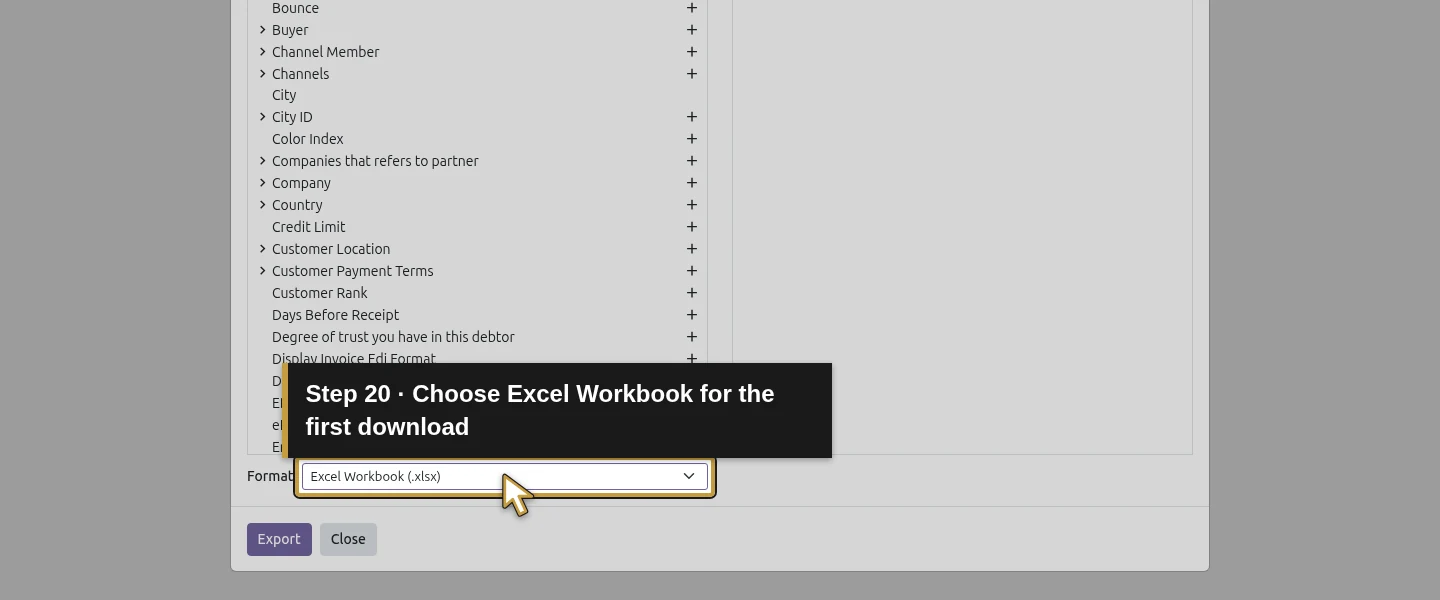
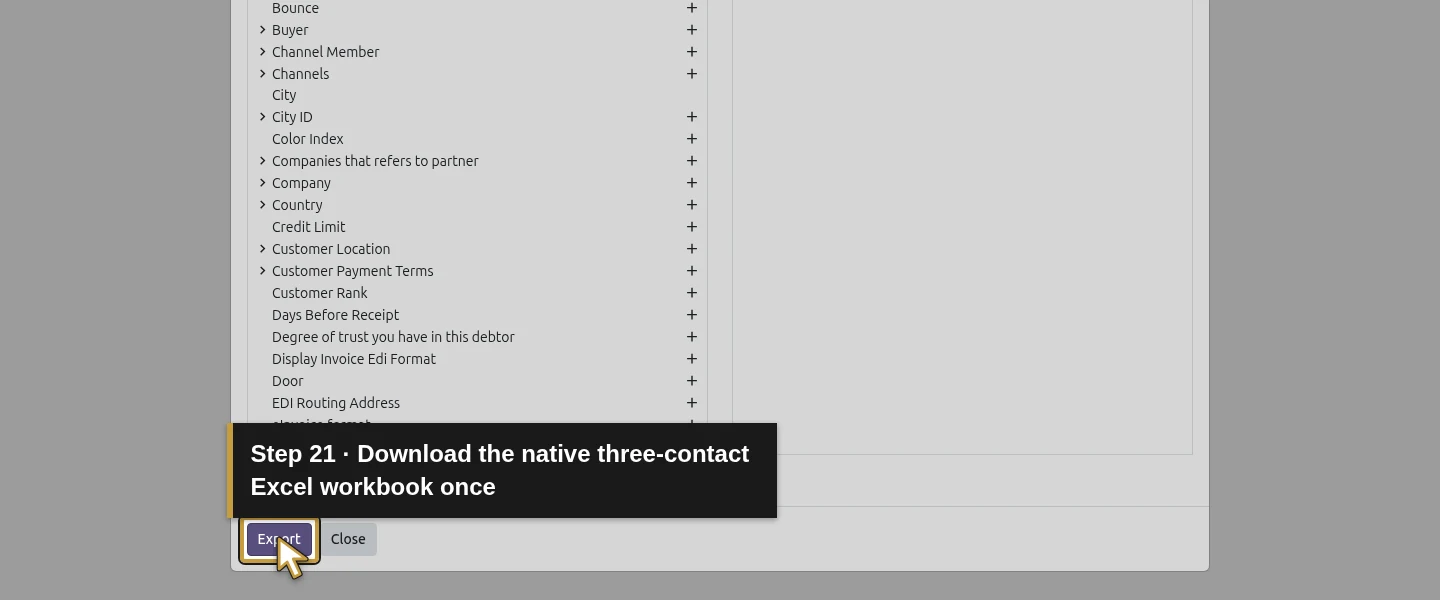
Choose Excel Workbook (.xlsx) in Format, then click Export. Save the actual download with a clear model/scope/date filename. The corrected workbook contains one header row and three data rows, with id, name, type, parent_id/id, street, city, country_id/id. The identifiers remain text such as demoair_h09.delivery and base.us. Keep the whole identifier, including its prefix; it is not the spreadsheet row number or a human-readable country name.
Step 7. Export the same selection as CSV and compare
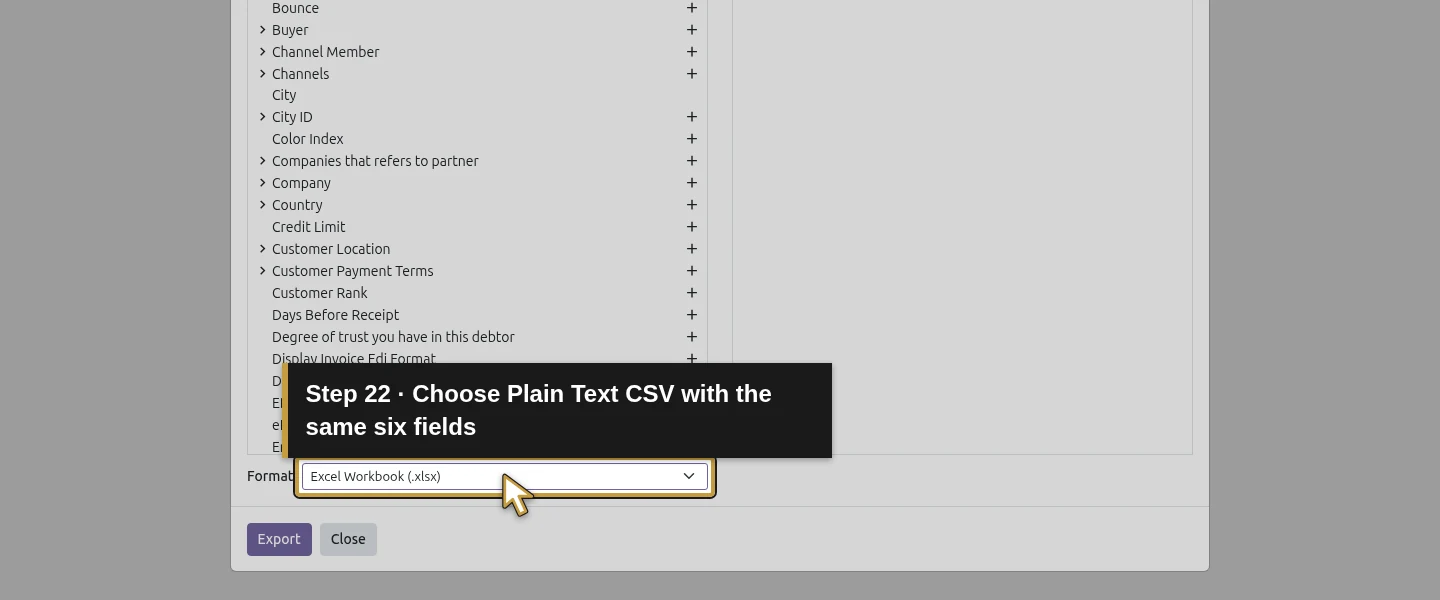
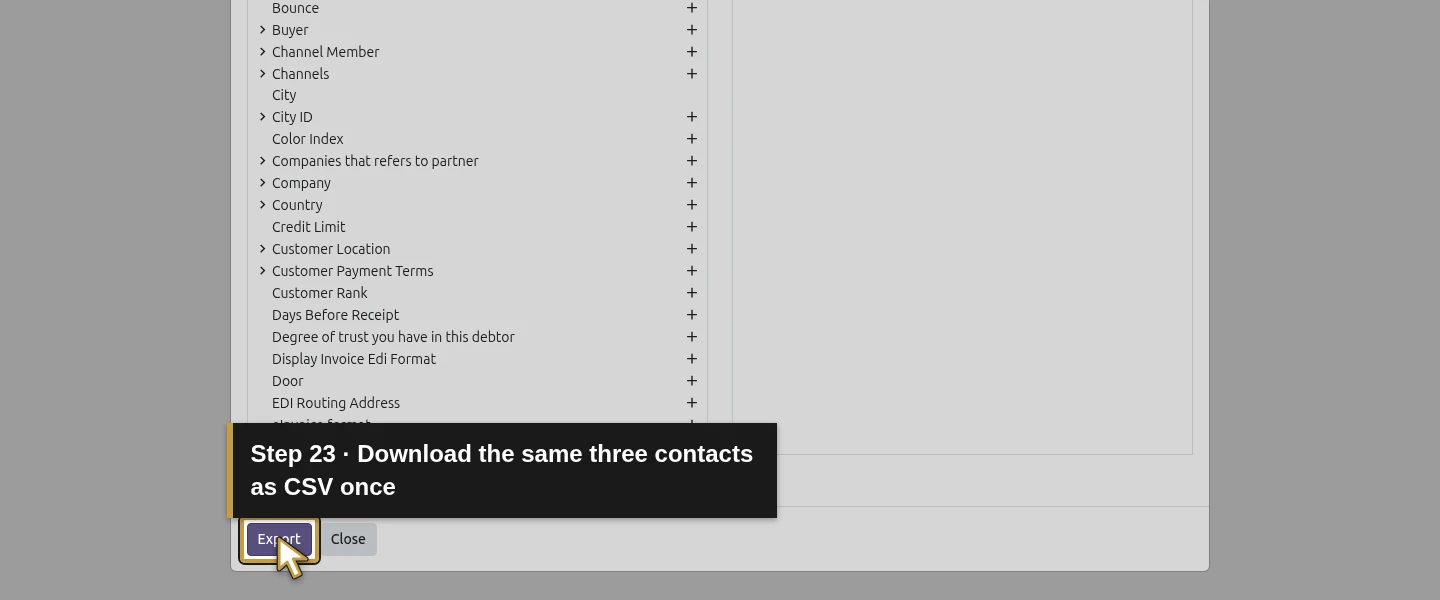
Keep the same selected fields and checkbox state, choose Plain Text (.csv) and click Export again. The verified CSV has the same seven unique headers and the same three ordered data rows as the workbook. Address Type values export as the English labels Contact, Invoice and Delivery in this user context. The child rows’ parent_id/id values both equal demoair_h09.customer; the parent row’s related-company value is blank. This demonstrates the actual file values, not a tested re-import of this file.
Step 8. Reopen the service address and check a representative row
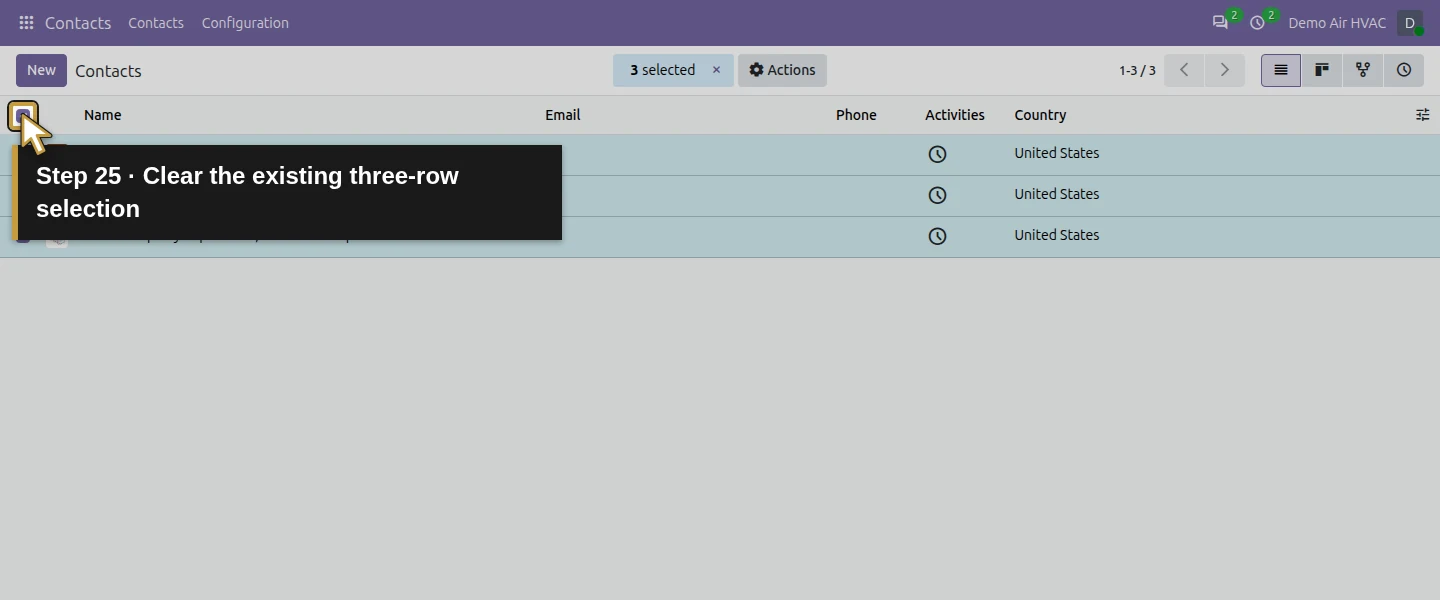
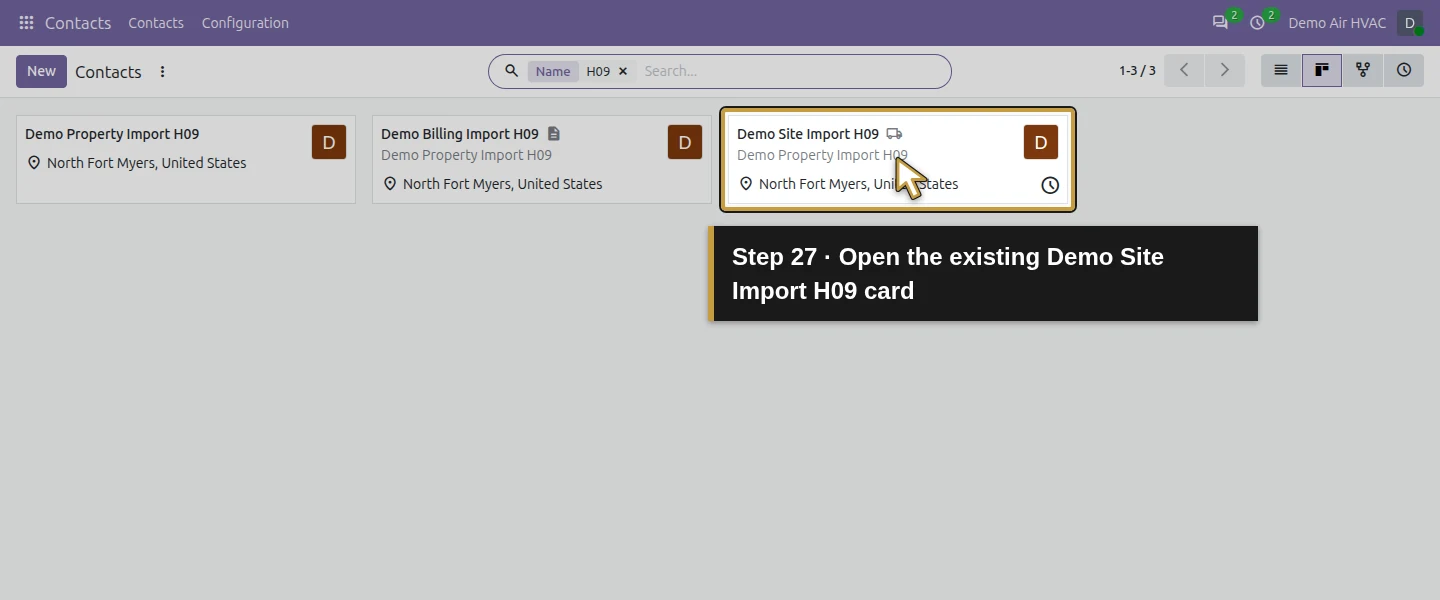
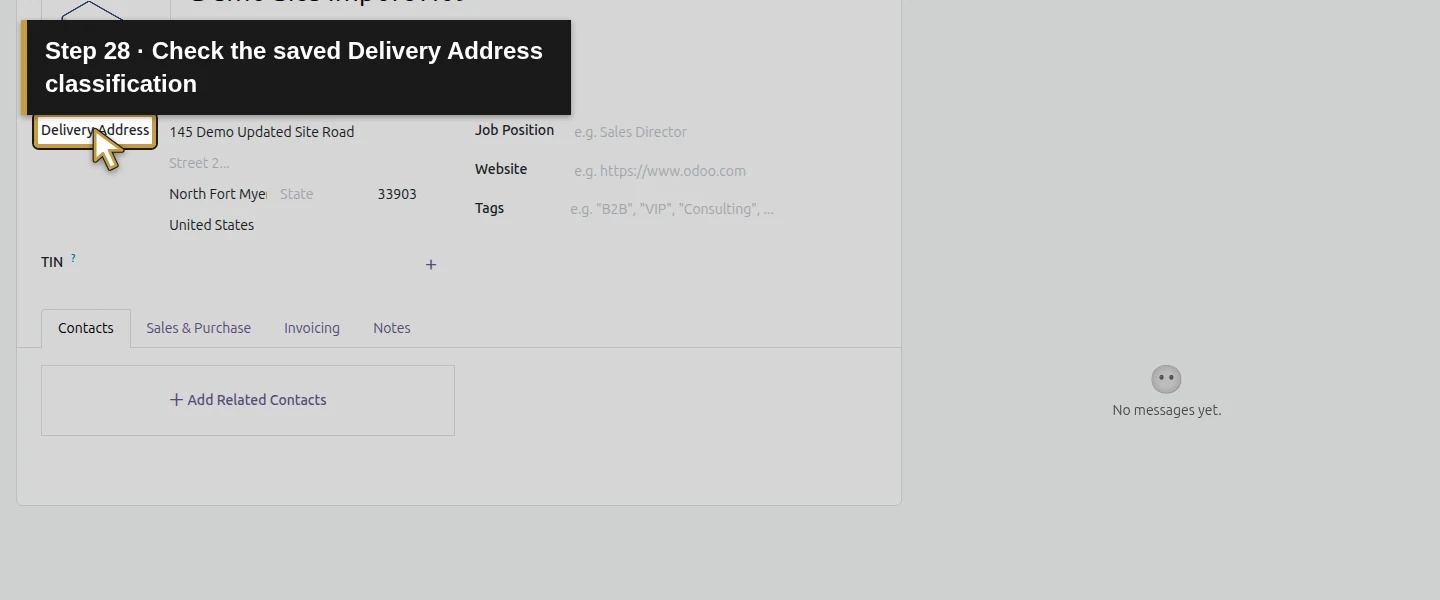
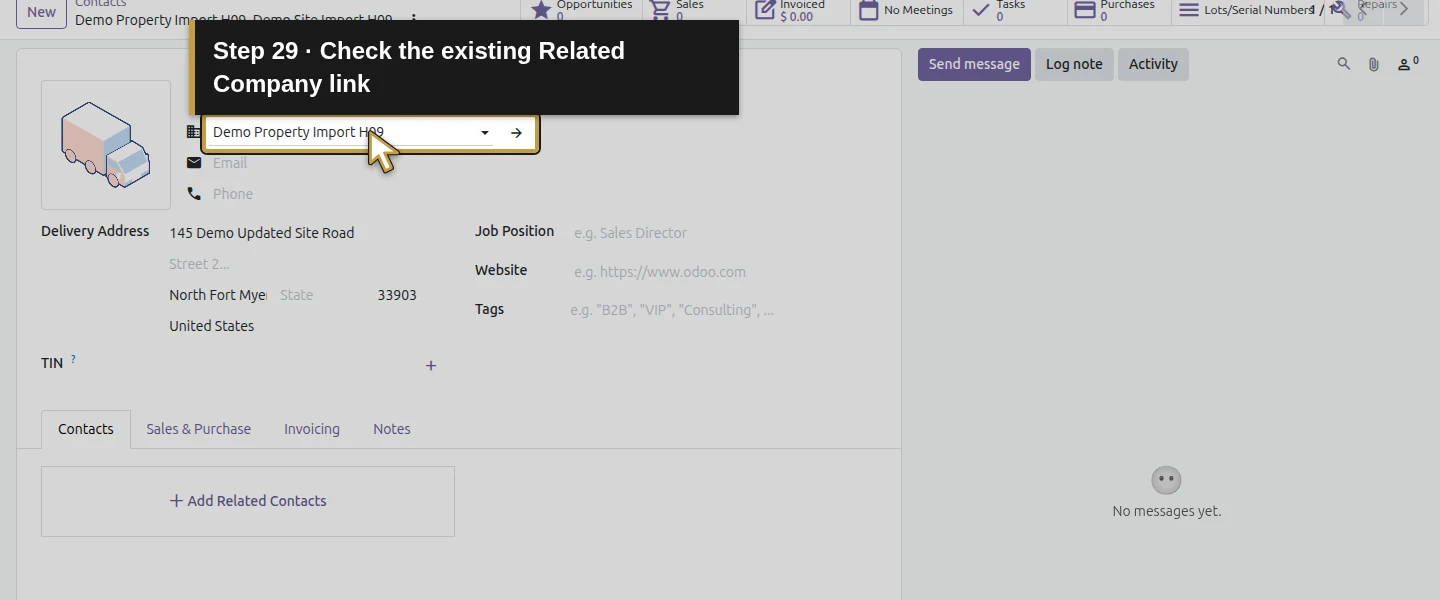
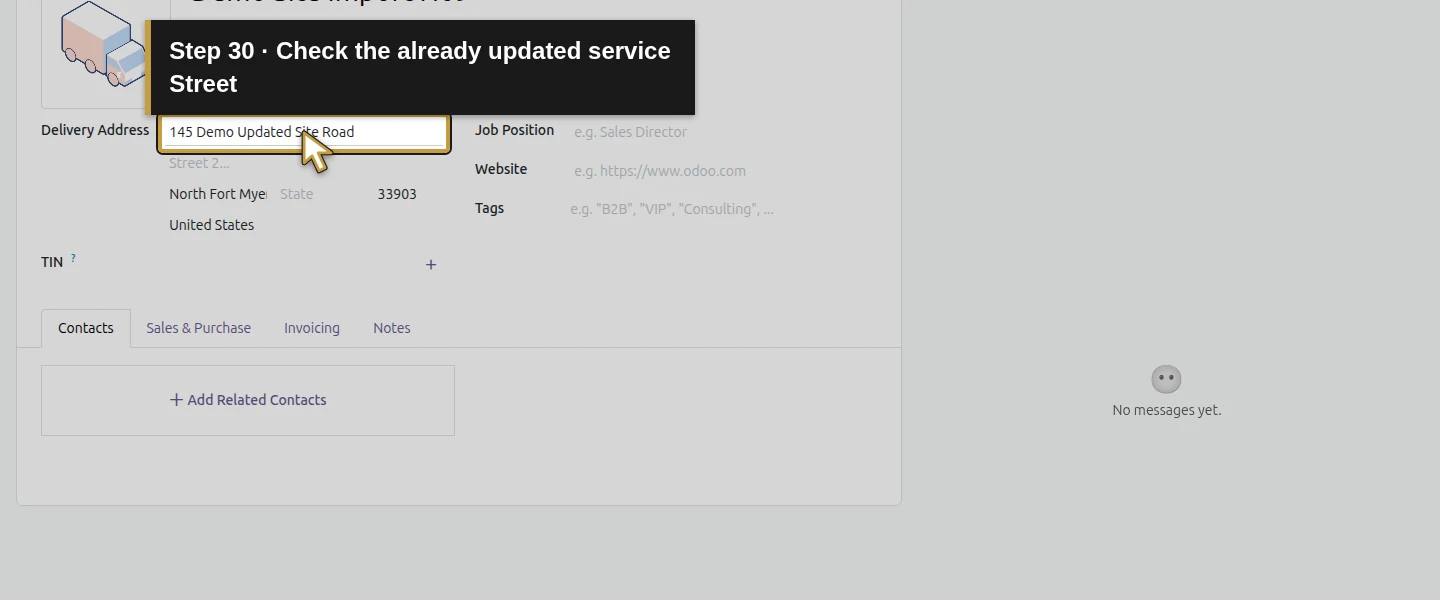
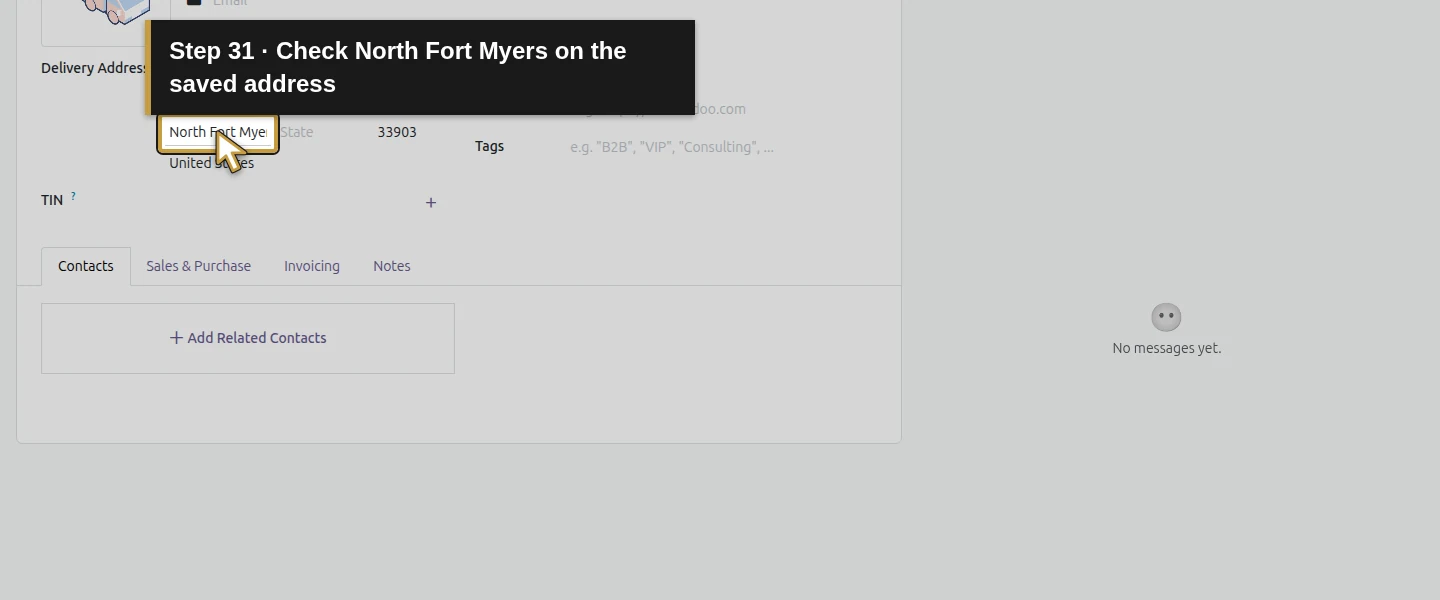
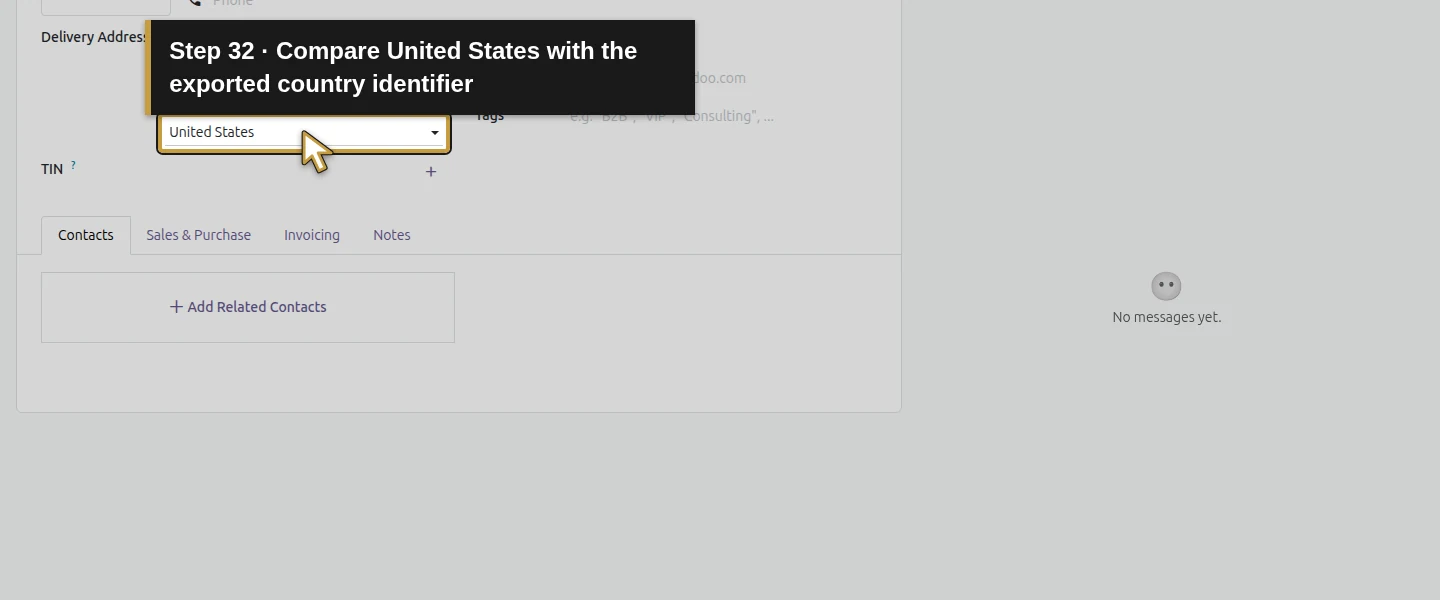
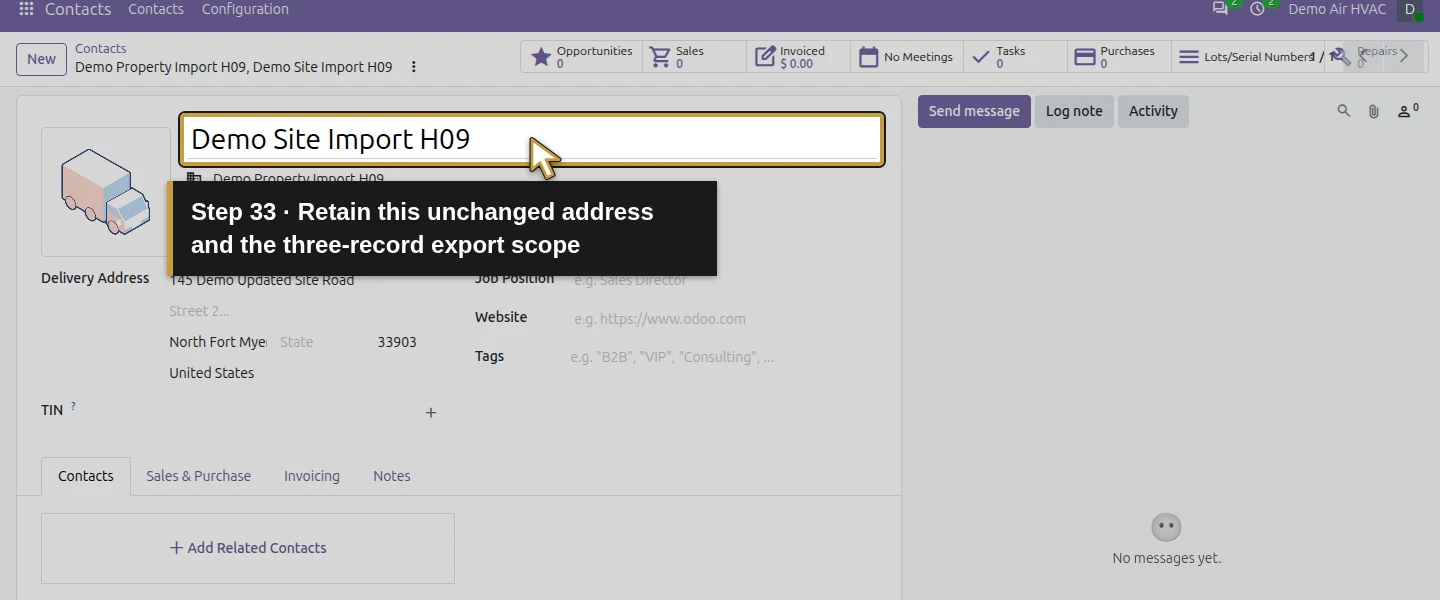
Close Export Data, clear the selection and switch to Kanban View. Open the Demo Site Import H09 card. Check Delivery Address, Related Company: Demo Property Import H09, Street: 145 Demo Updated Site Road, City: North Fort Myers and Country: United States. Compare those with the CSV’s delivery row and country_id/id: base.us. In this setup clicking a list row enters inline editing; use the Kanban card for this form check and leave the address unchanged.
Step 9. Label the handoff and retain its limits
Record the source model as Contacts, the H09 filter/three-record scope, extraction date, selected fields and intended review purpose. The files agree with the existing records and three External IDs; the owner-visible Contacts count remains eleven. No contact, role, timesheet, stock or financial record was changed by the export. A reviewed update would be a separate import with its own native Test and mapping checks. This spreadsheet does not include the database, filestore, attachments, chatter or every related record needed for recovery.
Check the result
The corrected native XLSX and CSV each contain three data rows and seven unique columns with identical ordered values. The existing H09 External IDs and child-to-parent relationships remain intact, including the updated service Street. Source contacts, the owner-visible count of eleven and all three External-ID mappings are unchanged; previous employee skills, timesheet and financial records are preserved. The earlier duplicate-id files remain historical intermediate evidence; this capture uses the corrected six-field selection with one download of each format. This is a verified record export, not an import or database restoration.
If your screen differs
The test covers the owner, Contacts, three existing records, the selected fields and this English-language runtime. It does not establish every model, field, locale or user’s export permission. Updatable fields only did not remove already selected defaults and automatically added the root id column during export; selecting External ID again produced a duplicate header in both files during the earlier verification. The corrected procedure selects only the six business fields and checks the actual output. Existing classification and English selection labels are retained, not silently repaired or converted. The workbook’s ZIP/XML structure, headers and values were checked; no desktop Excel rendering or round-trip import is claimed. Preserve identifiers for a reviewed future import, but use native Test and mapping checks before any update. These files do not replace a tested database/filestore backup.
Frequently asked questions
How do I export Odoo records to Excel or CSV?
In the verified Contacts list, filter and select the intended rows, then use Actions → Export. Review the fields and choose Excel Workbook (.xlsx) or Plain Text (.csv). The demonstrated six selected business fields plus the automatic id column produce three rows/seven unique columns in both formats. Compare the downloaded files with the native records.Which identifier should I keep in an Odoo export?
This tested Updatable fields only mode automatically includes id with the existing External ID, such as demoair_h09.delivery. Related Company/External ID retains the parent reference, and Country/External ID supplies base.us. Preserve these full text values. Do not select the root External ID again in this demonstrated mode: that produced duplicate id headers before the native correction.Can I restore Odoo from a contacts spreadsheet?
This export contains only three selected Contacts and the reviewed fields. It does not include the complete database, filestore, attachments, chatter or all related business records. No restoration or re-import was performed here; H72 separately covers the database-and-filestore recovery workflow.Continue building the business
Continue with How do I back up and restore an Odoo database? (guide coming later). Keep spreadsheet review/export and system recovery as separate workflows.
Talk to an Odoo partner
Bring your current process and the result you need to Onward to plan your Odoo workflow. Talk to an Odoo partner.