
Running an HVAC business with Odoo · Bank journals
How do I set up bank accounts and payment journals in Odoo?
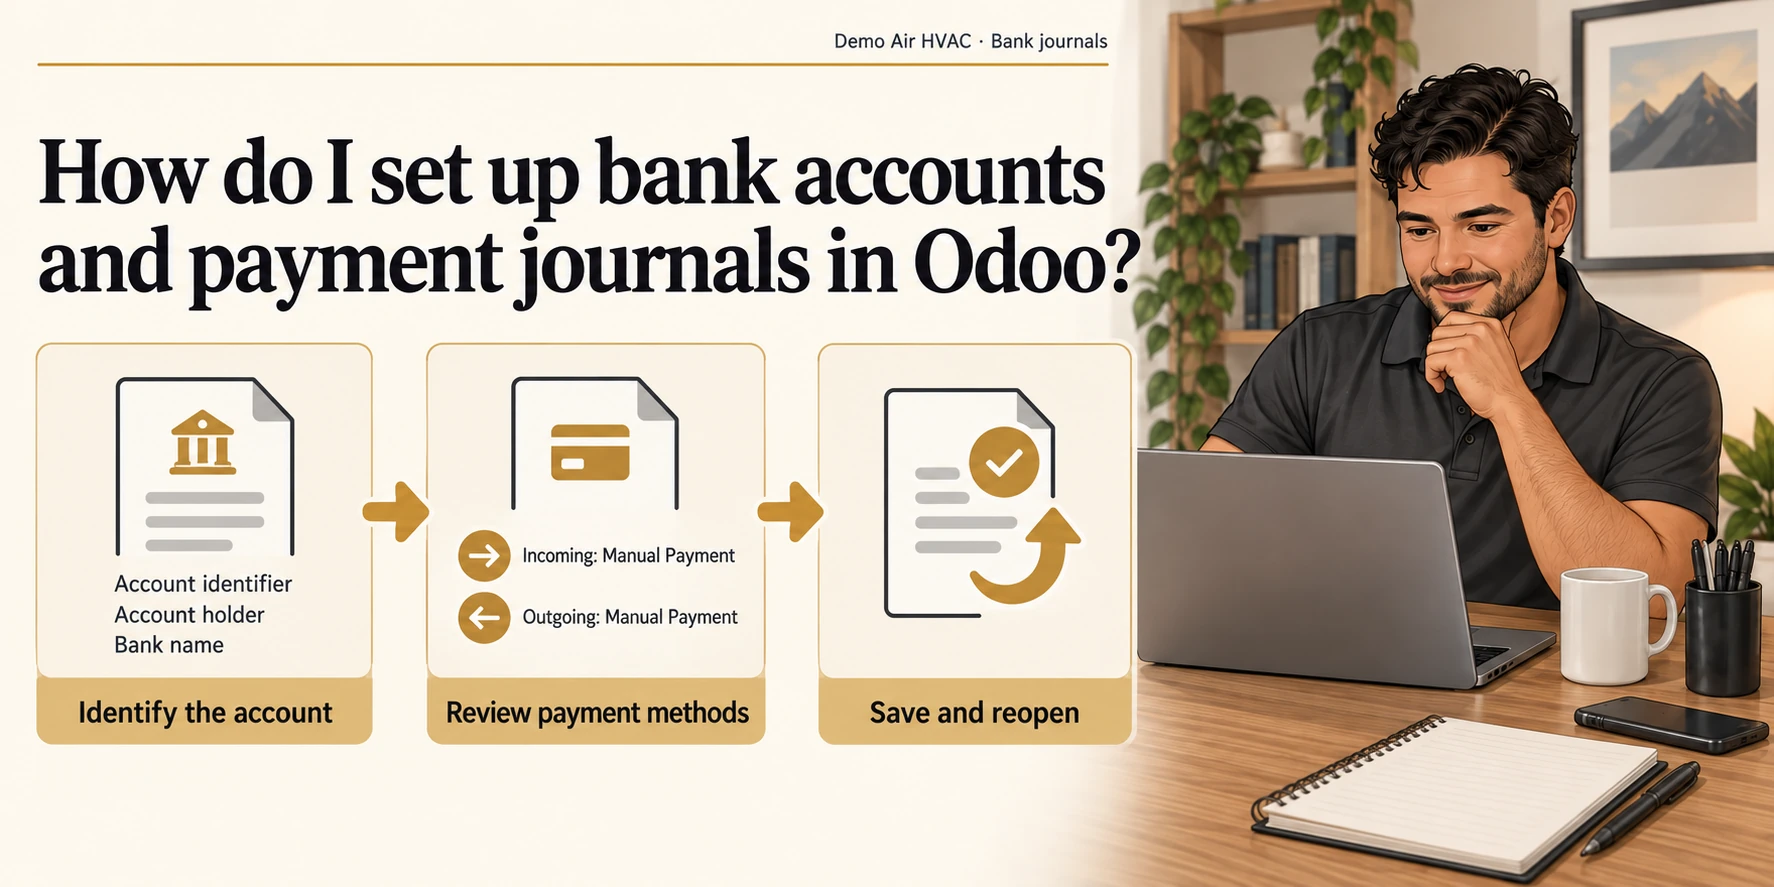
Open Invoicing > Configuration > Journals and select the existing Bank journal. Add the business’s bank-account details, save the account and journal, then review Incoming Payments and Outgoing Payments. Reopen both records to check the link.
A saved operating-bank journal linked to one bank-detail record, with the existing Manual Payment methods checked.
Alex Rivera runs Demo Air HVAC, a fictional heating and cooling business. He is organizing his bank configuration before recording customer or supplier payments. The account identifier and bank name below are unusable placeholders for this demo.
Follow the thirty-seven stepsBefore you begin
Complete the company-profile lesson and the US-invoicing setup in the series. This demo has the native Invoicing app, a US chart and USD company currency. Sign in with journal-configuration access; the walkthrough uses the owner administrator.
The screenshots show Odoo 20.0-20260926 Community, using stock fields and menus without Enterprise or customization. Its US setup already supplied a Bank journal. This lesson configures that existing journal rather than creating another one. The Journals list has no persistent New button in this configuration.
For a real business, obtain and review the actual account details from your bank. The demo uses DEMO-H73-ACCOUNT, Demo Air HVAC as holder and Demo Bank H73 as the institution label. Routing Number and BIC/SWIFT are blank. Trust bank account is unchecked during creation; saving the company journal automatically checks it in this build. These placeholders are for following the local tutorial; they are not payment instructions.
The current Invoicing form shows method names but hides account-mapping columns. The underlying demo methods have no outstanding accounts assigned. Payment recording, its accounting result and bank-activity confirmation remain separate lessons. This setup saves records; it does not establish a bank connection or demonstrate a transfer.
Open the existing Bank journal
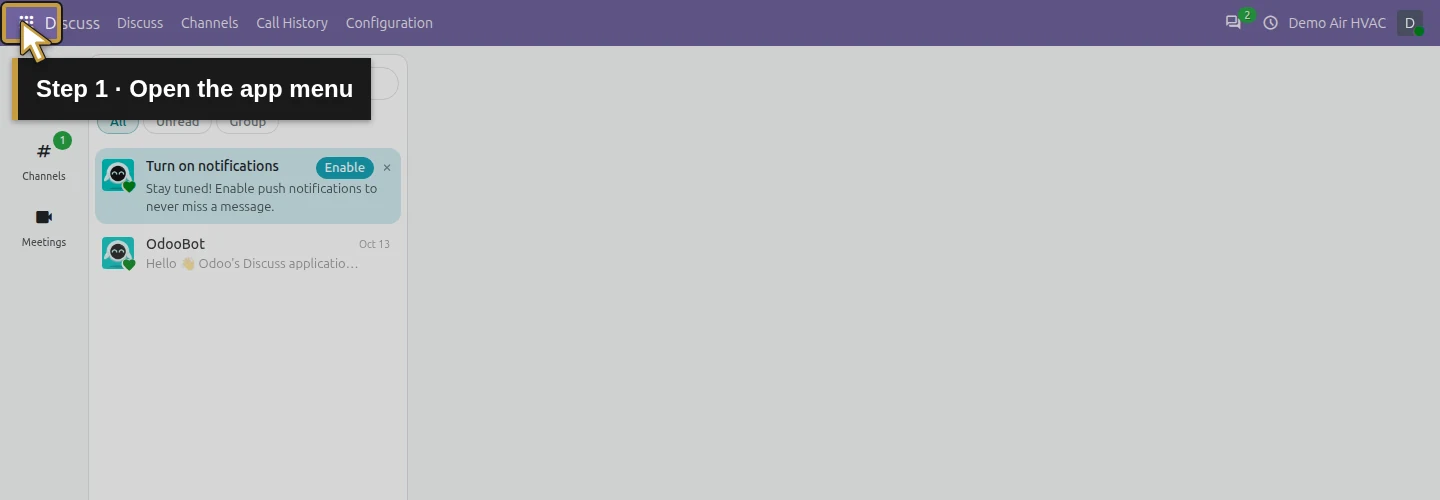
Step 1. Open the app menu
Click the grid-shaped app menu at the top left.
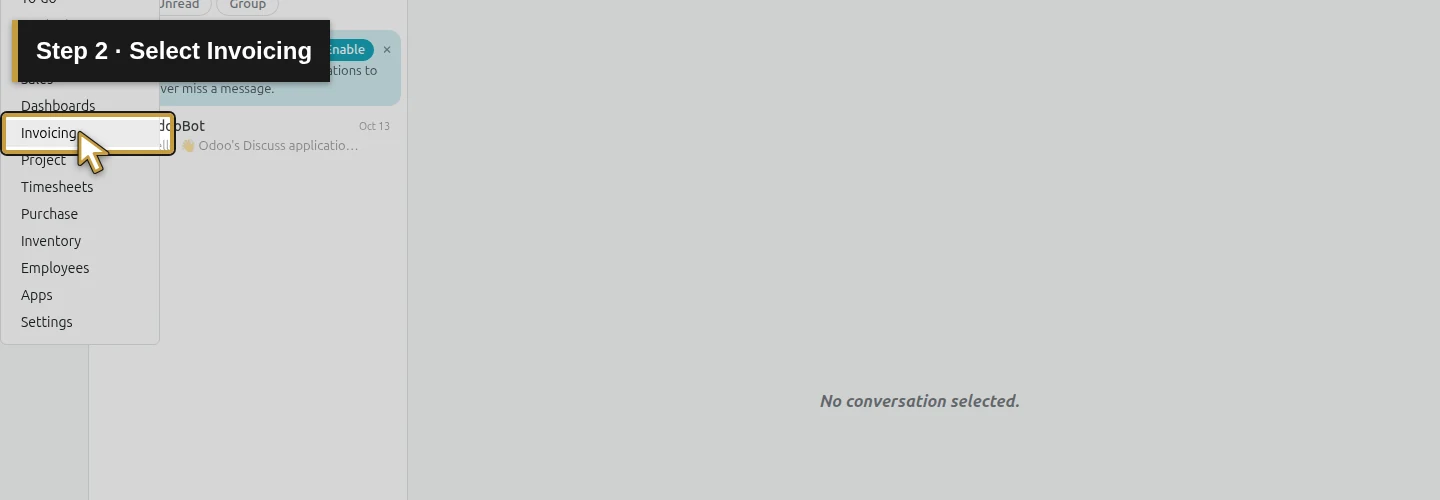
Step 2. Select Invoicing
Choose Invoicing and wait for its menu.
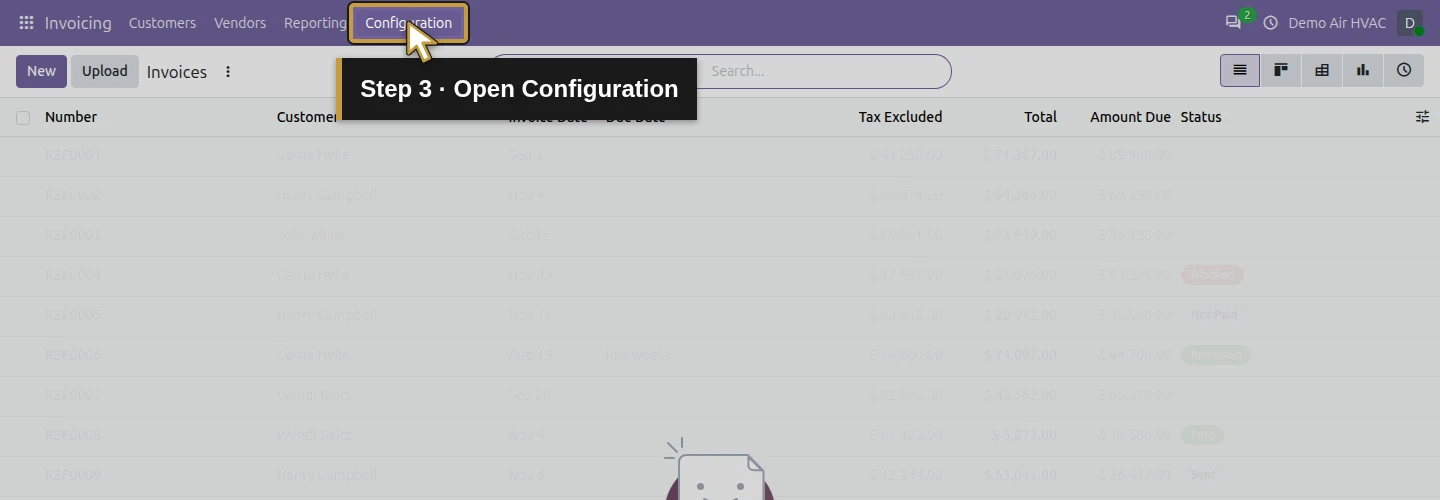
Step 3. Open Configuration
Click Configuration.
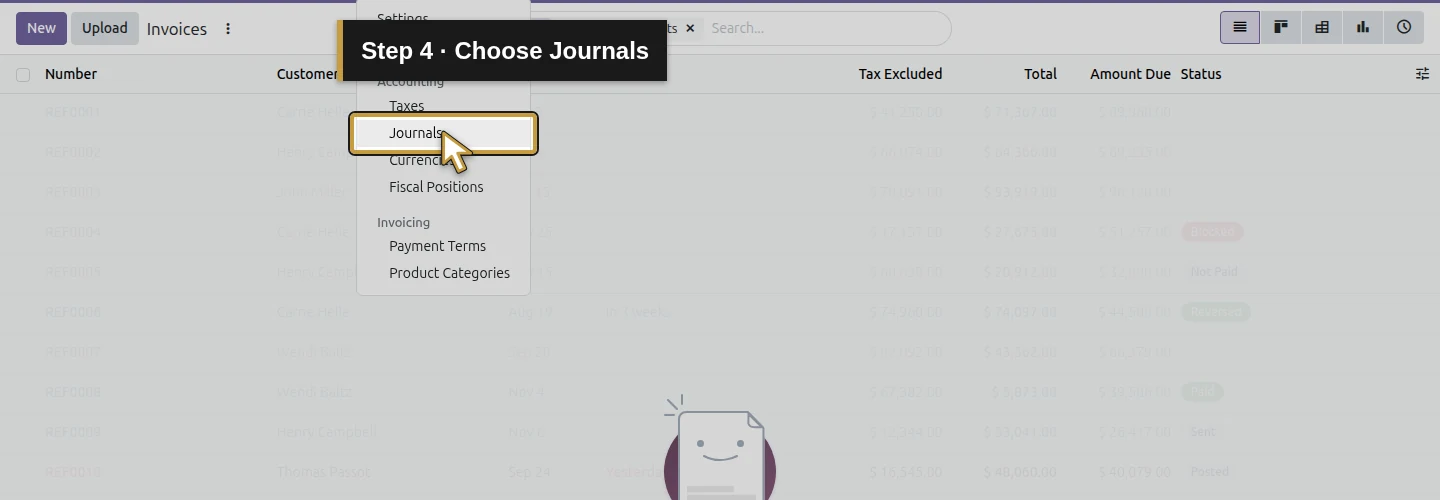
Step 4. Choose Journals
Choose Journals under Accounting. This demo has seven existing journals.
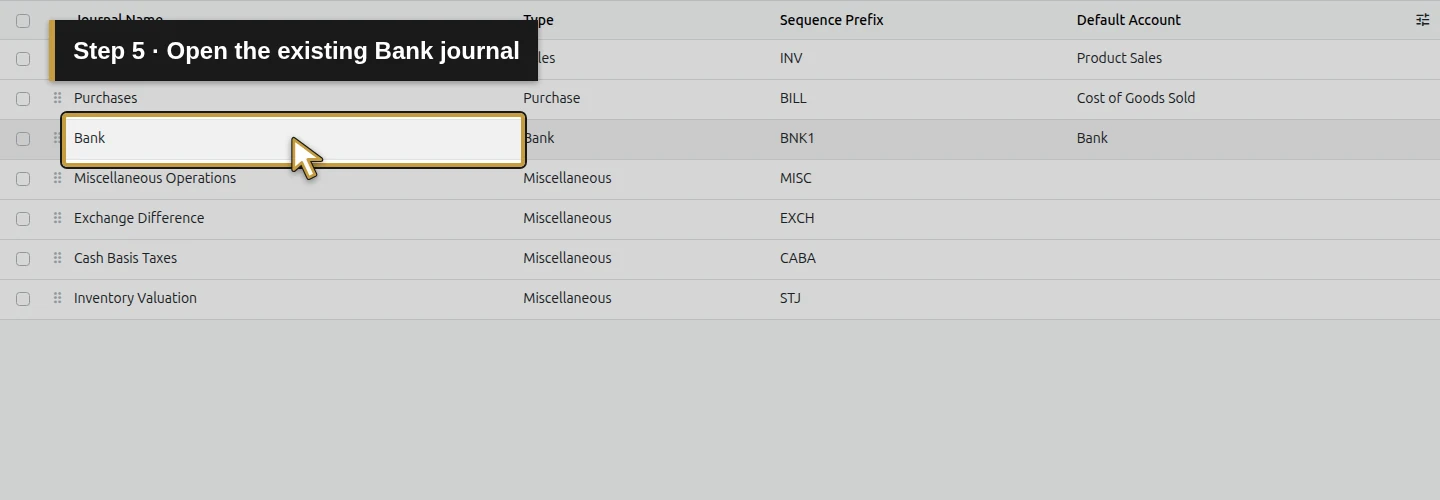
Step 5. Open the existing Bank journal
Click the Bank name in the journal list. This is the journal supplied by the earlier US setup.
Name the journal and prepare bank details
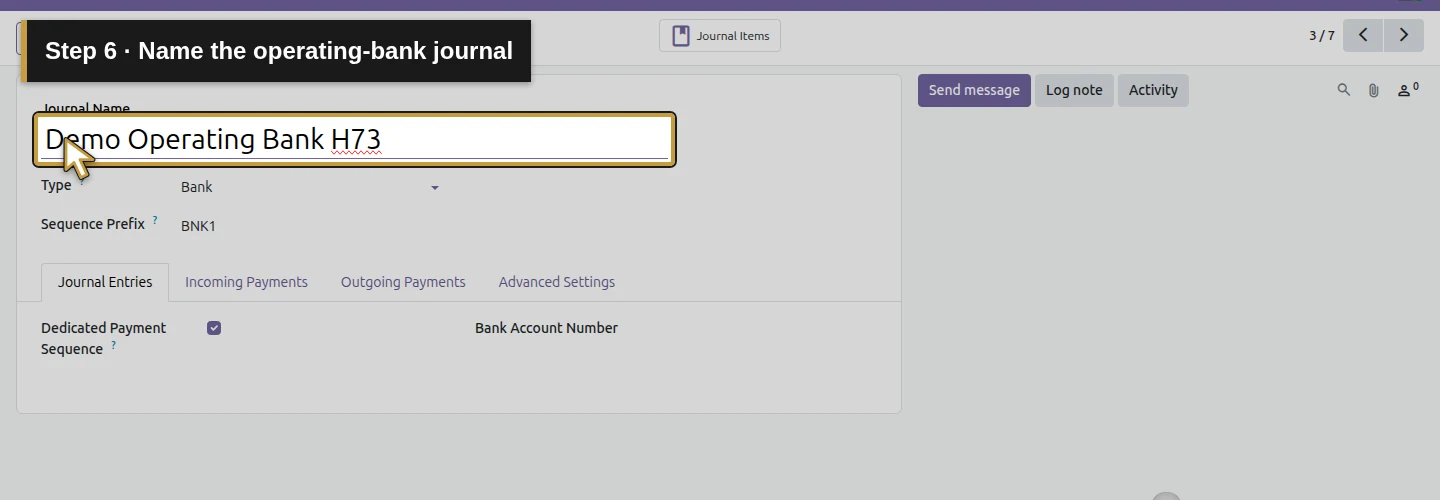
Step 6. Name the operating-bank journal
Enter Demo Operating Bank H73 in Journal Name. In your own business, use a name that identifies the account.
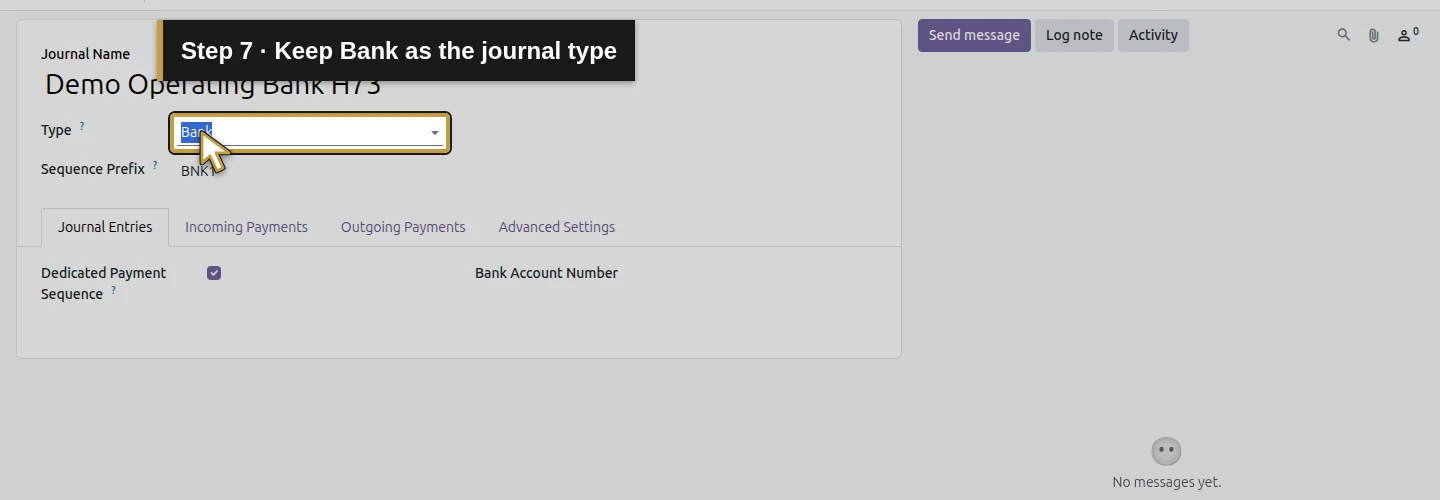
Step 7. Keep Bank as the journal type
Check that Type remains Bank.
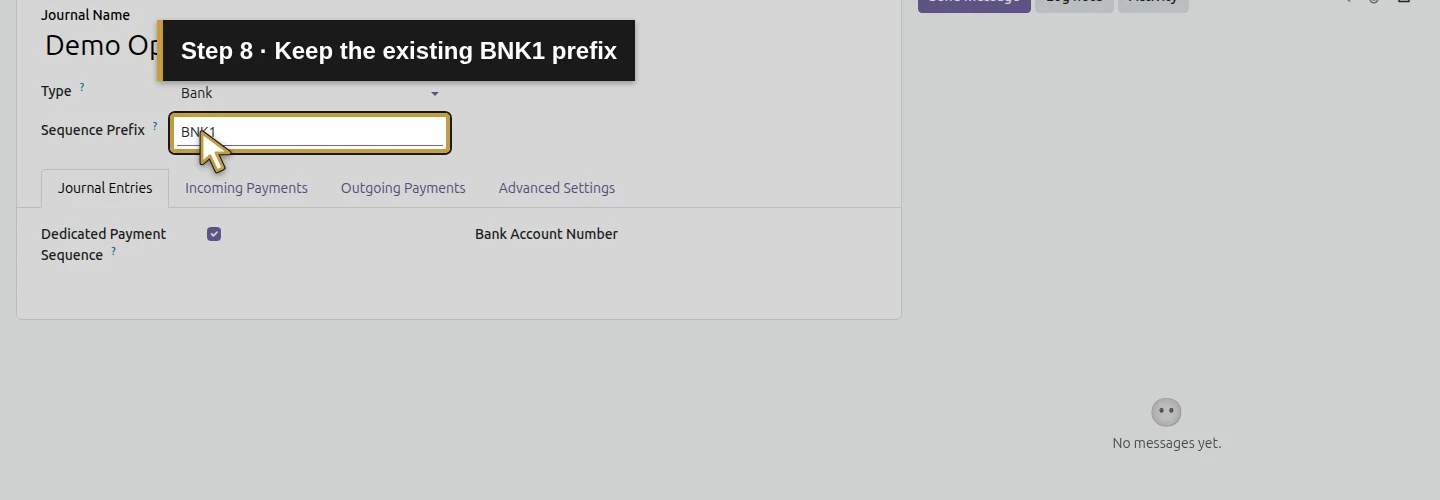
Step 8. Keep the existing BNK1 prefix
Check that Sequence Prefix remains BNK1. This example keeps the existing prefix.
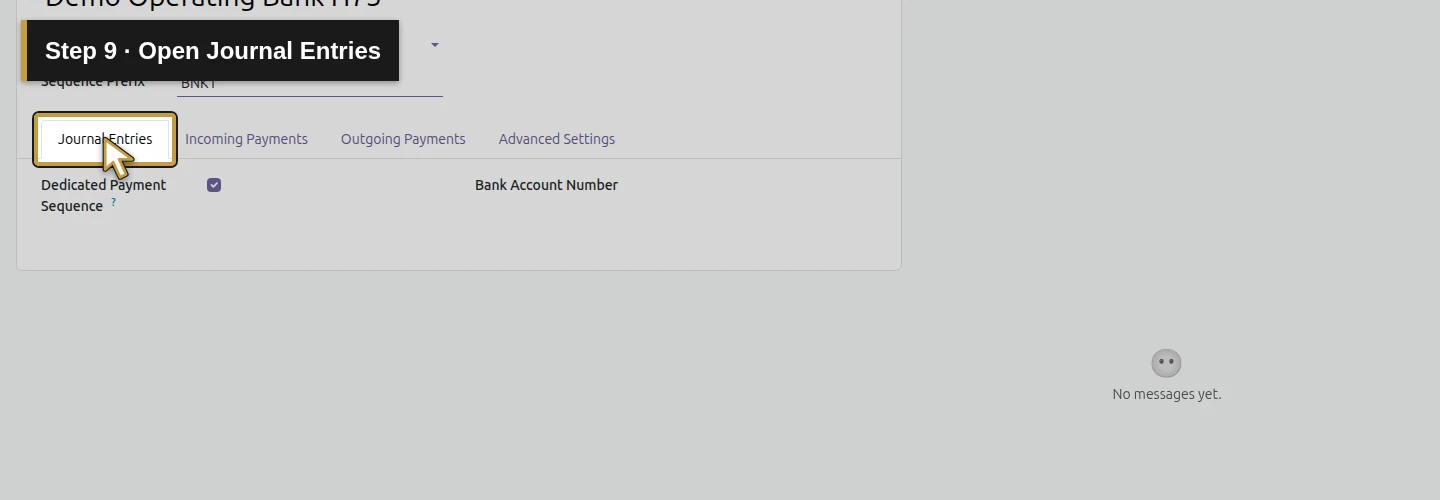
Step 9. Open Journal Entries
Open the Journal Entries tab and find Bank Account Number.
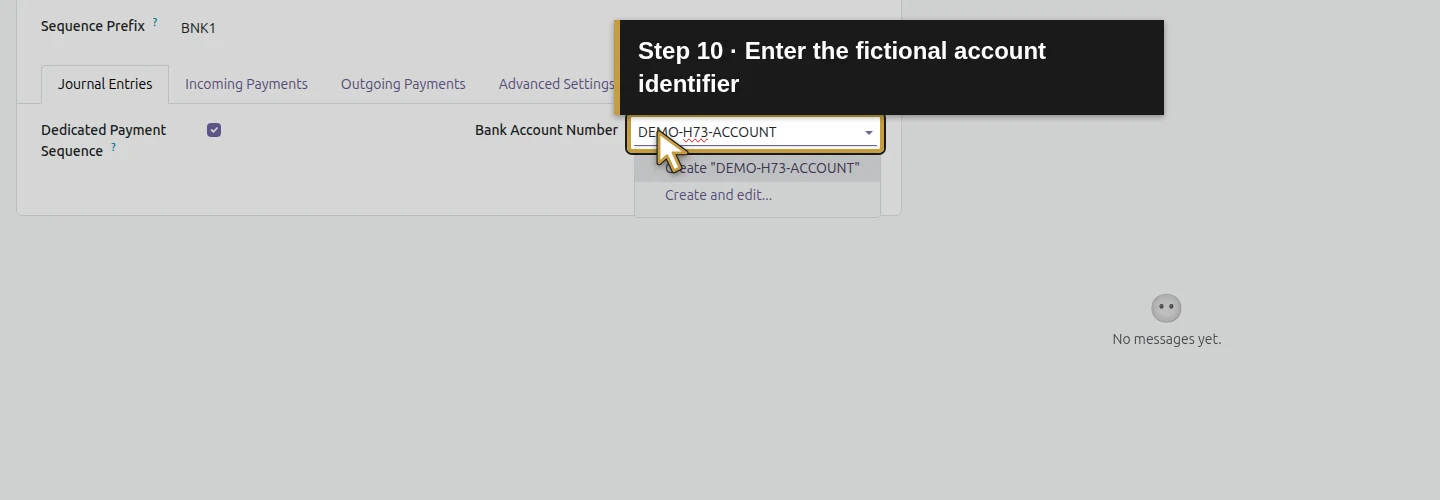
Step 10. Enter the fictional account identifier
Enter the fictional identifier DEMO-H73-ACCOUNT in Bank Account Number.
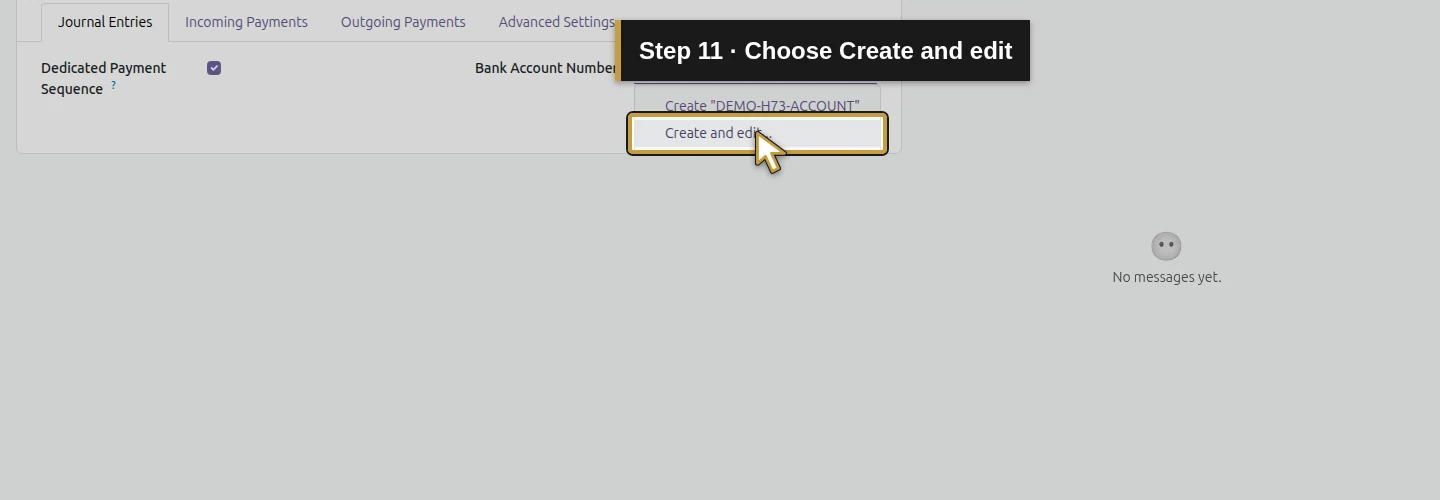
Step 11. Choose Create and edit
Choose Create and edit... from the suggestions. This opens the bank-detail form.
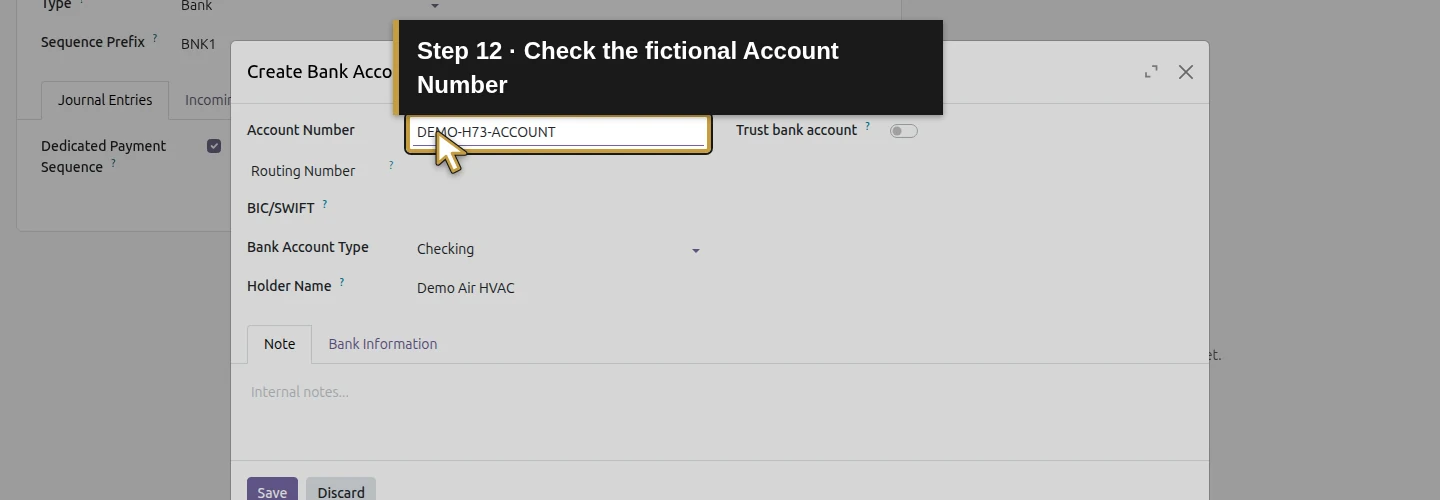
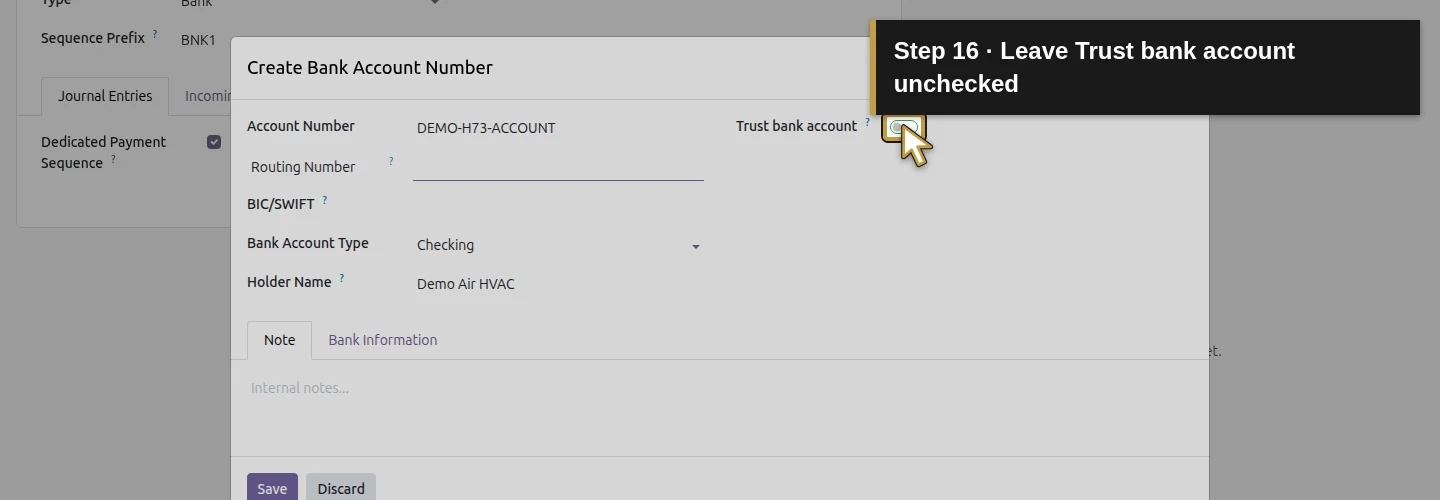
Step 12. Check the fictional Account Number
Check that Account Number contains DEMO-H73-ACCOUNT in the dialog.
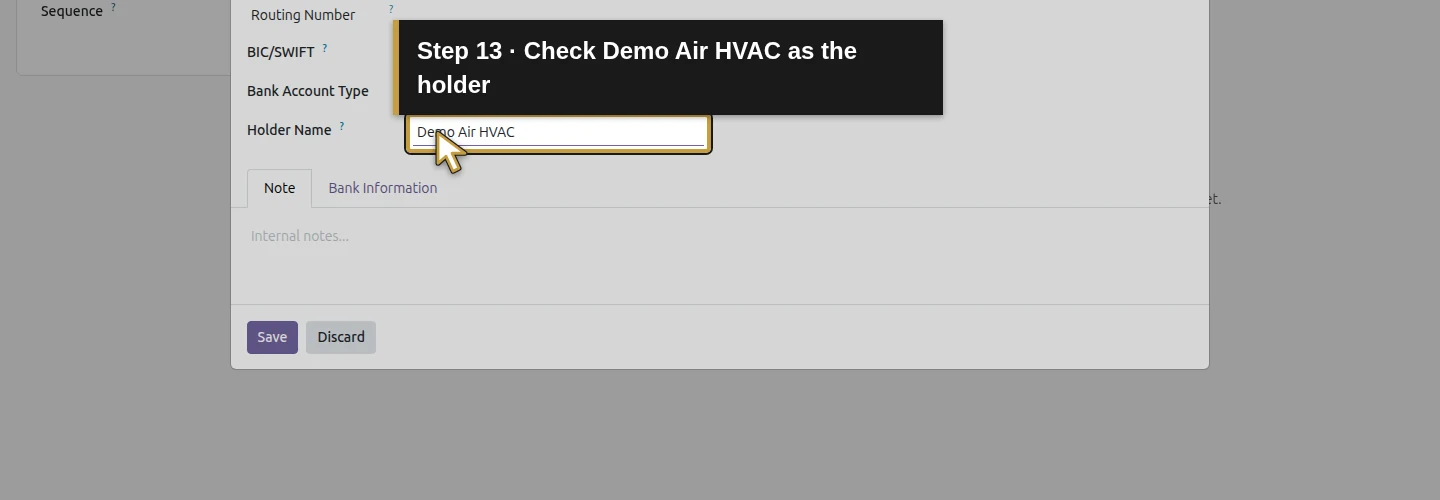
Step 13. Check Demo Air HVAC as the holder
Check Holder Name: Demo Air HVAC, prefilled from the company in this demo.
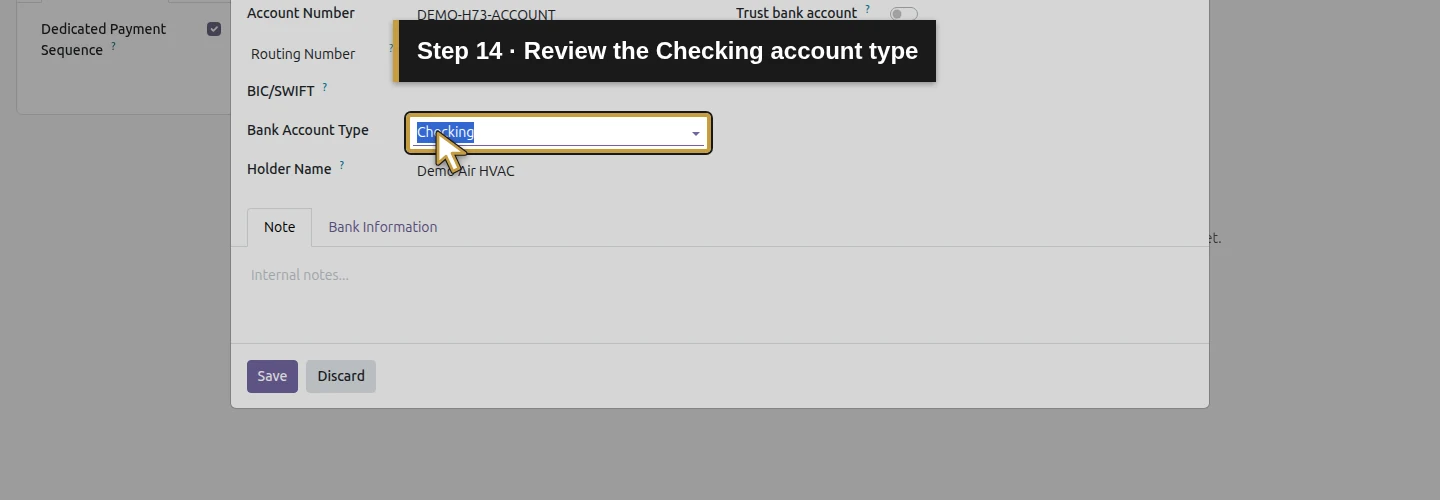
Step 14. Review the Checking account type
Review Bank Account Type: Checking, shown by this demo’s US localization. Use the appropriate actual type for your account.
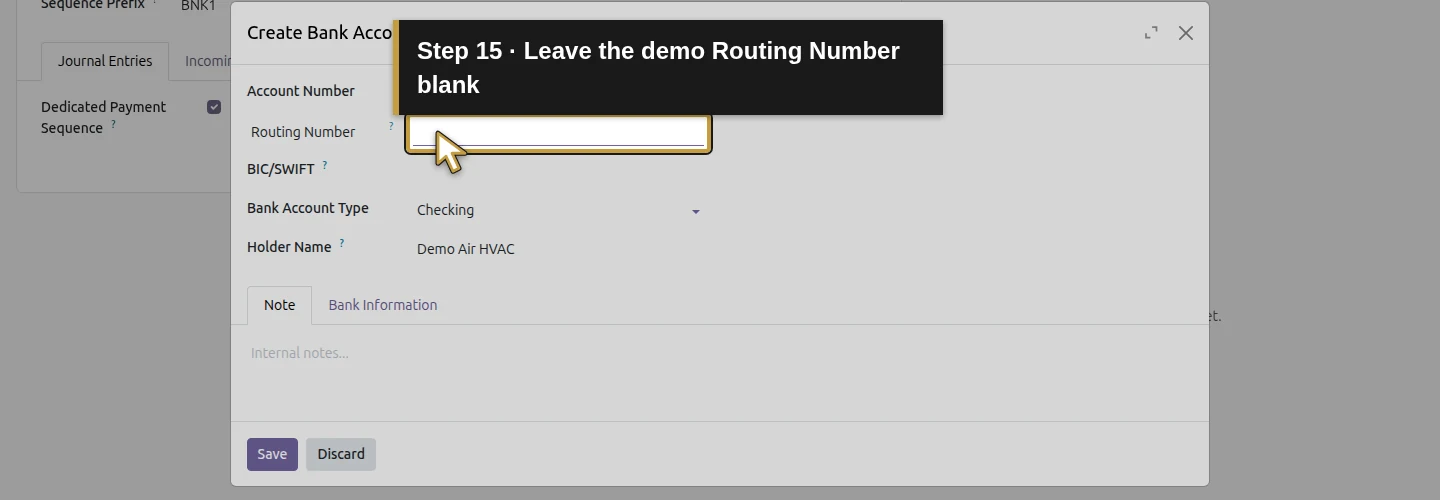
Step 15. Leave the demo Routing Number blank
Leave Routing Number blank for this fictional record. Use reviewed bank-provided details in a real setup.
Step 16. Leave Trust bank account unchecked
Check that Trust bank account is unchecked. This walkthrough keeps the unusable placeholder account untrusted.
Save the bank details and journal
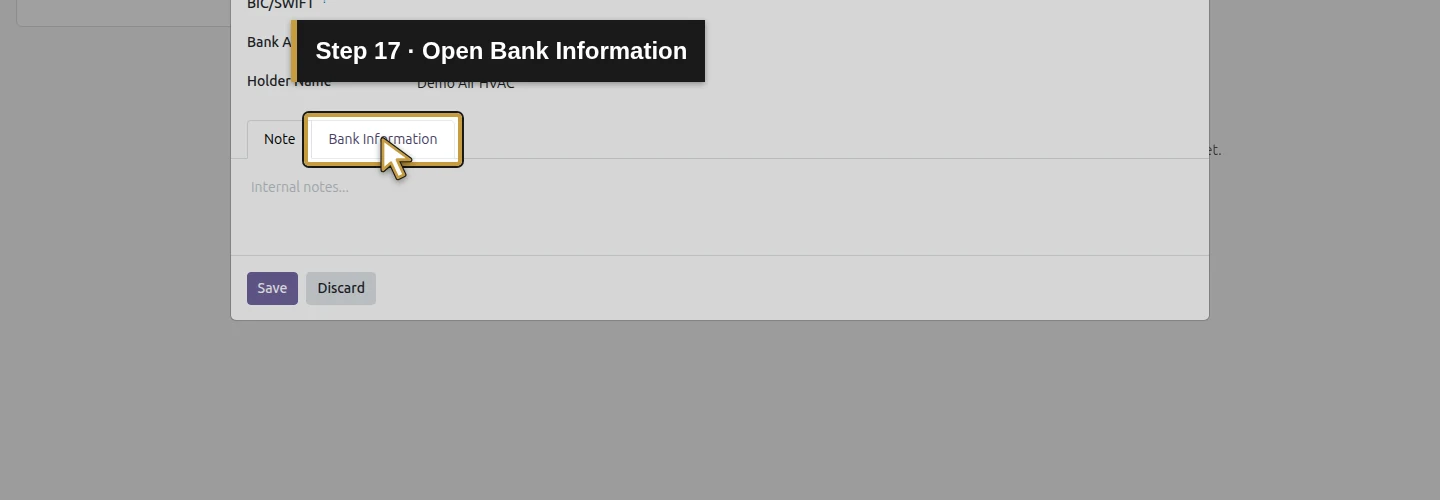
Step 17. Open Bank Information
Open the dialog’s Bank Information tab.
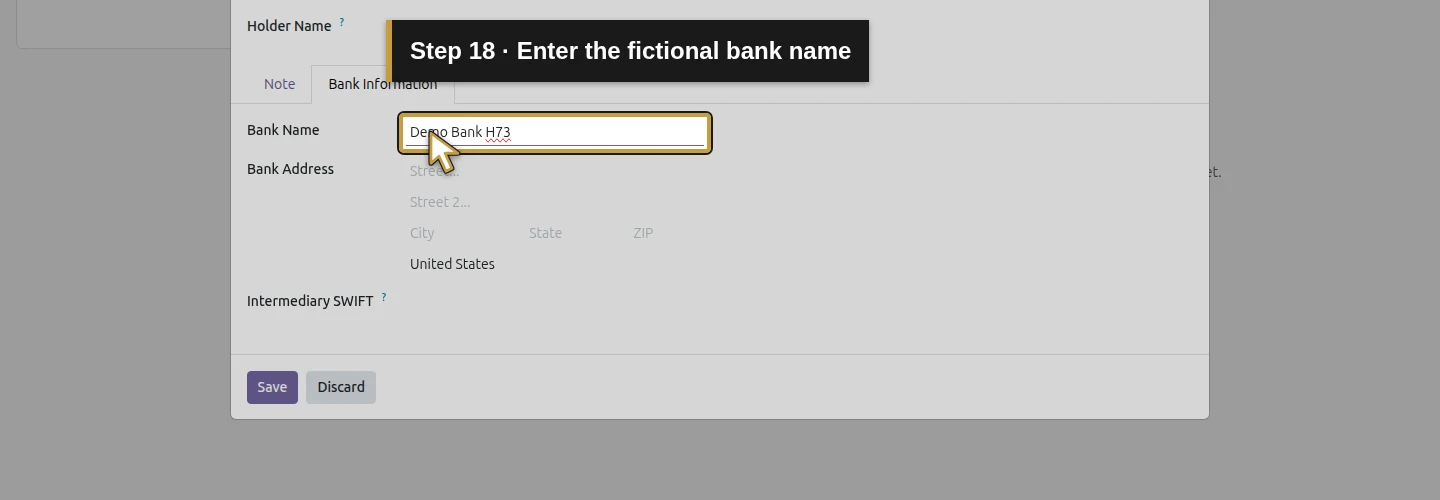
Step 18. Enter the fictional bank name
Enter Demo Bank H73 in Bank Name. This is a fictional institution label.
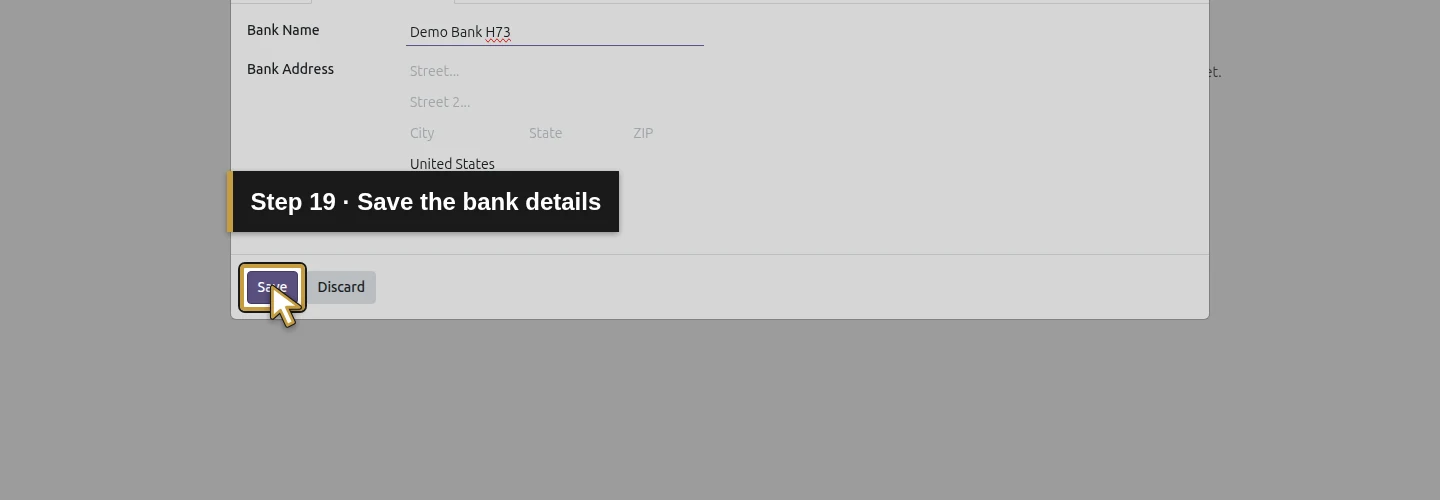
Step 19. Save the bank details
Click the dialog’s Save button. It creates the bank-detail record and returns to the journal draft.
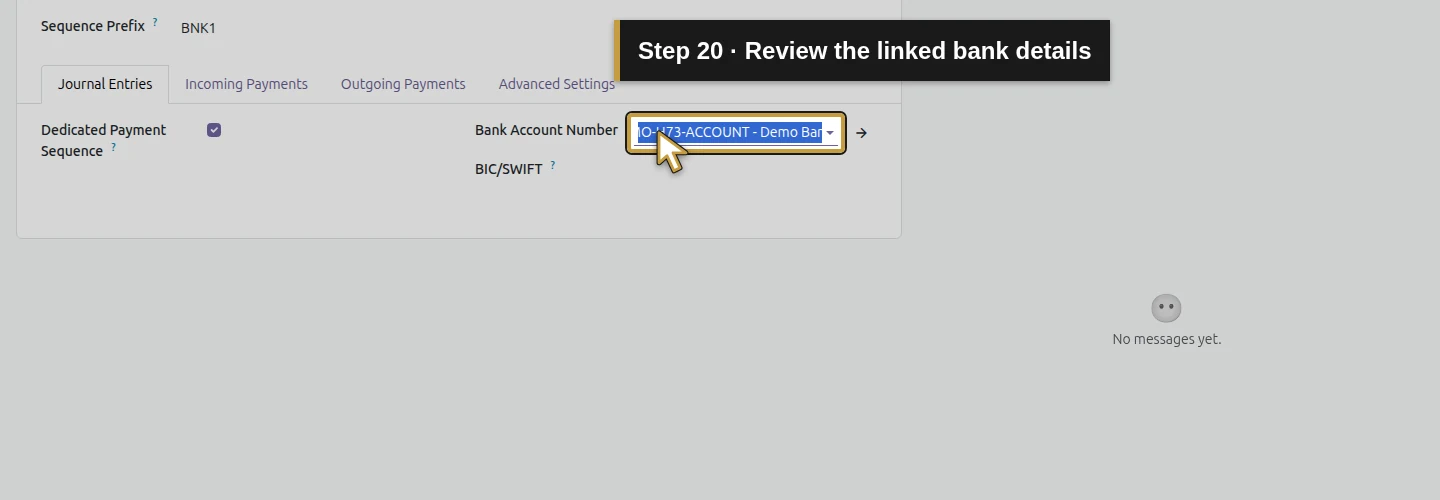
Step 20. Review the linked bank details
Review Bank Account Number, which now displays DEMO-H73-ACCOUNT - Demo Bank H73. The journal still needs its own Save.
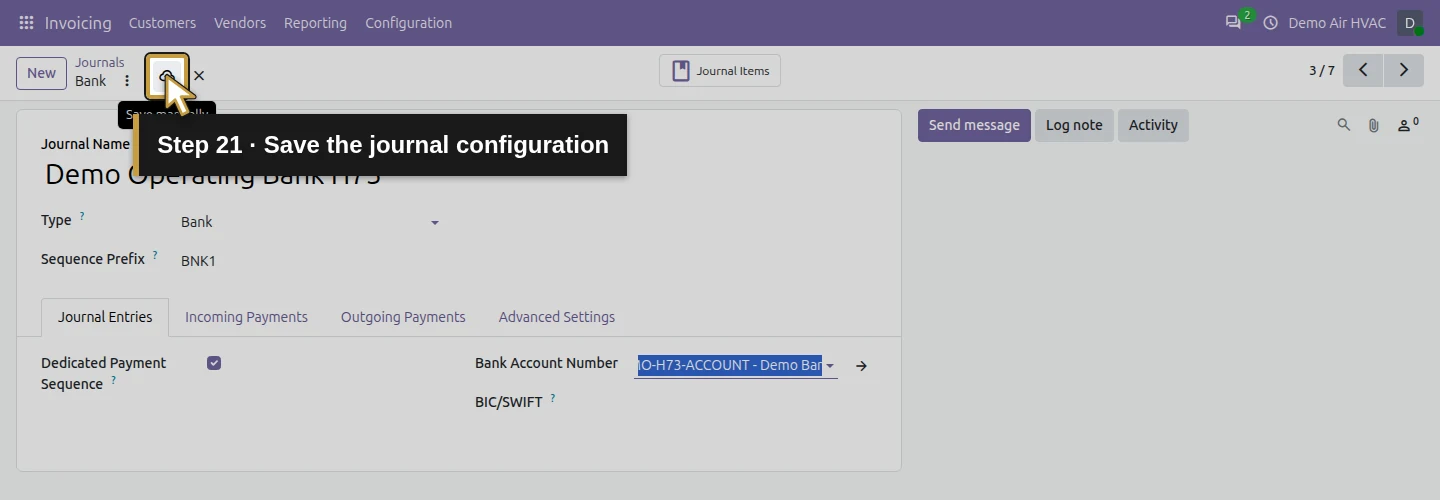
Step 21. Save the journal configuration
Click the cloud-shaped Save manually control beside the breadcrumb to save the journal name and bank link.
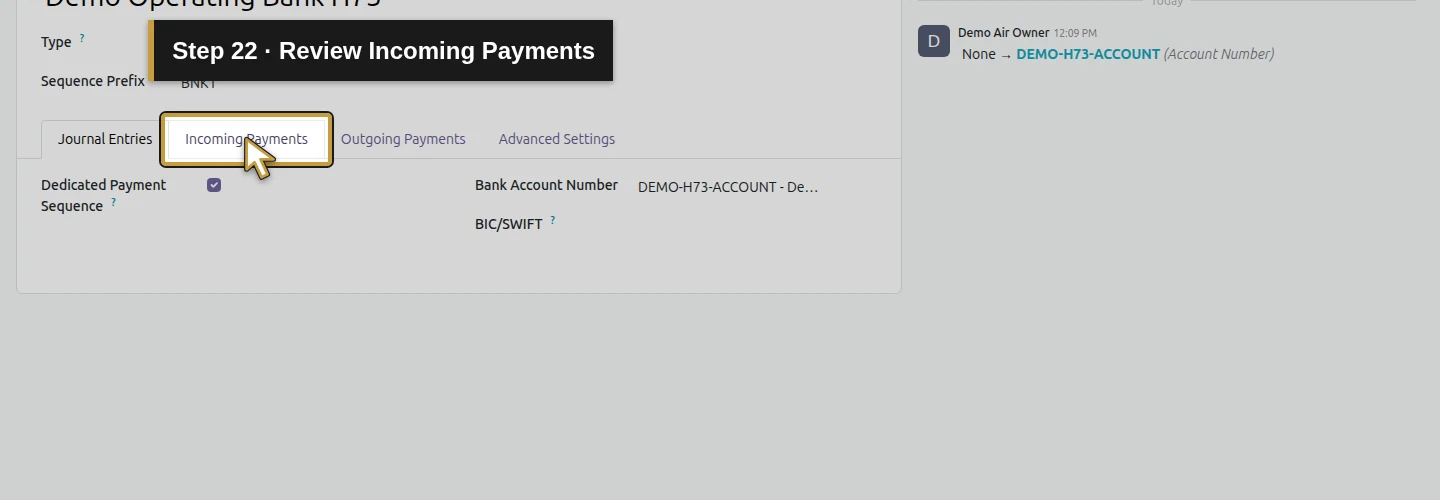
Review manual payment methods
Step 22. Review Incoming Payments
Open Incoming Payments.
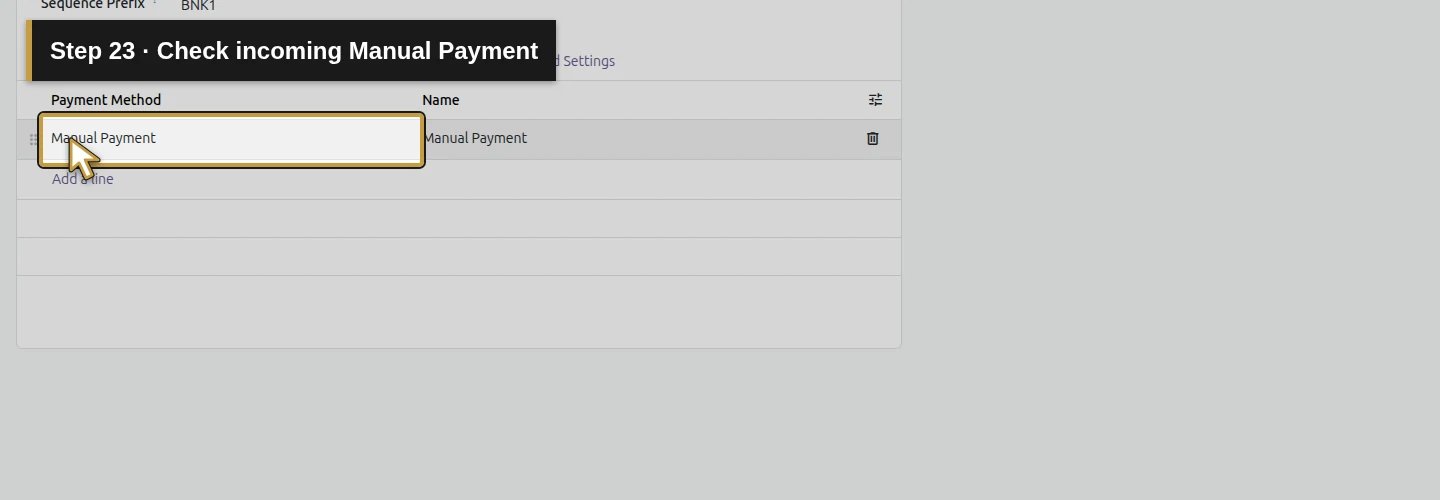
Step 23. Check incoming Manual Payment
Check the Manual Payment entry in the Payment Method column. This is the existing incoming method in the demo.
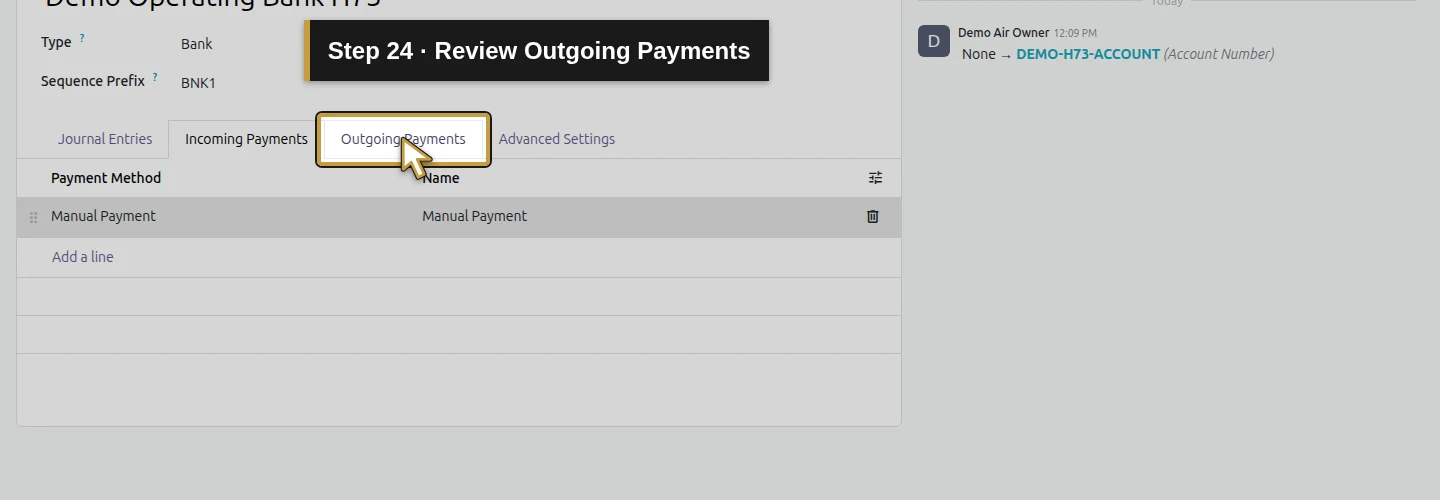
Step 24. Review Outgoing Payments
Open Outgoing Payments.
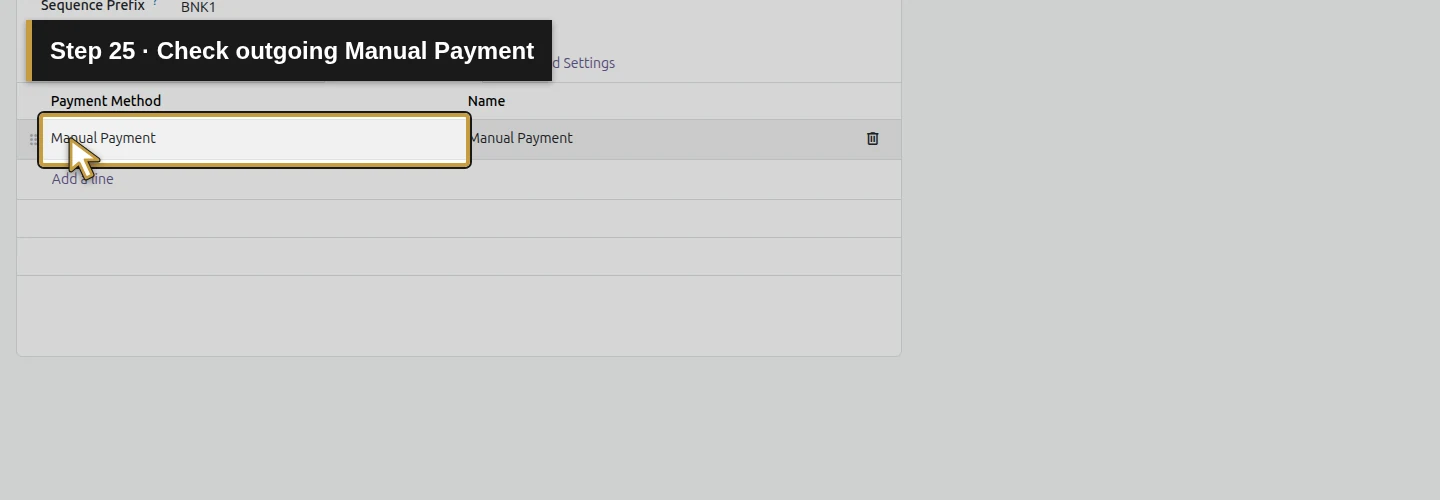
Step 25. Check outgoing Manual Payment
Check its existing Manual Payment entry too. No electronic payment provider is configured by this walkthrough.
Reopen both saved records
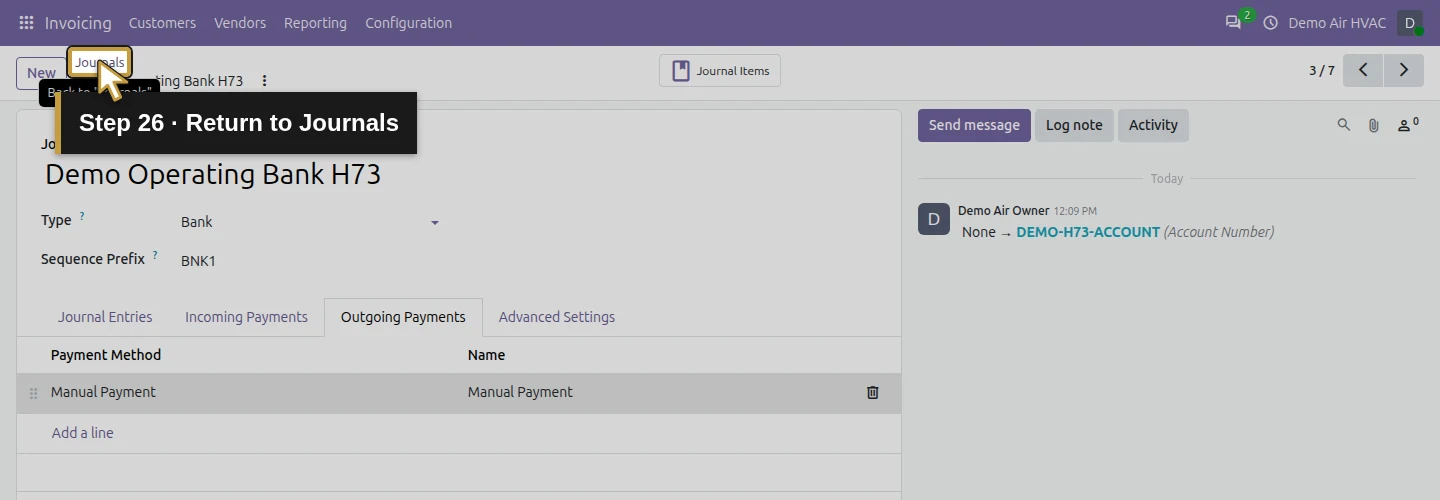
Step 26. Return to Journals
Use the Journals breadcrumb to return to the list.
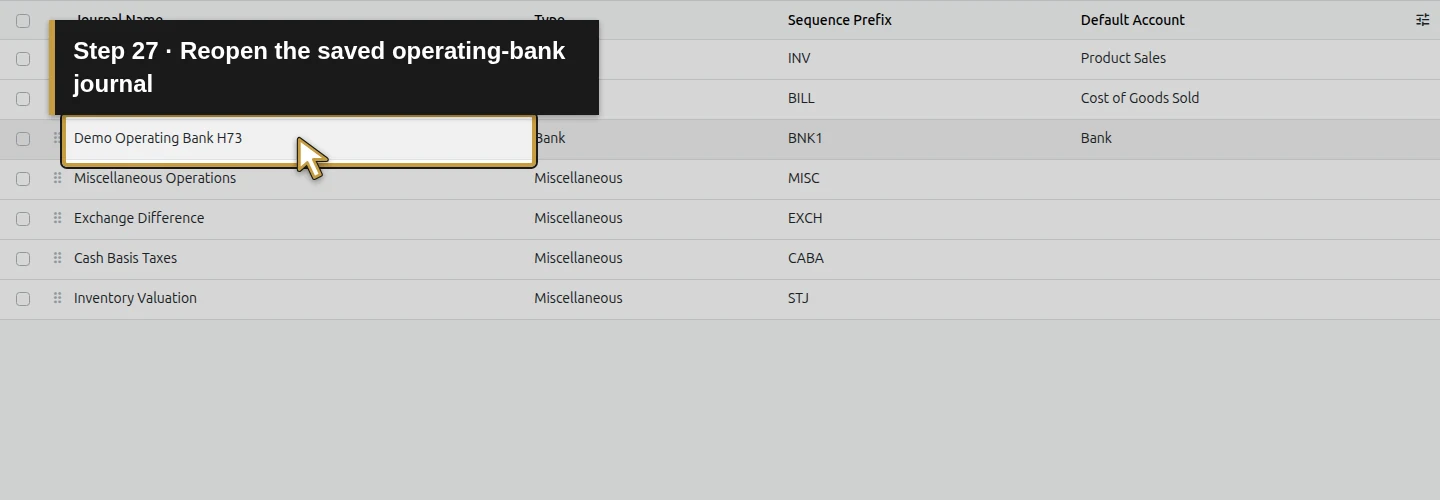
Step 27. Reopen the saved operating-bank journal
Click the exact Demo Operating Bank H73 name to reopen the saved journal.
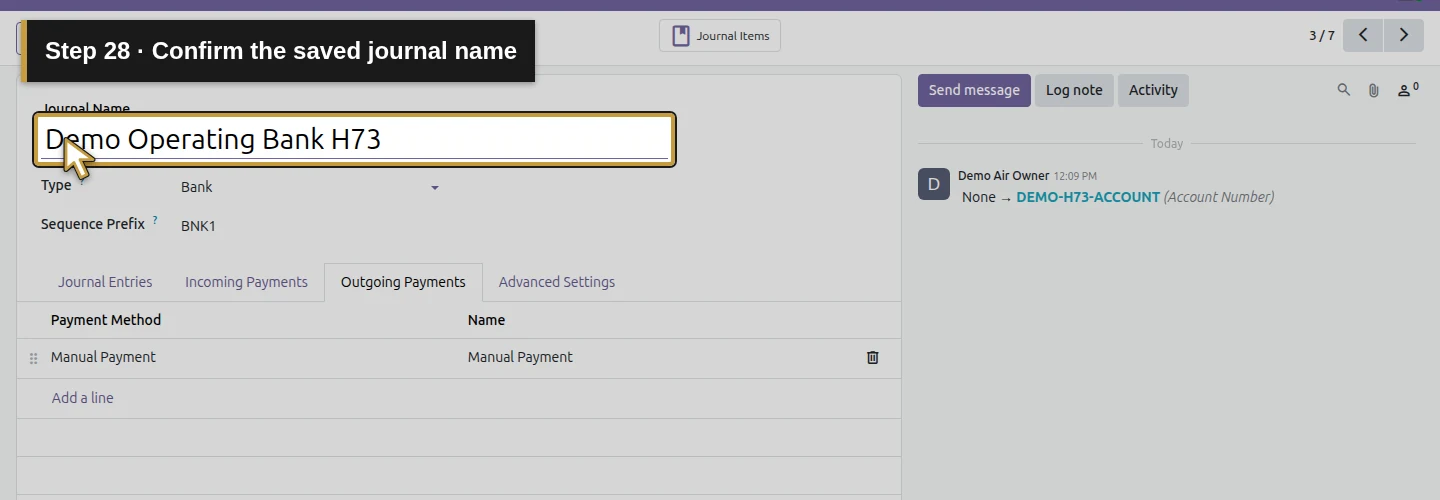
Step 28. Confirm the saved journal name
Check that Journal Name remains Demo Operating Bank H73.
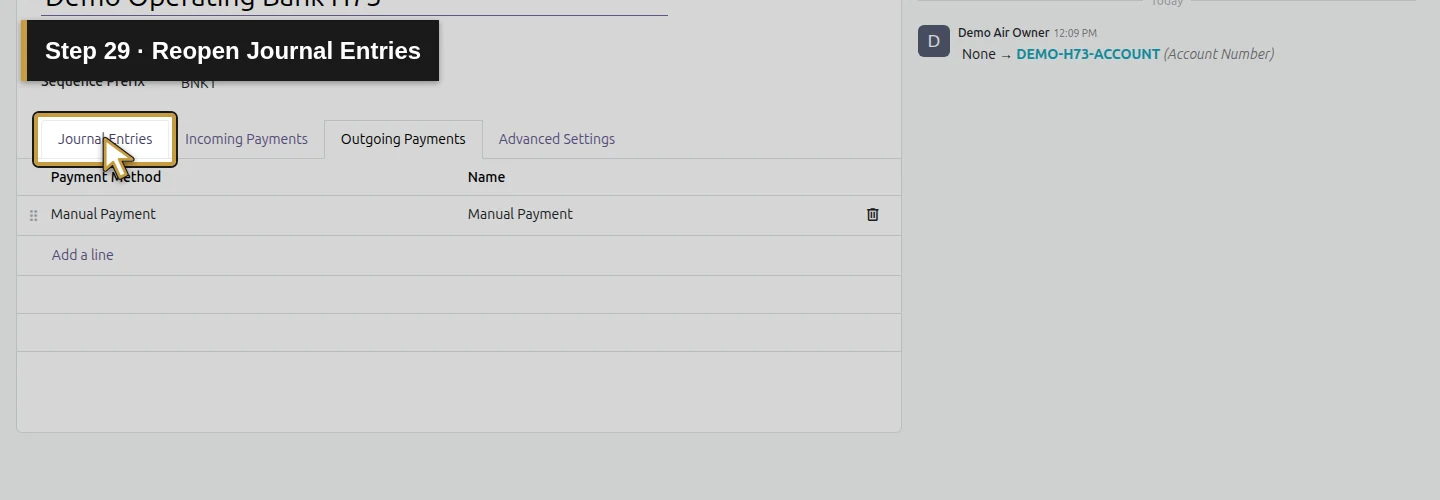
Step 29. Reopen Journal Entries
Open Journal Entries again.
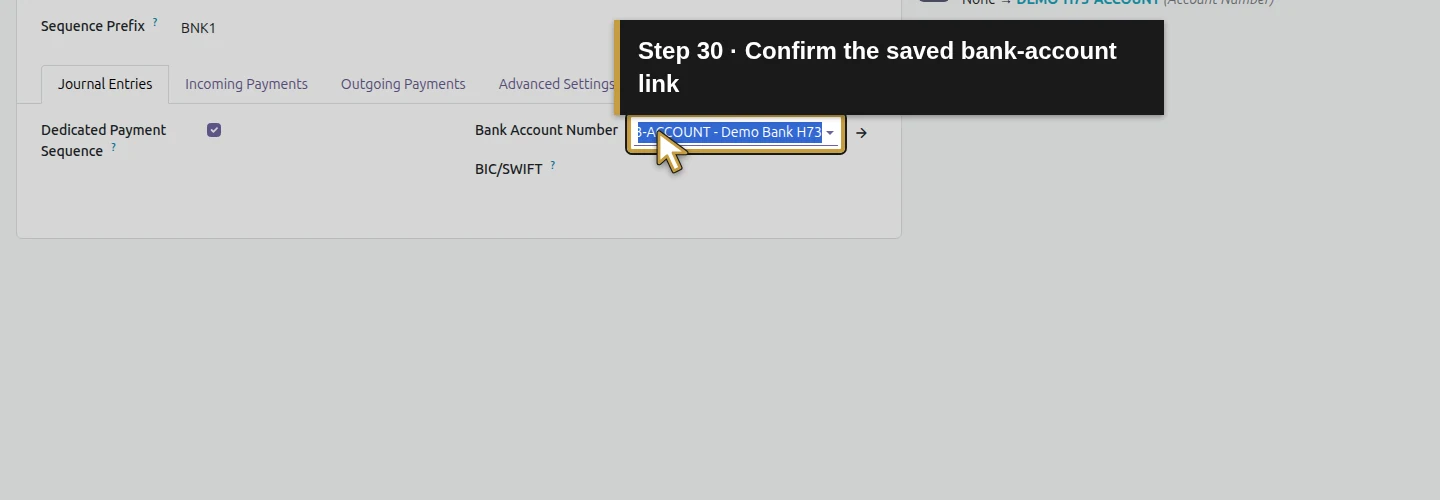
Step 30. Confirm the saved bank-account link
Check that Bank Account Number still contains the linked fictional account and bank name.
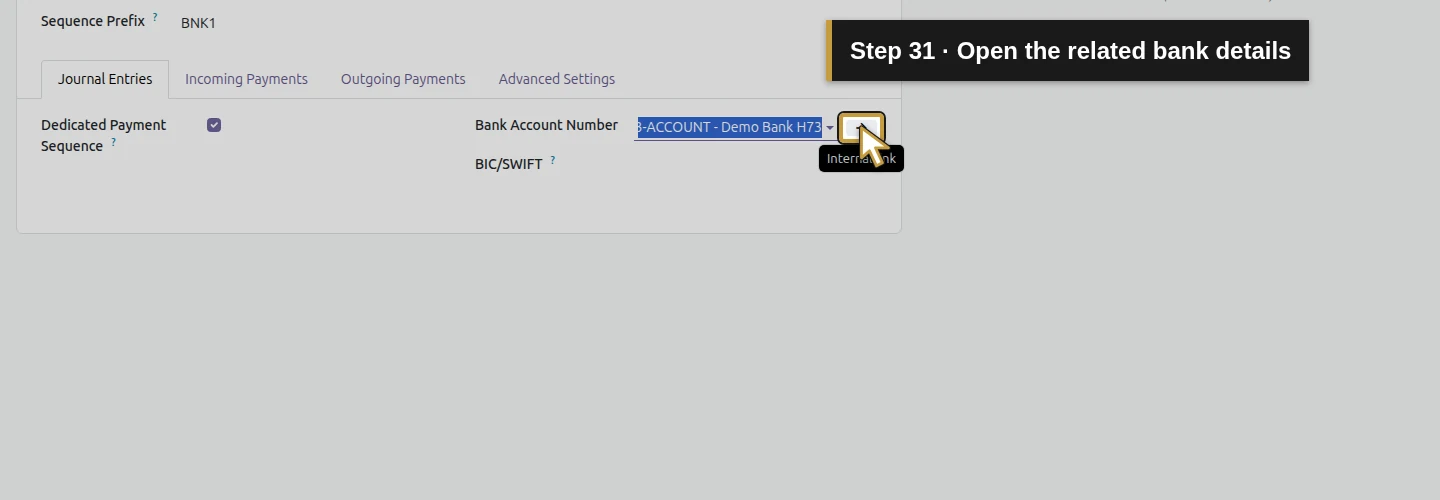
Step 31. Open the related bank details
Click the small Internal link button beside Bank Account Number to open the related bank-detail record.
Step 32. Confirm the saved Account Number
Check that the saved Account Number remains DEMO-H73-ACCOUNT.
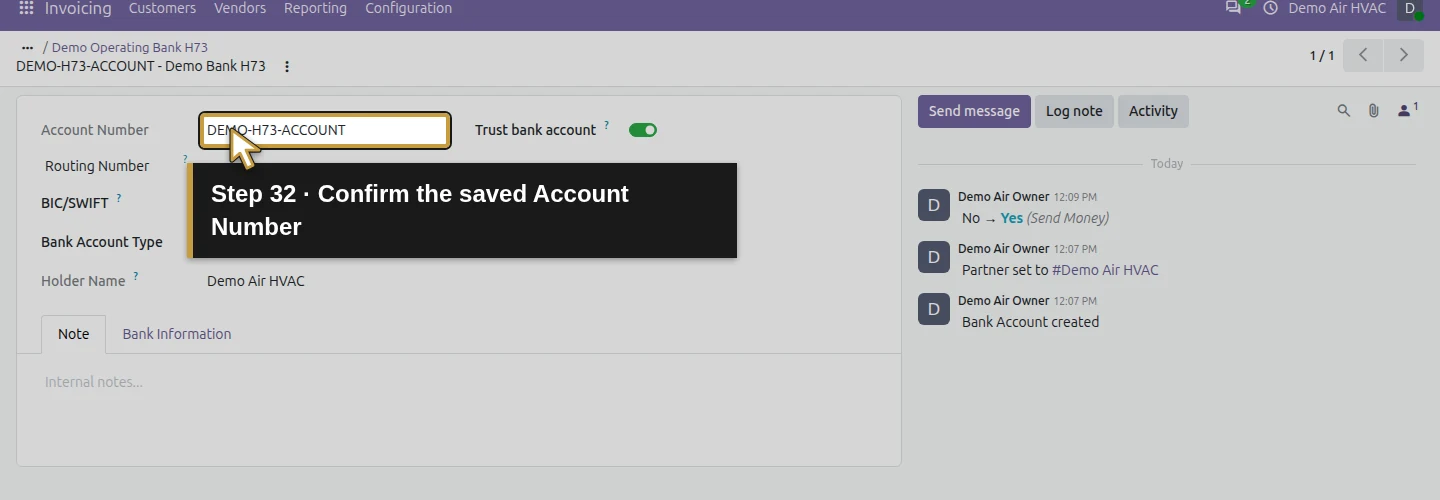
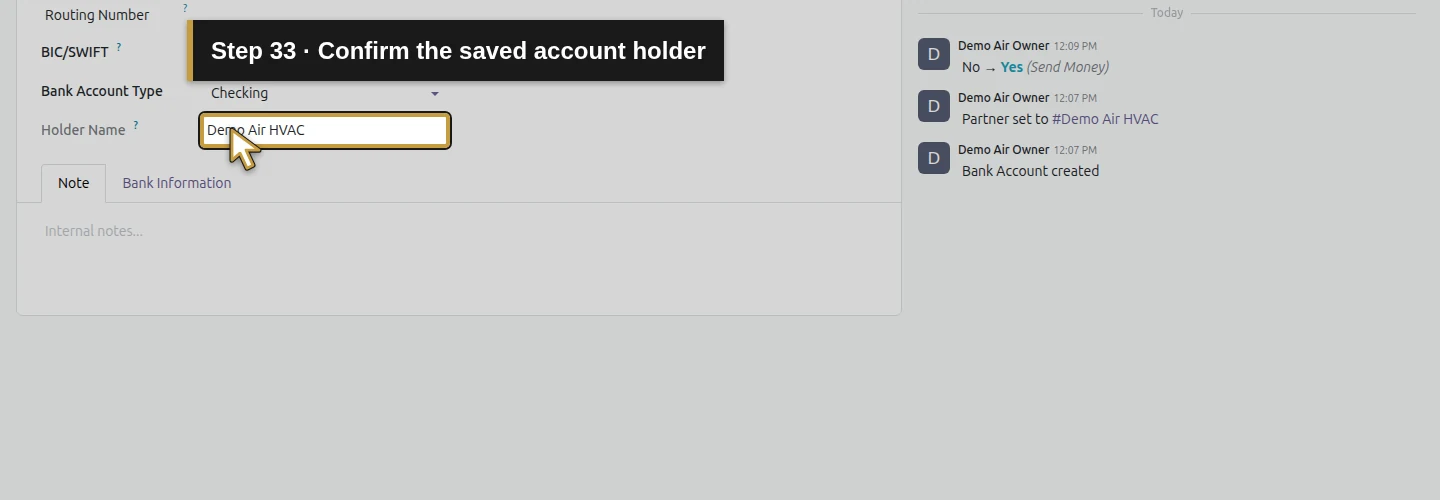
Step 33. Confirm the saved account holder
Check that the saved Holder Name remains Demo Air HVAC.
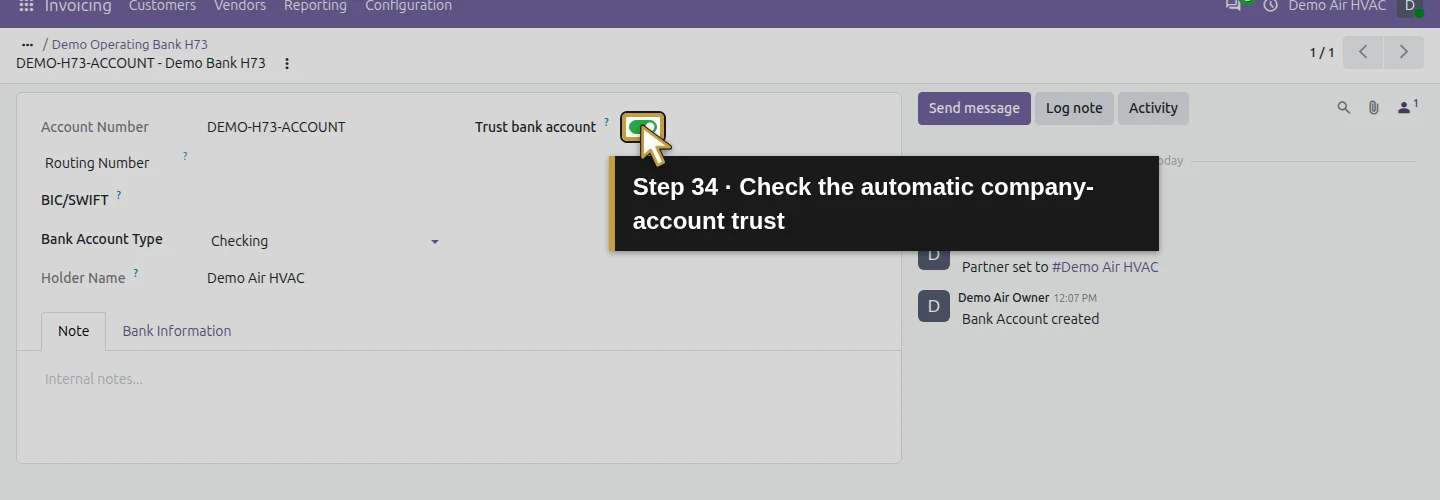
Step 34. Check the automatic company-account trust
Check that Trust bank account is now checked. The native journal Save automatically trusted this company-owned account; no checkbox toggle was recorded.
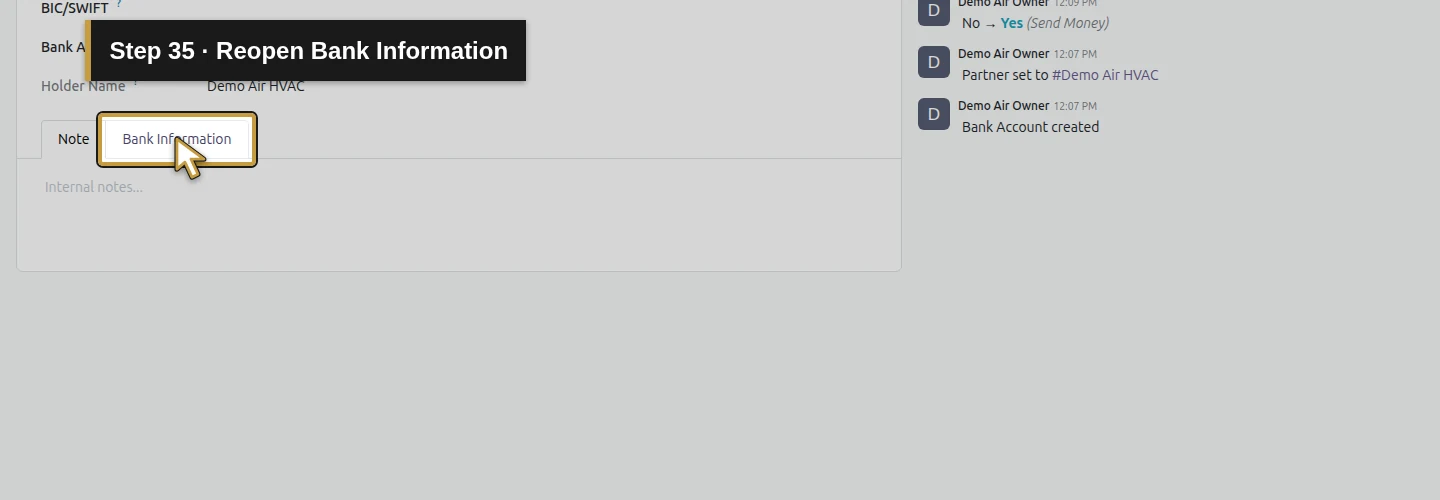
Step 35. Reopen Bank Information
Open Bank Information on the saved bank record.
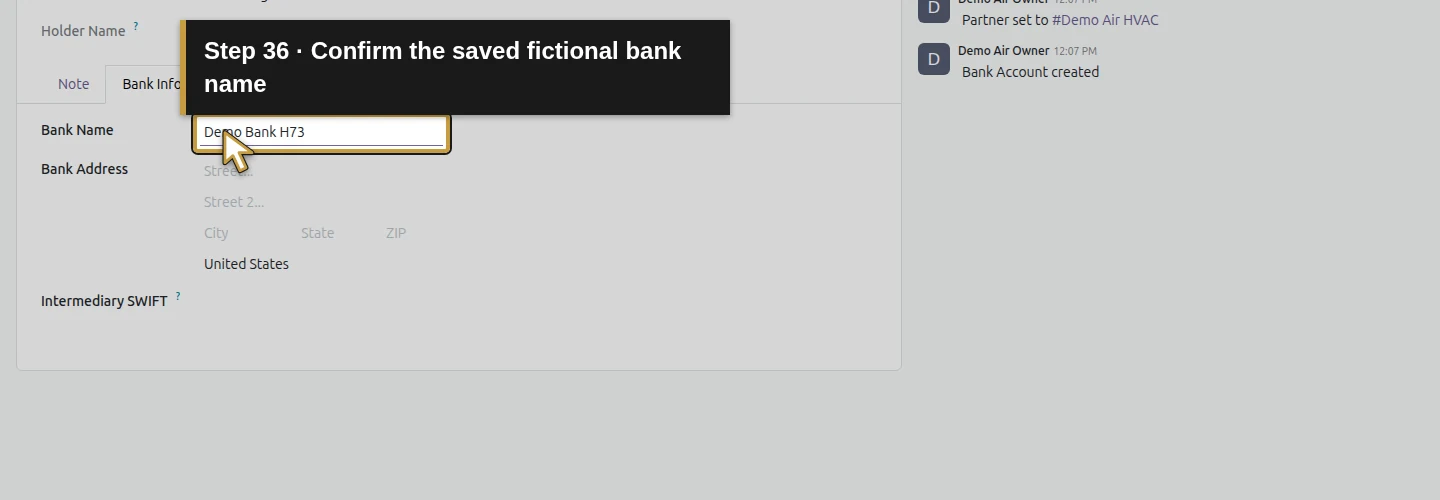
Step 36. Confirm the saved fictional bank name
Check that Bank Name remains Demo Bank H73.
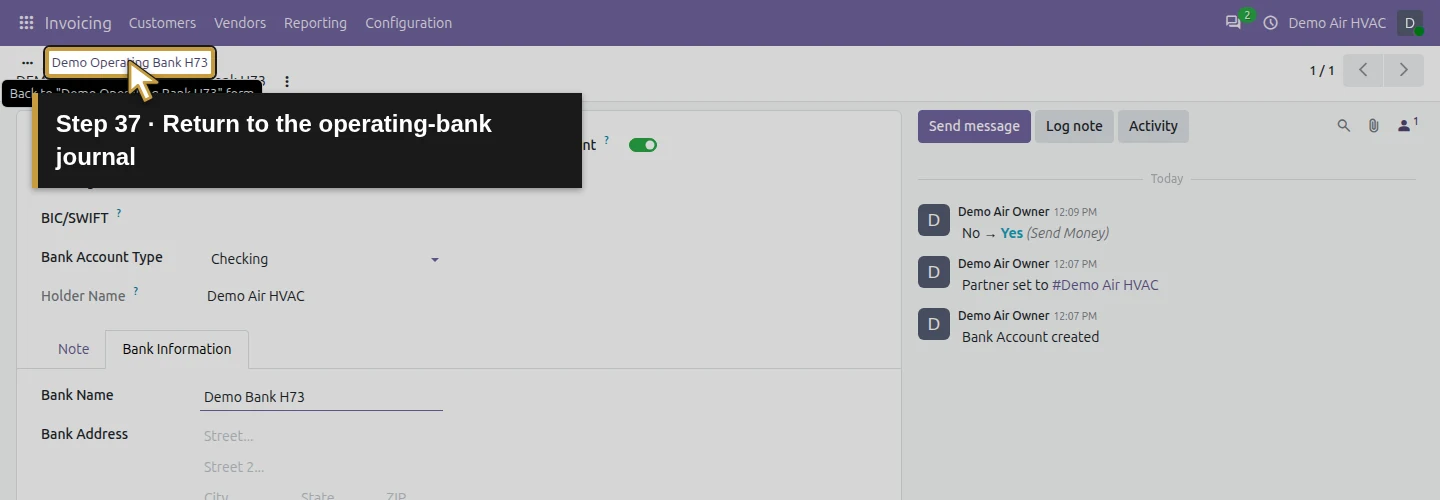
Step 37. Return to the operating-bank journal
Use the return breadcrumb to go back to the operating-bank journal. This review entered no new values.
Check the final result
Demo Operating Bank H73 is the existing Bank journal, with Bank type and BNK1 prefix. It now links to the saved DEMO-H73-ACCOUNT record, held by Demo Air HVAC and labeled Demo Bank H73. The bank record retains Checking, blank Routing Number/BIC and Trust bank account checked automatically by the journal Save.
Incoming Payments and Outgoing Payments retain their Manual Payment entries. There are still seven journals and 123 accounts, with one new bank-detail record. Configuration created no payment or accounting move. Review the actual result when later recording a payment; saving this setup is separate from confirming money at the bank.
If your screen differs
The Journals list in this tested configuration does not retain a New button. Open the existing Bank journal from the earlier US setup. The form itself has a New control, but this lesson uses the existing record. Confirm your actual starting journals rather than creating a duplicate merely to follow the example.
The bank-detail dialog uses Save and Discard. Saving it creates that related record; the parent journal’s Save manually persists its name and account link. If you have already saved the bank record, select the existing one instead of creating it again. In this build, linking the company-owned account to its journal automatically marks it trusted. That setting is separate from a bank connection and does not validate these fictional details. Reopening can make account identity fields read-only; review their saved values rather than entering them again.
This Invoicing role hides account-mapping columns. Its manual methods keep empty outstanding-account fields. This guide preserves those defaults and does not establish a payment-posting result. Field visibility depends on the actual role and installed configuration; a hidden field in these screenshots is not proof that every other stock role has the same view.
Questions about Odoo bank accounts and journals
How do I add a bank account in Odoo?
In this tested setup, open Invoicing > Configuration > Journals and select Bank. Enter the account identifier in Bank Account Number, choose Create and edit, review its holder and details, then save the bank record and the journal. Reopen both records to verify the saved link. The examples here are fictional.
How do I configure the Bank journal in Odoo?
Open the existing Bank journal, give it a clear Journal Name, retain the intended Bank type and Sequence Prefix, and link the bank-detail record. Save and reopen. This walkthrough uses the Bank journal supplied by the demo’s US setup, rather than creating a second journal.
What are payment methods on an Odoo journal?
The tested journal has Incoming Payments and Outgoing Payments tabs, each with an existing Manual Payment method. These are configuration entries for payment workflows. This lesson checks their names and preserves the demo’s defaults; actual payment recording and its accounting result are separate tests.
Does an Odoo bank journal automatically connect to my bank?
Saving this journal and related account record did not configure a bank connection. The demo retains its Undefined Yet bank-feed setting, and no payment or accounting move was created. A local bank-account record, a synchronization service and an actual bank transfer are separate operations.
What is the difference between a bank account and a bank journal in Odoo?
The bank-detail record stores the identifier, holder and bank information. The journal is a separate configuration record with its type, sequence prefix and payment methods. In this walkthrough, the Bank Account Number field links the operating-bank journal to that saved bank-detail record.
Continue preparing customer payments
Alex’s bank configuration is saved and ready to review during later payment lessons. Next, continue preparing business documents and quotations. When an actual payment is recorded, check its invoice link, amount, state and the evidence from the bank.
Get help configuring Odoo for your HVAC business
Review your Odoo setup and payment workflow with an Odoo partner.
Talk to an Odoo partner