
Getting started with Odoo
Set up your business in Odoo 20
Set up your company profile in Odoo 20 Community. Follow each highlighted click and field entry using Demo Air HVAC, a fictional heating and cooling business.
A saved company profile, with your business name, address and contact details, plus a checked country and currency.
We’ll use Demo Air HVAC, a fictional heating and cooling business in Florida. Follow the same steps with your own business details.
Follow the 15 stepsBefore you begin
Sign in to a fresh Odoo 20 Community database as an administrator. This Odoo setup tutorial begins after installation and database creation.
Have your business name, address, email and website ready. Use your own details when setting up your business; the Demo Air values below are fictional.
The screenshots show Odoo 20.0-20260926 Community. Each gold outline marks the exact control for that step. Select a screenshot to enlarge it.
Open your company settings
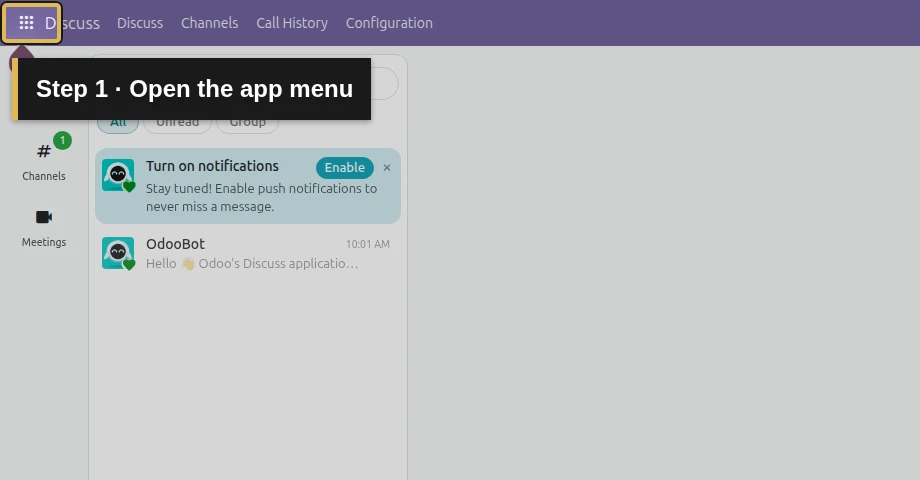
Step 1. Open the app menu
Click the app menu icon at the top left of Odoo. It looks like a grid.
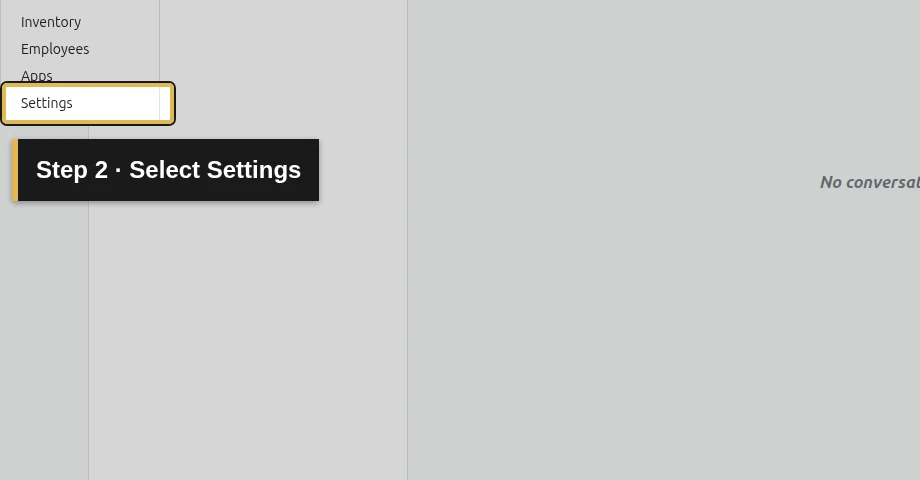
Step 2. Select Settings
Click Settings in the app menu. Odoo opens General Settings.
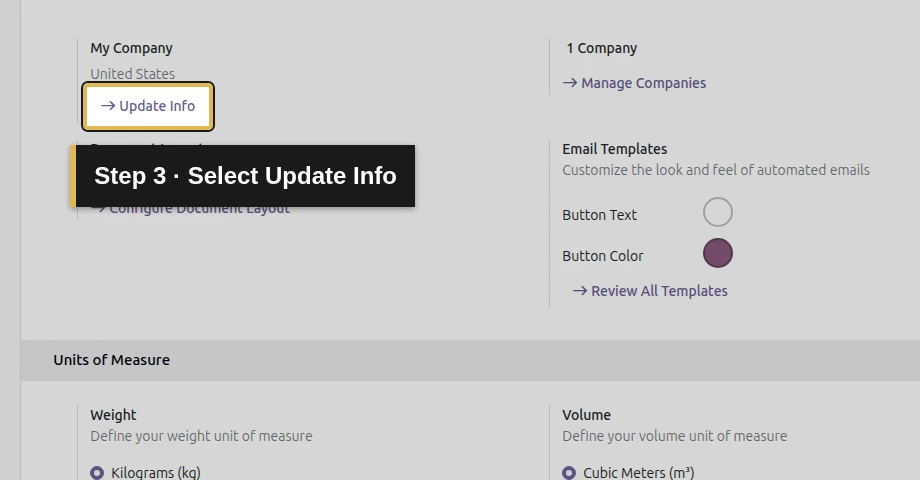
Step 3. Open the current company
Find Companies and click Update Info under My Company. You are editing the existing company record.
Enter your business details
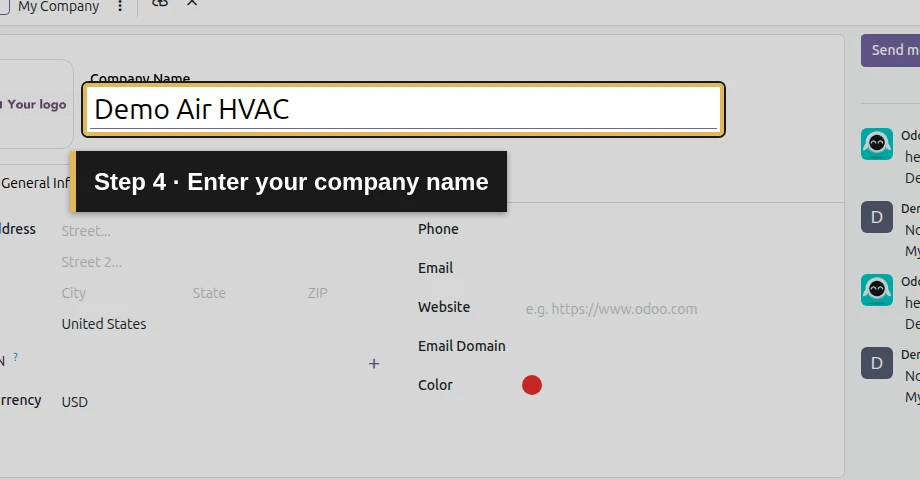
Step 4. Enter your company name
Click Company Name and replace My Company with your business name. Our example is Demo Air HVAC.
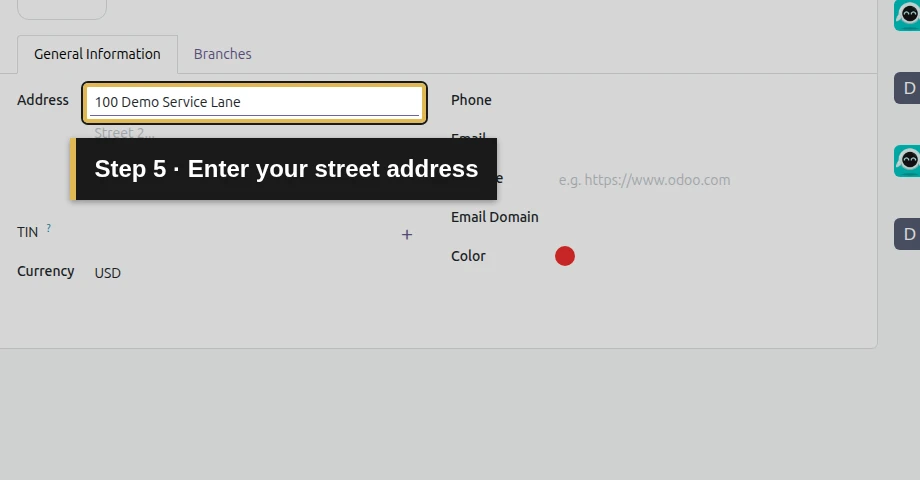
Step 5. Enter your street address
Click the first Address line and enter your business street address. Our fictional example is 100 Demo Service Lane. Leave Street 2 blank if you do not need it.
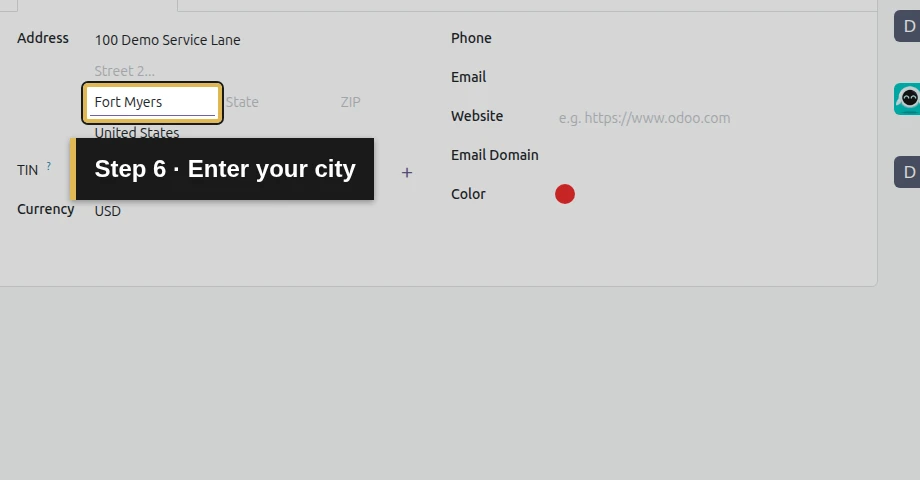
Step 6. Enter your city
Click City and type the city where your business is based. Our example is Fort Myers.
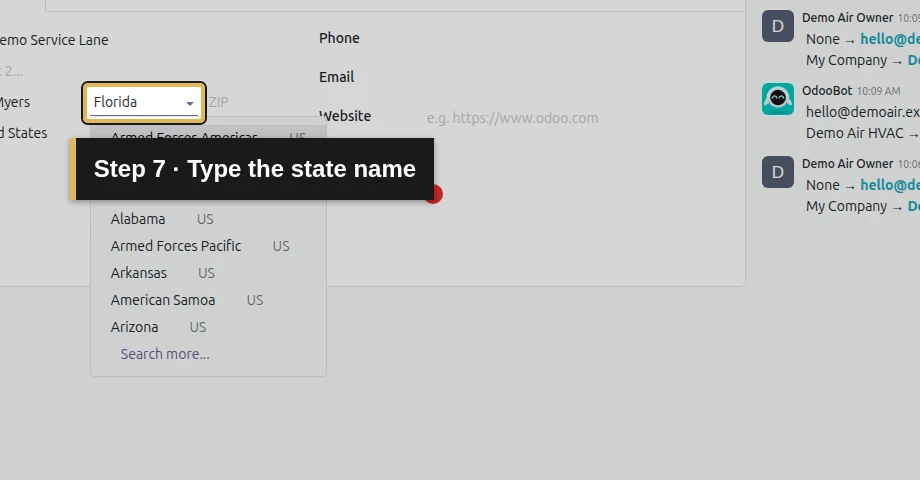
Step 7. Type your state
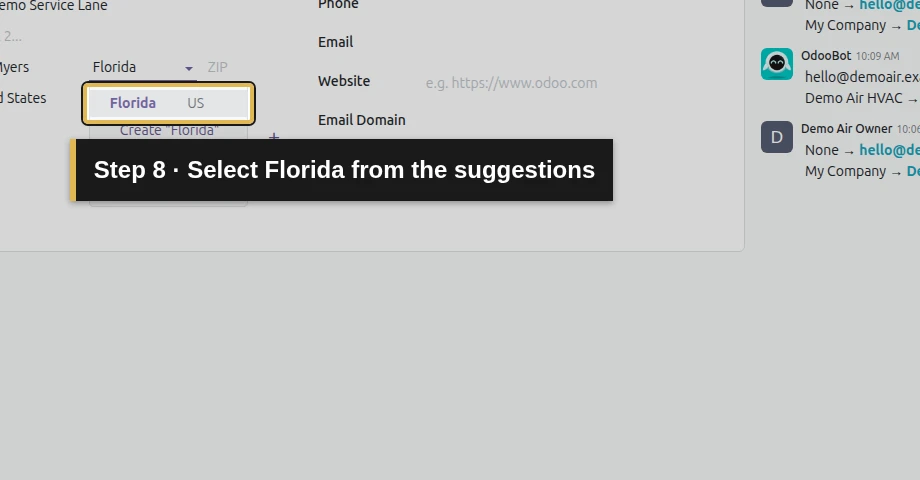
Click State and type Florida for this example. Wait for the suggestions to appear.
Step 8. Select the matching state
Click the Florida entry in the suggestions. Do not leave the typed text unselected. The selected field shows Florida (US) in this build.
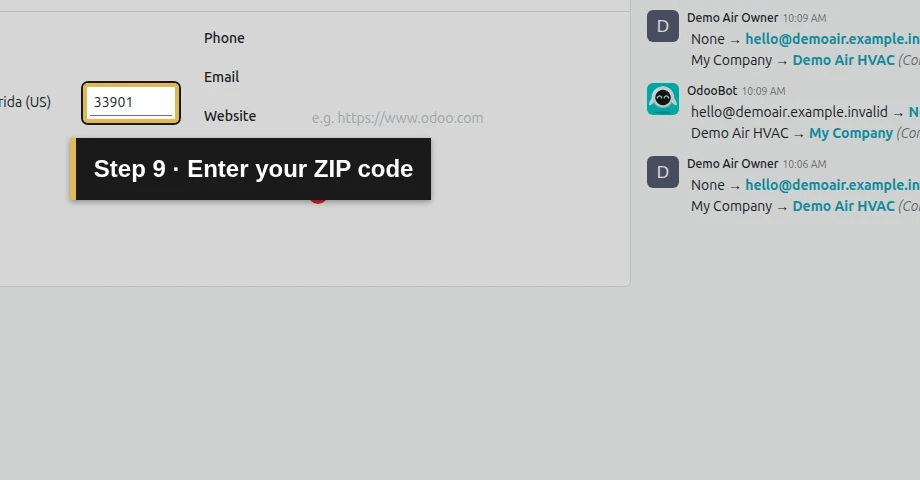
Step 9. Enter your ZIP code
Click ZIP and type your postal code. Our example is 33901.
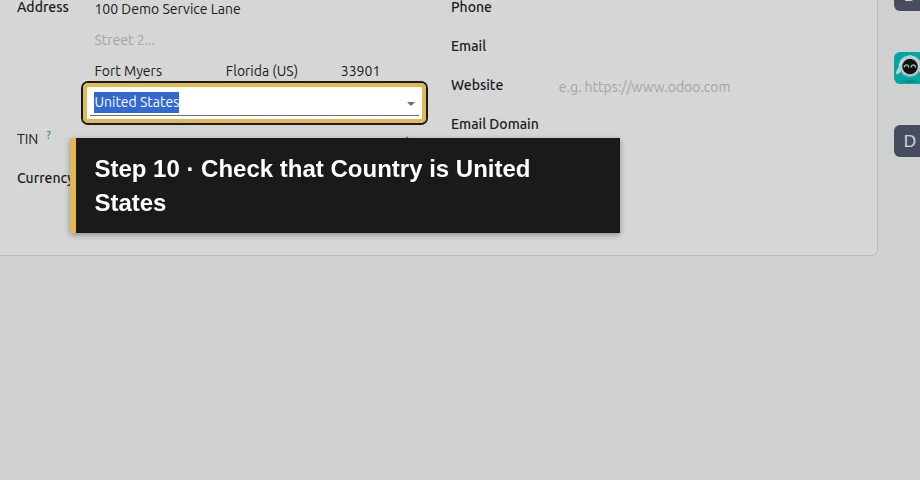
Step 10. Check your country
Find Country and check that it shows United States for this example. It was already selected in our fresh database.
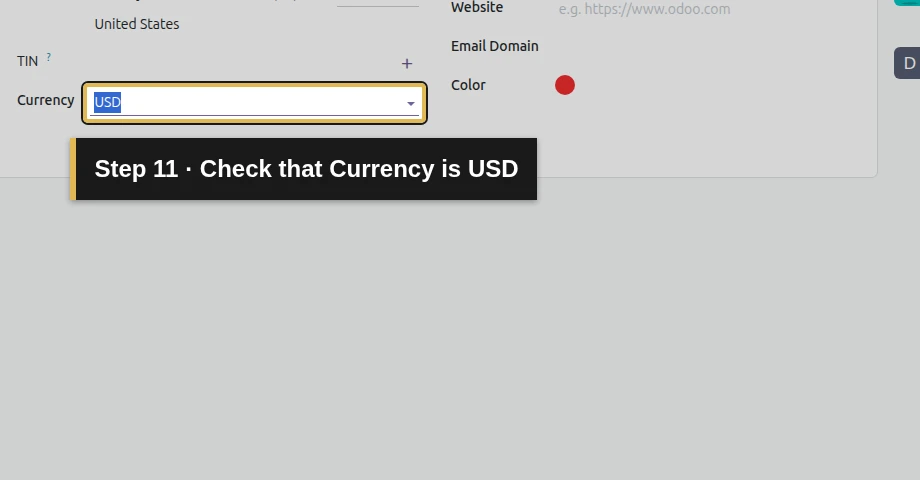
Step 11. Check your currency
Find Currency and check that it shows USD for this US example. This recording checks the starting value; it does not demonstrate changing currency after transactions have begun.
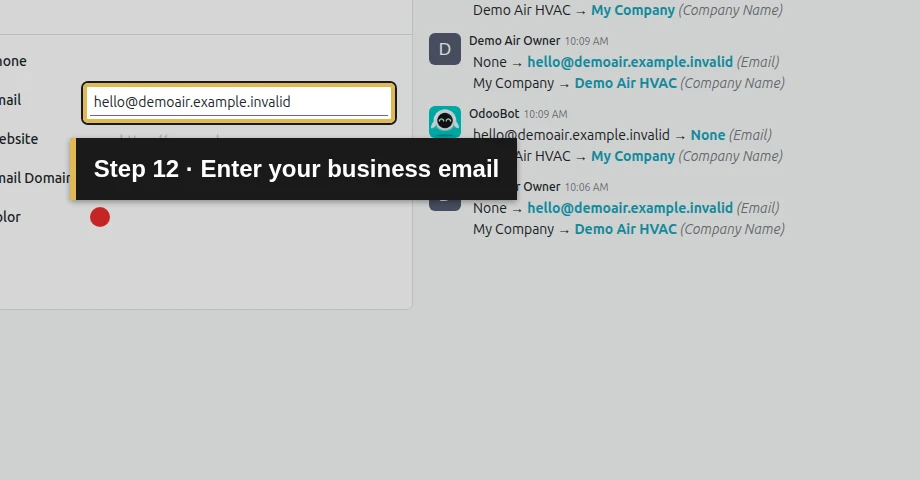
Step 12. Enter your business email
Click Email and enter the address your business uses. Our fictional address is hello@demoair.example.invalid.
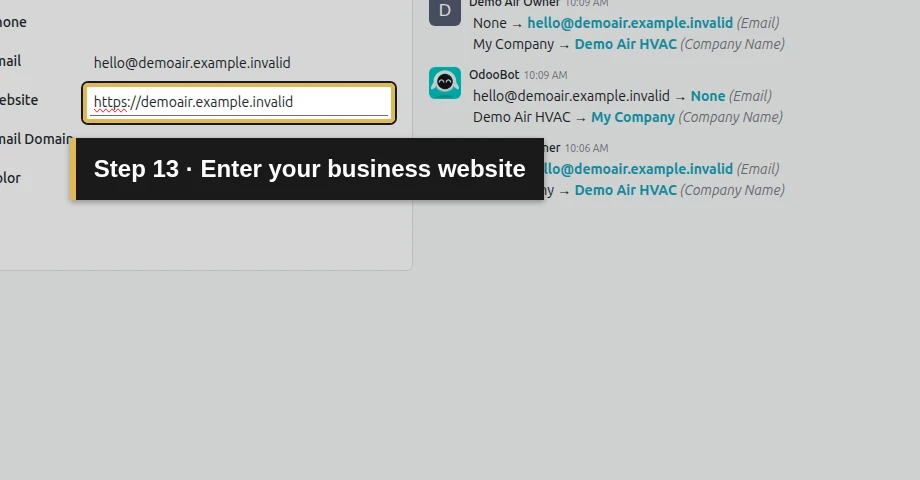
Step 13. Enter your business website
Click Website and enter the full address, including https://. Our fictional example is https://demoair.example.invalid. Leave it blank if your business does not have a website yet.
Save and check your company
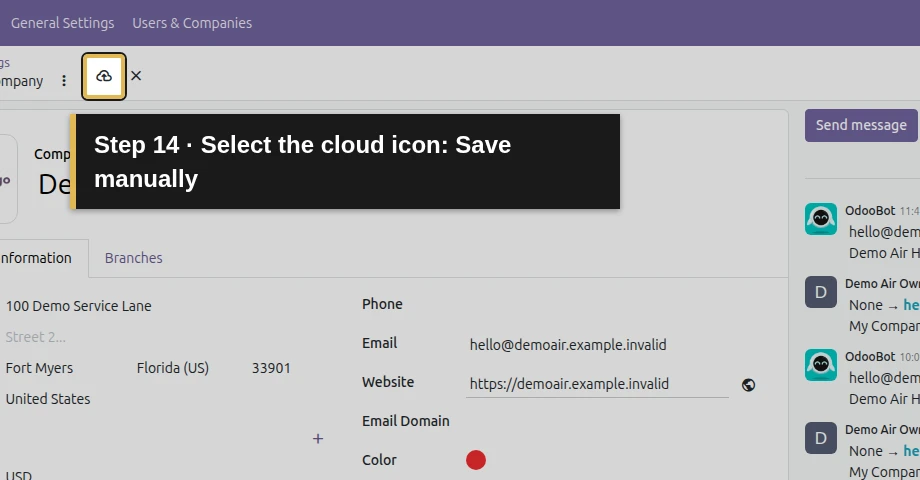
Step 14. Save the profile
Click the cloud upload icon beside the company name at the top of the form. Its tooltip is Save manually.
Wait for the save controls to disappear. The Save button on General Settings belongs to a different screen.
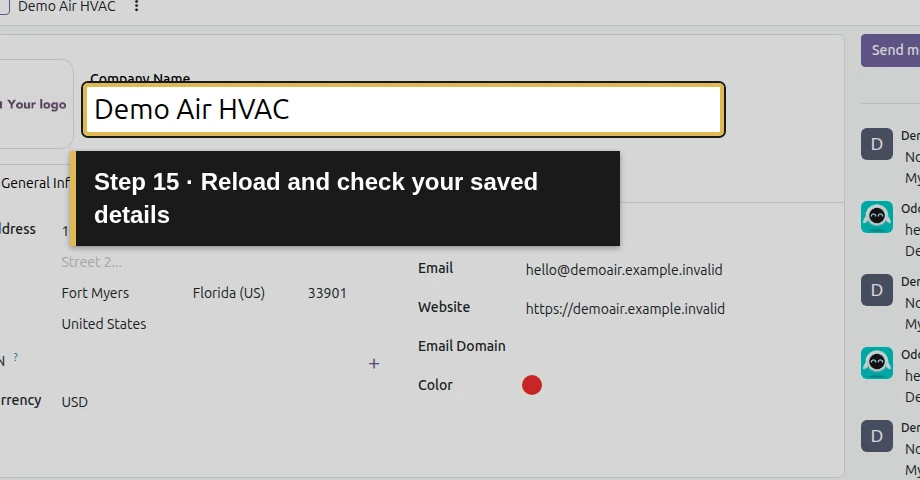
Step 15. Reload and check the saved details
Use your browser's Reload button, or press Ctrl+R. Confirm that your company name and the other details remain on the form.
In our example, the saved profile shows Demo Air HVAC, the Florida address, United States, USD, the business email and the website.
Getting started with Odoo: common questions
How do I set up Odoo for a new business?
Start with a ready database and an administrator login. Open Settings, select Update Info under Companies, enter your business details, then save and reload. This guide covers that company-profile setup; installation comes before it.
What should an Odoo beginner set up first?
In this getting-started series, begin with your company profile. The next planned tasks are adding customers and the services or products you sell, so you have the information needed for a quotation. Complete and check this first setup before moving on.
Can I use Odoo Community for a small business?
This company-setup workflow works in Odoo 20 Community, as shown with our fictional HVAC business. Use it to establish the company details you will build on. Choose the next apps around the work your business needs to do; later lessons will identify their edition and prerequisites.
How do I check or set my company currency in Odoo?
Open your company through Settings, Companies, Update Info, then find Currency. In this fresh US example, check that it shows USD and save your company profile. This lesson checks the starting currency; currency conversion and changing currency after accounting transactions need a separate procedure.
Reference: Odoo 20 company settings documentation.
Your business is ready for the next step
Your company profile is saved. The next business task is building your customer list, so you have someone to quote and invoice.
Planned next lesson in this getting-started series.
Get help from an Odoo partner
Tell us what your business needs to manage. Onward can help you plan your Odoo setup, choose the right apps, and turn everyday tasks into clear workflows.
Talk to an Odoo partner